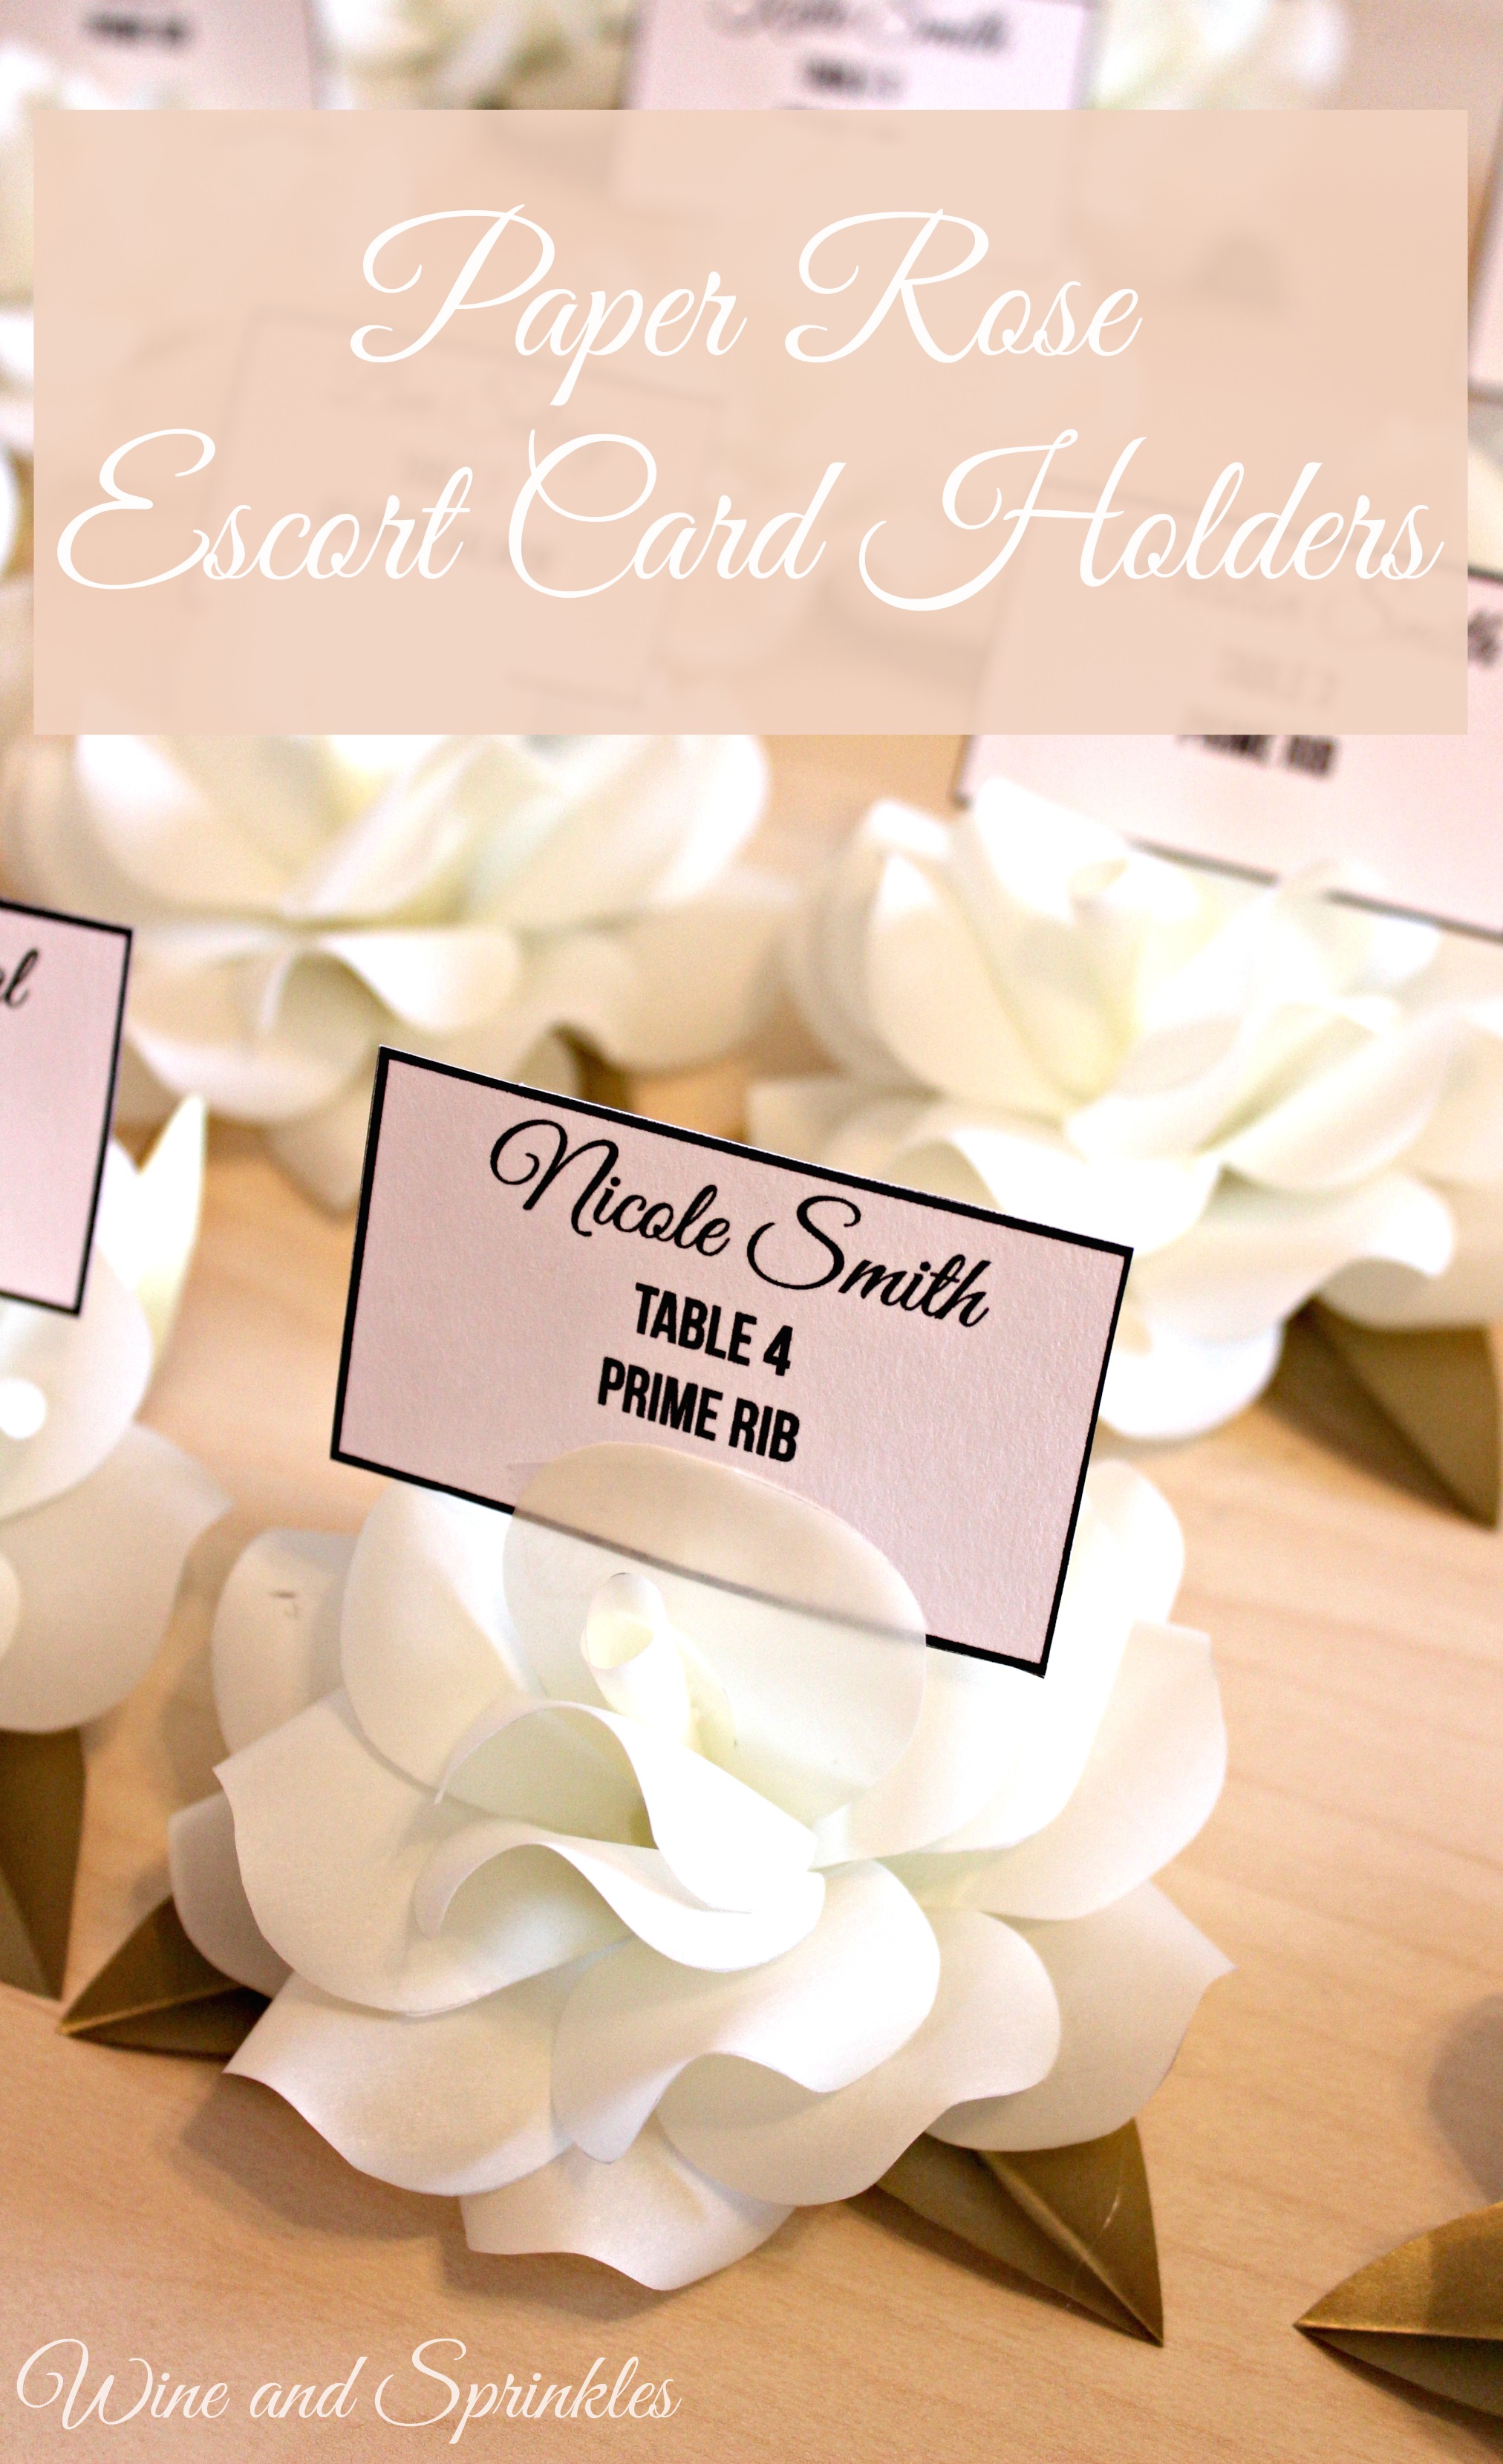
While Wedding Season really starts in late Spring I seem to have gotten all my wedding DIY fun in this September! Two of my sorority sisters are getting married this month and I have had so much fun making things for their big days!
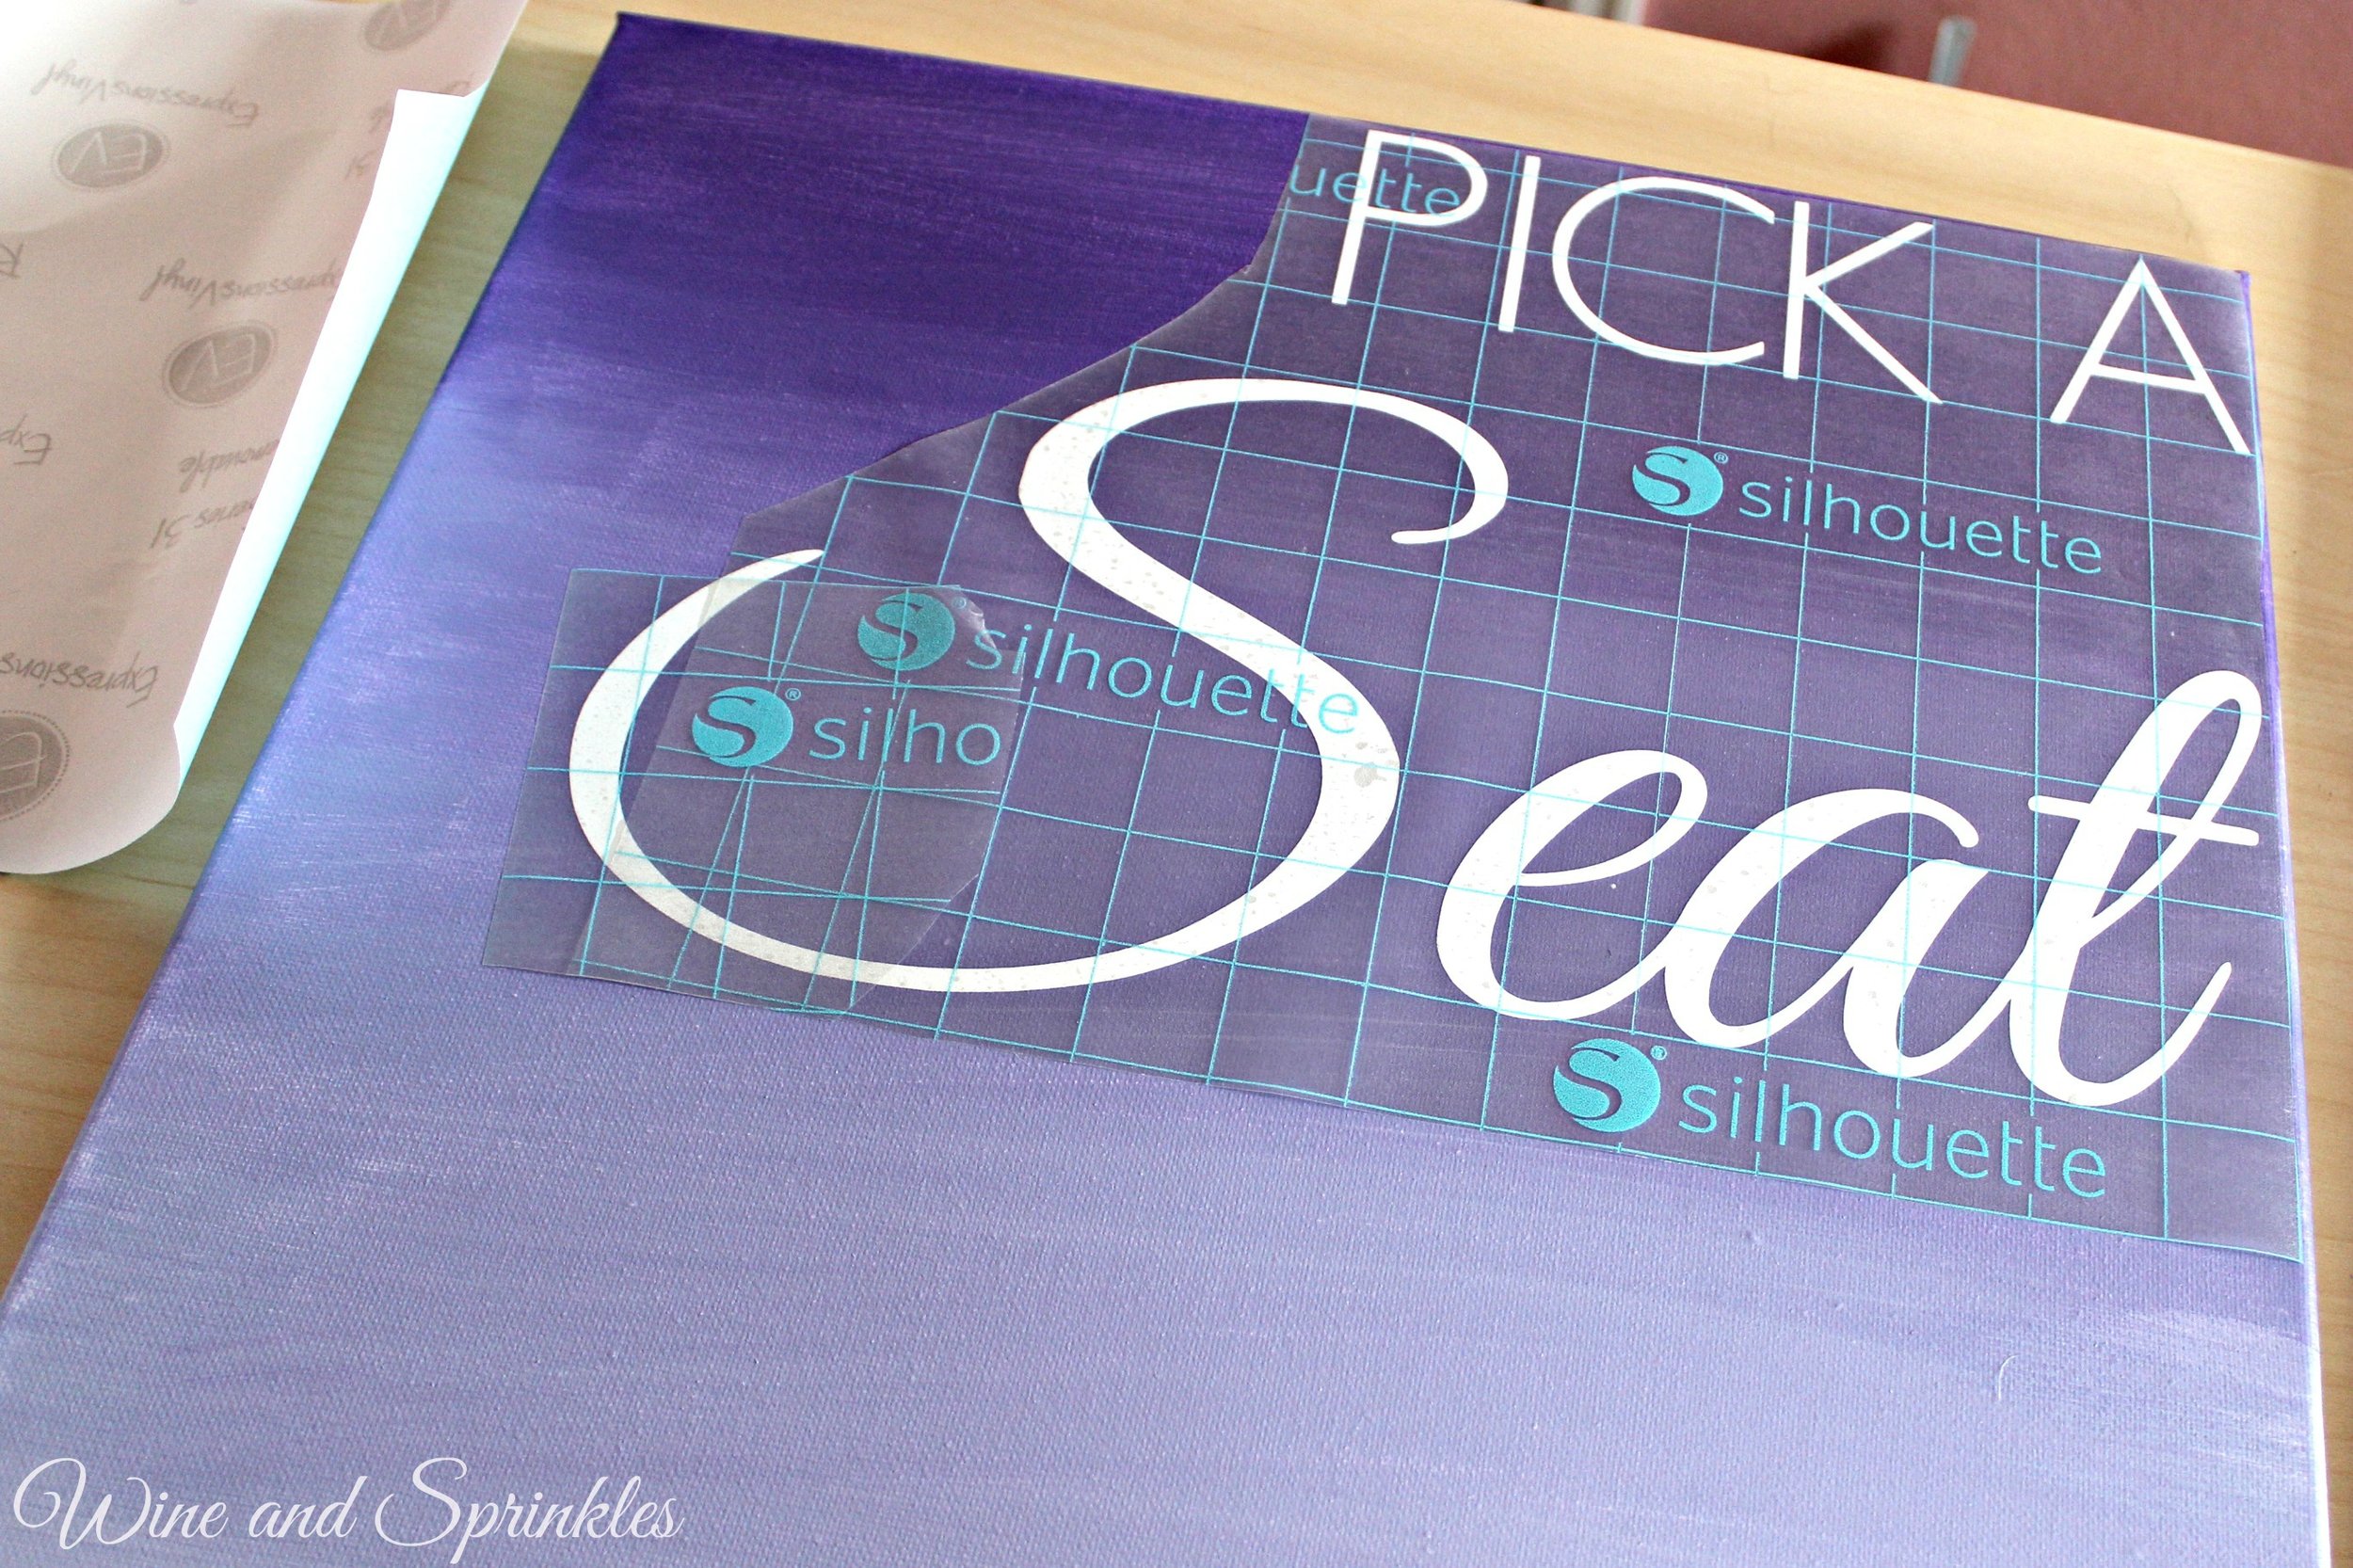
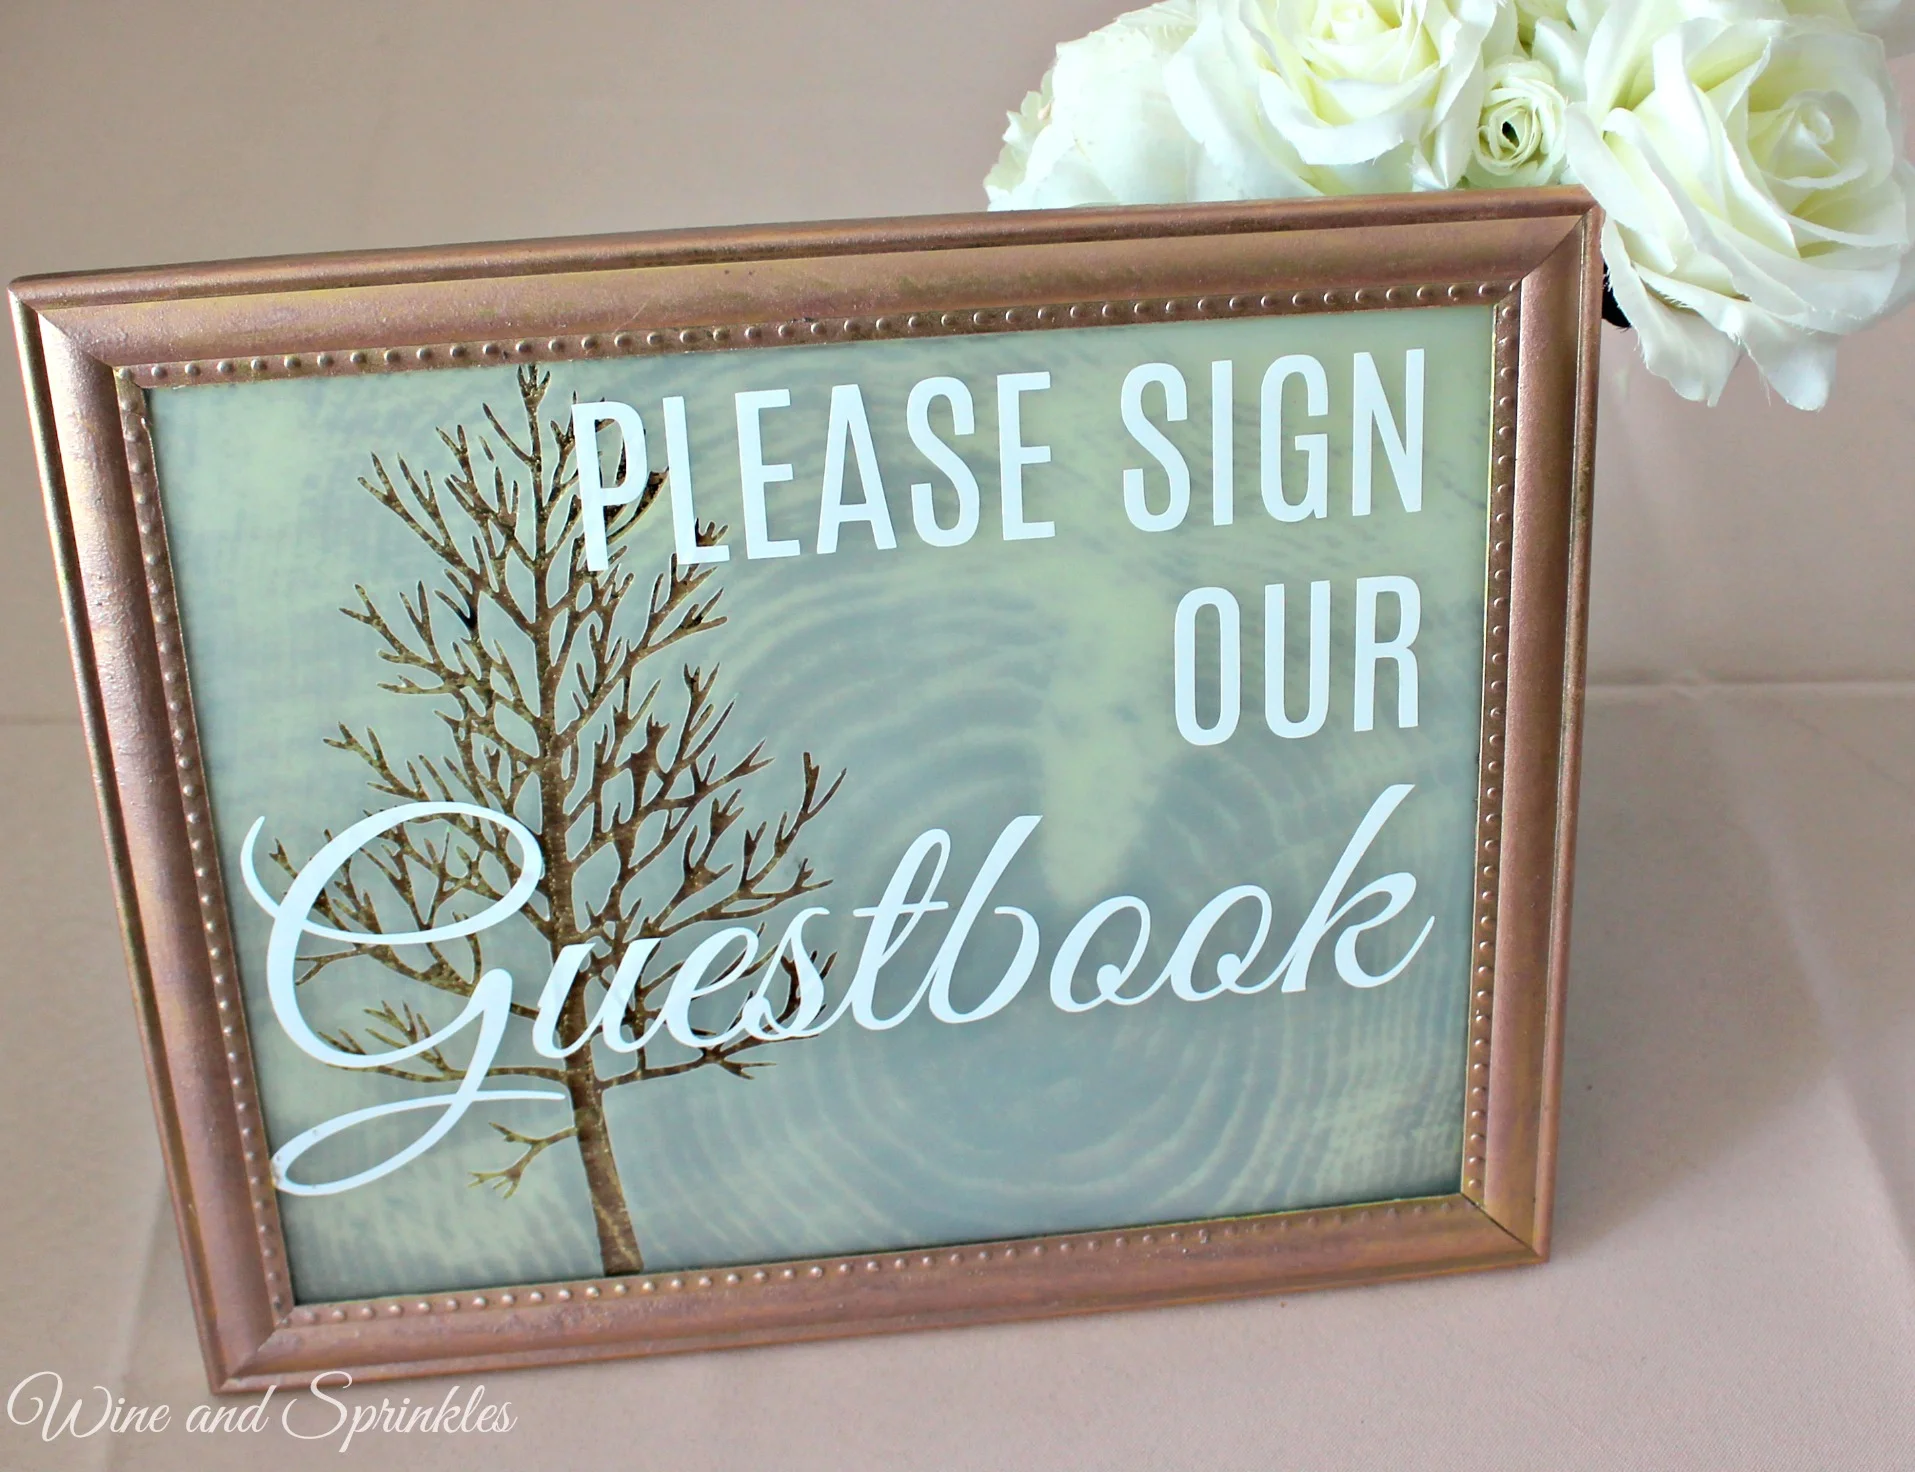
One of the often overlooked details in wedding decorations are signs, so I have designed two simple ones for the Gift Table and Favor Table in 5 x 7 frames, so that they are easy to pack, look cute, and were super easy to make! This bride is having an upscale rustic wedding in golds, cream and teal, so I incorporated the rustic tree slices in the gold background paper with white lettering to make it easy to read and also give the signs an upscale feel. After all, white writing is far harder to come by than almost any other color with printers; luckily that’s where a craft cutter comes in handy!
The best part of this project is that is it totally customizable to your colors and theme, you simply have to pick the paper, frames, and colors that you want to personalize them for your big day!
Note: This post may contain affiliate links, meaning that if you click a link and make a purchase, I will receive a small commission. This costs nothing additional for you and I only promote items I use and love!
Supplies:
Picture Frames of Choice (I got mine from a Walmart a while back)
Scrapbook Paper
White Adhesive Vinyl
Transfer Paper
Craft Cutter and Tool Set
Adhesive Mat
Gifts and Cards Cut File
Thank you Sign Cut File
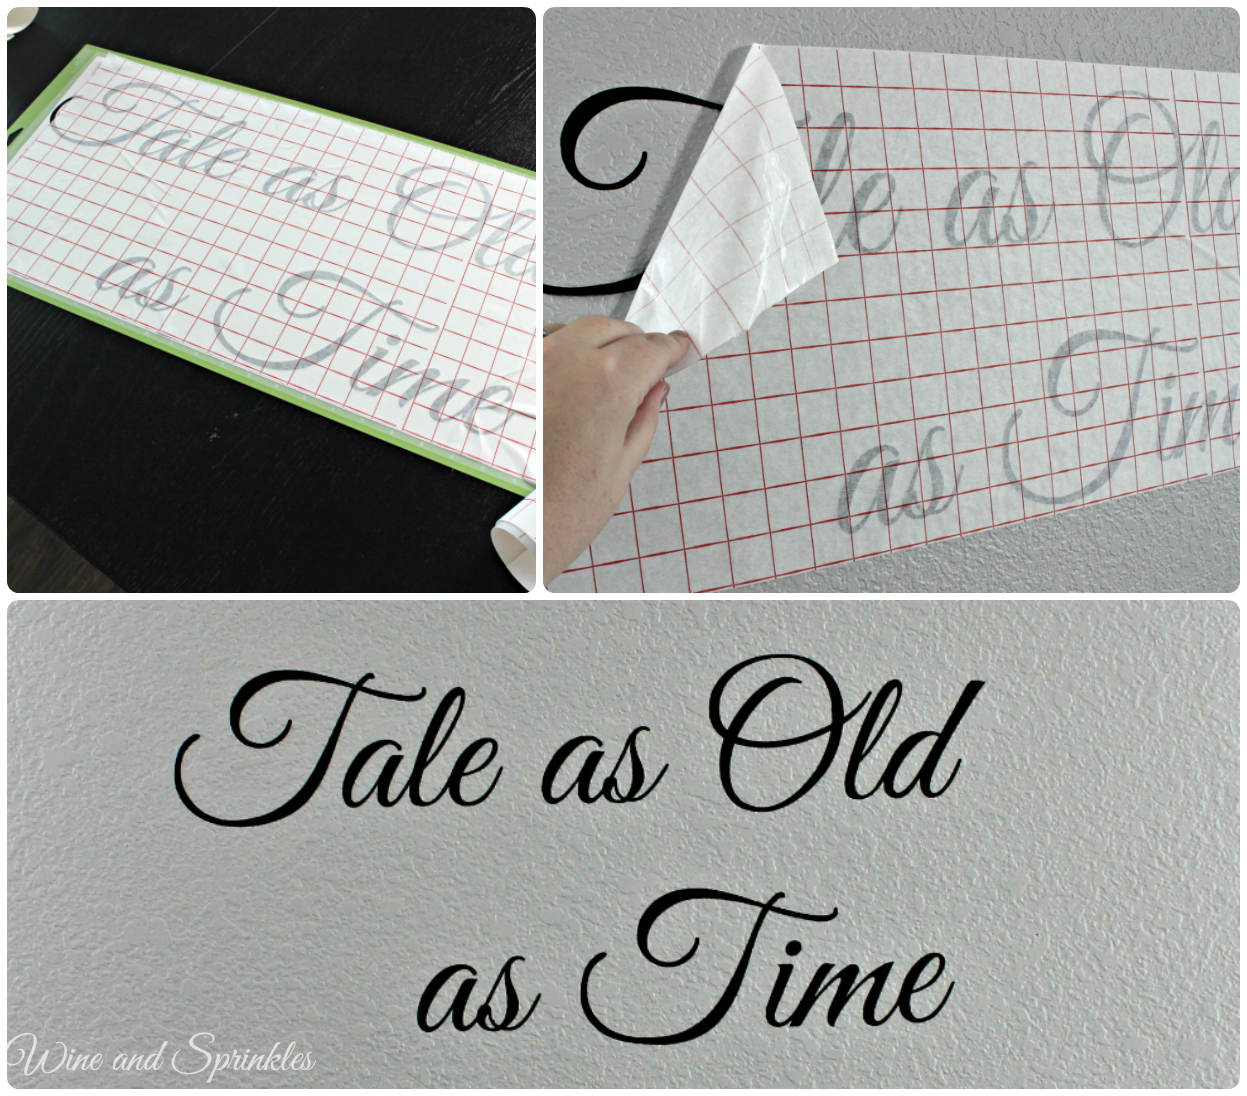
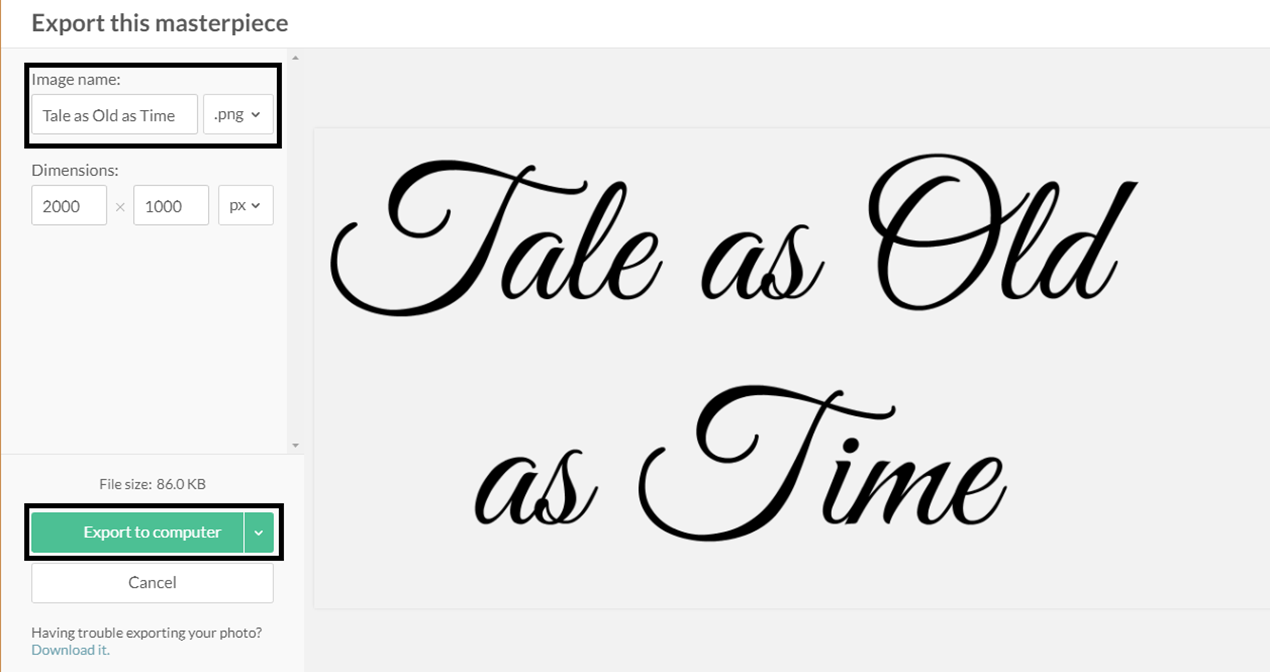
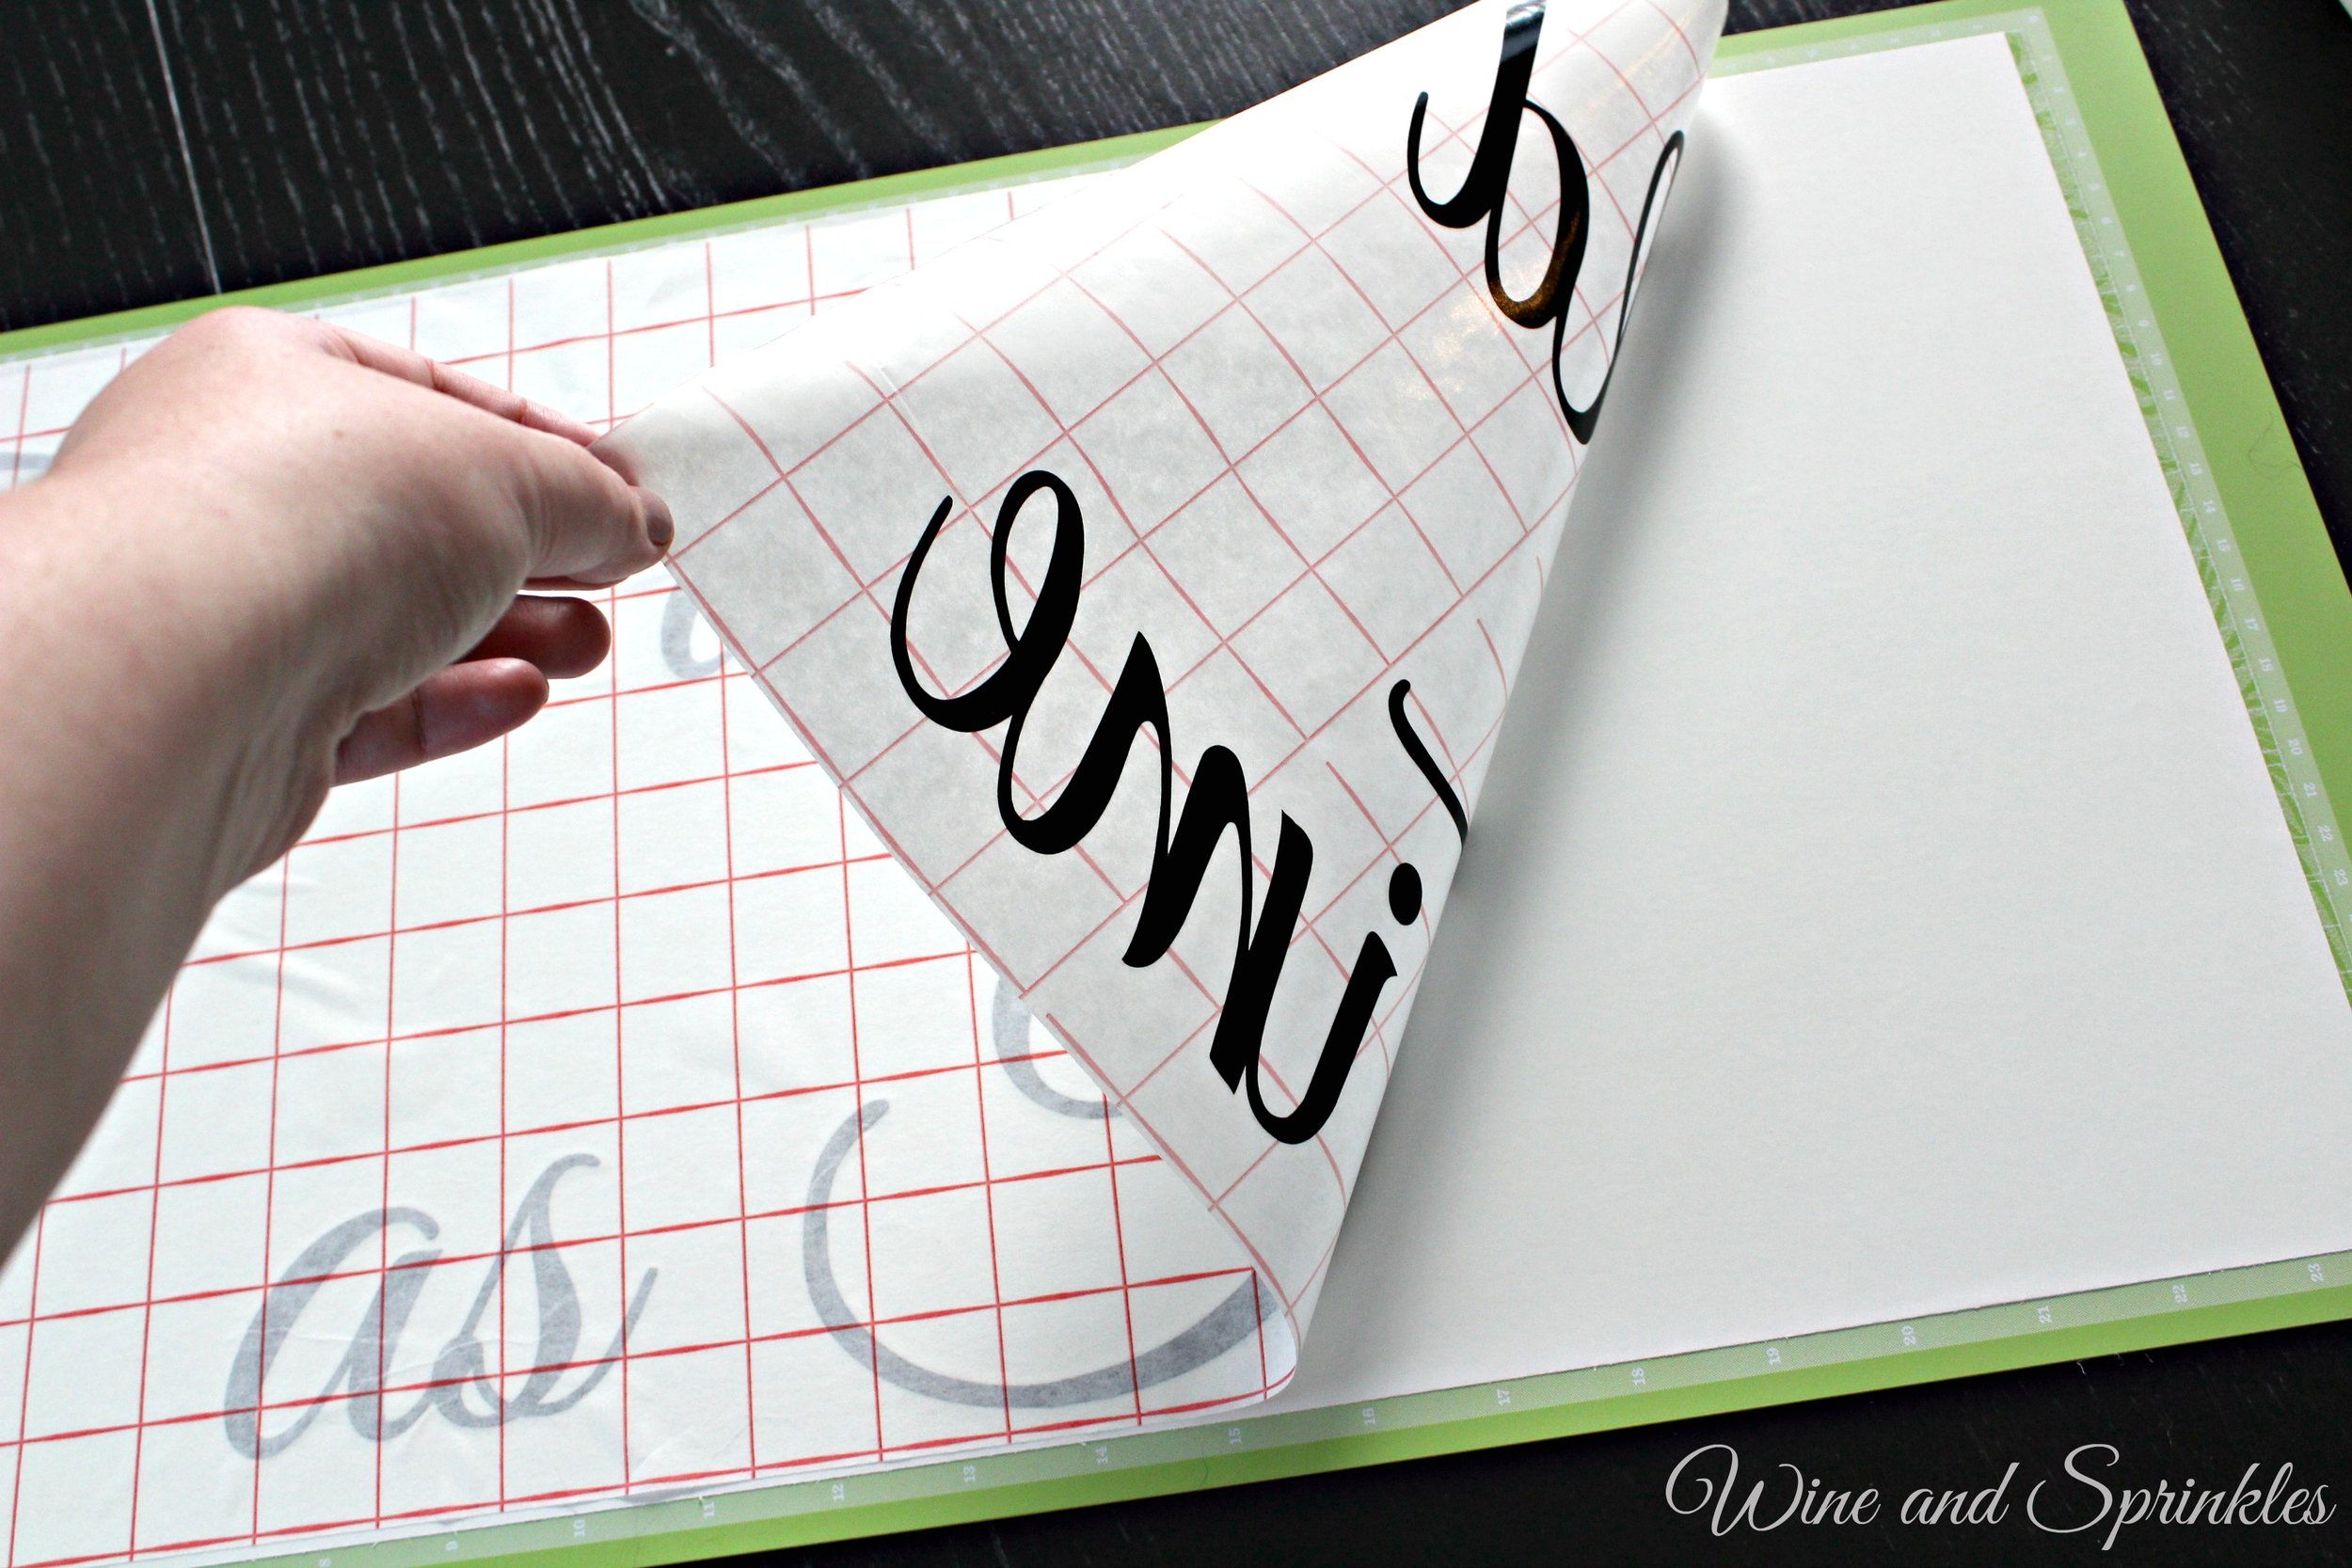
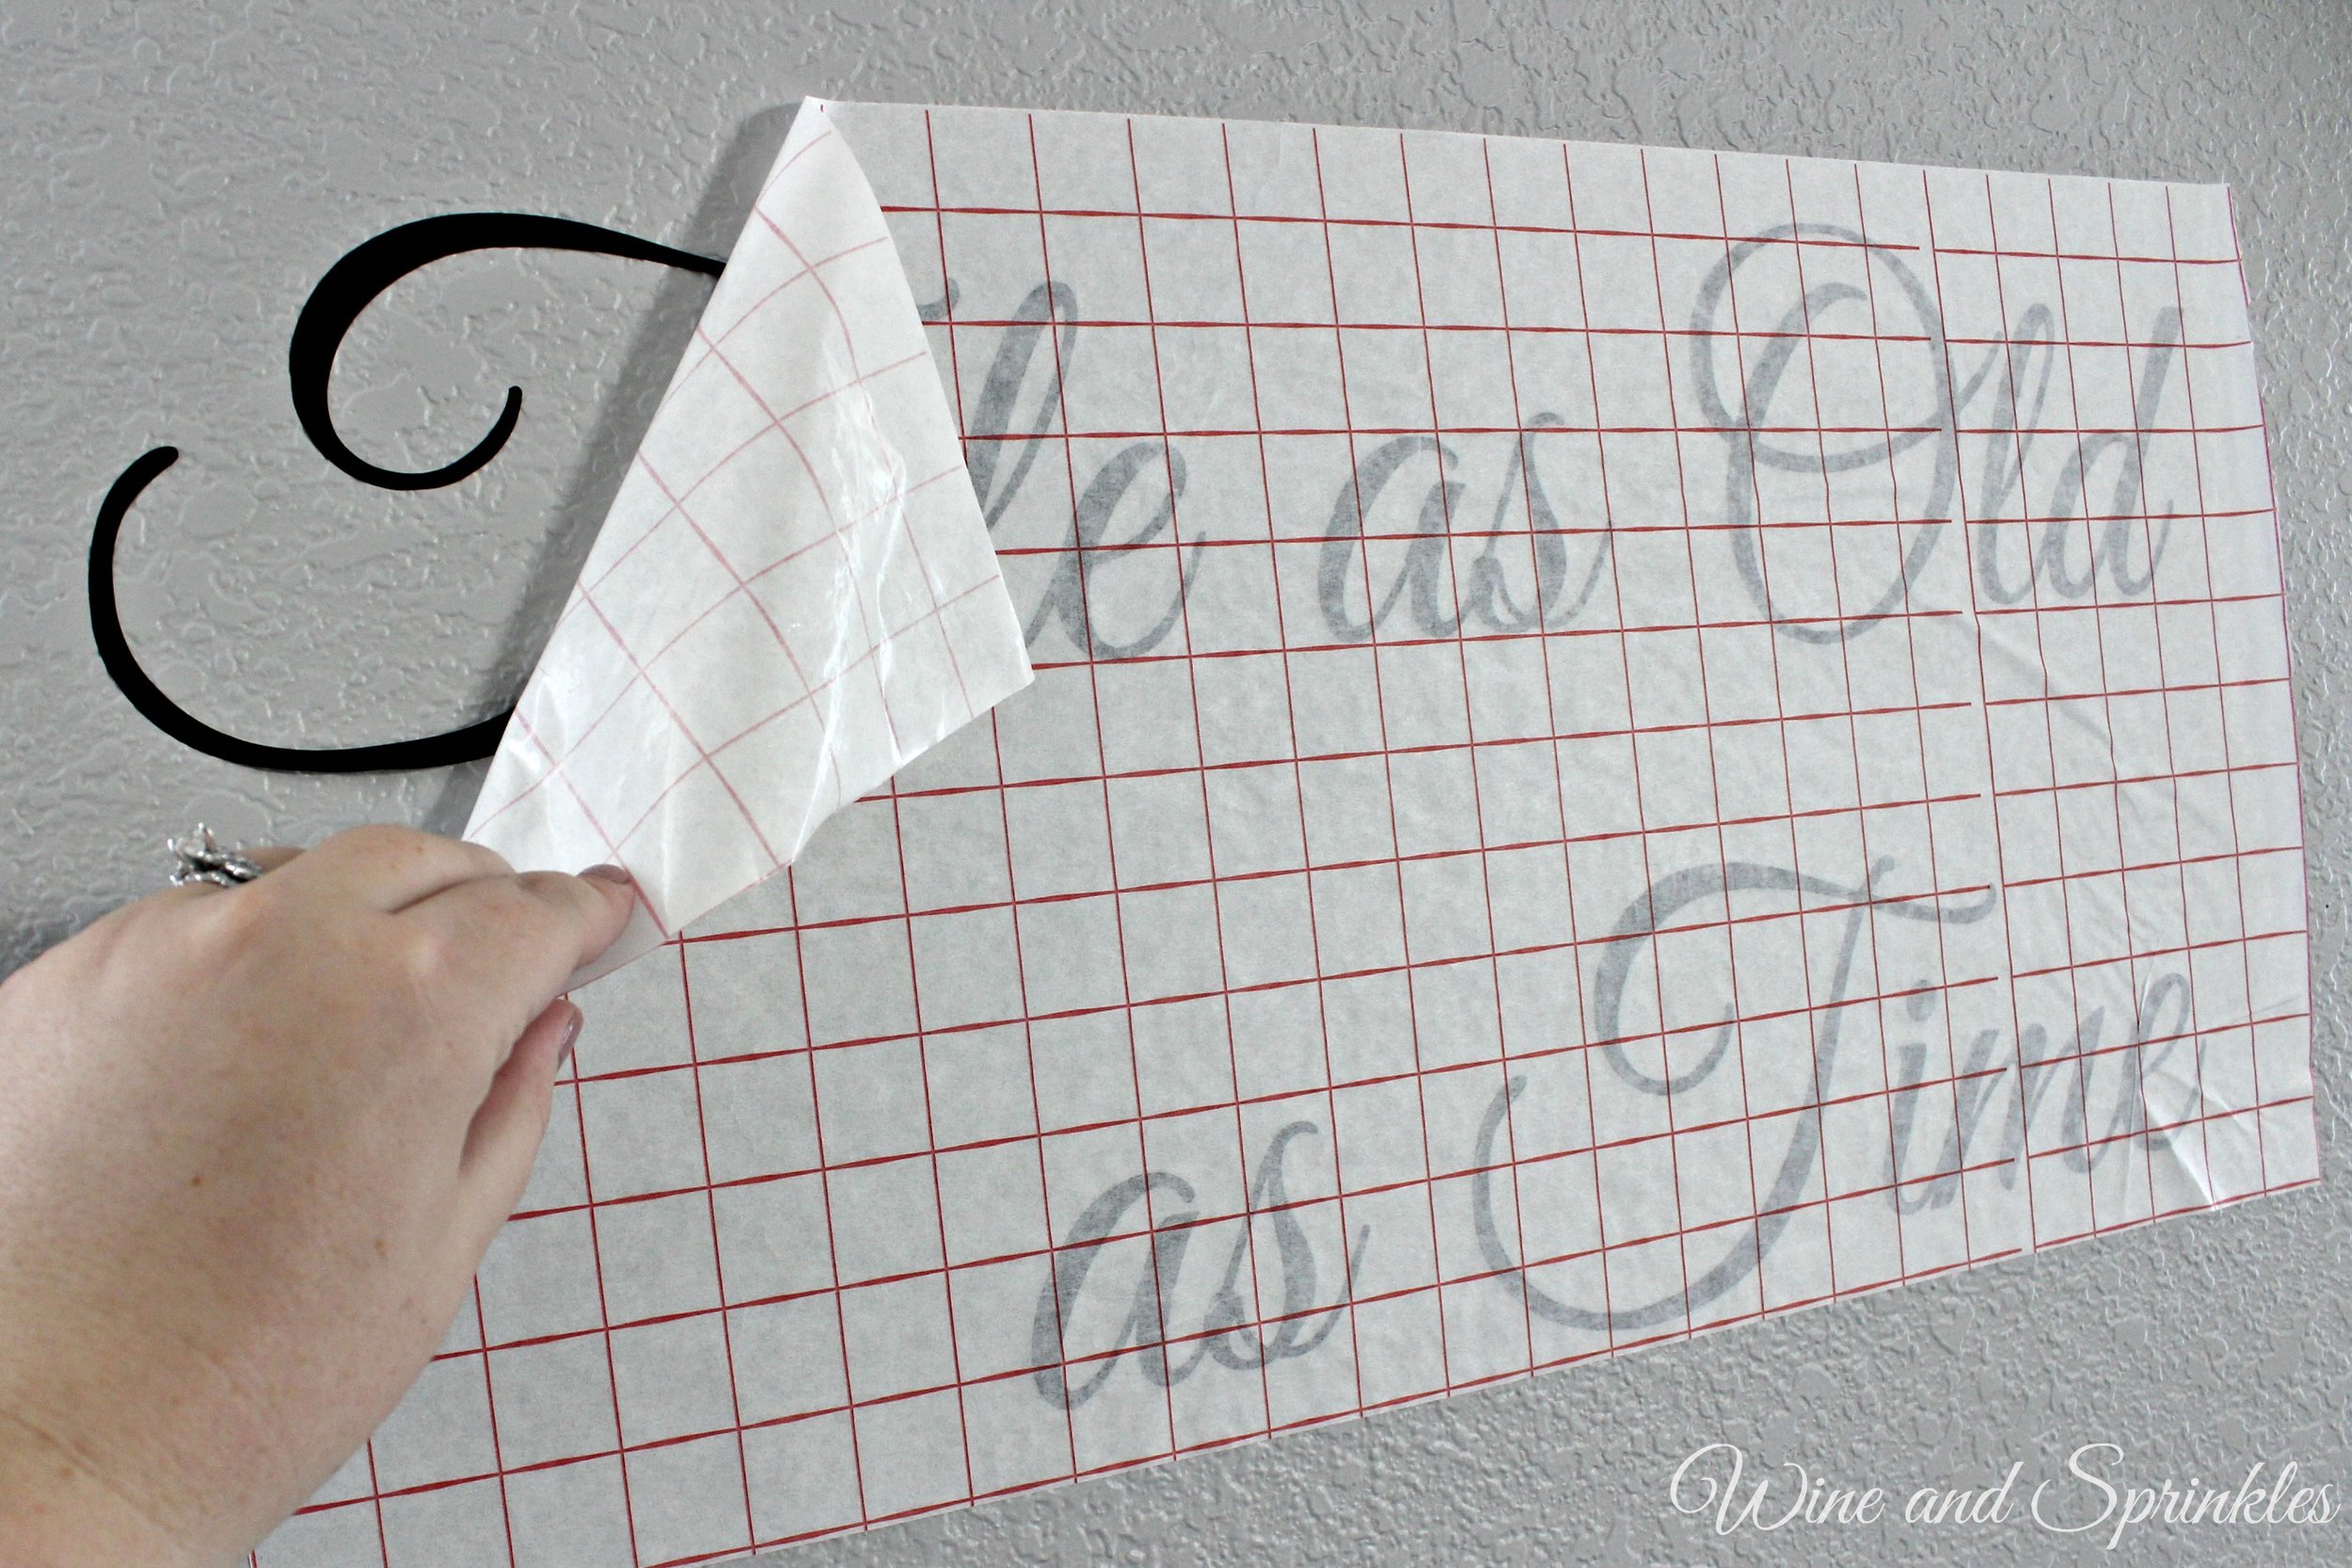
1. Upload the Cut files into the Cricut Software and cut out on the vinyl color of your choice. I used removable vinyl and would recommend it if you want to use the frames again for a non-wedding purpose. I sized my cut files to be 6” wide.


