Be it a party or a date night at home, there’s nothing like a little romantic candle light to set the mood, and one of my favorite styles I’ve seen is when tapered candles are used to create candlescapes with wine bottles! Unfortunately for me, real candles are a little too much of a fire hazard for our home’s parties at present, but it was the perfect opportunity to create reusable candle holders from my existing wine bottles, with a little help from my favorite stationery sealing wax.
Read MoreWine Bottles
Modern Wine Bottle Table Numbers
This post contains affiliate links, meaning that if you click on a link I will recieve a small comission. This costs you nothing extra and I only promote products I use and love! You can read our full disclosure here
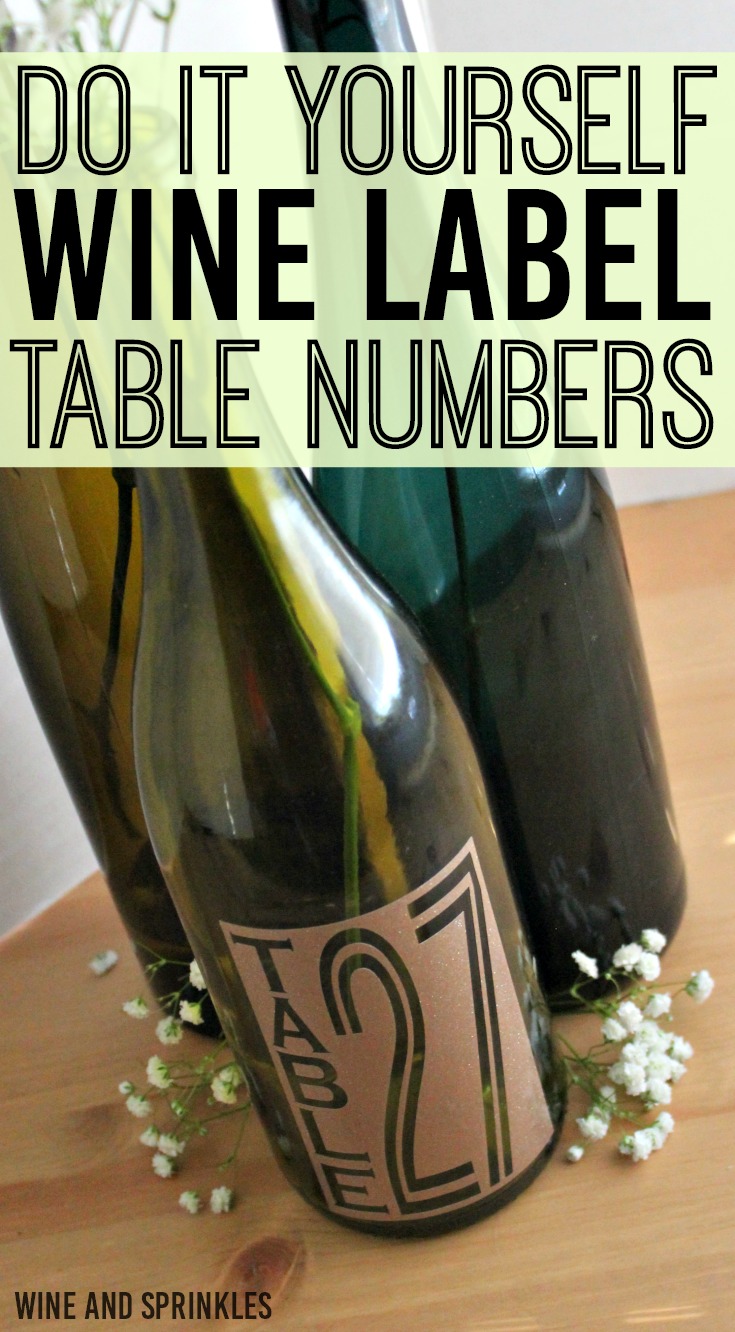
We are back for another take on Wine Bottle Table Numbers! I love wine bottle for centerpieces and having the table number on the bottle is a fun detail and a cheap way to make table numbers in general. I’ve made a couple before this and I own that there will likely be more in the future, there are so many possibilities! :)
These designs I wanted to look similar to an actual wine bottle label as far as size, with the number cut out, but as it turns out I really liked them either way. By weeding out the numbers or removing the “label” part, you can have just the Table and number in vinyl or you can choose to remove the Text and numbers, making a more label-esque choice. These two choices could easily be alternated between or you can pick your favorite of the two!
Supplies:
Empty Wine Bottles
Permanent Adhesive Vinyl
Transfer Tape
Craft Cutter and Tool Set
Adhesive Mat
Table Number Design Cut Files
1. First, soak your wine bottles in hot, soapy water to remove the labels and adhesive. I found it easiest to soak them for about 5 minutes, remove what l could, then once the label was completely removed clean up the last bits of adhesive with steel wool. :)
2. After downloading the cut files, import them into the Cricut Software. After creating a new project, select Upload Image. Select the file you wish to upload and it will automatically take you to the final upload screen, where you can name the file the select Save.
3. Cut the design(s) in your choice of permanent adhesive vinyl with the Vinyl Setting on your Cricut. The SVG Files are sized so that they will automatically cut to the size you see in the photos, but if you want to change the size you can do so to fit the wine bottles the way you like.
4. Once the designs are cut, weed away the extra vinyl and cut a piece of transfer taper to 3.5" x 5". You can weed these table numbers in two ways, either by weeding the numbers and text, leaving a rectangle with the Table number weeded, or by removing the rectangle, leaving the Table number in vinyl.
5. Cut away any excess backing and smooth transfer tape over the design. I aligned the rectangle table number along the gridelines of the transfer tape and for the numbers only style, I aligned the tape along the “T” and top of the number, as shown below. Using the smoother tool, smooth the tape to the vinyl, removing any air bubbles. The transfer tape should overlap the backing of the design, so that you can stick the tape to an object with the backing still on the design.
6. Now, transfer the design to your bottle. If you are comfortable centering the designs you can remove the tape from the backing and directly place the design on the wine bottle. If not, arrange the design to the bottle before removing the backing, sticking it with the overlapping transfer tape. I aligned mine to the bottom of the wine bottles, as shown in the photos below. I didn’t have much issue transferring the designs directly, but it never hurts to keep on the backing while you arrange it if you are nervous! :)
6. Once your design is placed to your satisfaction, transfer the design to the bottle. If you kept on your backing, carefully peel the tape off the backing, transferring the vinyl to the transfer tape while not unsticking it from the bottle. Remove the backing then smooth the design onto the bottle. If you didn’t use the backing, smooth design onto the bottle, using your fingers to remove air bubbles.
7. Remove the transfer tape to leave the design on the wine bottle, then repeat the process for all your additional table numbers.
Wreath Wine Bottle Table Numbers
This post contains affiliate links, meaning that if you click on a link I will recieve a small comission. This costs you nothing extra and I only promote products I use and love! You can read our full disclosure here
Wine bottle centerpieces are always a cost effective choice for the wine loving bride with bottles to spare, so I decided to spruce up the table numbers for such a centerpiece with some vinyl decals. They can be put on the bottles beforehand to designate your wedding tables and are a super easy project for your Cricut, literally load, cut, weed and stick.
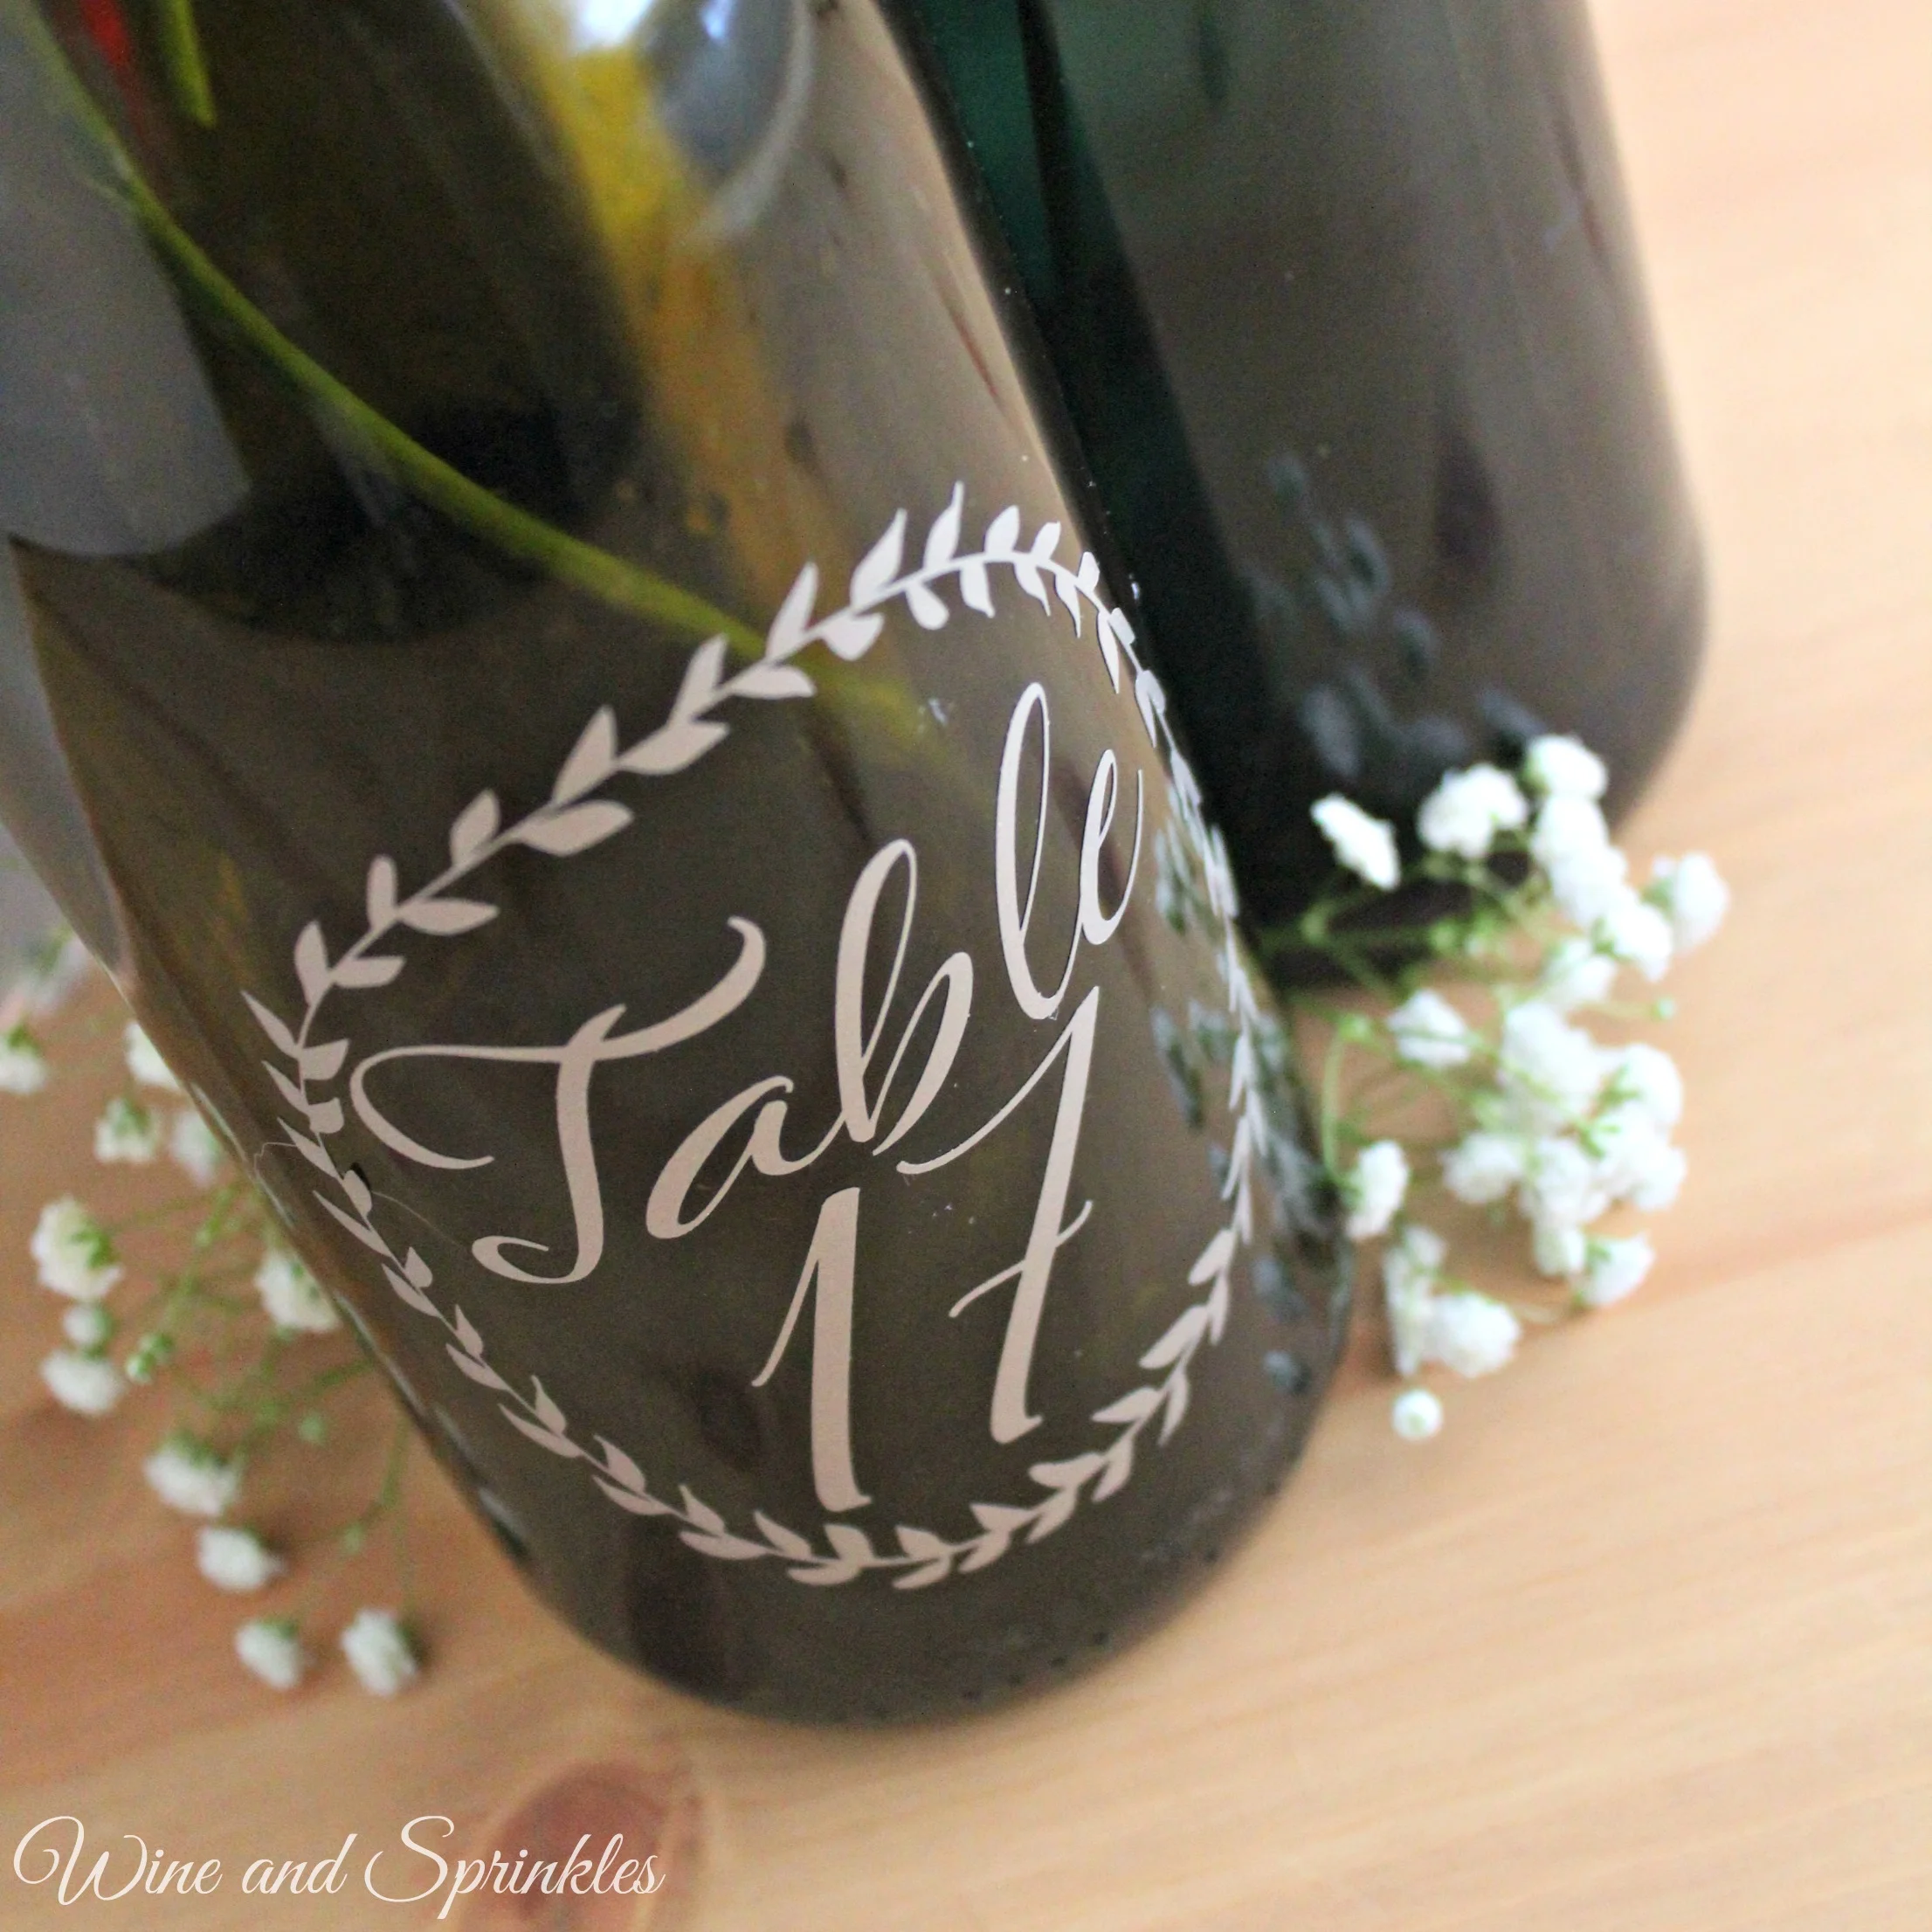
While I’ve made Wine Bottle Table numbers before, I couldn’t help thinking of some other design ideas over the last several months and so I decided to return to them and make a couple options so that you can better personalize your wine bottle centerpieces depending on your style. This first set is a fairly simply script set surrounded by a simple vine and leaf “wreath,” perfect for most wedding with natural elements.
You will notice in the cut file downloads that there are both full sheets for groups of the table numbers and individual table numbers. Both types of files will be the same size of table number when cut so you can use either interchangeably. It is worth noting that, since the circling vine is thin, sometimes weeding these designs require a little care and extra attention. I did not have to redo any, but in case you have a problem, you can easily upload the single table number file to replace any table number casualties.
Supplies:
Empty Wine Bottles
Permanent Adhesive Vinyl
Transfer Tape
Craft Cutter and Tool Set
Adhesive Mat
Table Number Design Cut Files
1. First, soak your wine bottles in hot, soapy water to remove the labels and adhesive. I found it easiest to soak them for about 5 minutes, remove what l could, then once the label was completely removed clean up the last bits of adhesive with steel wool. :)
2. After downloading the cut files, import them into the Cricut Software. After creating a new project, select Upload Image. Select the file you wish to upload and it will automatically take you to the final upload screen, where you can name the file the select Save.
3. Cut the design(s) in your choice of permanent adhesive vinyl with the Vinyl Setting on your Cricut. The SVG Files are sized so that they will automatically cut to the size you see in the photos, but if you want to change the size you can do so to fit the wine bottles the way you like.
4. Once the designs are cut, weed away the extra vinyl and cut a piece of transfer taper to 4" x 4.5". Cut away any excess backing and smooth transfer tape over the design, aligning it so that “Table” is aligned to the transfer tape grid 2” from the top of the transfer tape (4 blocks down if you are using the Cricut 1/2” transfer tape), as shown below. Using the smoother tool, smooth the tape to the vinyl, removing any air bubbles. The transfer tape should overlap the backing of the design, so that you can stick the tape to an object with the backing still on the design.
5. Now, transfer the design to your bottle. If you are comfortable centering the designs you can remove the tape from the backing and directly place the design on the wine bottle. If not, arrange the design to the bottle before removing the backing, sticking it with the overlapping transfer tape. I aligned mine without the backing by lining up the bottom of the transfer tape with the bottom of the bottle without much trouble, as shown in the photos below. Smooth design onto the bottle, removing any air bubbles.
6. Remove the transfer tape to leave the design on the wine bottle, then repeat the process for all your additional table numbers.
This is a project that is super easy to do months in advance and the bottles can be easily stored together and set up the day of your wedding. :) Pick your favorite bottles to make into table numbers then simply gather other bottles and candles around them for a pretty and cheap centerpiece!
Christmas Wine Bottle Labels
This post contains affiliate links, meaning that if you click on a link I will recieve a small comission. This costs you nothing extra and I only promote products I use and love! You can read our full disclosure here
Tis the Season for Christmas Themed Wine Bottles! I had fun dressing up these bottles to take to a Christmas Party, but you could also use them for inexpensive gifts for friends! (Depending on the wine of course).
Neato Wine Bottle Labels
Christmas Wine Printable
Wine of Choice (Of course I would recommend a white given the text :) )
1. Download the Printable and Print your labels.
2. Soak off the Label from your wine bottles with hot soapy water. Scrub any remaining residue off with a sponge and dry the outside of the bottles.
3. Place the square label where the old label used to be and you are done!
I love the idea of giving one of these for a white elephant, mystery white wine! Never hurts to dress up cheap wine in a pretty label. :)
Harry Potter Wine Labels
This post contains affiliate links, meaning that if you click on a link I will recieve a small comission. This costs you nothing extra and I only promote products I use and love! You can read our full disclosure here
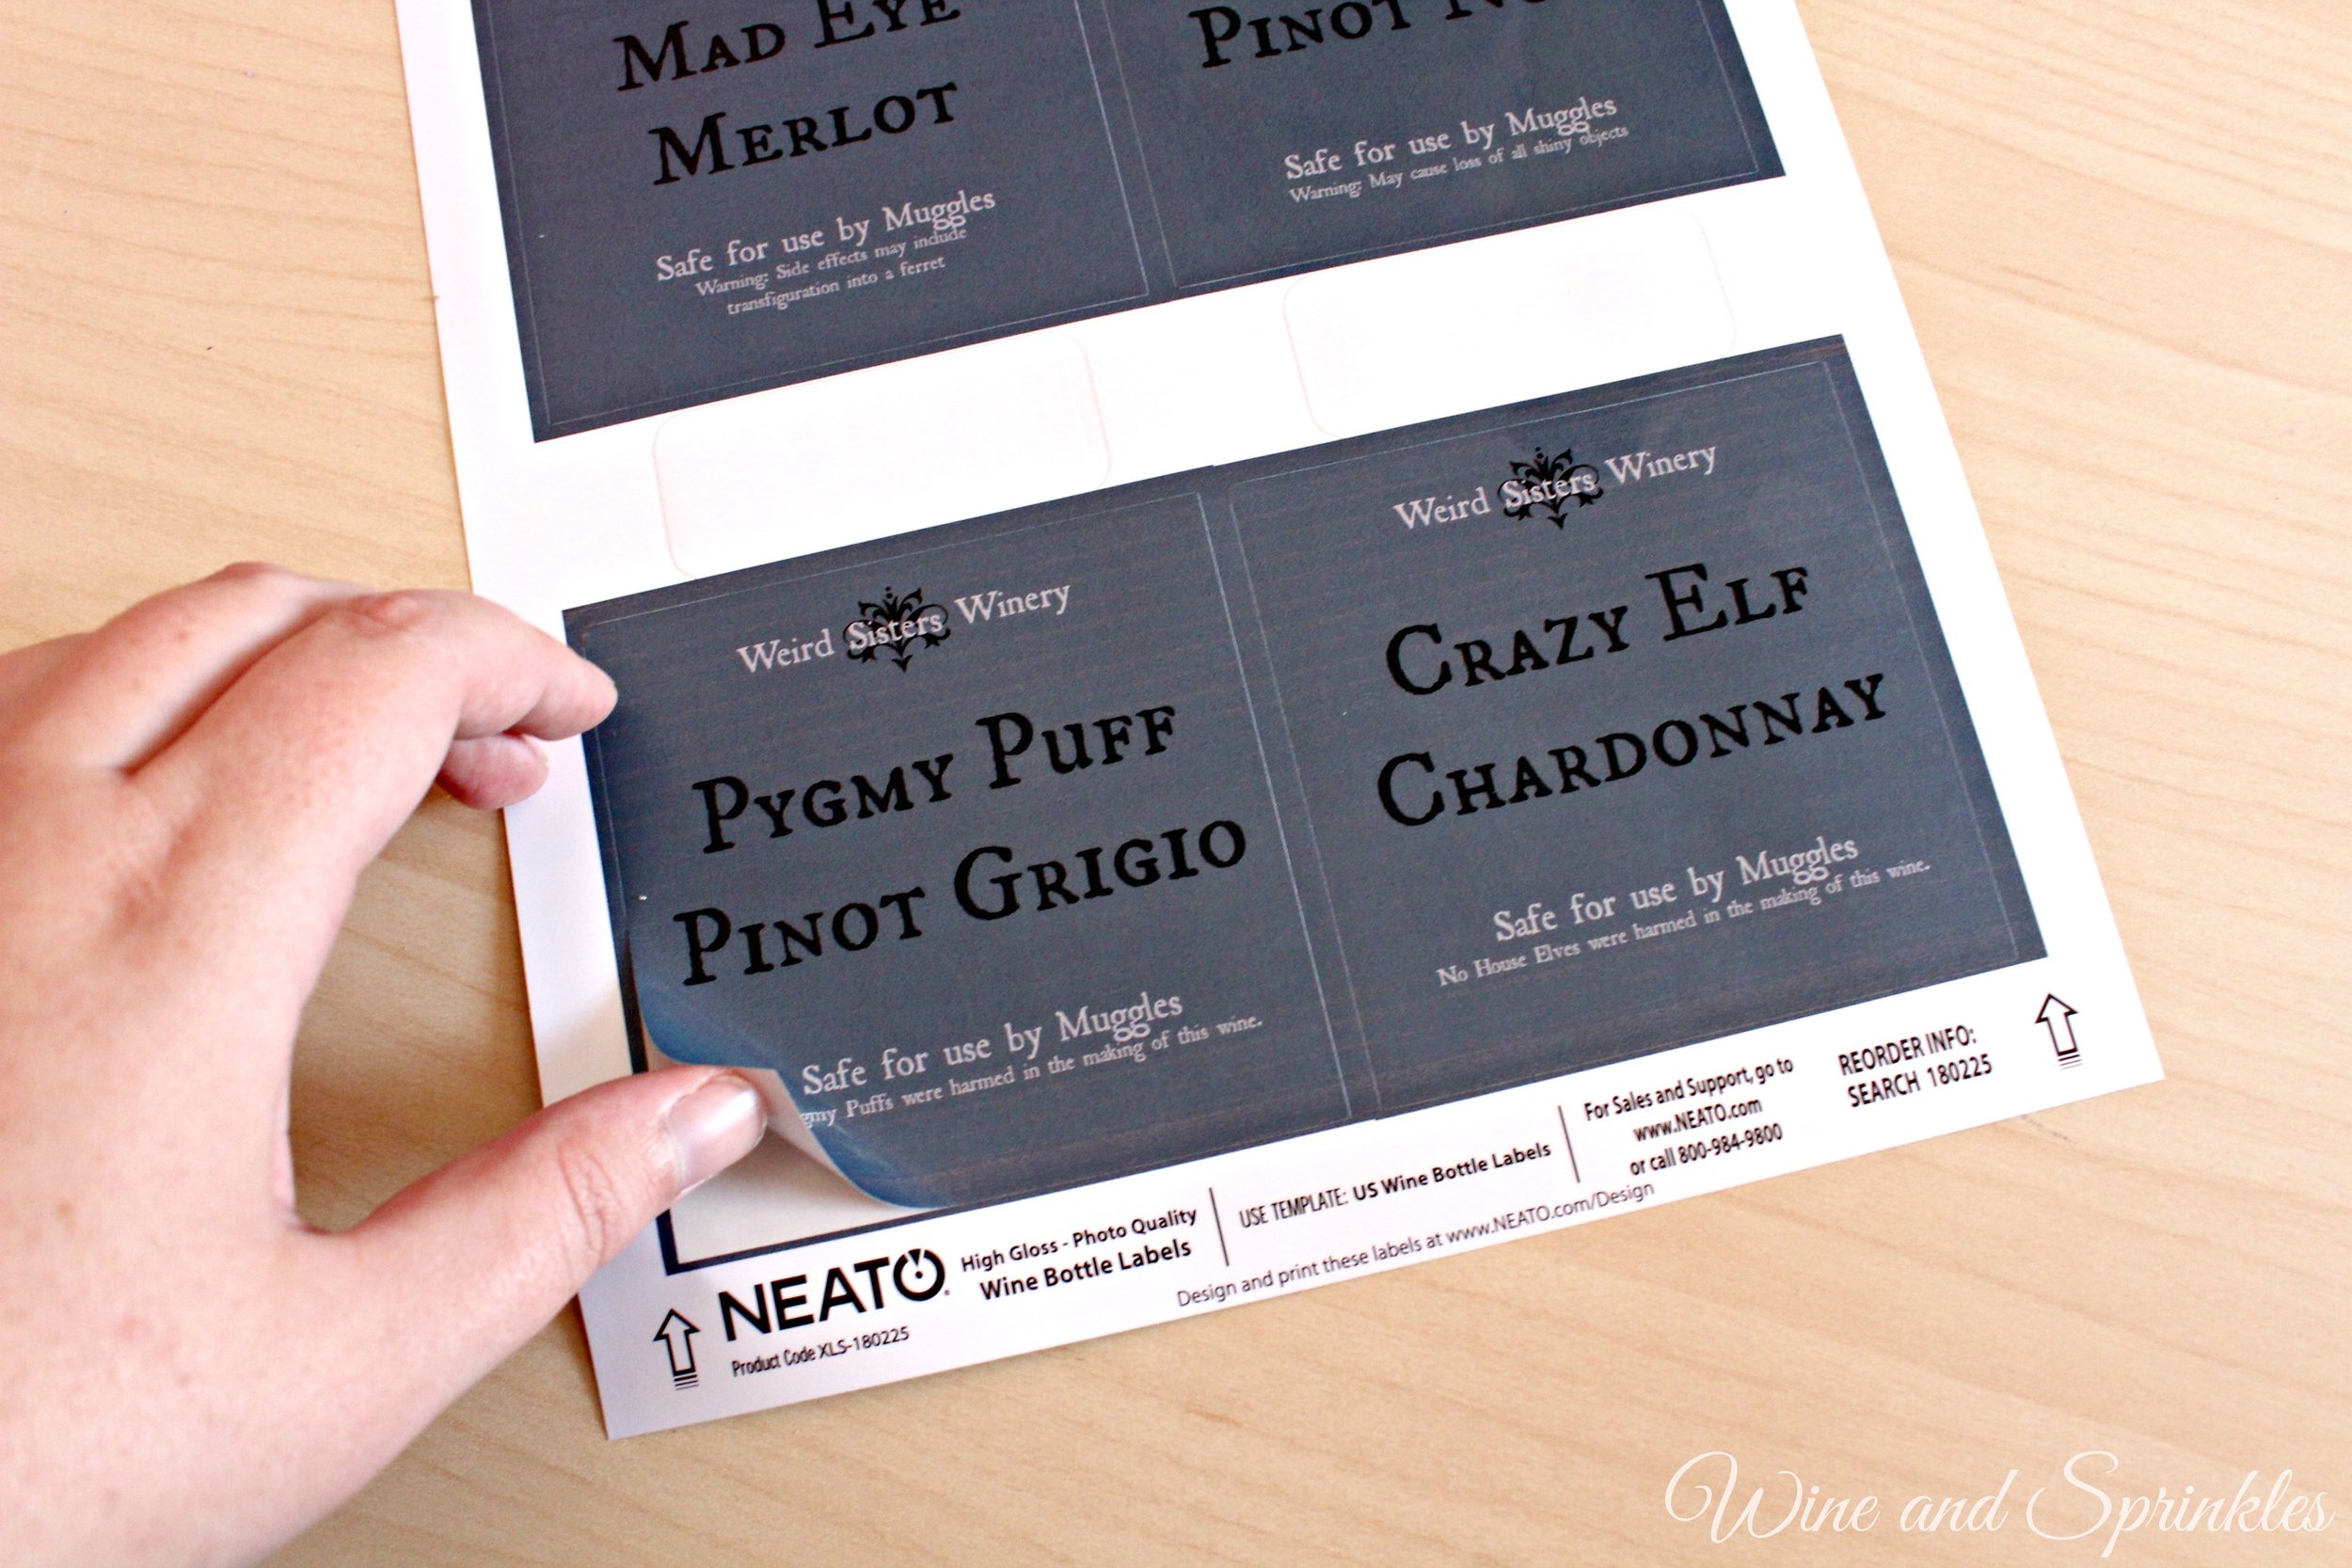
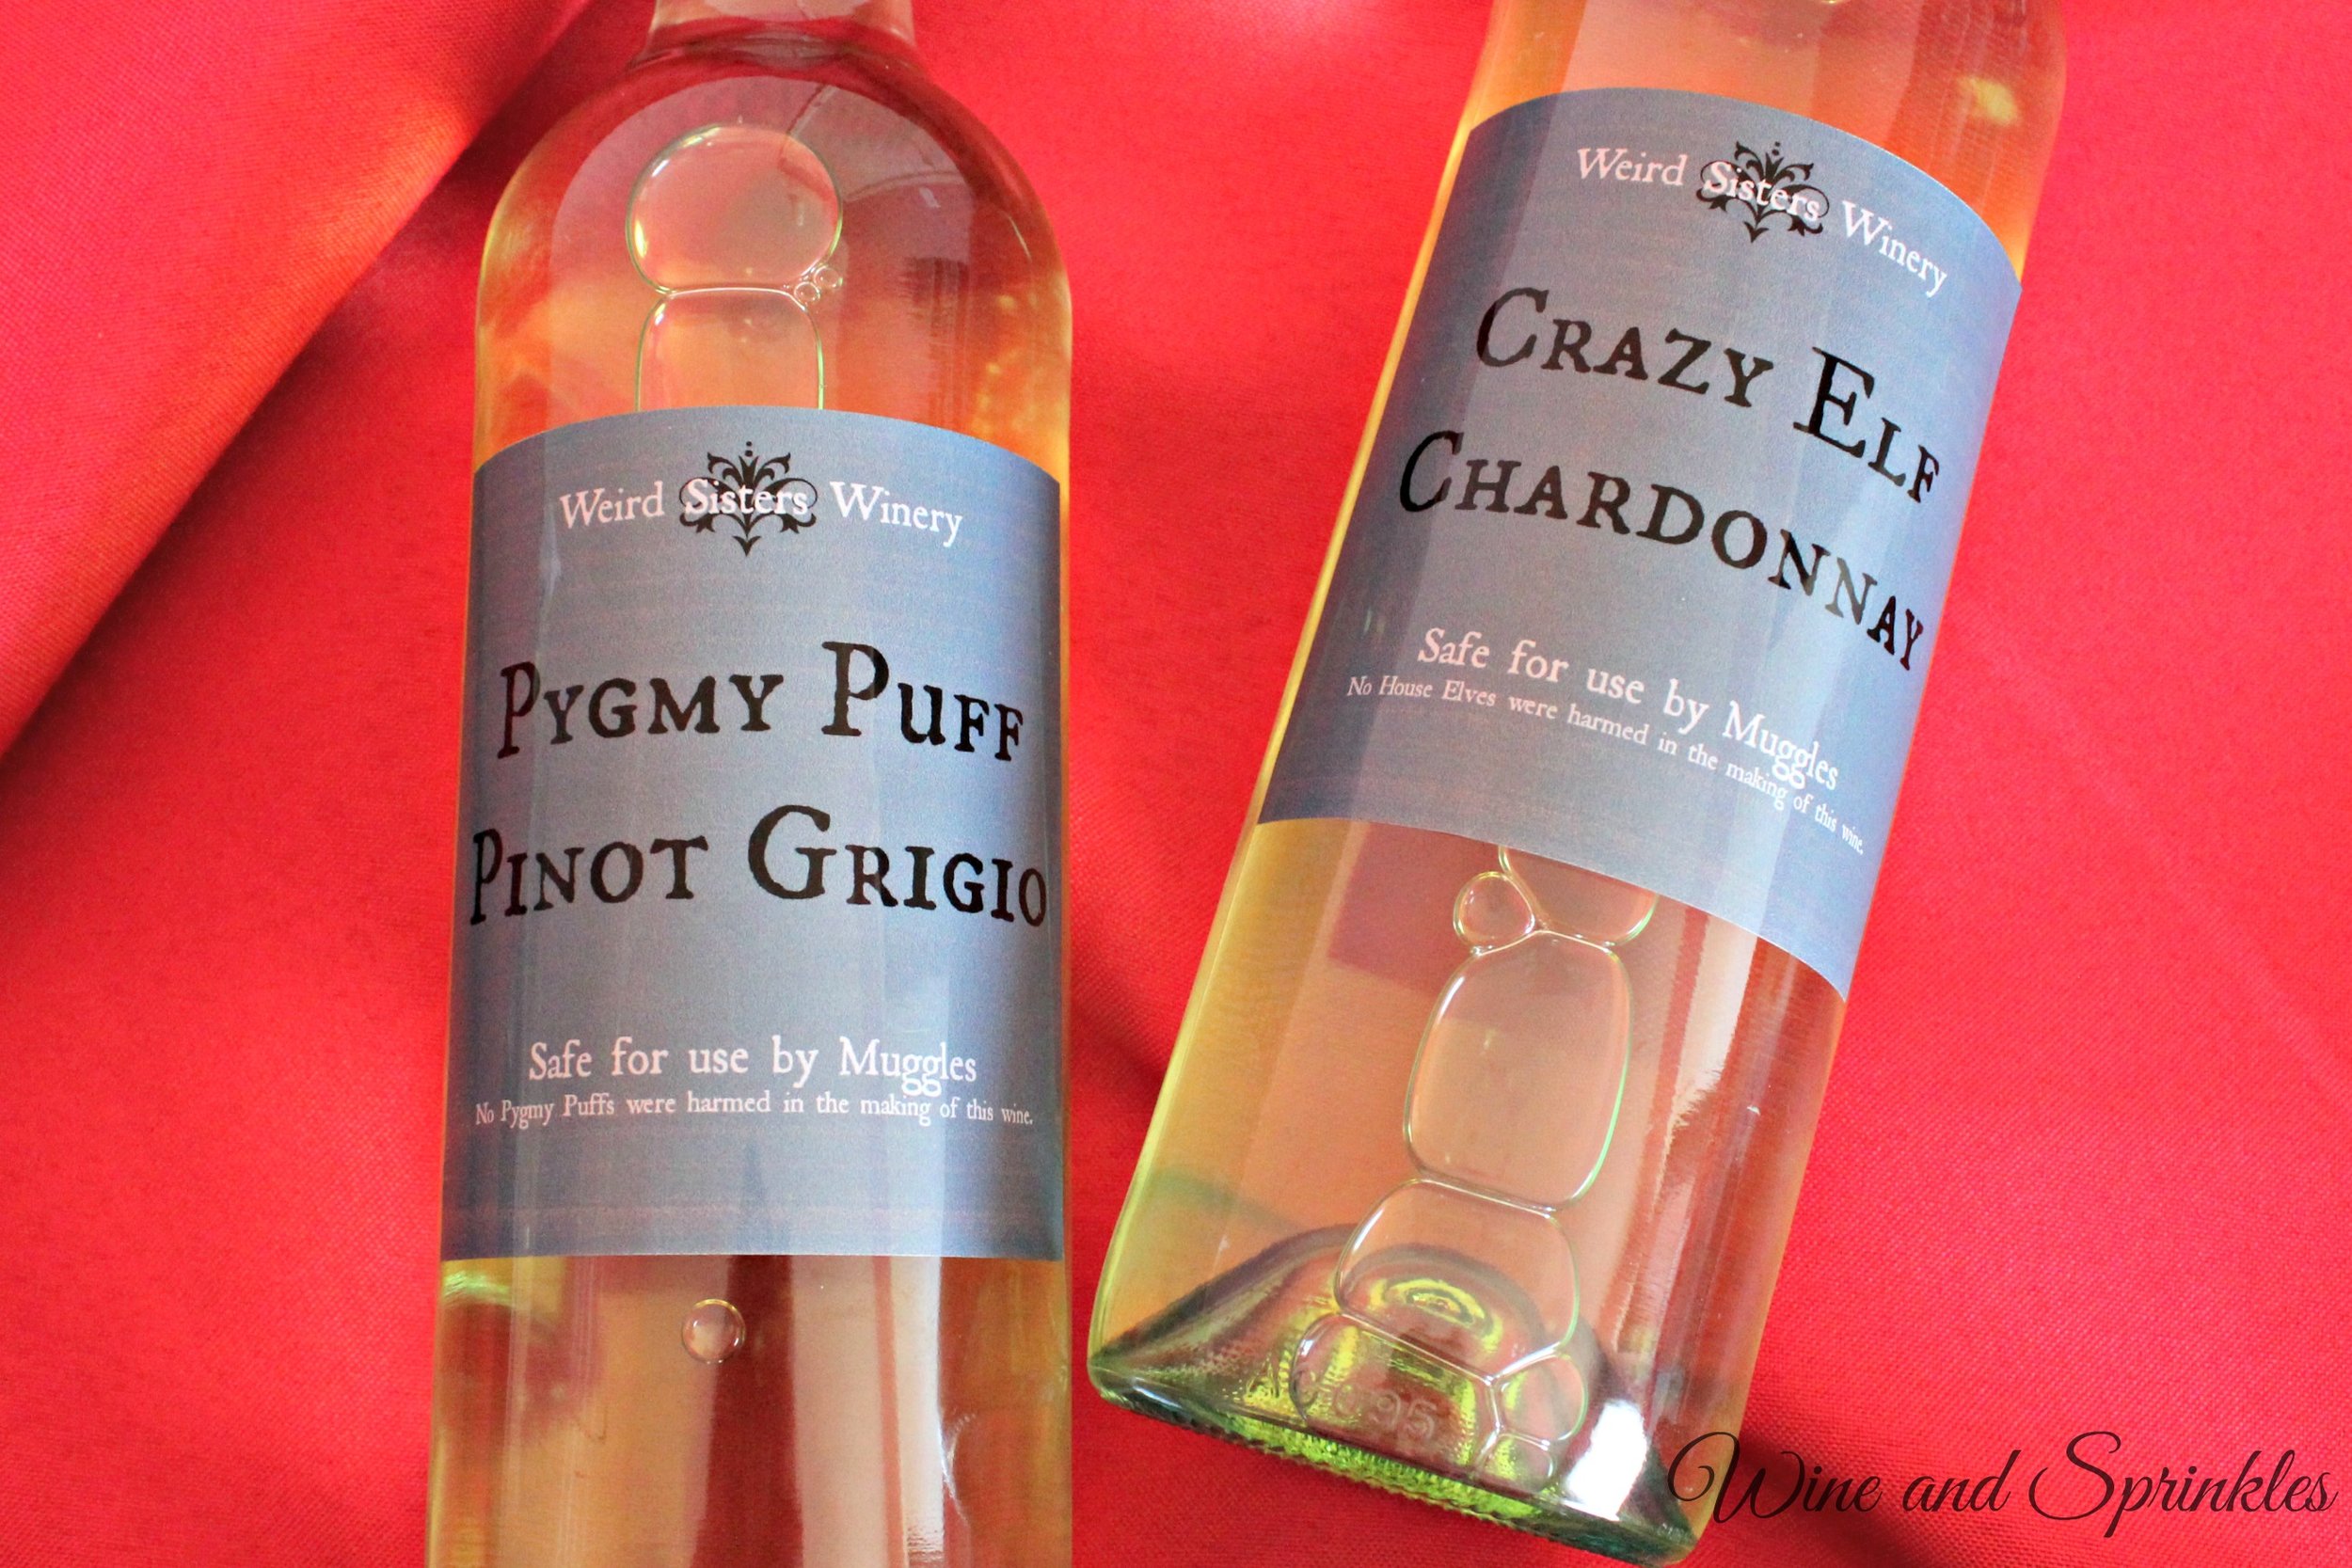
Harry Potter Wine Labels? What could be more fun for our Harry Potter Bachelorette Bash! When I was designing these, I had so much fun coming up with the names that I made one for four different types of wine! And just like the Bridesmaid Proposal Wine Bottles, these are as easy as peel, stick and done!
Supplies:
Neato Wine Bottle Labels
Harry Potter Wine Printable
Wine of Choice (Labels are for Pinot Grigio, Chardonnay, Merlot and Cabernet Sauvignon)
1. Download the Printable and Print your labels. I have made them specifically for Chardonnay, Pinot Grigio, Cabernet Sauvignon, and Merlot because those are my favorites! (Yes, four favorite types of wine is totally acceptable)
2. Soak off the Label from your wine bottles with hot soapy water. Scrub any remaining residue off with a sponge and dry the outside of the bottles.
3. Place the square label where the old label used to be and you are done!
This is a wonderful way to add some Halloween and Harry Potter fun to your wine and it really only costs as much as the wine and a set of labels. Want to design your own labels? The company that created these label sheets has an online design studio so you can always come up with a design all your own!
Wine Bottle Table Numbers
This post contains affiliate links, meaning that if you click on a link I will recieve a small comission. This costs you nothing extra and I only promote products I use and love! You can read our full disclosure here
Both of the weddings I crafted for last month have something in common, wine bottles! An established wedding trend for the DIY Bride is to use painted wine bottles in centerpieces and for other wedding décor. With that in mind, what easier way to make table numbers than to display them on one of the wine bottles!
Supplies:
Painted Wine Bottles
Adhesive Vinyl
Transfer Paper
Craft Cutter and Tool Set
Adhesive Mat
Table Numbers 1-6 Cut File
Table Numbers 7-12 Cut File
Table Numbers 13-18 Cut File
1. Import the Table Number Cut Files into the Cricut Design Software. Size the cut files to 11.5” high and cut out on the vinyl of your choice.
2. Weed any excess vinyl from design and cover with transfer paper, smoothing the transfer paper so that there are no air bubbles.
3. Once transfer paper is placed, cut out numbers so each Table number is its own rectangle.
4. Peel Transfer tape with design off of the vinyl backing and place onto the painted wine bottle. Press design onto bottle then remove the tape, leaving the vinyl table number on the bottle. Repeat for the rest of your bottles.
Making wine bottle table numbers is very easy with a craft cutter; in fact it’s basically cut it out and stick it on. I have designed a basic set of table numbers here but you could easily design your own and use the same steps to make customized table numbers!
Bridesmaid Proposal Wine Labels
This post contains affiliate links, meaning that if you click on a link I will recieve a small comission. This costs you nothing extra and I only promote products I use and love! You can read our full disclosure here
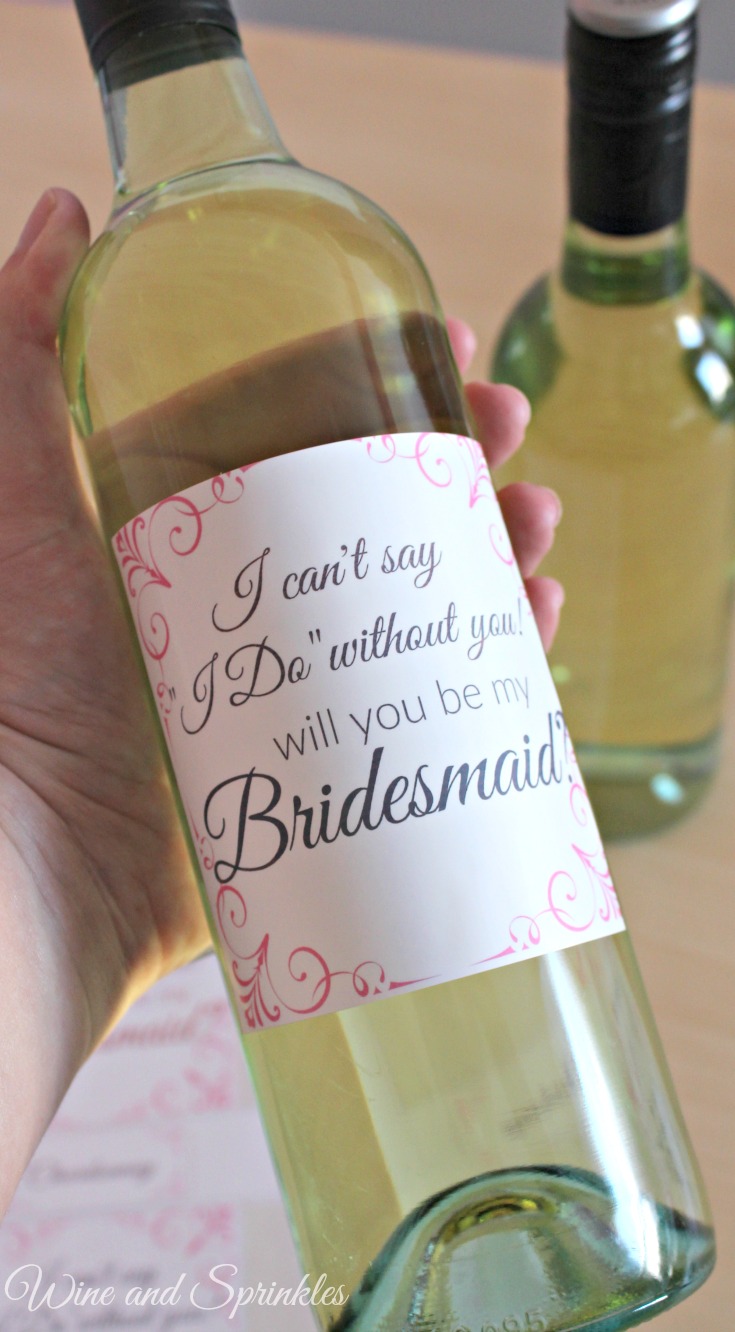
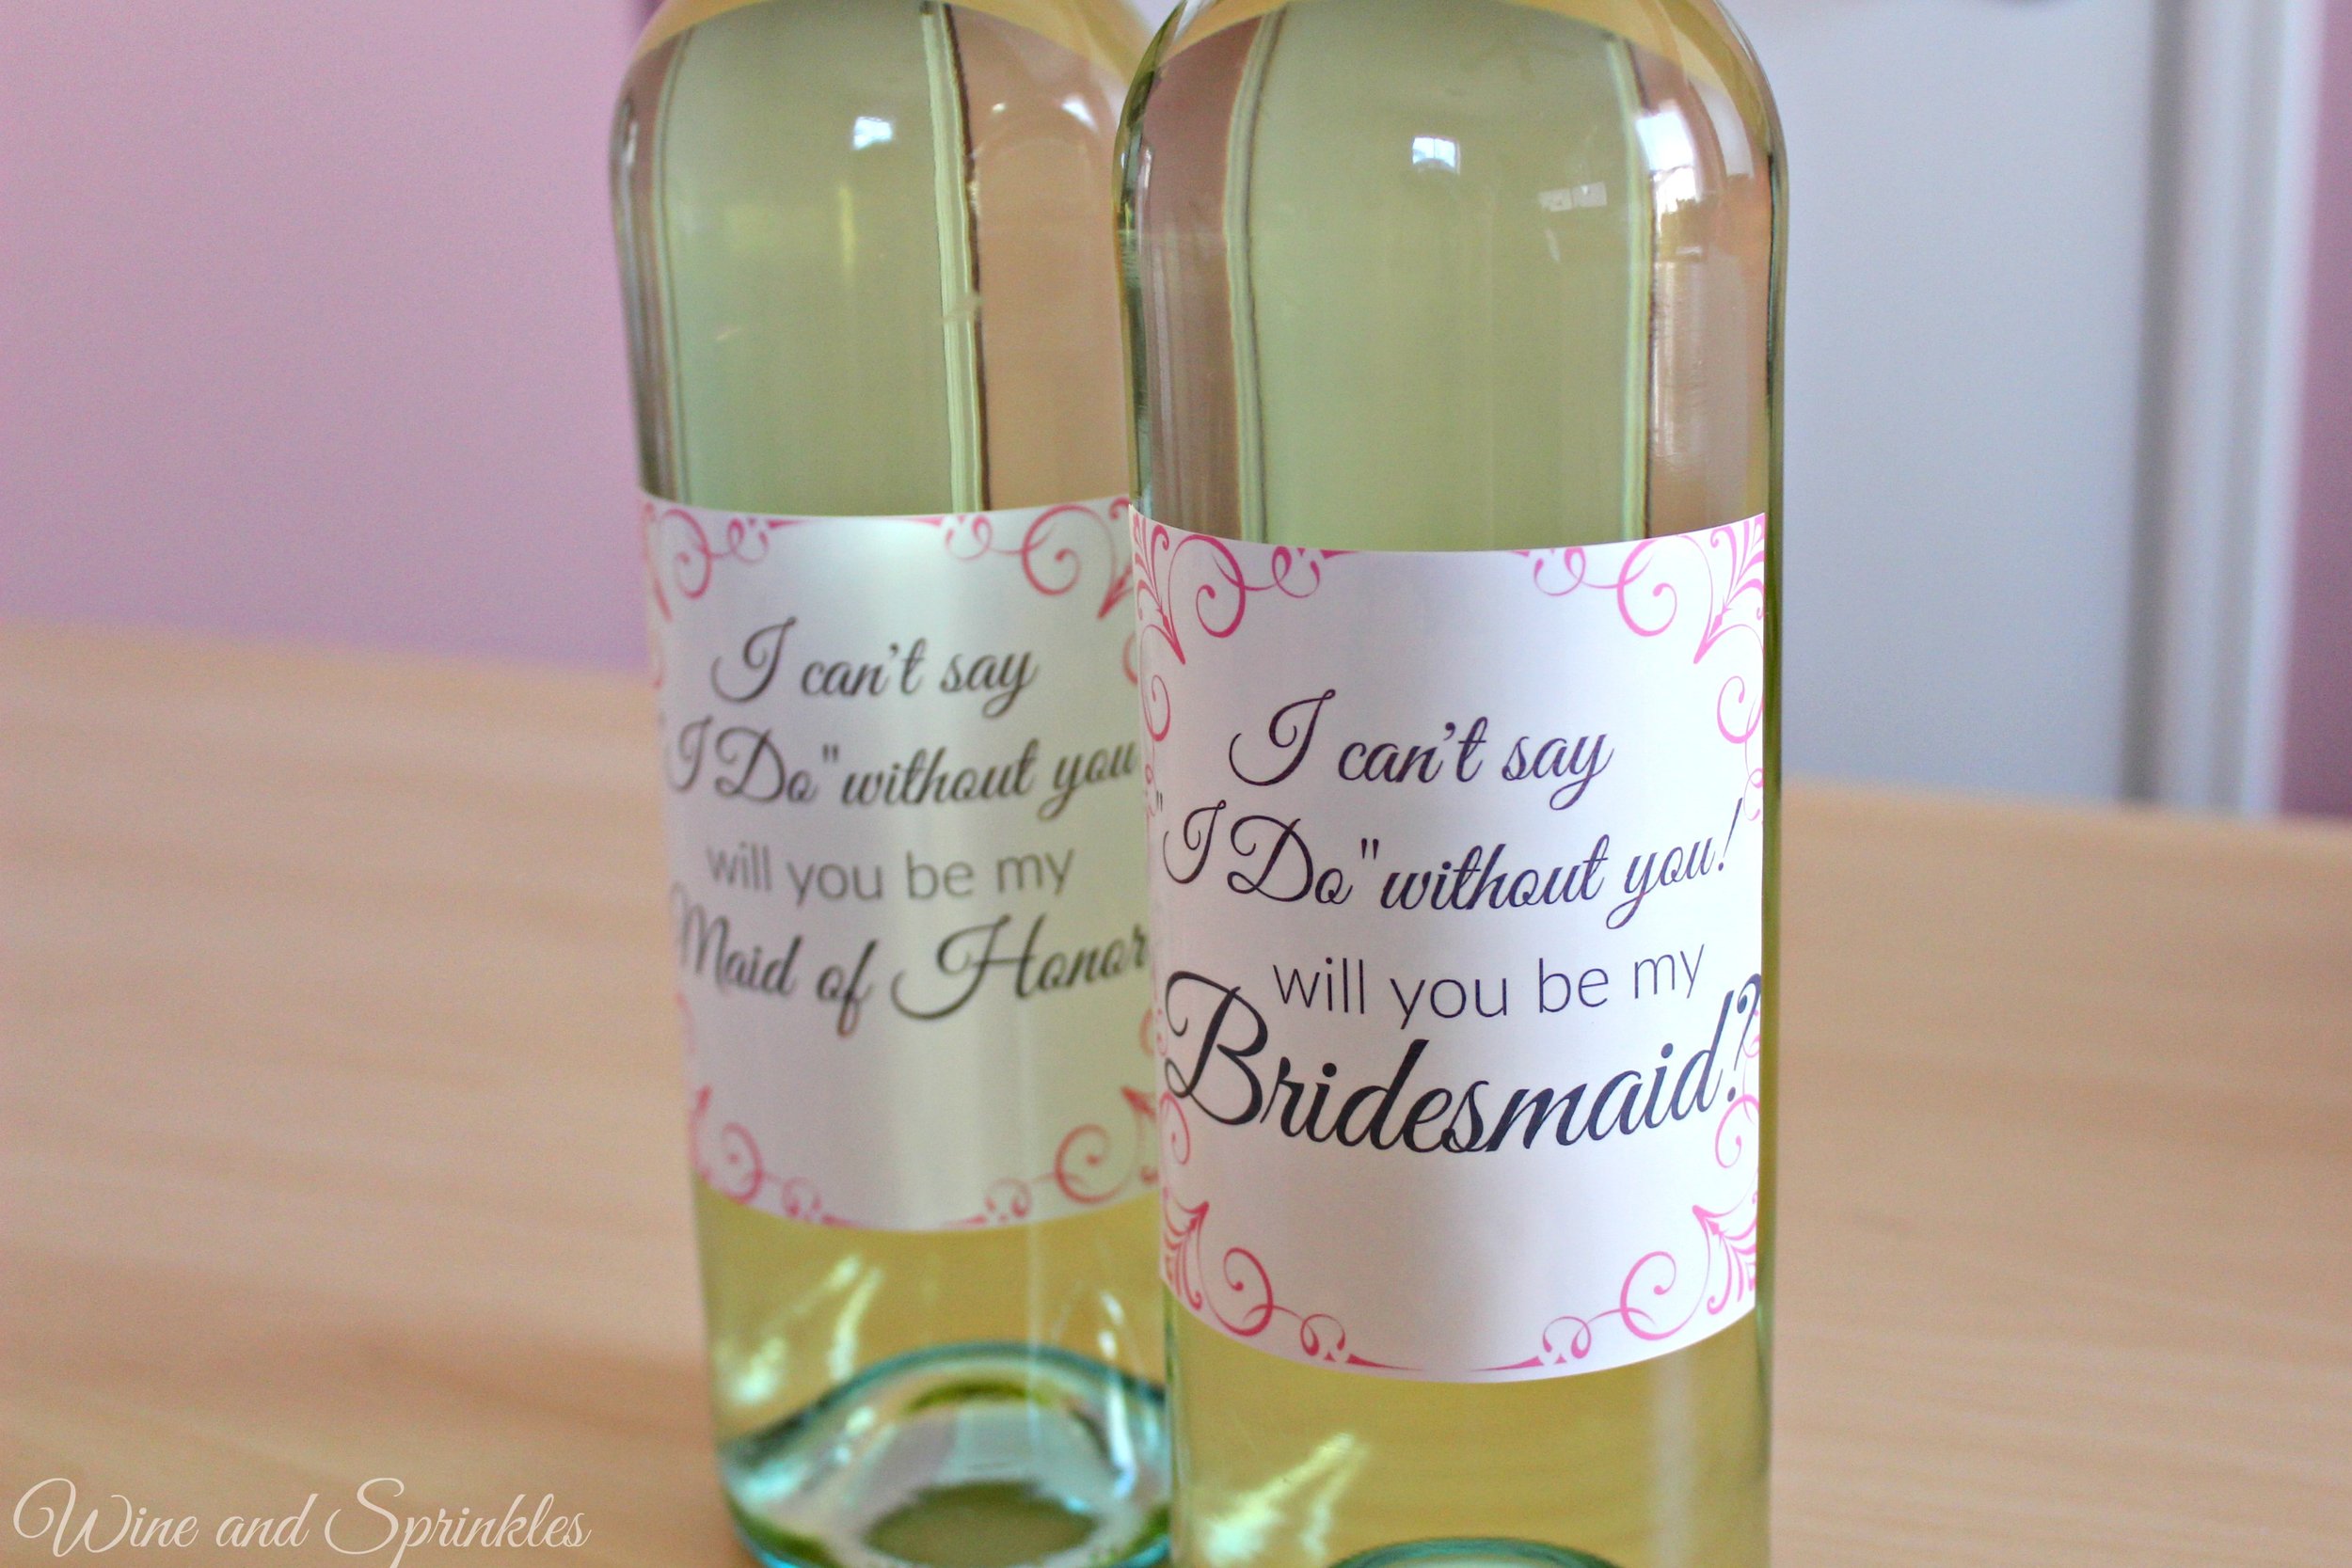
What Bridesmaids wouldn’t appreciate a bottle of wine to toast to the new wedding journey? I love the idea of giving a bottle of wine; it’s always appreciated and is not that expensive compared to the other bridesmaids invitation options out there. I must say I bought a bunch of swag for my maids to invite them, and while I don’t regret it in the least (they did A LOT of DIY) most people don’t want or need to drop a bunch of cash on their bridal party invitations.
Making these Bridal Party Invitations is very straightforward and turned out so cute! I would recommend wines in clear bottles for the labels to show to their best advantage, but you can use them on most any wine bottle you like!
Supplies:
Wine Bottle Labels
Wine Label Printable
Wine of Choice
1. Download the Printable and Print your labels. I have made them specifically for Chardonnay wine bottles but you can always use something else and not use the top strips. :)
2. Soak off the Label from your wine bottles with hot soapy water. Scrub any remaining residue off with a sponge and dry the outside of the bottles.
3. Peel off the label and affix it to your cleaned bottle. I found the edge of the bottle and used the vertical line to line up my label so it would be level.
4. If using the Chardonnay labels, wrap them around the top where the foil meets the bottle.
5. Optional: Glue on a few clear and pink gems to give your bottles some extra sparkle! I just used regualr tacky glue and some extra gems I had lying around from previous bachelorette parties. :)
This is a wonderful way to invite your maids and it really only costs as much as the wine and a set of labels. Want to design your own labels? The company that created these label sheets has an online design studio so you can always come up with a design all your own!

