If there’s a classic piece of drinkware that states you’re ready to party, it’s a flask! Flasks are always a fun addition for your Bachelorette party and a great way to safely seal, store, and enjoy your bachelorette drinks as you hit the town, and these I Do Crew Flasks are perfect for a large party where not everyone is in the bridal party itself.
Read MoreFlasks
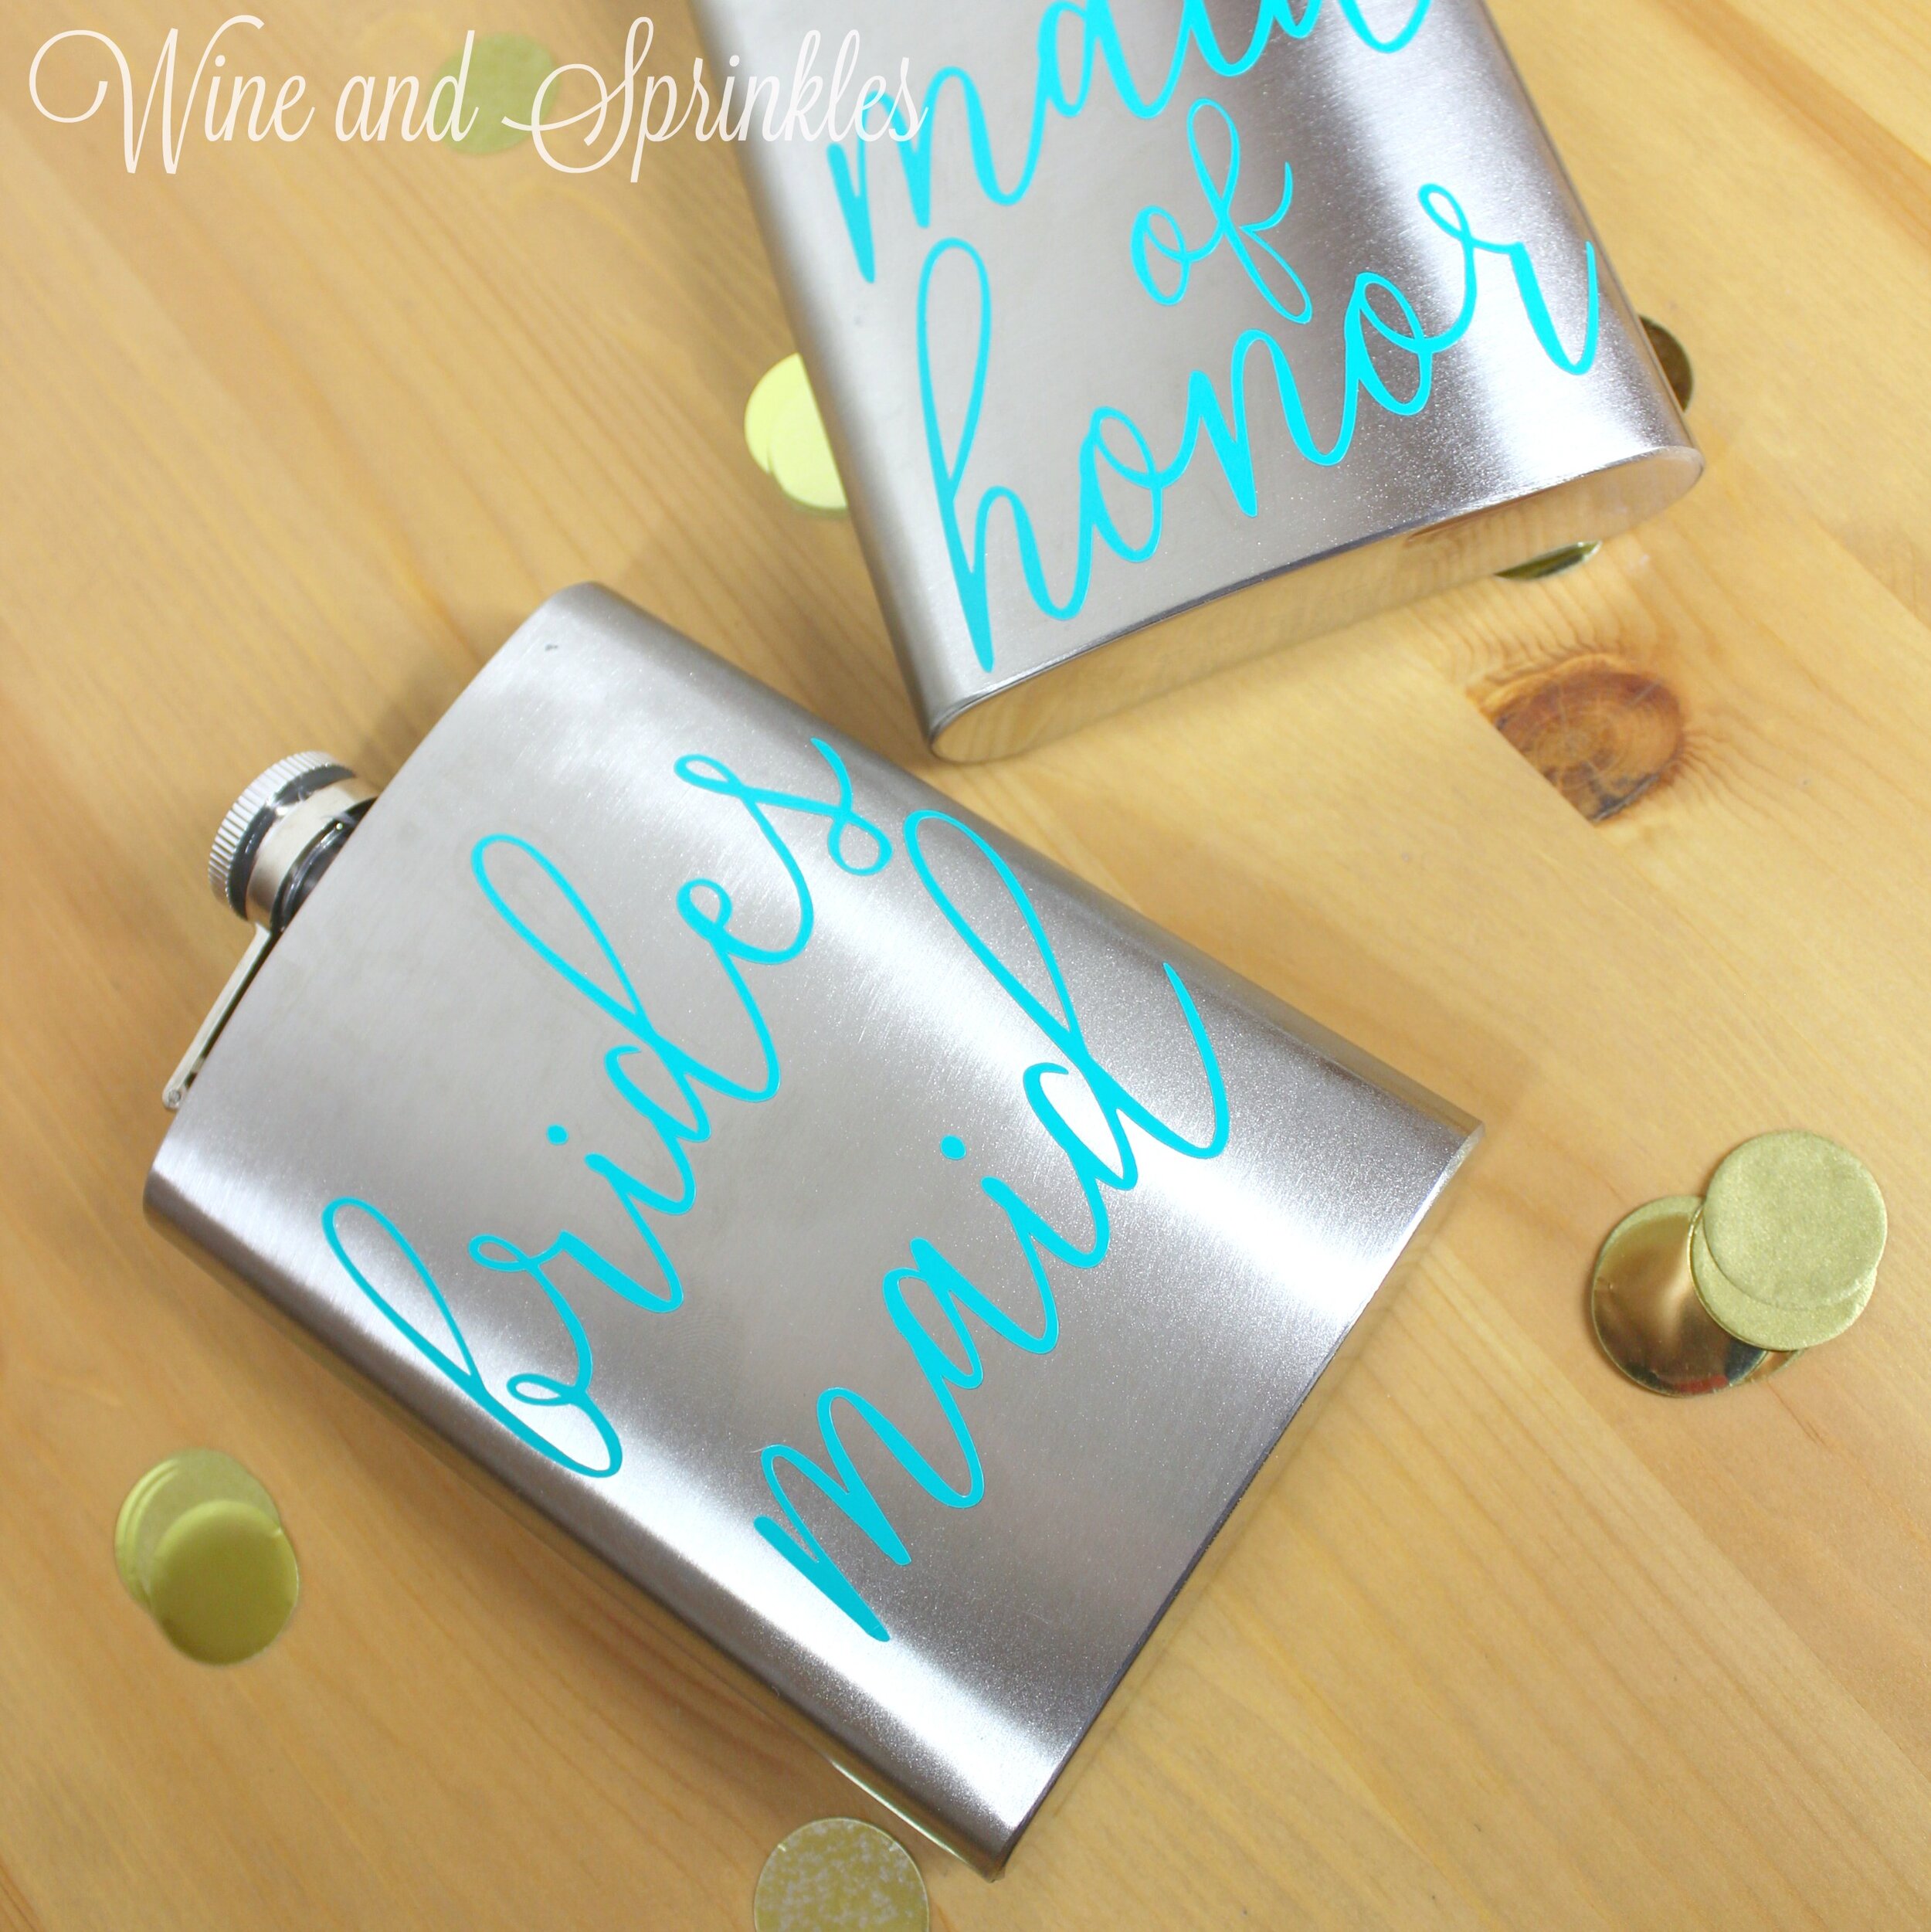
Romantic Font DIY Bridal Party Flasks
This post contains affiliate links, meaning that if you click on a link I will recieve a small comission. This costs you nothing extra and I only promote products I use and love! You can read our full disclosure here
While they are most commonly used for Bachelorette Party Favors, fun flasks like these are great gifts to give to your Bridesmaids as part of a Bridesmaid Proposal or Bridesmaid Gift too!
I made my decals in Oracal 651 Turquoise Permanent Adhesive Vinyl, and while its a pretty choice, I feel like darker colored vinyl (or a different colored flask) would make it even better! This is a great project to start with if you haven’t done much vinyl transfer, the slightly curved surface is still easy to transfer to and this girly delicate font is the perfect way to class up a standard flask!
For those of you that may want to create more personalized designs, I used the font Clarissa for the decals, which you can download for free at dafont.com.
Supplies:
Flasks
Permanent Adhesive Vinyl
Transfer Paper
Craft Cutter and Tool Set
Adhesive Mat
Flask Design Cut File
After downloading the cut files, import them into the Cricut Software. After creating a new project, select Upload Image. Select the file you wish to upload and it will automatically take you to the final upload screen, where you can name the file, then select Save.
Cut the design(s) in your choice of permanent adhesive vinyl with the Vinyl Setting on your Cricut. The SVG Files are sized so that they will automatically cut to the size you see in the photos.
3. Once the designs are cut, weed away the extra vinyl and cut a piece of transfer tape to 3.5" x 5". Cut away any excess backing from the vinyl design and smooth transfer tape over the design, aligning the decals as shown in the photos. The flasks are 3.5" x 4.5" so arrange the decals based on where you want it on the flask. Using the smoother tool, smooth the tape over the vinyl, removing any air bubbles.
4. Now, transfer the design to your flask. Remove the transfer tape from the vinyl backing, transferring the vinyl design to the transfer tape.
5. Align the design on the flask along the top edge of the flask . Smooth the design onto the flask, once again using the smoother to remove any air bubbles.
6. Remove the transfer tape to leave the design on the flask, then repeat the process for all the additional flasks.
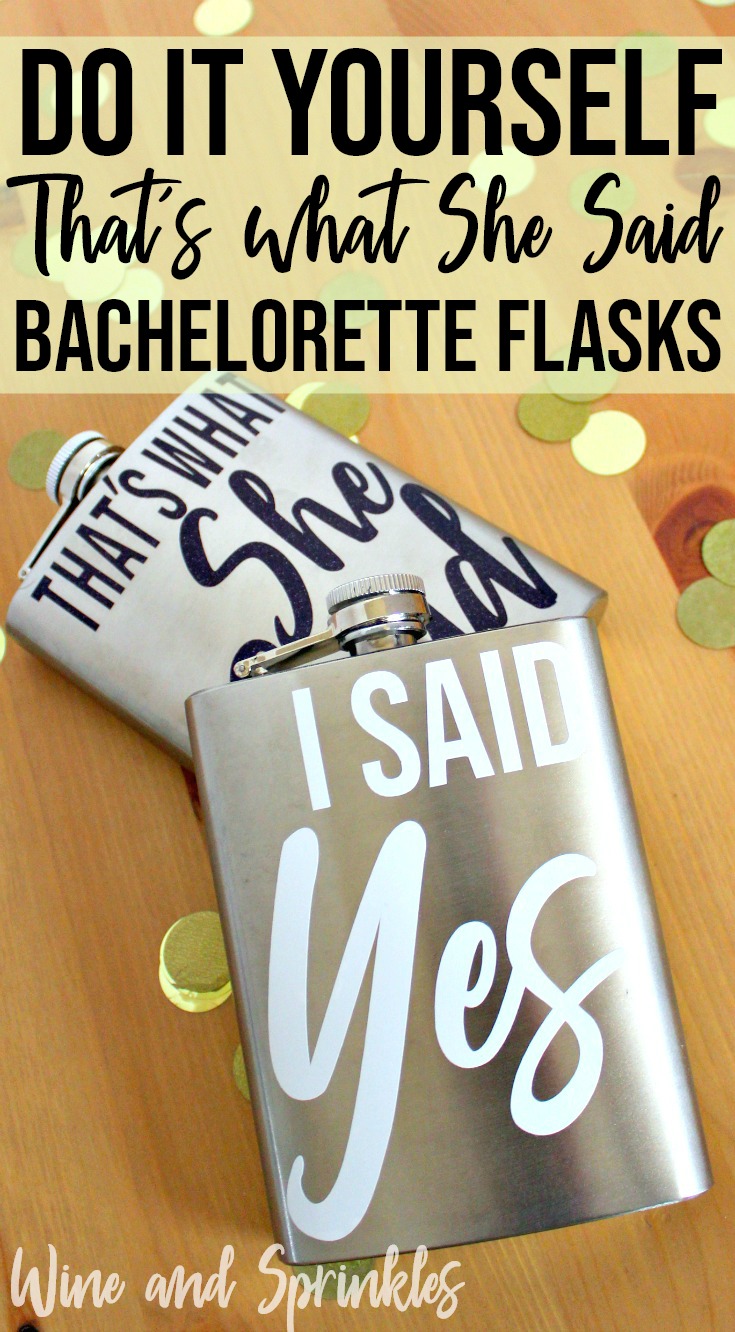
DIY That's What She Said Bachelorette Flasks
This post contains affiliate links, meaning that if you click on a link I will recieve a small comission. This costs you nothing extra and I only promote products I use and love! You can read our full disclosure here
Group Flasks are always a fun choice for a bachelorette party and these “That’s what she said” Flasks are no exception! I just had to add in a set with my favorite bachelorette saying!
For these I used Amethyst Glitter Permanant Vinyl for the group flasks and Oracal 651 White Vinyl for the Bridal Flask, but making them again I might make the Bridal Flask a Glitter vinyl as well. :)
See more of our Flask Projects Here!
Supplies:
Flasks
Permanent Adhesive Vinyl
Transfer Paper
Craft Cutter and Tool Set
Flask Design Cut File
1. After downloading the cut files, import them into the Cricut Software. After creating a new project, select Upload Image. Select the file you wish to upload and it will automatically take you to the final upload screen, where you can name the file the select Save.
2. Cut the design(s) in your choice of permanent adhesive vinyl with the Vinyl Setting on your Cricut. The SVG Files are sized so that they will automatically cut to the size you see in the photos.
3. Once the designs are cut, weed away the extra vinyl and cut a piece of transfer tape to 3.5" x 4". Cut away any excess backing from the vinyl design and smooth transfer tape over the design, aligning it along the top of the text with one of the 1/2” blocks just below the underside of the “t’s” of your text as show below. Using the smoother tool, smooth the tape to the vinyl, removing any air bubbles.
4. Now, transfer the design to your flask. Remove the transfer tape from the vinyl backing, transferring the vinyl design to the transfer tape.
5. Align the design on the flask along the bottom of the flask as shown above. Smooth the design onto the flask, once again using the smoother to remove any air bubbles.
6. Remove the transfer tape to leave the design on the flask, then repeat the process for all the additional flasks.
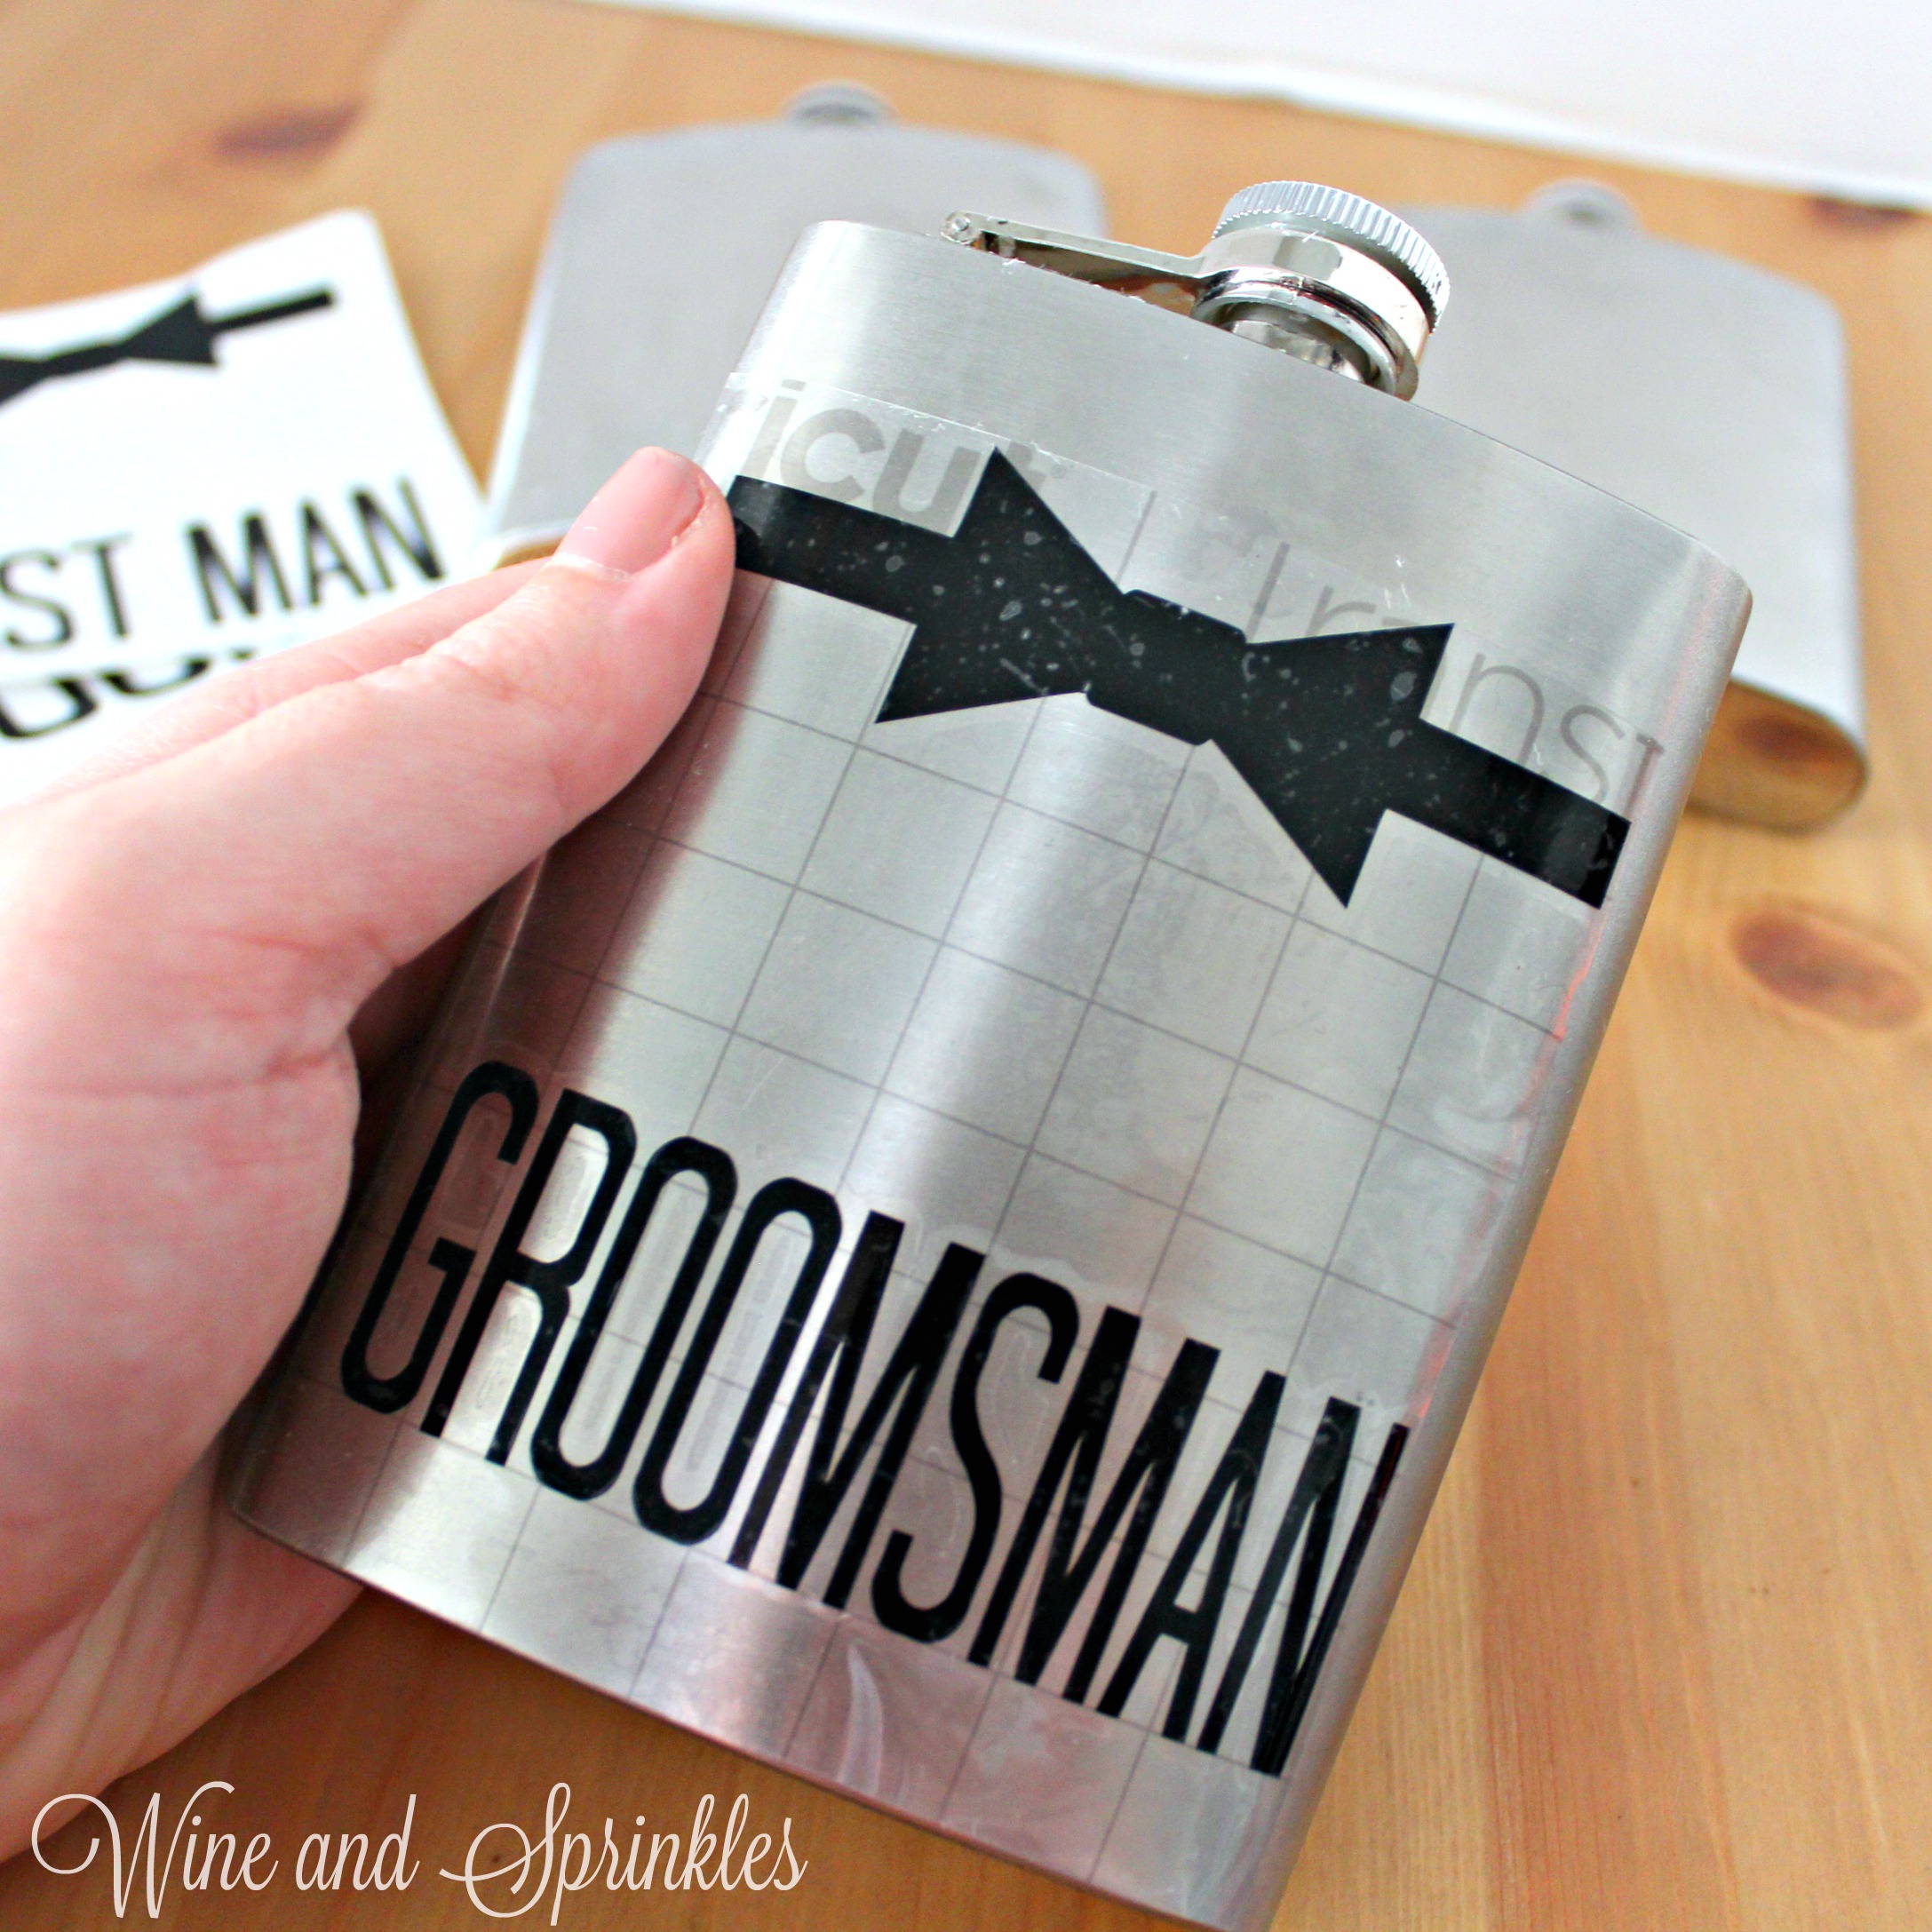
DIY Groomsman Bow Tie Flasks
This post contains affiliate links, meaning that if you click on a link I will recieve a small comission. This costs you nothing extra and I only promote products I use and love! You can read our full disclosure here
Its been a while since I made the charming gents in your wedding anything, so I decided to make another round of flasks! :) And what better way to dress up flasks than with dapper bow ties!
These simple bow tie flasks are a great gift or proposal for your groomsmen, best man, and groom and are perfect for helping your boys celebrate and toast to your wedding day! I found the easiest way to keep the lettering and bow ties constant among all the flasks was to align it from the bottom and use the transfer tape as a constant spacer, as you will see below. :)
See more of our Flask Projects Here!
Supplies:
Flasks
Permanent Adhesive Vinyl
Transfer Paper
Craft Cutter and Tool Set
Adhesive Mat
Flask Design Cut File
1. After downloading the cut files, import them into the Cricut Software. After creating a new project, select Upload Image. Select the file you wish to upload and it will automatically take you to the final upload screen, where you can name the file the select Save.
2. Cut the design(s) in your choice of permanent adhesive vinyl with the Vinyl Setting on your Cricut. The SVG Files are sized so that they will automatically cut to the size you see in the photos.
3. Once the designs are cut, weed away the extra vinyl and cut a piece of transfer tape to 3.5" x 4". Cut away any excess backing from the vinyl design and smooth transfer tape over the design, aligning it along the bottom of the text with one of the 1/2” blocks below the text as show below. Using the smoother tool, smooth the tape to the vinyl, removing any air bubbles.
4. Now, transfer the design to your flask. Remove the transfer tape from the vinyl backing, transferring the vinyl design to the transfer tape.
5. Align the design on the flask from the bottom of the flask by centering the middle of the bow tie to the lid of the flask and aligning the transfer tape along the bottom, as shown below. Smooth the design onto the flask, once again using the smoother to remove any air bubbles.
6. Remove the transfer taper to leave the design on the flask, then repeat the process for all the additional flasks.
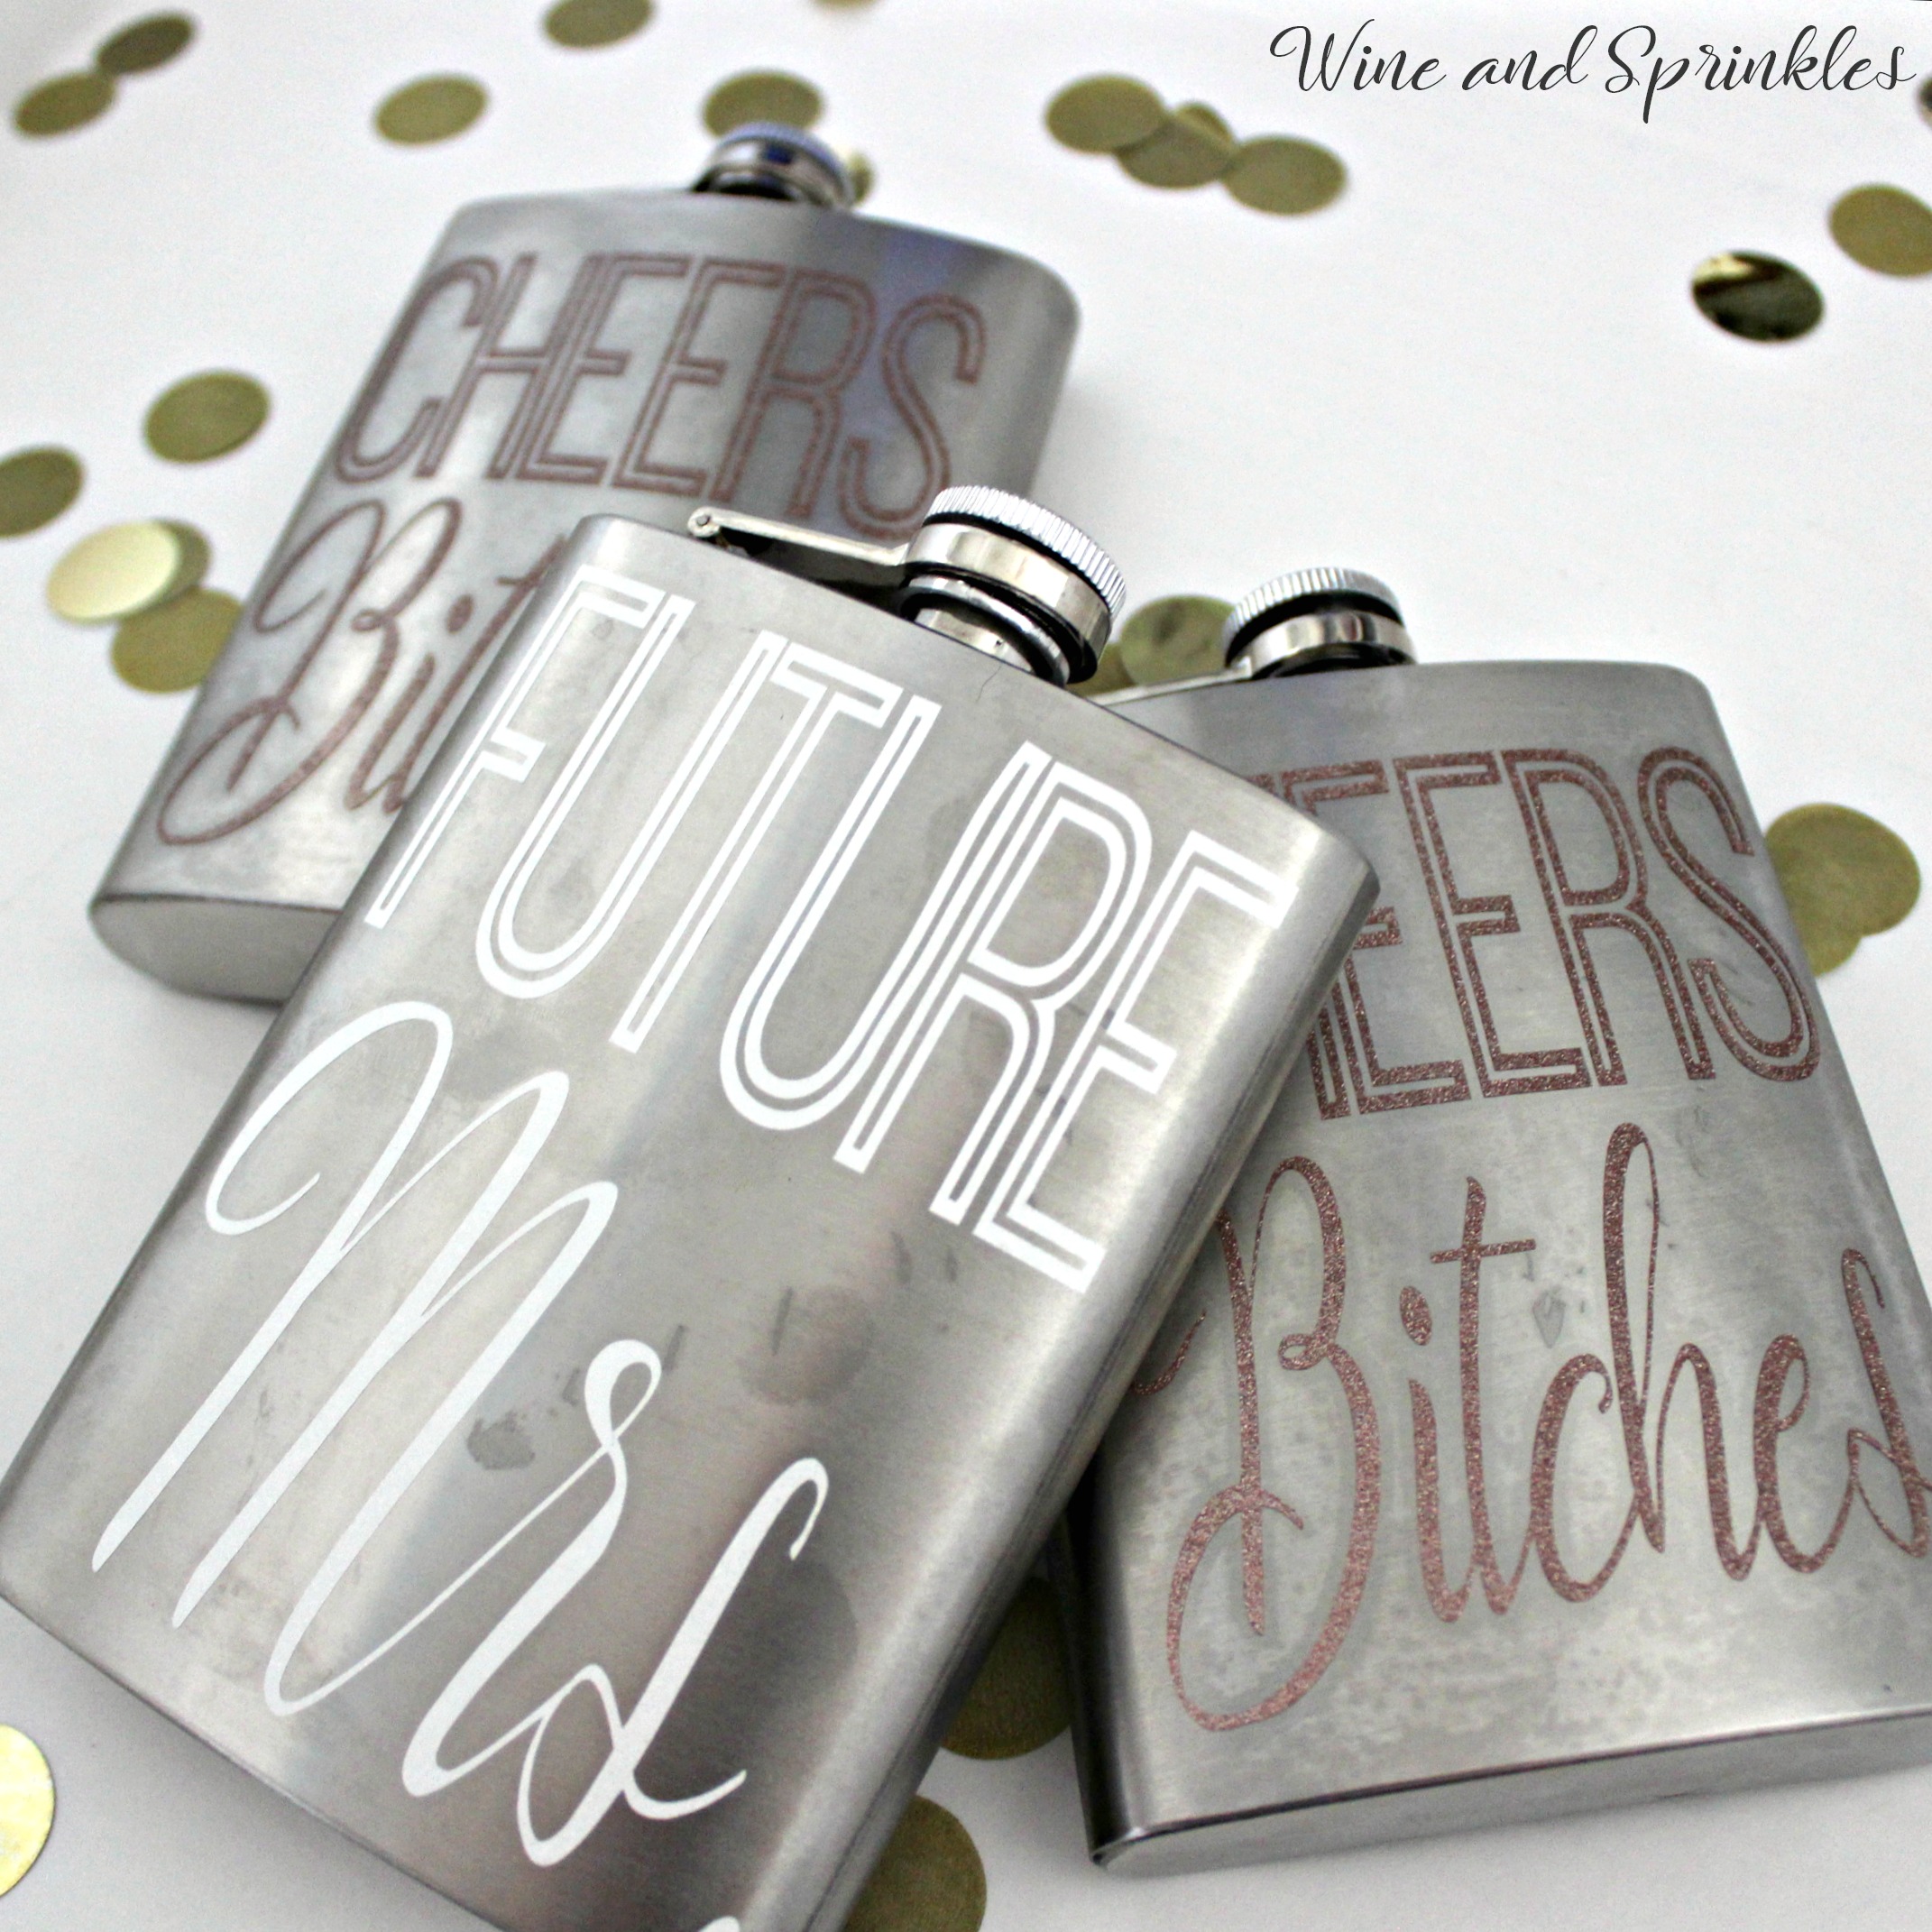
Future Mrs. Bachelorette Flasks
This post contains affiliate links, meaning that if you click on a link I will recieve a small comission. This costs you nothing extra and I only promote products I use and love! You can read our full disclosure here
More Bachelorette party flasks are here! :) I had so much fun when I first started designing different flasks, I ended up with a whole bunch of different designs that I’ll be publishing every few weeks and will be continuing to design more so there are oodles of options!
For these flasks, weeding is what you need to be careful of as both types of text are more delicate than some of the bolder fonts, but the results are well worth it! Just be patient and you shouldn’t have any difficulties. :)
Supplies:
Flasks
Permanent Adhesive Vinyl
Transfer Paper
Craft Cutter and Tool Set
Adhesive Mat
Flask Design Cut File
1. After downloading the cut files, import them into the Cricut Software. After creating a new project, select Upload Image. Select the file you wish to upload and it will automatically take you to the final upload screen, where you can name the file the select Save.
2. Cut the design(s) in your choice of permanent adhesive vinyl with the Vinyl Setting on your Cricut. The SVG Files are sized so that they will automatically cut to the size you see in the photos, but if you want to change the size you can do so by BLAH
3. Once the designs are cut, weed away the extra vinyl and cut a piece of transfer taper to 3.5" x 5". Cut away any excess backing from the vinyl design and smooth transfer tape over the design, aligning it to the top of the text (i.e. the “Cheers” or “Future”) with 1 -1/2” block above the text, as shown below. Using the smoother tool, smooth the tape to the vinyl, removing any air bubbles. The transfer tape should overlap the backing of the design, so that you can stick the tape to an object with the backing still on the design.
4. Now, transfer the design to your flask. If you are comfortable centering the designs you can remove the tape from the backing and directly place the design on the flask. If not, arrange the design to be centered on the flask before removing the backing, sticking it with the overlapping transfer tape.
5. Once your design is placed to your satisfaction, carefully peel the tape off the backing, transferring the vinyl to the transfer tape while not unsticking it from the flask. Remove the backing then smooth the design onto the flask, once again using the smoother to remove any air bubbles.
6. Remove the transfer tape to leave the design on the flask, then repeat the process for all the additional flasks.
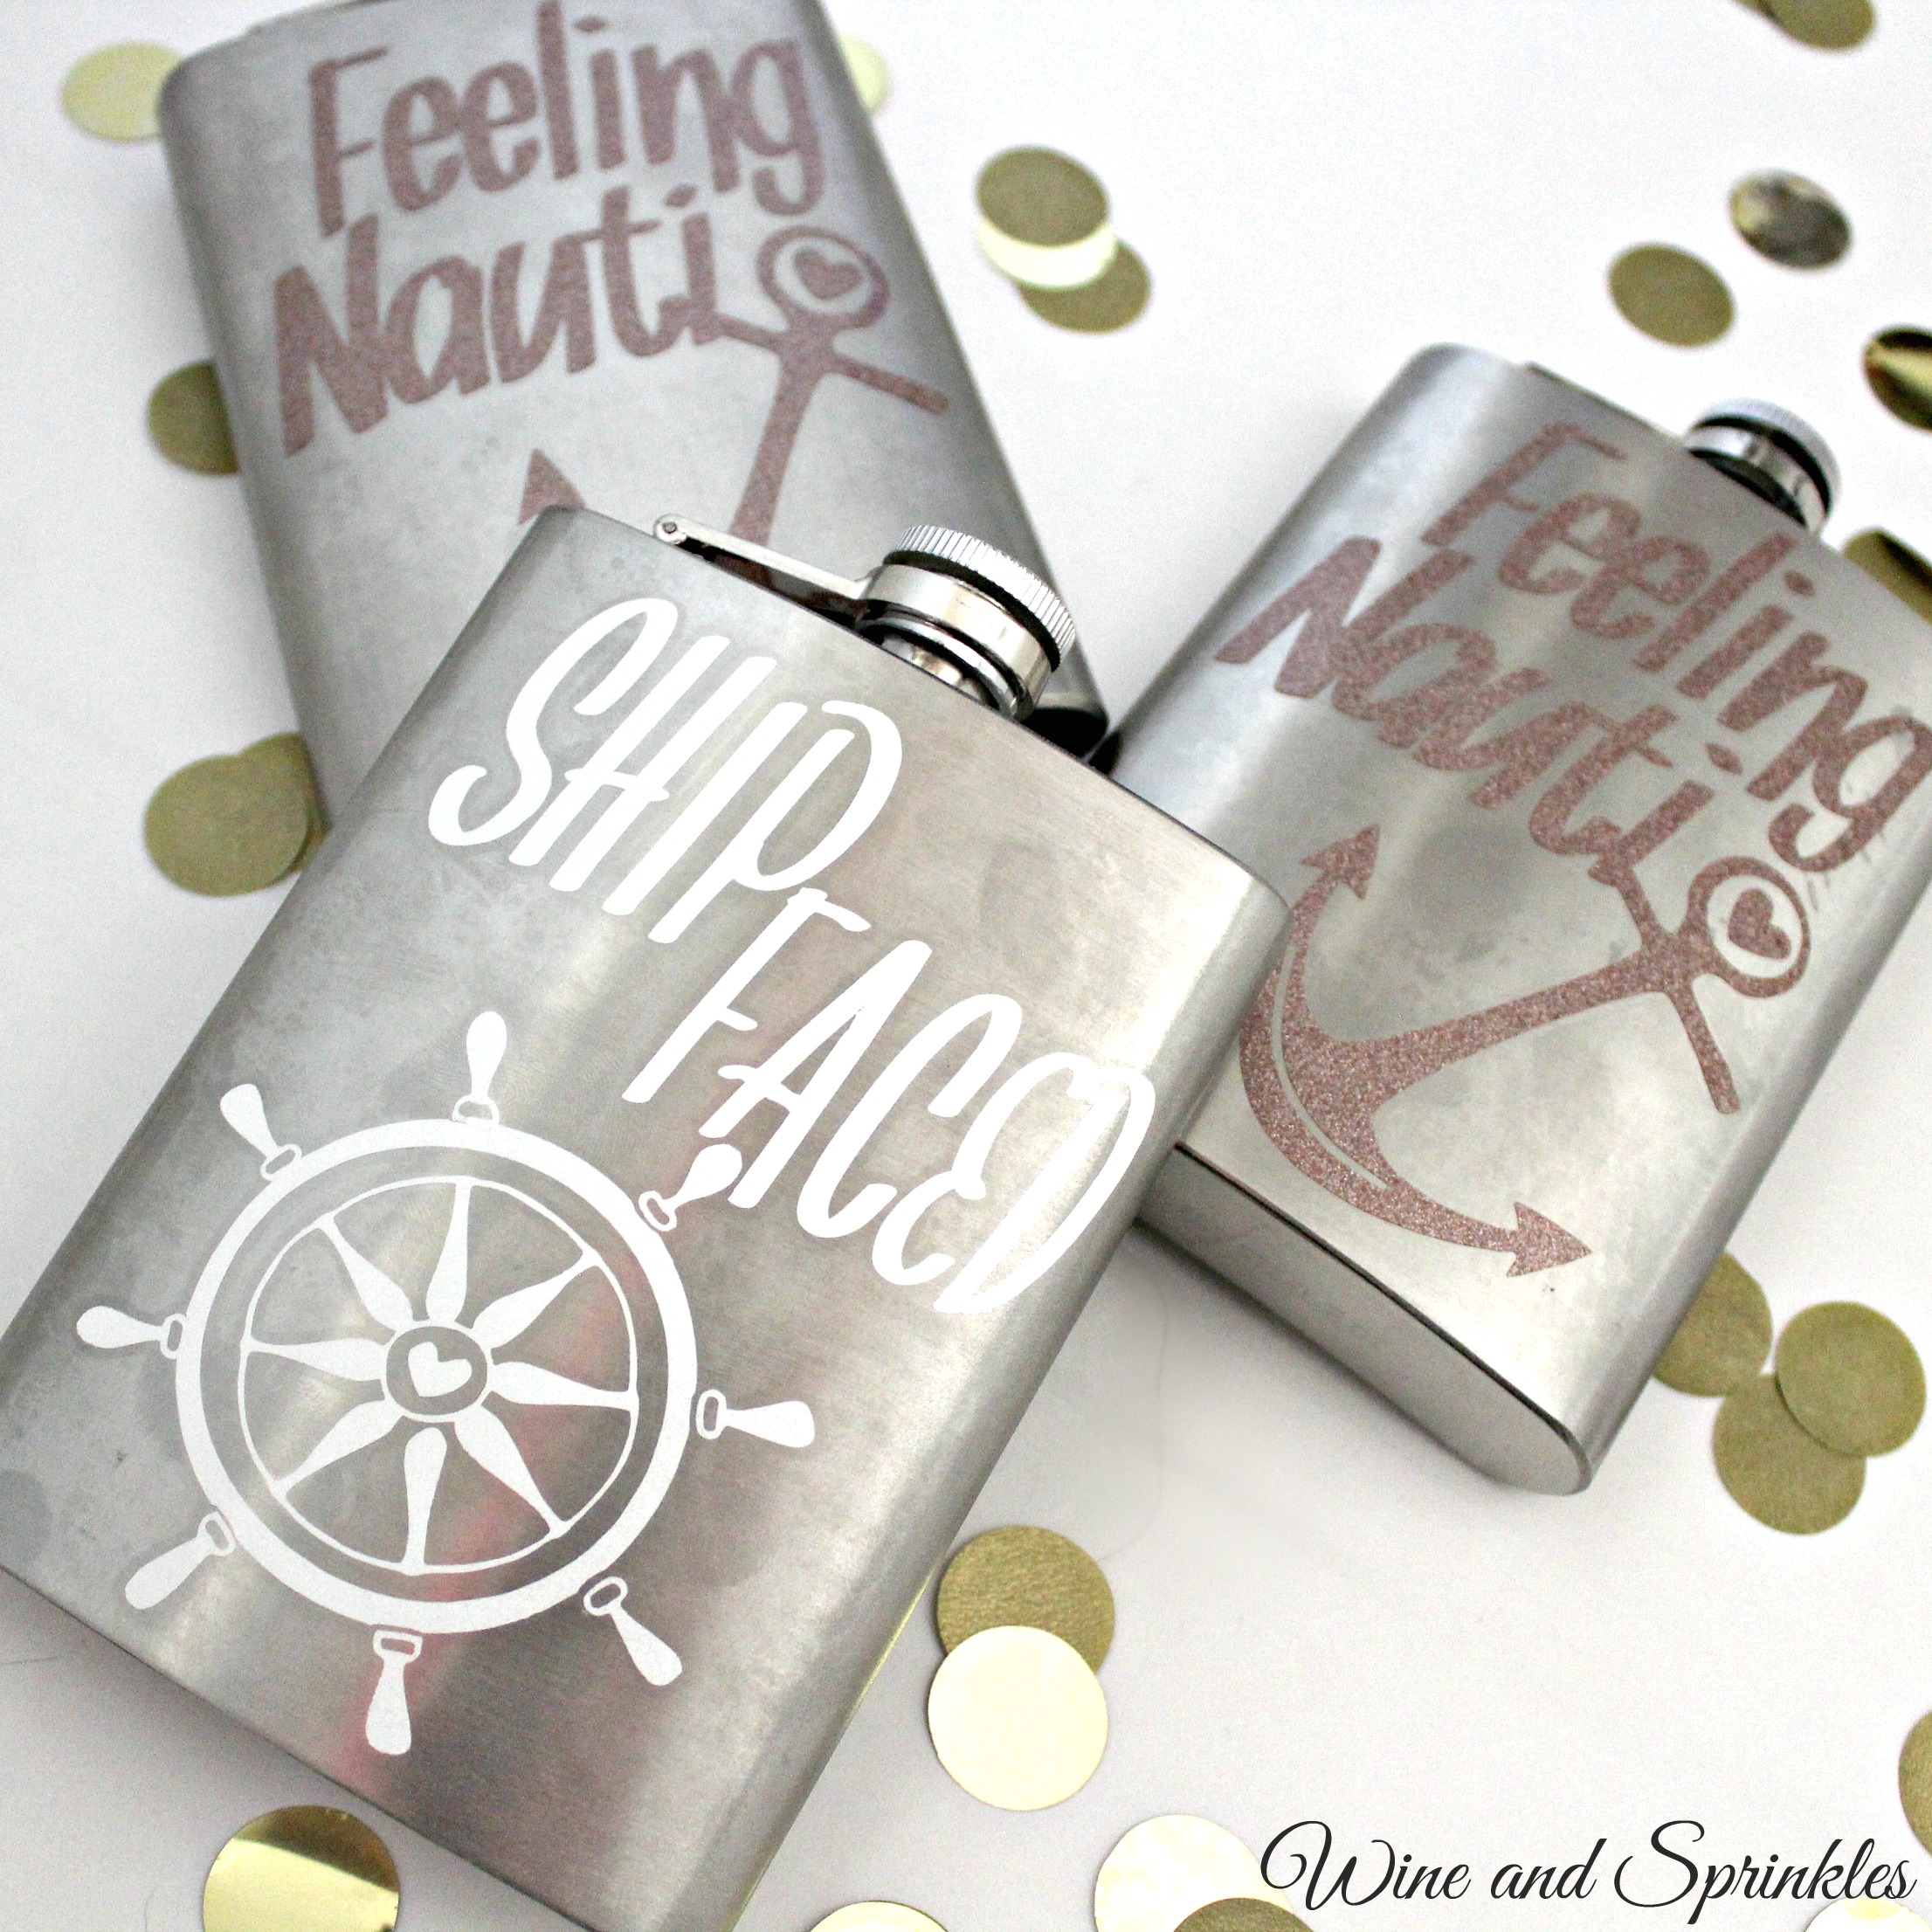
Feeling Nauti Bridesmaid Flasks
This post contains affiliate links, meaning that if you click on a link I will recieve a small comission. This costs you nothing extra and I only promote products I use and love! You can read our full disclosure here
To go with our Feeling Nauti Tote Bags, I decided to also design a set of flasks along the same theme. After all, what better accessory for a bachelorette beach bag than a matching flask? :)
The big thing with these designs is to be careful wedding the bride’s “Shipfaced” flask, the words and outline are easy but the little details in the steering wheel can be a little tougher depending on how comfortable you are weeding vinyl. I didn’t need an extra, but since they don’t take that much vinyl to make I would recommend cutting an extra just in case. :)
Supplies:
Flasks
Permanent Adhesive Vinyl
Transfer Paper
Craft Cutter and Toolset
Flask Design Cut File
1. After downloading the cut files, import them into the Cricut Software. After creating a new project, select Upload Image. Select the file you wish to upload and it will automatically take you to the final upload screen, where you can name the file the select Save.
2. Cut the design(s) in your choice of permanent adhesive vinyl with the Vinyl Setting on your Cricut. The SVG Files are sized so that they will automatically cut to the size you see in the photos, but if you want to change the size you can do so.
3. Once the designs are cut, weed away the extra vinyl and cut a piece of transfer taper to 3.5" x 5". I found that the Cricut transfer tape was easiest for this since its grid lines are in 1/2” segments. Cut away any excess backing from the vinyl design and smooth transfer tape over the design, aligning it along the bottom of the top word (“Feeling” or “Ship”) 1 1/2” from the top of your transfer tape (3 blocks down if you are using Cricut Transfer tape). Using the smoother tool, smooth the tape to the vinyl, removing any air bubbles. The transfer tape should overlap the backing of the design, so that you can stick the tape to an object with the backing still on the design.
4. Now, transfer the design to your flask. If you are comfortable centering the designs you can remove the tape from the backing and directly place the design on the flask. If not, arrange the design to be centered on the flask before removing the backing, sticking it with the overlapping transfer tape.
5. Once your design is placed to your satisfaction, carefully peel the tape off the backing, transferring the vinyl to the transfer tape while not unsticking it from the flask. Remove the backing then smooth the design onto the flask, once again using the smoother to remove any air bubbles. I found it pretty easy to simply lift the design and transfer directly, as shown in teh photos below. Since the designs are not symmetrical, I simply aligned it to the center “block” of the transfer tape then made sure that the top of the transfer tape followed the top of the flask, as shown below.
6. Remove the transfer taper to leave the design on the flask, then repeat the process for all the additional flasks.
And now you have some cute and nautical bachelorette flasks for your favorite girls to help celebrate! :)
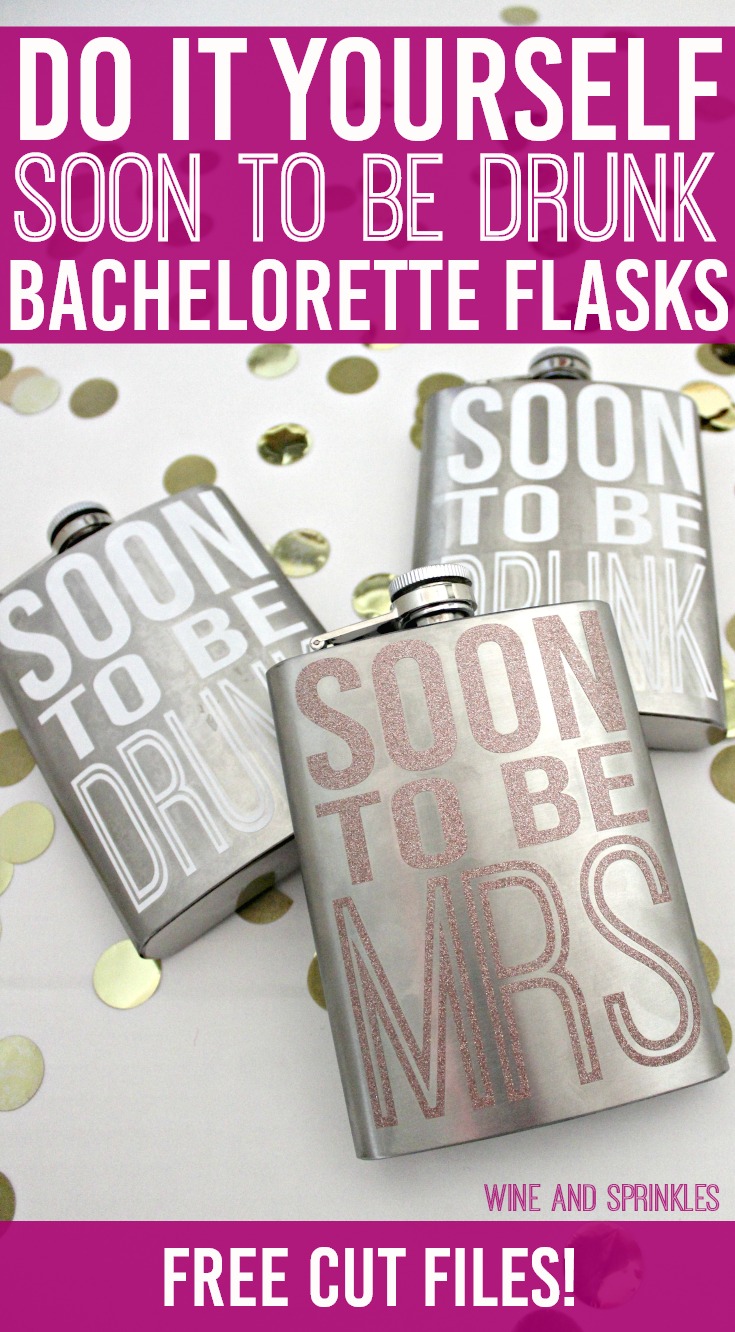
Soon to be Drunk Bachelorette Flasks
This post contains affiliate links, meaning that if you click on a link I will recieve a small comission. This costs you nothing extra and I only promote products I use and love! You can read our full disclosure here
I love designing flasks for bachelorette parties, they are the perfect accessory for any group out on the town! Since I already had flasks from my previous projects, I decided to keep designing for them! :)
These flasks are a simple, cute design for any bar crawl or bachelorette party where booze is to be ingested (so pretty much all of them). Be careful when you are weeding the “Drunk” and “Mrs” middle bits, sometime they are a bit tricky.
Supplies:
Flasks
Permanent Adhesive Vinyl
Transfer Paper
Craft Cutter and Tool Set
Adhesive Mat
Flask Design Cut File
1. After downloading the cut files, import them into the Cricut Software. After creating a new project, select Upload Image. Select the file you wish to upload and it will automatically take you to the final upload screen, where you can name the file the select Save.
2. Cut the design(s) in your choice of permanent adhesive vinyl with the Vinyl Setting on your Cricut. The SVG Files are sized so that they will automatically cut to the size you see in the photos, but if you want to change the size you can do so.
3. Once the designs are cut, weed away the extra vinyl and cut a piece of transfer taper to 4" x 5". Cut away any excess backing from the vinyl design and smooth transfer tape over the design, aligning it to the “Soon” on each decal as shown below. Using the smoother tool, smooth the tape to the vinyl, removing any air bubbles.
4. Now, transfer the design to your flask. I arranged mine by the bottom of the transfer tape following the bottom of the flask with the design centered by placing the opening of the flask between the two “O’s” of the “Soon.”
5. Once your design is placed to your satisfaction, smooth the design onto the flask, once again using the smoother to remove any air bubbles.
6. Remove the transfer tape to leave the design on the flask, then repeat the process for all the additional flasks.
Just like the other flasks I’ve made, these were super simple and came out great! :) There will be plenty of future flasks, so check them out here!
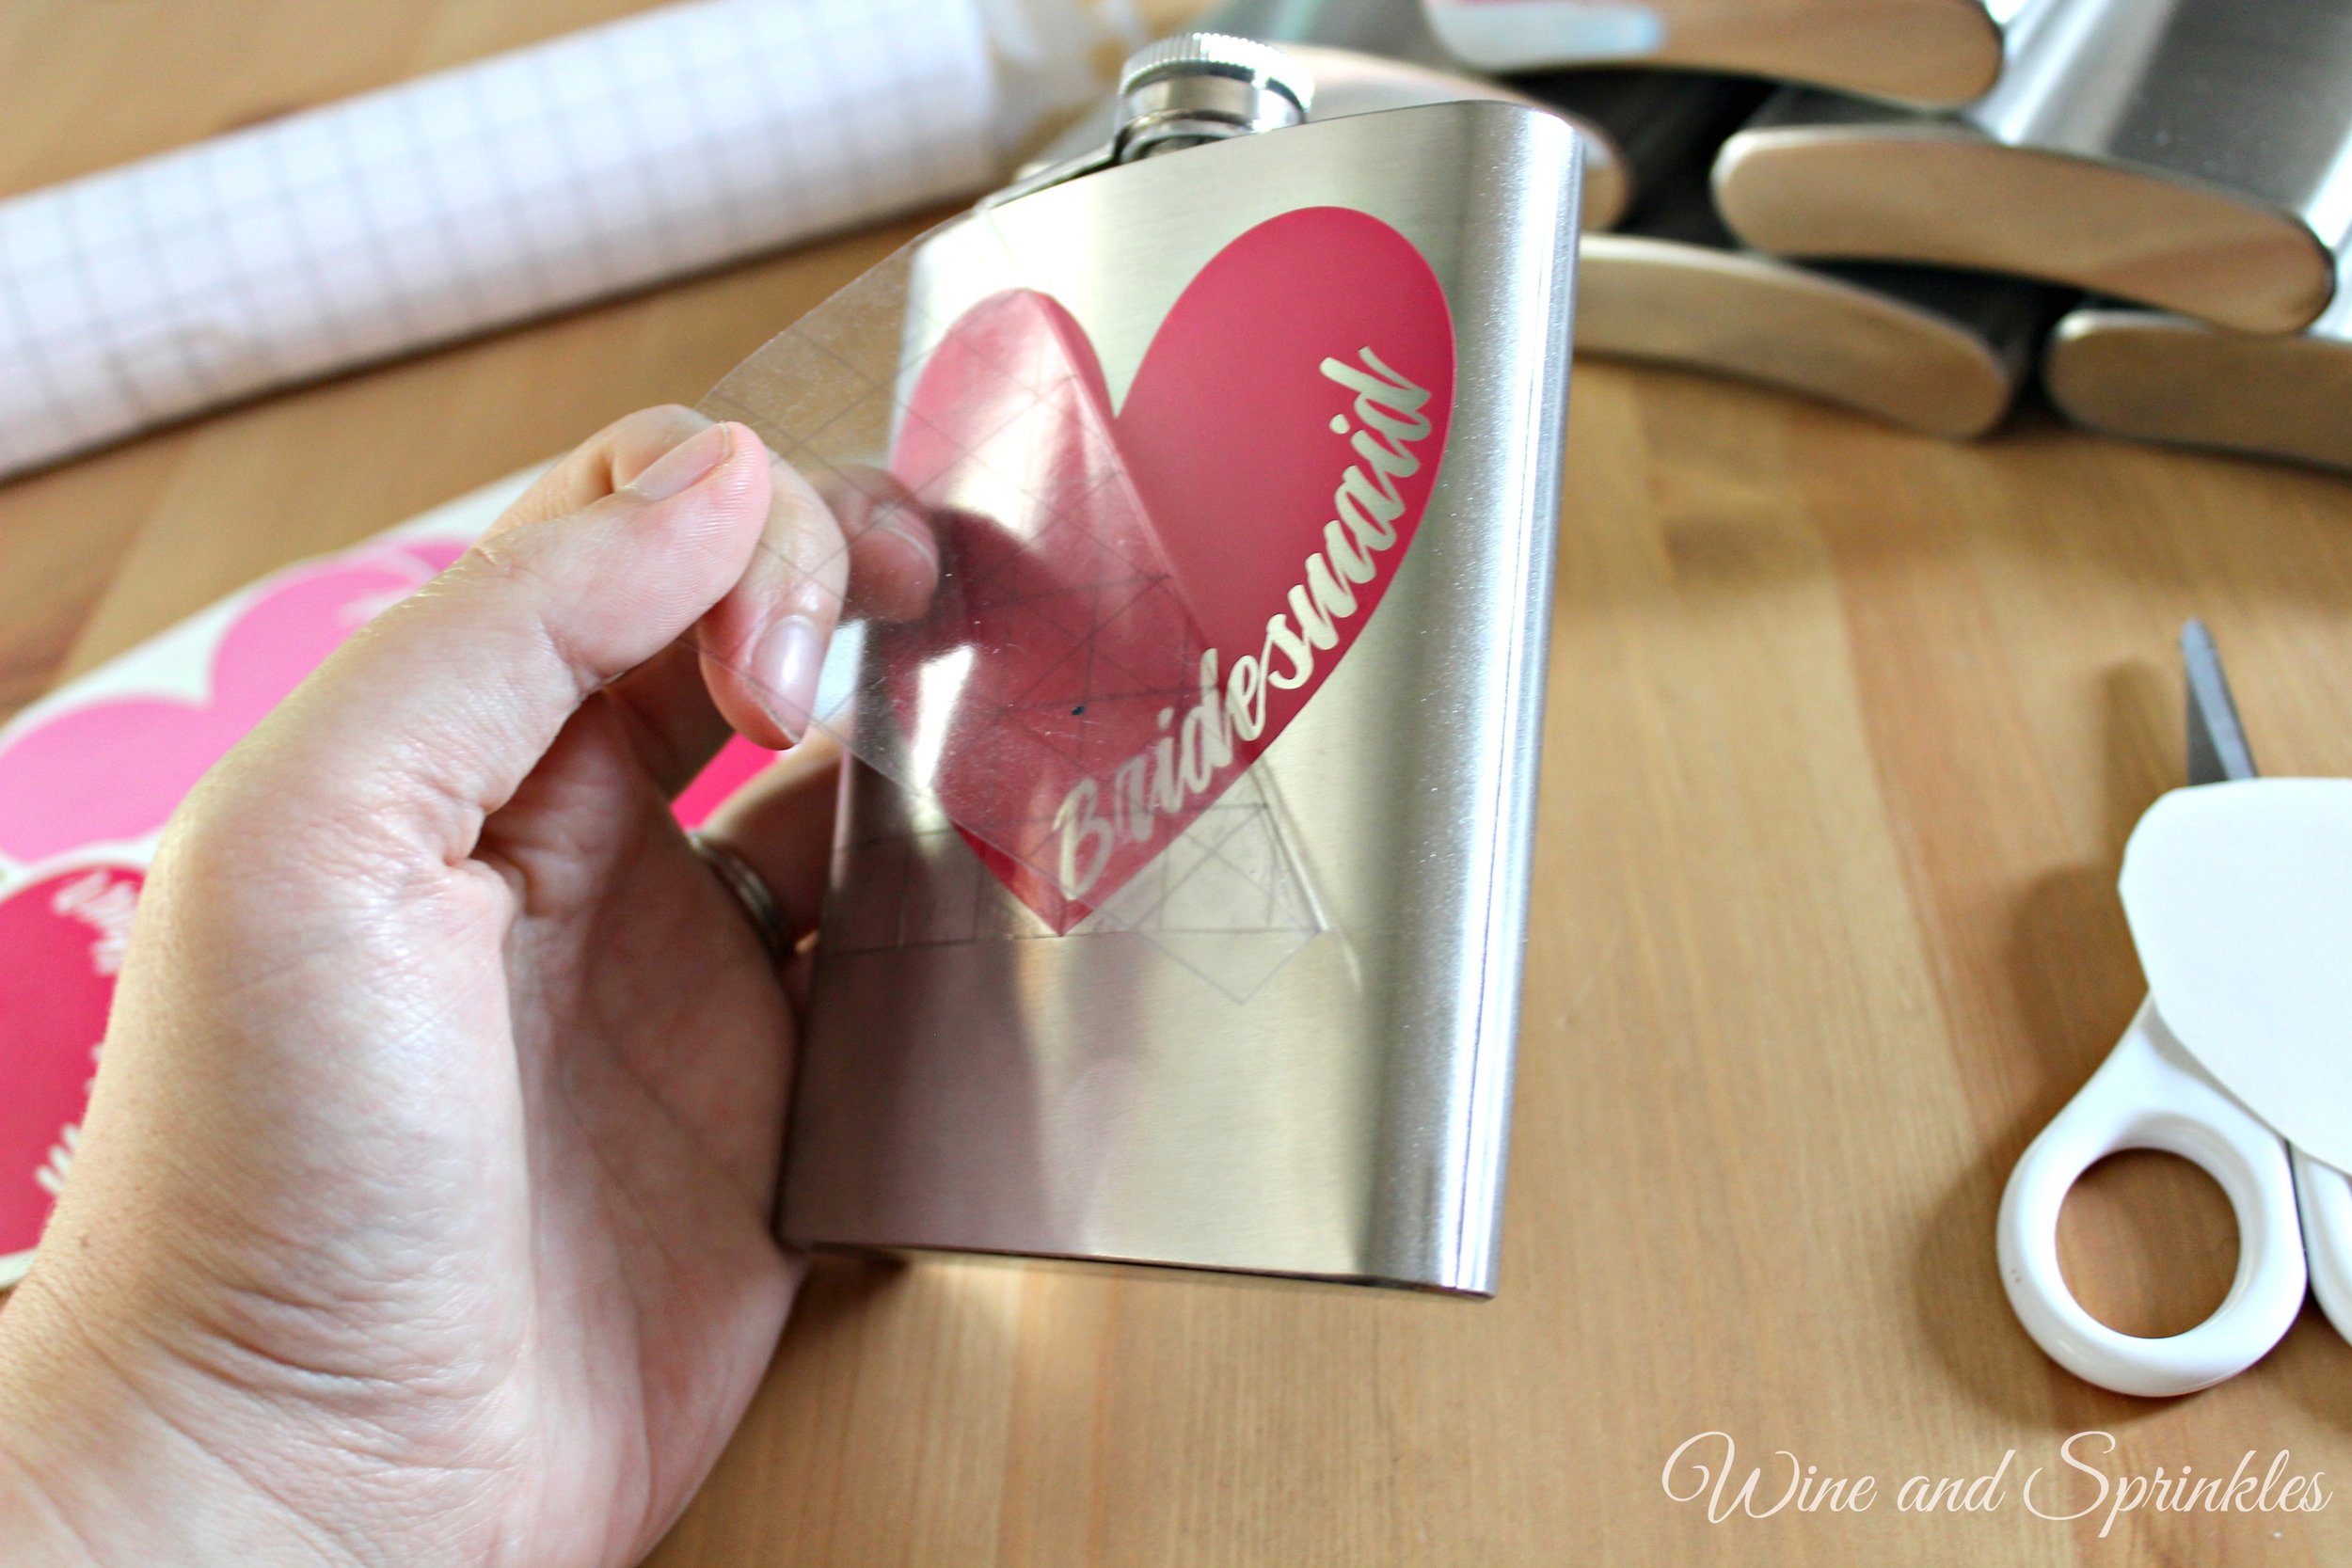
DIY Heart Bridesmaid Flasks
This post contains affiliate links, meaning that if you click on a link I will recieve a small comission. This costs you nothing extra and I only promote products I use and love! You can read our full disclosure here
With all the fun I had making the Groomsman Mustache Flasks, I couldn't leave the Bridesmaids out of the shinanigans! These Heart flasks are a simple and understated way to invite your bridesmaids to your wedding party or to use as a bachelorette favor or wedding gift! And of course I included one for the Bride so that all the wedding ladies can celebrate together!
The only difficult part of this project is to make sure some of the smaller pieces of vinyl don't get removed while weeding the letters from the heart (like the middle of the "e's" and "d's") so take your time on weeding the design and cut a couple extras if you are nervous! :)
Supplies:
Flasks
Permanent Adhesive Vinyl
Transfer Paper
Craft Cutter and Tool Set
Adhesive Mat
Flask Design Cut File
1. After downloading the cut files, import them into the Cricut Software. After creating a new project, select Upload Image. Select the file you wish to upload and it will automatically take you to the final upload screen, where you can name the file the select Save.
2. Cut the design(s) in your choice of permanent adhesive vinyl with the Vinyl Setting on your Cricut. The SVG Files are sized so that they will automatically cut to the size you see in the photos, but if you want to change the size you can do so to fit the flask the way you like.
3. Once the designs are cut, weed away the extra vinyl and cut a piece of transfer taper to 4" x 3.5". I recommend using a transfer tape with 1/2" gridlines such as the Cricut brand tape as it makes it much easier to precisely transfer to the flasks. Cut away any excess backing and smooth transfer tape over the design, aligning it so that the middle on the long side of your transfer tape is centered along the middle of the heart, with the bottom of the heart at the bottom of the transfer tape, as shown below. Using the smoother tool, smooth the tape to the vinyl, removing any air bubbles. The transfer tape should overlap the backing of the design, so that you can stick the tape to an object with the backing still on the design.
4. Now, transfer the design to your flask. If you are comfortable centering the designs you can remove the tape from the backing and directly place the design on the flask. If not, arrange the design to be centered on the flask before removing the backing, sticking it with the overlapping transfer tape. I aligned mine such that the middle of each heart was centered on the top cap of the flask and the top of the transfer tape ran along the top edge of the flask, as shown in the photos below.
5. Once your design is placed to your satisfaction, carefully peel the tape off the backing, transferring the vinyl to the transfer tape while not unsticking it from the flask. Remove the backing then smooth the design onto the flask, once again using the smoother to remove any air bubbles.
6. Remove the transfer taper to leave the design on the flask, then repeat the process for all the additional flasks.
DIY Groomsman Mustache Flasks
This post contains affiliate links, meaning that if you click on a link I will recieve a small comission. This costs you nothing extra and I only promote products I use and love! You can read our full disclosure here
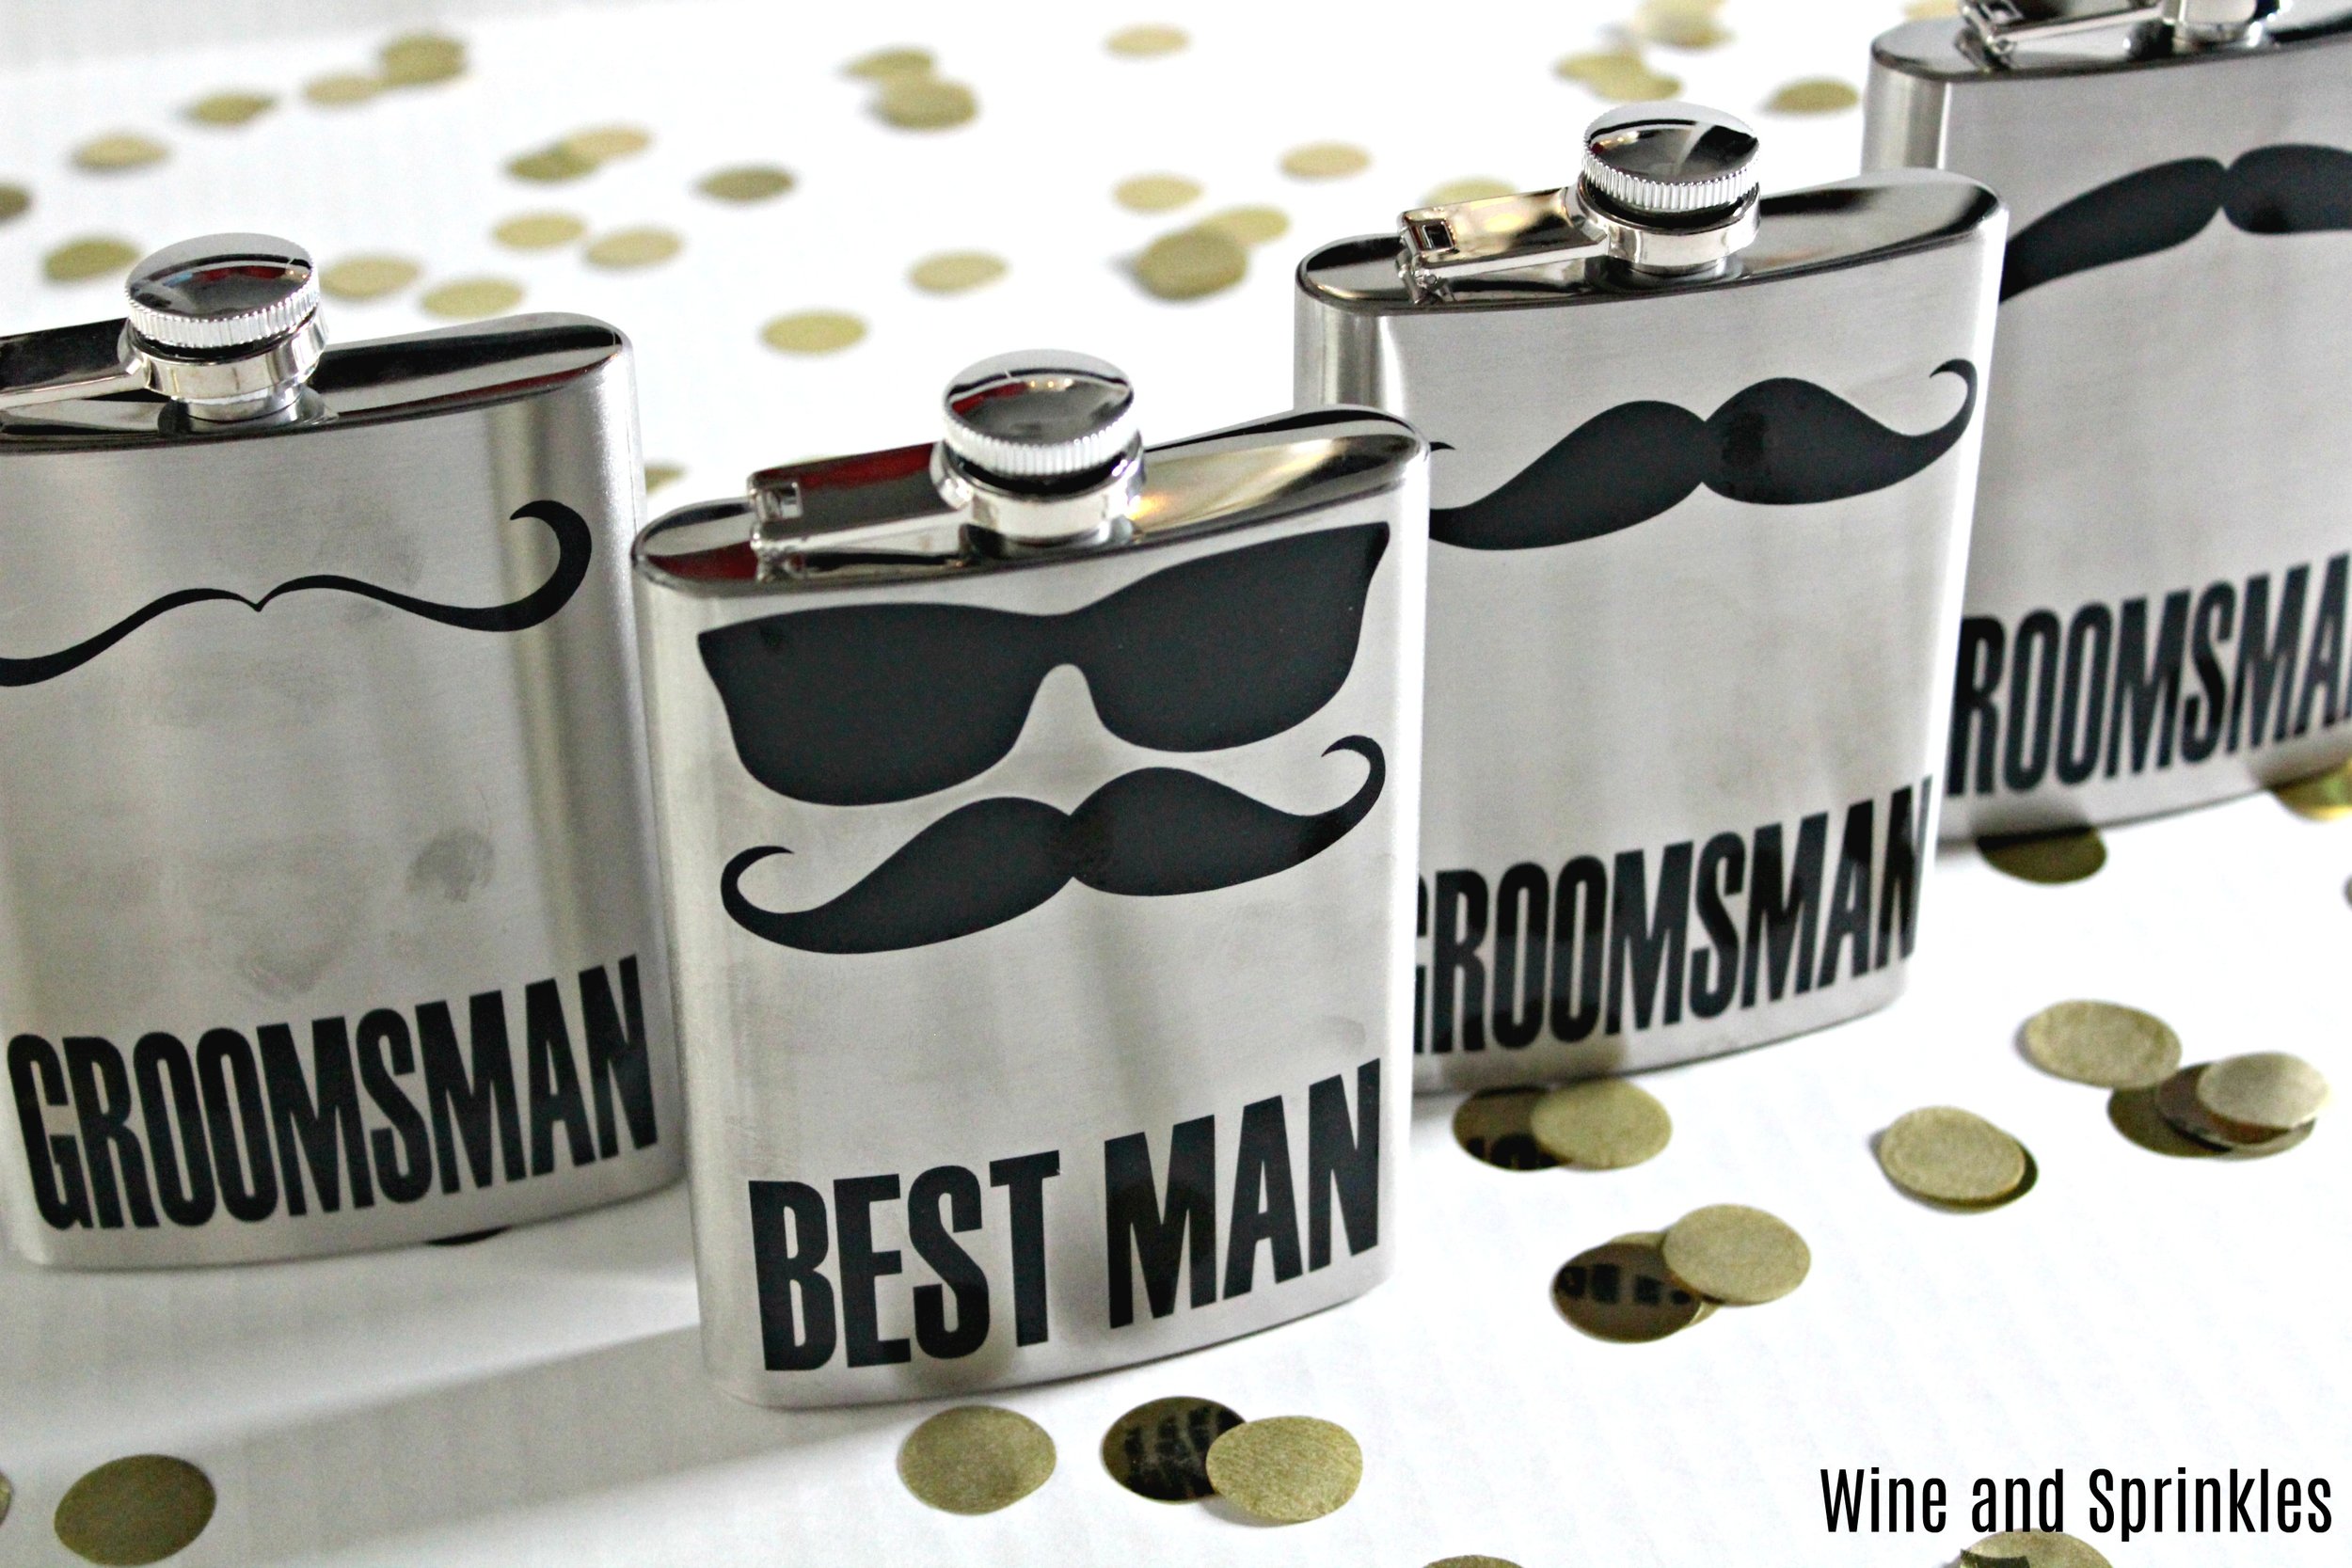
Whether they are used as Groomsman Proposals, Bachleor Party Favors, or even Groomsman Gifts, giving flasks to Groomsmen is always a fun gift for them to recieve! I remembered a set I saw once on Pinterest that were a collection of mustaches and was determined to make a set for myself!
I absolutely love the way they turned out and all the different styles of mustaches that I designed! Below you can find the cut files for all the different flasks as well a one for the Groom so he isn't left out of the fun! :) Each file can be uploaded individually so you can either have all your groomsmen flasks match with the same 'stache or pick which one you think fits each of your boys best!
Supplies:
Flasks
Permanent Adhesive Vinyl
Transfer Paper
Craft Cutter and Tool Set
Adhesive Mat
Flask Design Cut File
1. After downloading the cut files, import them into the Cricut Software. After creating a new project, select Upload Image. Select the file you wish to upload and it will automatically take you to the final upload screen, where you can name the file the select Save.
2. Cut the design(s) in your choice of permanent adhesive vinyl with the Vinyl Setting on your Cricut. The SVG Files are sized so that they will automatically cut to the size you see in the photos, but if you want to change the size you can do so to fit the flask the way you like.
3. Once the designs are cut, weed away the extra vinyl and cut a piece of transfer tape to 4" x 5". I recommend using a transfer tape with 1/2" gridlines such as the Cricut brand tape as it makes it much easier to precisely transfer to the flasks. Cut away any excess backing and smooth transfer tape over the design, aligning it along the bottom of the Groomsman text, with one row of the 1/2" blocks below it. I also tried to align mine with one of the vertical lines centering in the middle of the mustache, but it is more important to get the text straight. :) Using the smoother tool, smooth the tape to the vinyl, removing any air bubbles. The transfer tape should overlap the backing of the design, so that you can stick the tape to an object with the backing still on the design.
4. Now, transfer the design to your flask. If you are comfortable centering the designs you can remove the tape from the backing and directly place the design on the flask. If not, arrange the design to be centered on the flask before removing the backing, sticking it with the overlapping transfer tape. I aligned mine such that the middle of each mustache was centered on the top cap of the flask and the top of the transfer tape ran along the top edge of teh flask, as shown in the photos below.
5. Once your design is placed to your satisfaction, carefully peel the tape off the backing, transferring the vinyl to the transfer tape while not unsticking it from the flask. Remove the backing then smooth the design onto the flask, once again using the smoother to remove any air bubbles.
6. Remove the transfer taper to leave the design on the flask, then repeat the process for all the additional flasks.
Once they are all completed, they can be easily wrapped back up in their original boxes or paired with a card or your Groomsmen's spirit of choice! :)


