This post contains affiliate links, meaning that if you click on a link I will recieve a small comission. This costs you nothing extra and I only promote products I use and love! You can read our full disclosure here
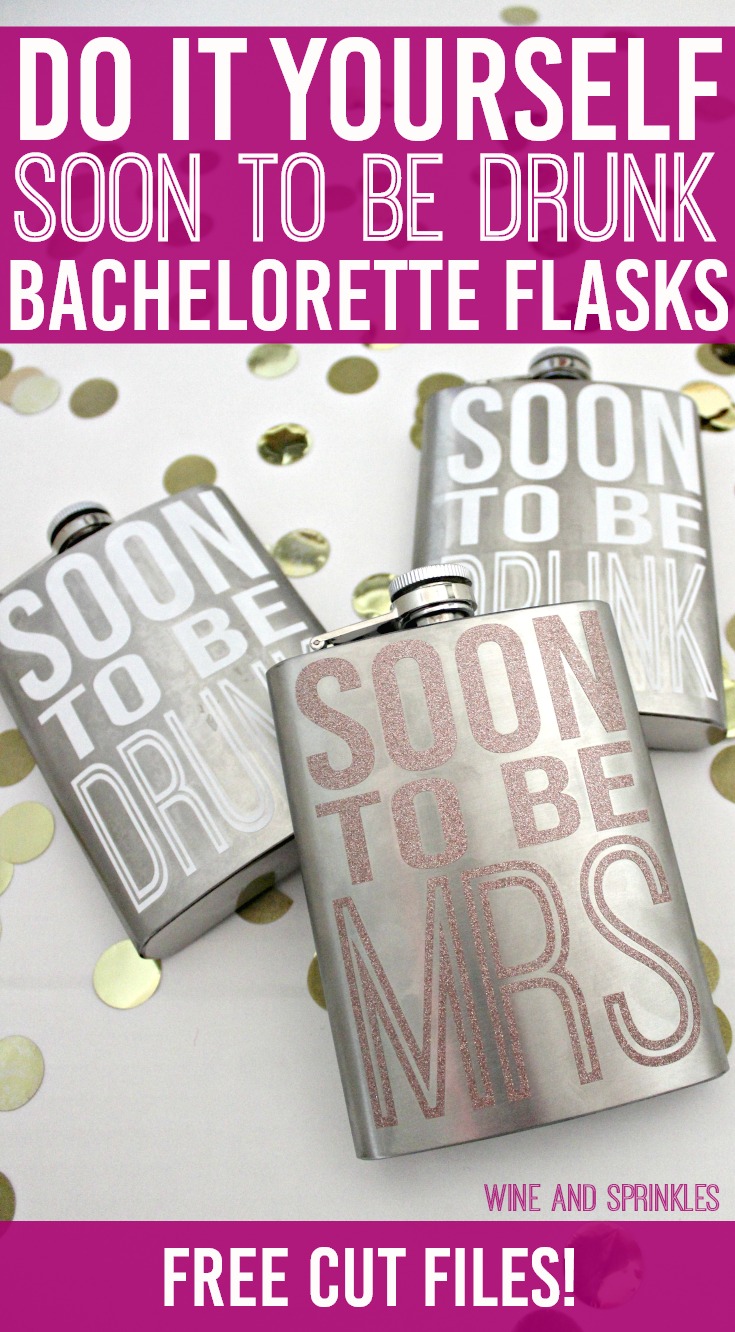
I love designing flasks for bachelorette parties, they are the perfect accessory for any group out on the town! Since I already had flasks from my previous projects, I decided to keep designing for them! :)
These flasks are a simple, cute design for any bar crawl or bachelorette party where booze is to be ingested (so pretty much all of them). Be careful when you are weeding the “Drunk” and “Mrs” middle bits, sometime they are a bit tricky.
Supplies:
Flasks
Permanent Adhesive Vinyl
Transfer Paper
Craft Cutter and Tool Set
Adhesive Mat
Flask Design Cut File
1. After downloading the cut files, import them into the Cricut Software. After creating a new project, select Upload Image. Select the file you wish to upload and it will automatically take you to the final upload screen, where you can name the file the select Save.
2. Cut the design(s) in your choice of permanent adhesive vinyl with the Vinyl Setting on your Cricut. The SVG Files are sized so that they will automatically cut to the size you see in the photos, but if you want to change the size you can do so.
3. Once the designs are cut, weed away the extra vinyl and cut a piece of transfer taper to 4" x 5". Cut away any excess backing from the vinyl design and smooth transfer tape over the design, aligning it to the “Soon” on each decal as shown below. Using the smoother tool, smooth the tape to the vinyl, removing any air bubbles.
4. Now, transfer the design to your flask. I arranged mine by the bottom of the transfer tape following the bottom of the flask with the design centered by placing the opening of the flask between the two “O’s” of the “Soon.”
5. Once your design is placed to your satisfaction, smooth the design onto the flask, once again using the smoother to remove any air bubbles.
6. Remove the transfer tape to leave the design on the flask, then repeat the process for all the additional flasks.
Just like the other flasks I’ve made, these were super simple and came out great! :) There will be plenty of future flasks, so check them out here!


