Tank Tops and Tshirts

DIY I Do Crew Bridal Party TShirts

This post contains affiliate links, meaning that if you click on a link I will recieve a small comission. This costs you nothing extra and I only promote products I use and love! You can read our full disclosure here

DIY I Do Crew HTV Bridal Party TShirts #diywedding #svgfiles #idocrew

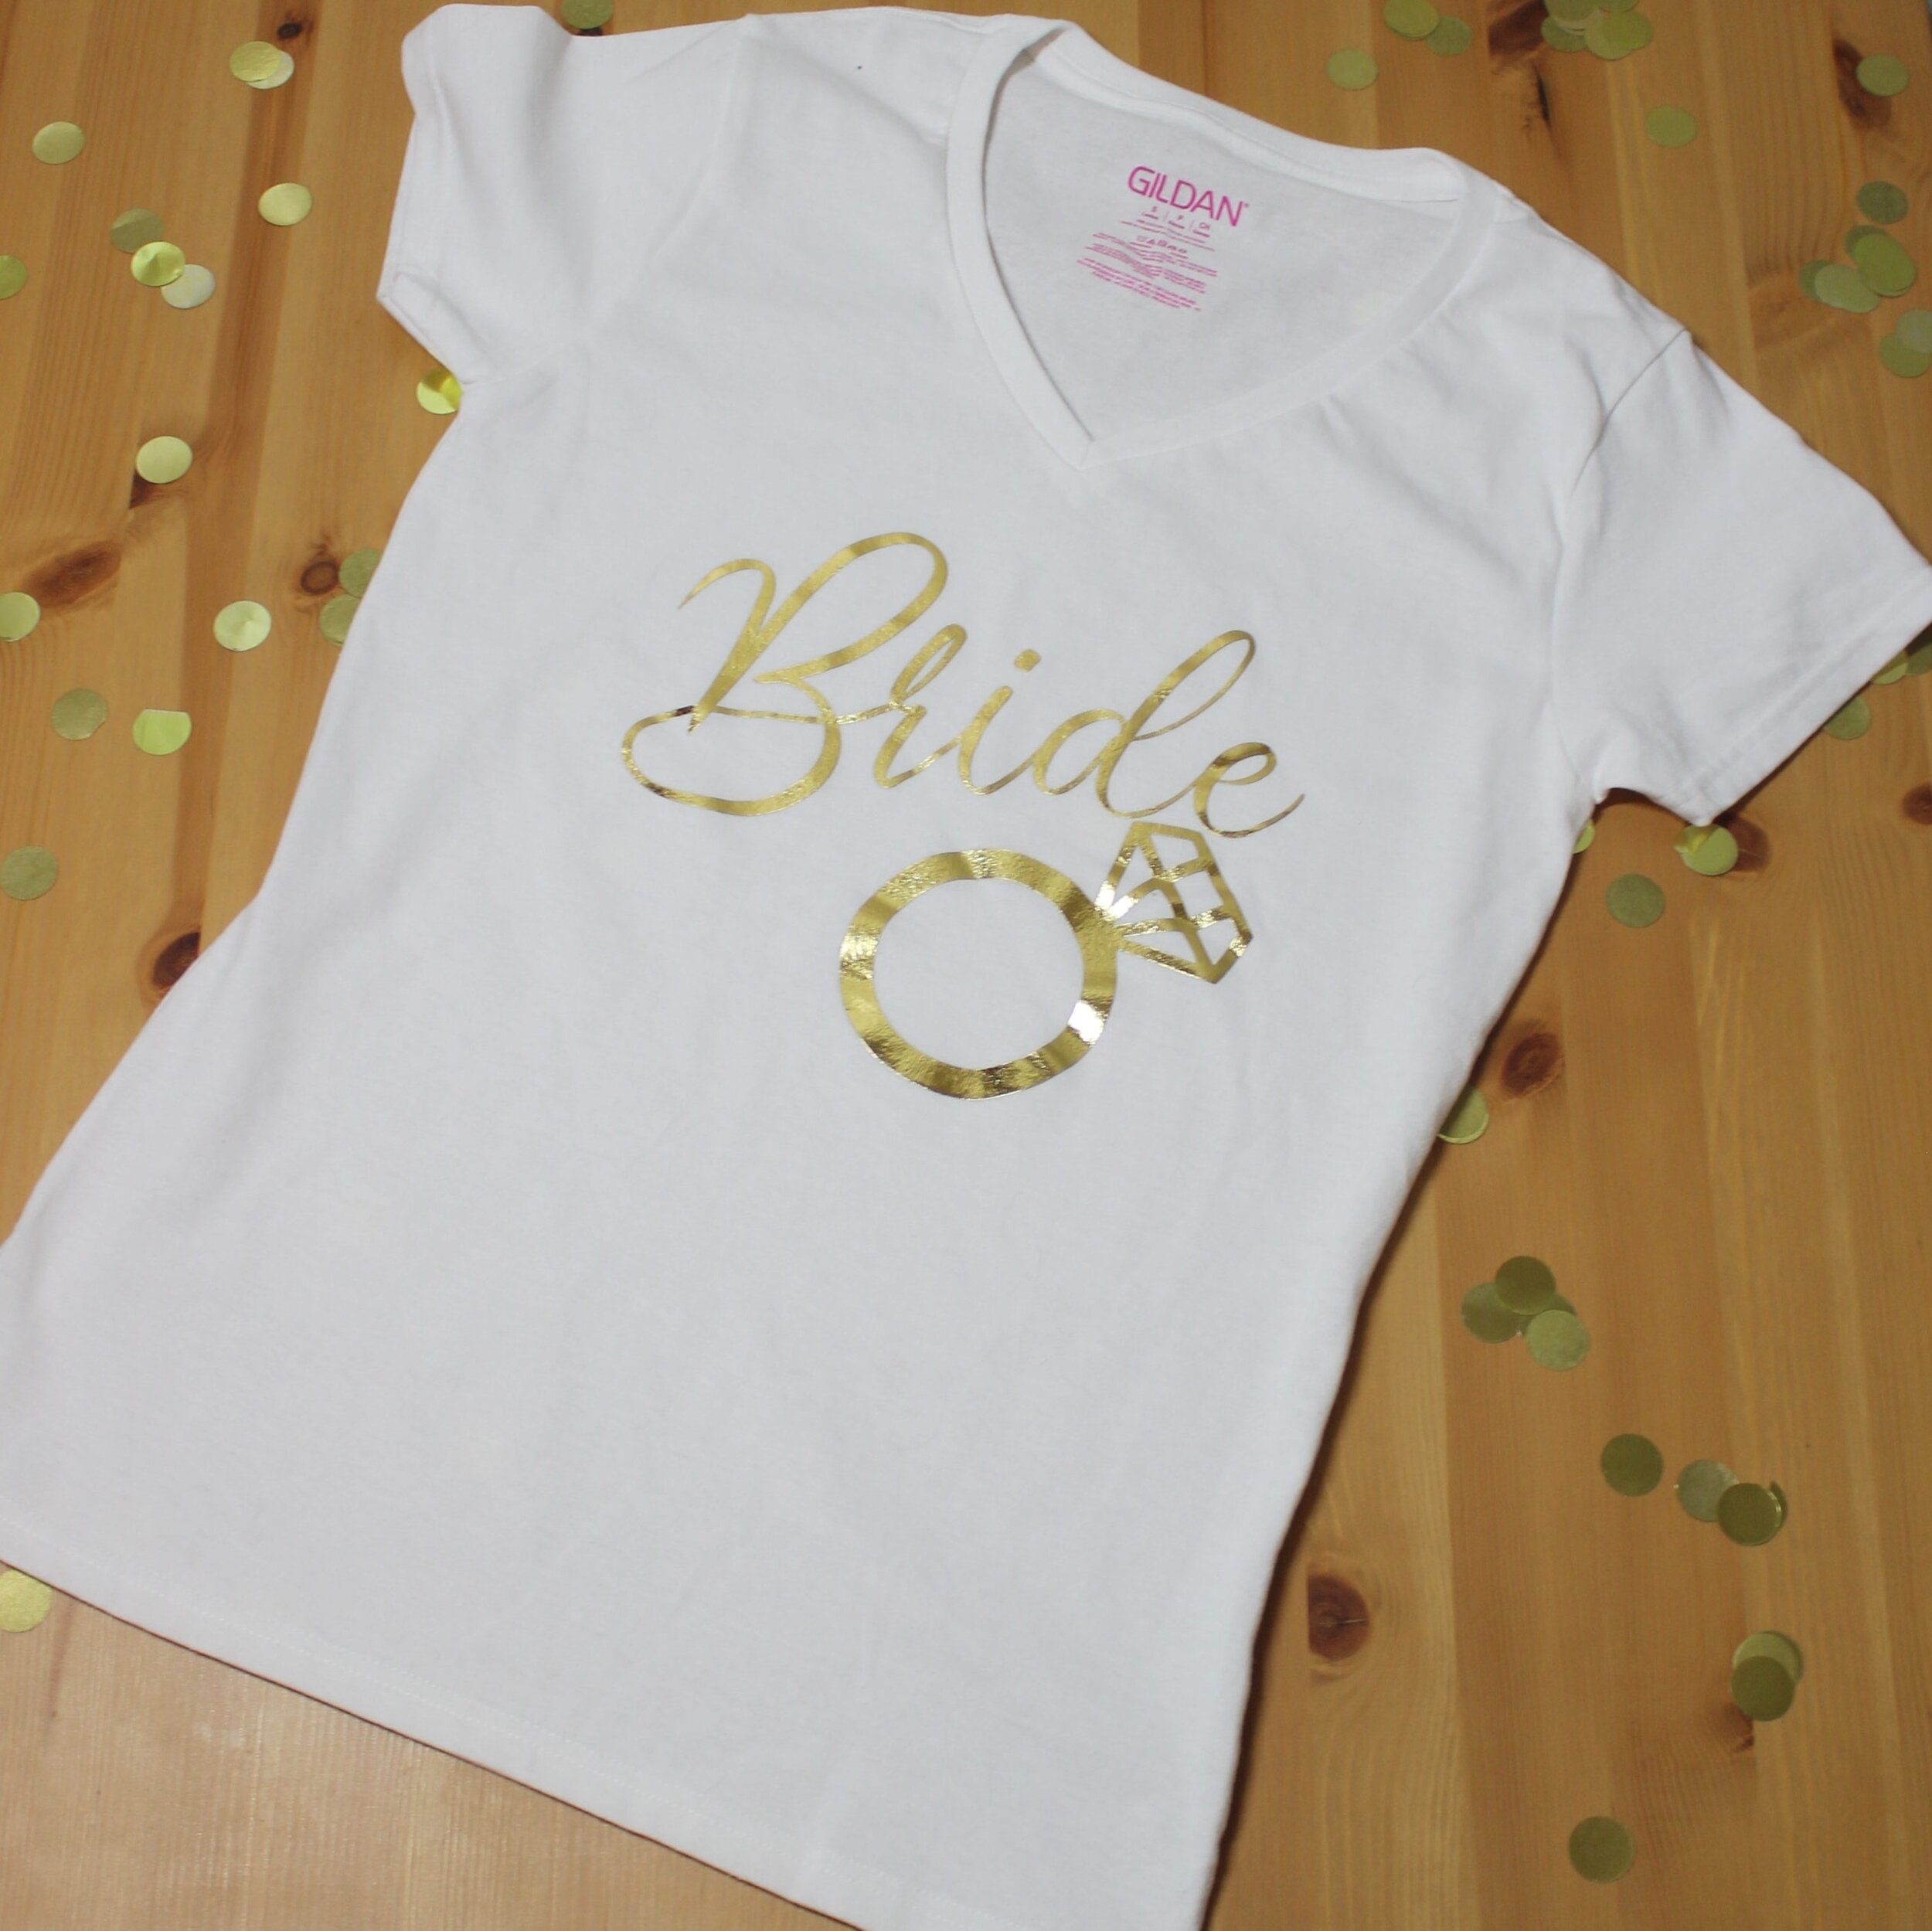
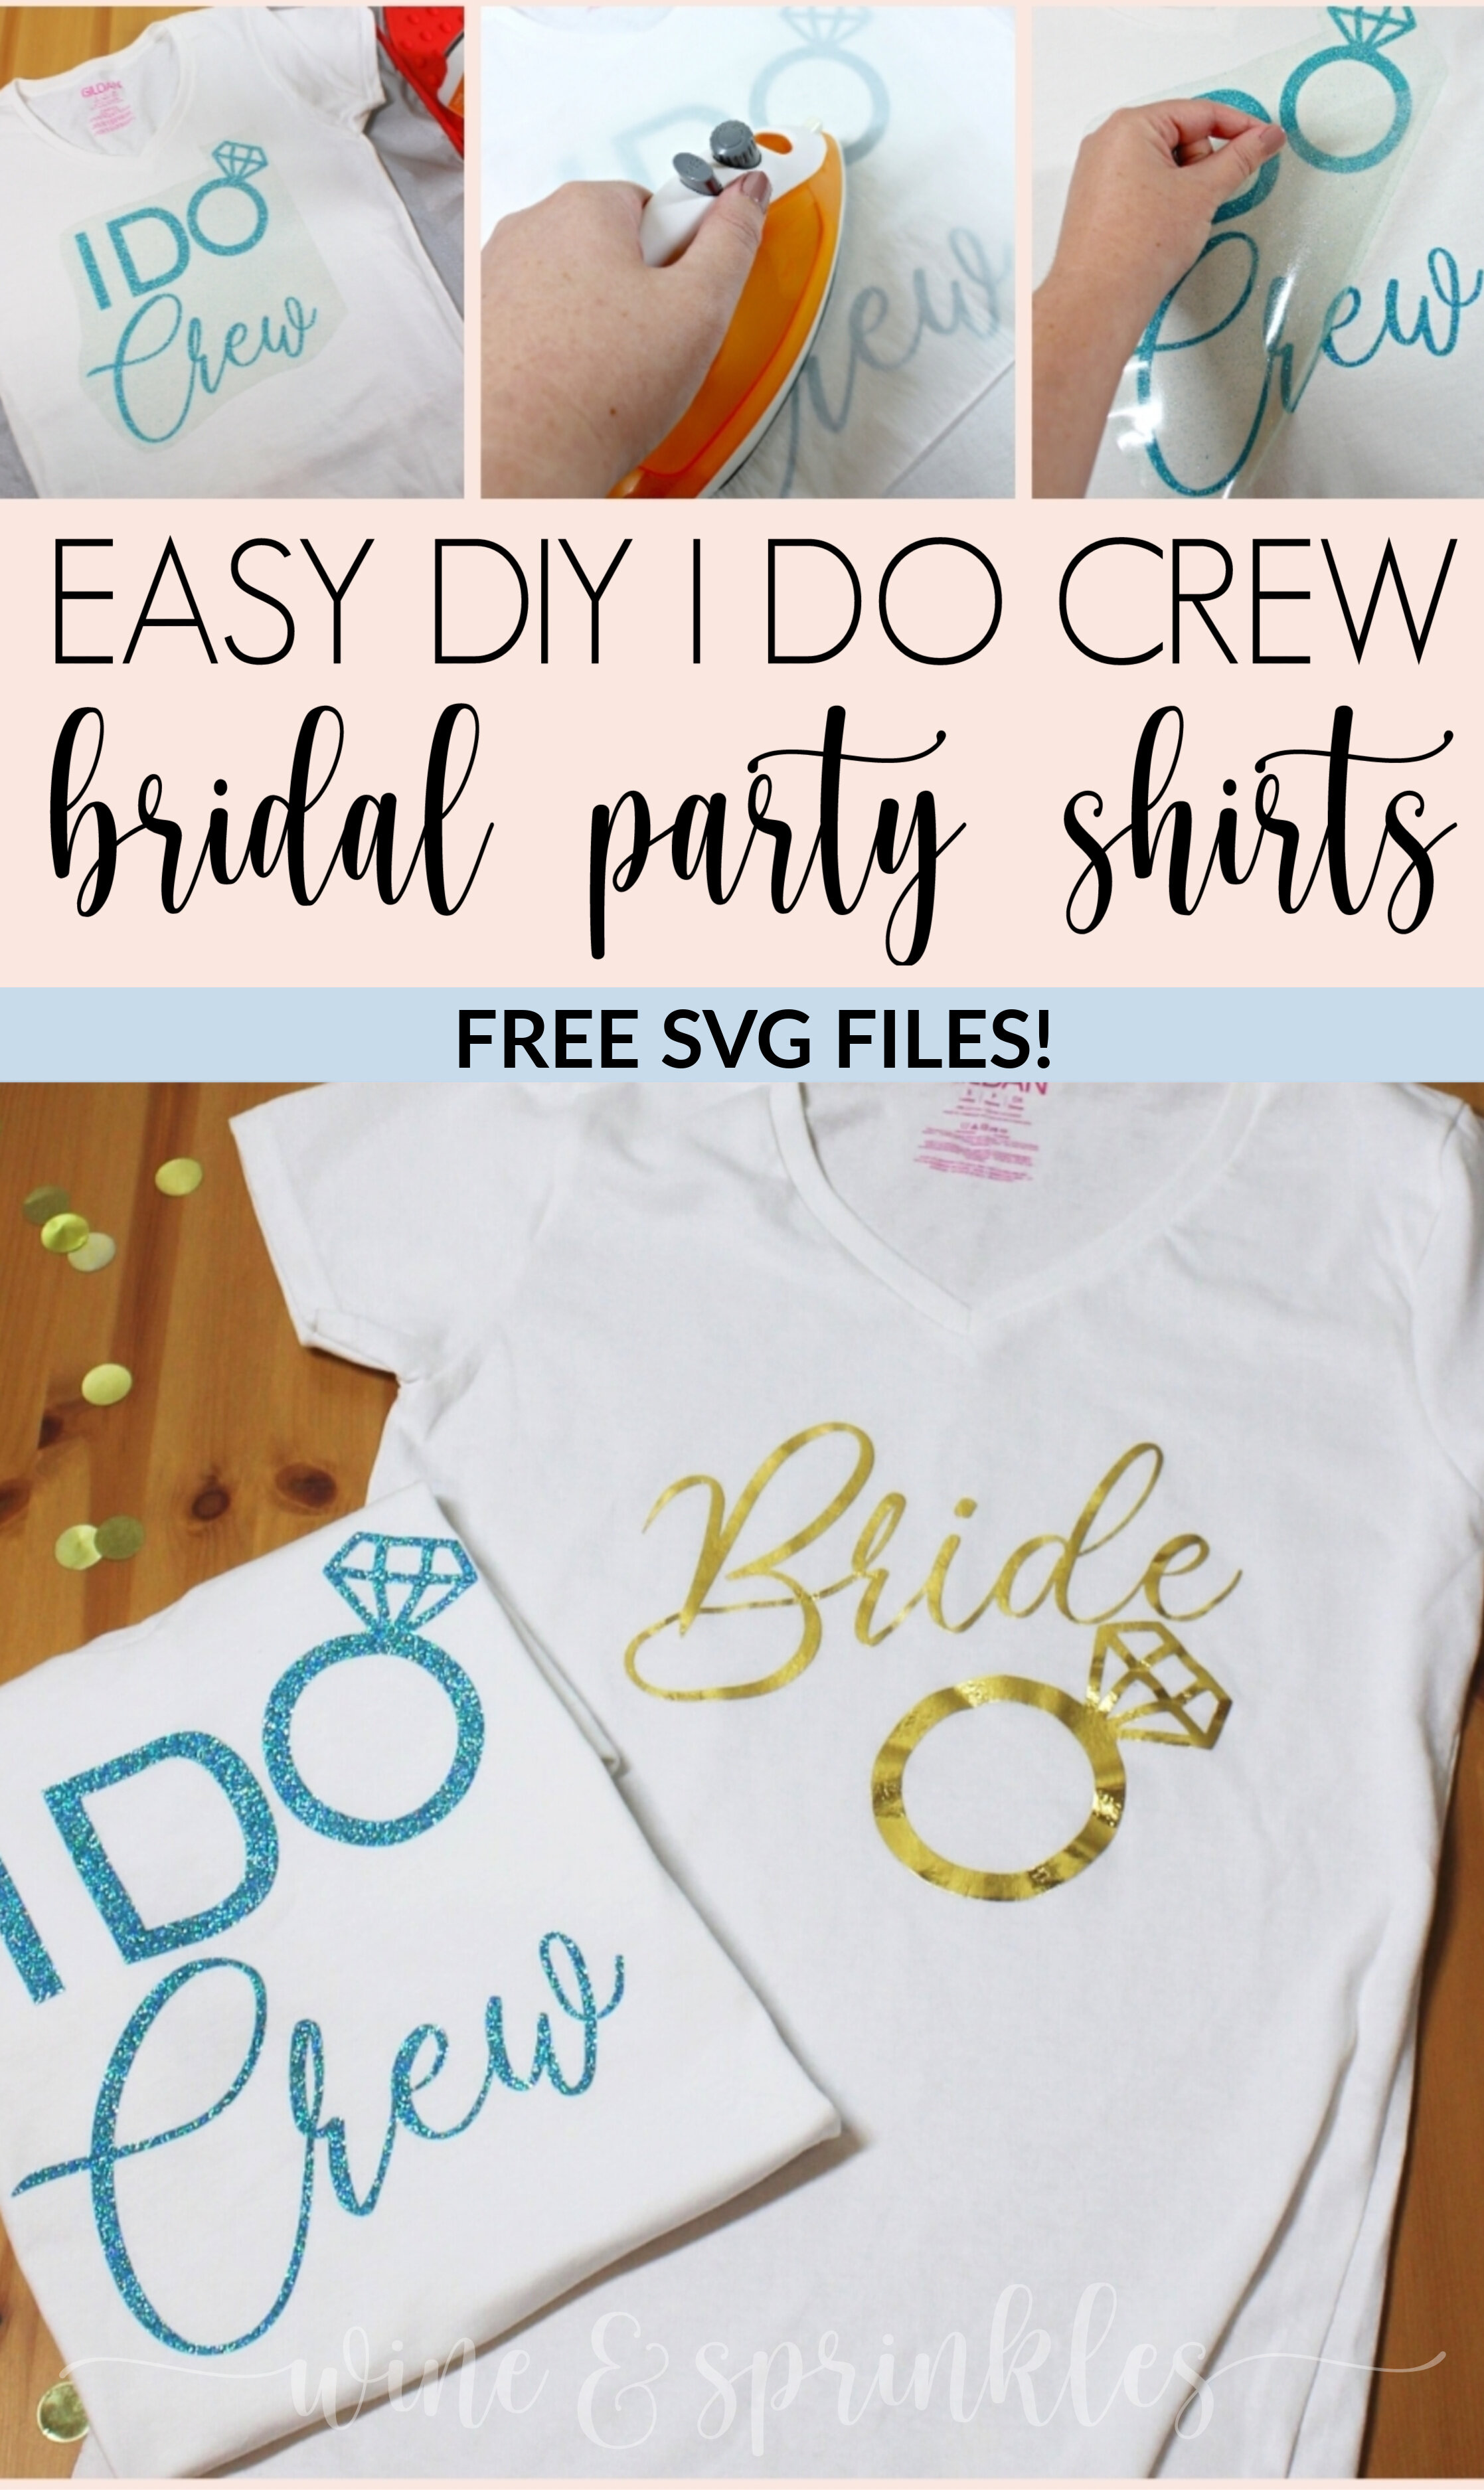
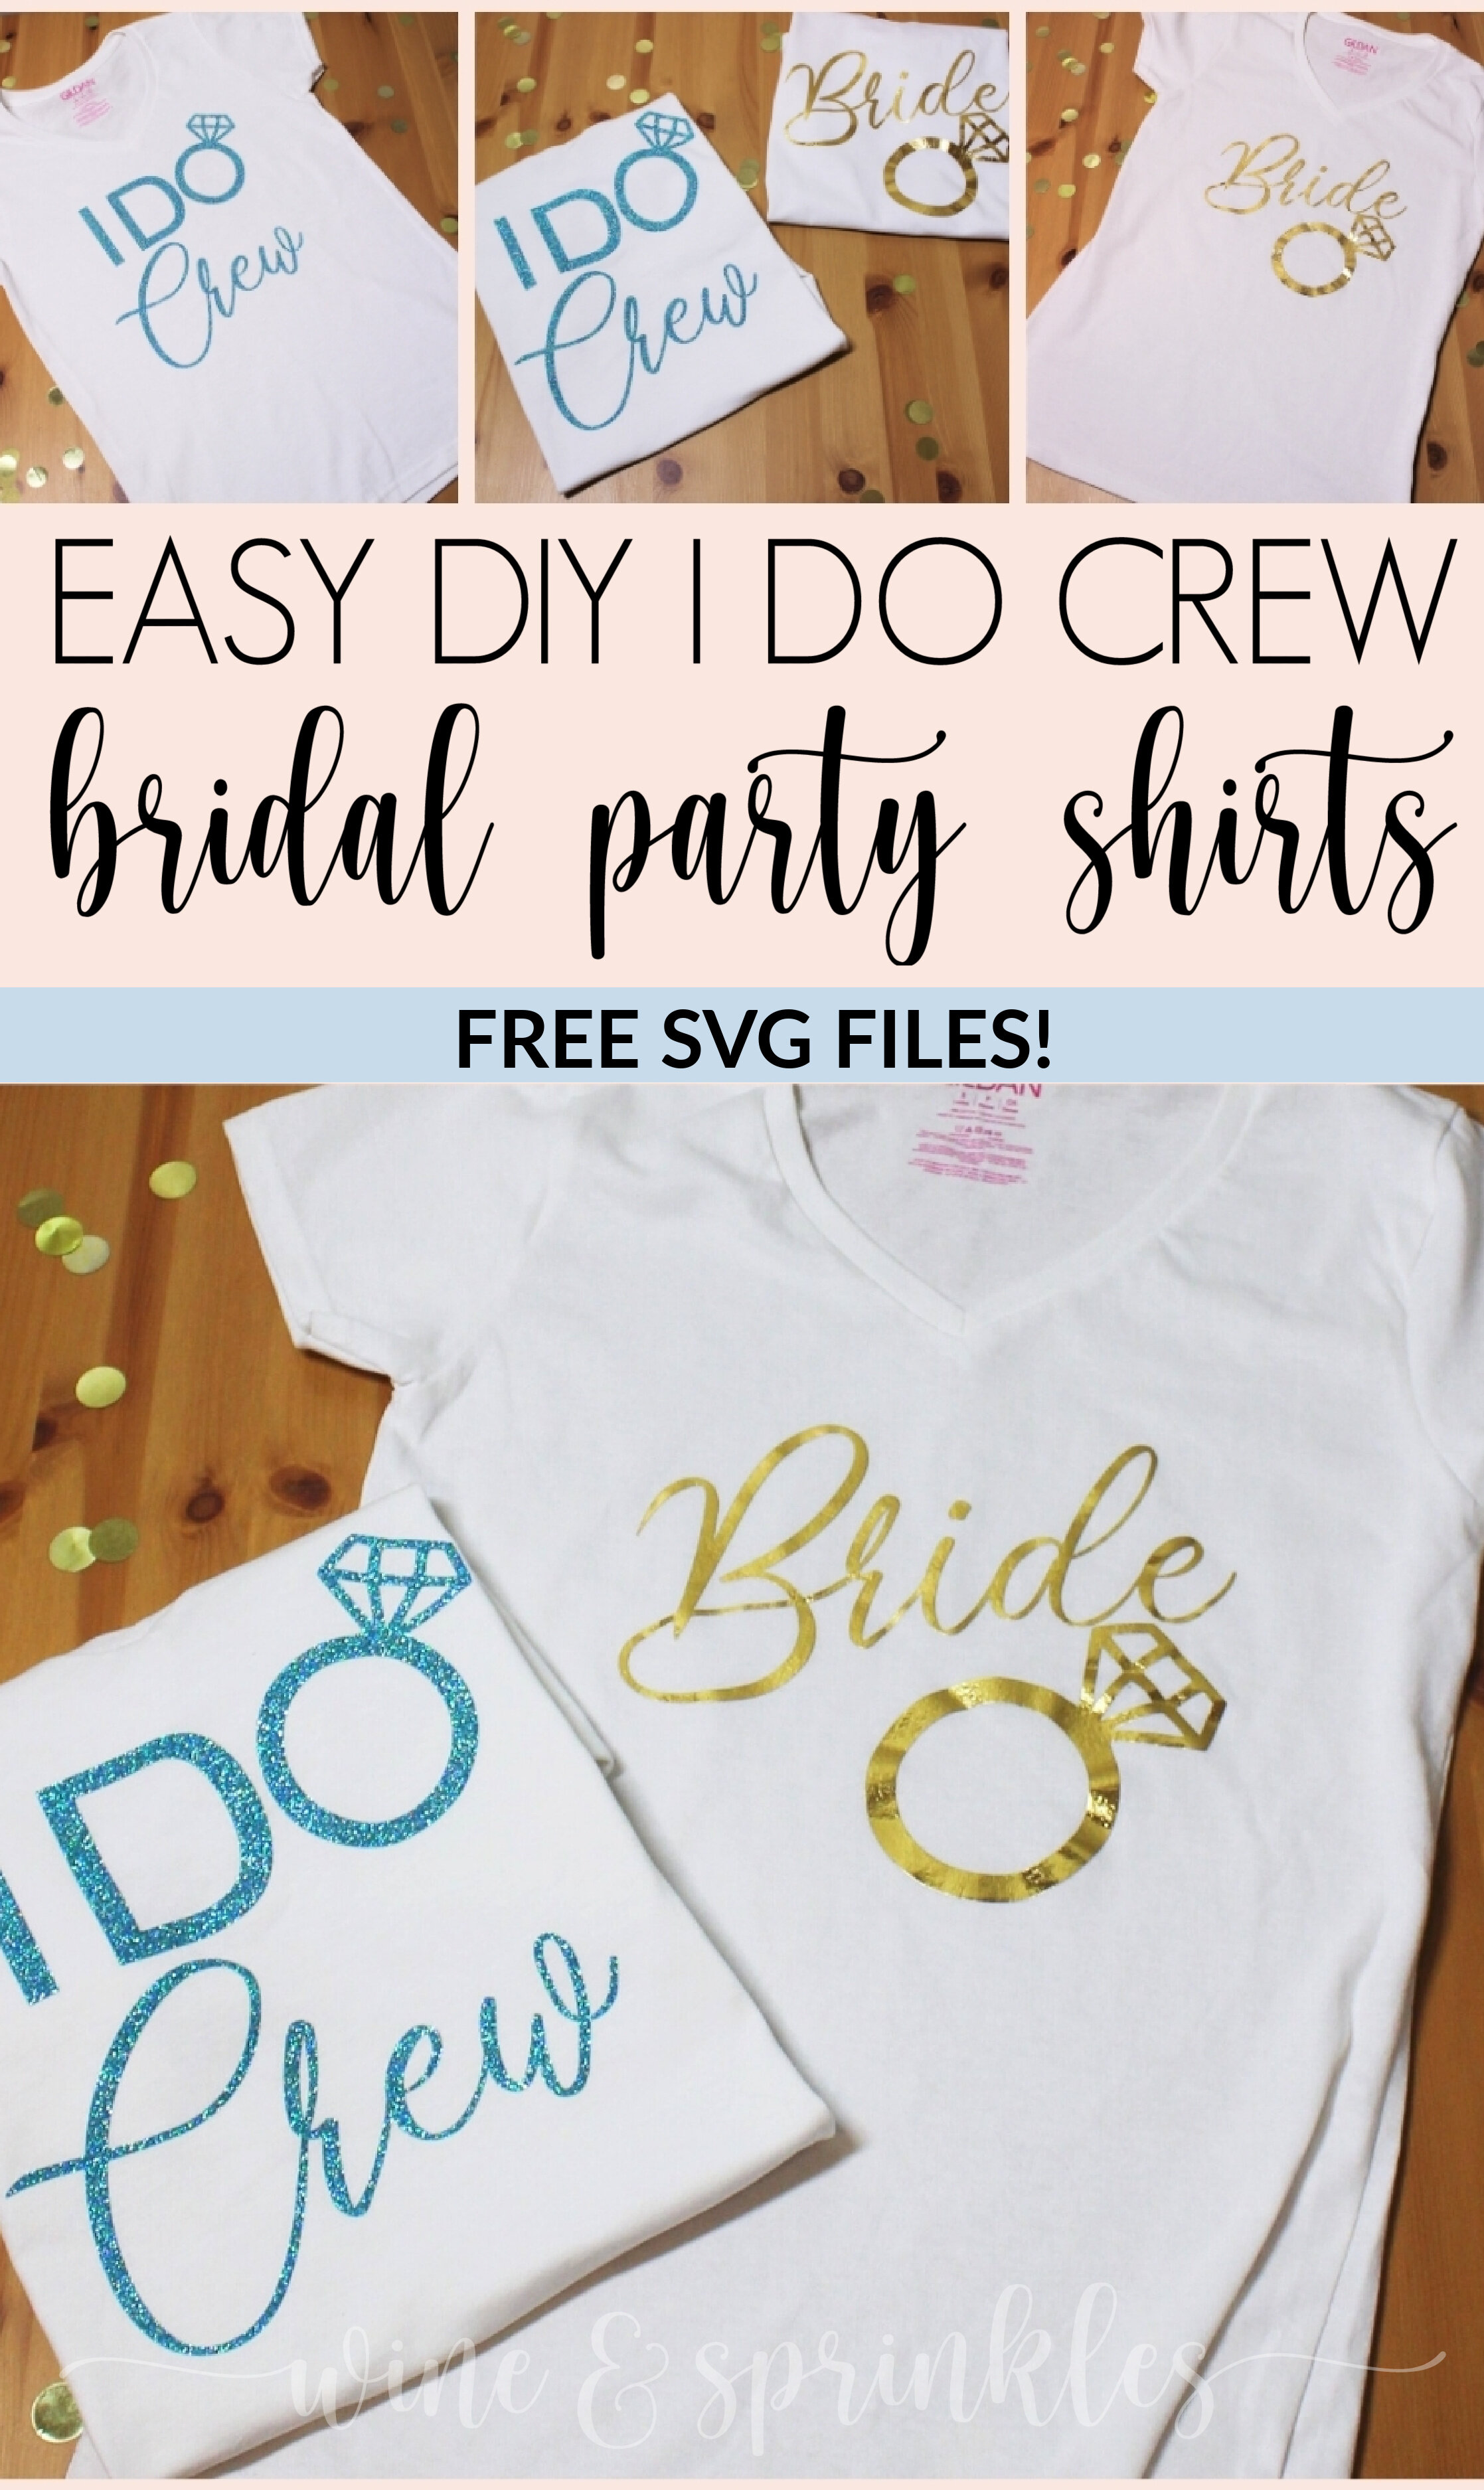
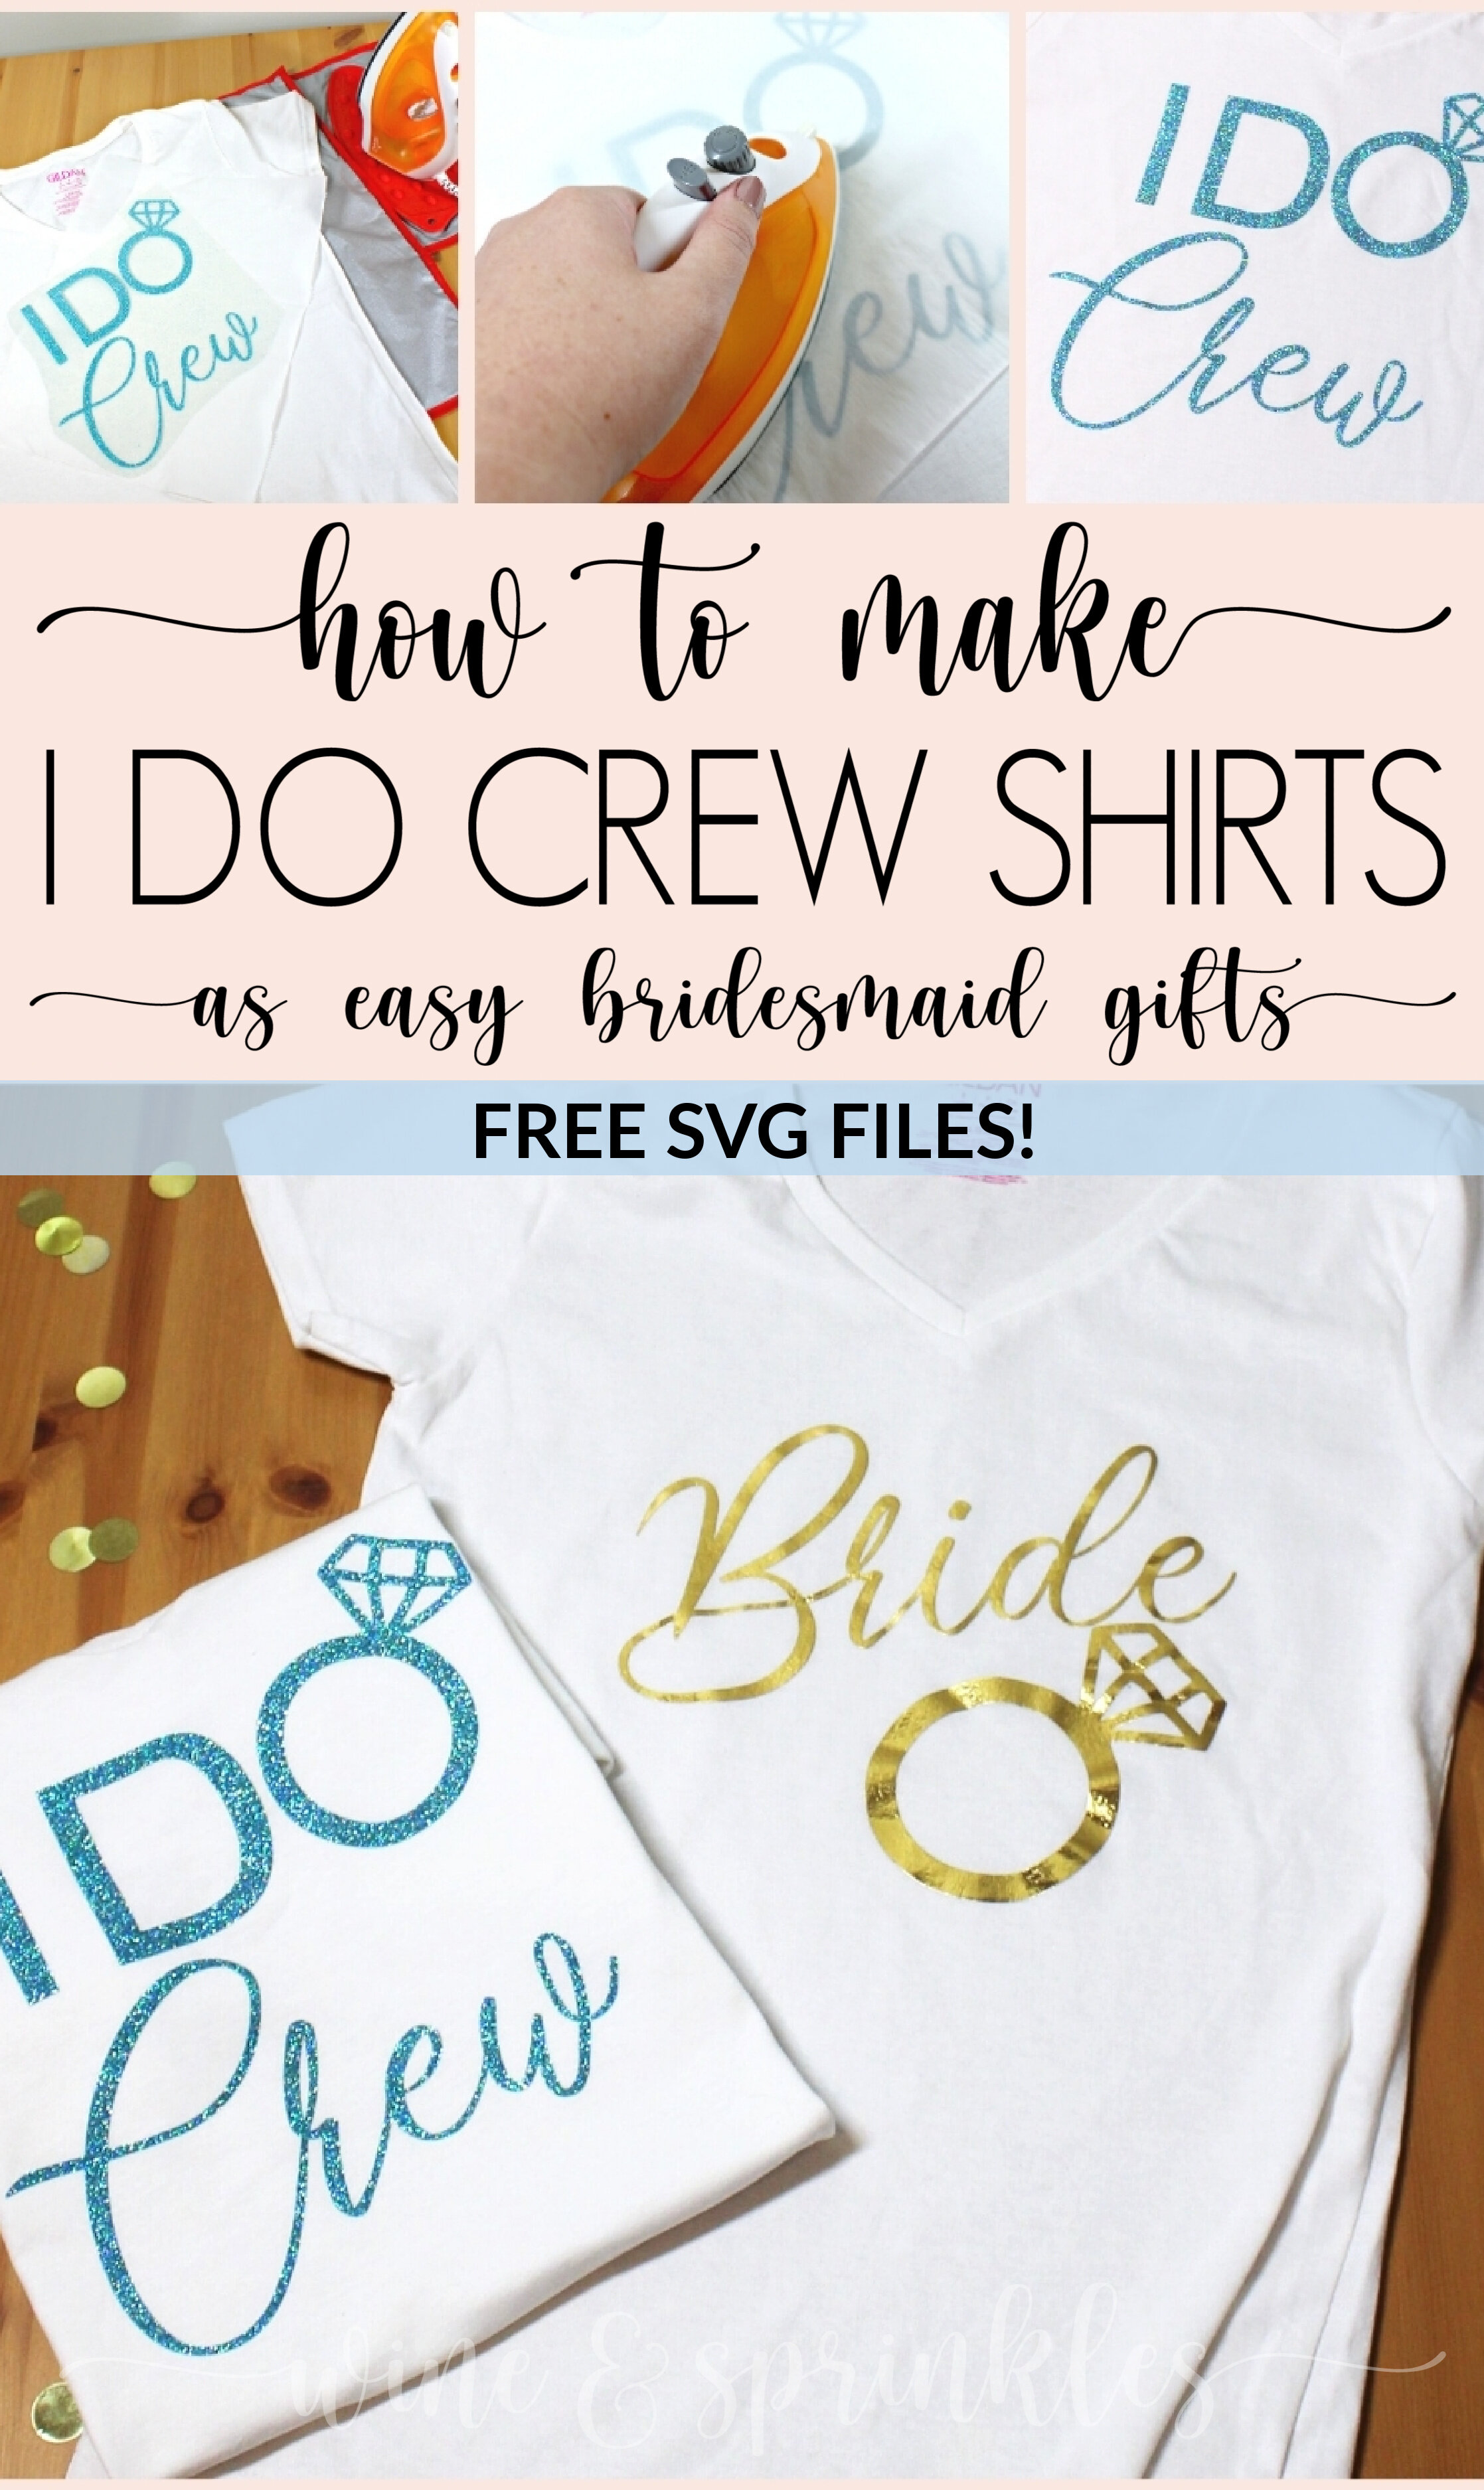
To go with our adorable I Do Crew Tumblers, I made some corresponding decals to use on shirts and other wearables! The shirts are great not only as Bridesmaid Proposals, but also for any pre-wedding events especially ones where you may have a large support group but not necessarily everyone is in the bridal party. These would be perfect to make, for example, to give to people going wedding dress shopping with you!

 I made the “I Do Crew” decals on Mermaid Blue Glitter HTV and I made the Bride decal out of Gold Foil HTV and I love the color combination! 

DIY I Do Crew HTV Bridal Party TShirts #diywedding #svgfiles #idocrew

You can see our other Bridesmaid Proposal and Gift Projects here, so whether you were looking for tumblers, tank tops, or something else you can find the perfect set to propose to your best girls!


DIY I Do Crew HTV Bridal Party TShirts #diywedding #svgfiles #idocrew
  1. After downloading the cut files, import them into the Cricut Software. After creating a new project, select Upload Image. Select the file you wish to upload and it will automatically take you to the final upload screen, where you can name the file the select Save. The SVG Files are sized so that they will automatically cut to the size you see in the photos, but if you want to change the size you can do so to fit the tank tops the way you like.

  2. After selecting “Make It” Make sure to select the Mirror Mode on the cutting screen. Cut the design in your choice of heat transfer vinyl with the Iron On (for Easyweed Vinyl) or Iron On+ (for Glitter Vinyl) Setting on your Cricut, with the shiny side of the material down.

DIY I Do Crew HTV Bridal Party TShirts #diywedding #svgfiles #idocrew

3. Weed the additional material off of the backing material so that, looking down with the shiny side up, you can see your design with the correct orientation.

4. Iron your tshirt or tank top to remove any creases, then center the design over the top half of the tank top. Arrange the design shiny side up, then cover with parchment paper. Make sure to keep the parchment paper between the design and the iron.

DIY I Do Crew HTV Bridal Party TShirts #diywedding #svgfiles #idocrew

5. Set your Iron to the second Highest setting and press the iron down firmly on the design, not ironing but rather using it as a small heat press. I worked from the upper left to lower right on the design, pressing the iron on each part of the design for at least 20-30 seconds, then overlapping the last position as you move the iron across the design.

6. Remove the backing from the design, leaving the design on the fabric. Repeat with all remaining tshirts.

You can find more designs for your bridal party in our Tank Top and TShirt Projects!

DIY I Do Crew HTV Bridal Party TShirts #diywedding #svgfiles #idocrew
 

OUR PINS FOR THIS POST:

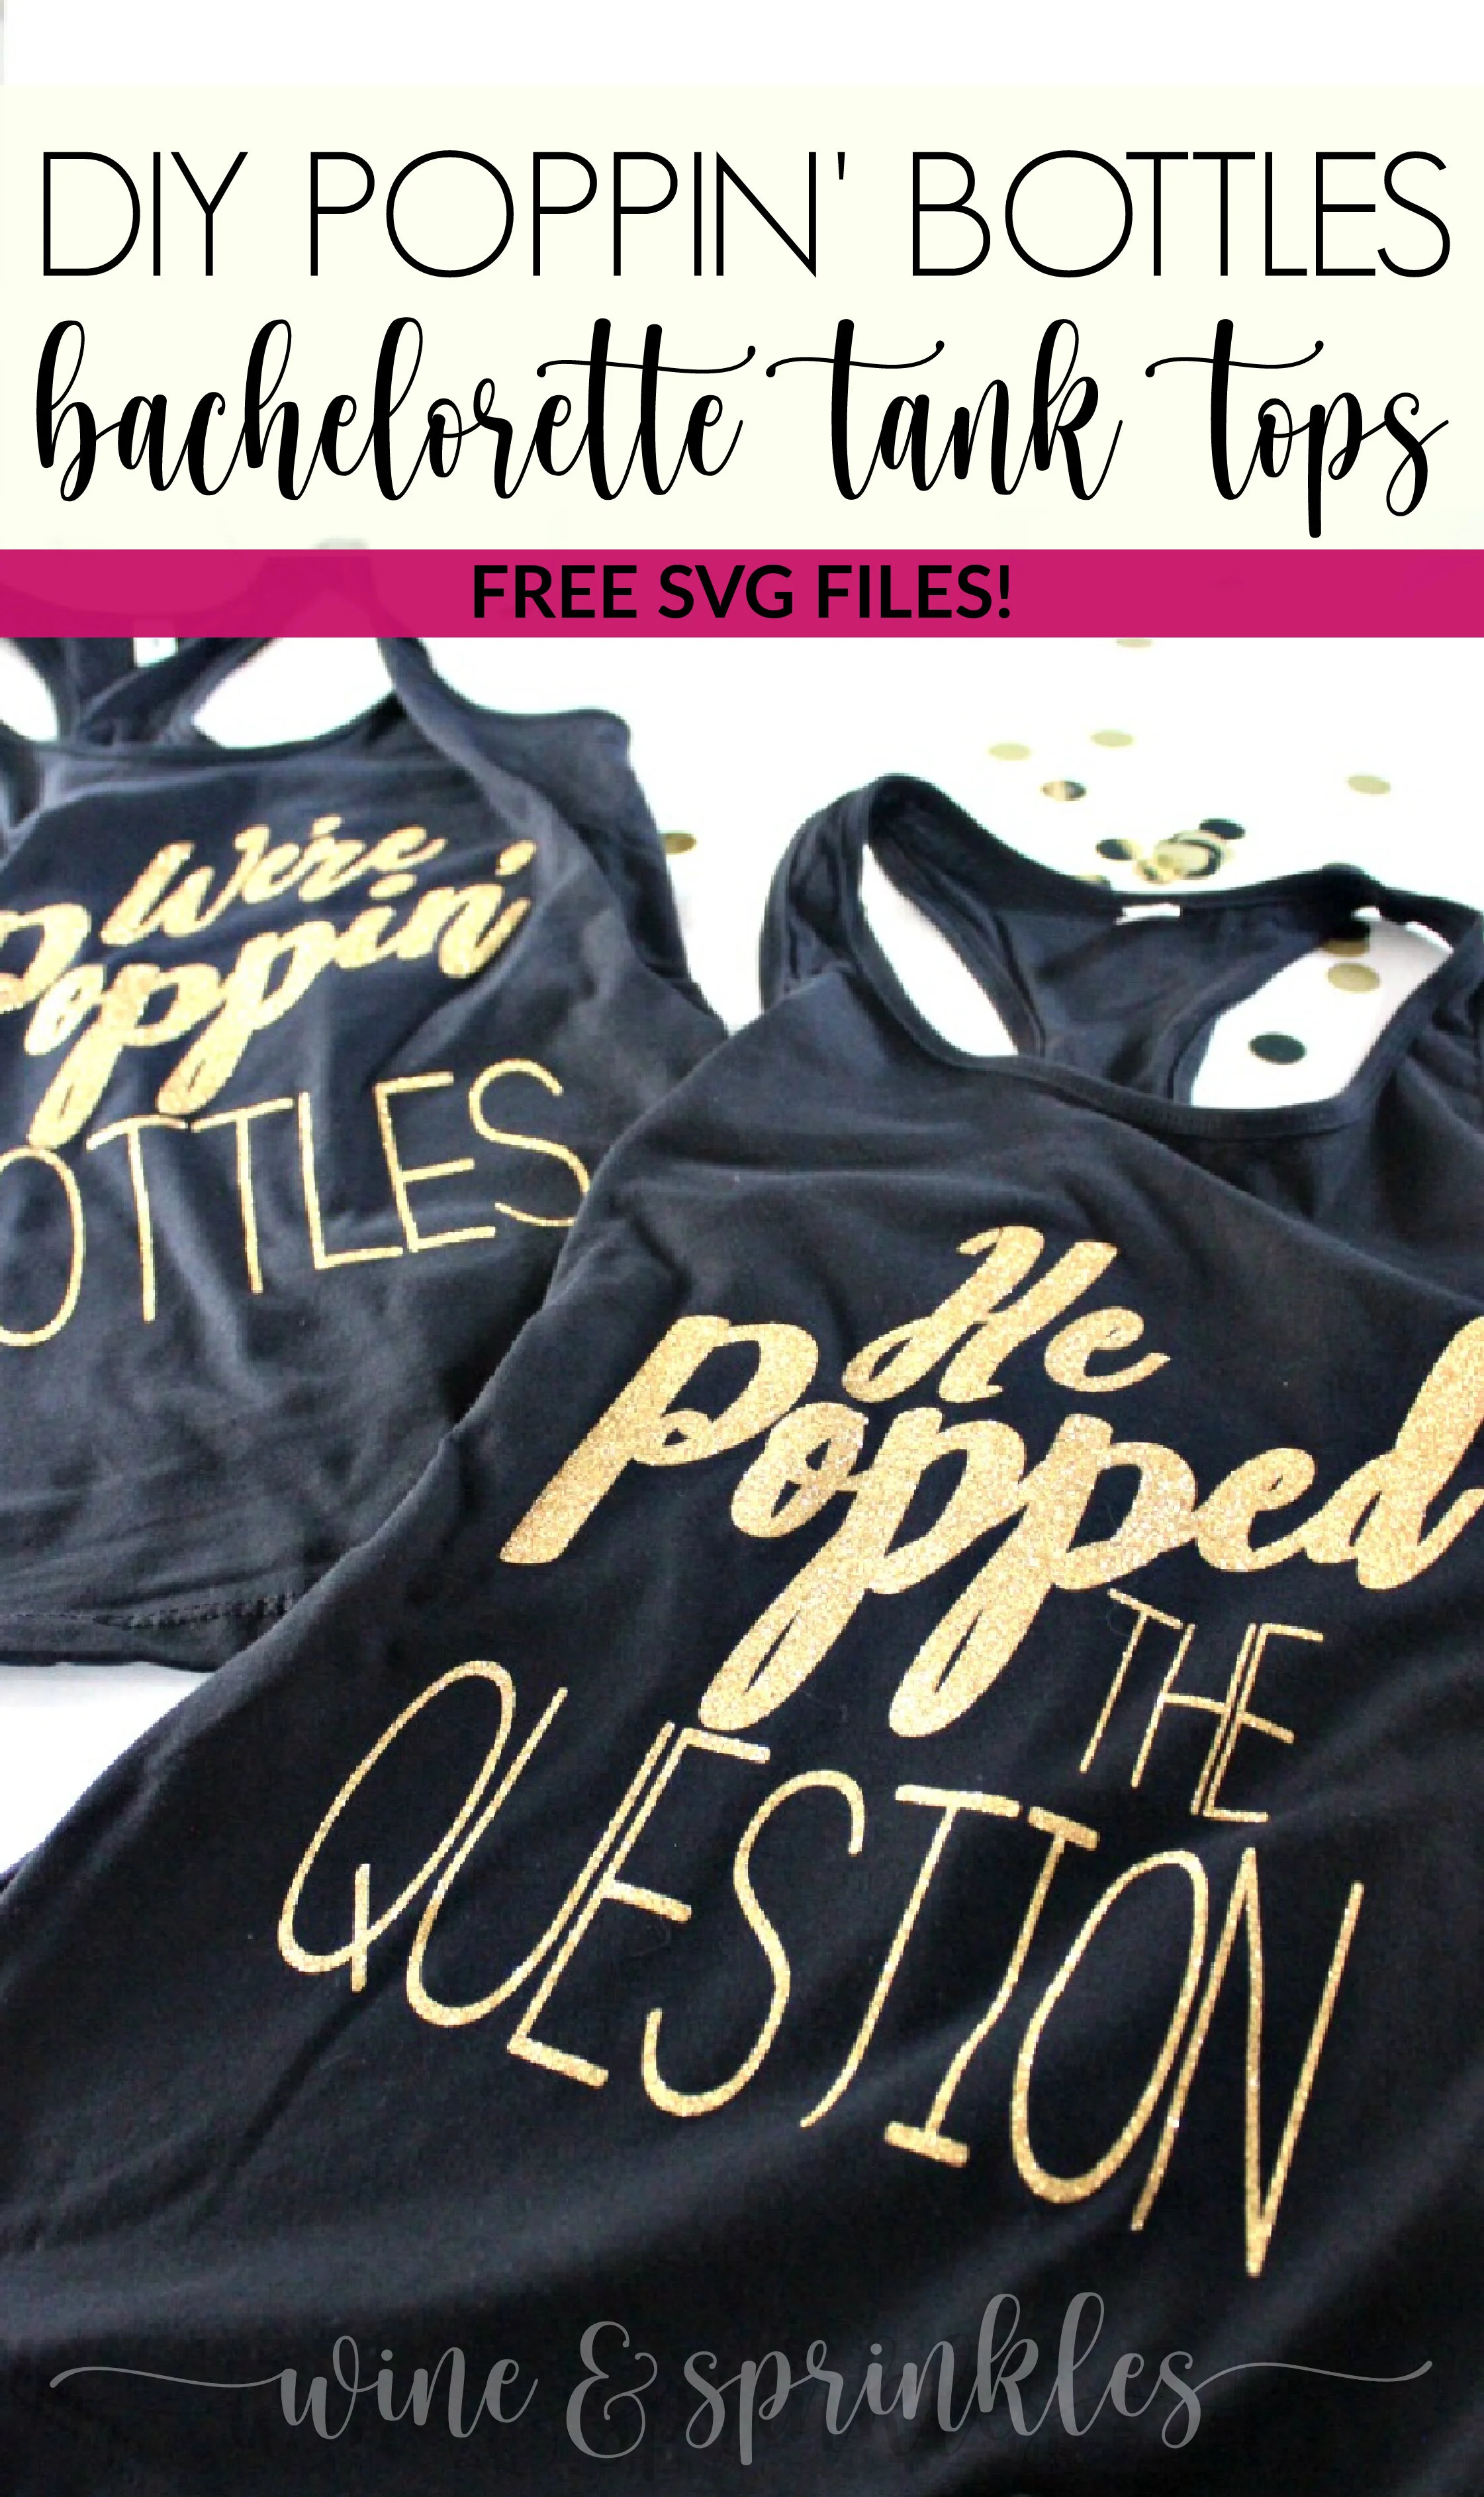
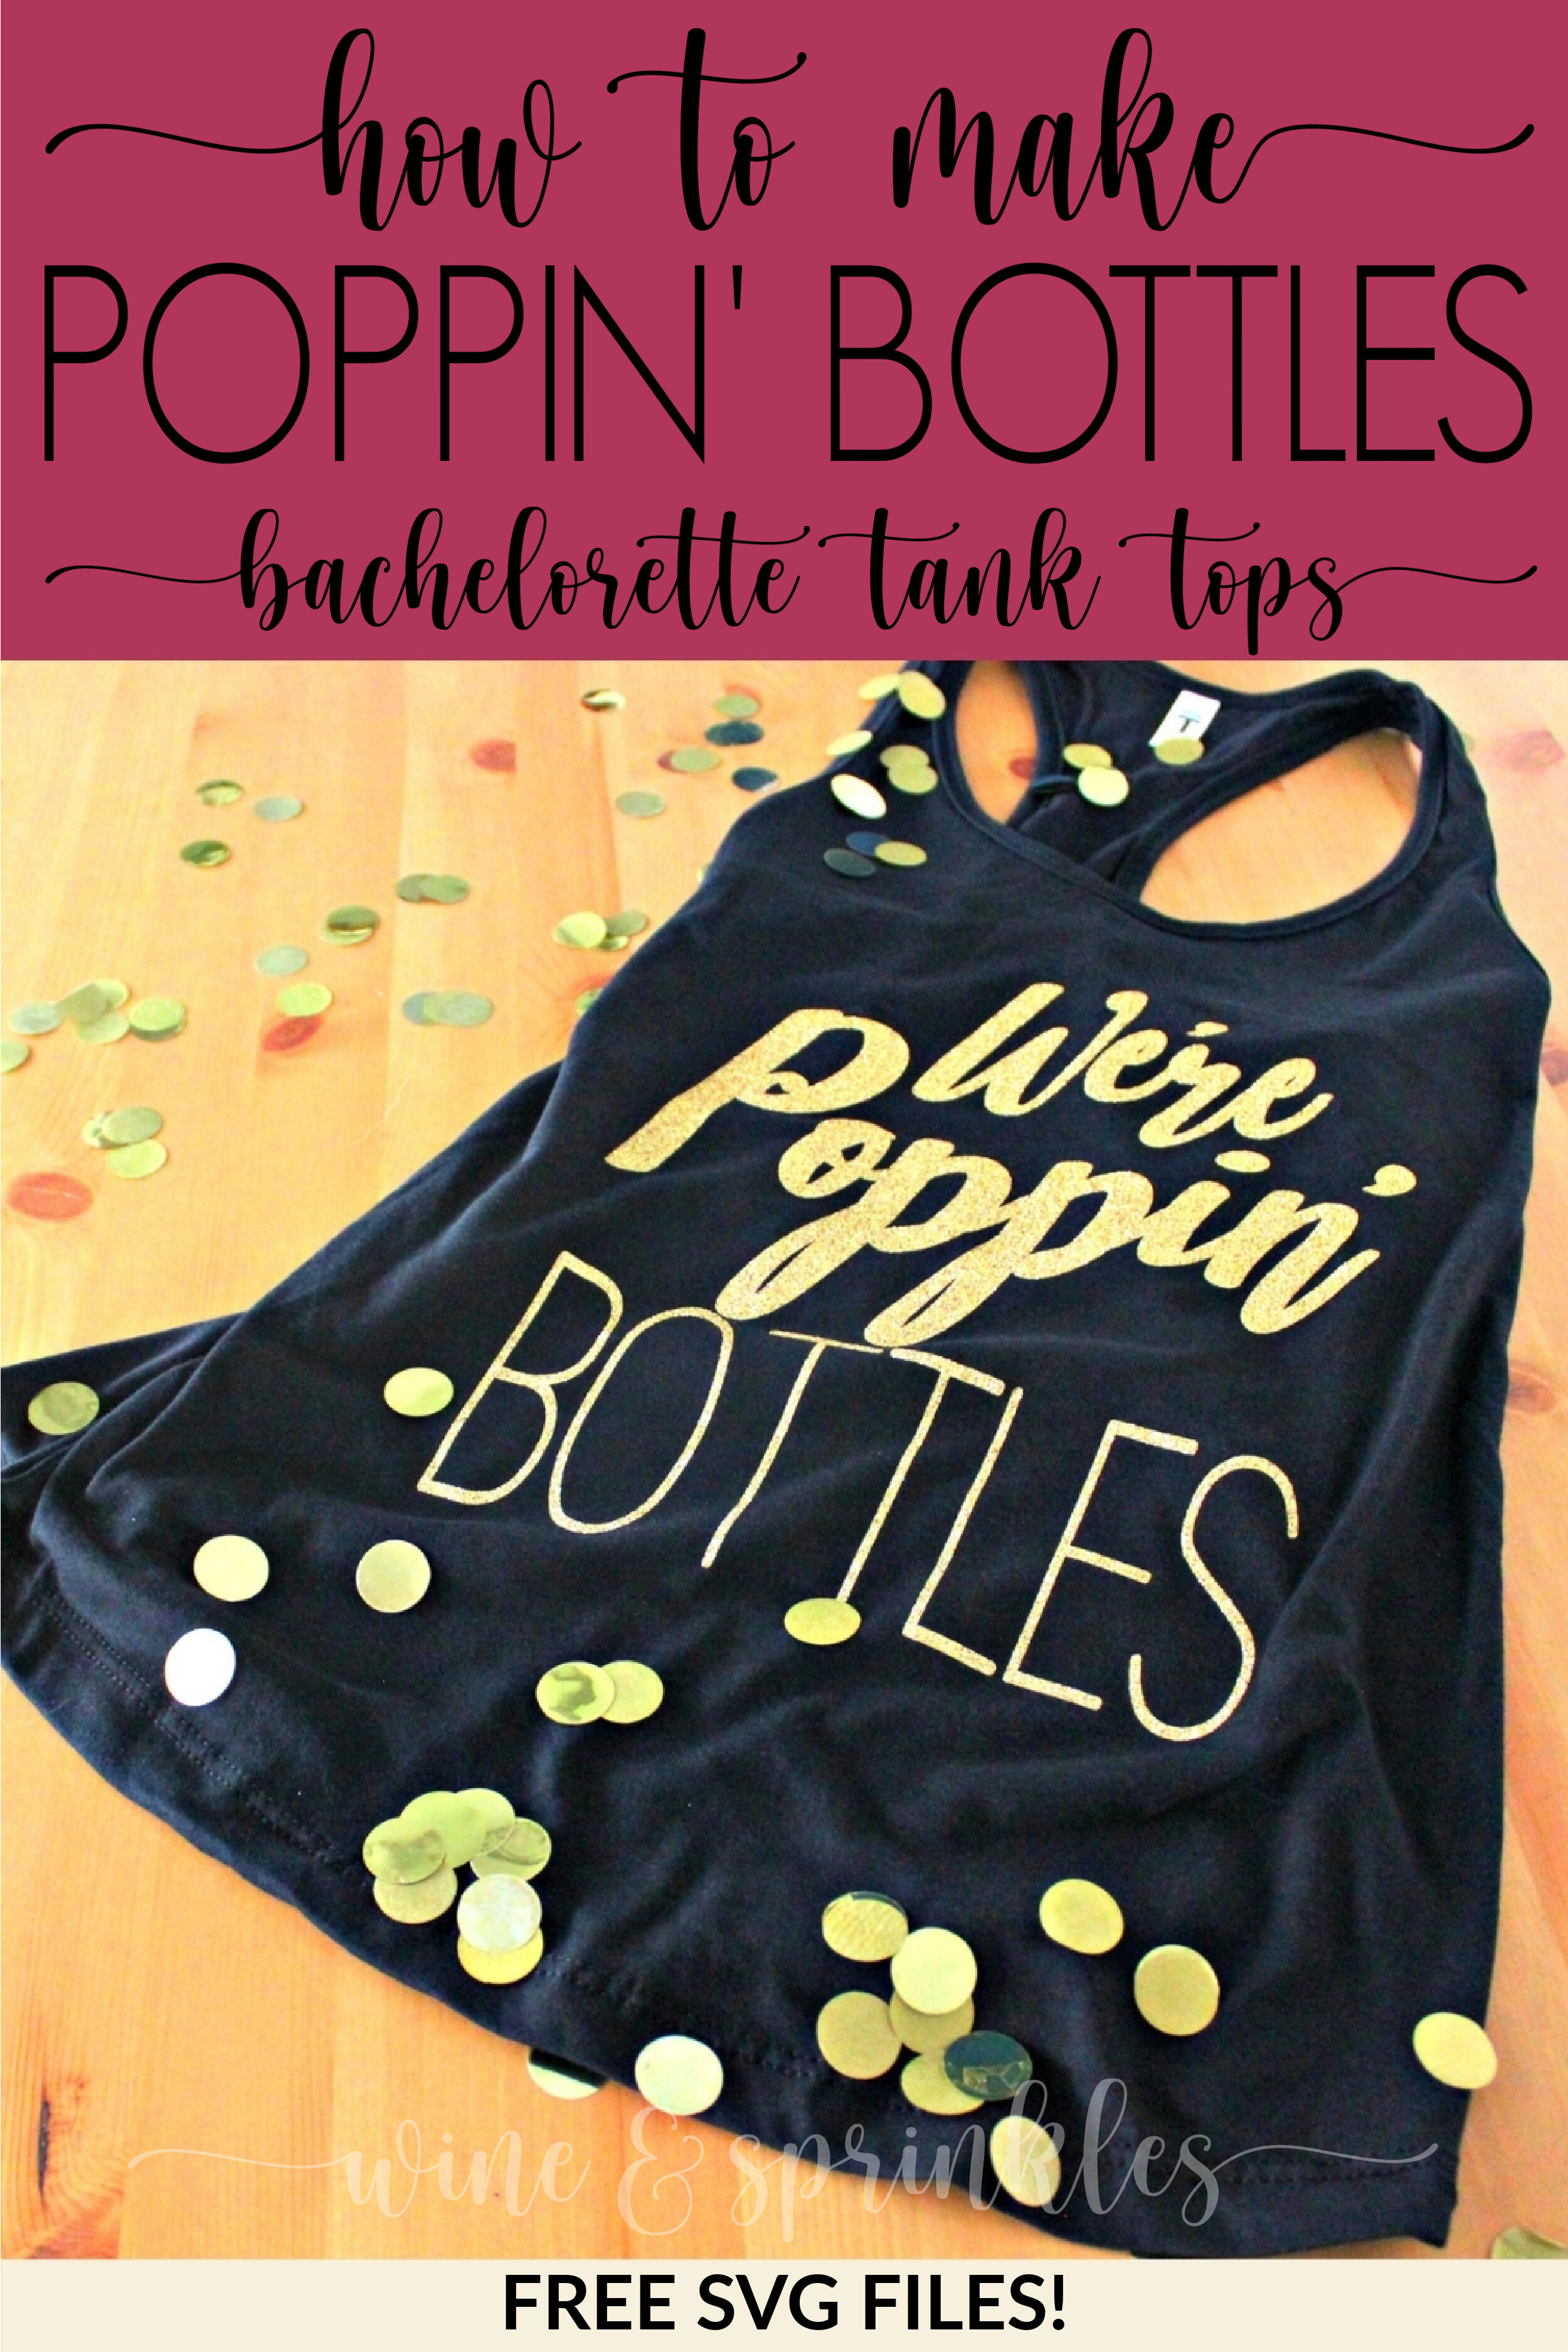
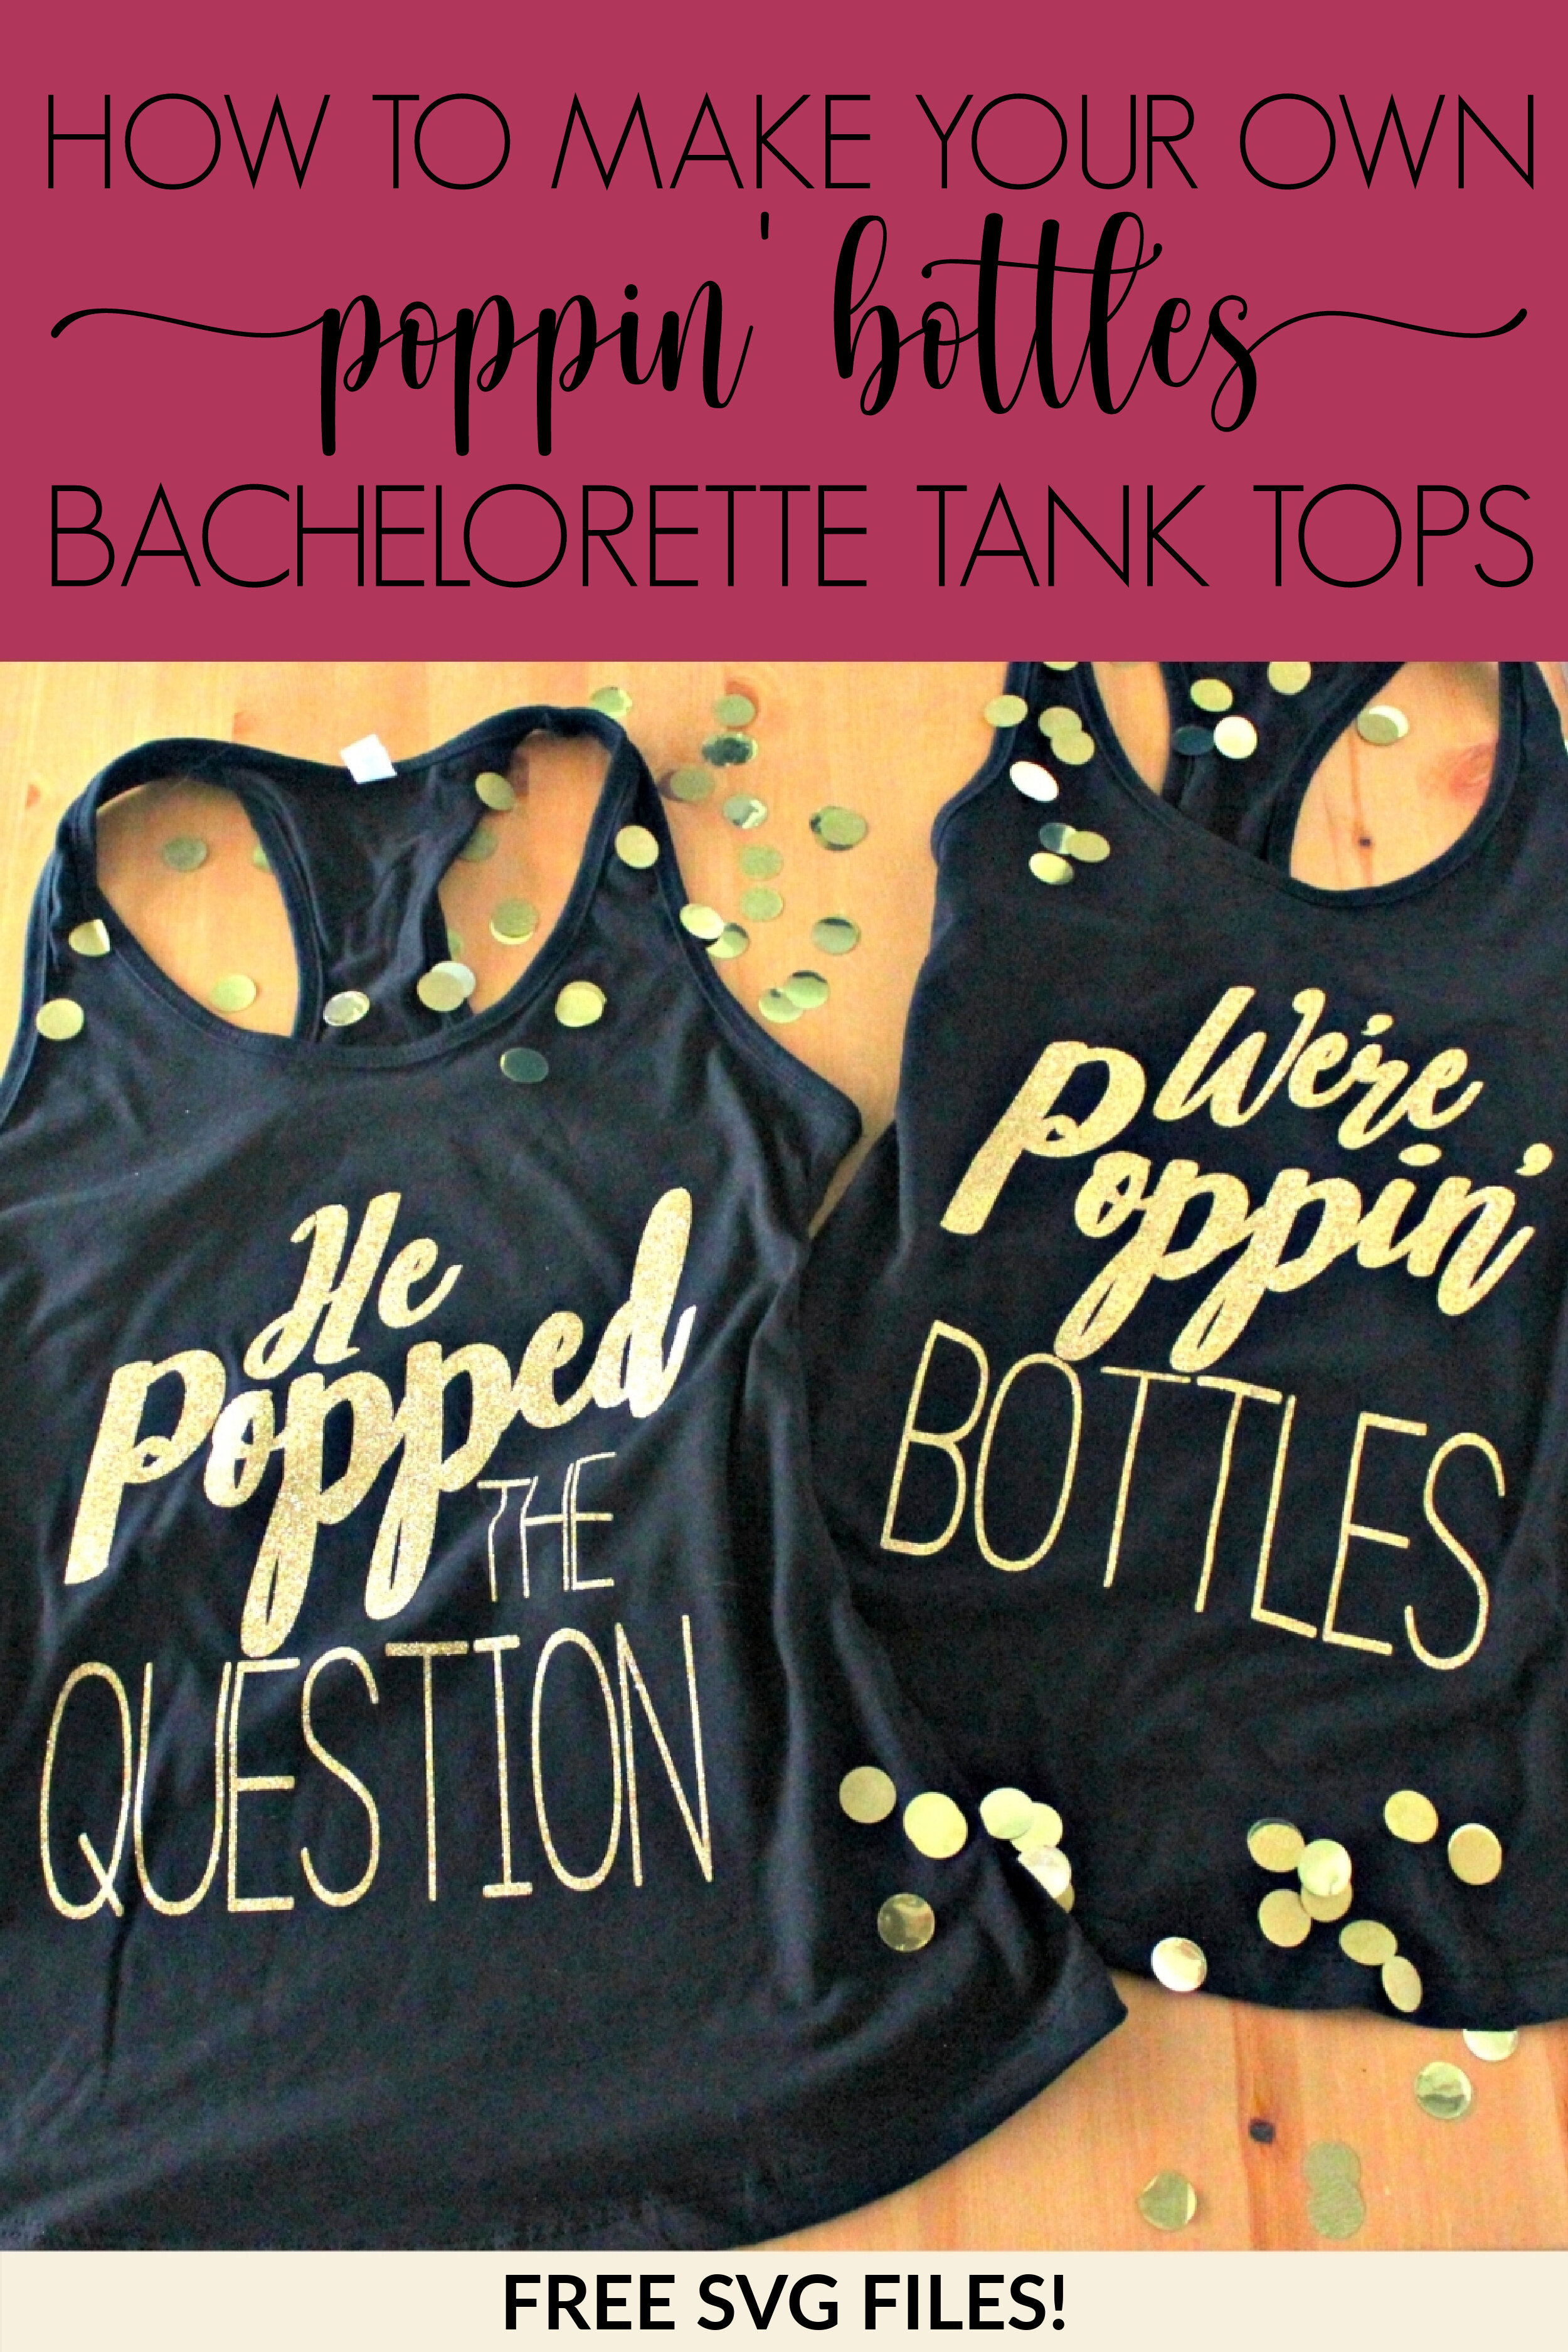
DIY Poppin Bottles Bachelorette Tank Tops

This post contains affiliate links, meaning that if you click on a link I will recieve a small comission. This costs you nothing extra and I only promote products I use and love! You can read our full disclosure here

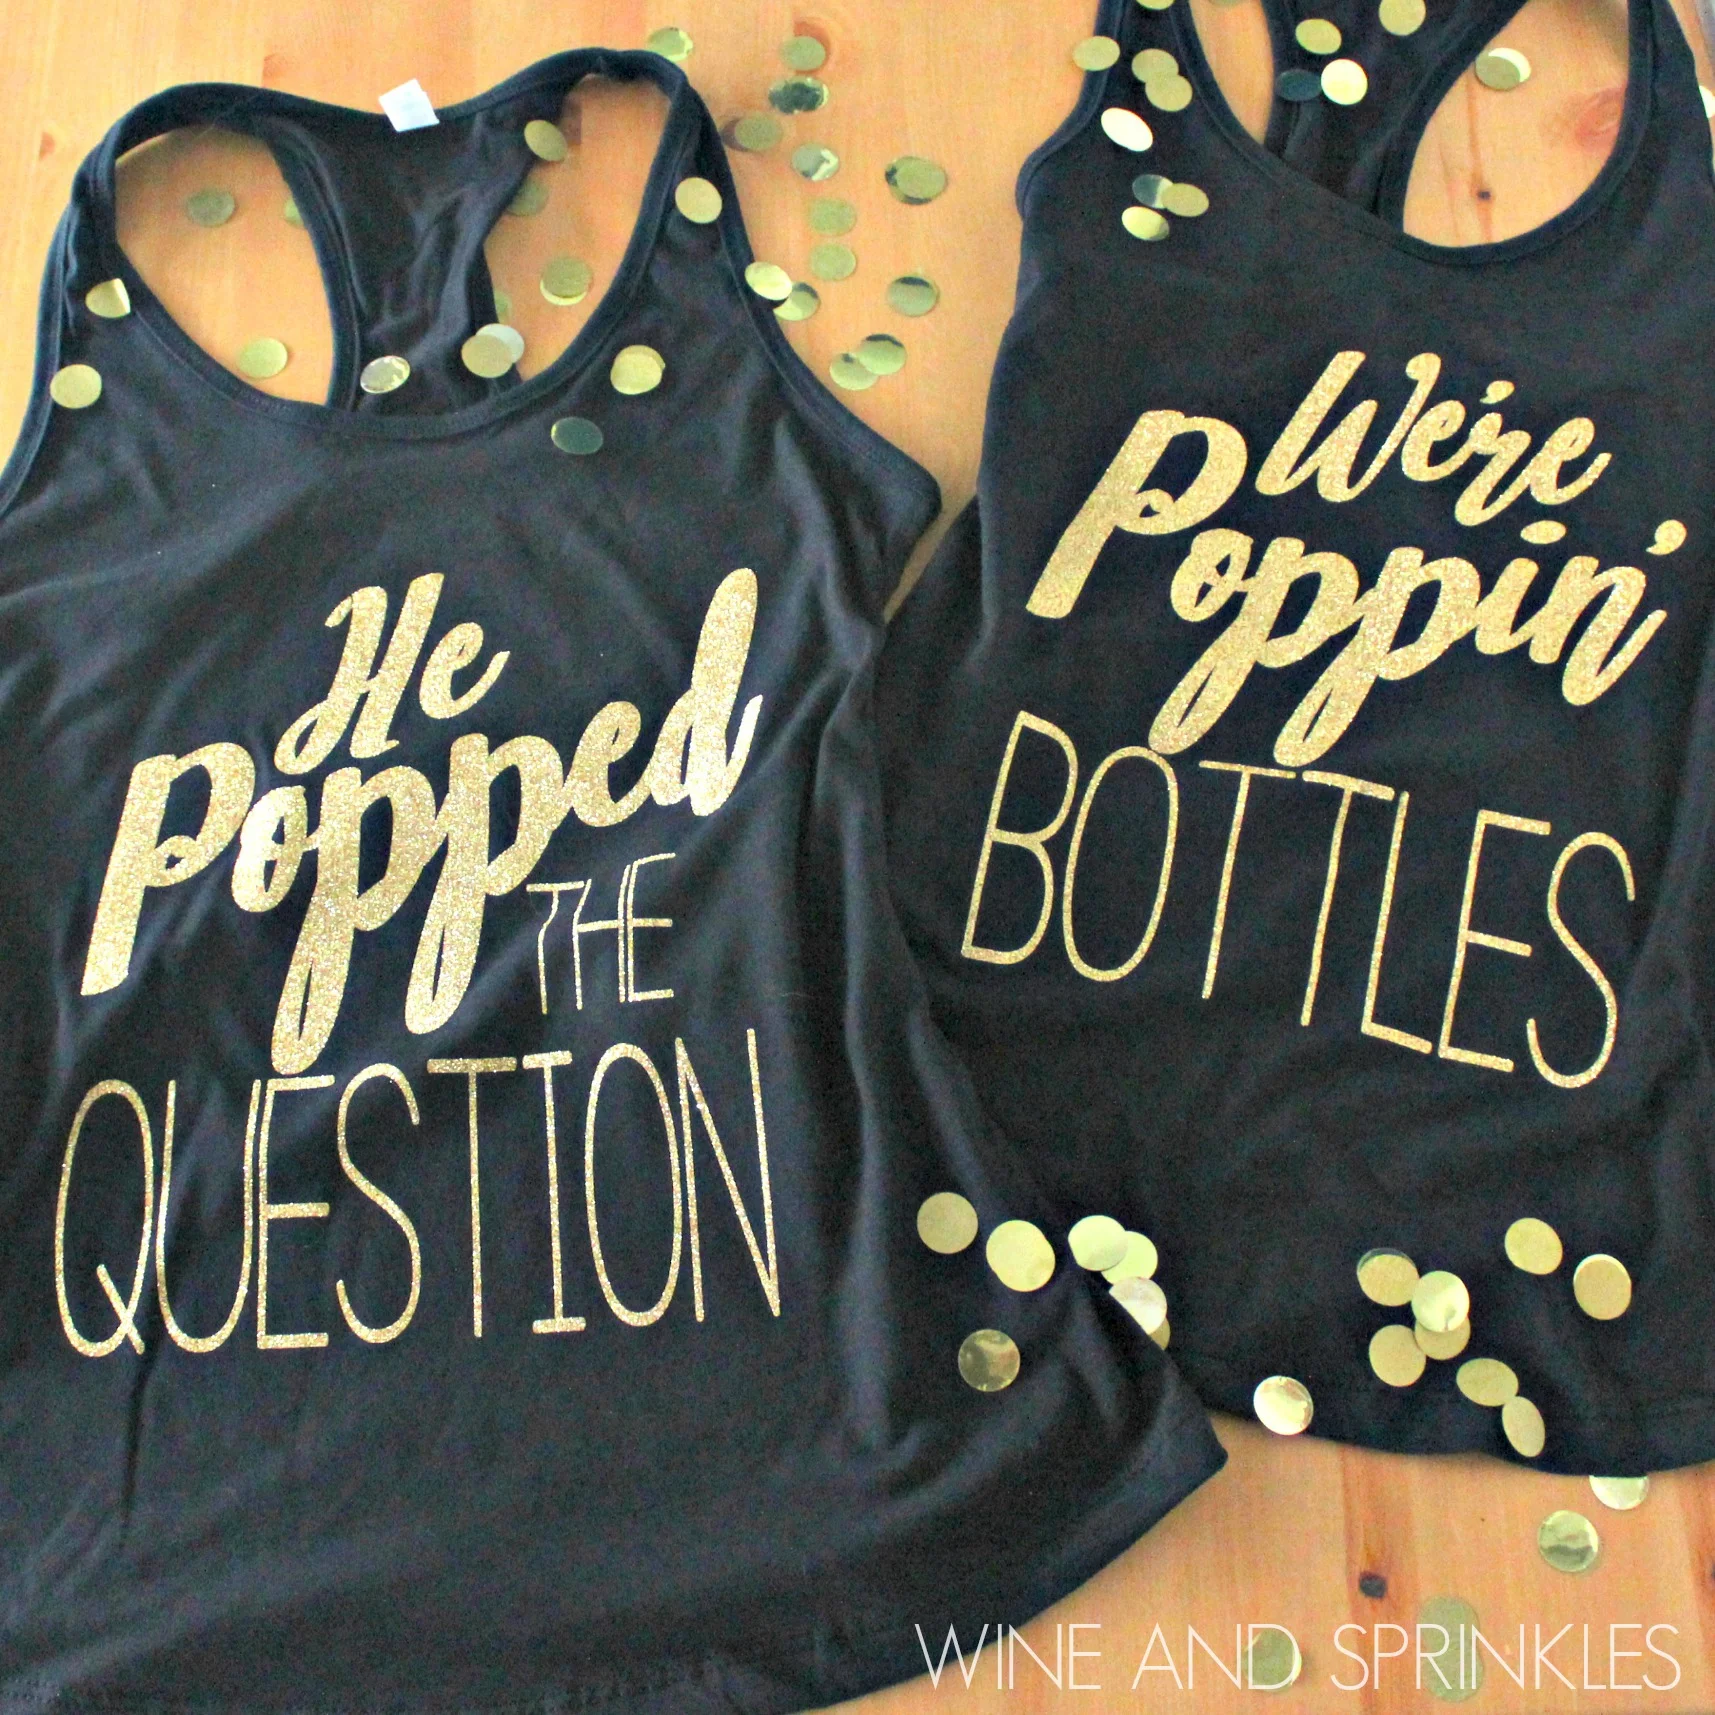
Poppin Bottles DIY HTV Bachelorette Party Tank Tops

If you are your girls are ready to celebrate your engagement, champagne style, these Poppin’ Bottles Bachelorette Tank Tops are the perfect accessory for your crew! I’m always a fan of bachelorette parties matching, and these black and gold sparkly tank tops are a great choice for a bar crawl or any party hard bachelorette party. I also love the idea of having a New Years Eve Bachelorette, which would go amazingly with these tops as well!

For these designs, I used two different fonts, Philosophy and Generica, which are both available for free for both personal and professional use from DaFont.com! I did have to do some stretching on the Generica Font to give it some height for the decal design though, so keep that in mind if you are designing for other projects.

For the Tank Tops, I used a Black Tank top with Old Gold Glitter HTV and I love how they turned out! I was a little worried on how such a thin font would do with weeding and cutting, but I had no problems at all. In fact, it turned out that the entire design was very easy to weed and transfer in general, so its a great project for beginners or masters alike! also easy designs for those who are still beginners to the HTV world.

For more Bachelorette DIY Projects, see our Bachelorette Party Projects & Posts Here!

Poppin Bottles DIY HTV Bachelorette Party Tank Tops


1. After downloading the cut files, import them into the Cricut Software. After creating a new project, select Upload Image. Select the file you wish to upload and it will automatically take you to the final upload screen, where you can name the file the select Save. The SVG Files are sized so that they will automatically cut to the size you see in the photos, but if you want to change the size you can do so to fit the tank tops the way you like.

Poppin Bottles DIY HTV Bachelorette Party Tank Tops

2. After selecting “Make It” Make sure to select the Mirror Mode on the cutting screen. Cut the design in your choice of heat transfer vinyl with the Iron On (for Easyweed HTV) or Iron On+ (for Glitter HTV) Setting on your Cricut, with the shiny side of the material down.

3. Weed the additional material off of the backing material so that, looking down with the shiny side up, you can see your design with the correct orientation.

4. Iron your tank top to remove any creases, then center the design over the top half of the tank top. Arrange the design shiny side up, then cover with parchment paper. Make sure to keep the parchment paper between the design and the iron.

Poppin Bottles DIY HTV Bachelorette Party Tank Tops

5. Set your Iron to the second Highest setting and press the the iron down firmly on the design, not ironing but rather using it as a small heat press. I worked from the upper left to lower right on the design, pressing the iron on each part of the design for at least 20-30 seconds, then overlapping the last position as you move the iron across the design.

6. Remove the backing from the design, leaving the design on the tank top.

7. Repeat with all remaining tank tops! :) If you are ready to try more tank tops, check out our other tank top projects here!

Poppin Bottles DIY HTV Bachelorette Party Tank Tops
 

Looking for more Bachelorette Party Inspiration?

SEE MORE BACHELORETTE TANKS & TOPS HERE:


OUR PINS FOR THIS POST:

Romantic Font DIY Bridal Party Shirts

This post contains affiliate links, meaning that if you click on a link I will recieve a small comission. This costs you nothing extra and I only promote products I use and love! You can read our full disclosure here

Romantic Font DIY HTV Bridal Party Getting Ready Wedding TShirts #weddingparty #diywedding #svgfiles

Some of my favorite DIY projects are for getting ready with your best girls on the morning of your wedding! To deck out you ladies in matching tank tops or t-shirts for getting ready, these beautiful romantic font wedding title bridal party t-shirts are a wonderful choice! I made these ones at wedding ready t-shirts, but they would also be great as bridesmaids proposals too!

I include decals for the bride, bridesmaids, maid and matron of honor, as well as mother of the bride and groom; so the whole group can join in the getting ready wedding fun! I used the font Clarissa when designing these decals and you can download it for free at dafont.com to use in further personalizing these t-shirts or in any other wedding projects you like!

Romantic Font DIY HTV Bridal Party Getting Ready Wedding TShirts #weddingparty #diywedding #svgfiles

I made the bride decal in Mermaid Blue Glitter HTV, the bridesmaids and MOH decals in Gold Foil HTV, and the mother of the bride and groom's in Mermaid Blue Glitter HTV, but these colors could be easily customized to any wedding color theme you like when there are so many different HTV color choices to choose from!

Romantic Font DIY HTV Bridal Party Getting Ready Wedding TShirts #weddingparty #diywedding #svgfiles

 You can check out more of our HTV Tank Top and Tshirt Projects Here, so you will be able to DIY the perfect set for all the special ladies in your life!


Romantic Font DIY HTV Bridal Party Getting Ready Wedding TShirts #weddingparty #diywedding #svgfiles
  1. After downloading the cut files, import them into the Cricut Software. After creating a new project, select Upload Image. Select the file you wish to upload and it will automatically take you to the final upload screen, where you can name the file the select Save. The SVG Files are sized so that they will automatically cut to the size you see in the photos, but if you want to change the size you can do so to fit the shirts the way you like.

  2.  After selecting “Make It” Make sure to select the Mirror Mode on the cutting screen. Cut the design in your choice of heat transfer vinyl with the Iron On (for Easyweed Vinyl) or Iron On+ (for Glitter Vinyl) Setting on your Cricut, with the shiny side of the material down.

  3. Weed the additional material off of the backing material so that, looking down with the shiny side up, you can see your design with the correct orientation.

Romantic Font DIY HTV Bridal Party Getting Ready Wedding TShirts #weddingparty #diywedding #svgfiles

4. Iron your tshirt or tank top to remove any creases, then center the design over the top half of the tank top. Arrange the design shiny side up, then cover with parchment paper. Make sure to keep the parchment paper between the design and the iron.

5. Set your Iron to the second Highest setting and press the iron down firmly on the design, not ironing but rather using it as a small heat press. I worked from the upper left to lower right on the design, pressing the iron on each part of the design for at least 20-30 seconds, then overlapping the last position as you move the iron across the design.

Romantic Font DIY HTV Bridal Party Getting Ready Wedding TShirts #weddingparty #diywedding #svgfiles

6. Remove the backing from the design, leaving the design on the fabric. Repeat with all remaining tshirts.

You can find more designs for your bridal party in our Tank Top and TShirt Projects! :)

Romantic Font DIY HTV Bridal Party Getting Ready Wedding TShirts #weddingparty #diywedding #svgfiles
 
Romantic Font DIY HTV Bridal Party Getting Ready Wedding TShirts #weddingparty #diywedding #svgfiles

DIY I Washed Up Like This Bachelorette HTV Iron On Tank Top

This post contains affiliate links, meaning that if you click on a link I will recieve a small comission. This costs you nothing extra and I only promote products I use and love! You can read our full disclosure here

DIY HTV Iron On I Washed Up like this Bachelorette Tank Tops #bachelorette #beachbachelorette #svgfiles

Beachy Bachelorette Parties are never complete without some beachy matching tank tops! These tank tops would work wonderfully for a nautical, cruise ship, or beach Bachelorette Party!

For the Bride tank top, I used Mermaid Blue Glitter HTV for the Bottle and Jade Easyweed HTV for the lettering. For the Bridesmaids tanks, I kept the same color for the lettering and switched up the bottle color to Turquoise Easyweed HTV.

You can also check out our other Tank Top Projects Here!


DIY HTV Iron On I Washed Up like this Bachelorette Tank Tops #bachelorette #beachbachelorette #svgfiles

1. After downloading the cut files, import them into the Cricut Software. After creating a new project, select Upload Image. Select the file you wish to upload and it will automatically take you to the final upload screen, where you can name the file the select Save. The SVG Files are sized so that they will automatically cut to the size you see in the photos, but if you want to change the size you can do so to fit the tank tops the way you like.

2. After selecting “Make It” Make sure to select the Mirror Mode on the cutting screen. Cut the design in your choice of heat transfer vinyl (I used White HTV) with the Iron On (for Easyweed Vinyl) or Iron On+ (for Glitter Vinyl) Setting on your Cricut, with the shiny side of the material down.

3. Weed the additional material off of the backing material so that, looking down with the shiny side up, you can see your design with the correct orientation.

DIY HTV Iron On I Washed Up like this Bachelorette Tank Tops #bachelorette #beachbachelorette #svgfiles

4. Iron your tank top to remove any creases, then center the design over the top half of the tank top. Arrange the design shiny side up, then cover with parchment paper. Make sure to keep the parchment paper between the design and the iron.

5. Set your Iron to the second Highest setting and press the the iron down firmly on the design, not ironing but rather using it as a small heat press. I worked from the upper left to lower right on the design, pressing the iron on each part of the design for at least 30 seconds, then overlapping the last position as you move the iron across the design.

DIY HTV Iron On I Washed Up like this Bachelorette Tank Tops #bachelorette #beachbachelorette #svgfiles

6. Remove the backing from the design, leaving the design on the tank top.

DIY HTV Iron On I Washed Up like this Bachelorette Tank Tops #bachelorette #beachbachelorette #svgfiles

7. Now, arrange the lettering HTV decal on top of the bottle decals, arranging it such that the lettering is equally within the outline of the text and and “Bride” is arranged in the bottle’s outline, as shown below.

DIY HTV Iron On I Washed Up like this Bachelorette Tank Tops #bachelorette #beachbachelorette #svgfiles

8. Cover the second layer with parchment paper, then iron the lettering decal on top of the existing bottle layer as shown above, using your iron like a small heat press. Press the iron on each part of the design for at least 30 seconds, then overlap the last position as you move the iron across the design.

DIY HTV Iron On I Washed Up like this Bachelorette Tank Tops #bachelorette #beachbachelorette #svgfiles

9. Remove the backing, leaving the second layer on the tank top. Repeat with all remaining tank tops.

DIY HTV Iron On I Washed Up like this Bachelorette Tank Tops #bachelorette #beachbachelorette #svgfiles

Check out our other tank top projects here!

DIY HTV Iron On I Washed Up like this Bachelorette Tank Tops #bachelorette #beachbachelorette #svgfiles

DIY Iron On Mermaid Bachelorette Tank Tops

This post contains affiliate links, meaning that if you click on a link I will recieve a small comission. This costs you nothing extra and I only promote products I use and love! You can read our full disclosure here

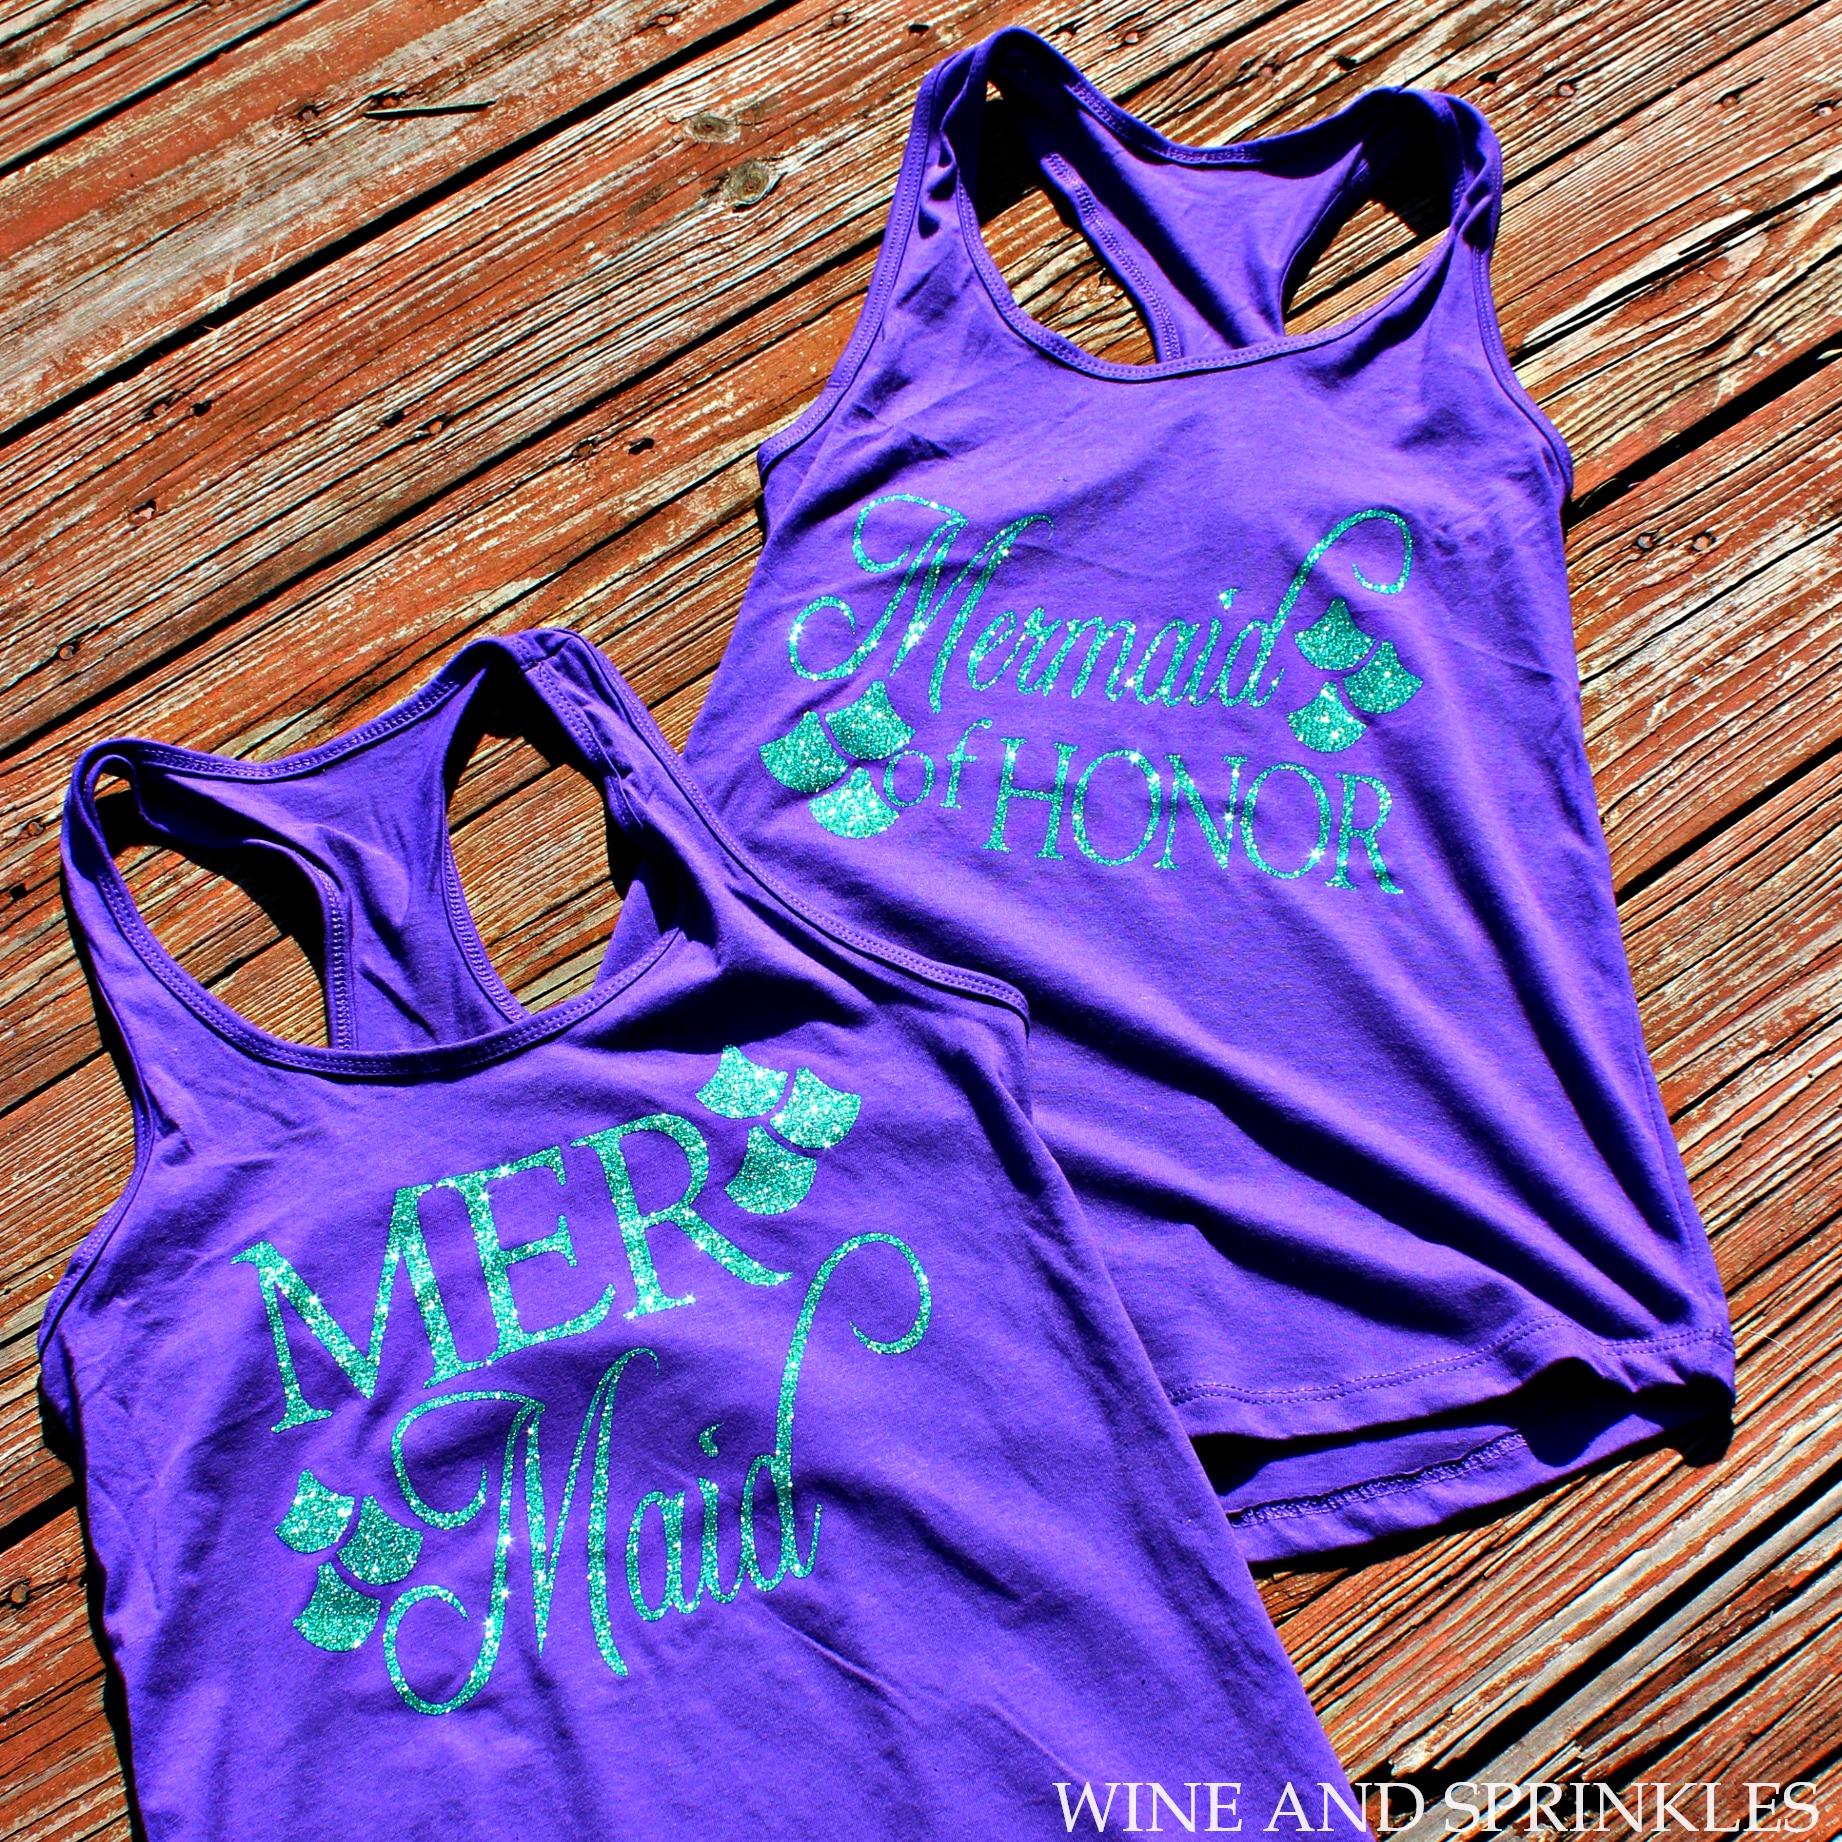
Of all the Beachy Bachelorette themes, my absolute favorite has to be a Mermaid Bachelorette! While brainstorming for one of my friend’s Mermaid Bachelorette Party, these scaley tail tank tops came to be! :)

I used Jade Glitter HTV for the Mer-Maids and Mer-Maid of Honor, and Silver Glitter HTV for the Bride’s! These tank tops are the perfect fit for any Mermaid Bachelorette Beach day or Bar Crawl!

DIY Iron On Mermaid Bachelorette Tank Tops #mermaid #bachelorette #cricutprojects

1. After downloading the cut files, import them into the Cricut Software. After creating a new project, select Upload Image. Select the file you wish to upload and it will automatically take you to the final upload screen, where you can name the file the select Save. The SVG Files are sized so that they will automatically cut to the size you see in the photos, but if you want to change the size you can do so to fit the tank tops the way you like.

DIY Iron On Mermaid Bachelorette Tank Tops #mermaid #bachelorette #cricutprojects

2. After selecting “Make It” Make sure to select the Mirror Mode on the cutting screen. Cut the design(s) in your choice of heat transfer vinyl (I used Jade Glitter and Silver Glitter HTV) with the Iron On (for Easyweed Vinyl) or Iron On+ (for Glitter Vinyl) Setting on your Cricut, with the shiny side of the material down.

3. Weed the additional material off of the backing material so that, looking down with the shiny side up, you can see your design with the correct orientation.

4. Iron your tank top to remove any creases, then center the design over the top half of the tank top. Arrange the design shiny side up, then cover with parchment paper. Make sure to keep the parchment paper between the design and the iron.

DIY Iron On Mermaid Bachelorette Tank Tops #mermaid #bachelorette #cricutprojects

5. Set your Iron to the second Highest setting and press the the iron down firmly on the design, not ironing but rather using it as a small heat press. I worked from the upper left to lower right on the design, pressing the iron on each part of the design for at least 30 seconds, then overlapping the last position as you move the iron across the design.

DIY Iron On Mermaid Bachelorette Tank Tops #mermaid #bachelorette #cricutprojects

6. Remove the backing from the design, leaving the design on the tank top. Repeat with all the remaining tank tops.

DIY Iron On Mermaid Bachelorette Tank Tops #mermaid #bachelorette #cricutprojects

DIY Bride's Beaches Bachelorette Tank Tops

This post contains affiliate links, meaning that if you click on a link I will recieve a small comission. This costs you nothing extra and I only promote products I use and love! You can read our full disclosure here

DIY HTV Iron On Bride's Beaches Bachelorette Tank Tops #bachelorette #beachbachelorette #svgfiles

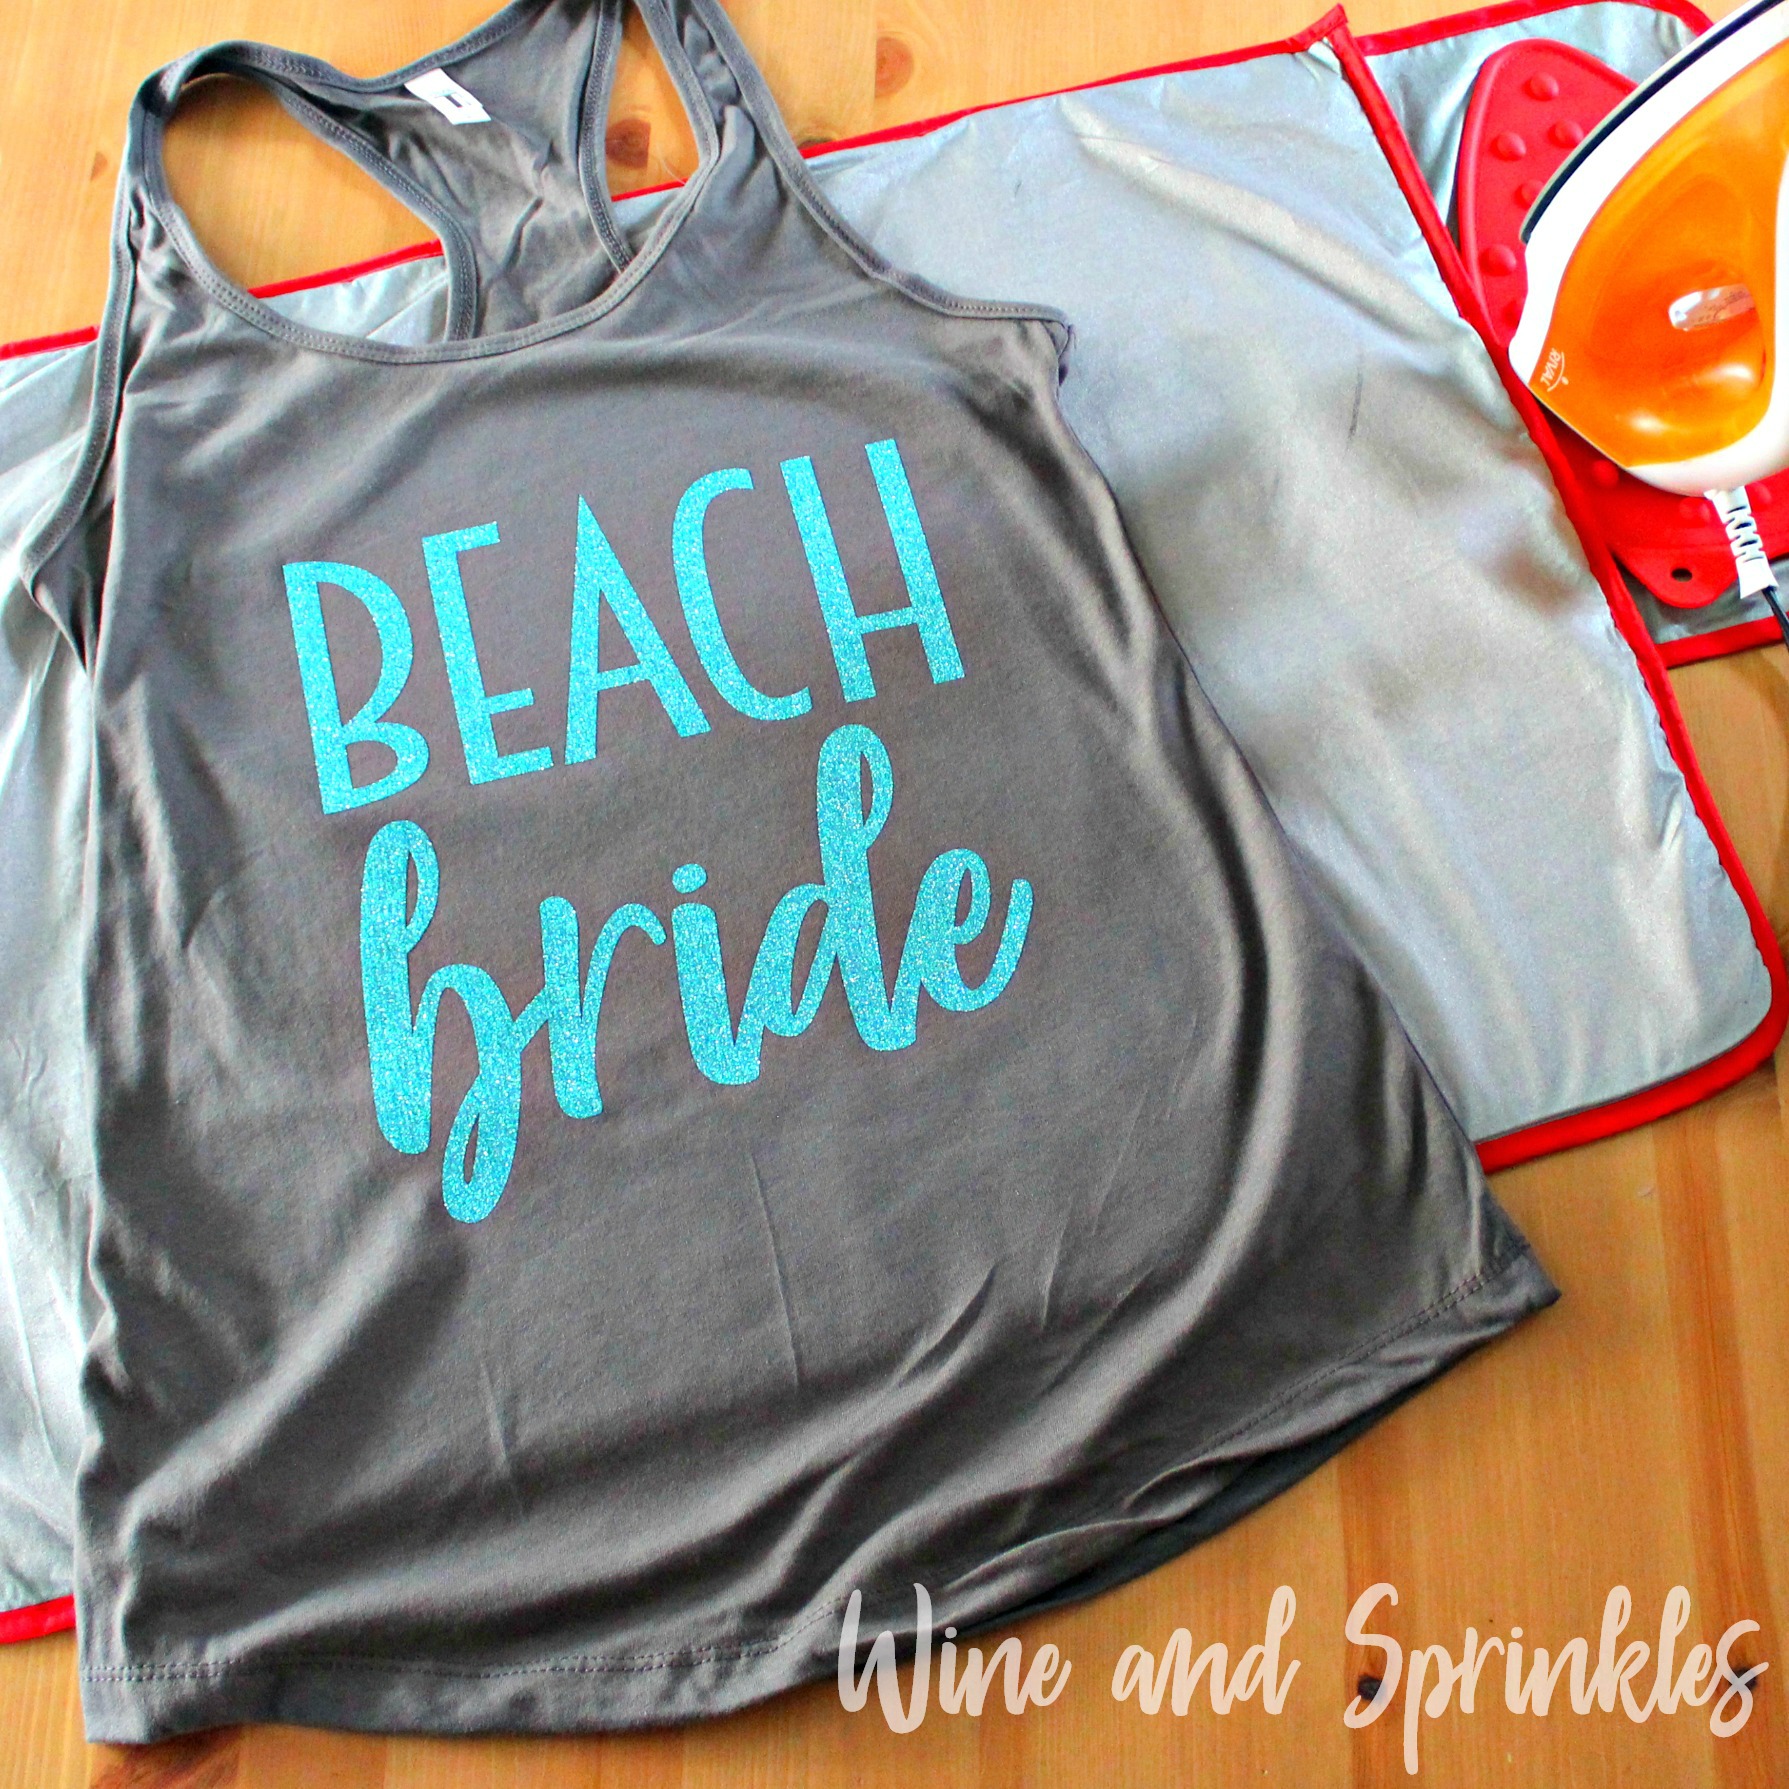
We have a bunch of beachy bachelorette tanks the next couple weeks and we are starting out with one of my favorites, some Brides Beaches Tank Tops! These tank tops are perfect for any beach going Bachelorette and her whole crew! :)

I used (very appropriately named) Mermaid Blue Glitter HTV on a Warm Gray tank top and I love how they turned out! These are also easy designs for those who are still beginners to the weeding and HTV world, I had zero issues weeding or transferring them. :)


1. After downloading the cut files, import them into the Cricut Software. After creating a new project, select Upload Image. Select the file you wish to upload and it will automatically take you to the final upload screen, where you can name the file the select Save. The SVG Files are sized so that they will automatically cut to the size you see in the photos, but if you want to change the size you can do so to fit the tank tops the way you like.

DIY HTV Iron On Bride's Beaches Bachelorette Tank Tops #bachelorette #beachbachelorette #svgfiles

2. After selecting “Make It” Make sure to select the Mirror Mode on the cutting screen. Cut the design in your choice of heat transfer vinyl with the Iron On (for Easyweed Vinyl) or Iron On+ (for Glitter Vinyl) Setting on your Cricut, with the shiny side of the material down.

3. Weed the additional material off of the backing material so that, looking down with the shiny side up, you can see your design with the correct orientation.

DIY HTV Iron On Bride's Beaches Bachelorette Tank Tops #bachelorette #beachbachelorette #svgfiles

4. Iron your tank top to remove any creases, then center the design over the top half of the tank top. Arrange the design shiny side up, then cover with parchment paper. Make sure to keep the parchment paper between the design and the iron.

5. Set your Iron to the second Highest setting and press the the iron down firmly on the design, not ironing but rather using it as a small heat press. I worked from the upper left to lower right on the design, pressing the iron on each part of the design for at least 20-30 seconds, then overlapping the last position as you move the iron across the design.

6. Remove the backing from the design, leaving the design on the tank top.

DIY HTV Iron On Bride's Beaches Bachelorette Tank Tops #bachelorette #beachbachelorette #svgfiles

7. Repeat with all remaining tank tops! :) You can find more designs for your bridal party in our Tank Top Projects! :)

DIY HTV Iron On Bride's Beaches Bachelorette Tank Tops #bachelorette #beachbachelorette #svgfiles

Just Engaged Feyonce DIY HTV Iron On Tank Top

This post contains affiliate links, meaning that if you click on a link I will recieve a small comission. This costs you nothing extra and I only promote products I use and love! You can read our full disclosure here

DIY HTV Iron On Feyonce Engagement Tank Top #feyonce #justengaged #diywedding

Nothing like celebrating your fiancee status than with a fun tank top, so we had to include another option after creating our Engaged AF Tank Top! :)

I made the decal with Gold Confetti Glitter HTV but any color would come out great! This is an easy decal to weed and is a great beginner project if you haven’t done a lot of HTV Projects before. :)

If you already have a Cricut, this project is also much more affordable than buying one, which is always a plus!. :) You can also check out our other Tank Top Projects Here!

 
DIY HTV Iron On Feyonce Engagement Tank Top #feyonce #justengaged #diywedding
 
DIY HTV Iron On Feyonce Engagement Tank Top #feyonce #justengaged #diywedding

1. After downloading the cut files, import them into the Cricut Software. After creating a new project, select Upload Image. Select the file you wish to upload and it will automatically take you to the final upload screen, where you can name the file the select Save. The SVG Files are sized so that they will automatically cut to the size you see in the photos, but if you want to change the size you can do so to fit the tank tops the way you like.

2. After selecting “Make It” Make sure to select the Mirror Mode on the cutting screen. Cut the design in your choice of heat transfer vinyl (I used White HTV) with the Iron On (for Easyweed Vinyl) or Iron On+ (for Glitter Vinyl) Setting on your Cricut, with the shiny side of the material down.

3. Weed the additional material off of the backing material so that, looking down with the shiny side up, you can see your design with the correct orientation.

DIY HTV Iron On Feyonce Engagement Tank Top #feyonce #justengaged #diywedding

4. Iron your tank top to remove any creases, then center the design over the top half of the tank top. Arrange the design shiny side up, then cover with parchment paper. Make sure to keep the parchment paper between the design and the iron.

5. Set your Iron to the second Highest setting and press the the iron down firmly on the design, not ironing but rather using it as a small heat press. I worked from the upper left to lower right on the design, pressing the iron on each part of the design for at least 30 seconds, then overlapping the last position as you move the iron across the design.

6. Remove the backing from the design, leaving the design on the tank top.

DIY HTV Iron On Feyonce Engagement Tank Top #feyonce #justengaged #diywedding

Check out our other tank top projects here!

DIY HTV Iron On Feyonce Engagement Tank Top #feyonce #justengaged #diywedding

DIY Bride Squad Bridal Party Tank Tops

This post contains affiliate links, meaning that if you click on a link I will recieve a small comission. This costs you nothing extra and I only promote products I use and love! You can read our full disclosure here

DIY Bride Squad Iron On Bachelorette Tank Tops #bridesquad #svgfiles #htvvinyl

This week is a week of Bachelorette Party Projects! :) While these Bride Squad tank tops can be used for many bridal events or as a Bridesmaid Proposal Tank top, I love them for a casual beachy bachelorette too!

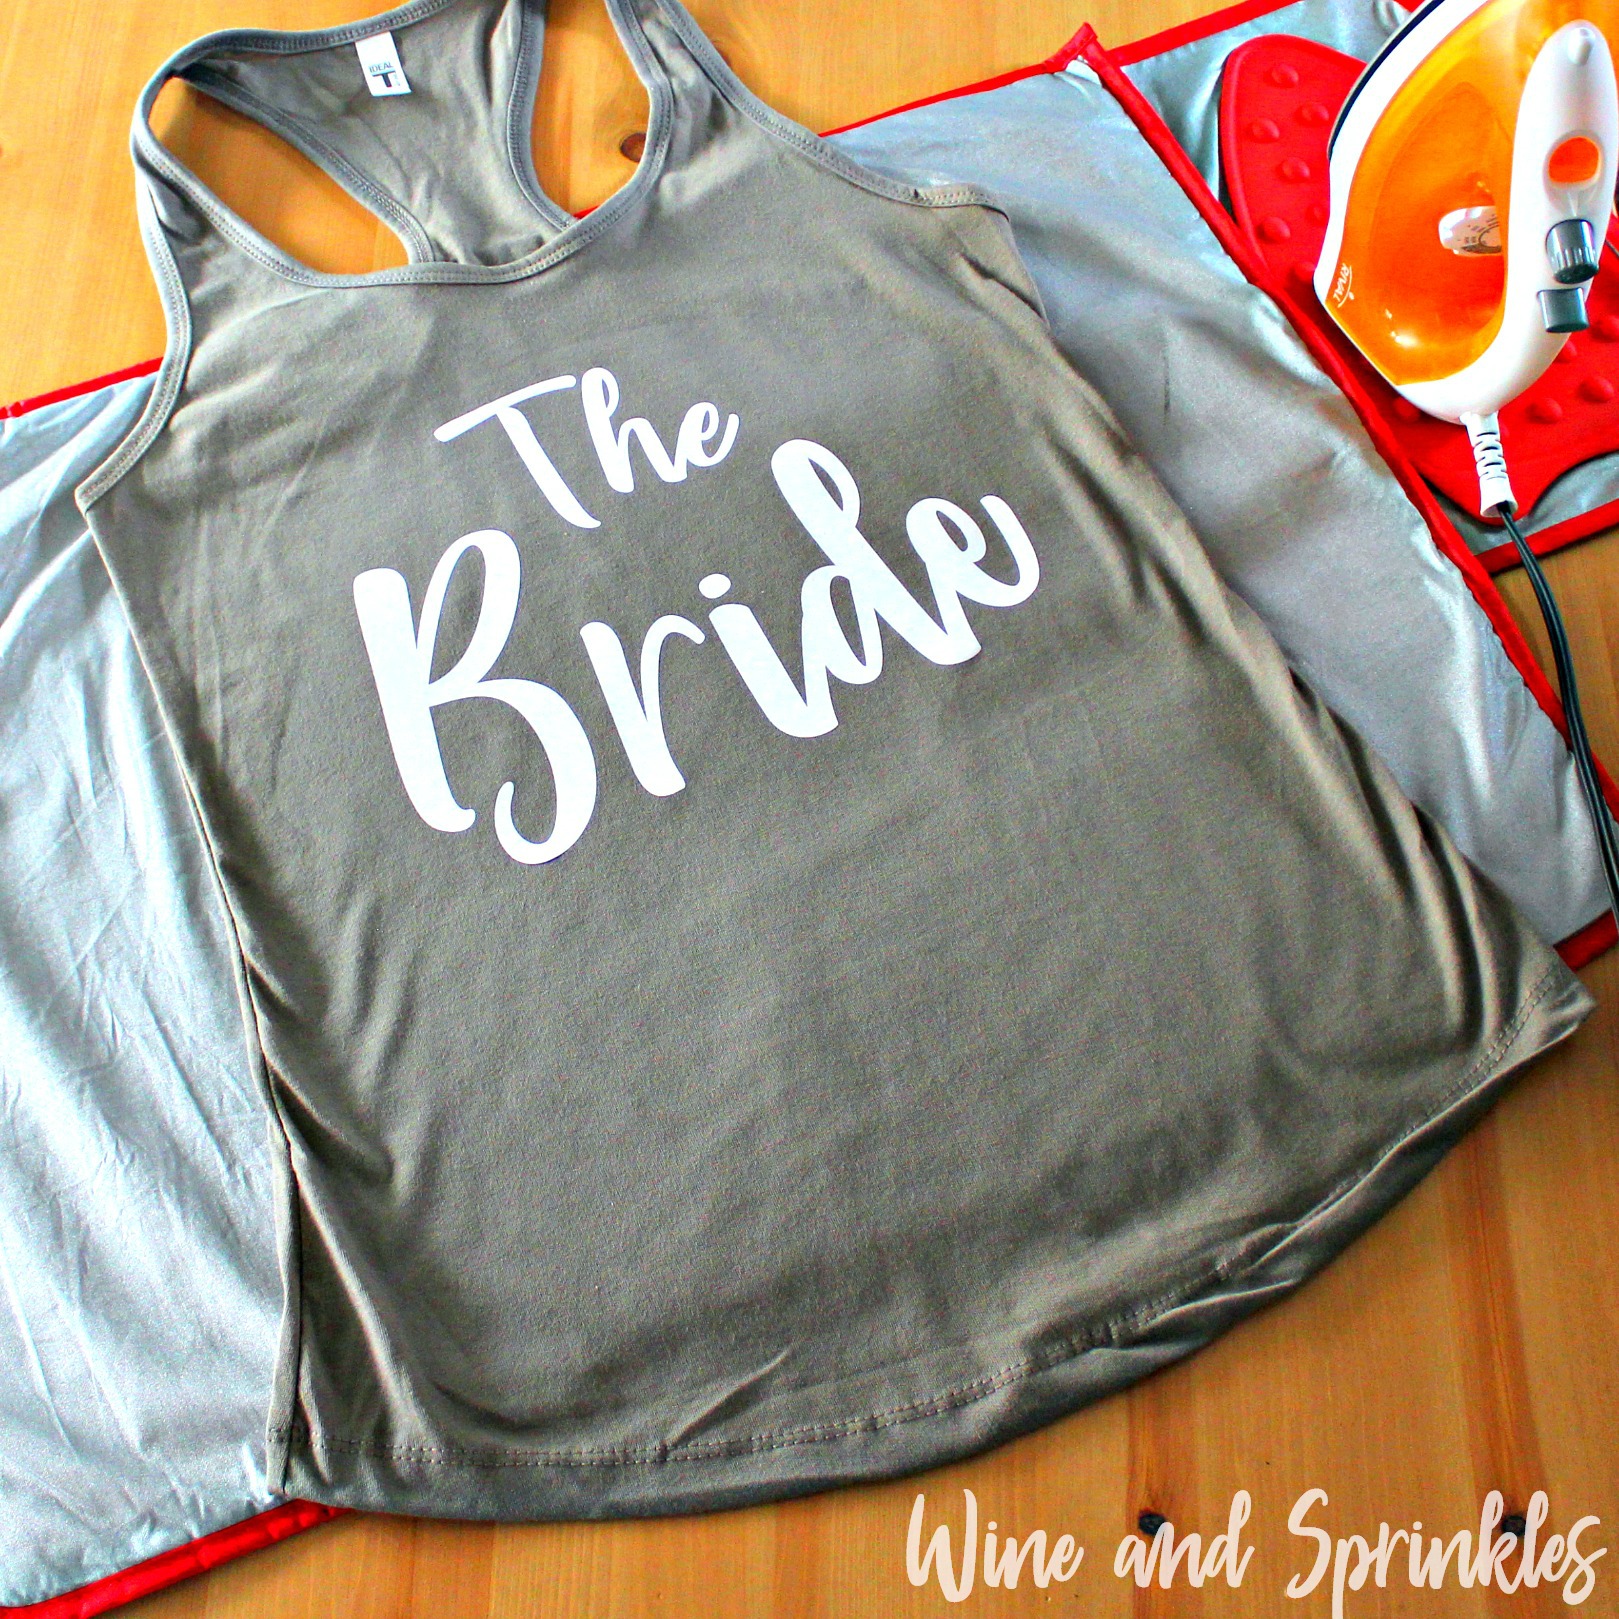
For the Bride Squad Tank Tops, I used a Lilac Tank top with Easyweed Purple HTV and for the Bride I used a White Glitter HTV on a Warm Gray tank top and I love how they turned out! These are also easy designs for those who are still beginners to the weeding and HTV world, I had zero issues weeding or transferring them. :)


1. After downloading the cut files, import them into the Cricut Software. After creating a new project, select Upload Image. Select the file you wish to upload and it will automatically take you to the final upload screen, where you can name the file the select Save. The SVG Files are sized so that they will automatically cut to the size you see in the photos, but if you want to change the size you can do so to fit the tank tops the way you like.

DIY Bride Squad Iron On Bachelorette Tank Tops #bridesquad #svgfiles #htvvinyl

2. After selecting “Make It” Make sure to select the Mirror Mode on the cutting screen. Cut the design in your choice of heat transfer vinyl with the Iron On (for Easyweed Vinyl) or Iron On+ (for Glitter Vinyl) Setting on your Cricut, with the shiny side of the material down.

3. Weed the additional material off of the backing material so that, looking down with the shiny side up, you can see your design with the correct orientation.

4. Iron your tank top to remove any creases, then center the design over the top half of the tank top. Arrange the design shiny side up, then cover with parchment paper. Make sure to keep the parchment paper between the design and the iron.

DIY Bride Squad Iron On Bachelorette Tank Tops #bridesquad #svgfiles #htvvinyl

5. Set your Iron to the second Highest setting and press the the iron down firmly on the design, not ironing but rather using it as a small heat press. I worked from the upper left to lower right on the design, pressing the iron on each part of the design for at least 20-30 seconds, then overlapping the last position as you move the iron across the design.

6. Remove the backing from the design, leaving the design on the tank top.

7. Repeat with all remaining tank tops! :) If you are ready to try more tank tops, check out our other tank top projects here!

DIY Bride Squad Iron On Bachelorette Tank Tops #bridesquad #svgfiles #htvvinyl
5. completed with text.jpg
DIY Bride Squad Iron On Bachelorette Tank Tops #bridesquad #svgfiles #htvvinyl

DIY Honeymoonin' HTV Iron On Tank Tops

This post contains affiliate links, meaning that if you click on a link I will recieve a small comission. This costs you nothing extra and I only promote products I use and love! You can read our full disclosure here

Honeymooning DIY HTV Iron On Tank Top #honeymoon #svgfiles #diywedding

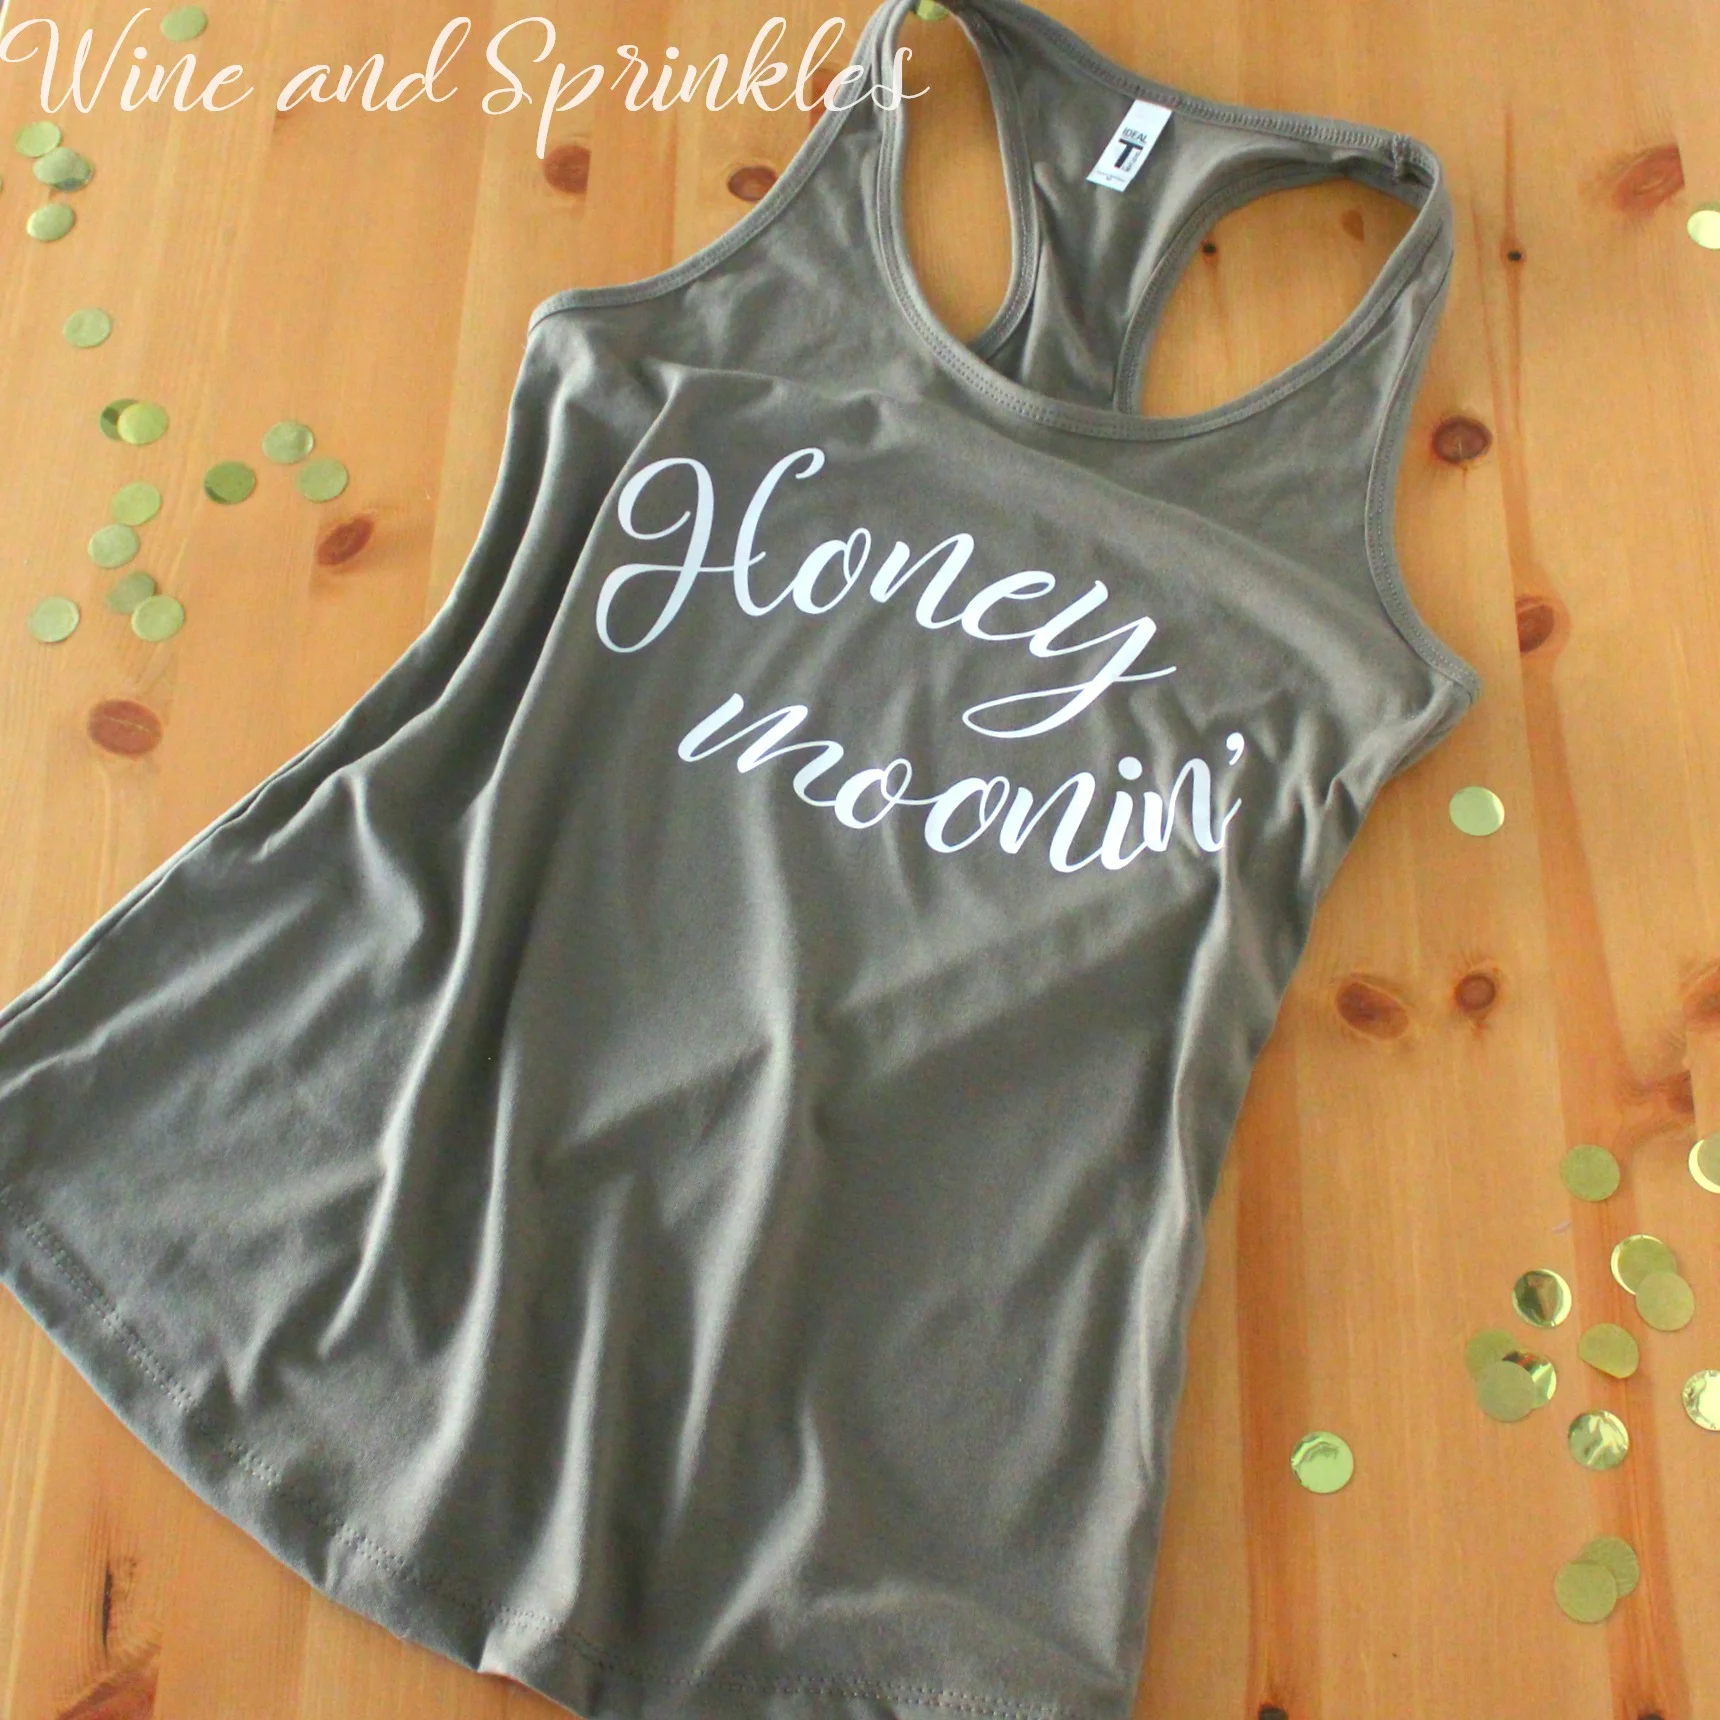
When you get married on the beach, you honeymoon on the beach! To end our week of Beach Wedding Projects, we are featuring a Honeymoonin’ Tank top for you to wear on vacation after your big day!

I made the decal with White Easyweed HTV but any color would come out great! This was an easy project to weed as well as being pretty forgiving on placement if you haven’t done a lot of HTV Projects before.

If you already have a Cricut, this project is also much more affordable than buying one, as with most of our tank tops. You can also check out our other Tank Top Projects Here!

 
Honeymooning DIY HTV Iron On Tank Top #honeymoon #svgfiles #diywedding
 

1. After downloading the cut files, import them into the Cricut Software. After creating a new project, select Upload Image. Select the file you wish to upload and it will automatically take you to the final upload screen, where you can name the file the select Save. The SVG Files are sized so that they will automatically cut to the size you see in the photos, but if you want to change the size you can do so to fit the tank tops the way you like.

2. After selecting “Make It” Make sure to select the Mirror Mode on the cutting screen. Cut the design in your choice of heat transfer vinyl (I used White HTV) with the Iron On (for Easyweed Vinyl) or Iron On+ (for Glitter Vinyl) Setting on your Cricut, with the shiny side of the material down.

3. Weed the additional material off of the backing material so that, looking down with the shiny side up, you can see your design with the correct orientation.

Honeymooning DIY HTV Iron On Tank Top #honeymoon #svgfiles #diywedding

4. Iron your tank top to remove any creases, then center the design over the top half of the tank top. Arrange the design shiny side up, then cover with parchment paper. Make sure to keep the parchment paper between the design and the iron.

5. Set your Iron to the second Highest setting and press the the iron down firmly on the design, not ironing but rather using it as a small heat press. I worked from the upper left to lower right on the design, pressing the iron on each part of the design for at least 30 seconds, then overlapping the last position as you move the iron across the design.

Honeymooning DIY HTV Iron On Tank Top #honeymoon #svgfiles #diywedding

6. Remove the backing from the design, leaving the design on the tank top.

Honeymooning DIY HTV Iron On Tank Top #honeymoon #svgfiles #diywedding

Check out our other tank top projects here!

Honeymooning DIY HTV Iron On Tank Top #honeymoon #svgfiles #diywedding

DIY Iron On HTV Brides Babes Tee Shirts

This post contains affiliate links, meaning that if you click on a link I will recieve a small comission. This costs you nothing extra and I only promote products I use and love! You can read our full disclosure here

DIY Bride's Babes Iron On Bridal Party Tank Tops #bridesbabes #svgfiles #diywedding

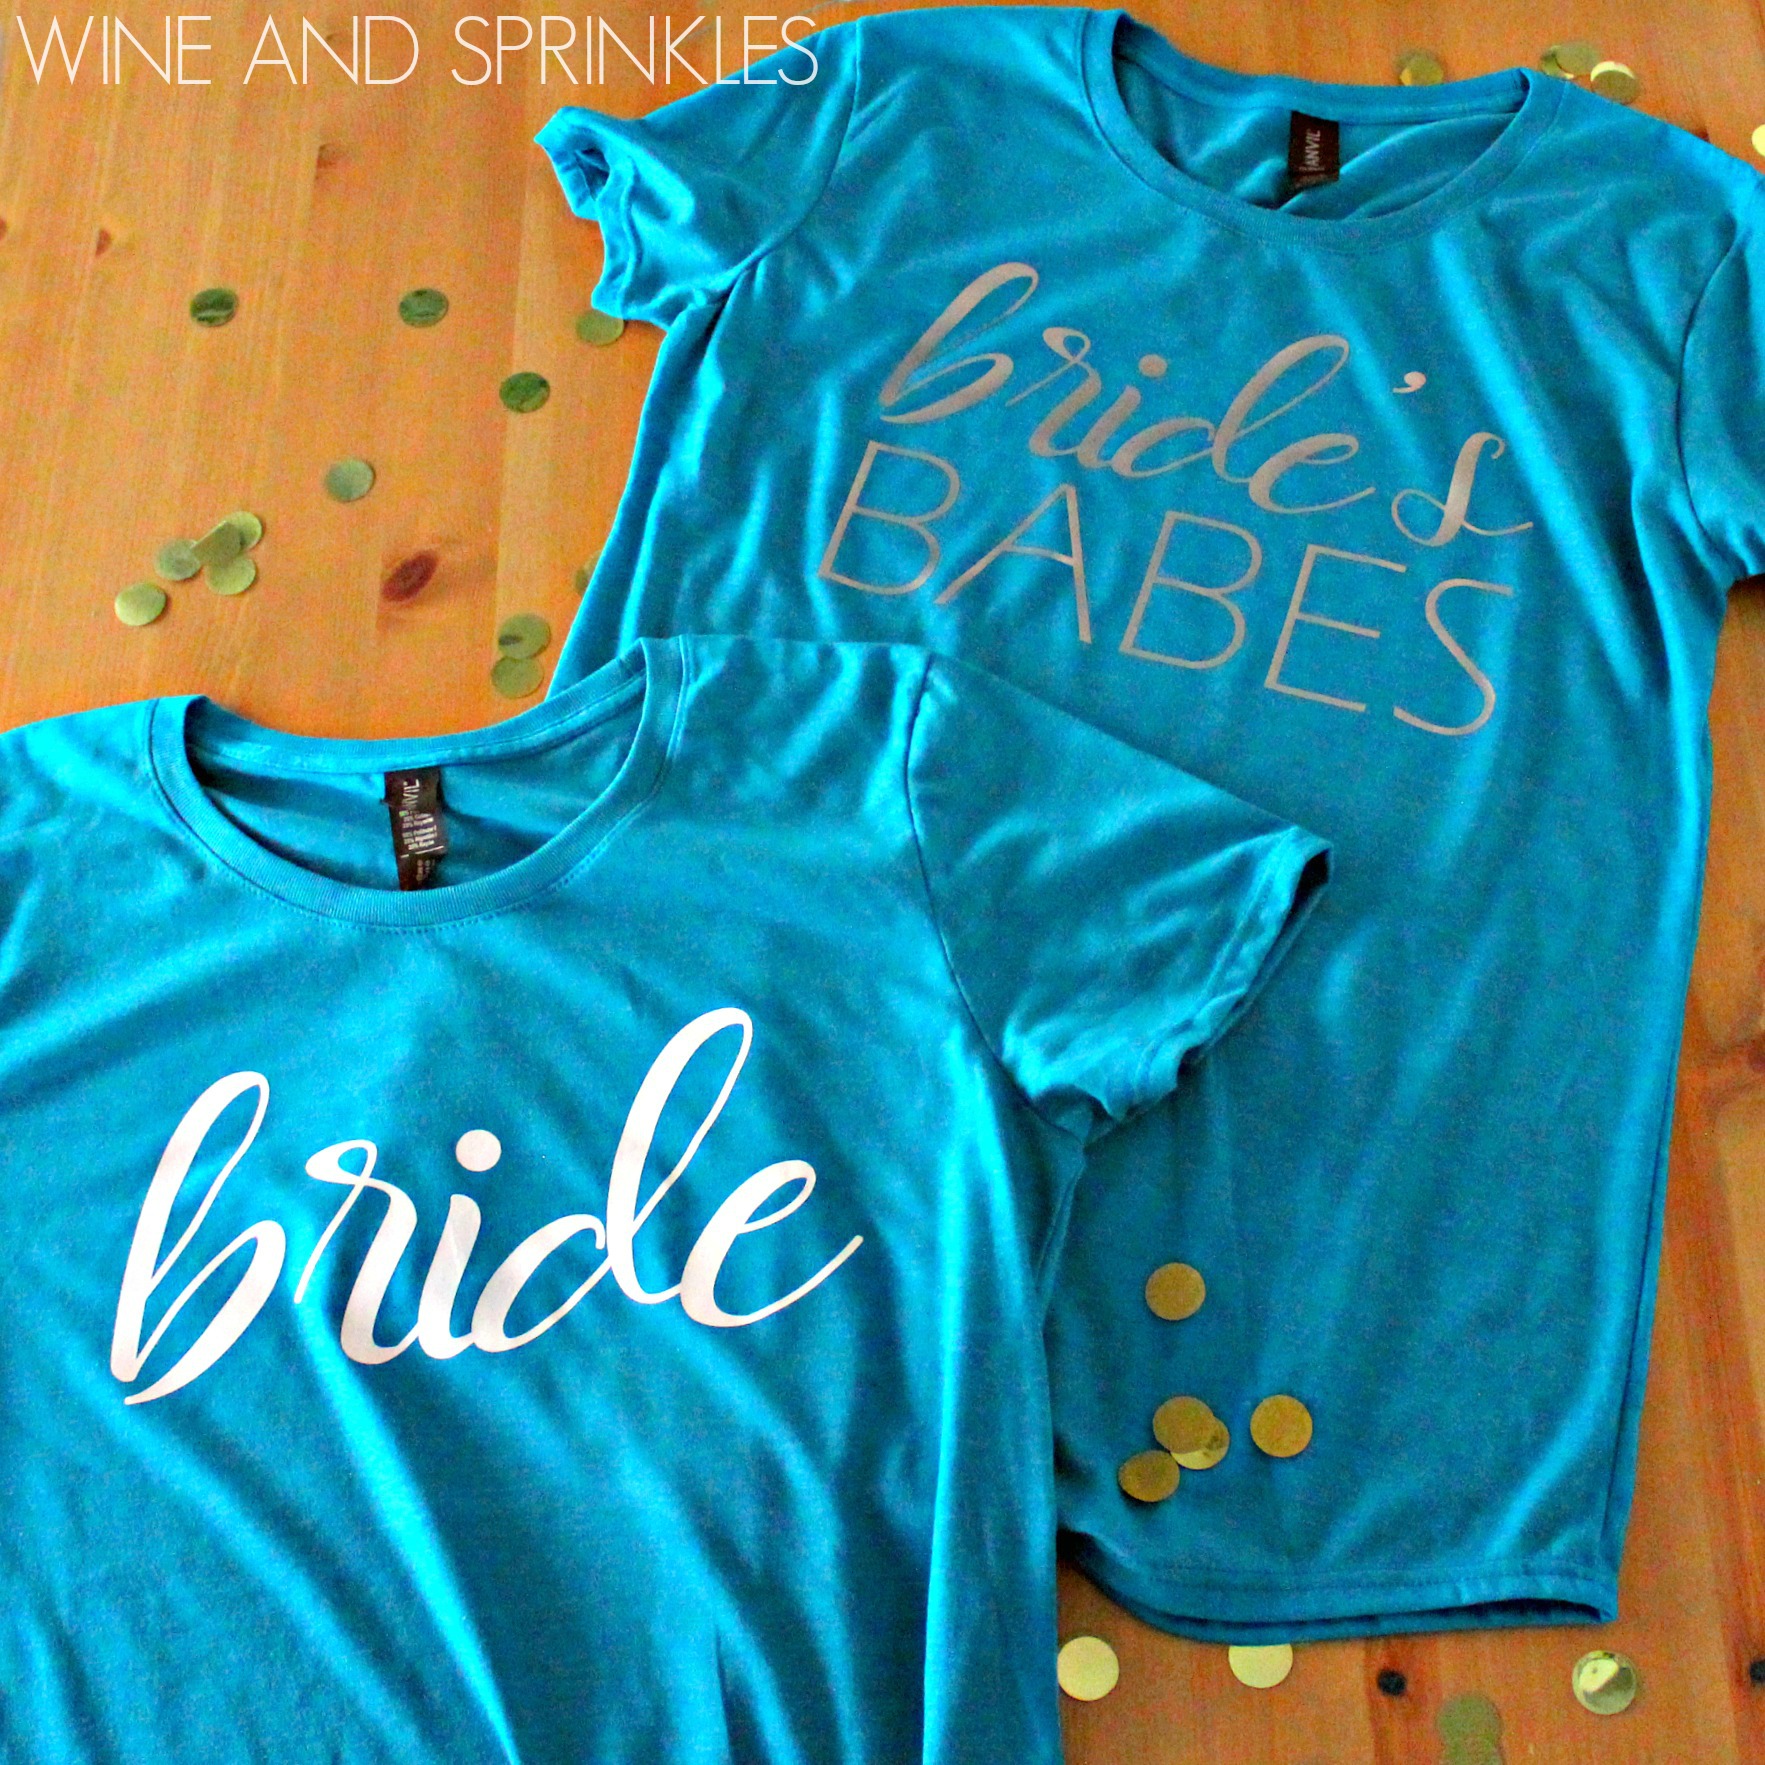
Bridesmaid Proposal T Shirts are always a fun choice for brides to give to their girls for prewedding events, DIY nights, and for a general feeling of wedding camaraderie. As another option for Bridesmaid Proposal Wearables, I designed these feminine but modern Bride’s Babes T Shirt Decals.

I made the decals with White and Silver Easyweed Vinyl, using some of the leftover Tshirts I had, and while I like how they turned out I’d like to experiment with other color combinations to see what looks best!

 
DIY Bride's Babes Iron On Bridal Party Tank Tops #bridesbabes #svgfiles #diywedding
 
DIY Bride's Babes Iron On Bridal Party Tank Tops #bridesbabes #svgfiles #diywedding

1. After downloading the cut files, import them into the Cricut Software. After creating a new project, select Upload Image. Select the file you wish to upload and it will automatically take you to the final upload screen, where you can name the file the select Save. The SVG Files are sized so that they will automatically cut to the size you see in the photos, but if you want to change the size you can do so to fit the t-shirts the way you like.

2. After selecting “Make It” Make sure to select the Mirror Mode on the cutting screen. Cut the design(s) in your choice of heat transfer vinyl with the Iron On (for Easyweed Vinyl) or Iron On+ (for Glitter Vinyl) Setting on your Cricut, with the shiny side of the material down.

3. Weed the additional material off of the backing material so that, looking down with the shiny side up, you can see your design with the correct orientation.

DIY Bride's Babes Iron On Bridal Party Tank Tops #bridesbabes #svgfiles #diywedding

4. Iron your t-shirt to remove any creases, then center the design over the top half of the t-shirt, as shown above. Arrange the design shiny side up, then cover with parchment paper. Make sure to keep the parchment paper between the design and the iron.

5. Set your Iron to the second Highest setting and press the the iron down firmly on the design, not ironing but rather using it as a small heat press. I worked from the upper left to lower right on the design, pressing the iron on each part of the design for at least 20-30 seconds, then overlapping the last position as you move the iron across the design.

DIY Bride's Babes Iron On Bridal Party Tank Tops #bridesbabes #svgfiles #diywedding

6. Remove the backing from the design, leaving the design on the t-shirt. Repeat with all the remaining t-shirts.

DIY Bride's Babes Iron On Bridal Party Tank Tops #bridesbabes #svgfiles #diywedding

Check out our other TShirt and Tank Top Projects Here for more inspiration! :)

DIY Iron On HTV Drunk in Love Bachelorette Tee Shirts

This post contains affiliate links, meaning that if you click on a link I will recieve a small comission. This costs you nothing extra and I only promote products I use and love! You can read our full disclosure here

DIY Iron On HTV Bachelorette Drunk in Love - Just Drunk T-Shirts #bachelorette #svgfiles #cricutprojects

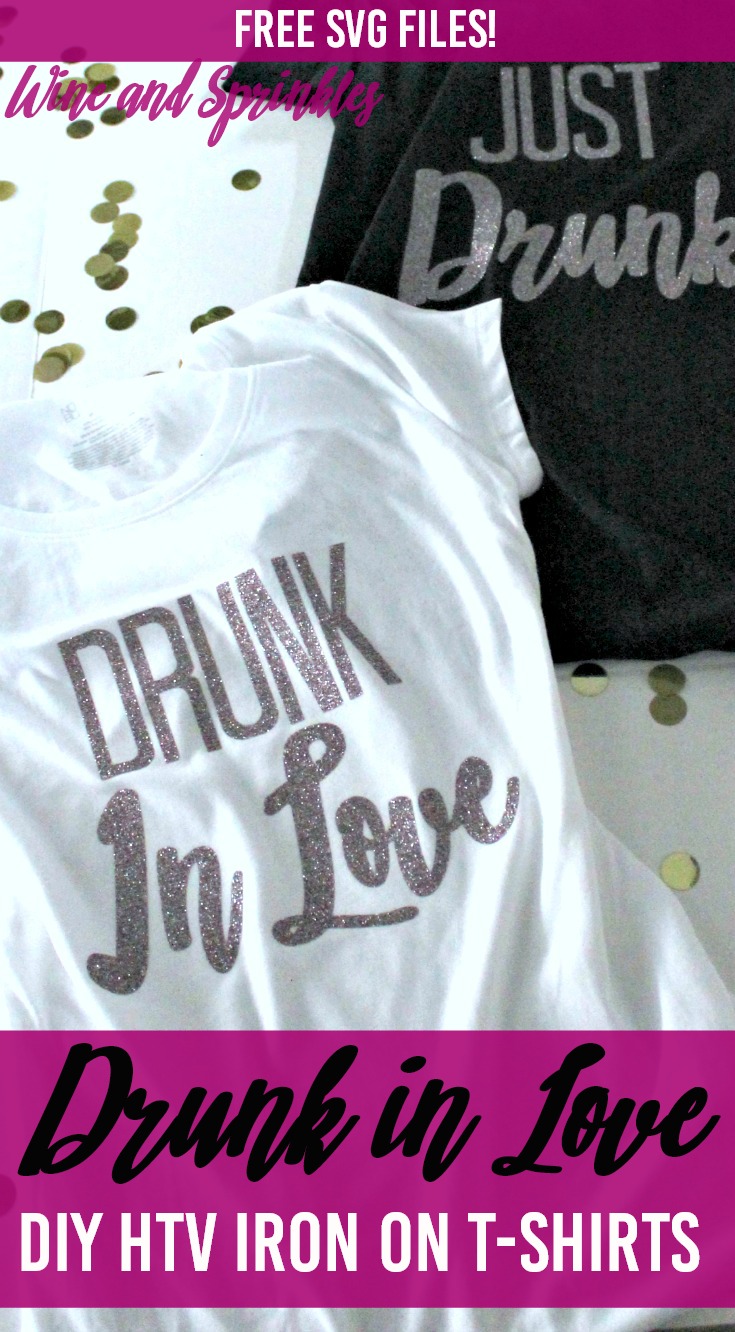
If there’s one thing I love making for bachelorette parties, its tank tops and t-shirts! I adore everyone matching and it has an added bonus of making it easier to keep track of everyone. These T-shirts are perfect for any Bar Crawl Style Bachelorette, and were very easy to make. :) I made these in Confetti Glitter HTV and I love how they turned out, but I would be tempted to make them in the Rose Gold Glitter next time! :)

DIY Iron On HTV Bachelorette Drunk in Love - Just Drunk T-Shirts #bachelorette #svgfiles #cricutprojects

1. After downloading the cut files, import them into the Cricut Software. After creating a new project, select Upload Image. Select the file you wish to upload and it will automatically take you to the final upload screen, where you can name the file the select Save. The SVG Files are sized so that they will automatically cut to the size you see in the photos, but if you want to change the size you can do so to fit the t-shirts the way you like.

2. After selecting “Make It” Make sure to select the Mirror Mode on the cutting screen. Cut the design(s) in your choice of heat transfer vinyl (I used Confetti Glitter HTV) with the Iron On (for Easyweed Vinyl) or Iron On+ (for Glitter Vinyl) Setting on your Cricut, with the shiny side of the material down.

3. Weed the additional material off of the backing material so that, looking down with the shiny side up, you can see your design with the correct orientation.

DIY Iron On HTV Bachelorette Drunk in Love - Just Drunk T-Shirts #bachelorette #svgfiles #cricutprojects

4. Iron your t-shirt to remove any creases, then center the design over the top half of the t-shirt, as shown above. Arrange the design shiny side up, then cover with parchment paper. Make sure to keep the parchment paper between the design and the iron.

DIY Iron On HTV Bachelorette Drunk in Love - Just Drunk T-Shirts #bachelorette #svgfiles #cricutprojects

5. Set your Iron to the second Highest setting and press the the iron down firmly on the design, not ironing but rather using it as a small heat press. I worked from the upper left to lower right on the design, pressing the iron on each part of the design for at least 20-30 seconds, then overlapping the last position as you move the iron across the design.

DIY Iron On HTV Bachelorette Drunk in Love - Just Drunk T-Shirts #bachelorette #svgfiles #cricutprojects

6. Remove the backing from the design, leaving the design on the t-shirt. Repeat with all the remaining t-shirts.

DIY Iron On HTV Bachelorette Drunk in Love - Just Drunk T-Shirts #bachelorette #svgfiles #cricutprojects

Check out our other TShirt and Tank Top Projects Here for more inspiration! :)

DIY Iron On HTV Bachelorette Drunk in Love - Just Drunk T-Shirts #bachelorette #svgfiles #cricutprojects

HTV Iron On Sporty Team Bride T Shirts

This post contains affiliate links, meaning that if you click on a link I will recieve a small comission. This costs you nothing extra and I only promote products I use and love! You can read our full disclosure here

DIY HTV Iron On Sporty Team Bride T Shirts #svgfiles #teambride #diywedding

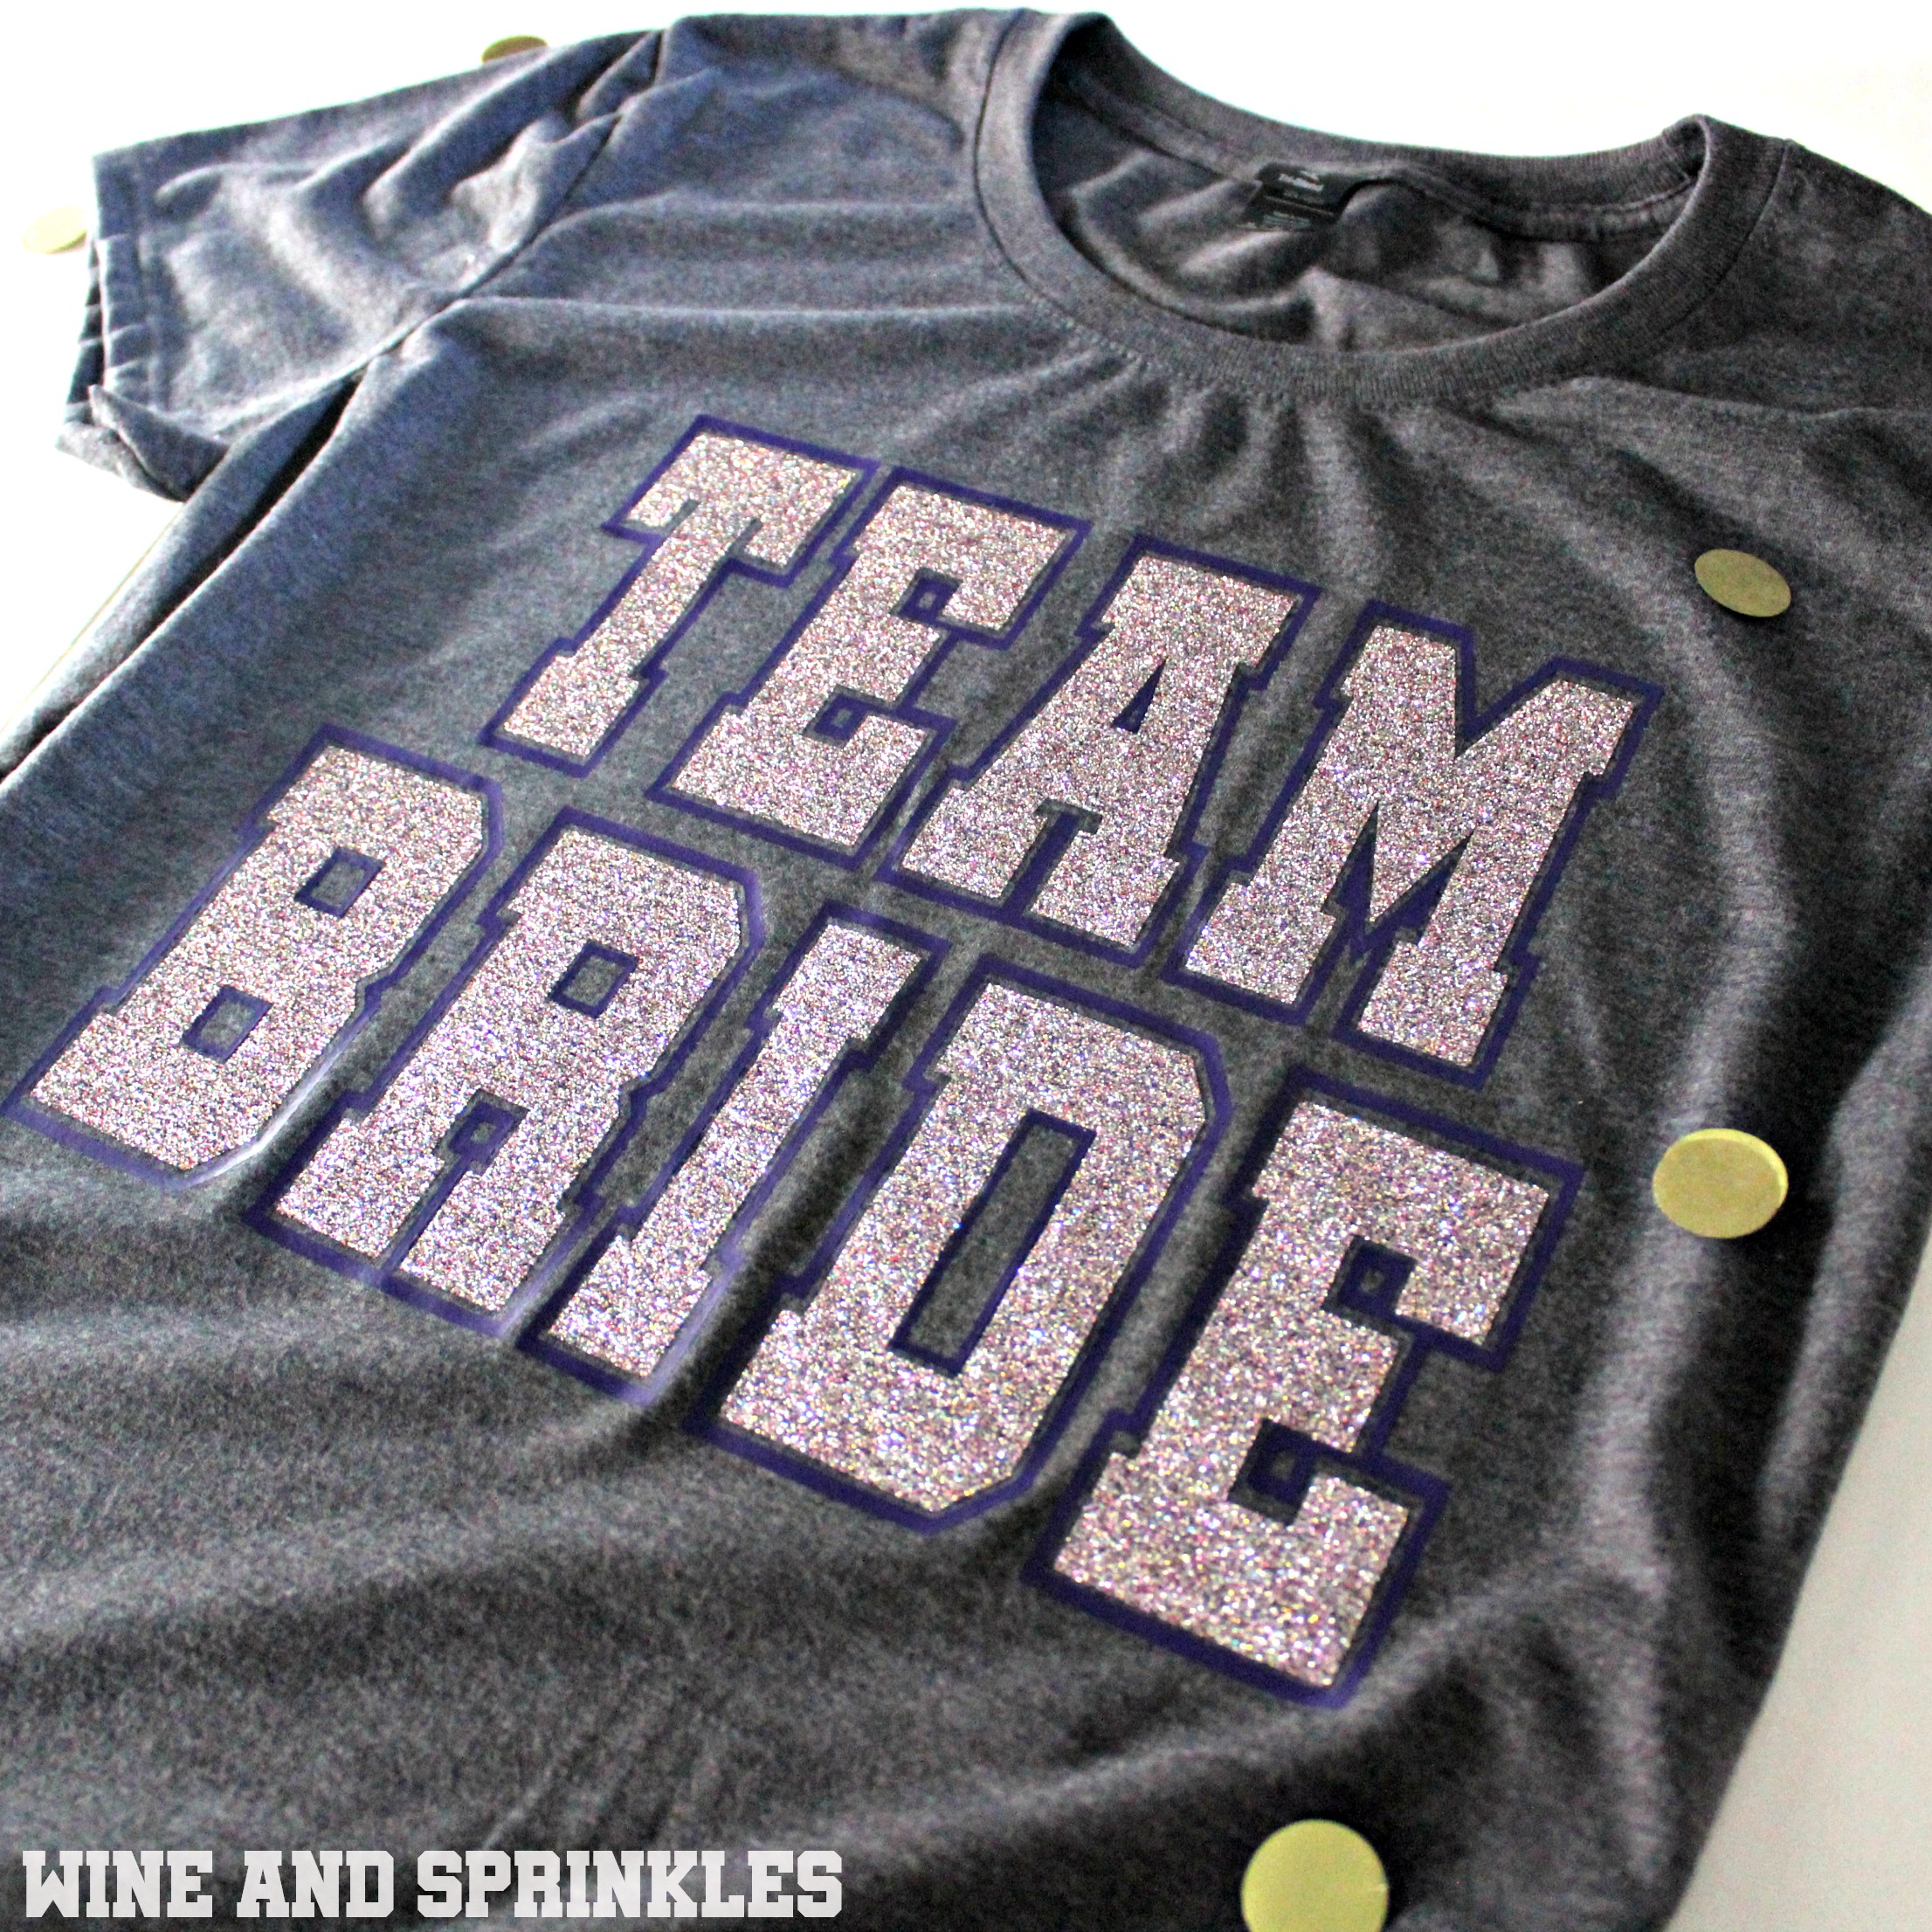
I love crafting for bridal parties and in honor of those sporty college days (and football season I guess) I made these Sporty Team Bride T Shirts!

I made these designs both in one color and two colors, and while I like them both I think that the two color best! I will say that you do have to waste a good amount of vinyl for the outline which does hurt the soul, so the single tone is great for getting the most use out of your HTV with that sporty feel.

DIY HTV Iron On Sporty Team Bride T Shirts #svgfiles #teambride #diywedding

1. After downloading the cut files, import them into the Cricut Software. After creating a new project, select Upload Image. Select the file you wish to upload and it will automatically take you to the final upload screen, where you can name the file the select Save. The SVG Files are sized so that they will automatically cut to the size you see in the photos, but if you want to change the size you can do so to fit the t-shirts the way you like.

Single Color

2. After selecting “Make It” Make sure to select the Mirror Mode on the cutting screen. Cut the design(s) in your choice of heat transfer vinyl (I used Silver Glitter HTV) with the Iron On (for Easyweed Vinyl) or Iron On+ (for Glitter Vinyl) Setting on your Cricut, with the shiny side of the material down.

3. Weed the additional material off of the backing material so that, looking down with the shiny side up, you can see your design with the correct orientation.

4. Iron your T Shirt to remove any creases, then center the design over the top half of the T Shirt. Arrange the design shiny side up, then cover with parchment paper. Make sure to keep the parchment paper between the design and the iron.

1. placement with text.jpgDIY HTV Iron On Sporty Team Bride T Shirts #svgfiles #teambride #diywedding

5. Set your Iron to the second Highest setting and press the the iron down firmly on the design, not ironing but rather using it as a small heat press. I worked from the upper left to lower right on the design, pressing the iron on each part of the design for at least 20-30 seconds, then overlapping the last position as you move the iron across the design.

DIY HTV Iron On Sporty Team Bride T Shirts #svgfiles #teambride #diywedding

6. Remove the backing from the design, leaving the design on the T Shirt. Repeat with all the remaining T Shirts.

DIY HTV Iron On Sporty Team Bride T Shirts #svgfiles #teambride #diywedding

Two Toned

2. After selecting “Make It” Make sure to select the Mirror Mode on the cutting screen. You will notice that the Cricut software divides the design colors into separate mats on its own. Cut the designs in your choice of heat transfer vinyl with the Iron On (for Easyweed Vinyl) or Iron On+ (for Glitter Vinyl) Setting on your Cricut, with the shiny side of the material down. I used Silver Glitter HTV for the inner letters and Purple Easyweed HTV for the outline.

3. Weed the additional material off of the backing material so that, looking down with the shiny side up, you can see your design with the correct orientation.

DIY HTV Iron On Sporty Team Bride T Shirts #svgfiles #teambride #diywedding

4. Iron your T Shirt to remove any creases, then center the inner letters of the design over the top half of the T Shirt. Arrange the design shiny side up, then cover with parchment paper. Make sure to keep the parchment paper between the design and the iron.

DIY HTV Iron On Sporty Team Bride T Shirts #svgfiles #teambride #diywedding

5. Set your Iron to the second Highest setting and press the the iron down firmly on the design, not ironing but rather using it as a small heat press. I worked from the upper left to lower right on the design, pressing the iron on each part of the design for at least 30 seconds, then overlapping the last position as you move the iron across the design.

DIY HTV Iron On Sporty Team Bride T Shirts #svgfiles #teambride #diywedding

6. Remove the backing to leave your first color of HTV on the T Shirt.

DIY HTV Iron On Sporty Team Bride T Shirts #svgfiles #teambride #diywedding

7. Now, arrange the outline design around the ironed on letters as shown below. Arrange the design shiny side up, then cover with parchment paper. Make sure to keep the parchment paper between the design and the iron.

DIY HTV Iron On Sporty Team Bride T Shirts #svgfiles #teambride #diywedding

8. Set your Iron to the second Highest setting and press the the iron down firmly on the design, not ironing but rather using it as a small heat press. Repeat the same ironing process as above for the second design color.

DIY HTV Iron On Sporty Team Bride T Shirts #svgfiles #teambride #diywedding

9. Remove the backing from the design, leaving the completed design on the T Shirt Repeat with all the remaining T Shirts.

DIY HTV Iron On Sporty Team Bride T Shirts #svgfiles #teambride #diywedding

DIY Engaged AF Bridal Tank Top

This post contains affiliate links, meaning that if you click on a link I will recieve a small comission. This costs you nothing extra and I only promote products I use and love! You can read our full disclosure here

DIY Iron on Engaged AF Bridal Tank Tops #engagedaf #htvvinyl #cricut

What better way to celebrate being engaged than with some fun wearables that you can rock throughout your wedding planning time? Its basically the only time you can wear them and if you make them yourself, they can be very inexpensive too! :) I started this year off with one of my favorite just engaged tank top sayings and it makes me wish I was engaged again and planning a wedding this year! :)

DIY Iron on Engaged AF Bridal Tank Tops #engagedaf #htvvinyl #cricut

I made this tank top with Confetti Glitter HTV and loved the look of it and they have tons of different colors to choose from if this gold isn’t really your color. :) And if you have the Cricut already, this project costs less than $10! Pair it with a Wedding Planning Wine Glass or any of the Swag Under $15 we showed last week for a great just engaged vibe to get you through the fun (or stress) of wedding planning. :)

Supplies:
Blank Tank Tops
Easyweed Heat Transfer Vinyl or Glitter Heat Transfer Vinyl
Craft Cutter and Tool Set
Adhesive Mat
Tank Top Design Cut Files

1. After downloading the cut files, import them into the Cricut Software. After creating a new project, select Upload Image. Select the file you wish to upload and it will automatically take you to the final upload screen, where you can name the file the select Save. The SVG Files are sized so that they will automatically cut to the size you see in the photos, but if you want to change the size you can do so to fit the tank tops the way you like.

2. After selecting “Make It” Make sure to select the Mirror Mode on the cutting screen. Cut the design in your choice of heat transfer vinyl (I used Gold Confetti Glitter HTV) with the Iron On (for Easyweed Vinyl) or Iron On+ (for Glitter Vinyl) Setting on your Cricut, with the shiny side of the material down.

3. Weed the additional material off of the backing material so that, looking down with the shiny side up, you can see your design with the correct orientation.

DIY Iron on Engaged AF Bridal Tank Tops #engagedaf #htvvinyl #cricut

4. Iron your tank top to remove any creases, then center the design over the top half of the tank top. Arrange the design shiny side up, then cover with parchment paper. Make sure to keep the parchment paper between the design and the iron.

DIY Iron on Engaged AF Bridal Tank Tops #engagedaf #htvvinyl #cricut

5. Set your Iron to the second Highest setting and press the the iron down firmly on the design, not ironing but rather using it as a small heat press. I worked from the upper left to lower right on the design, pressing the iron on each part of the design for at least 30 seconds, then overlapping the last position as you move the iron across the design.

DIY Iron on Engaged AF Bridal Tank Tops #engagedaf #htvvinyl #cricut

6. Remove the backing from the design, leaving the design on the tank top.

DIY Iron on Engaged AF Bridal Tank Tops #engagedaf #htvvinyl #cricut

This is a great project to start your journey into DIY wedding crafting, its easy to weed, a good size for a tank top but can be easily ironed on with just a few ironed “presses” to finish it up and not a lot of small or thin lines that could pull up if you didn’t iron it long enough. If you are ready to try more tank tops, check out our other tank top projects here!

DIY Iron on Engaged AF Bridal Tank Tops #engagedaf #htvvinyl #cricut

DIY Iron On Nautical Bachelorette Tank Tops

This post contains affiliate links, meaning that if you click on a link I will recieve a small comission. This costs you nothing extra and I only promote products I use and love! You can read our full disclosure here

DIY Nautical Bachelorette Tank Tops #bachelorette #cricutprojects #feelingnauti #shipfaced

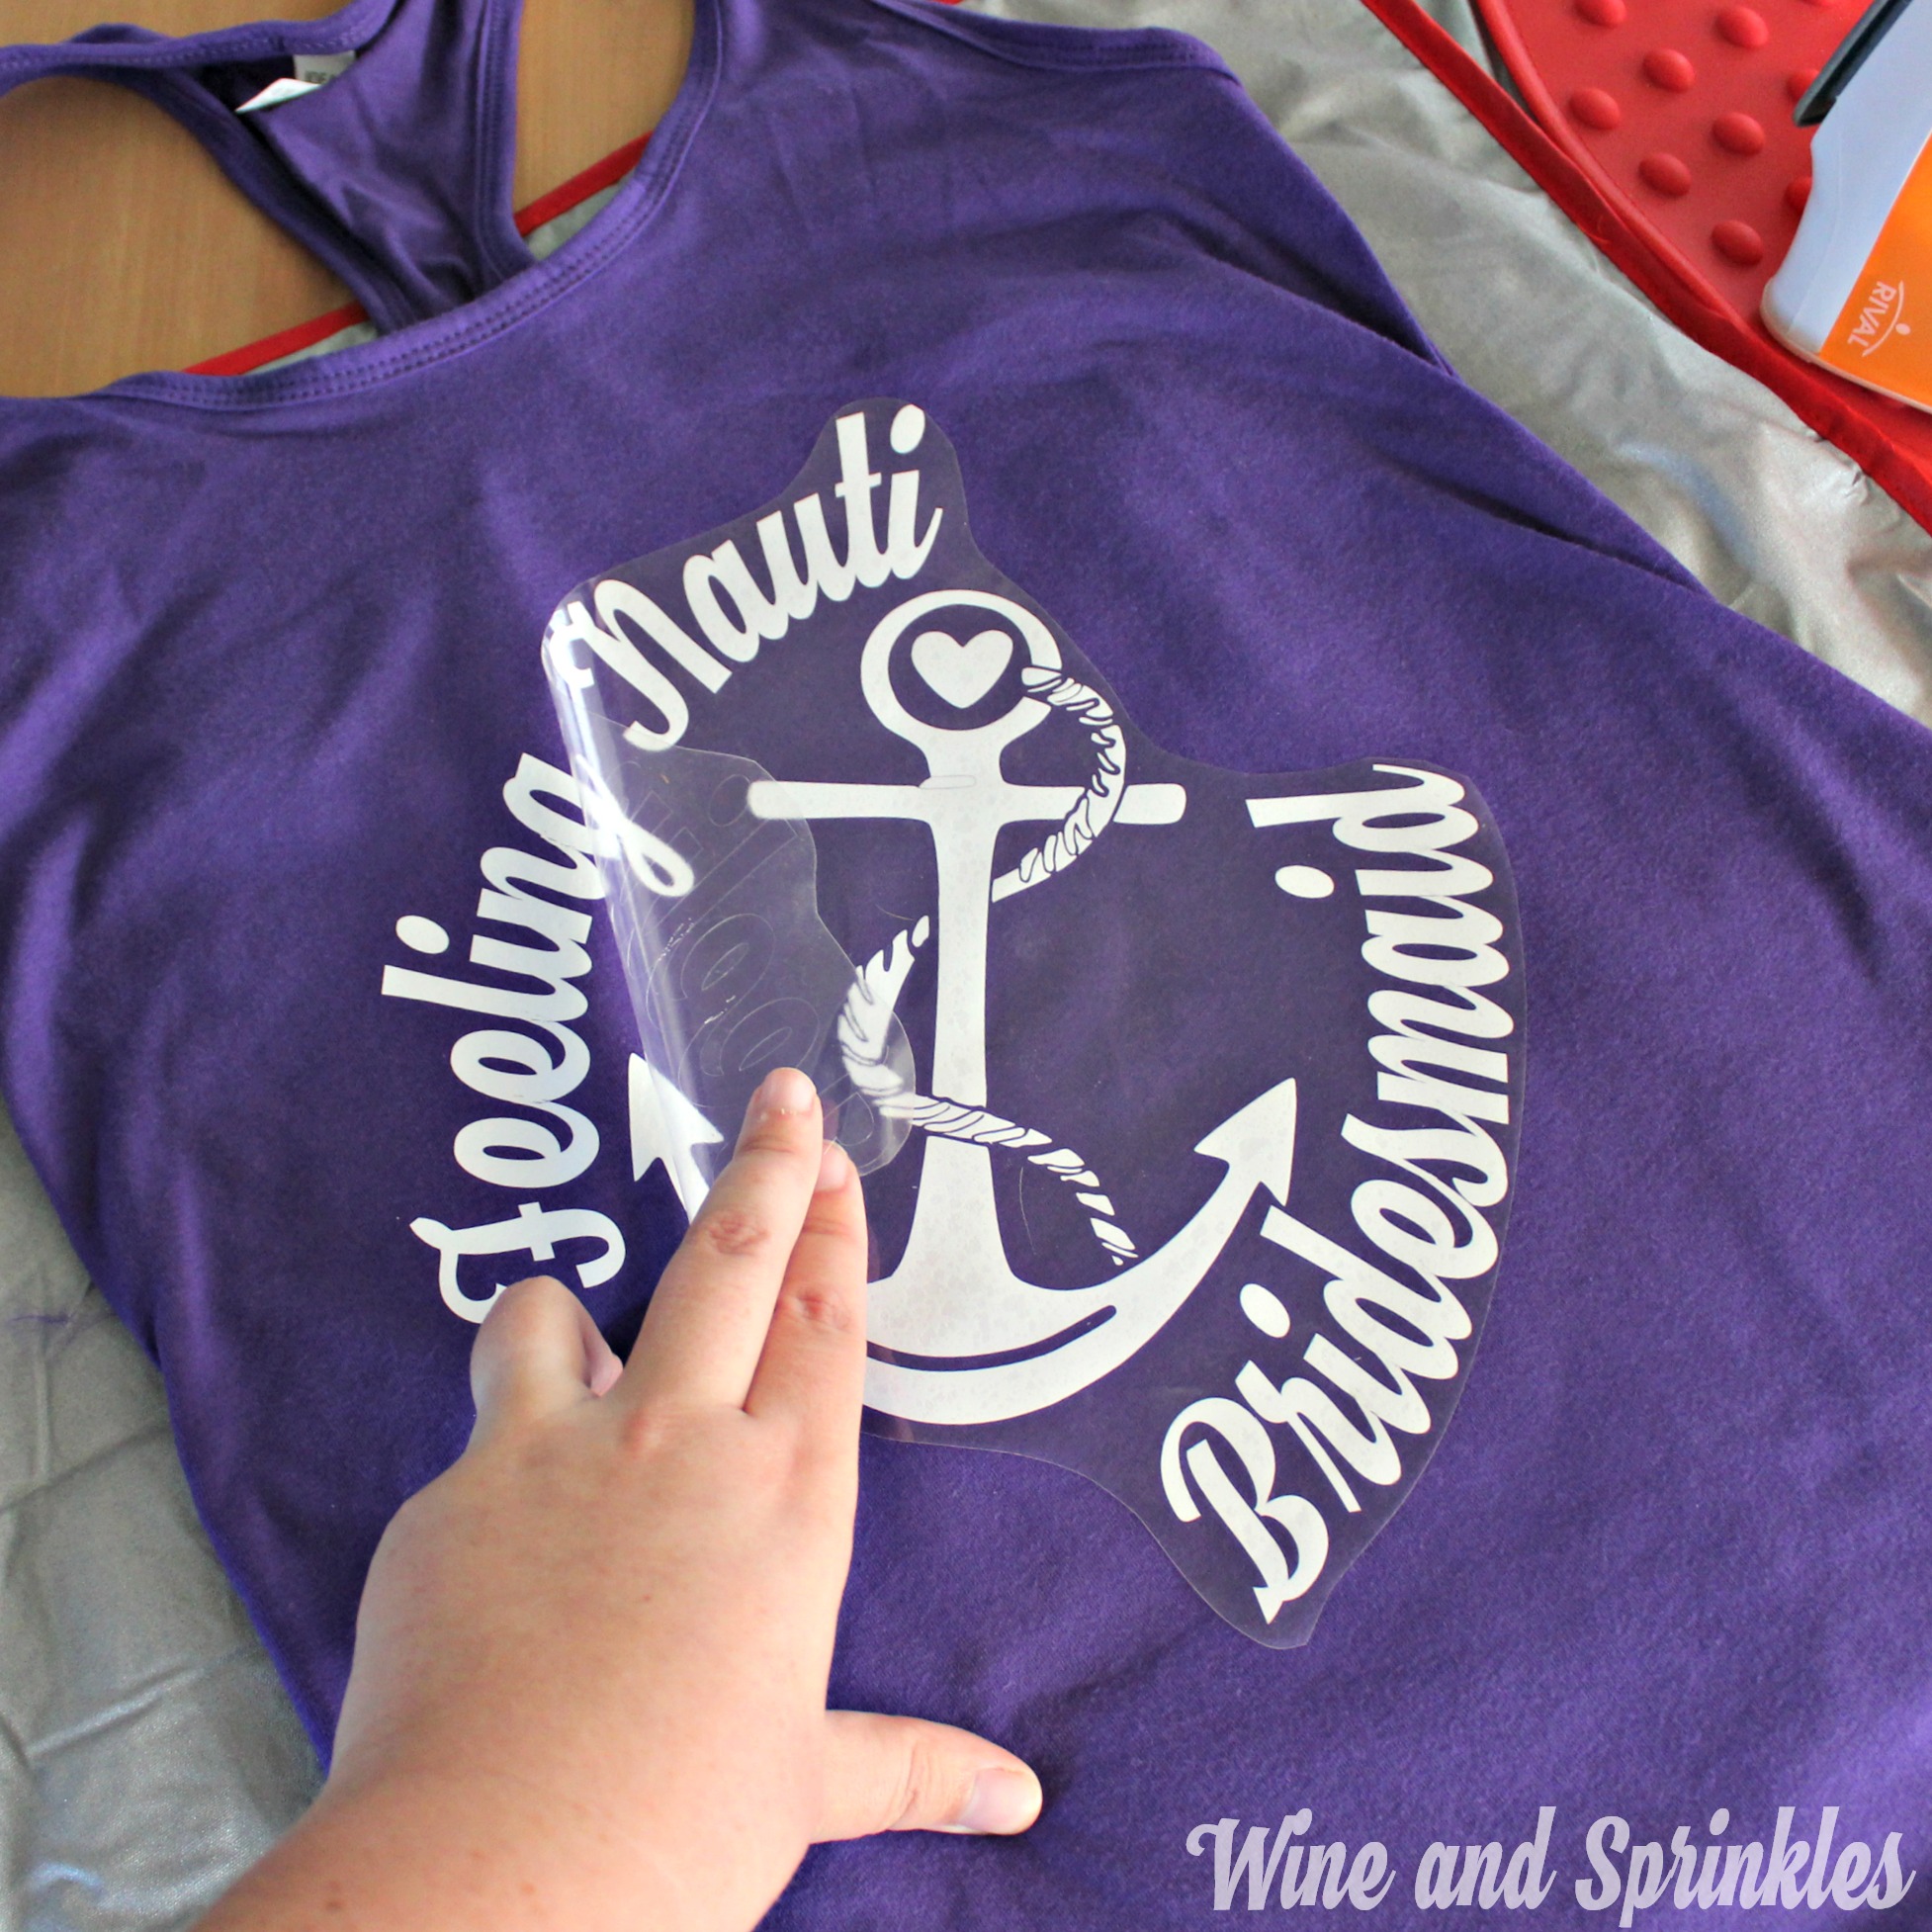
Whats better for a cruise bachelorette party than matching bridal party tank tops? :) I adored this design so much on tote bags I had to use it for tank tops as well and it looked great either way!

DIY Nautical Bachelorette Tank Tops #bachelorette #cricutprojects #feelingnauti #shipfaced

These are just as easy as their tote bag counter parts, and I adore the white and silver popping on darker, colorful tank tops! :)

IDIY Nautical Bachelorette Tank Tops #bachelorette #cricutprojects #feelingnauti #shipfaced

1. After downloading the cut files, import them into the Cricut Software. After creating a new project, select Upload Image. Select the file you wish to upload and it will automatically take you to the final upload screen, where you can name the file the select Save. The SVG Files are sized so that they will automatically cut to the size you see in the photos, but if you want to change the size you can do so to fit the tank tops the way you like.

2. After selecting “Make It” Make sure to select the Mirror Mode on the cutting screen. Cut the design(s) in your choice of heat transfer vinyl (I used Silver Glitter HTV and White HTV) with the Iron On (for Easyweed Vinyl) or Iron On+ (for Glitter Vinyl) Setting on your Cricut, with the shiny side of the material down.

3. Weed the additional material off of the backing material so that, looking down with the shiny side up, you can see your design with the correct orientation.

DIY Nautical Bachelorette Tank Tops #bachelorette #cricutprojects #feelingnauti #shipfaced

4. Iron your tank top to remove any creases, then center the design over the top half of the tank top. Arrange the design shiny side up, then cover with parchment paper. Make sure to keep the parchment paper between the design and the iron.

DIY Nautical Bachelorette Tank Tops #bachelorette #cricutprojects #feelingnauti #shipfaced

5. Set your Iron to the second Highest setting and press the the iron down firmly on the design, not ironing but rather using it as a small heat press. I worked from the upper left to lower right on the design, pressing the iron on each part of the design for at least 30 seconds, then overlapping the last position as you move the iron across the design.

DIY Nautical Bachelorette Tank Tops #bachelorette #cricutprojects #feelingnauti #shipfaced

6. Remove the backing from the design, leaving the design on the tank top. Repeat with all the remaining tank tops.

DIY Nautical Bachelorette Tank Tops #bachelorette #cricutprojects #feelingnauti #shipfaced

Nothing like matching tank tops to keep all your brides-mates accounted for and ready to party! What designs would you make for bachelorette tank tops? :)

DIY Nautical Bachelorette Tank Tops #bachelorette #cricutprojects #feelingnauti #shipfaced

DIY Iron On Bachelorette Drinking Team Tank Tops

This post contains affiliate links, meaning that if you click on a link I will recieve a small comission. This costs you nothing extra and I only promote products I use and love! You can read our full disclosure here

Free Cut Files! - DIY Iron On Brides Drinking Team Bachelorette Tank Tops #diywedding #bacheloretteparty #buymeashot #cricutprojects

I’m always a fan of everyone having matching tank tops for bachelorette parties; it is such a nice way for everyone to be a part of the group and makes for wonderful pictures to commemorate all the fun! If you are worried that its too hard to make your own, enter these Bachelorette Drinking Team Tank Tops!

Free Cut Files! - DIY Iron On Brides Drinking Team Bachelorette Tank Tops #diywedding #bacheloretteparty #buymeashot #cricutprojects

I wanted to start more simple with my first set of bachelorette tank tops, and I love how they came out! I highly recommend Glitter Heat Transfer Vinyl for these, they came out stunning! :) And just like our other tutorials, these svg files are designed so that it is as easy as upload, cut, iron, done! :)

Free Cut Files! - DIY Iron On Brides Drinking Team Bachelorette Tank Tops #diywedding #bacheloretteparty #buymeashot #cricutprojects

1. After downloading the cut files, import them into the Cricut Software. After creating a new project, select Upload Image. Select the file you wish to upload and it will automatically take you to the final upload screen, where you can name the file the select Save. The SVG Files are sized so that they will automatically cut to the size you see in the photos, but if you want to change the size you can do so to fit the tank tops the way you like.

2. After selecting “Make It” Make sure to select the Mirror Mode on the cutting screen. Cut the design(s) in your choice of heat transfer vinyl (I used Gold Confetti Glitter HTV) with the Iron On (for Easyweed Vinyl) or Iron On+ (for Glitter Vinyl) Setting on your Cricut, with the shiny side of the material down.

3. Weed the additional material off of the backing material so that, looking down with the shiny side up, you can see your design with the correct orientation.

Free Cut Files! - DIY Iron On Brides Drinking Team Bachelorette Tank Tops #diywedding #bacheloretteparty #buymeashot #cricutprojects

4. Iron your tank top to remove any creases, then center the design over the top half of the tank top. Arrange the design shiny side up, then cover with parchment paper. Make sure to keep the parchment paper between the design and the iron.

Free Cut Files! - DIY Iron On Brides Drinking Team Bachelorette Tank Tops #diywedding #bacheloretteparty #buymeashot #cricutprojects

5. Set your Iron to the second Highest setting and press the the iron down firmly on the design, not ironing but rather using it as a small heat press. I worked from the upper left to lower right on the design, pressing the iron on each part of the design for at least 30 seconds, then overlapping the last position as you move the iron across the design.

Free Cut Files! - DIY Iron On Brides Drinking Team Bachelorette Tank Tops #diywedding #bacheloretteparty #buymeashot #cricutprojects

6. Remove the backing from the design, leaving the design on the tank top. Repeat with all the remaining tank tops.

Free Cut Files! - DIY Iron On Brides Drinking Team Bachelorette Tank Tops #diywedding #bacheloretteparty #buymeashot #cricutprojects

These tank tops are a beautiful and affordable option for a bar crawl bachelorette! What other Bachelorette tank tops would you like to see? :)

Free Cut Files! - DIY Iron On Brides Drinking Team Bachelorette Tank Tops #diywedding #bacheloretteparty #buymeashot #cricutprojects