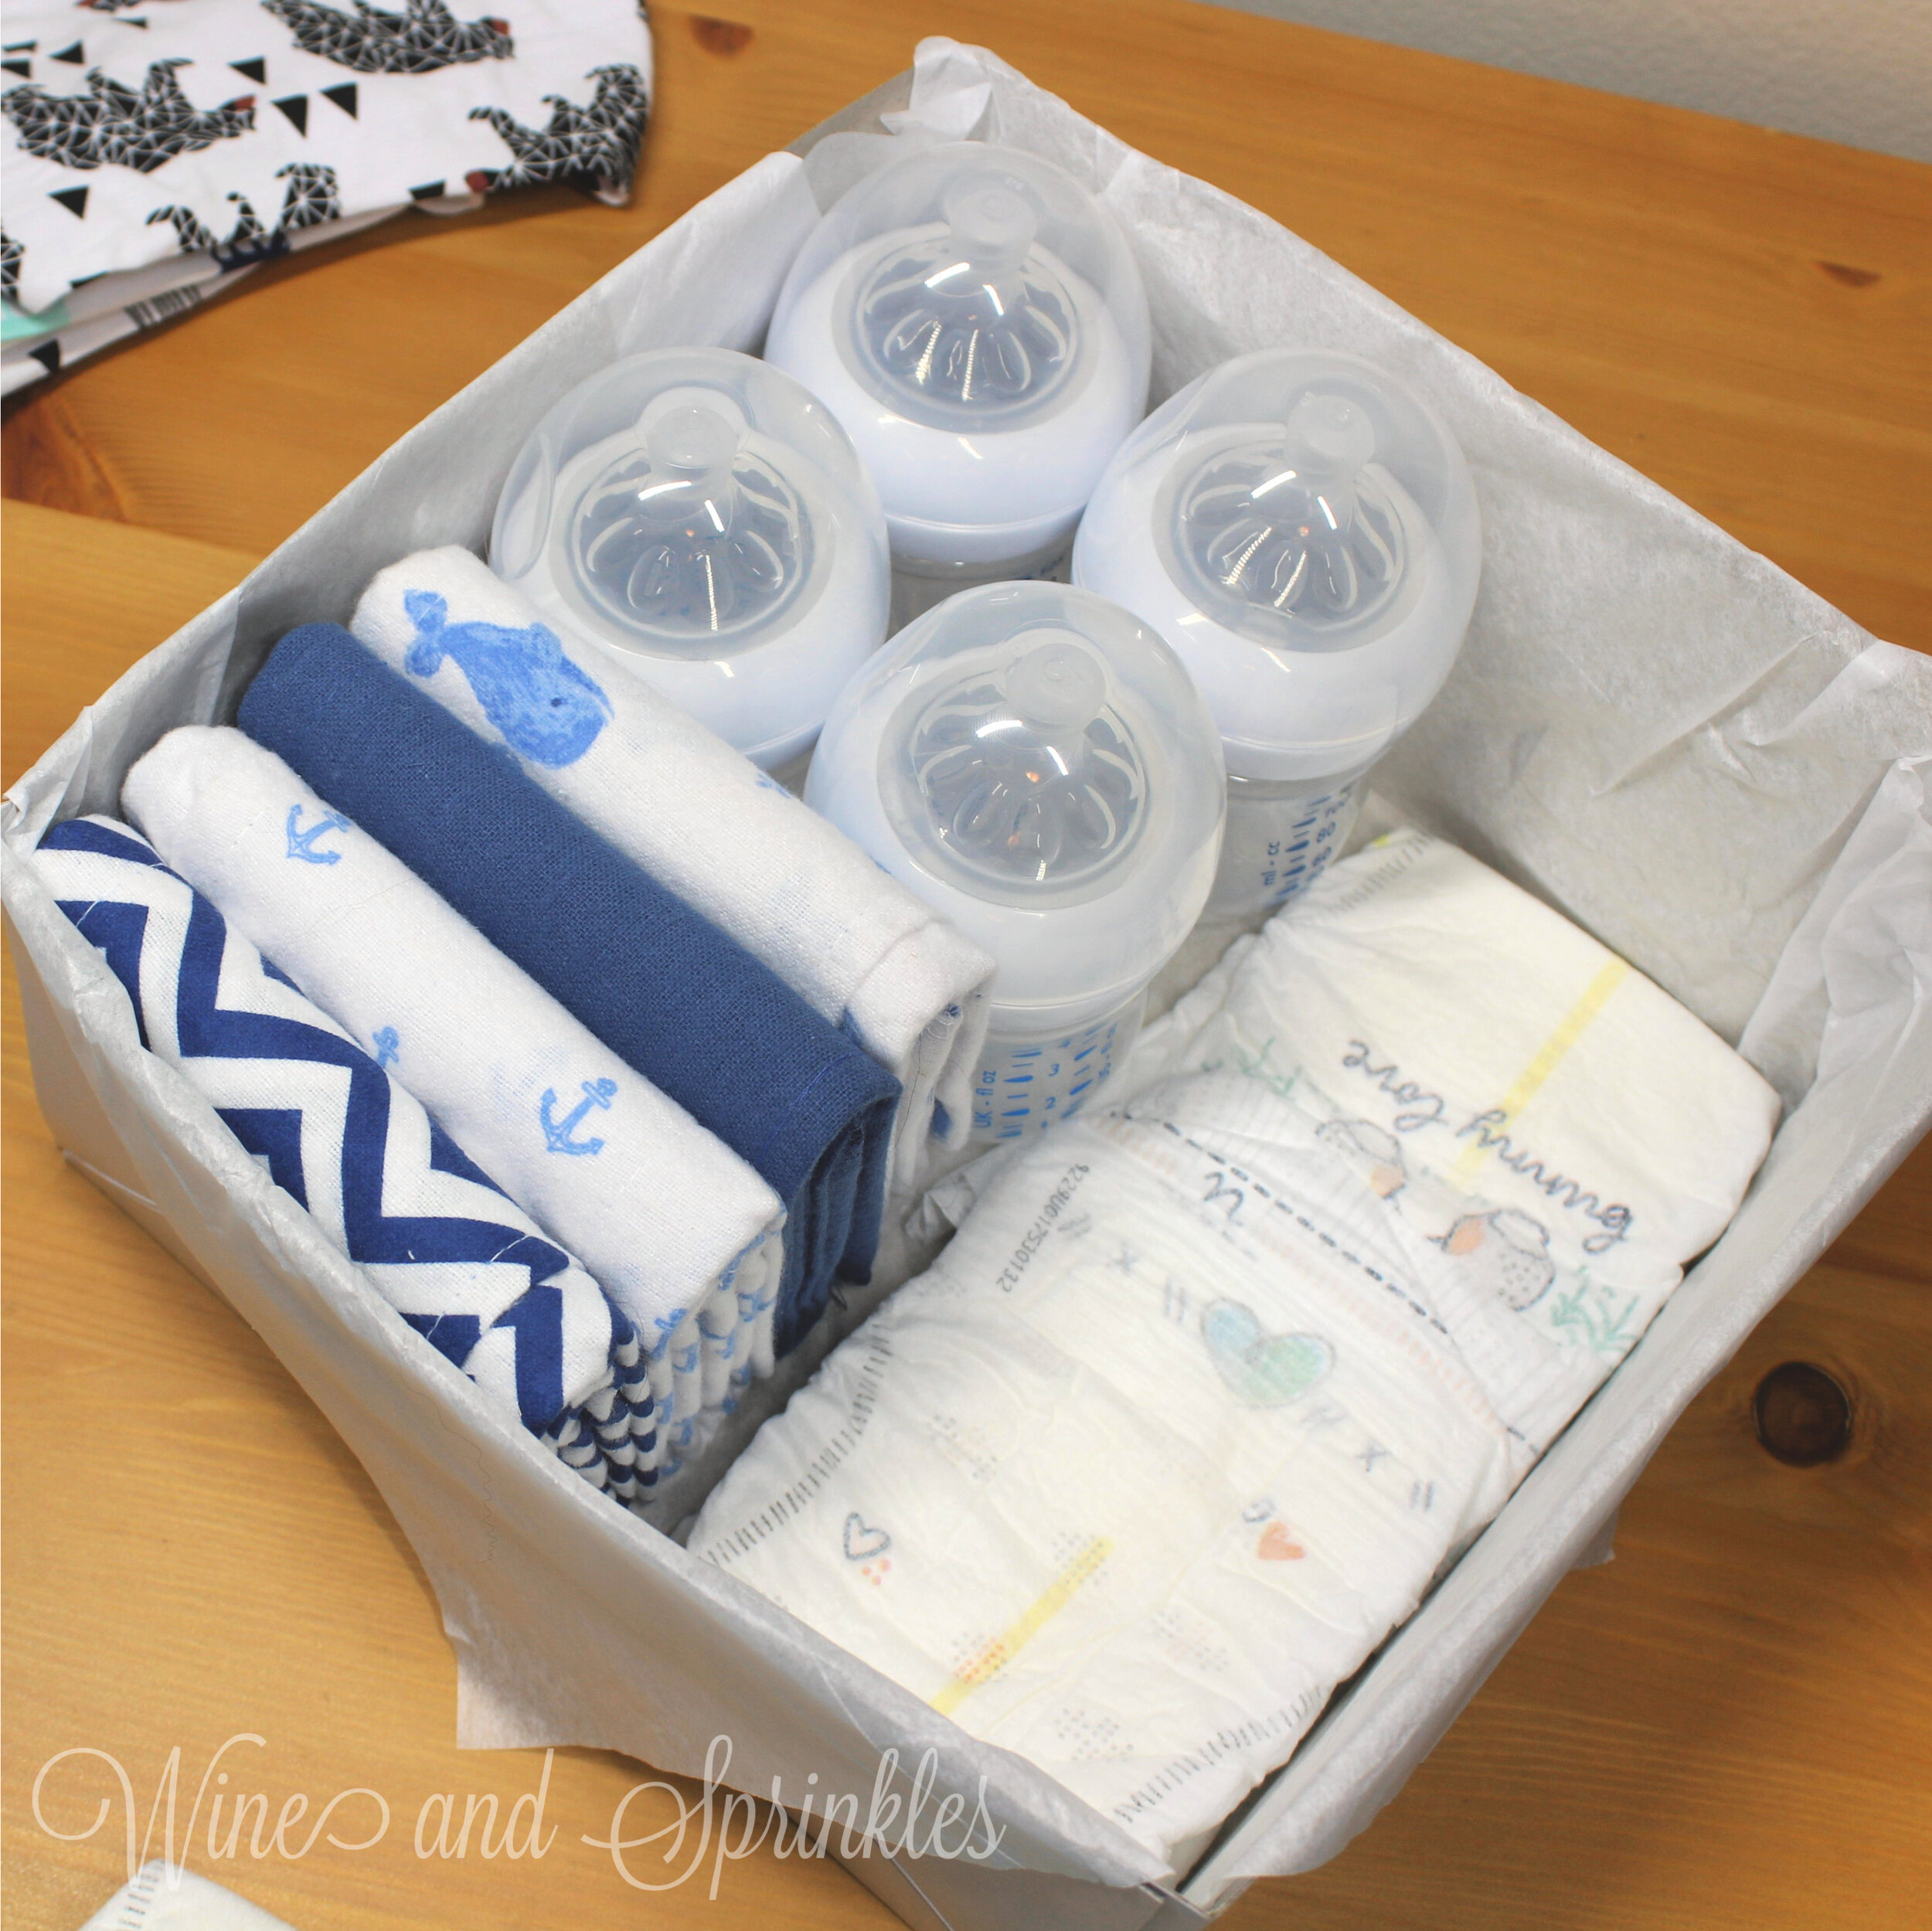
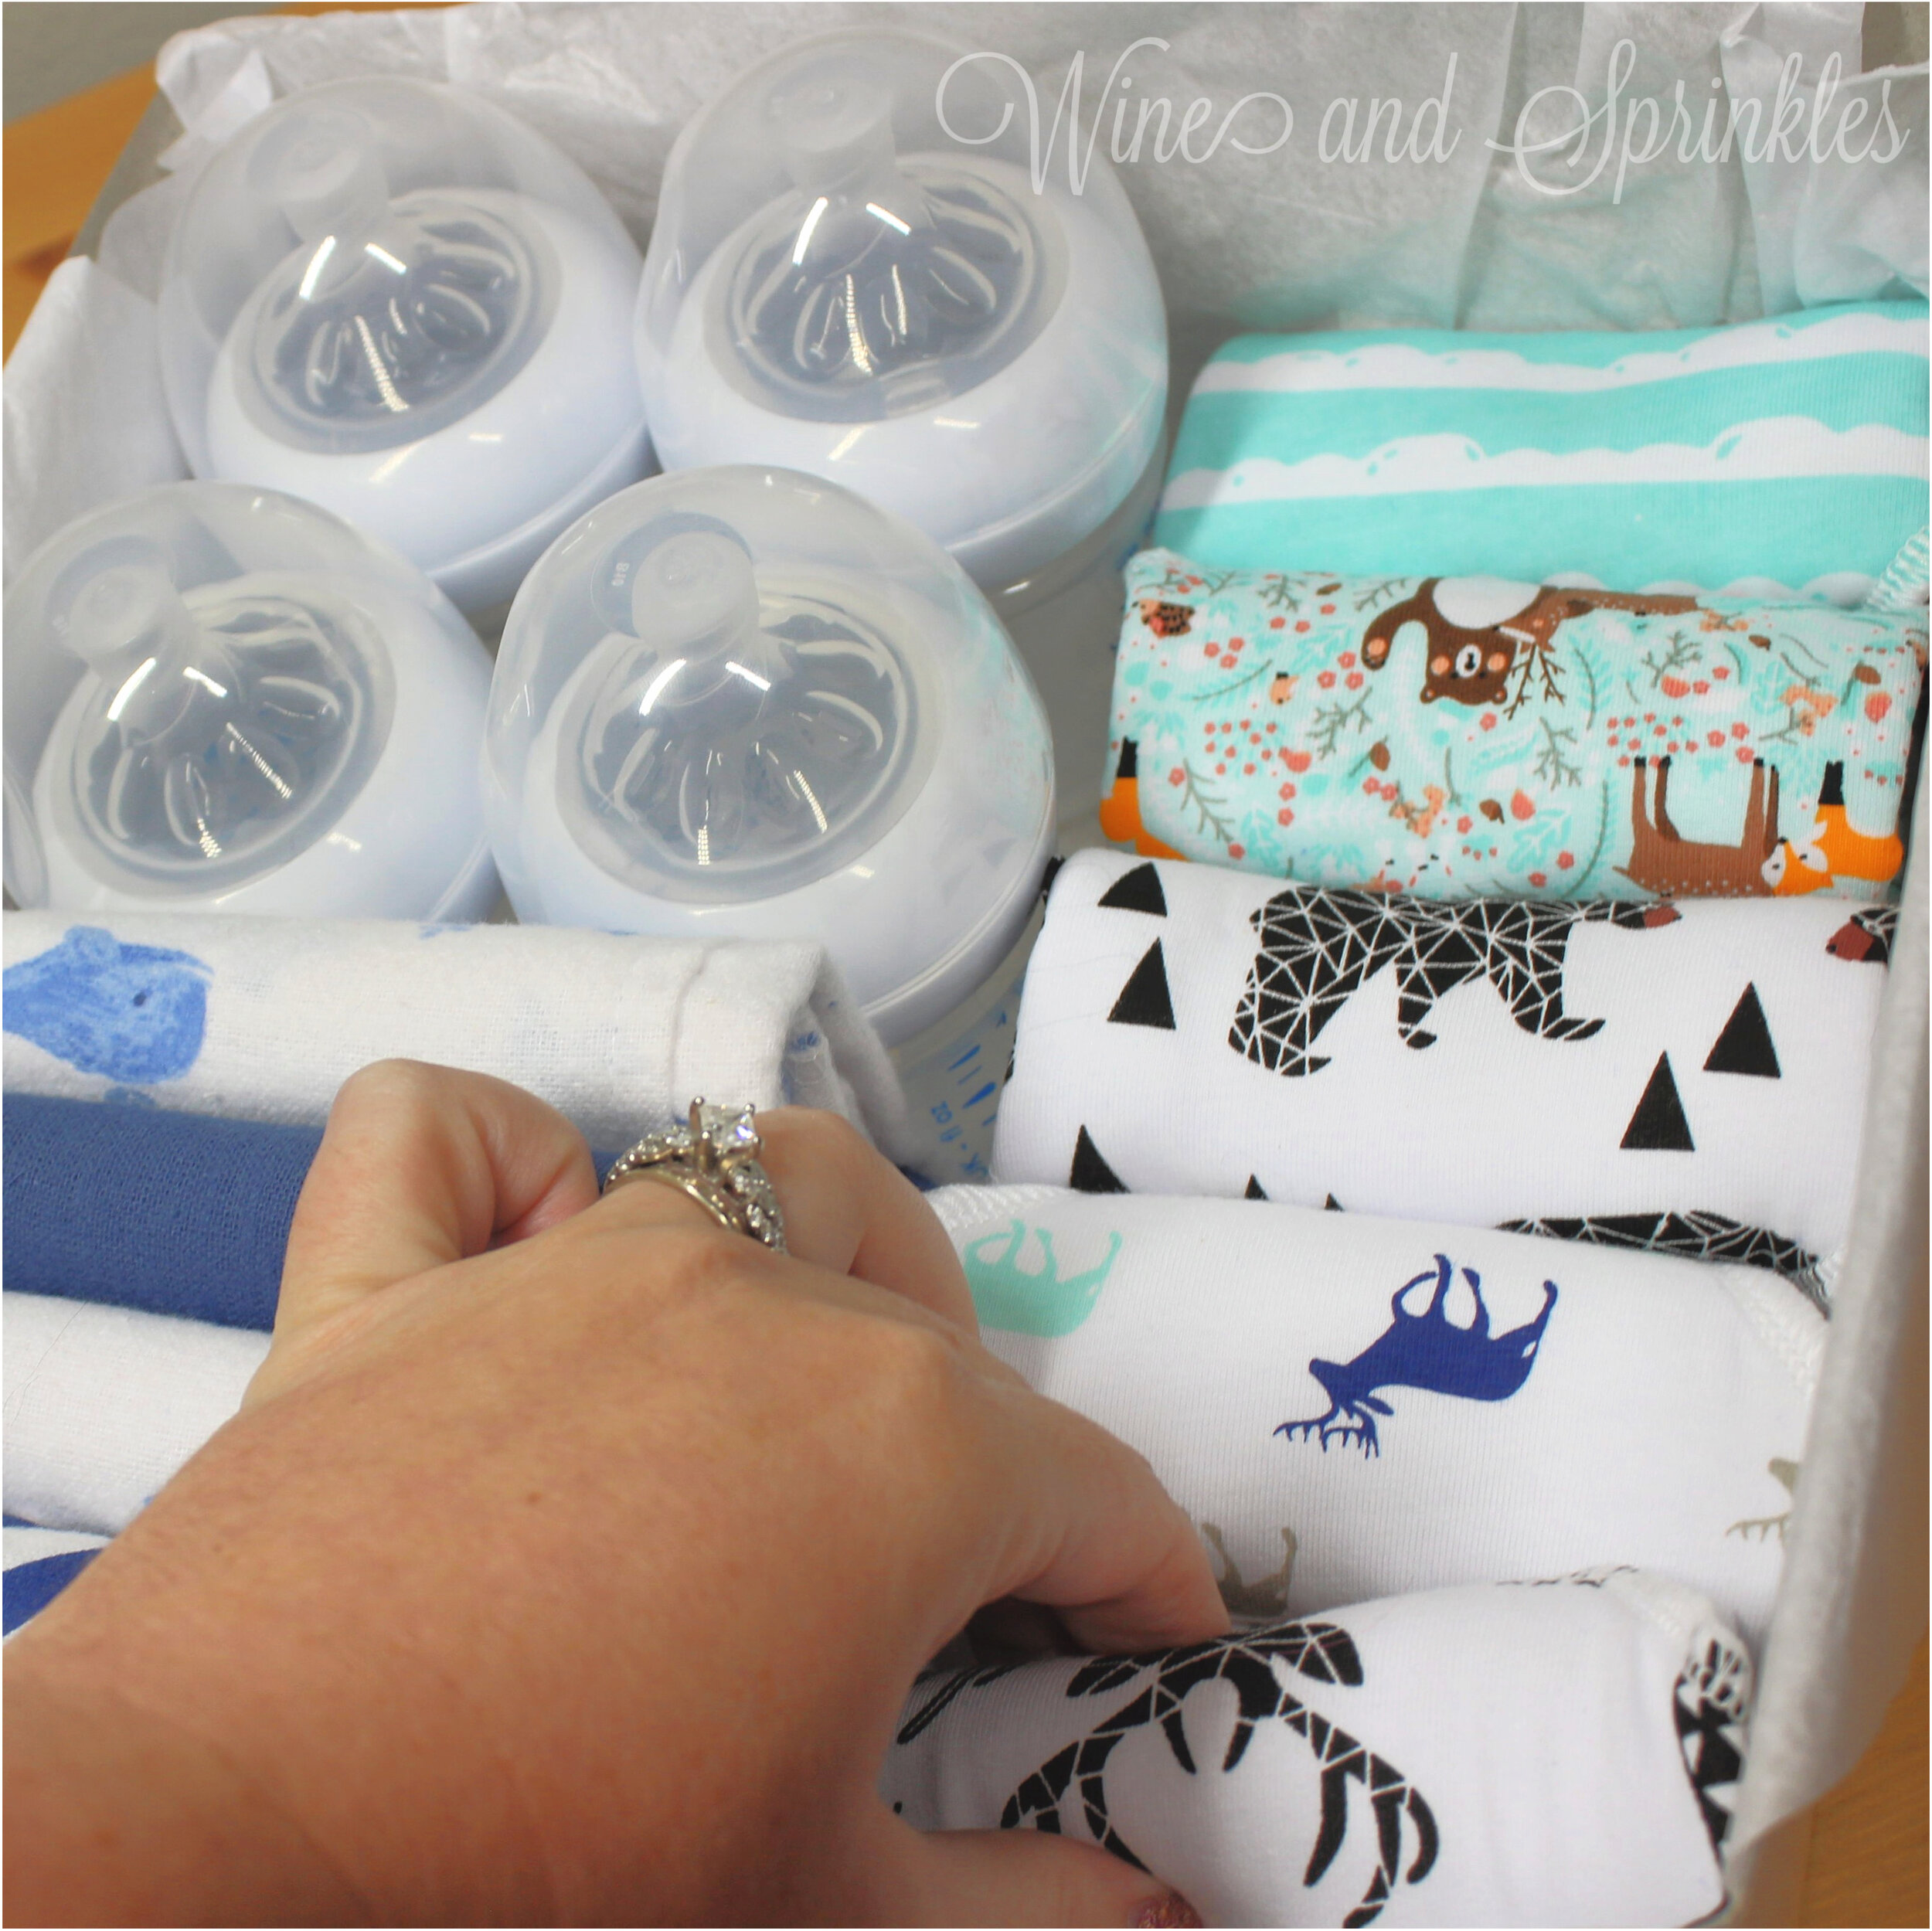
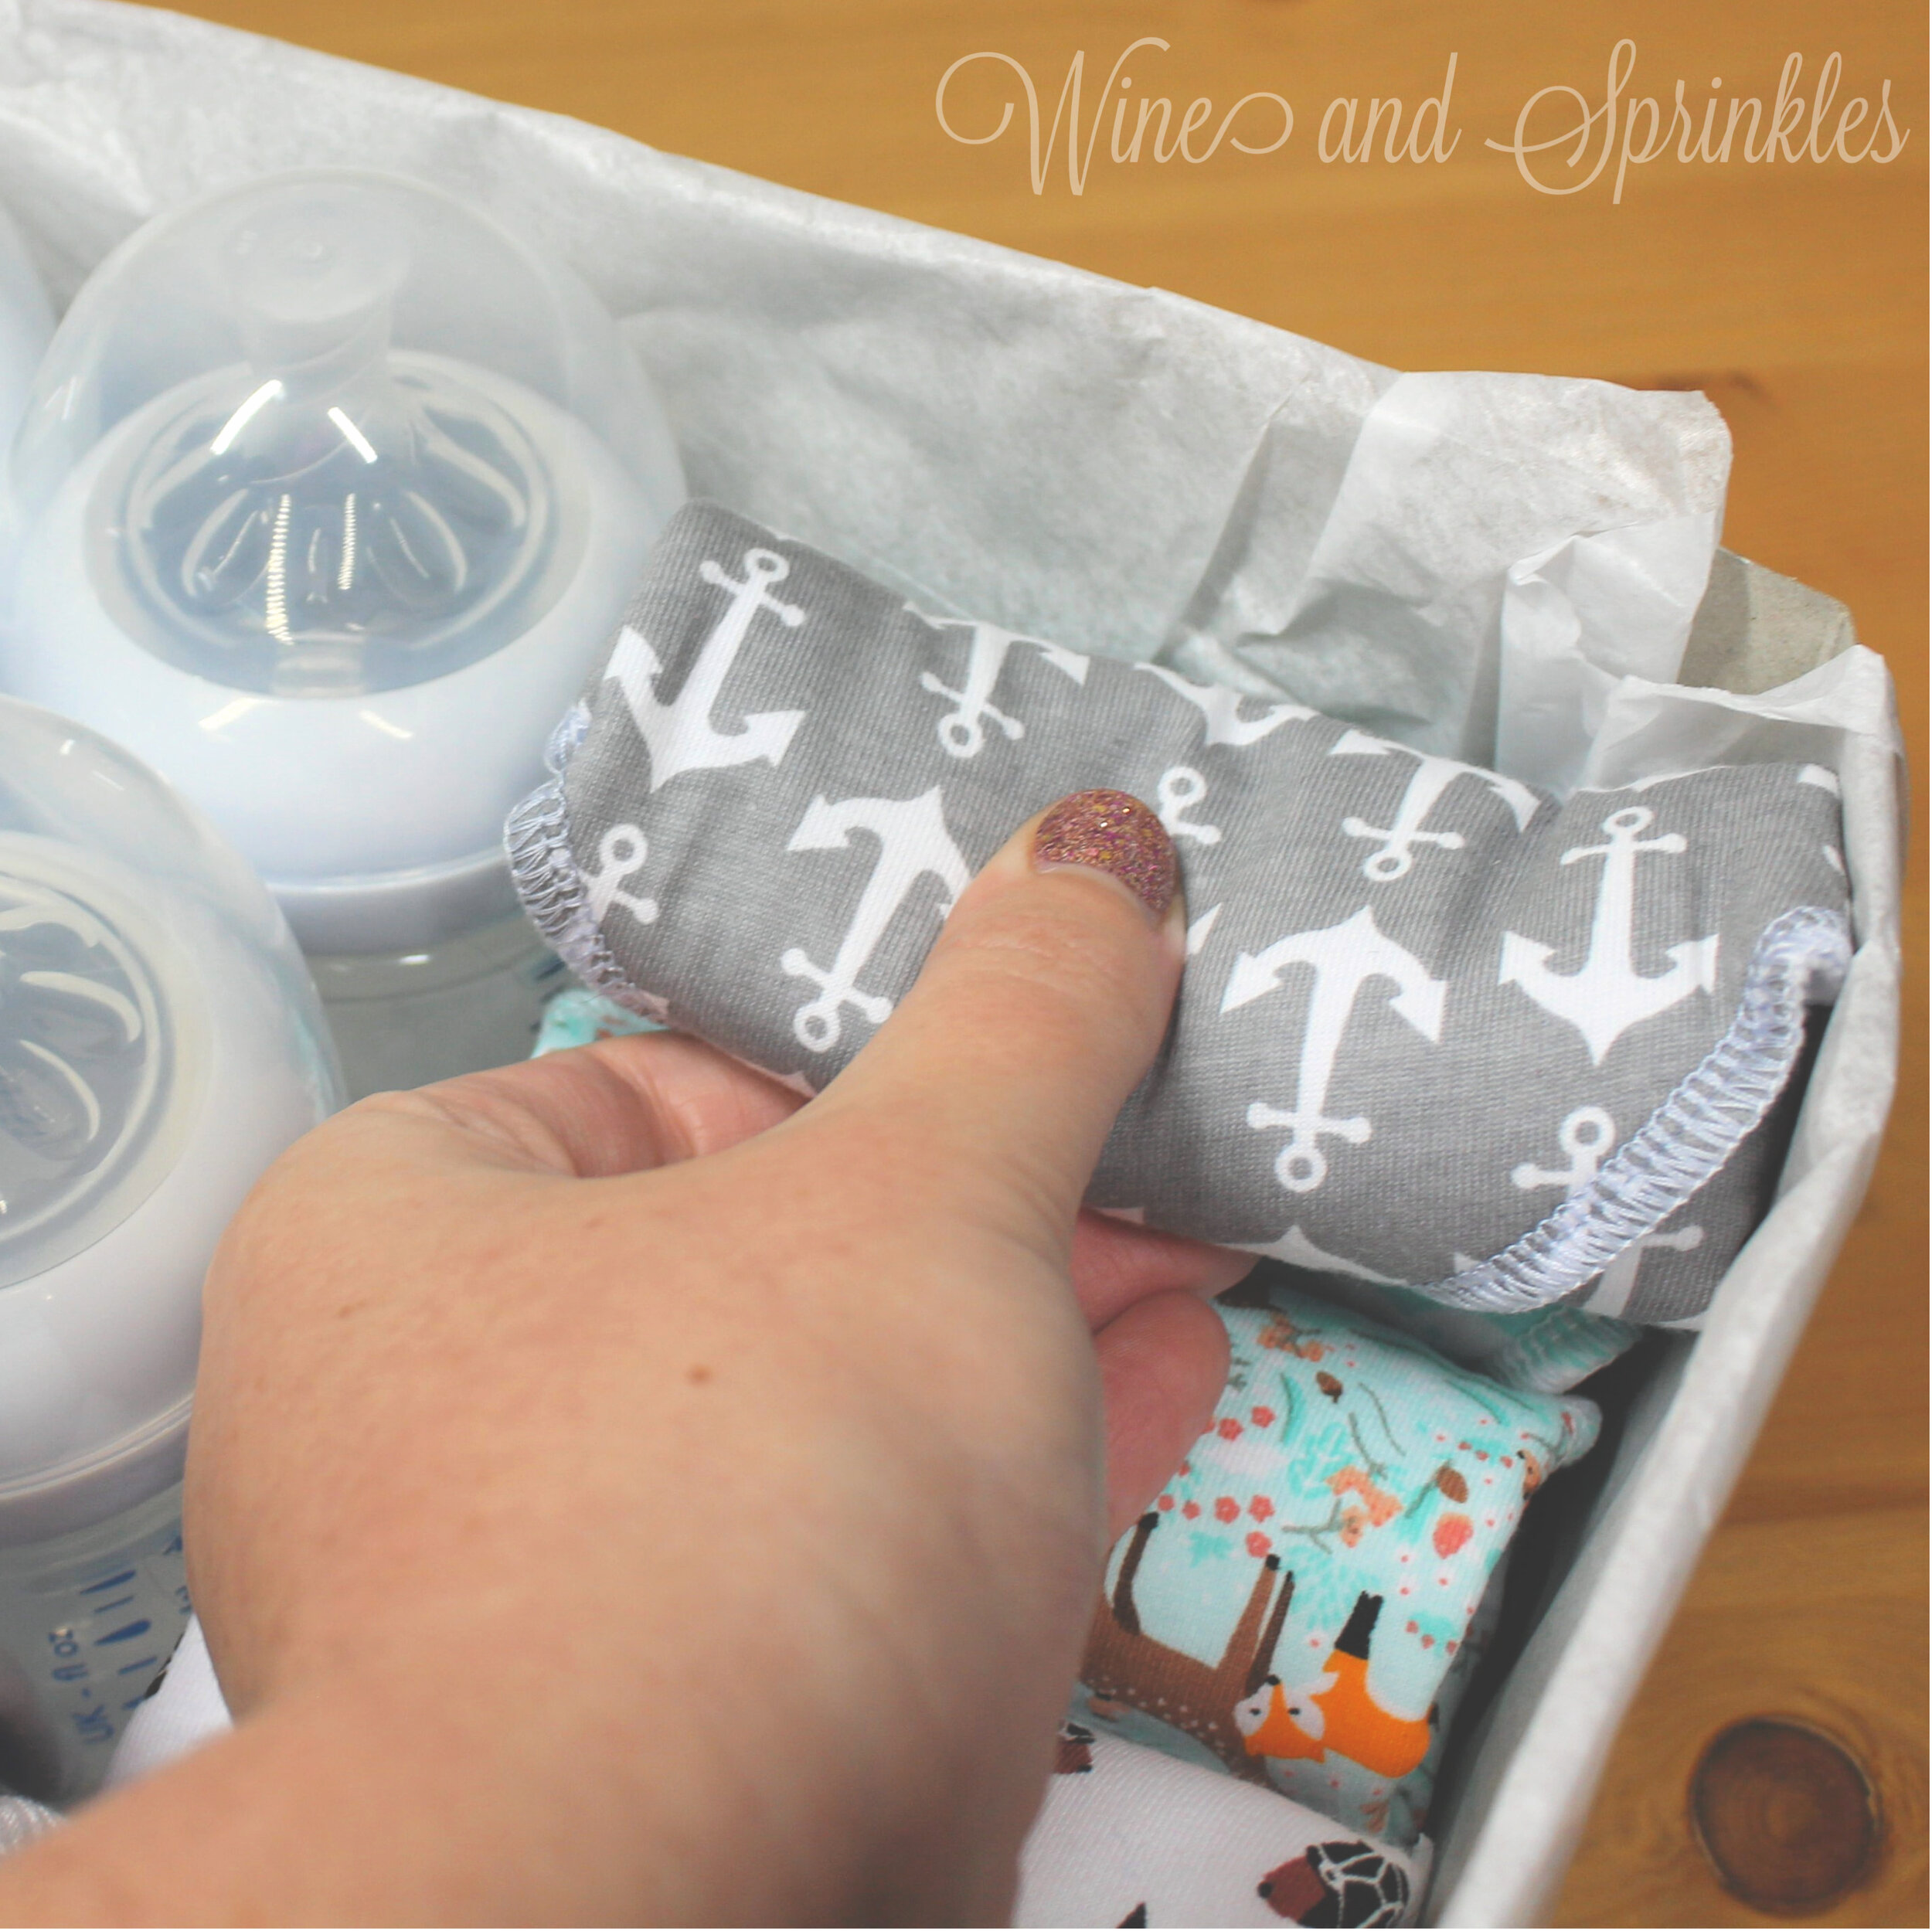
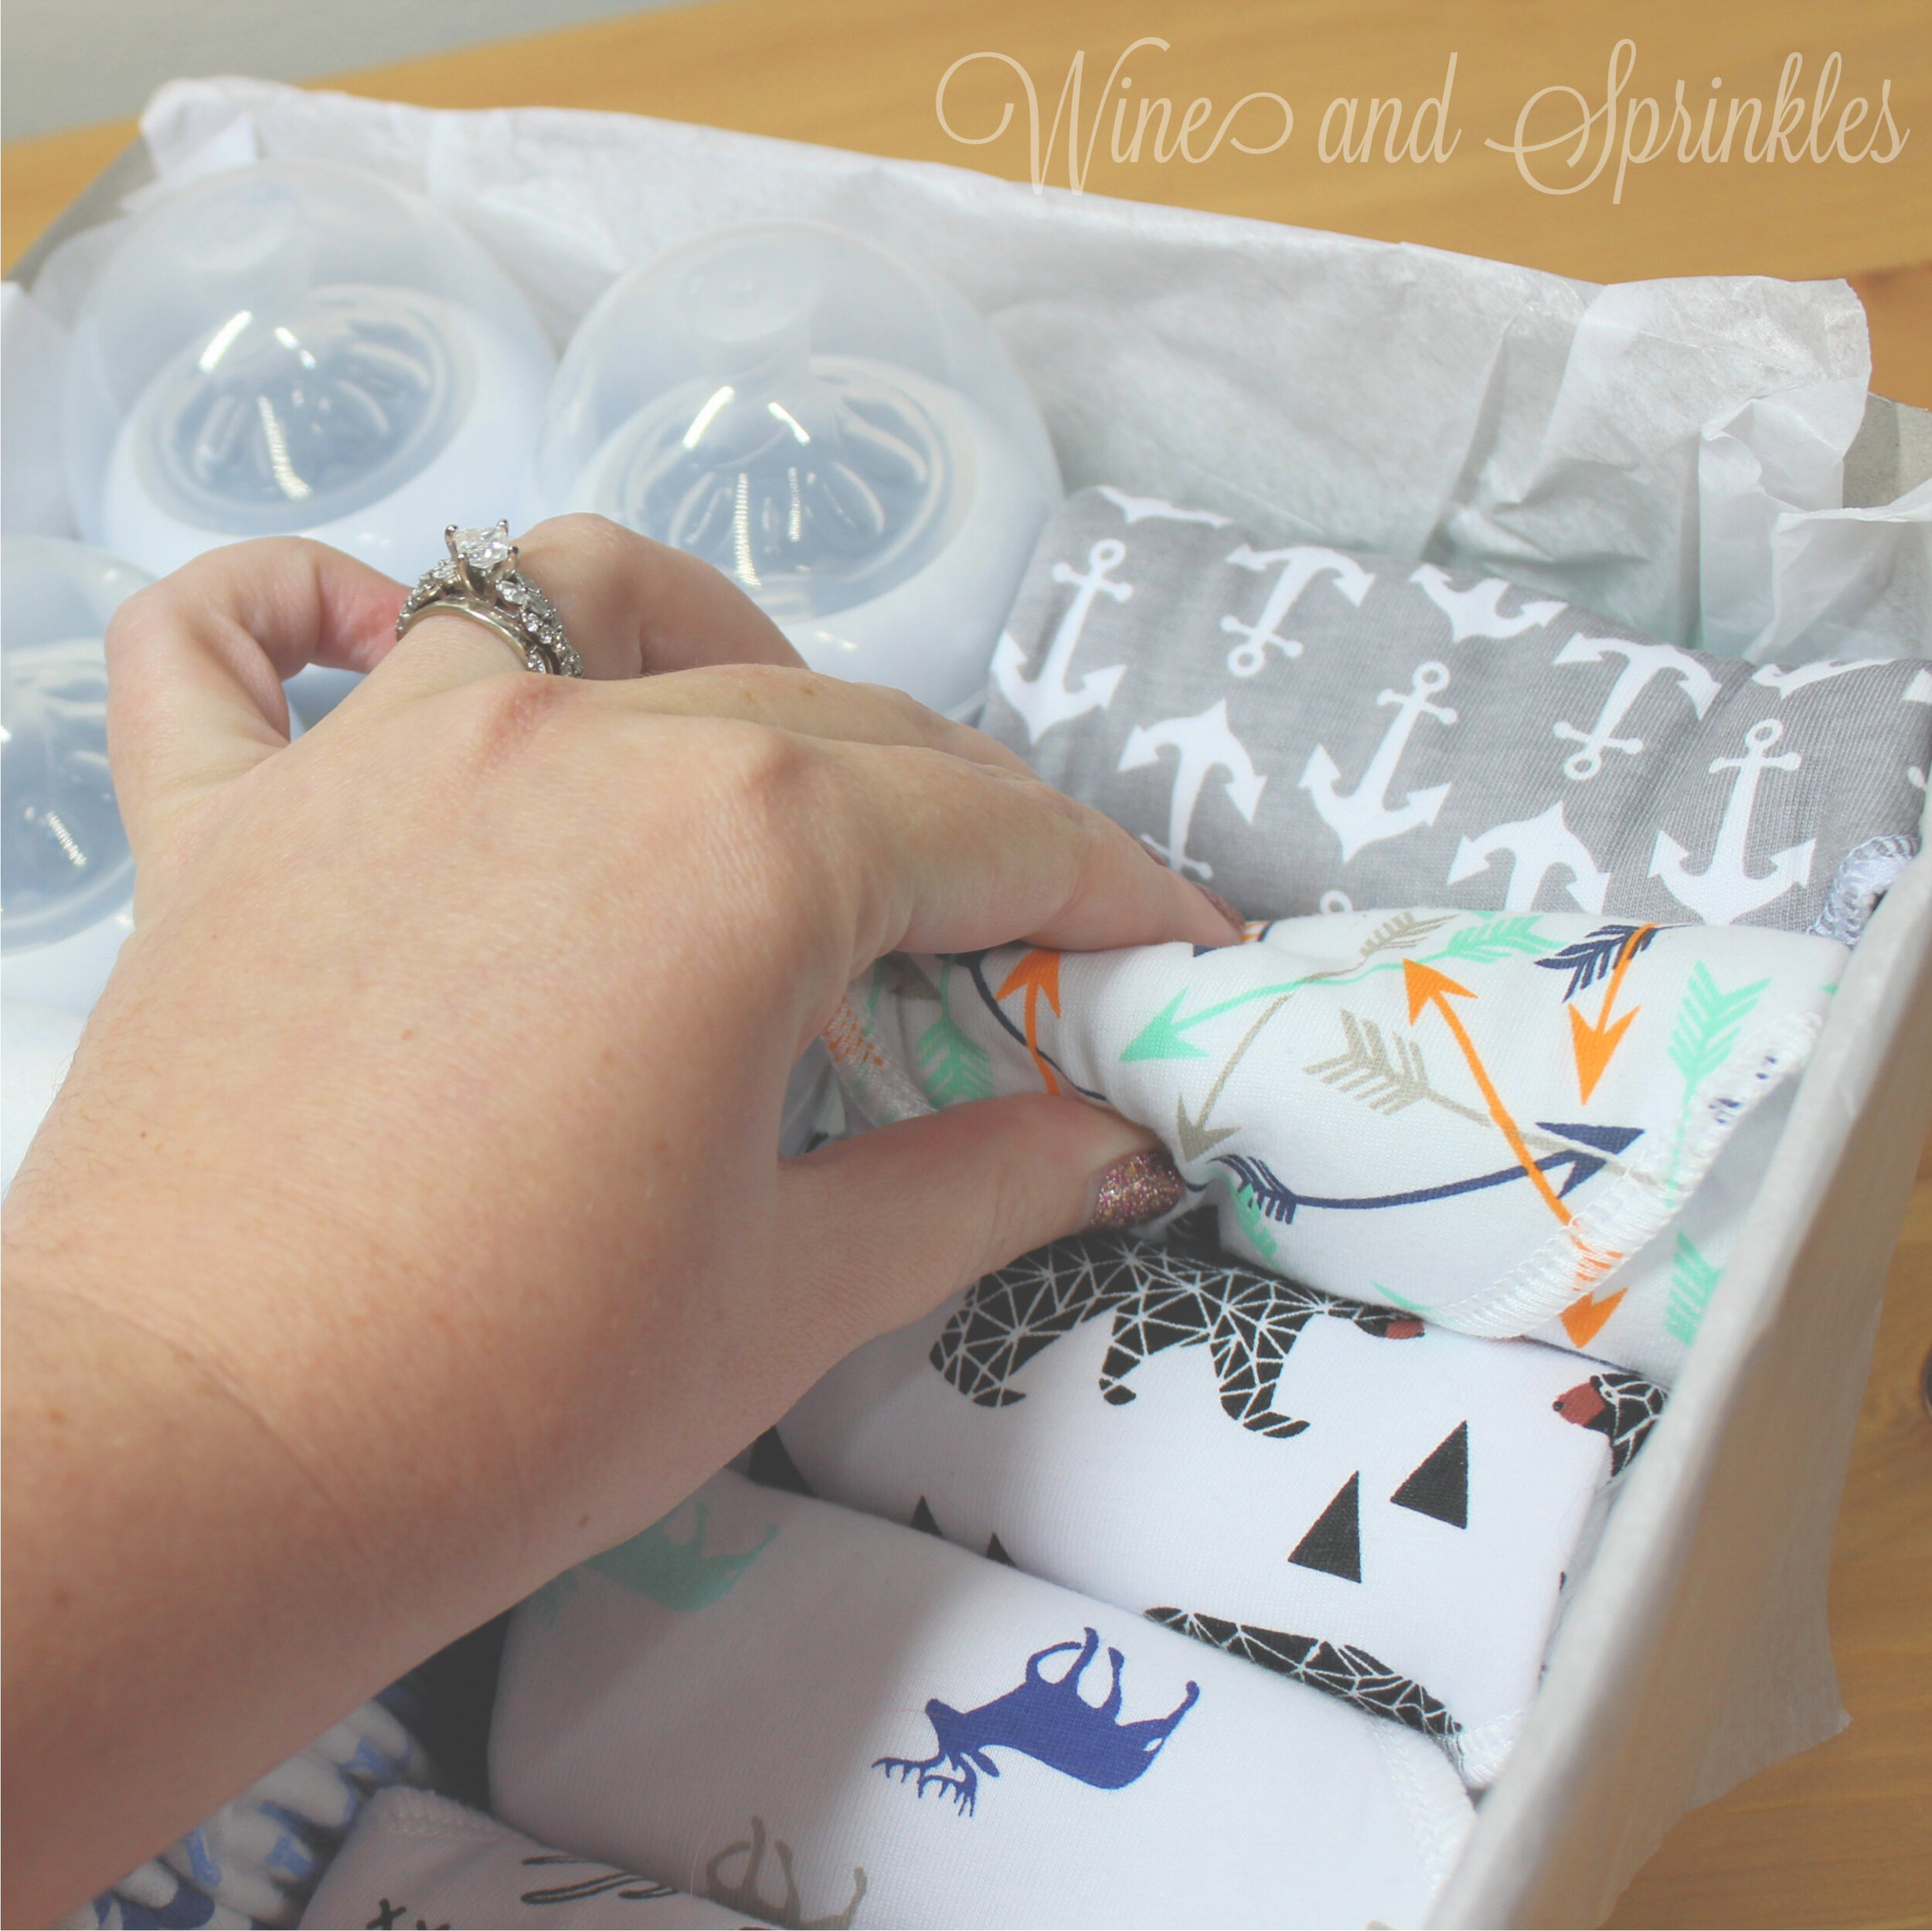
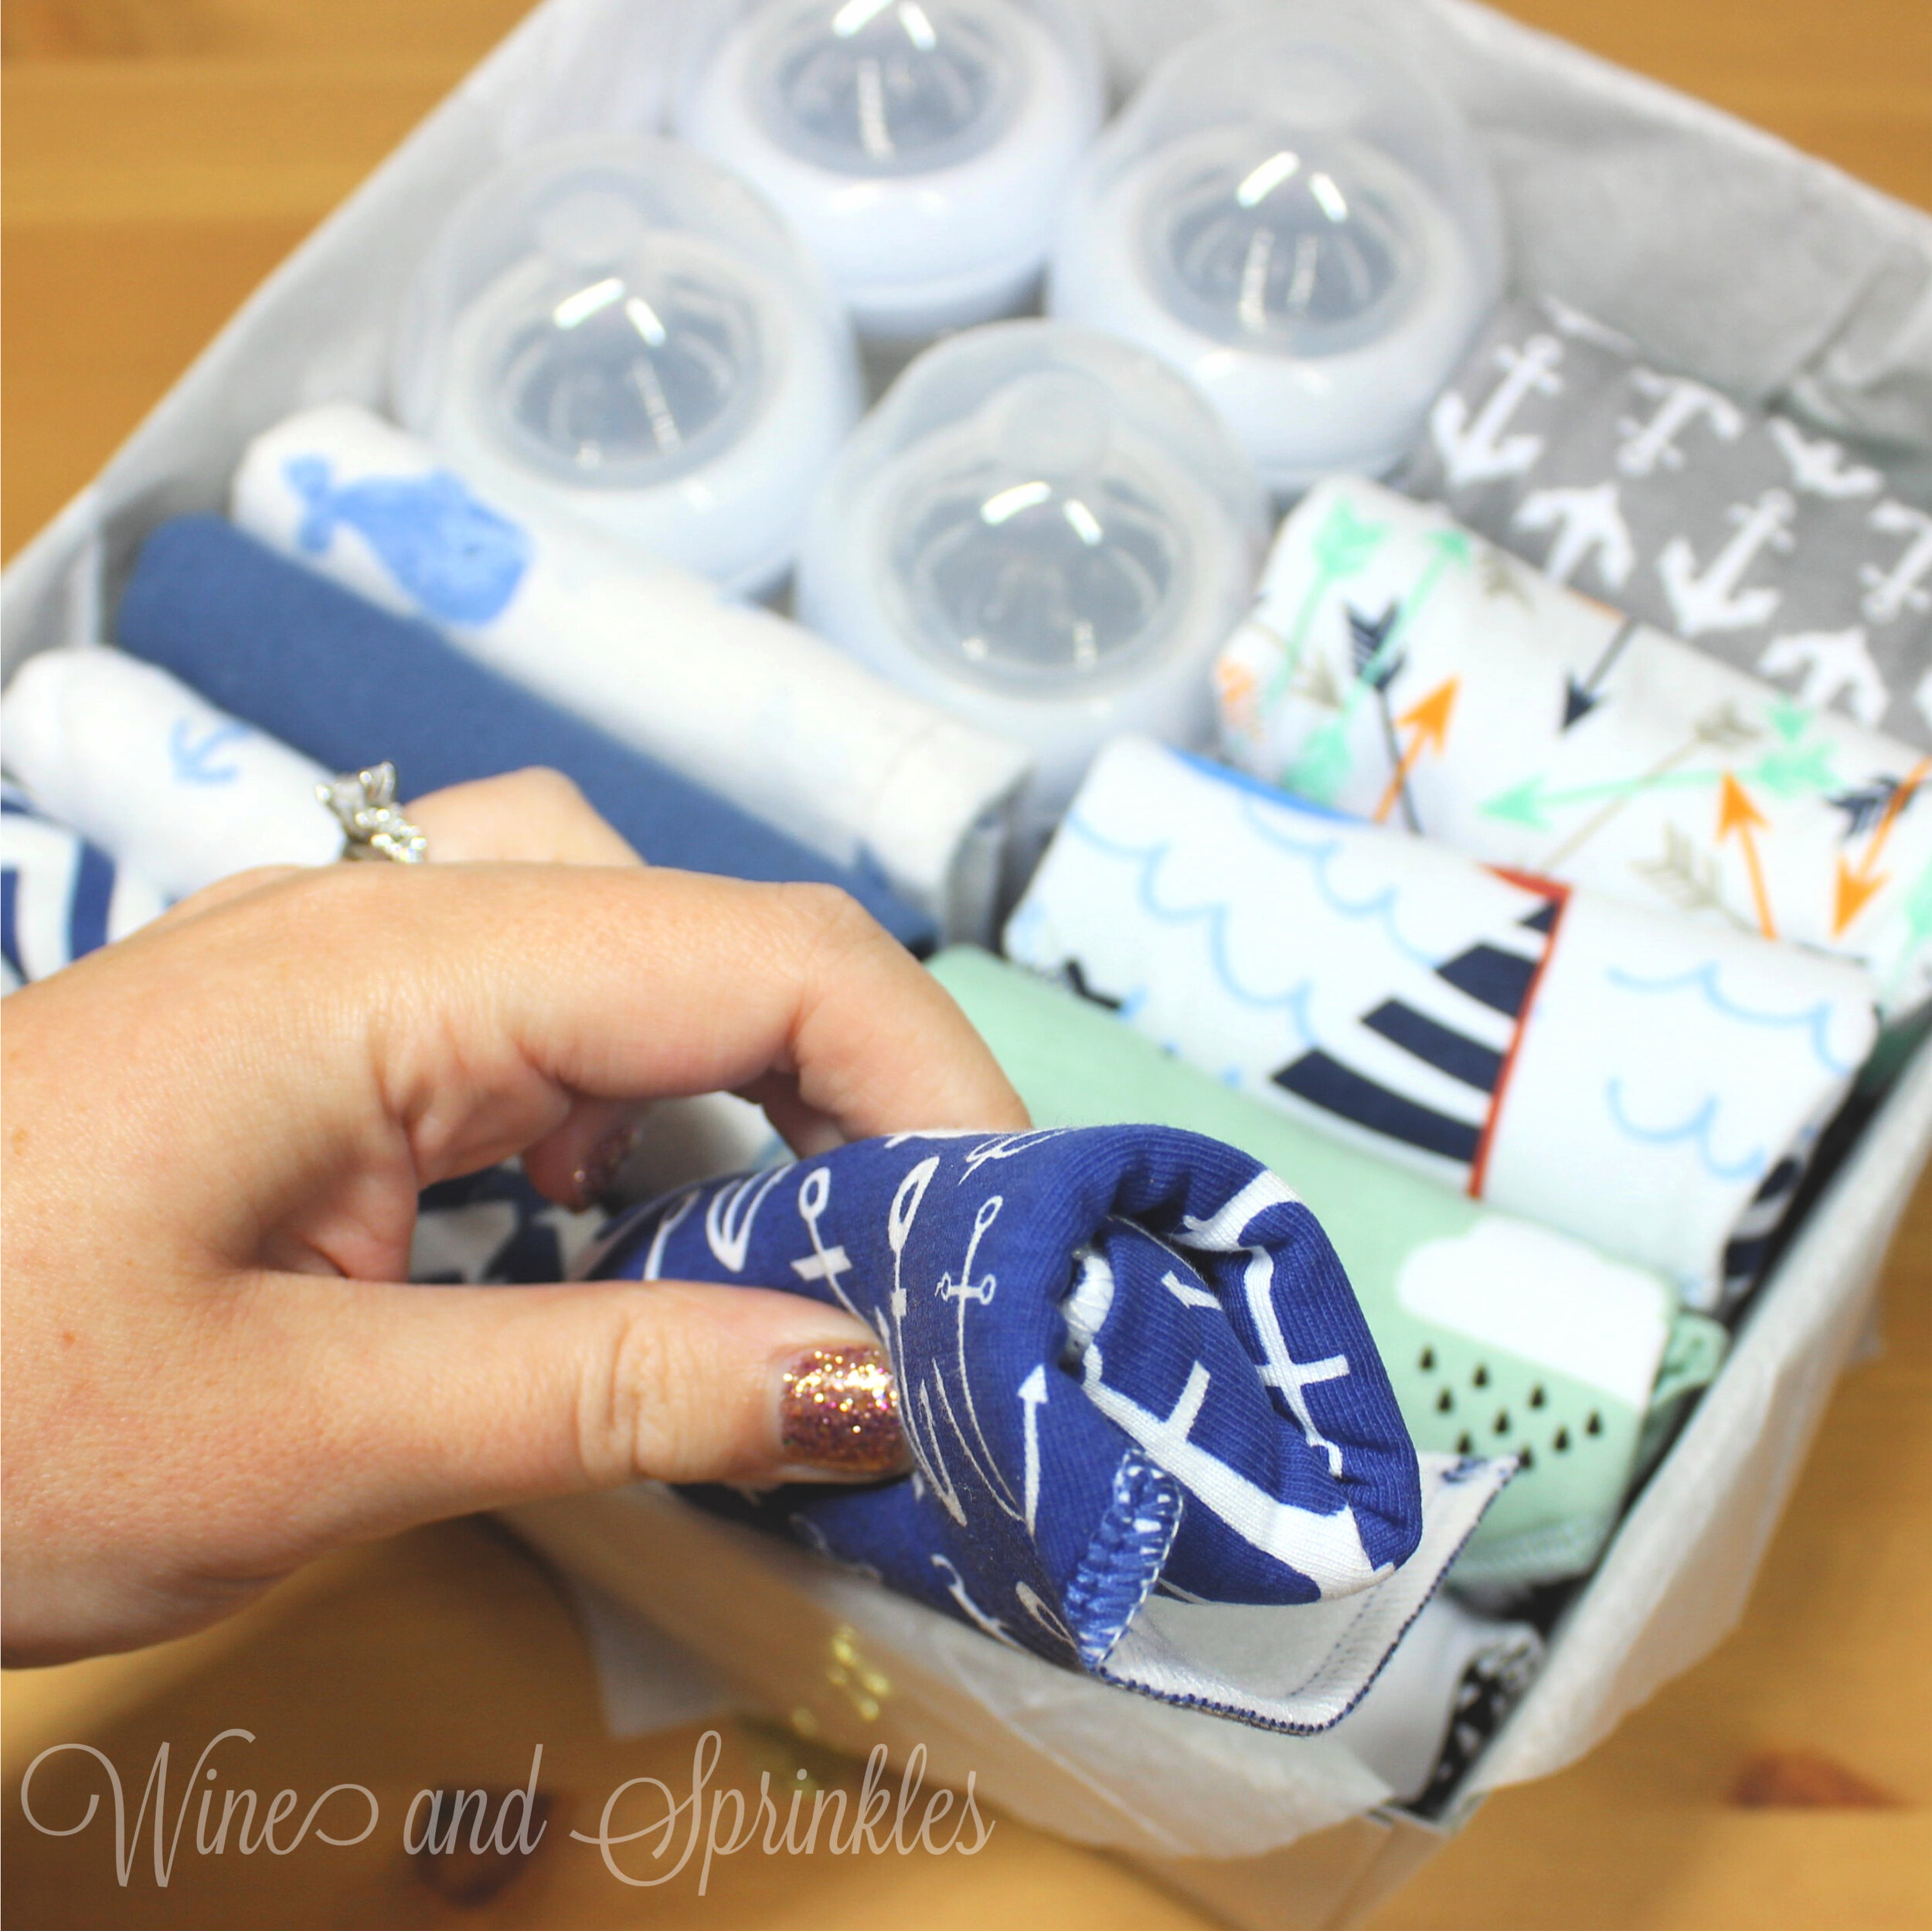
Everyone has a favorite baby shower gift to give. While others love to shower babies in cute clothes, I love presents that have to do with feeding: bottles, pillows, and anything in between! So when I was making game cards and signs for my bestie’s Blue Gingham BaByQ Shower, I knew I had to try my hand at making a new baby gift box, full of feeding essentials that any new mom would love!
Read MoreBaby Bento Box
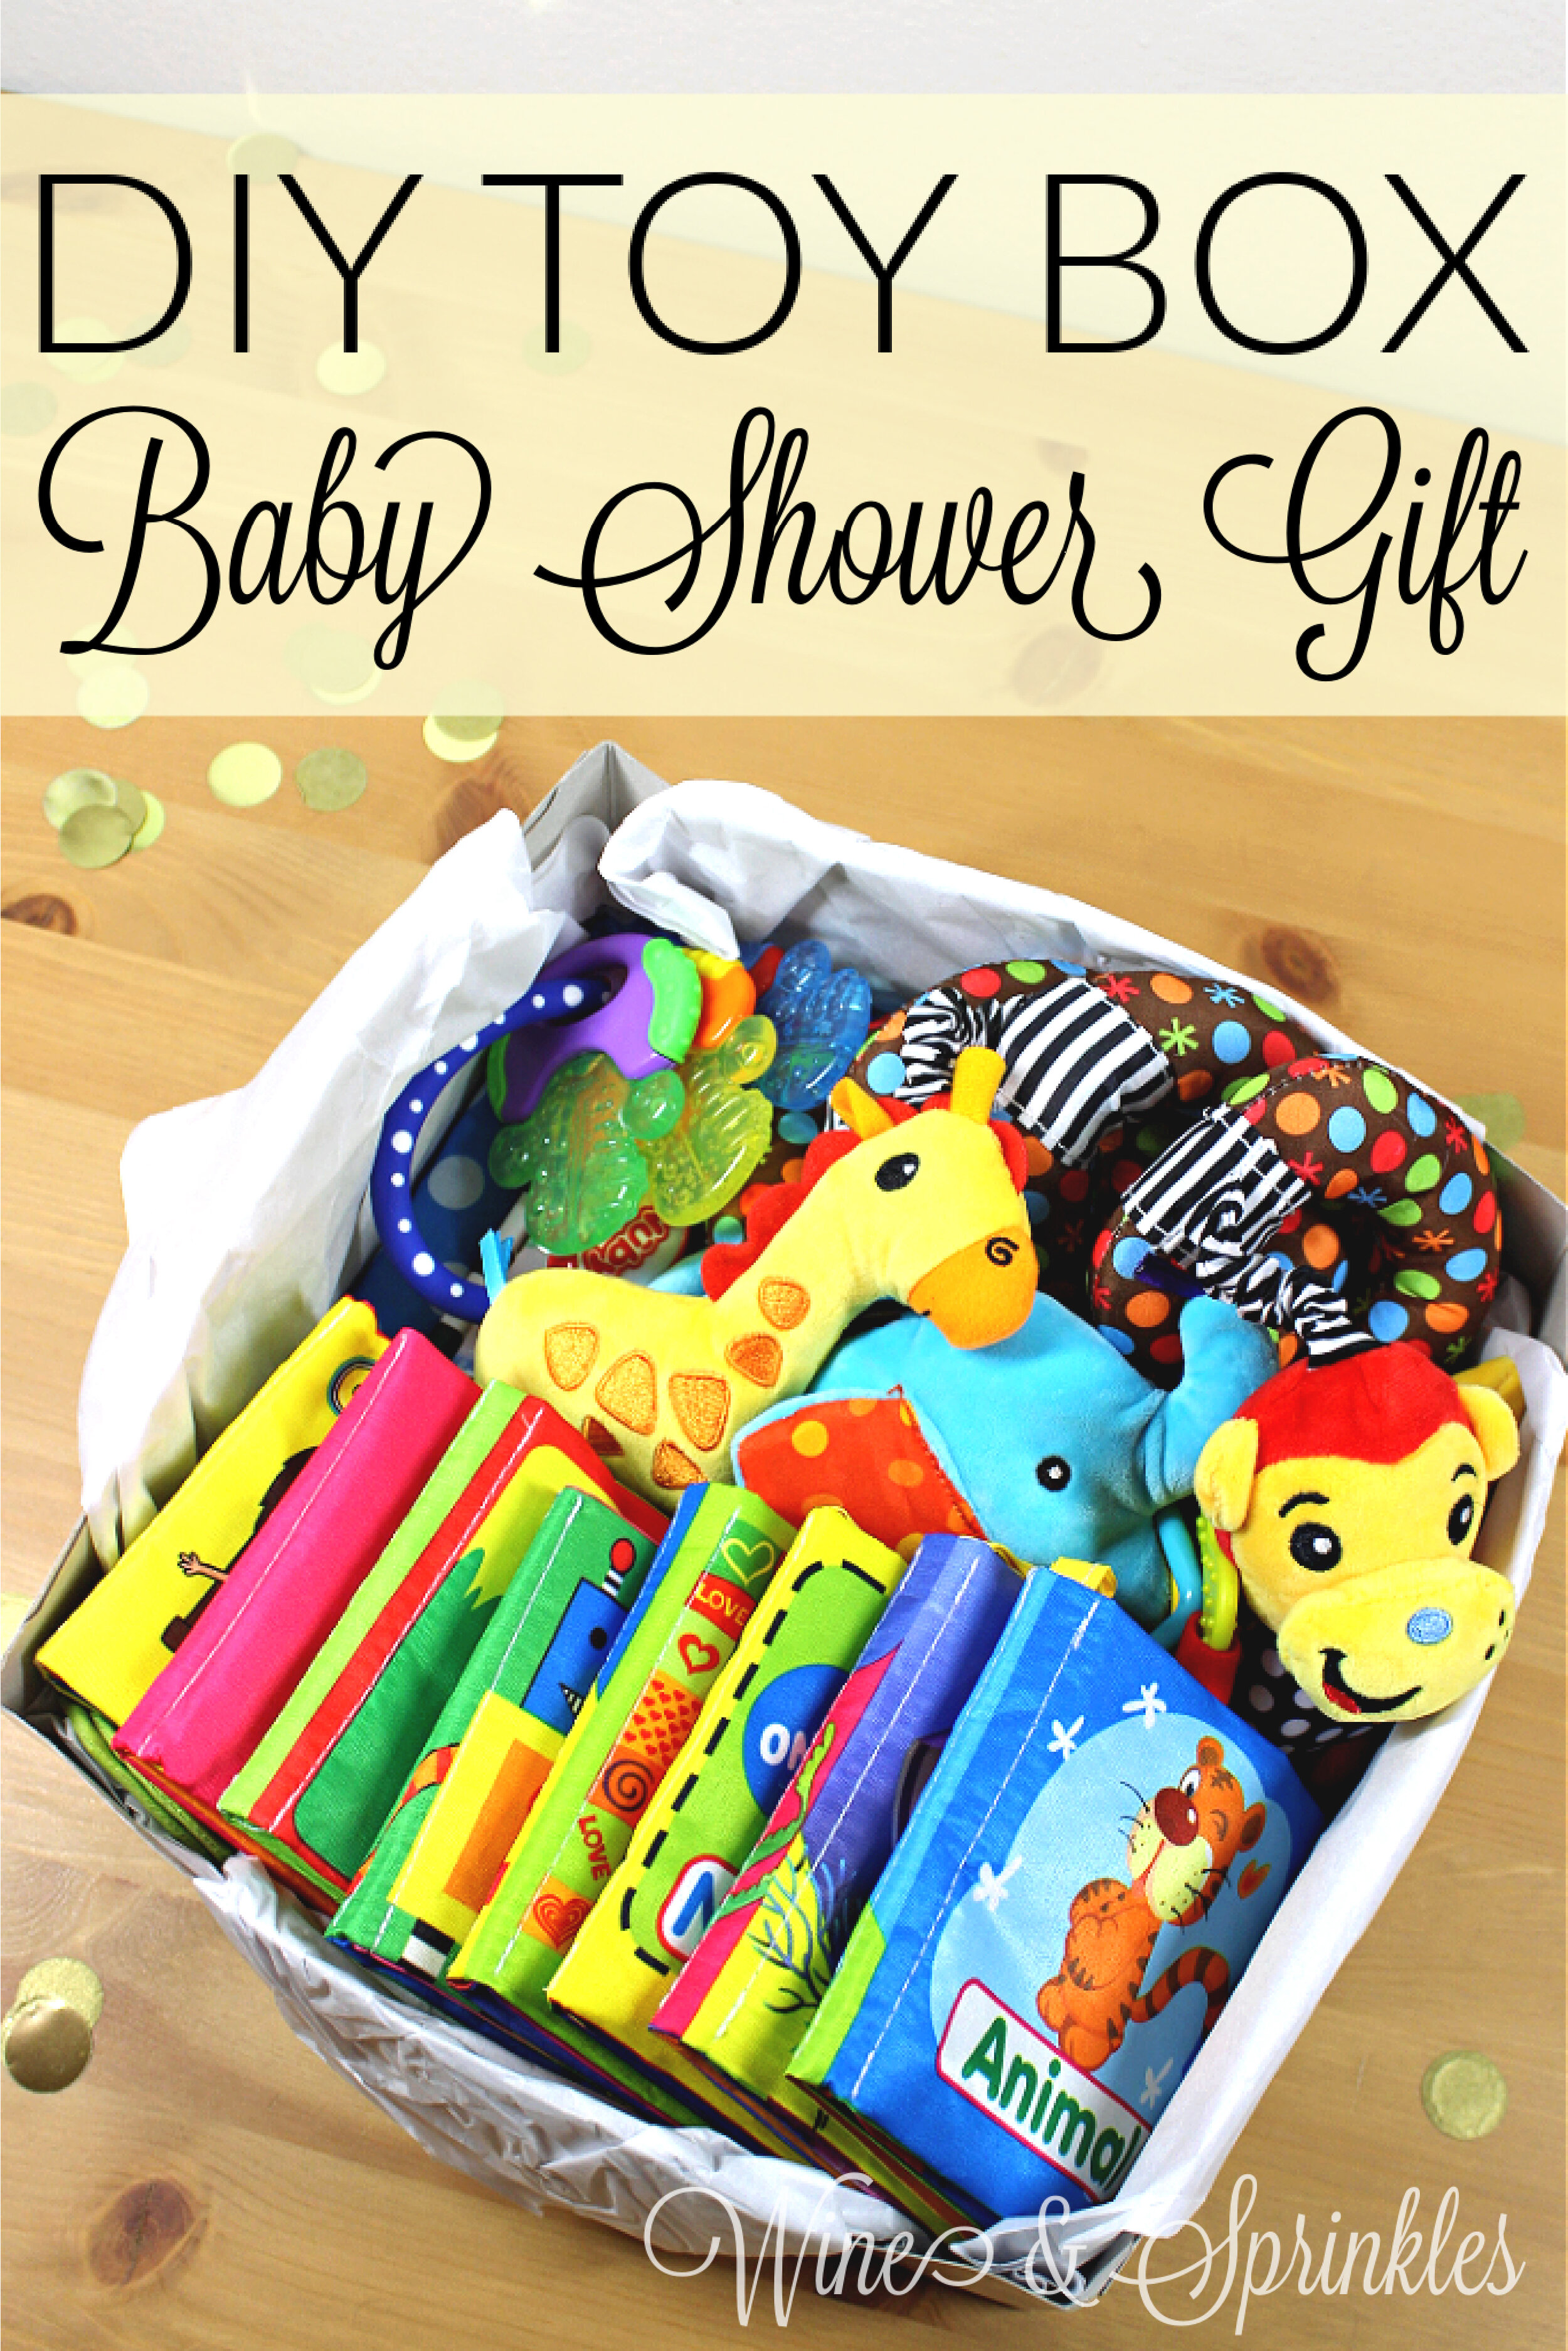
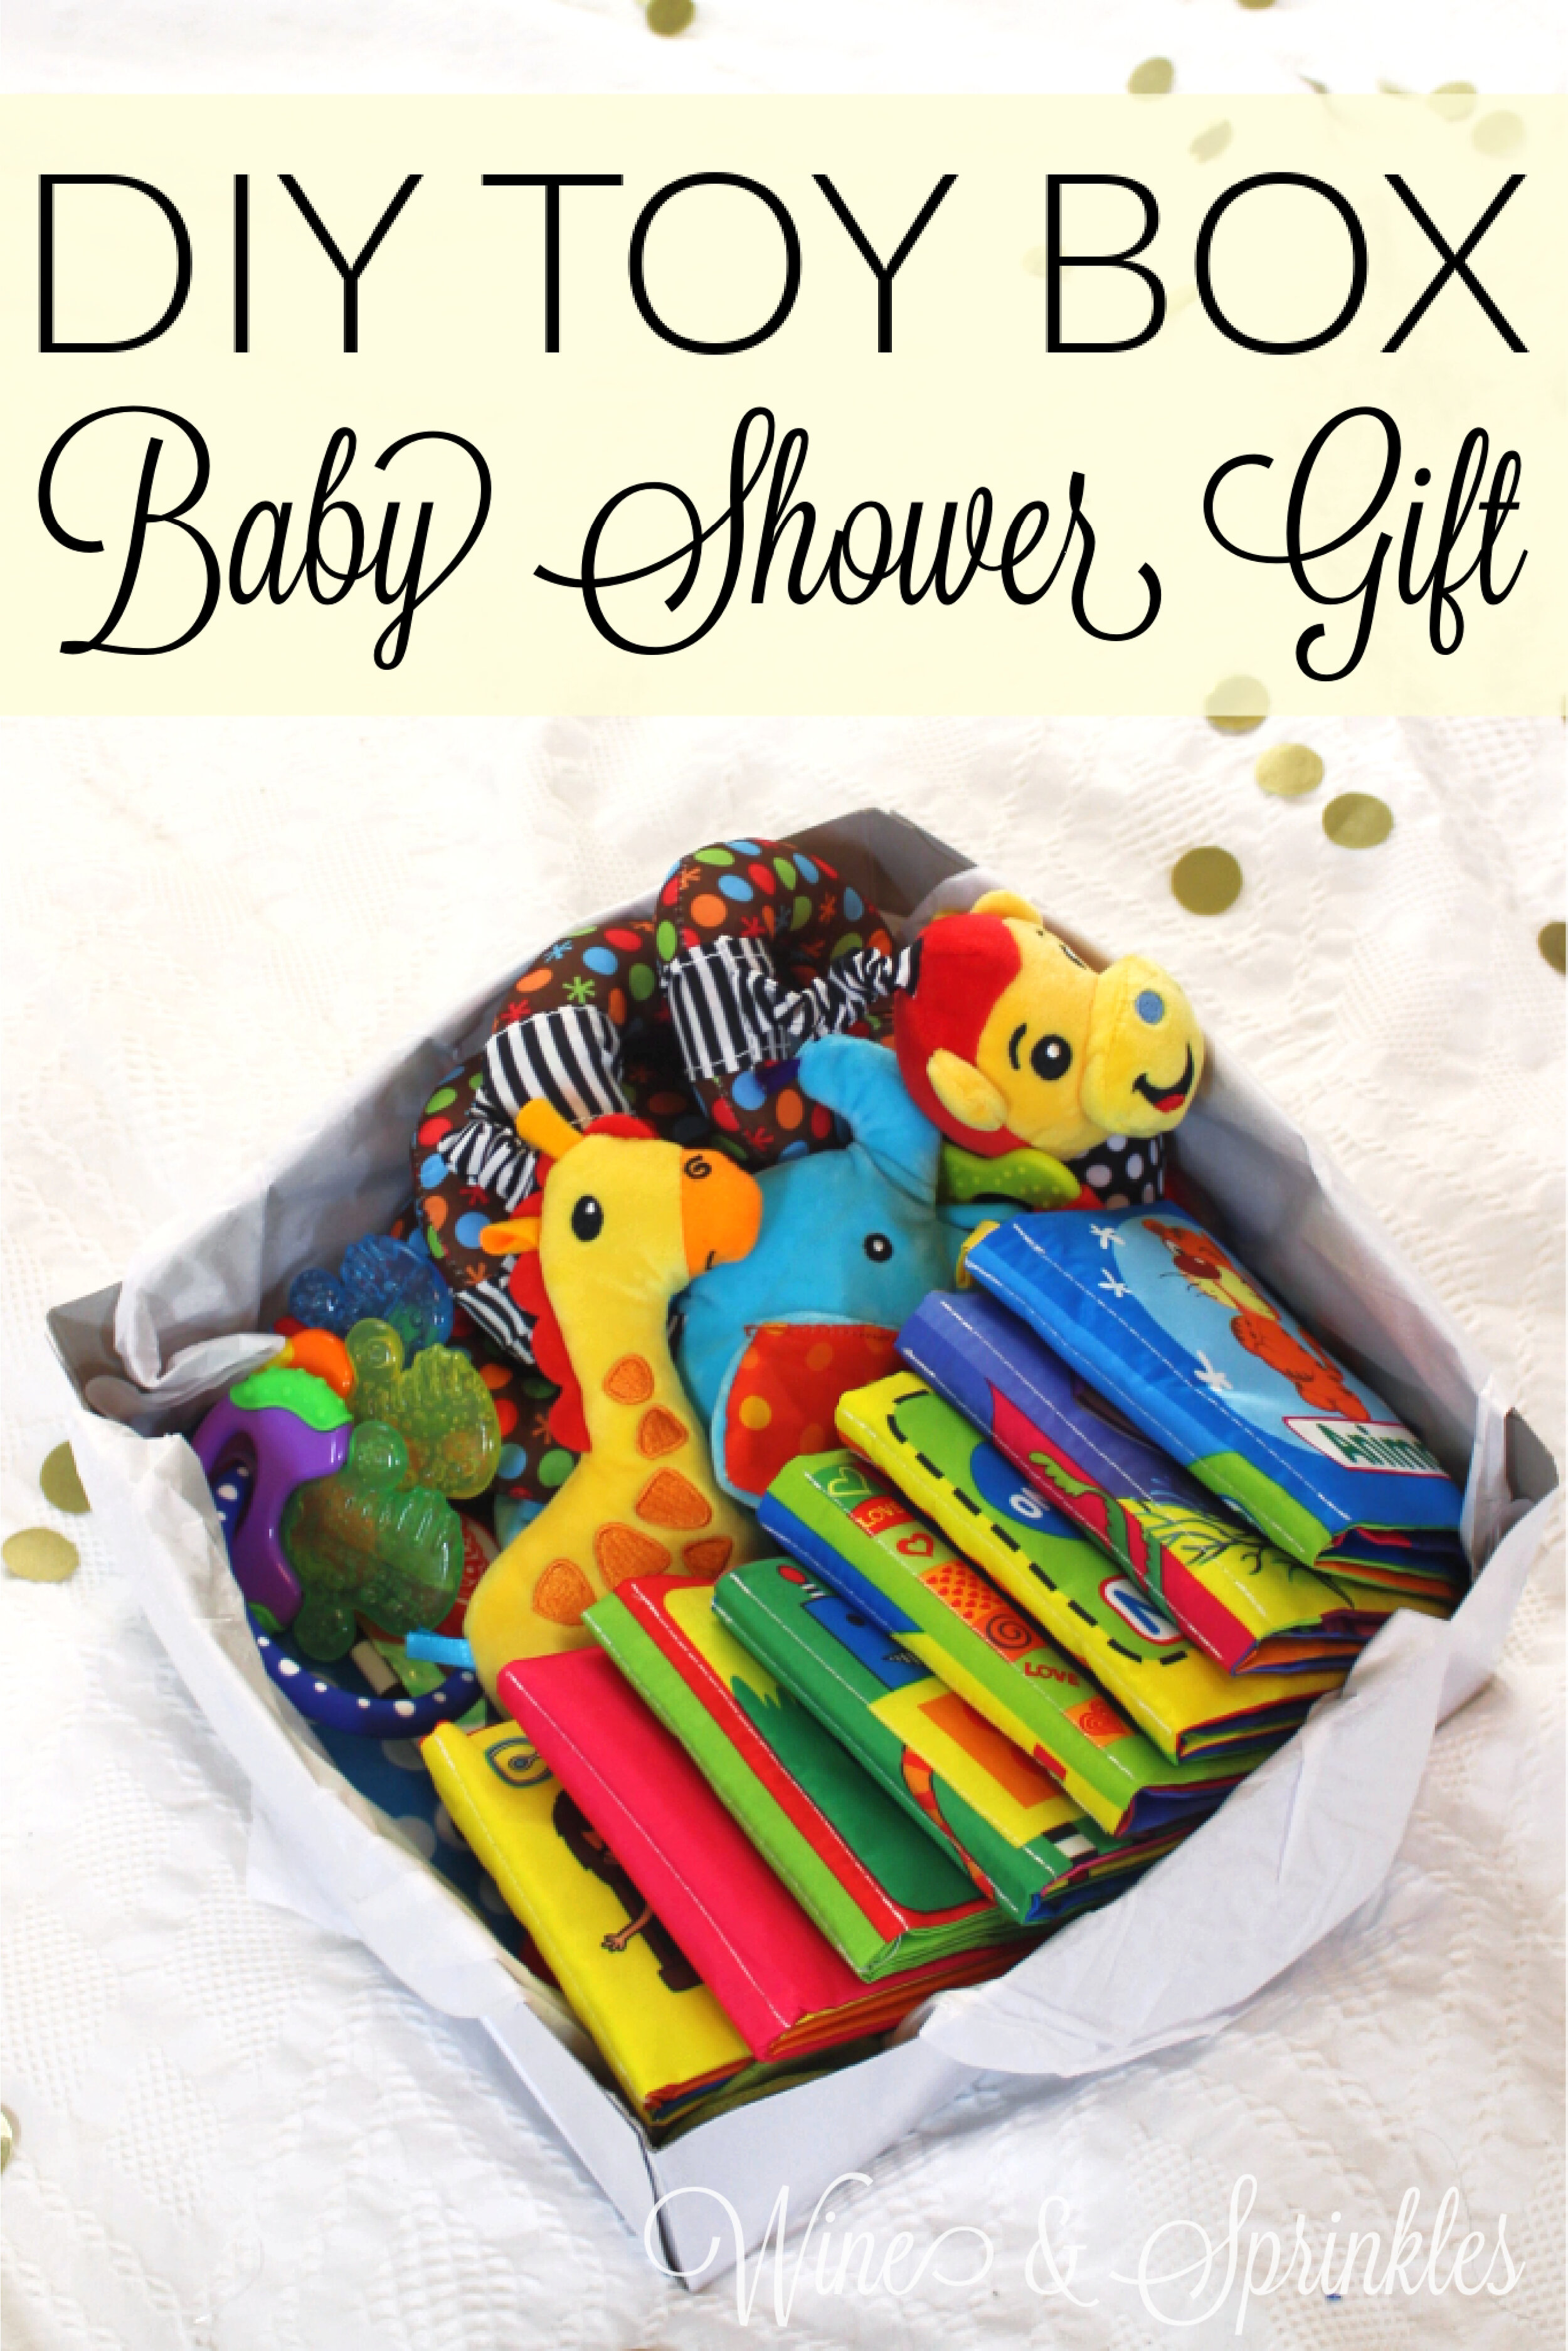
Toy Box Baby Bento Gift Box
This post contains affiliate links, meaning that if you click on a link I will recieve a small comission. This costs you nothing extra and I only promote products I use and love! You can read our full disclosure here
When I was shopping for my sister’s first baby, I knew I wanted to include some baby toys along with the more practical items, because all babies need adorable toys! Not having children of my own and never having bought or thought of baby toys, I did some research on Pinterest to see what was actually used by babies most often, then ordered and packed them all in a pretty Toy Box Baby Toy Bento!
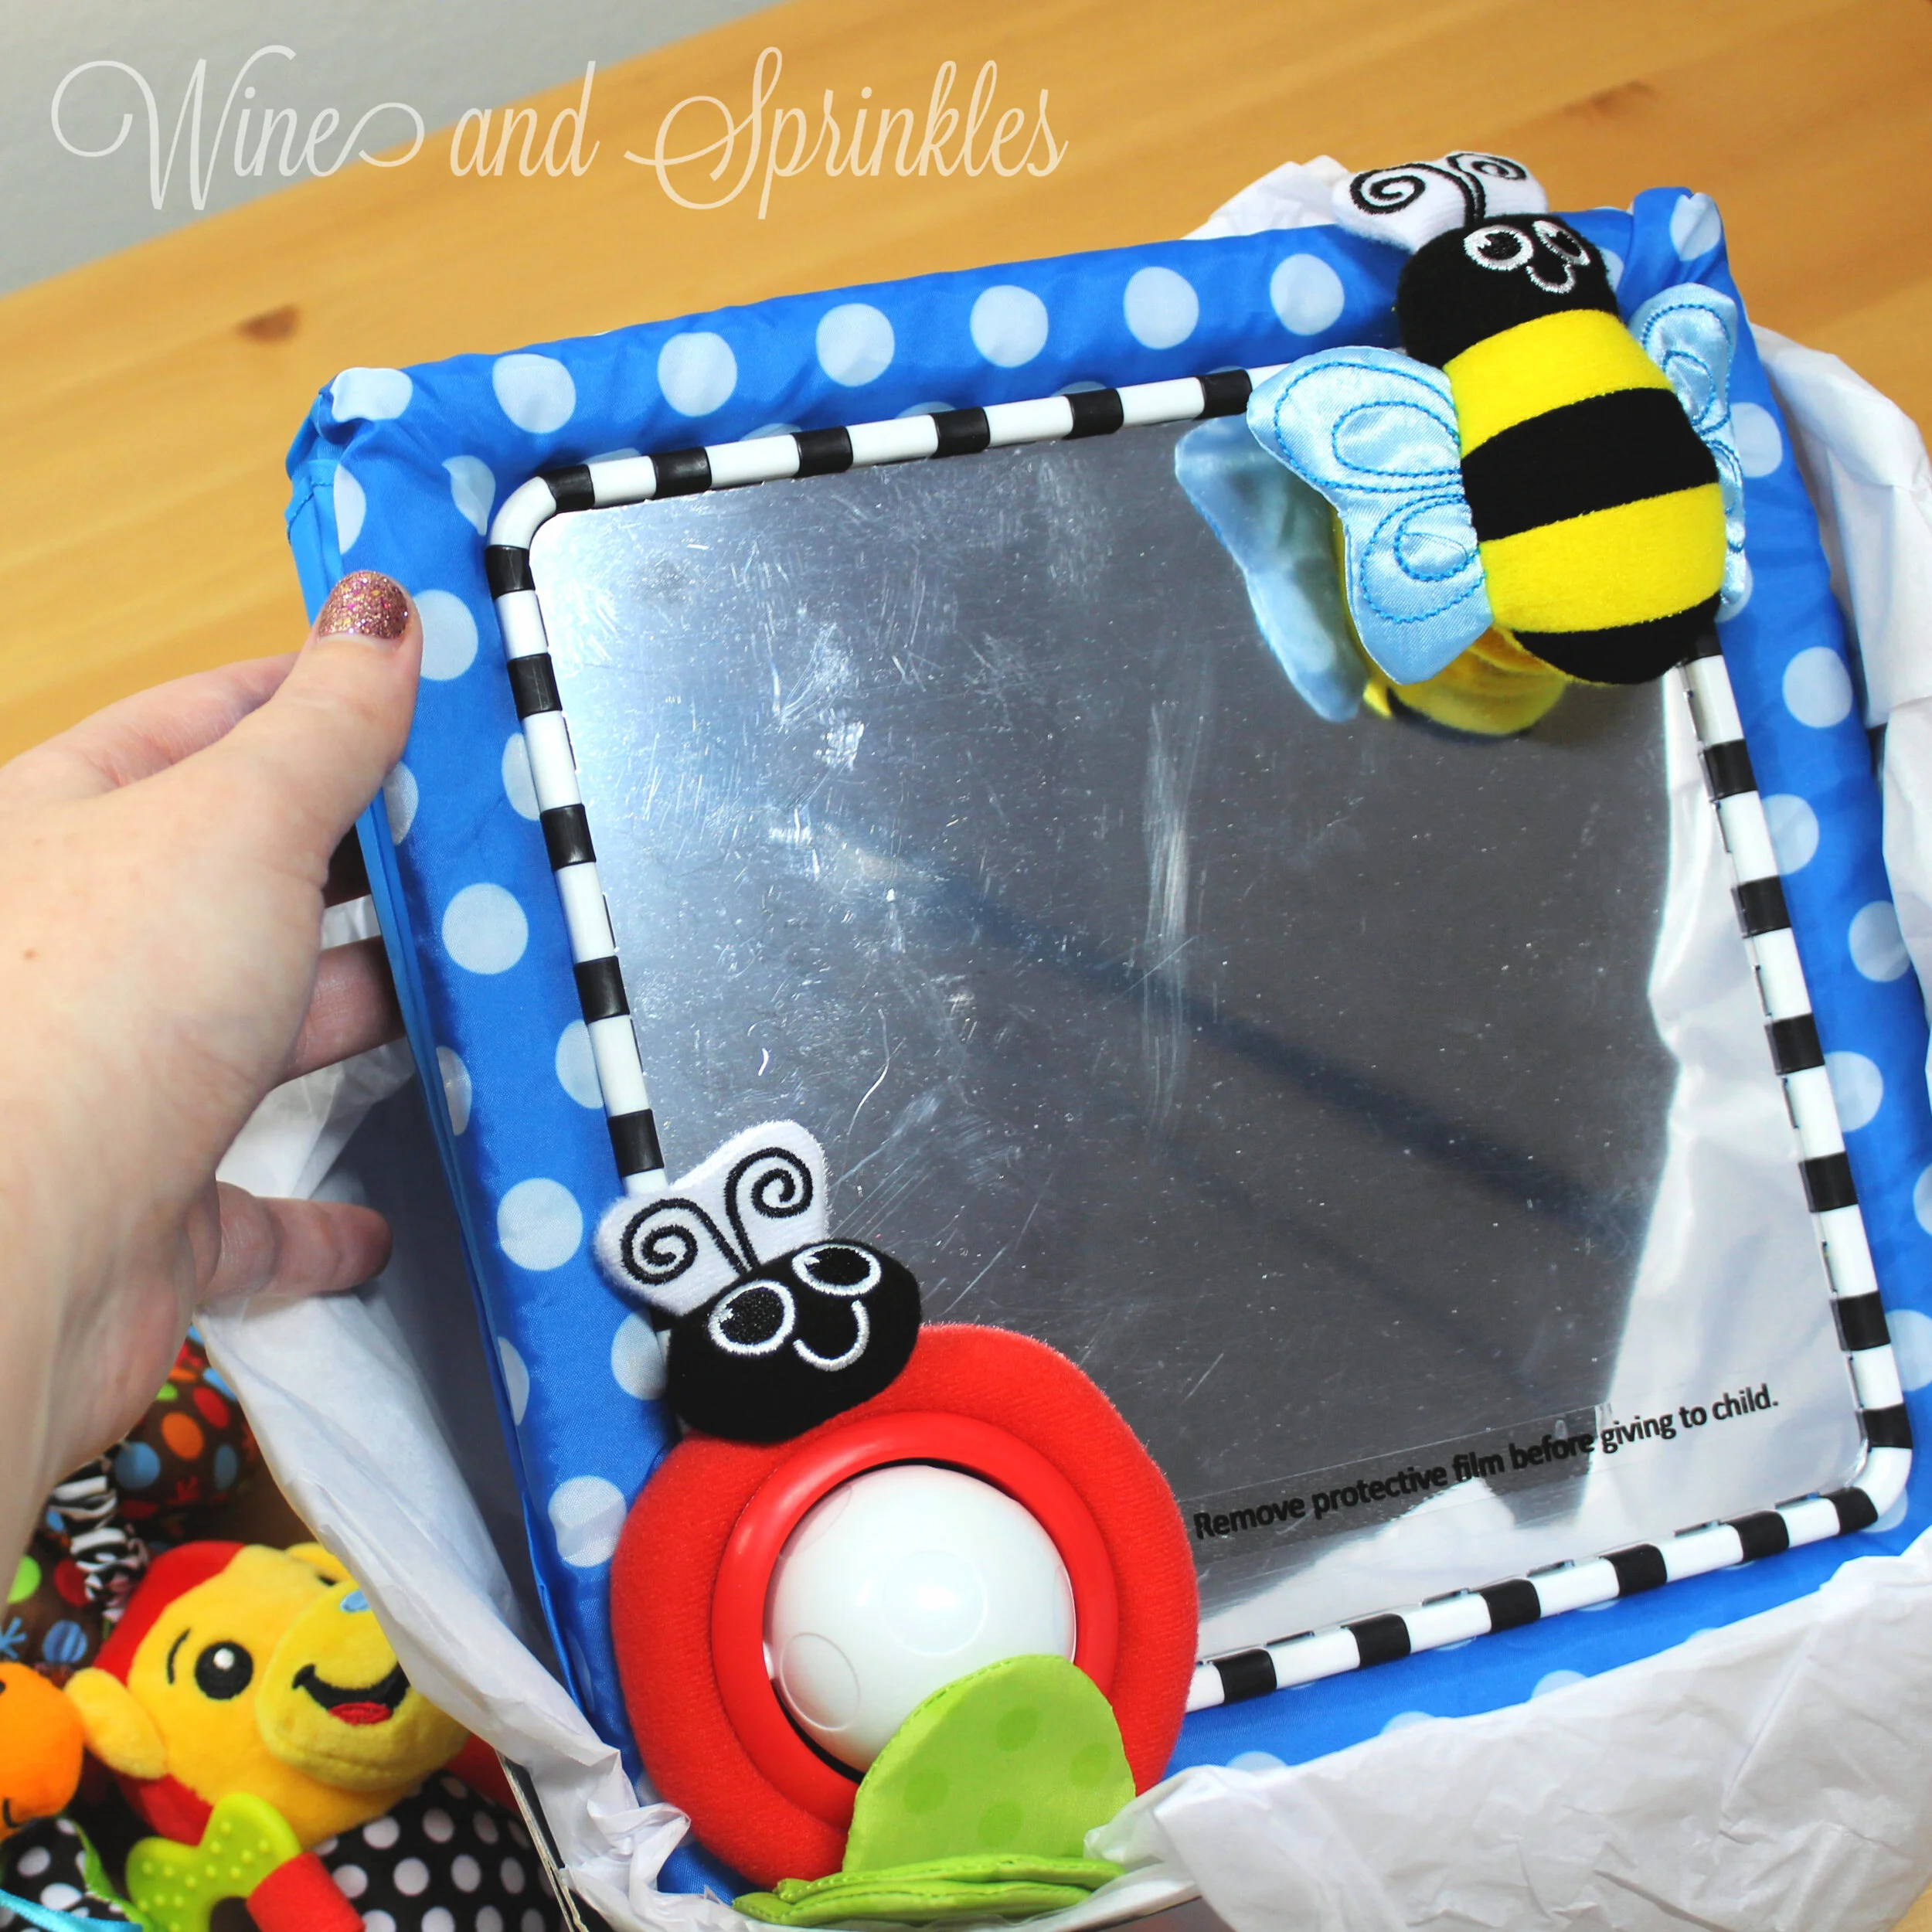
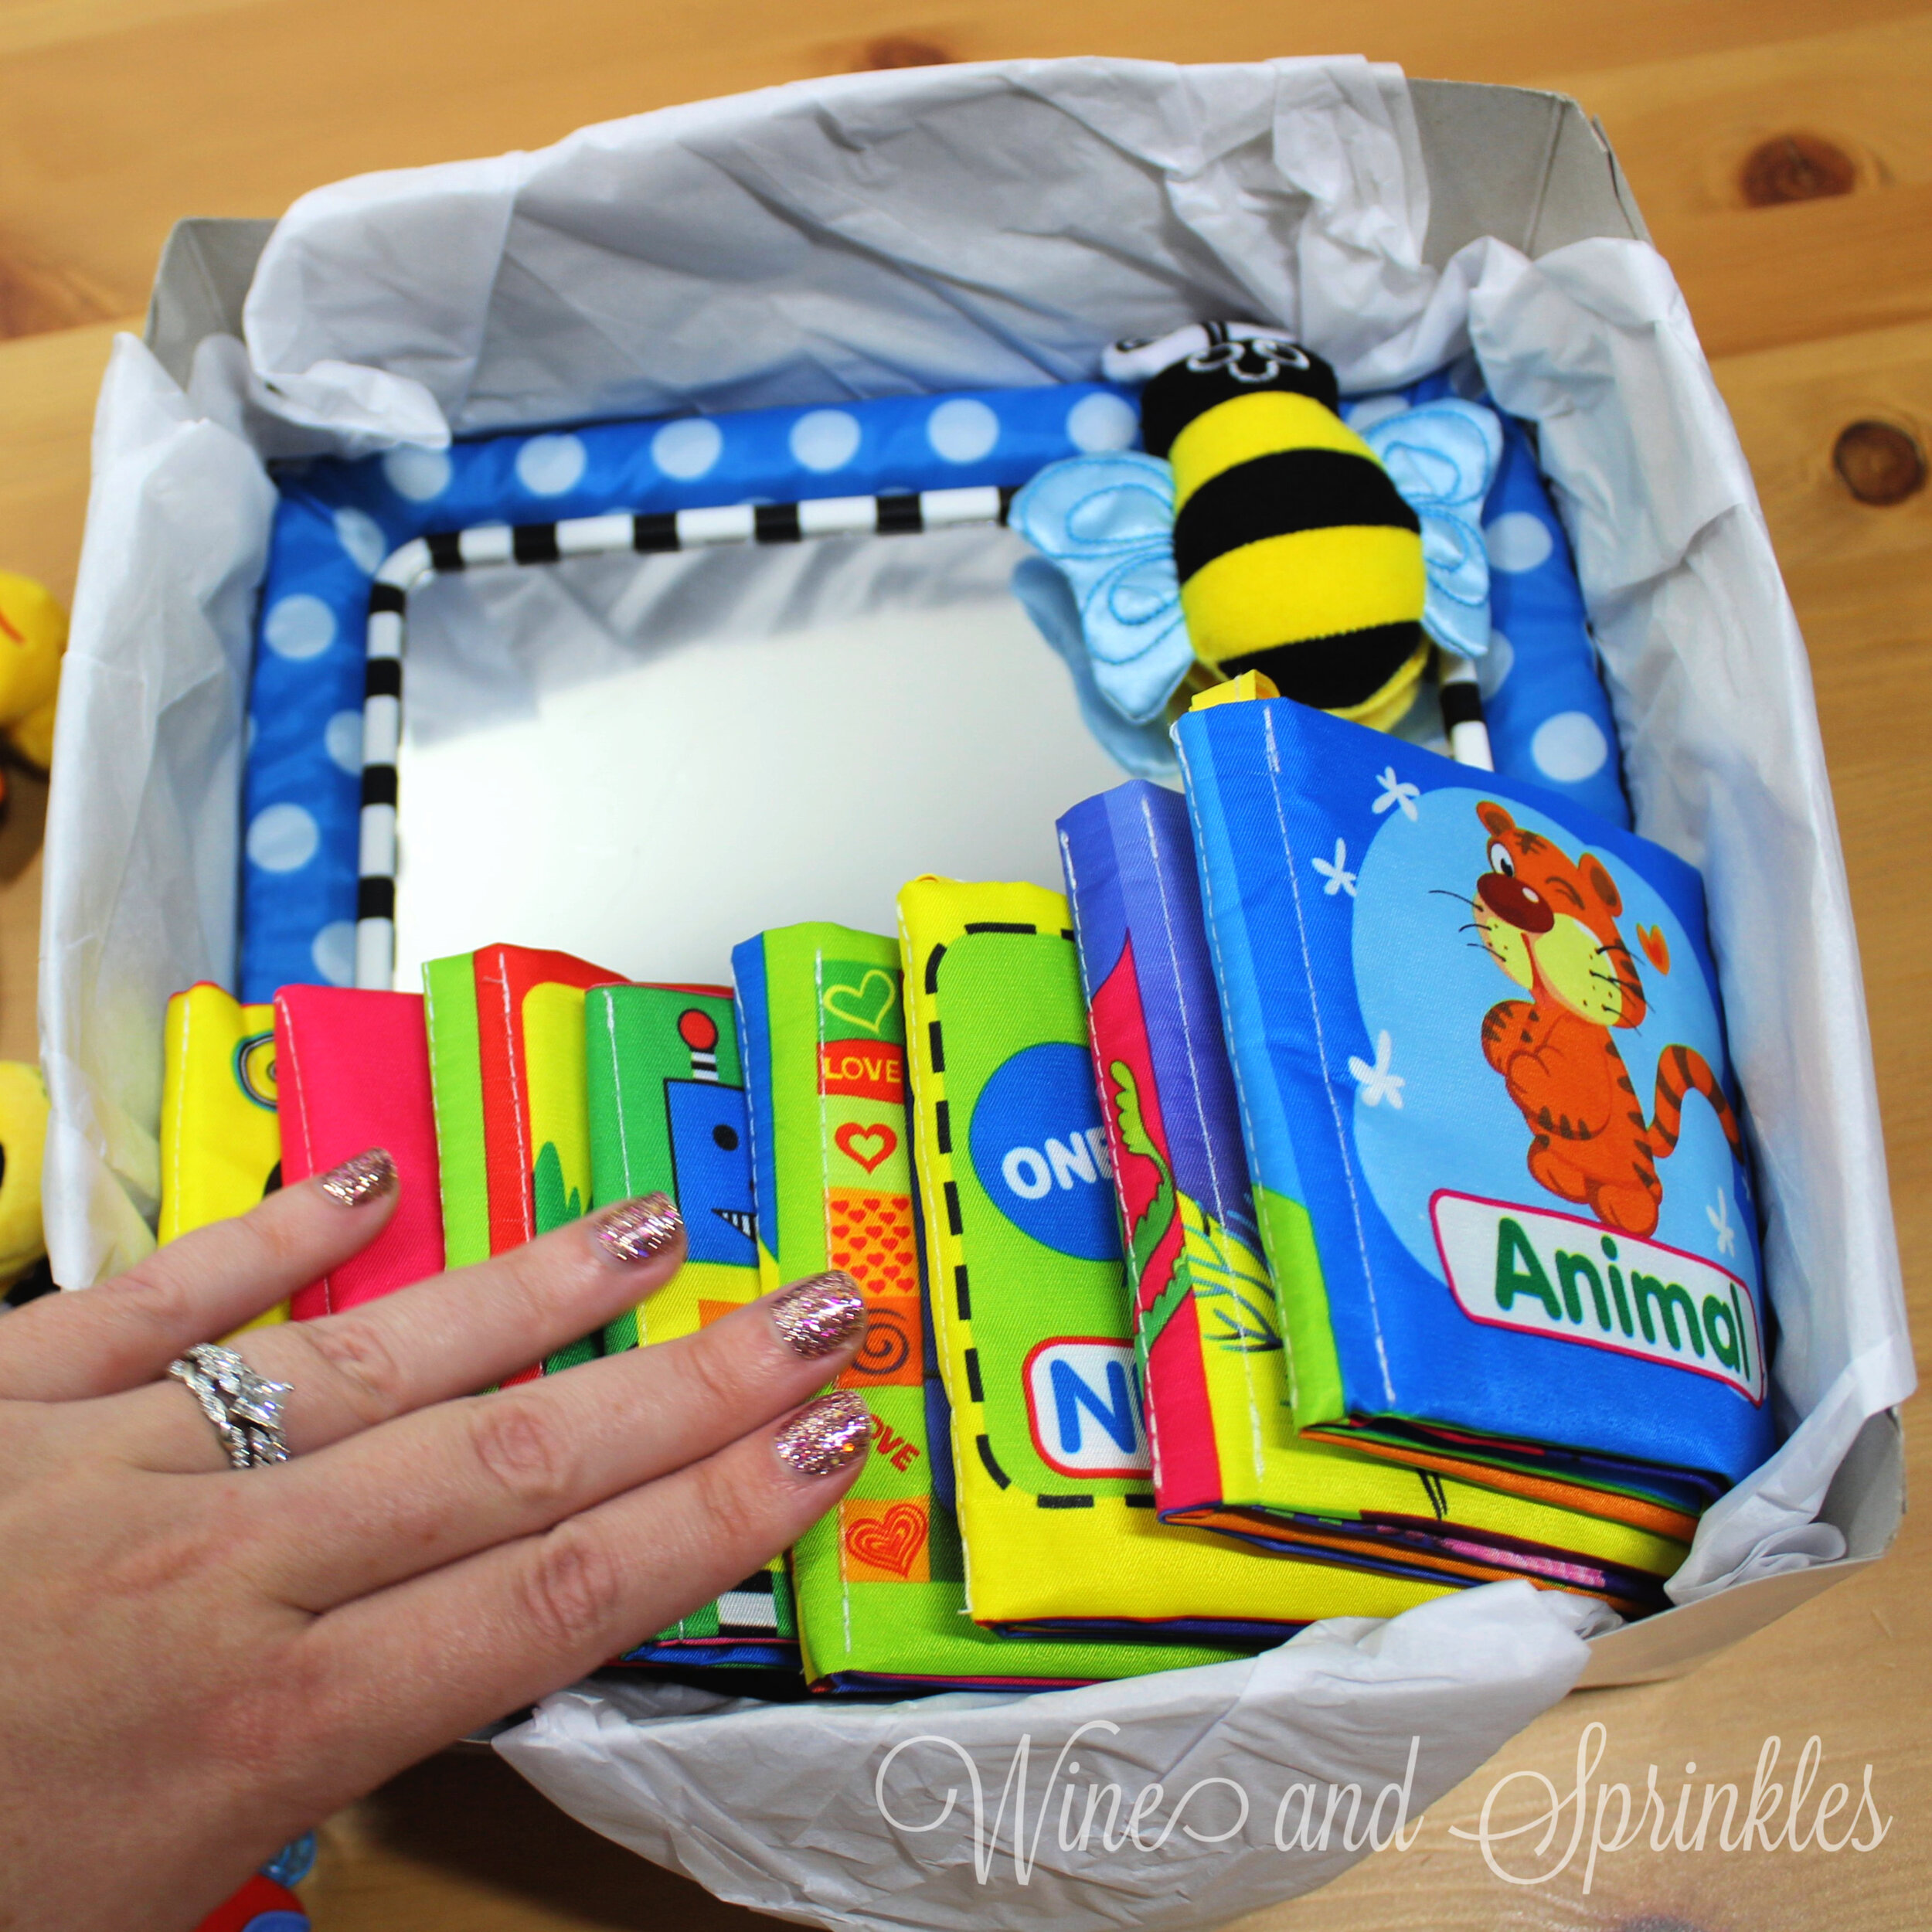
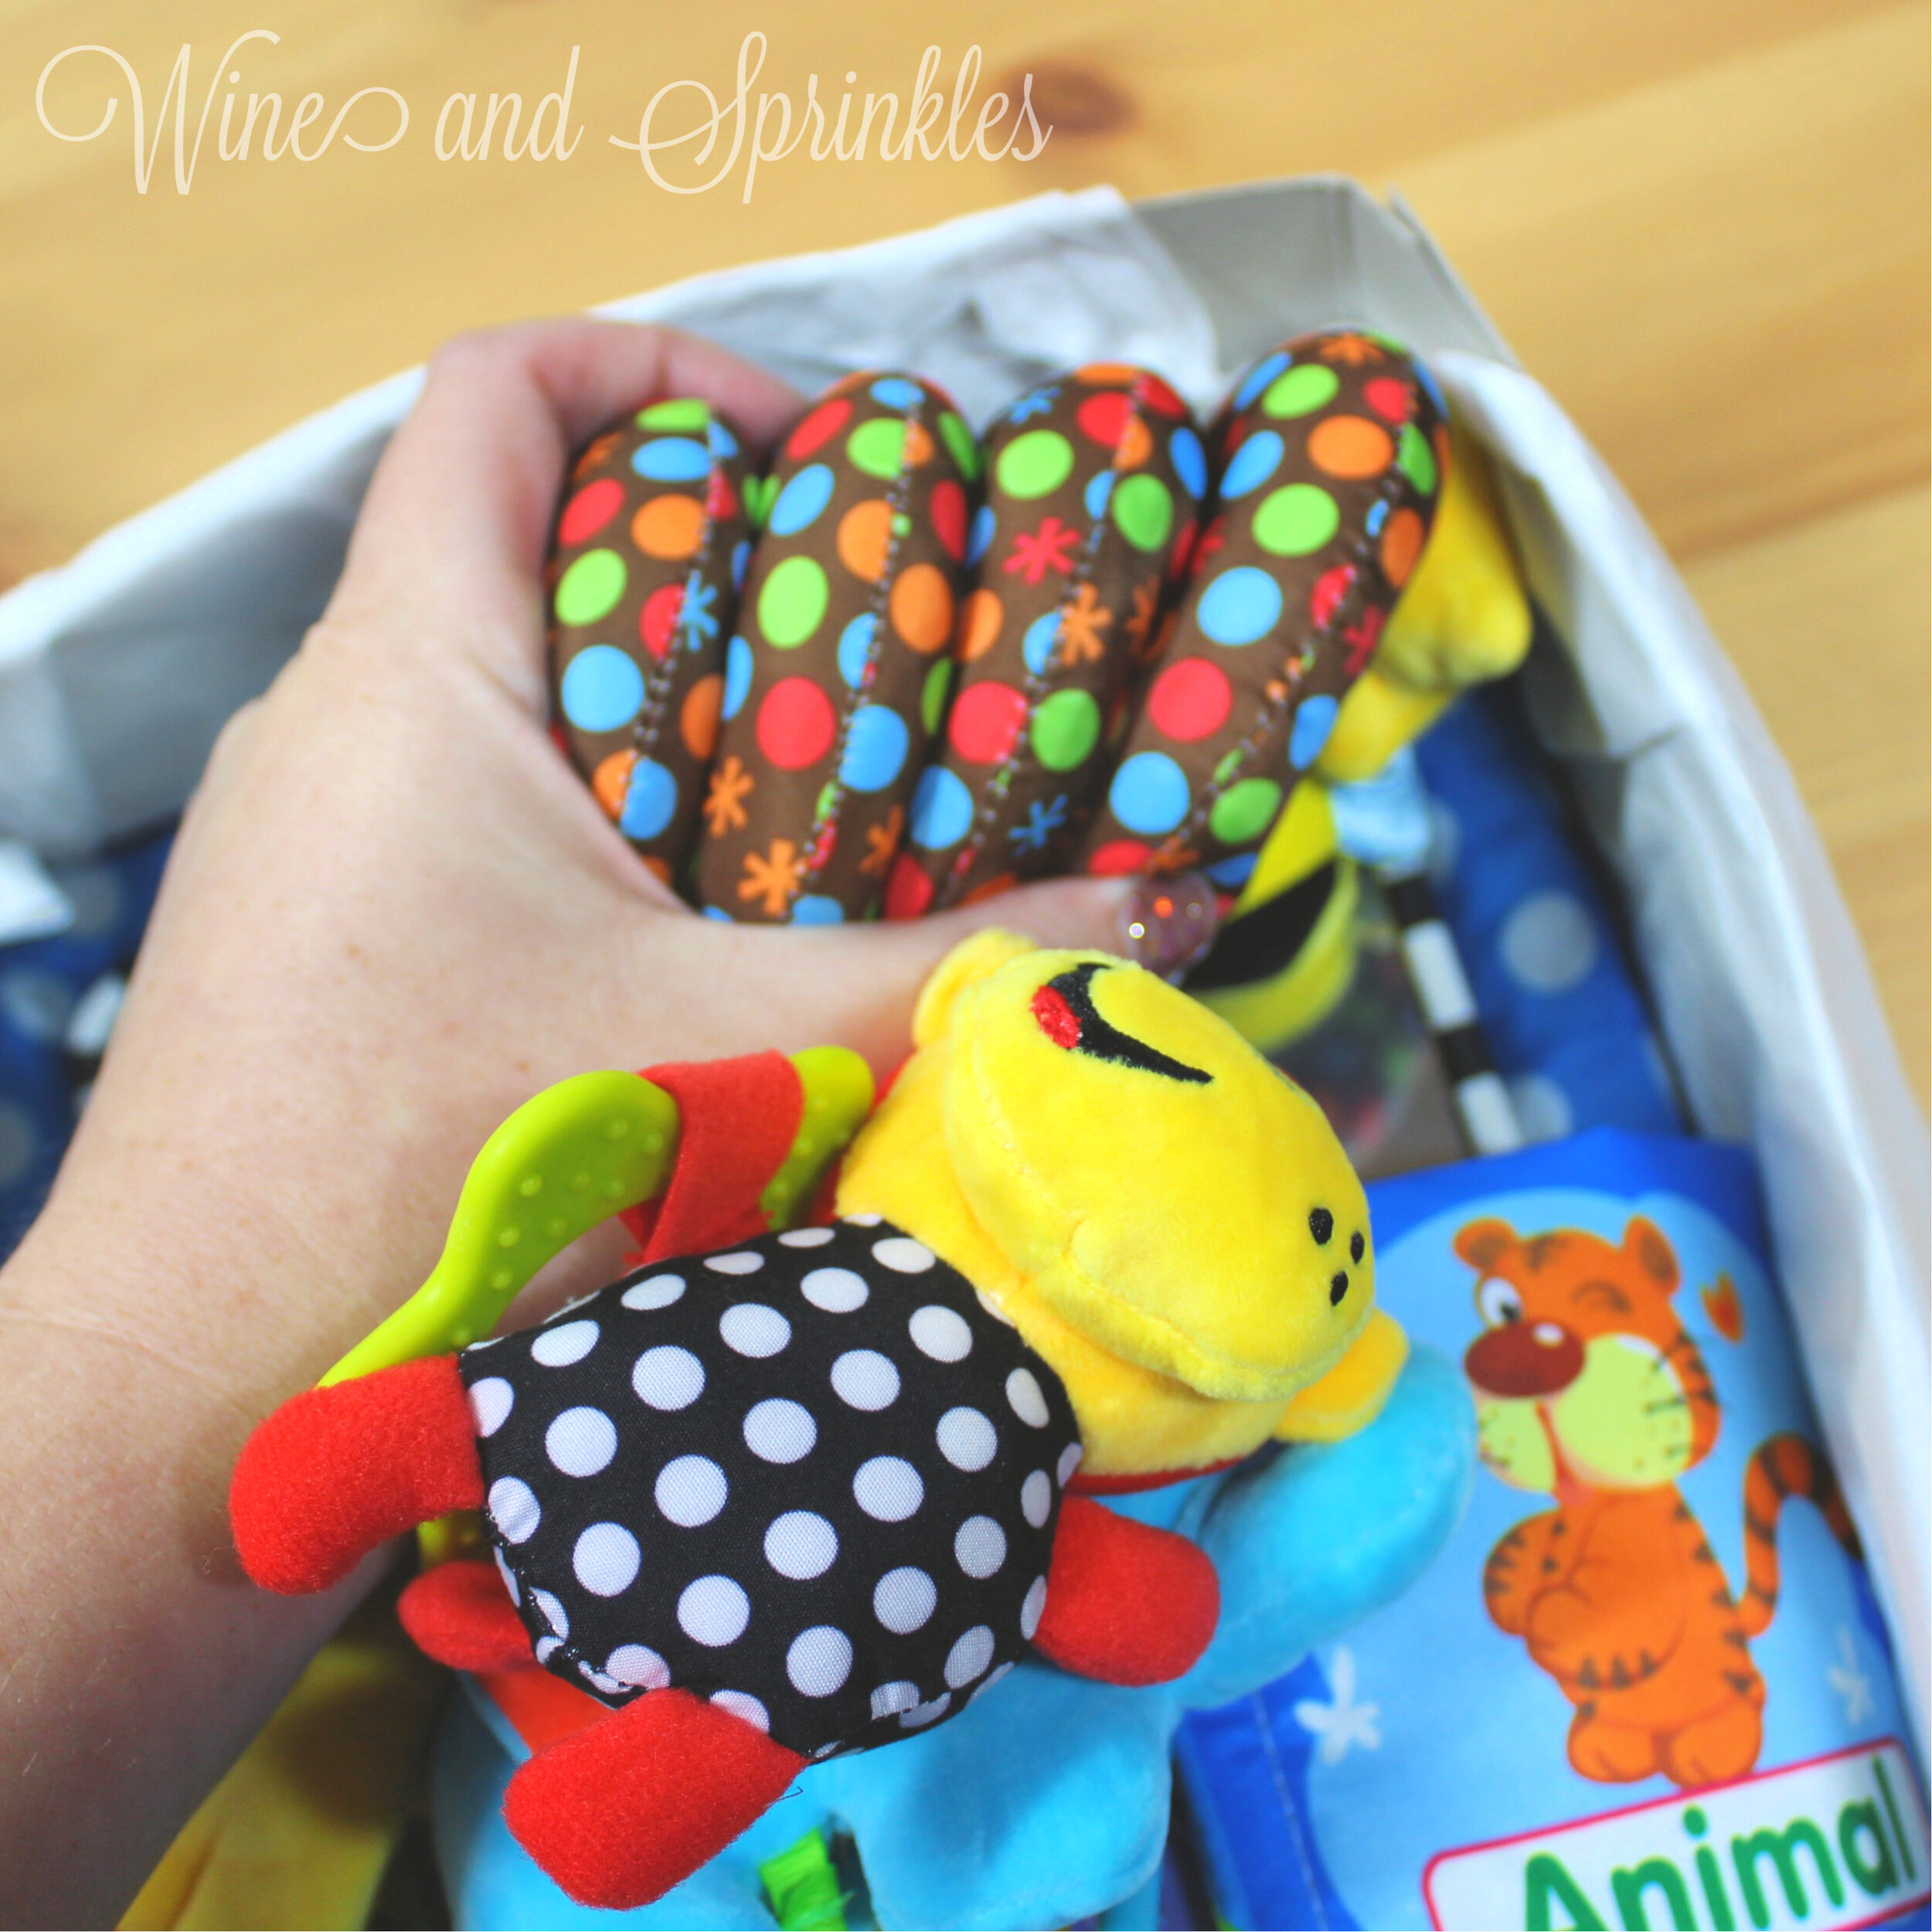
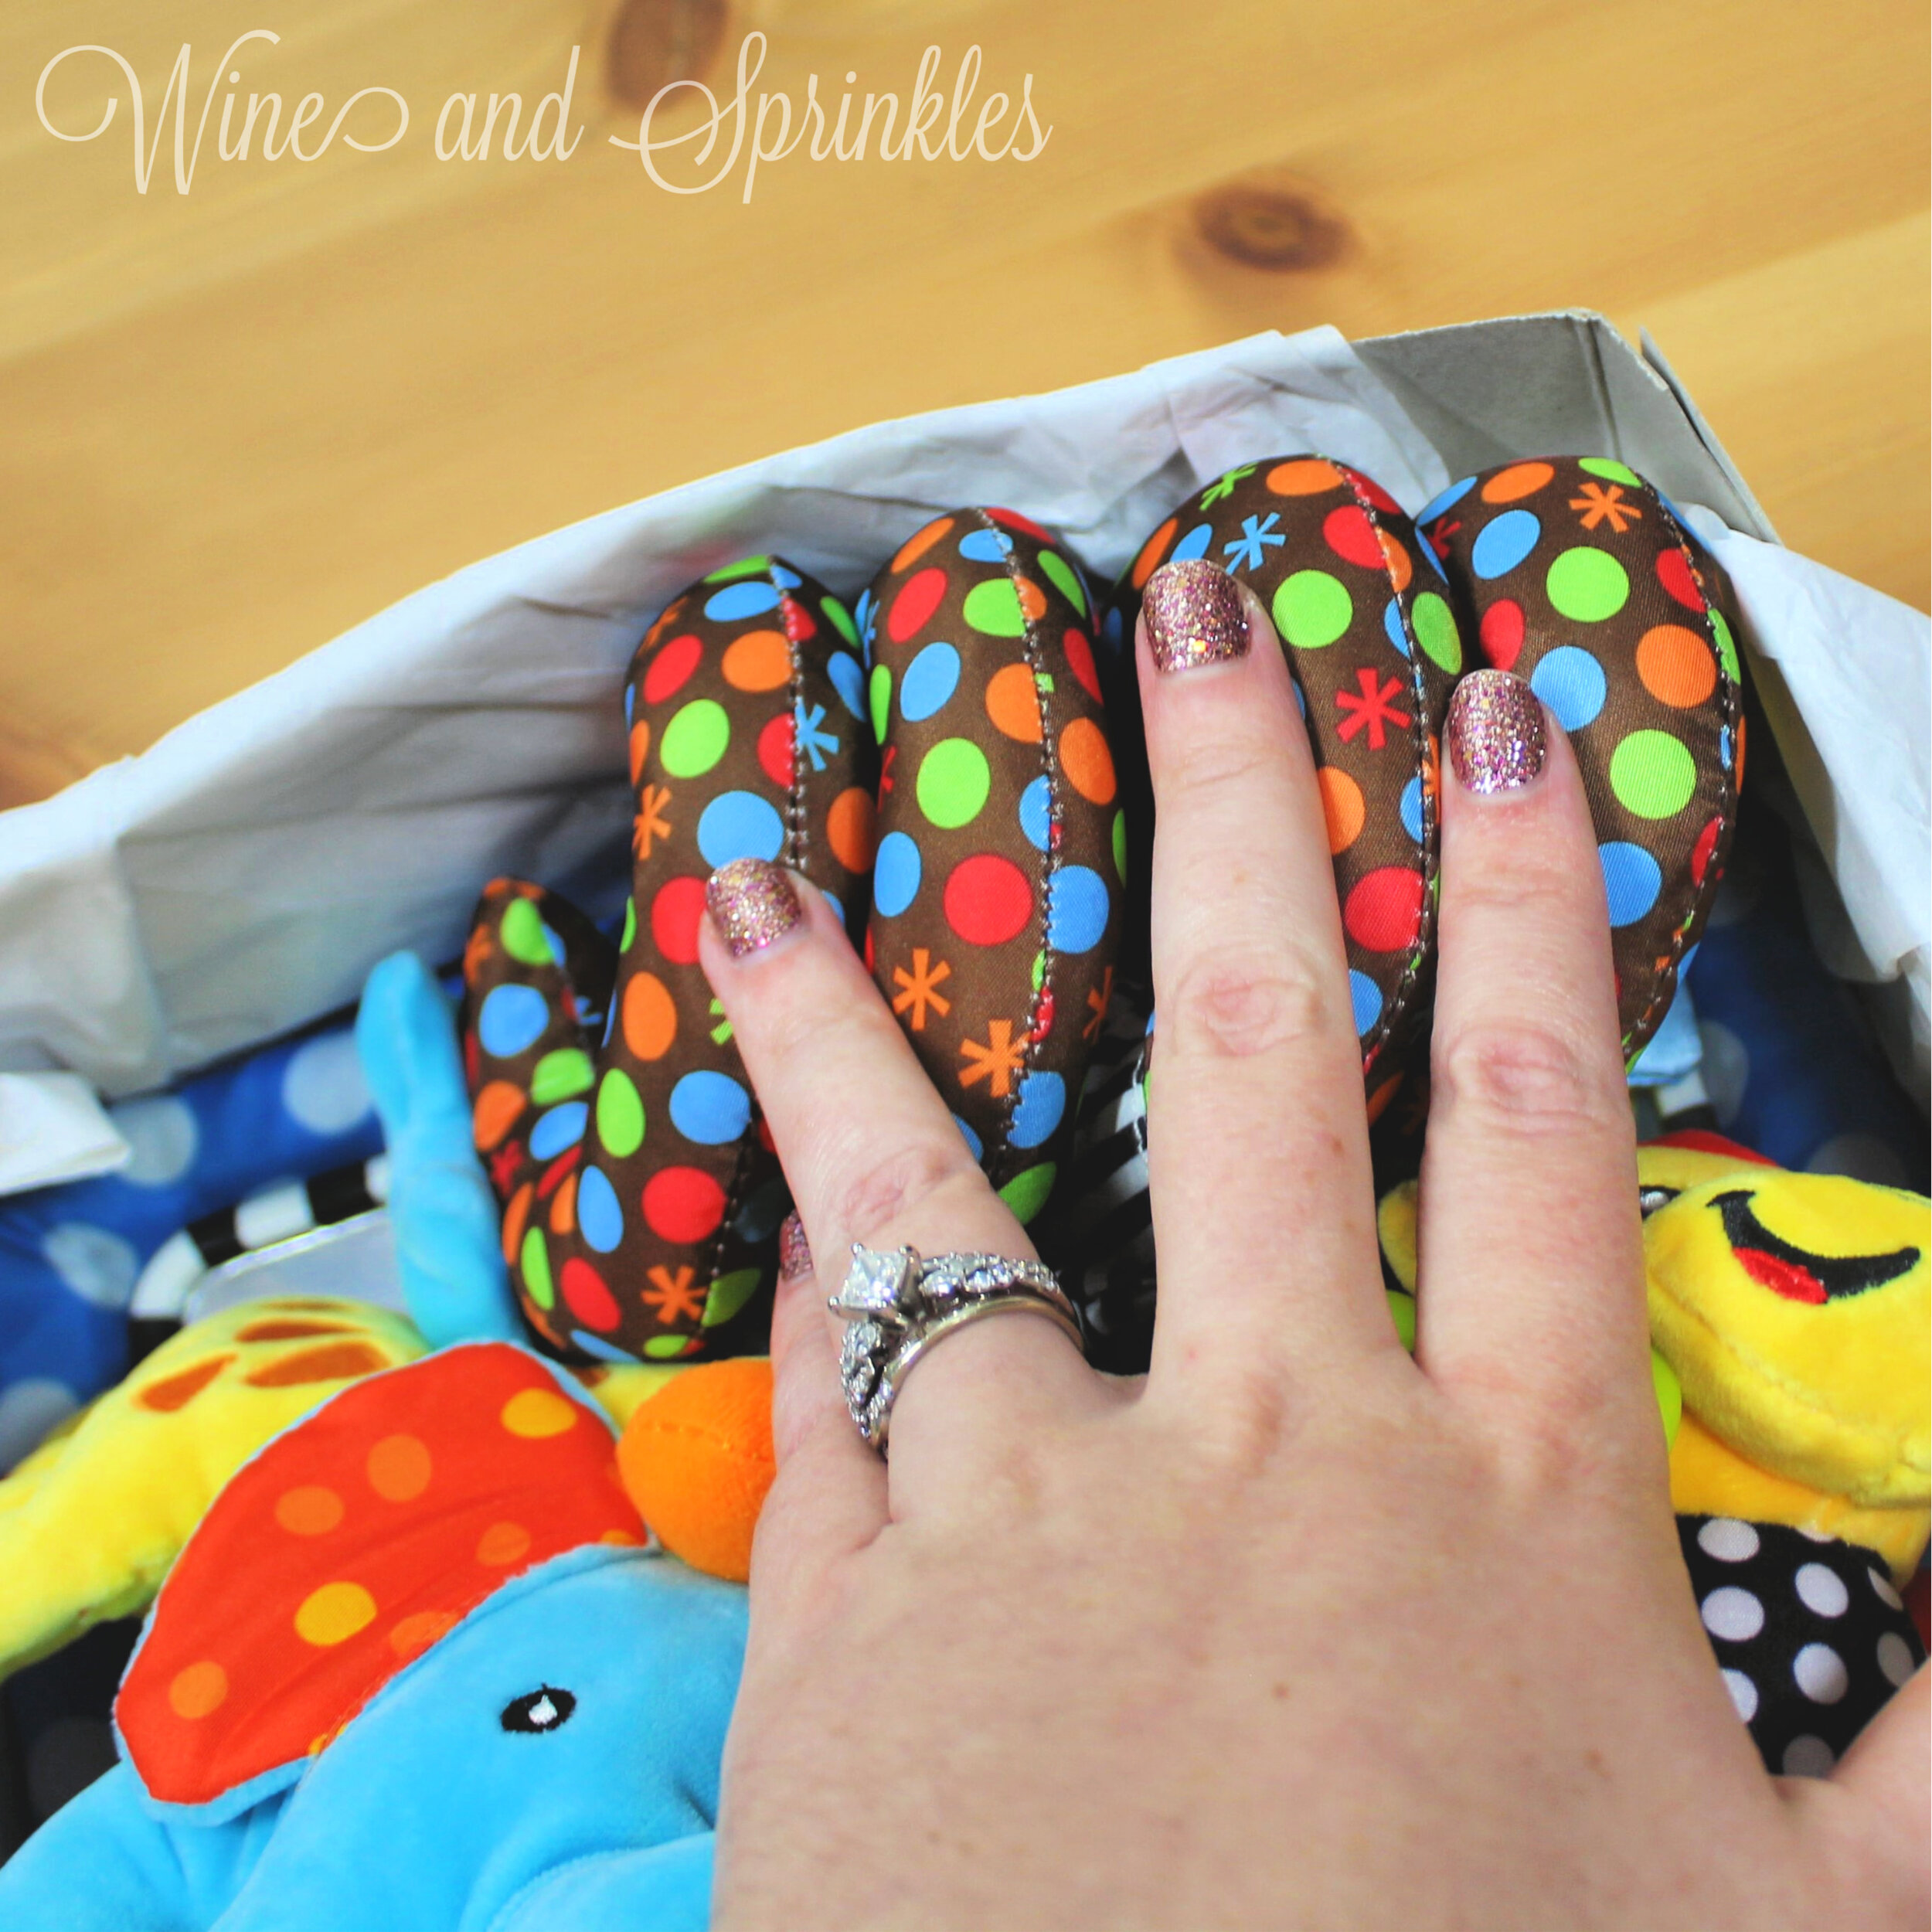
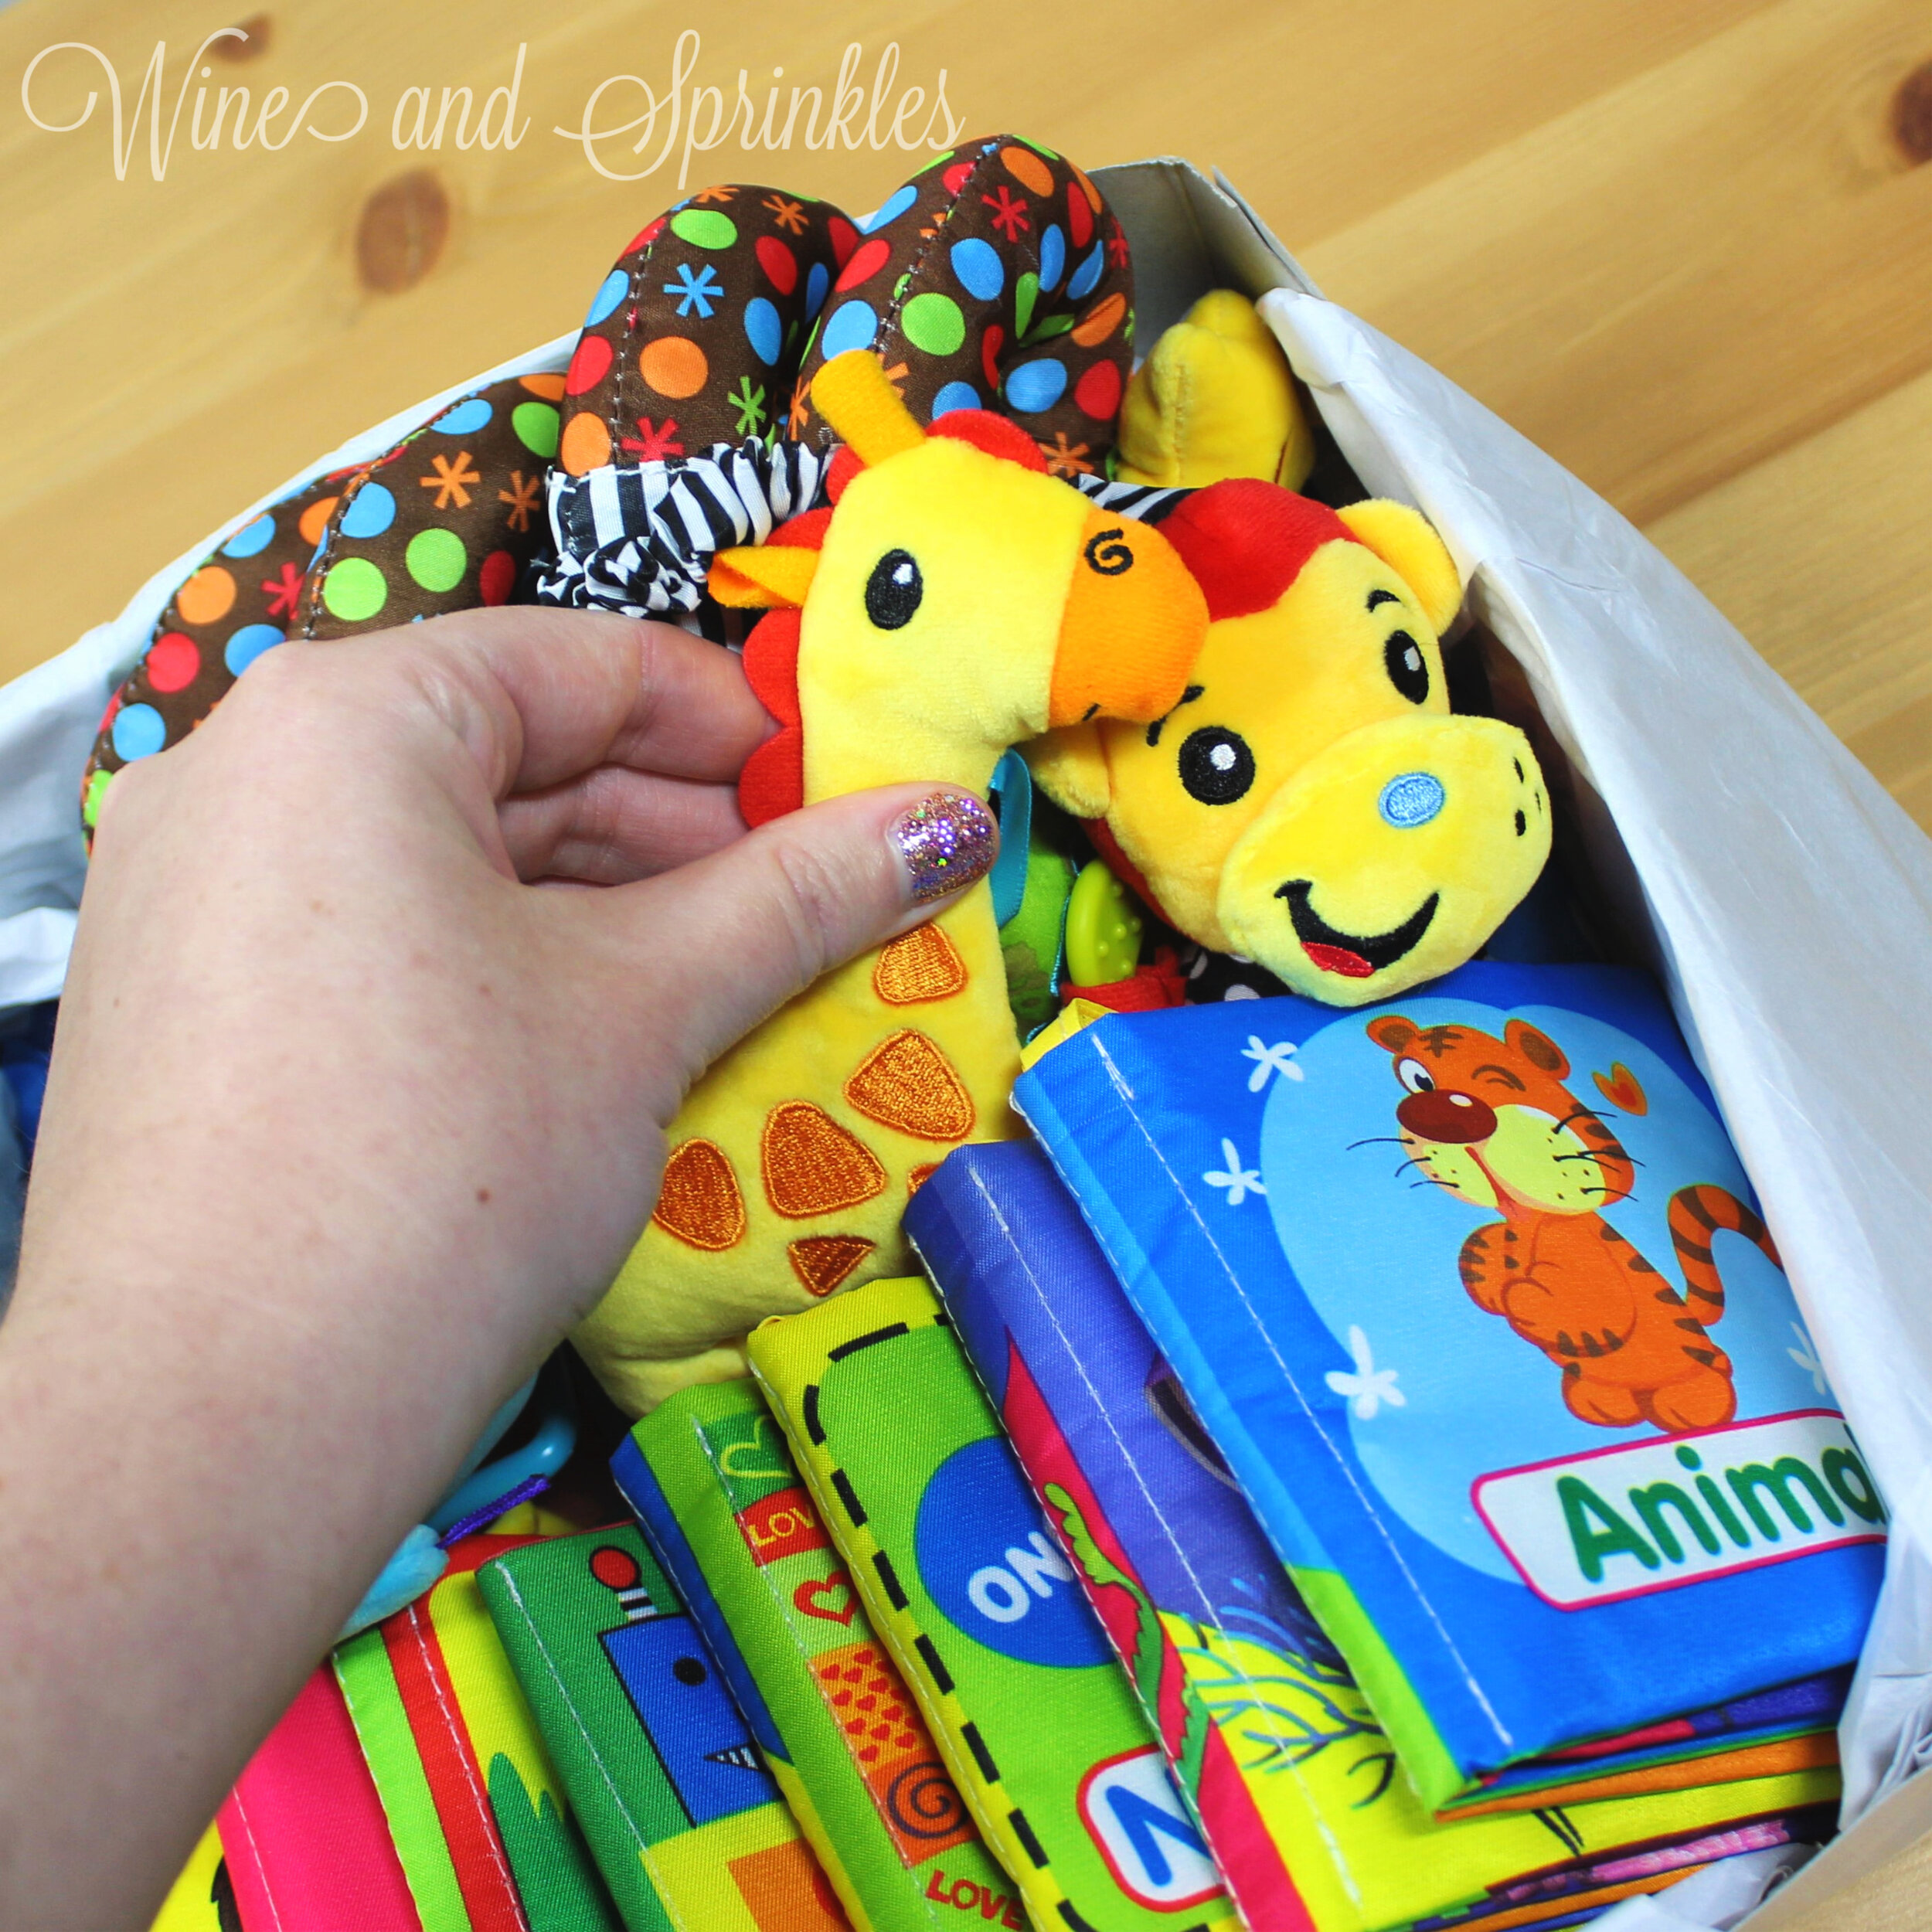
This Toy Box Bento is packed with a Baby Mirror, Crinkle Books, Teether and Stroller Toy, the perfect baby toy assortment a new mother needs! For these and other Baby Gift Box Bentos, I used a 10 inch square box to house our gifts and it all just fit inside the box, so you may want to get a slightly larger box so that everything is a little less snug, especially the baby mirror I picked!
These boxes are also great as mailable presents for if you cannot visit your mama to be but still want to send a personal and thoughtful gift. Regardless of if you are mailing or giving in person, I encourage you to stuff the top of your box with tissue paper so that items don’t move around while shipping or wrapping, plus it makes it a fun presentation removing the tissue paper to a lovely organized baby gift!
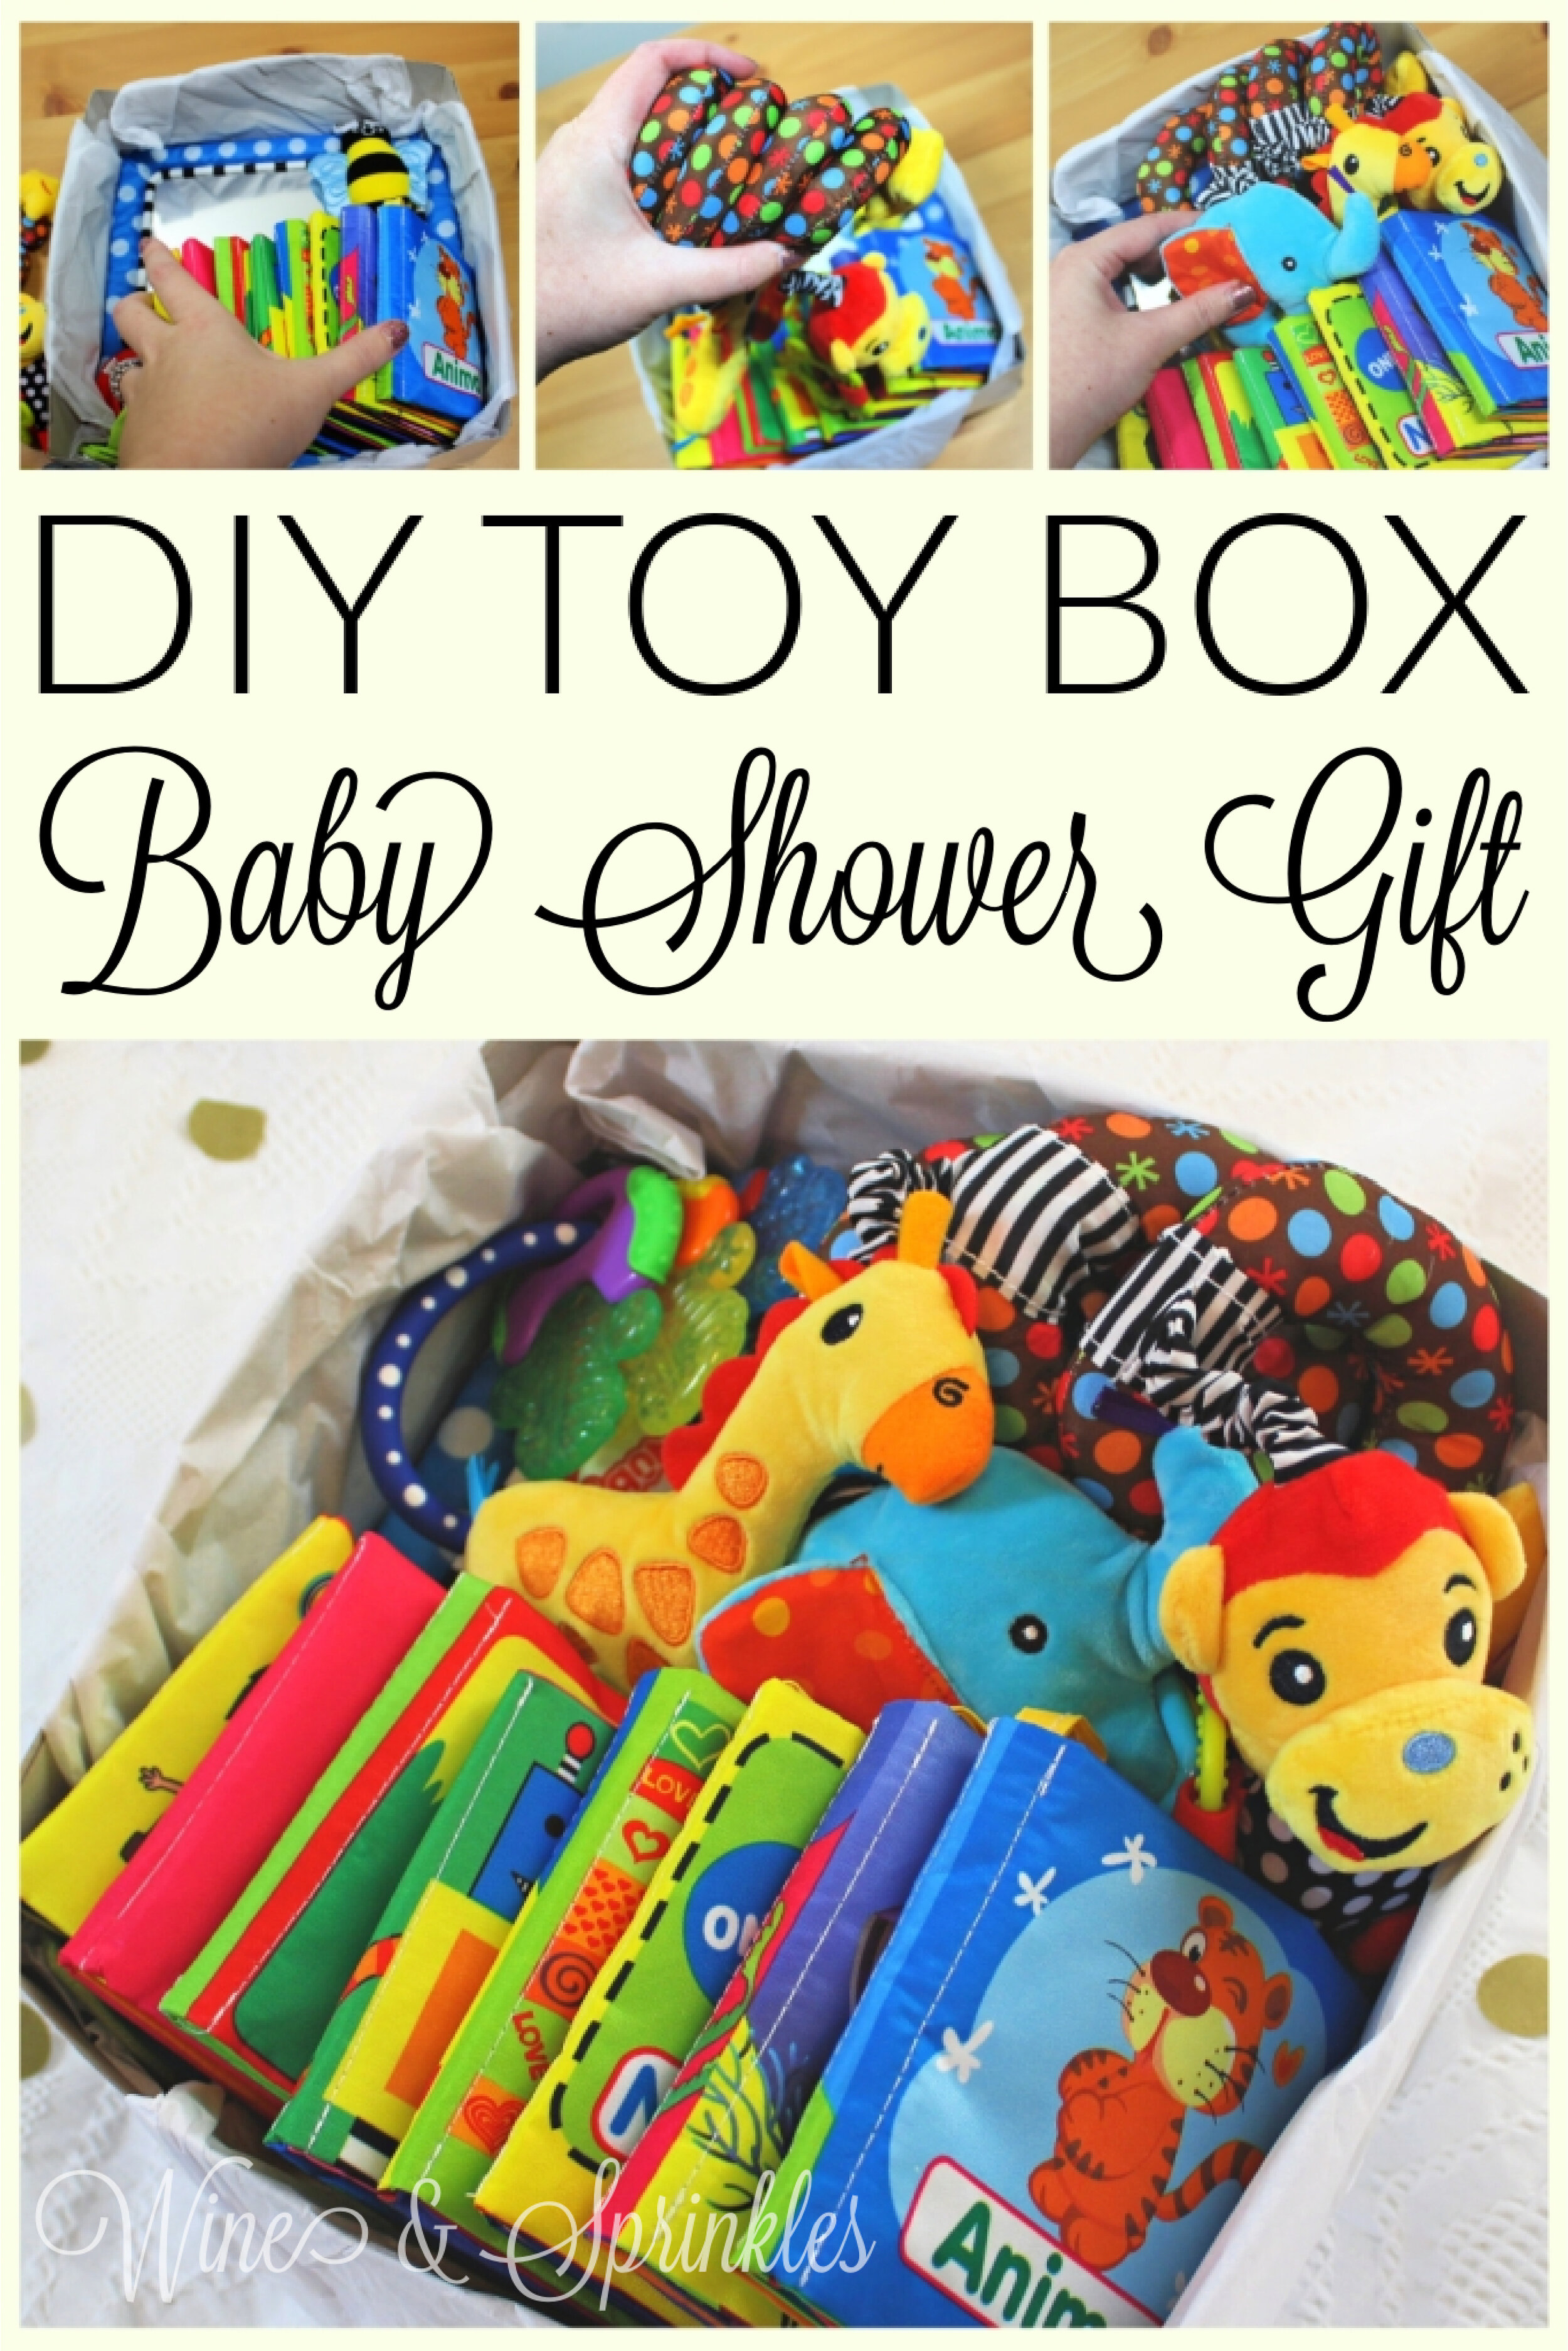
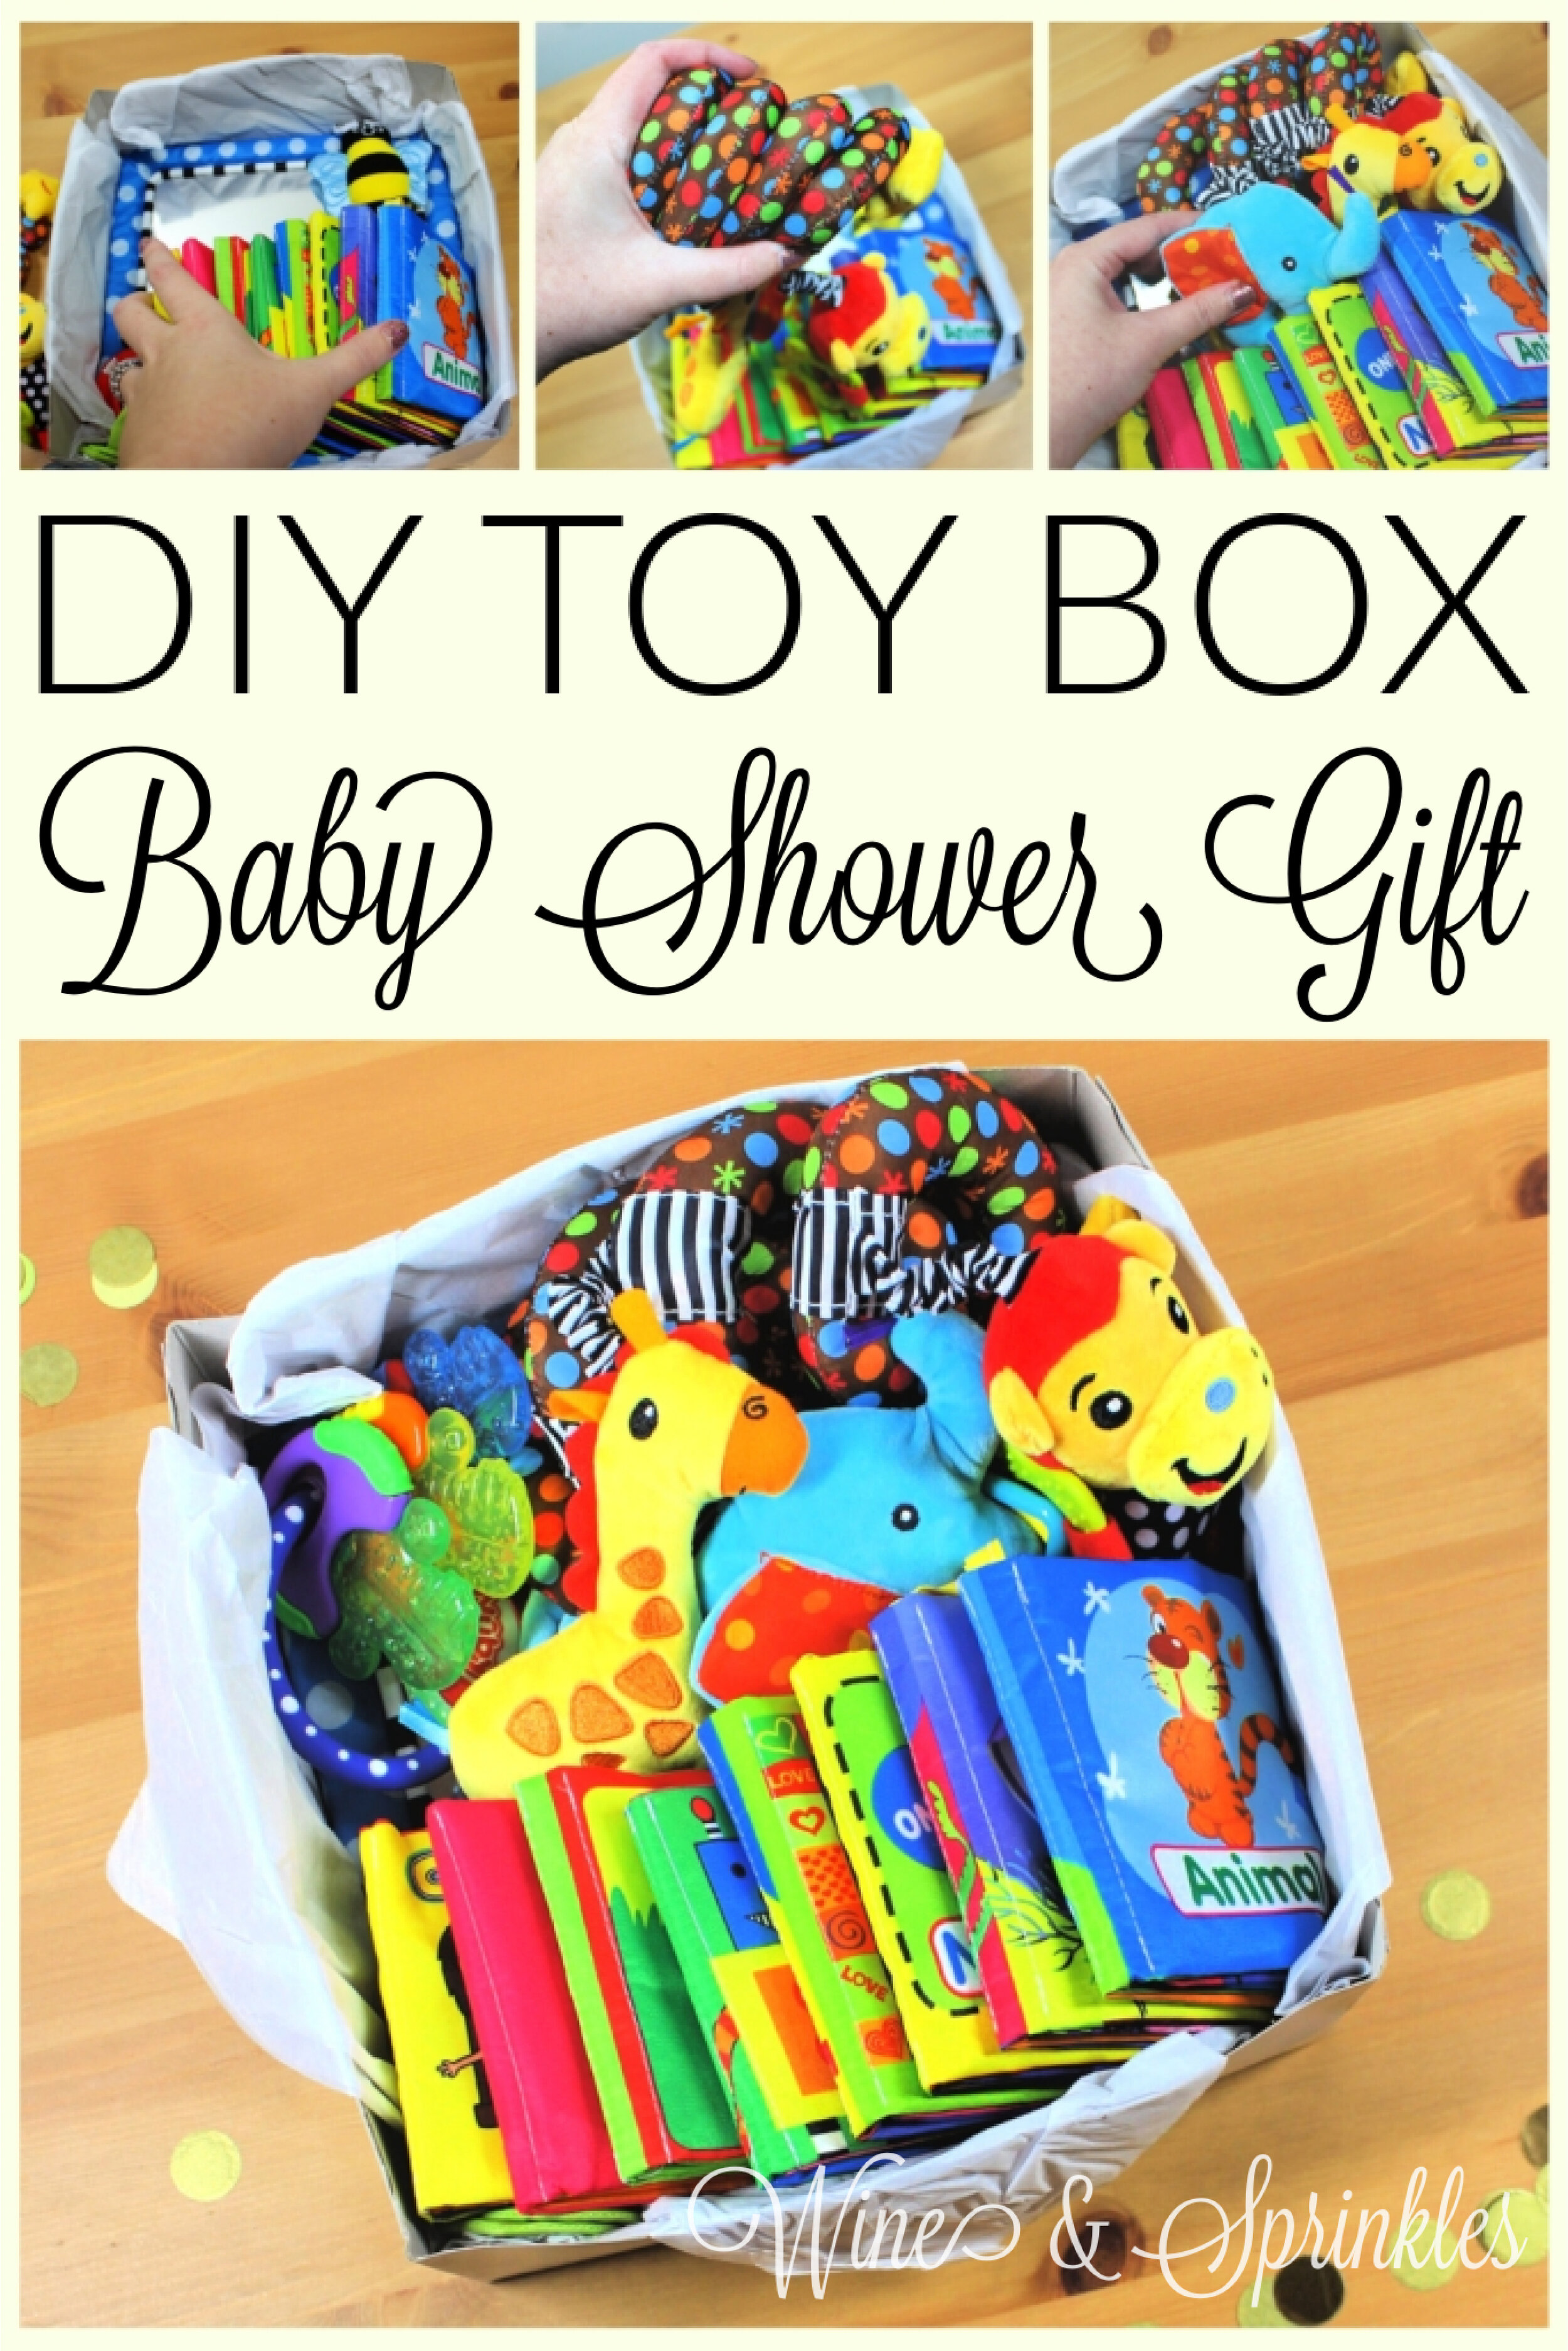
Start by placing your baby mirror in the bottom of the gift box, as shown in the photos. Mine just fit and was a little snug, so you may want a slightly bigger gift box, but I love the look of a box bursting with toys!
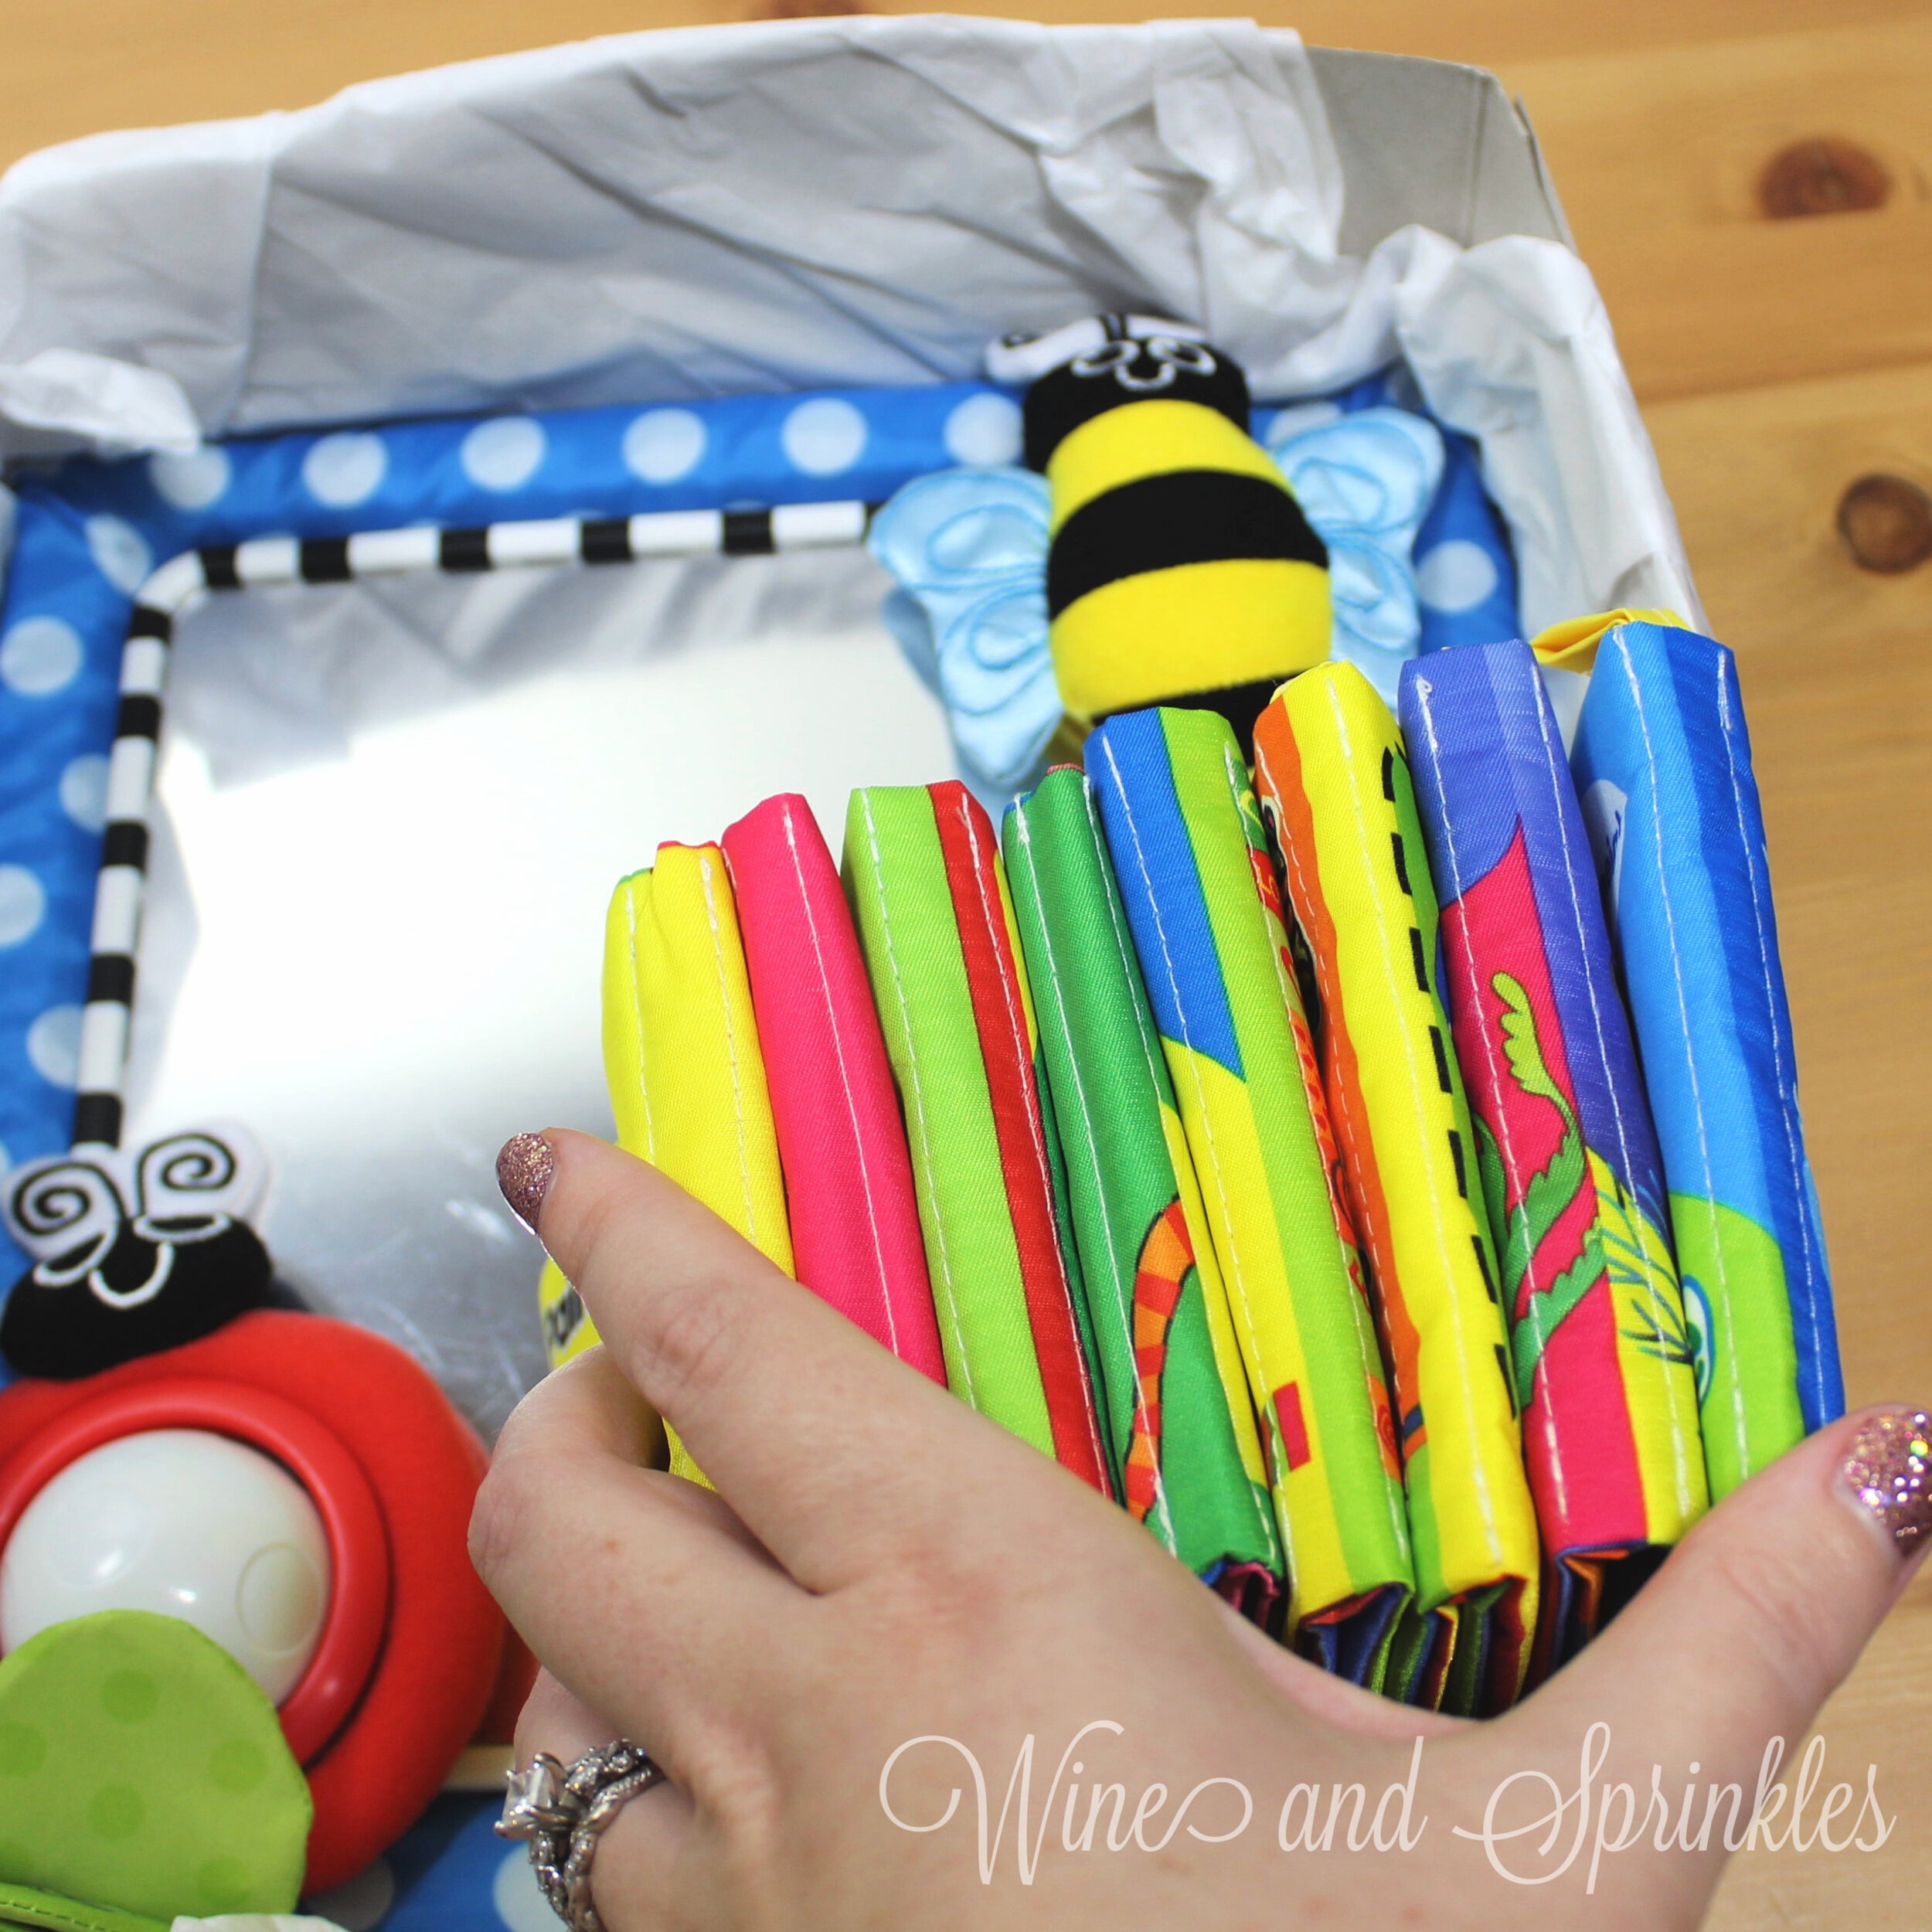
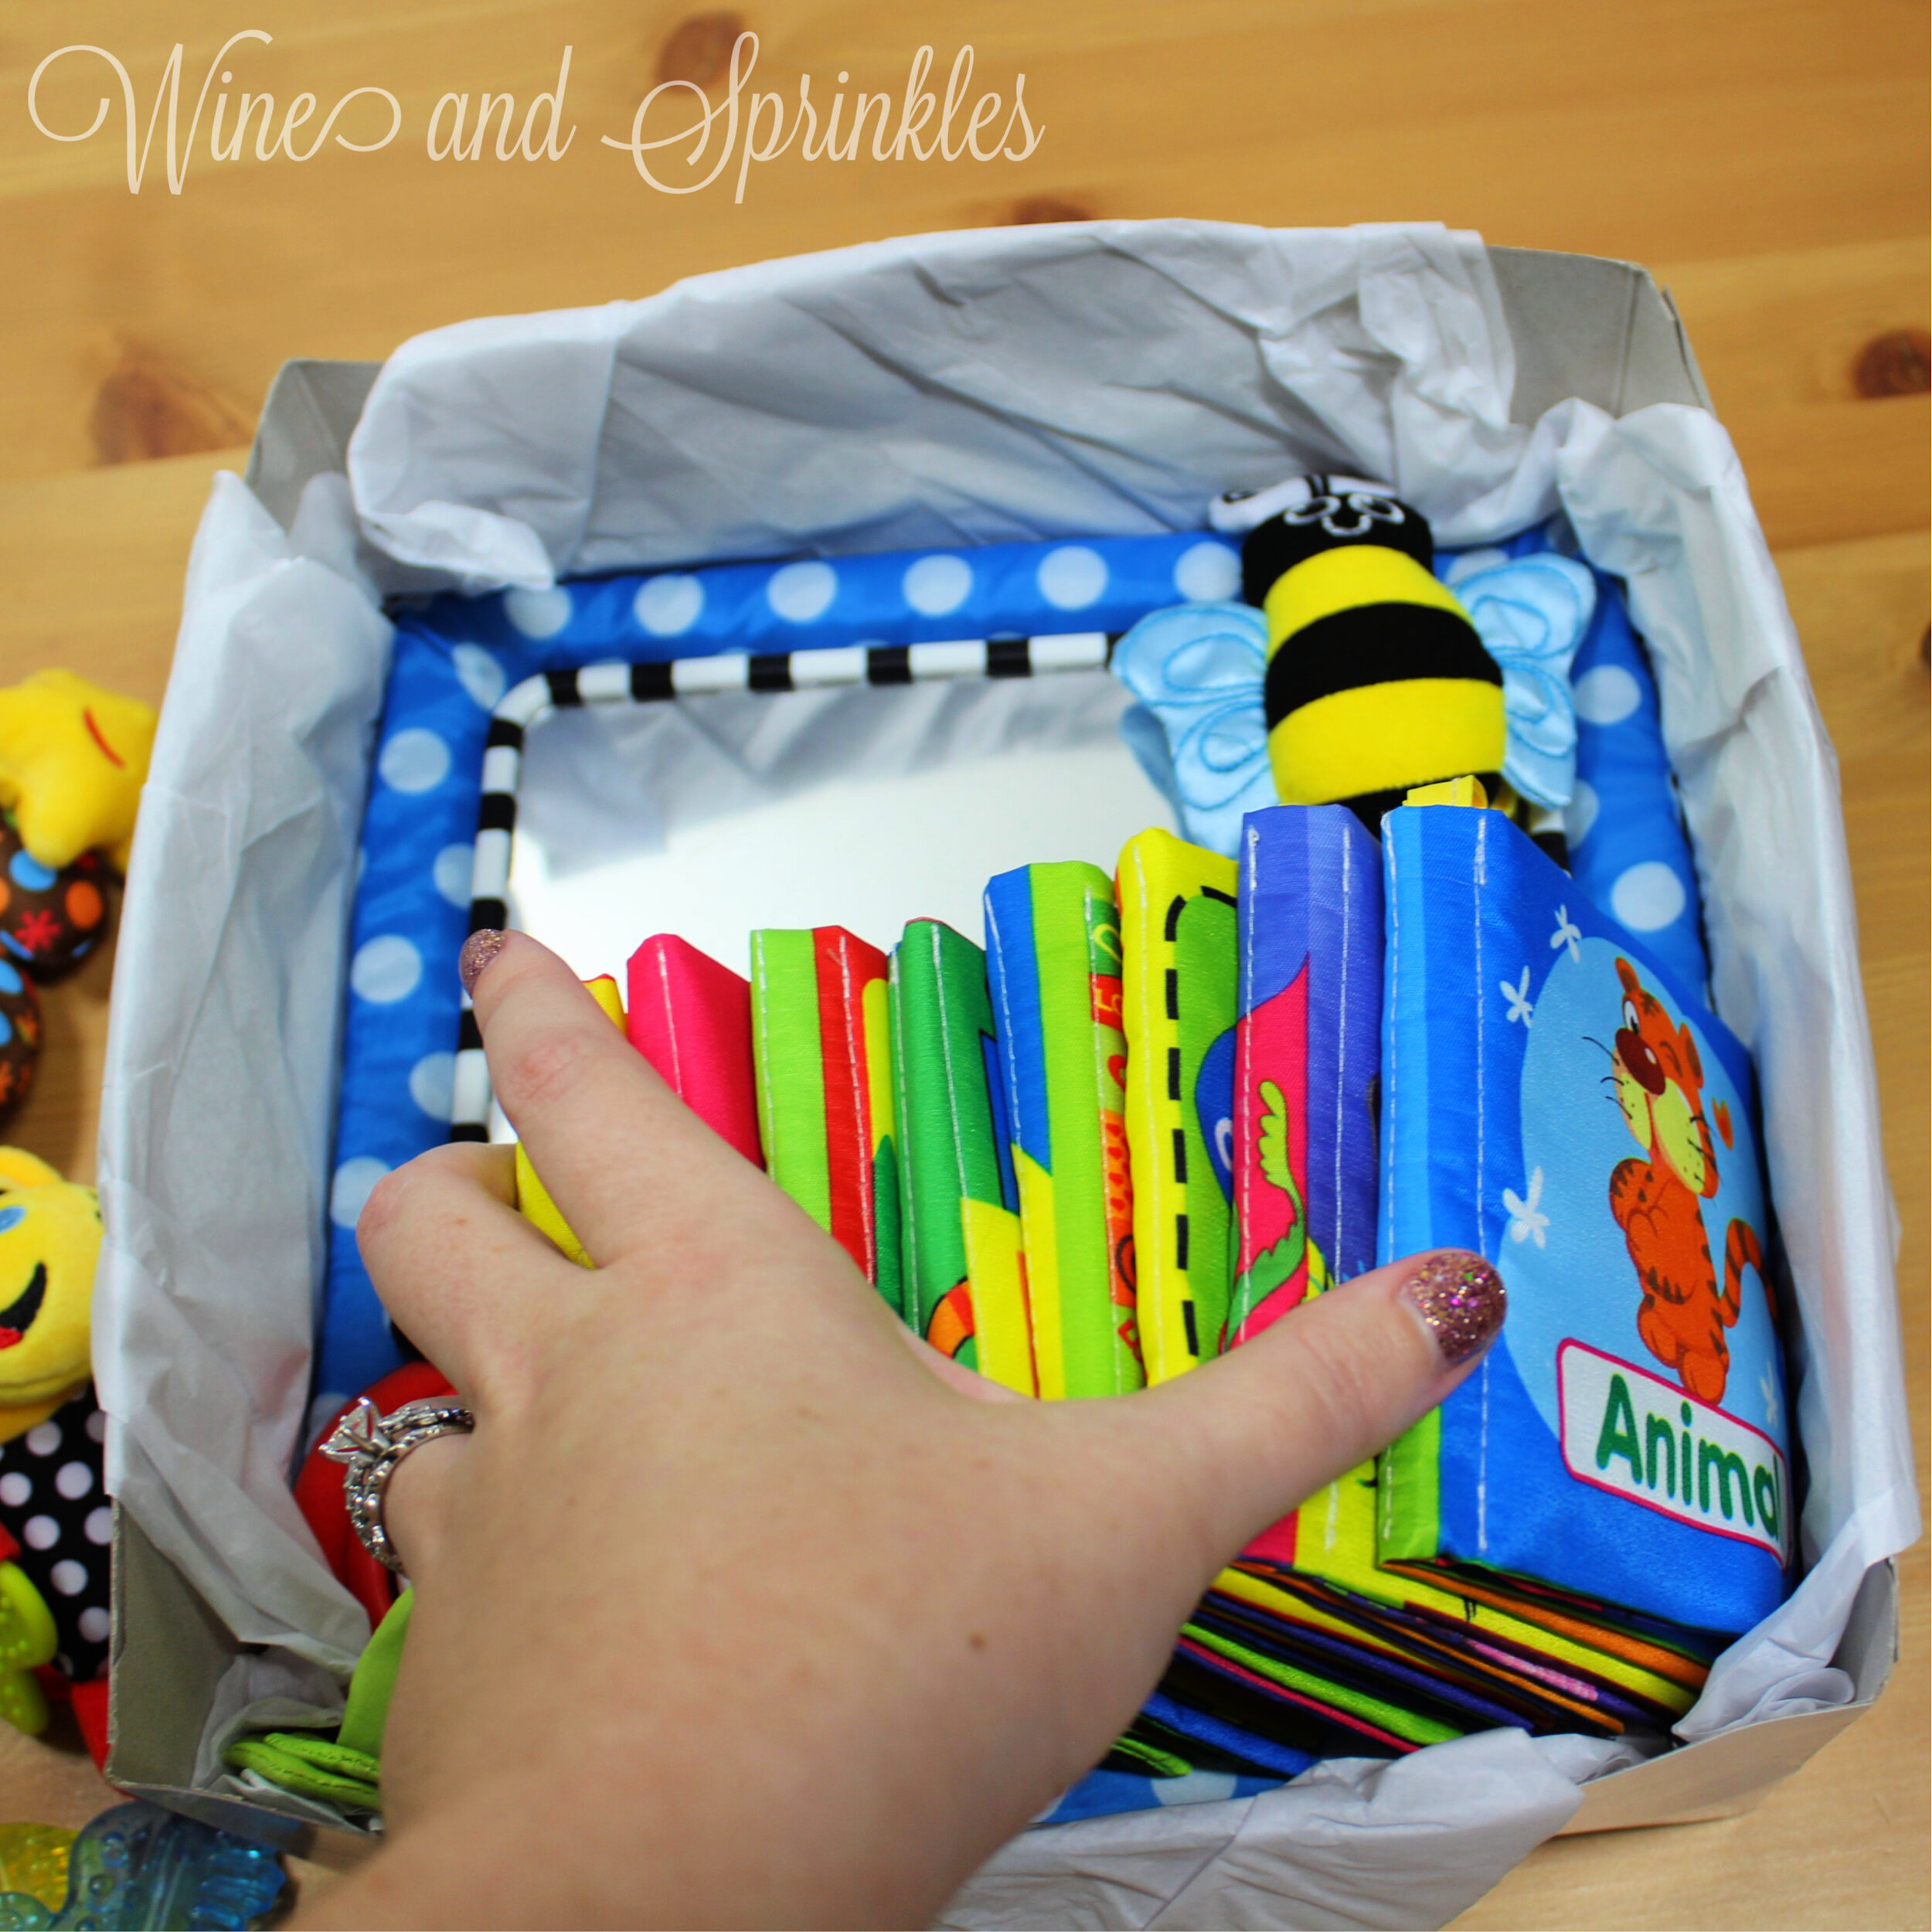
2. Next, take your crinkle books in a stack and arrange them along the bottom edge of the gift box, overlapping each other but forming an even layer.
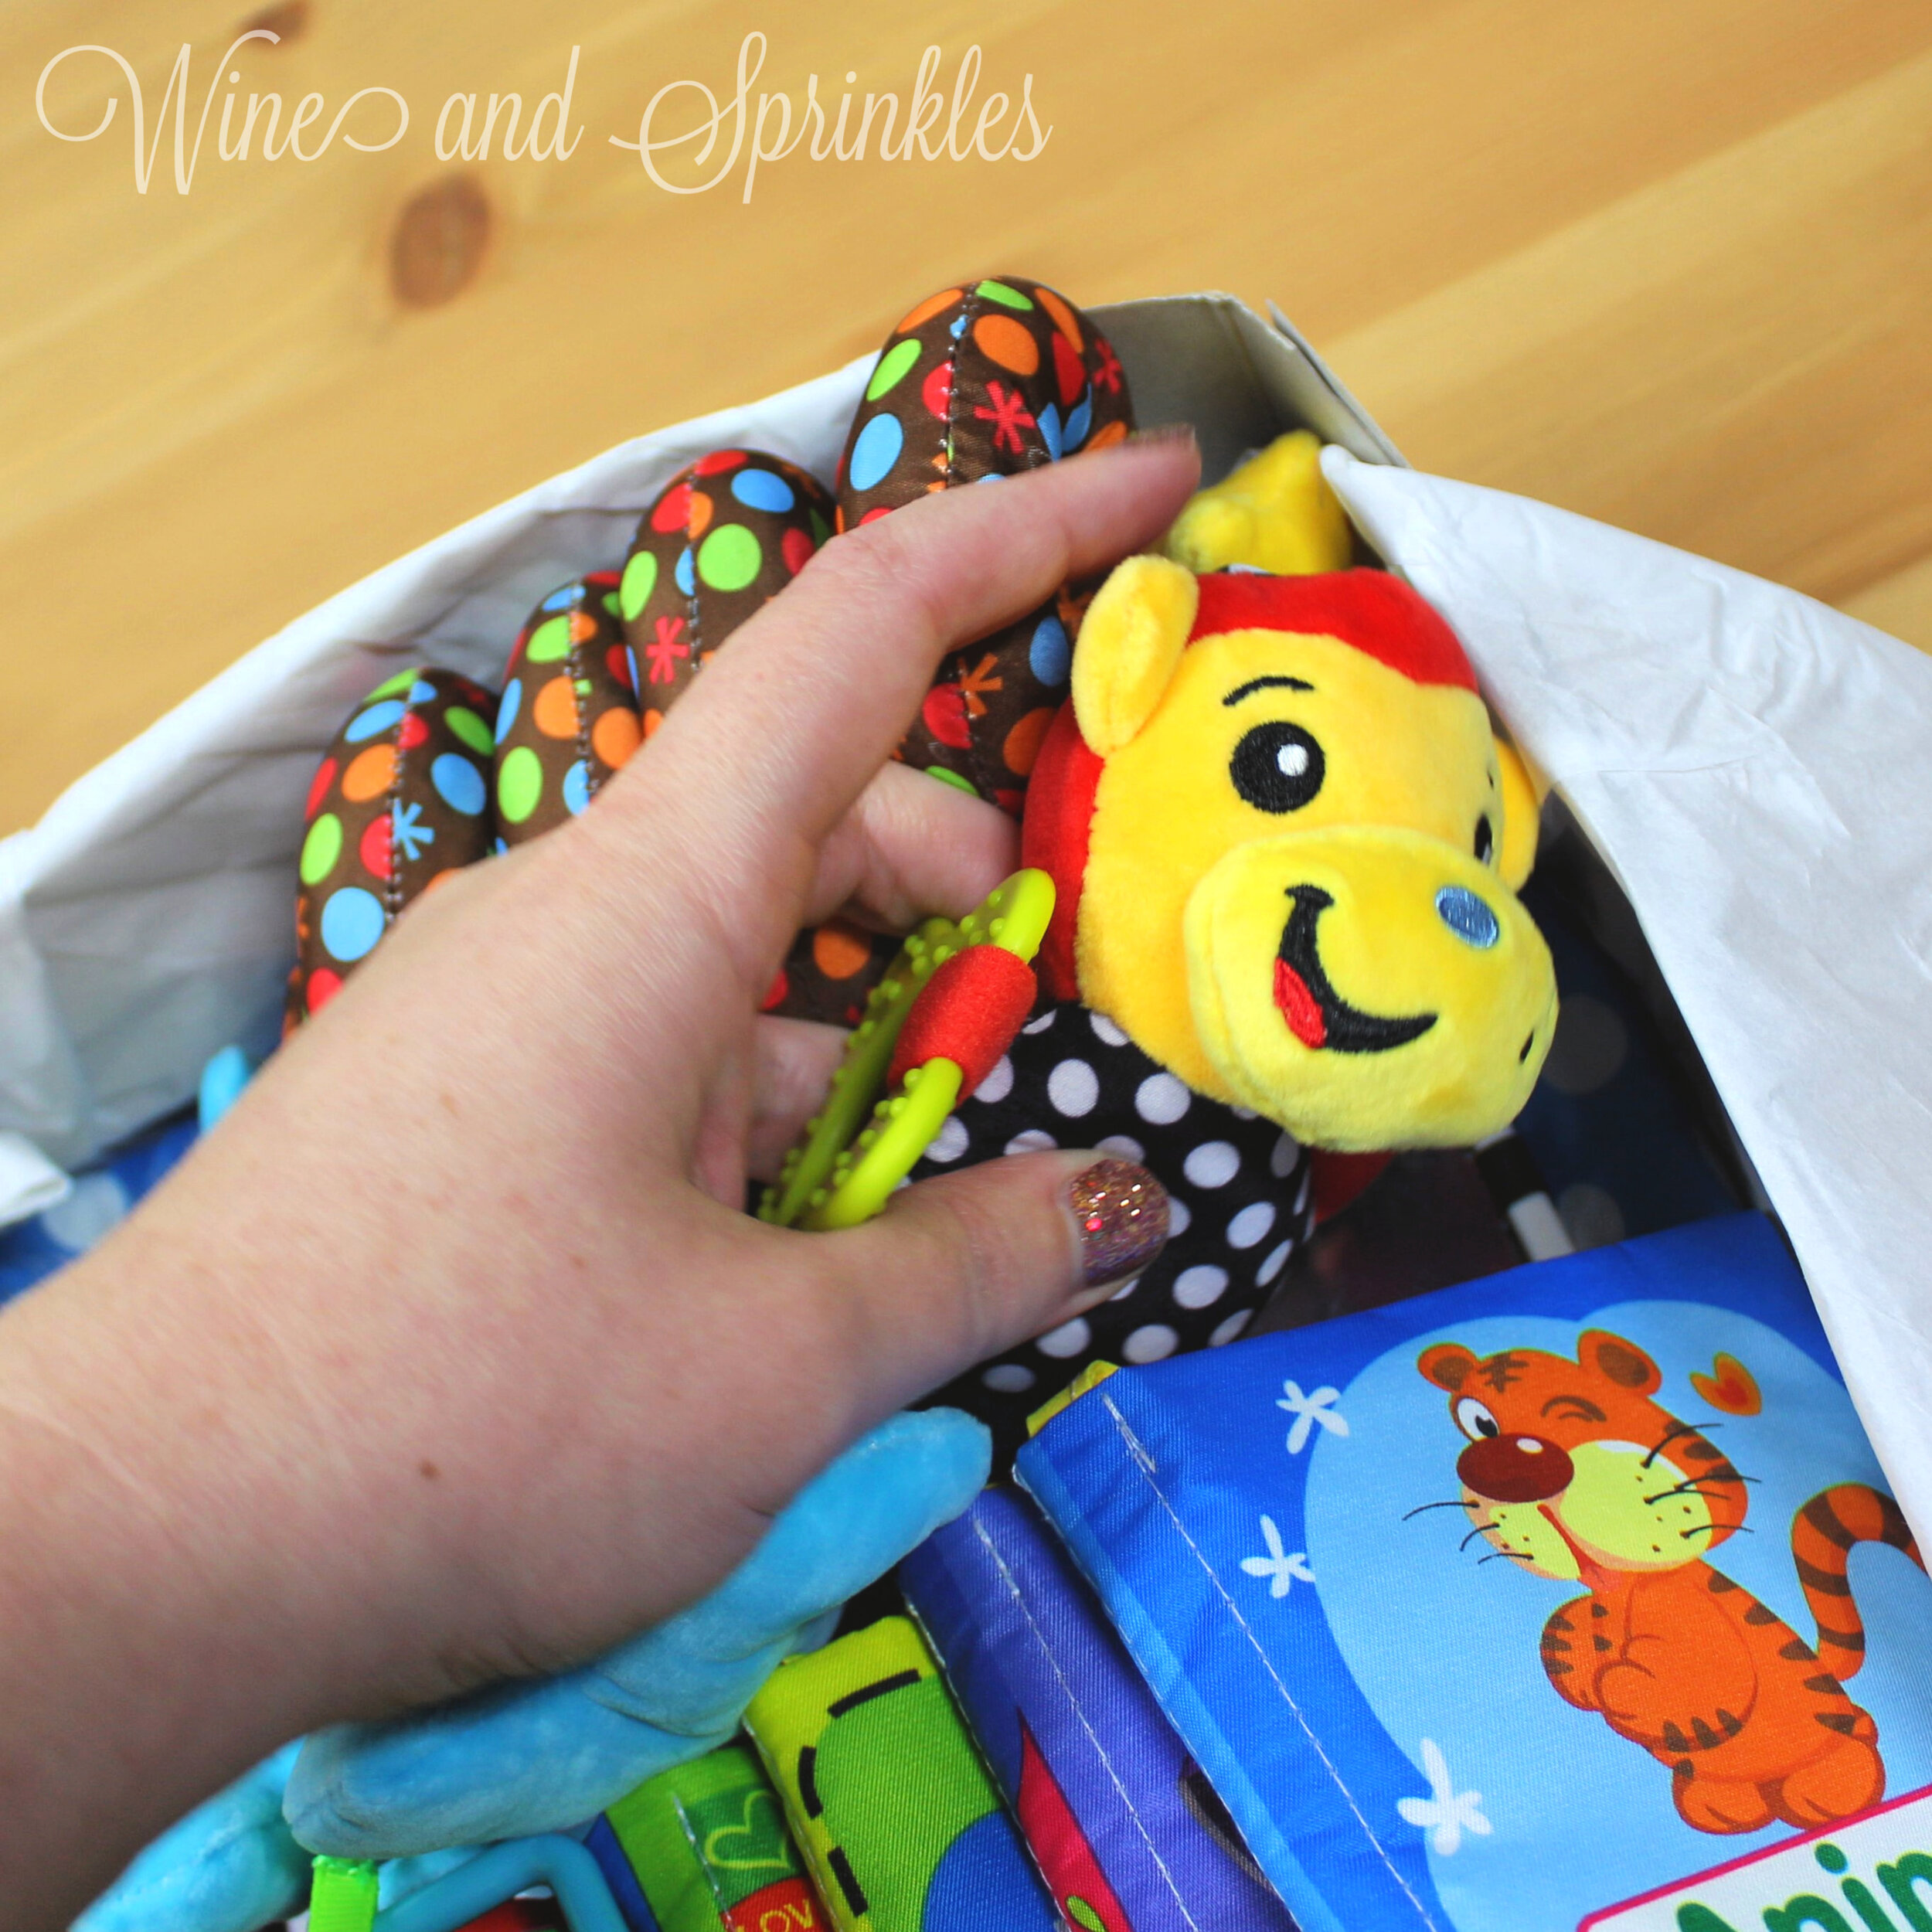
3. Now, add the stroller toy to the upper right corner of the box. Keeping the spiral together with your hand and the toy animals loose, tuck the spiral into the upper corner of the box, then tuck in each animal between the books and the spiral so that their heads are all facing up and their bodies are secured in the box, as shown in the photos.
4. Finally, finish your bento with the teether toy. Fanning the teeter bits in your hand, tuck the loop into the bottom and arrange them in the upper left of the box. Now your toy box is perfectly packed and brimming with all the essential baby toys for the newest little one you are celebrating!
Looking for more Baby Bento Inspiration?
SEE MORE BABY BENTO POSTS HERE:
OUR PINS FOR THIS POST:
Bottle, Brush, and Binkie Feeding Bento Gift Box
This post contains affiliate links, meaning that if you click on a link I will recieve a small comission. This costs you nothing extra and I only promote products I use and love! You can read our full disclosure here
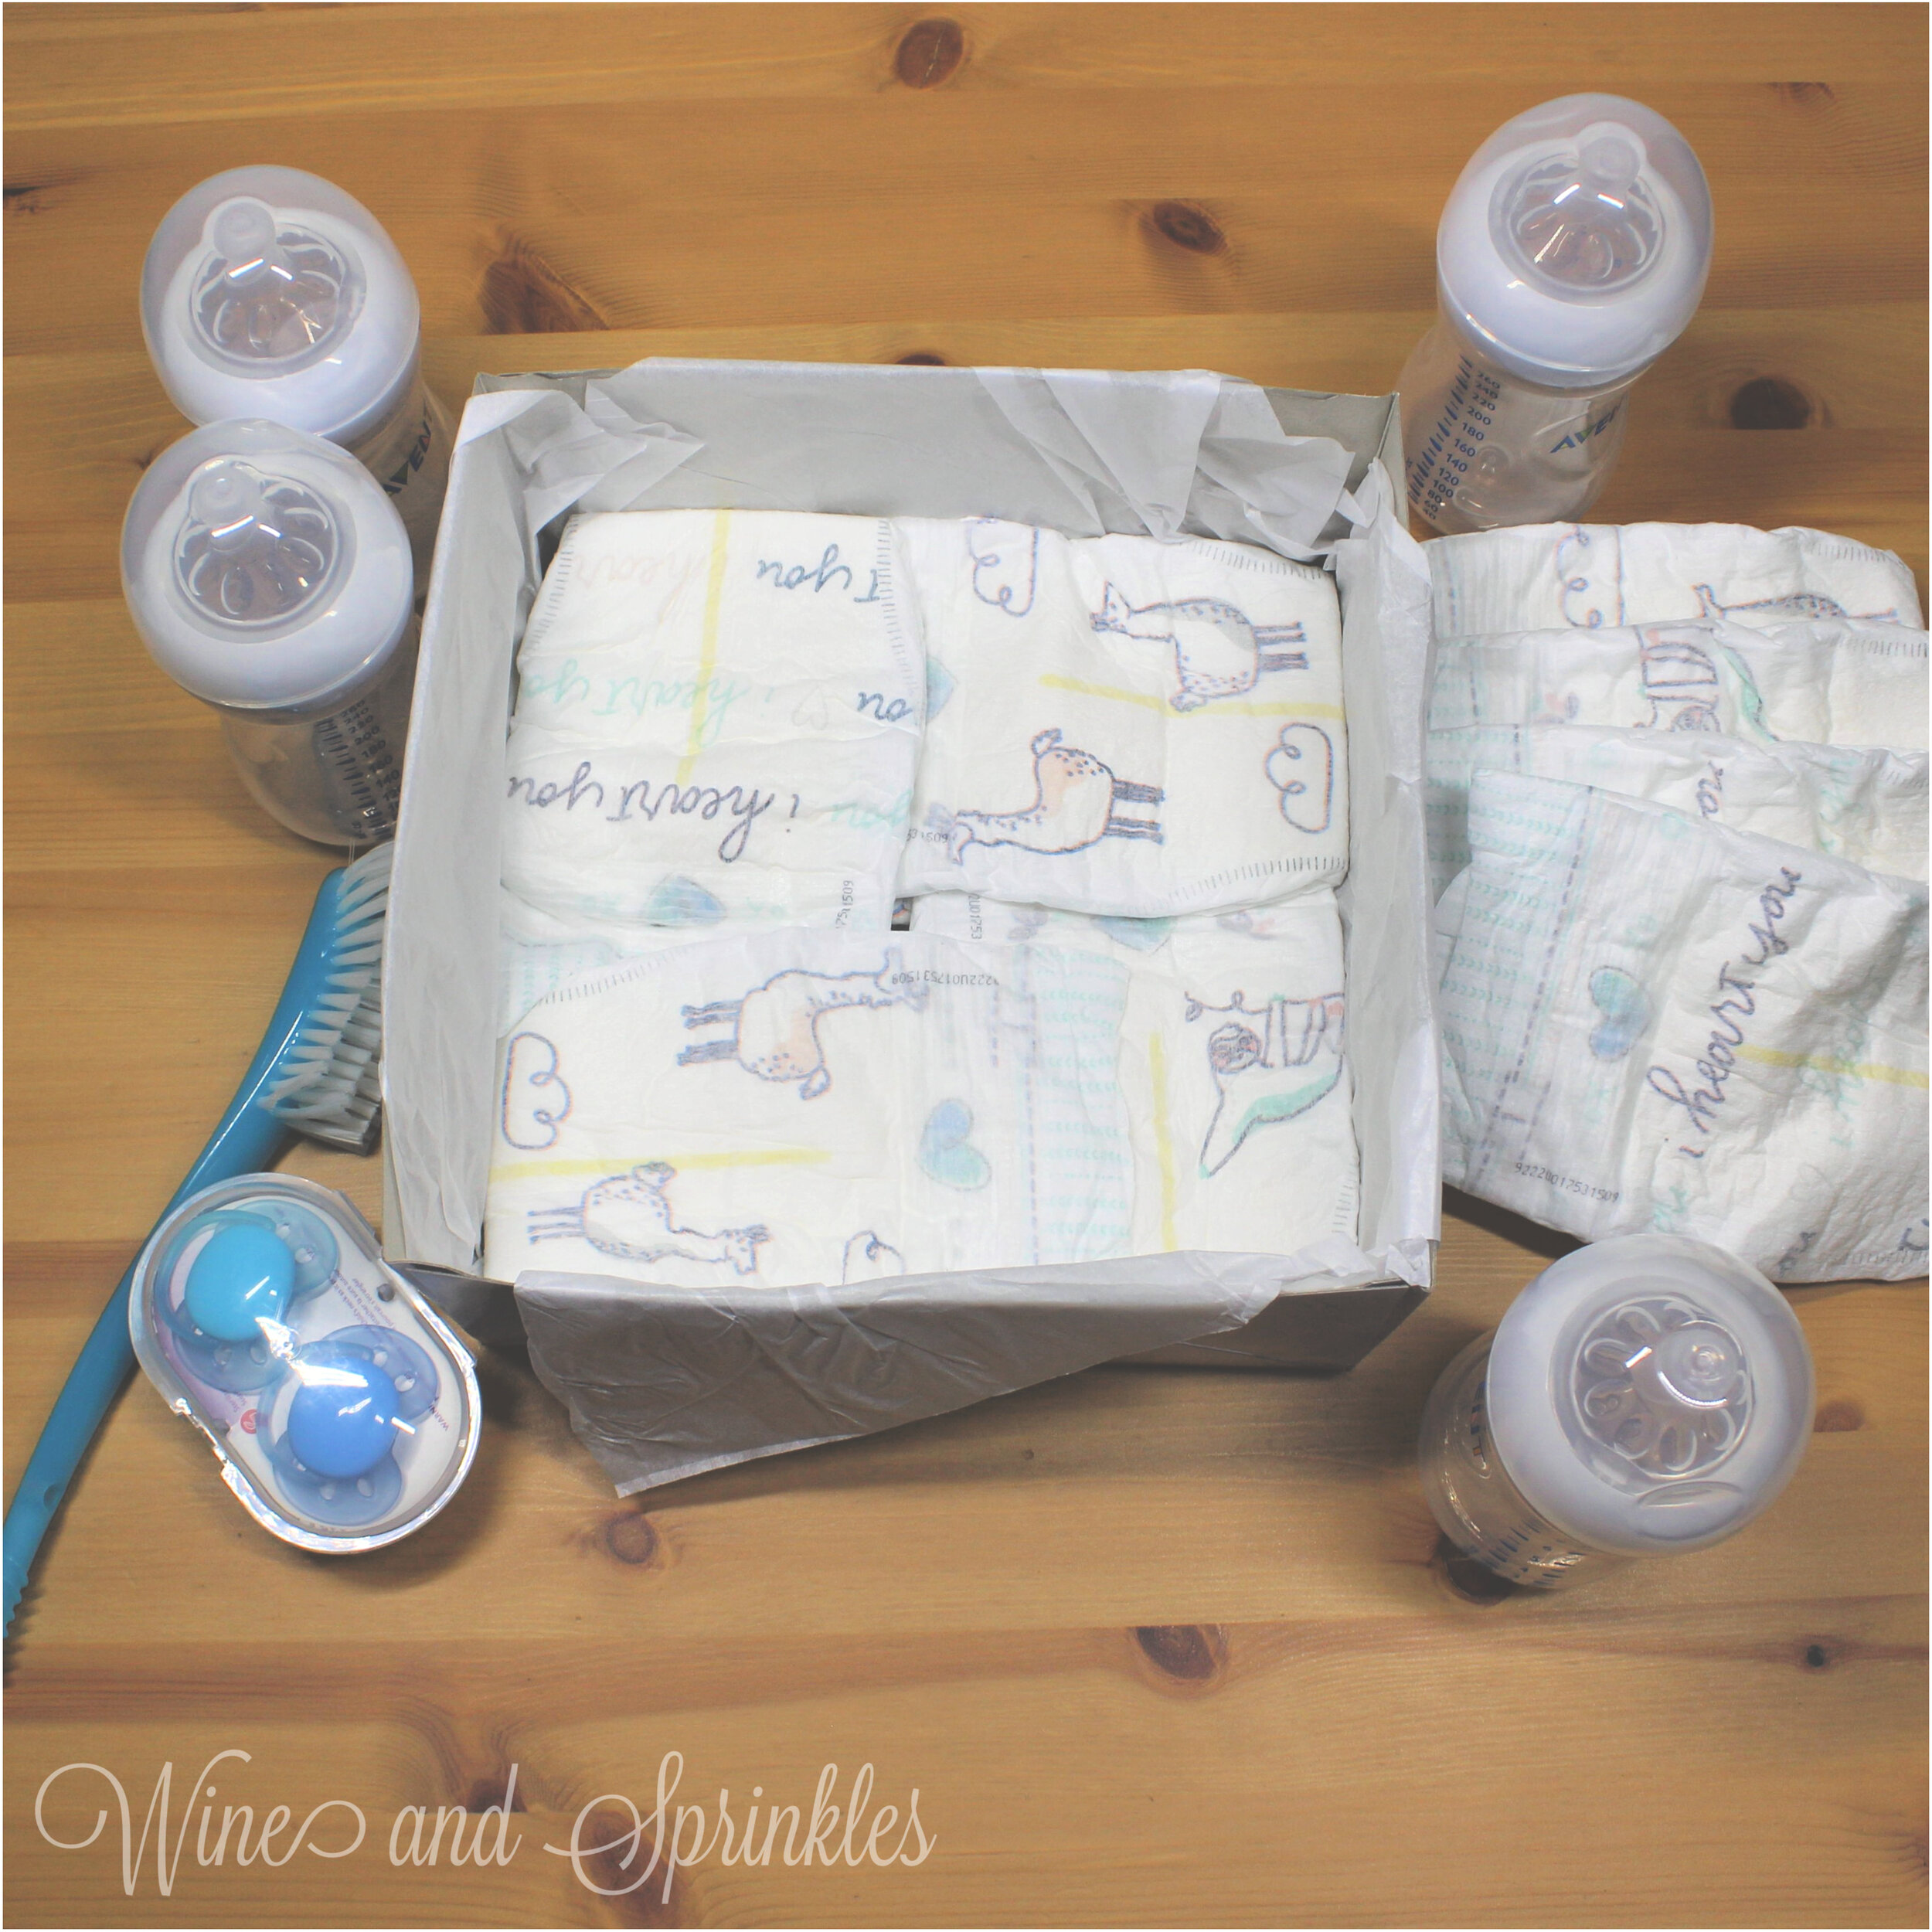
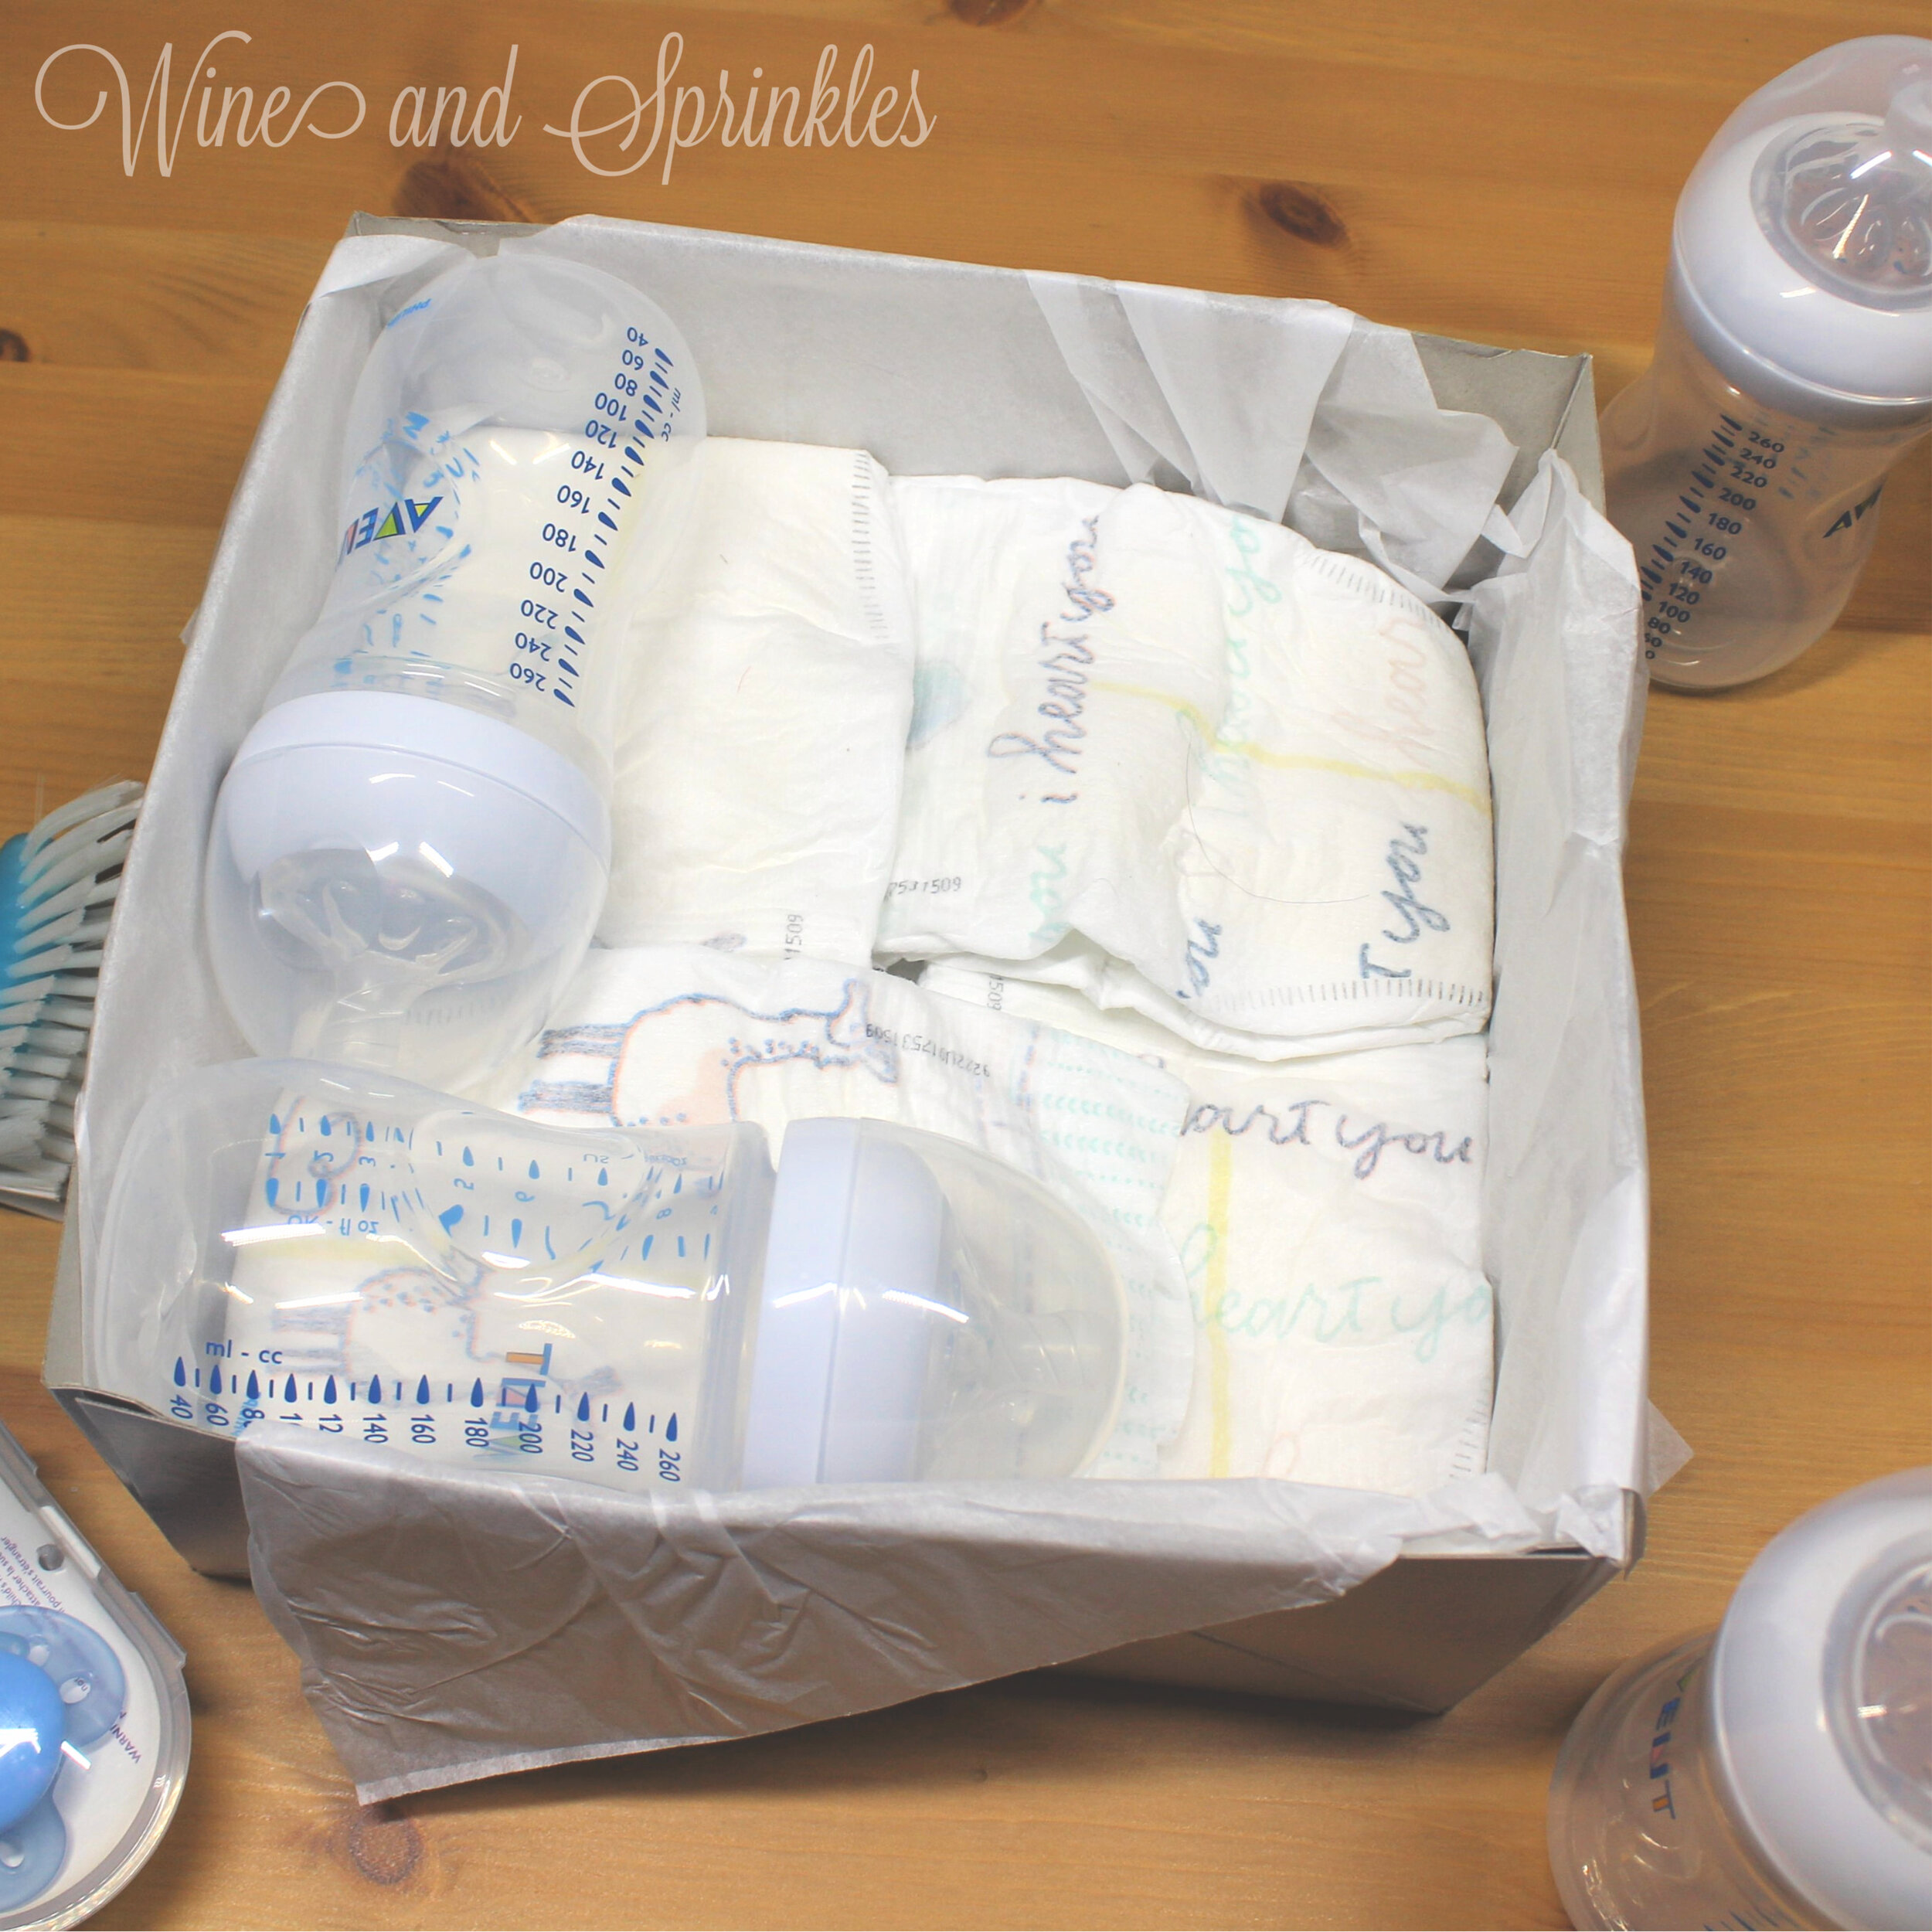
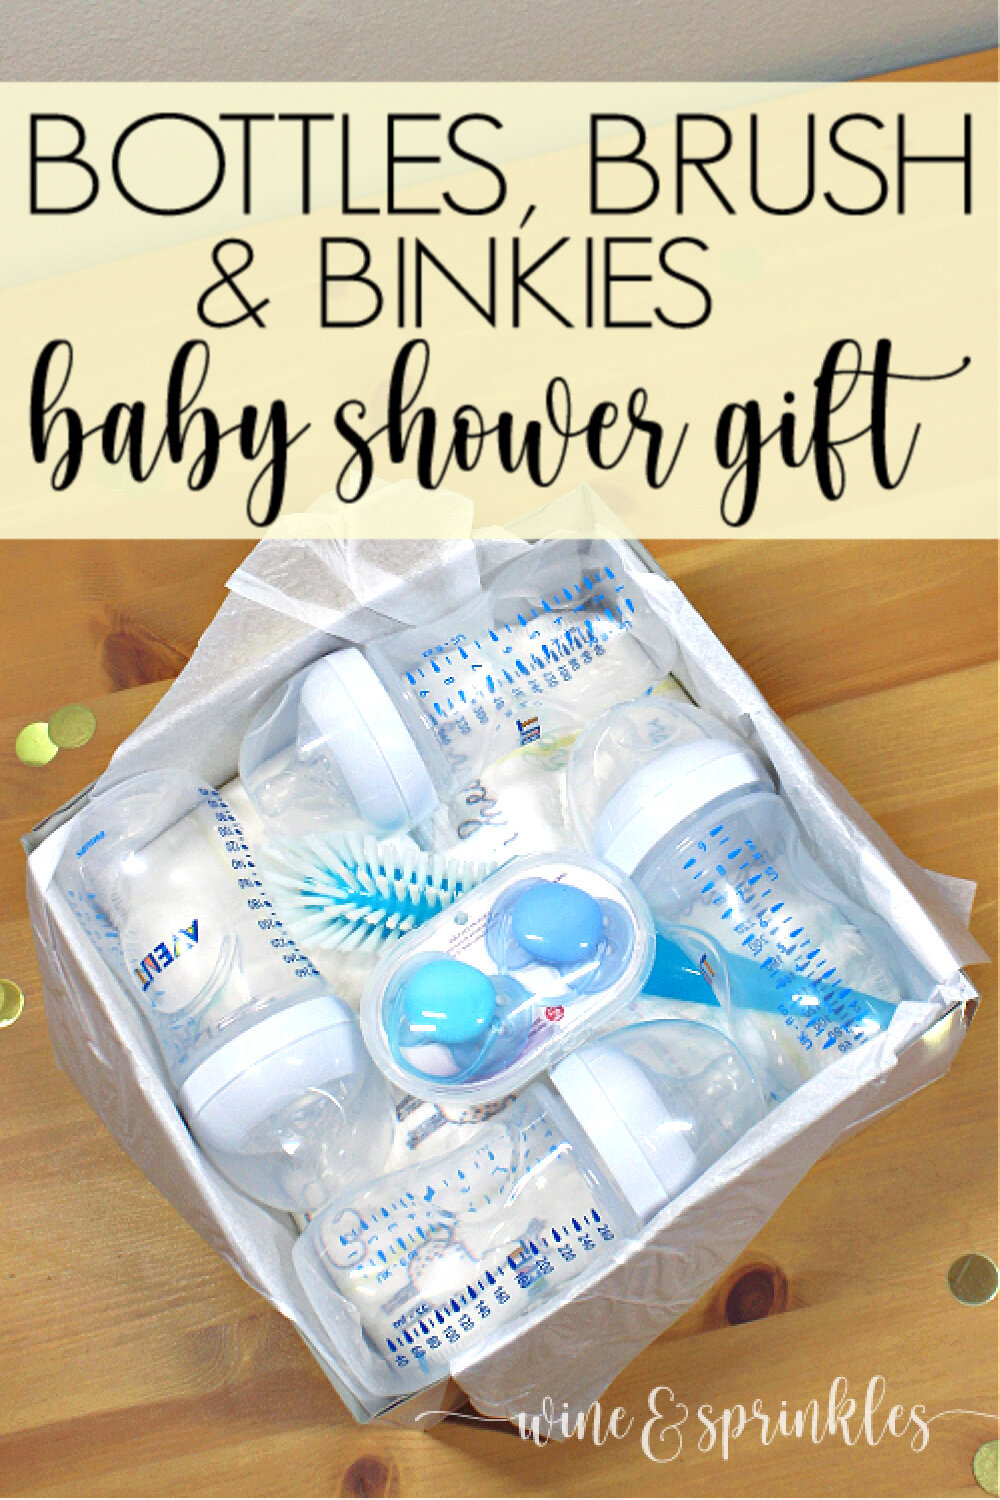
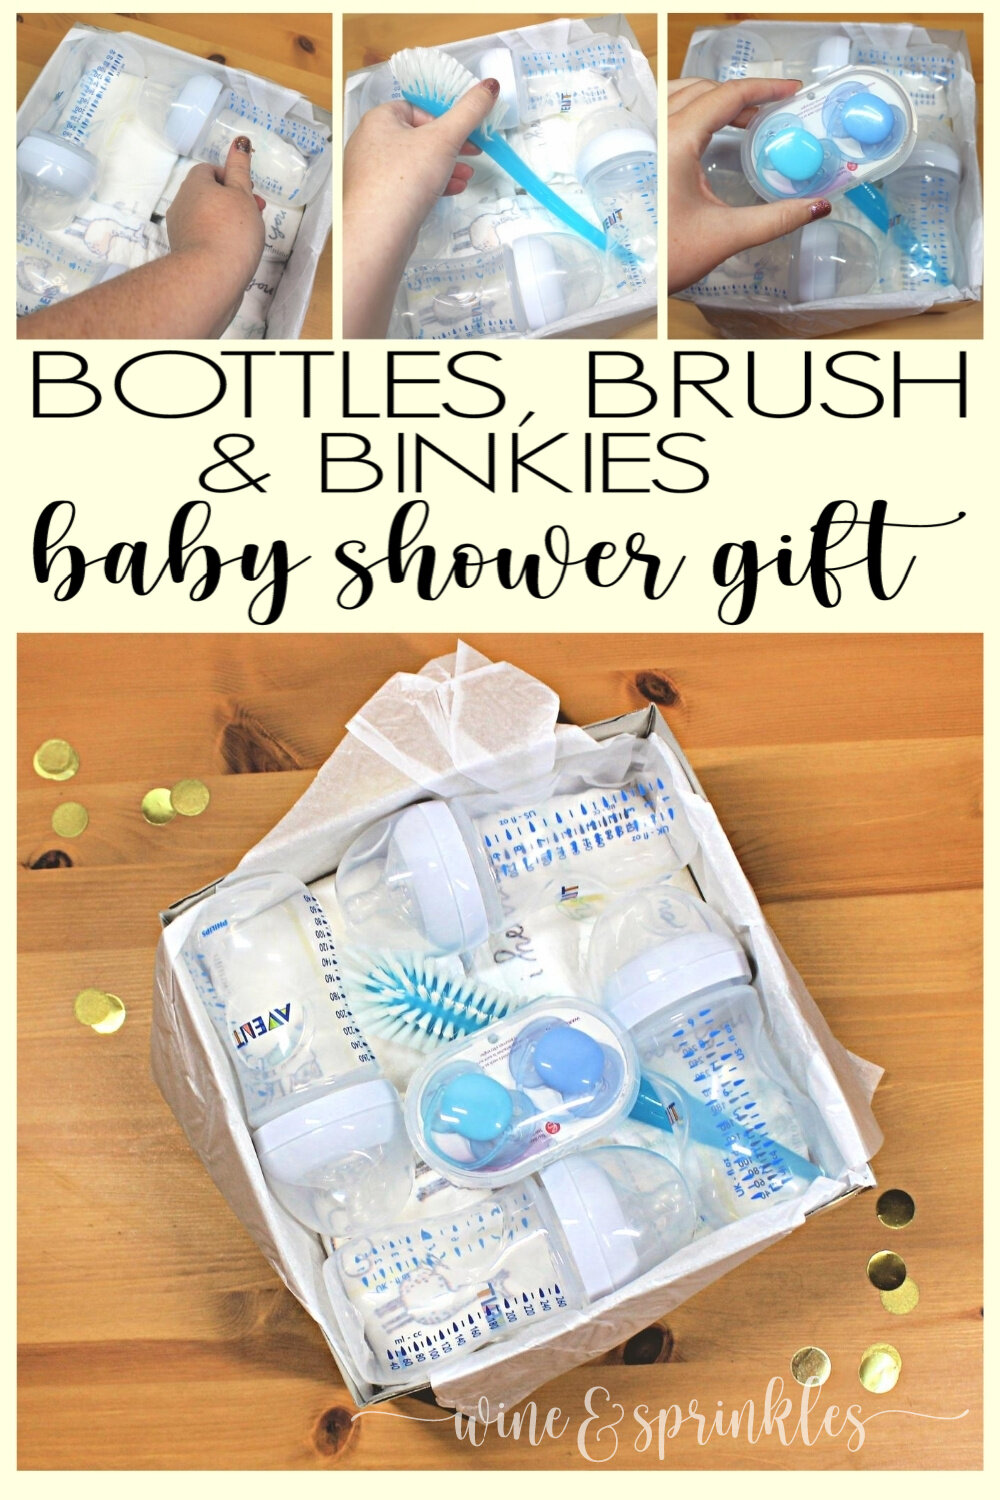
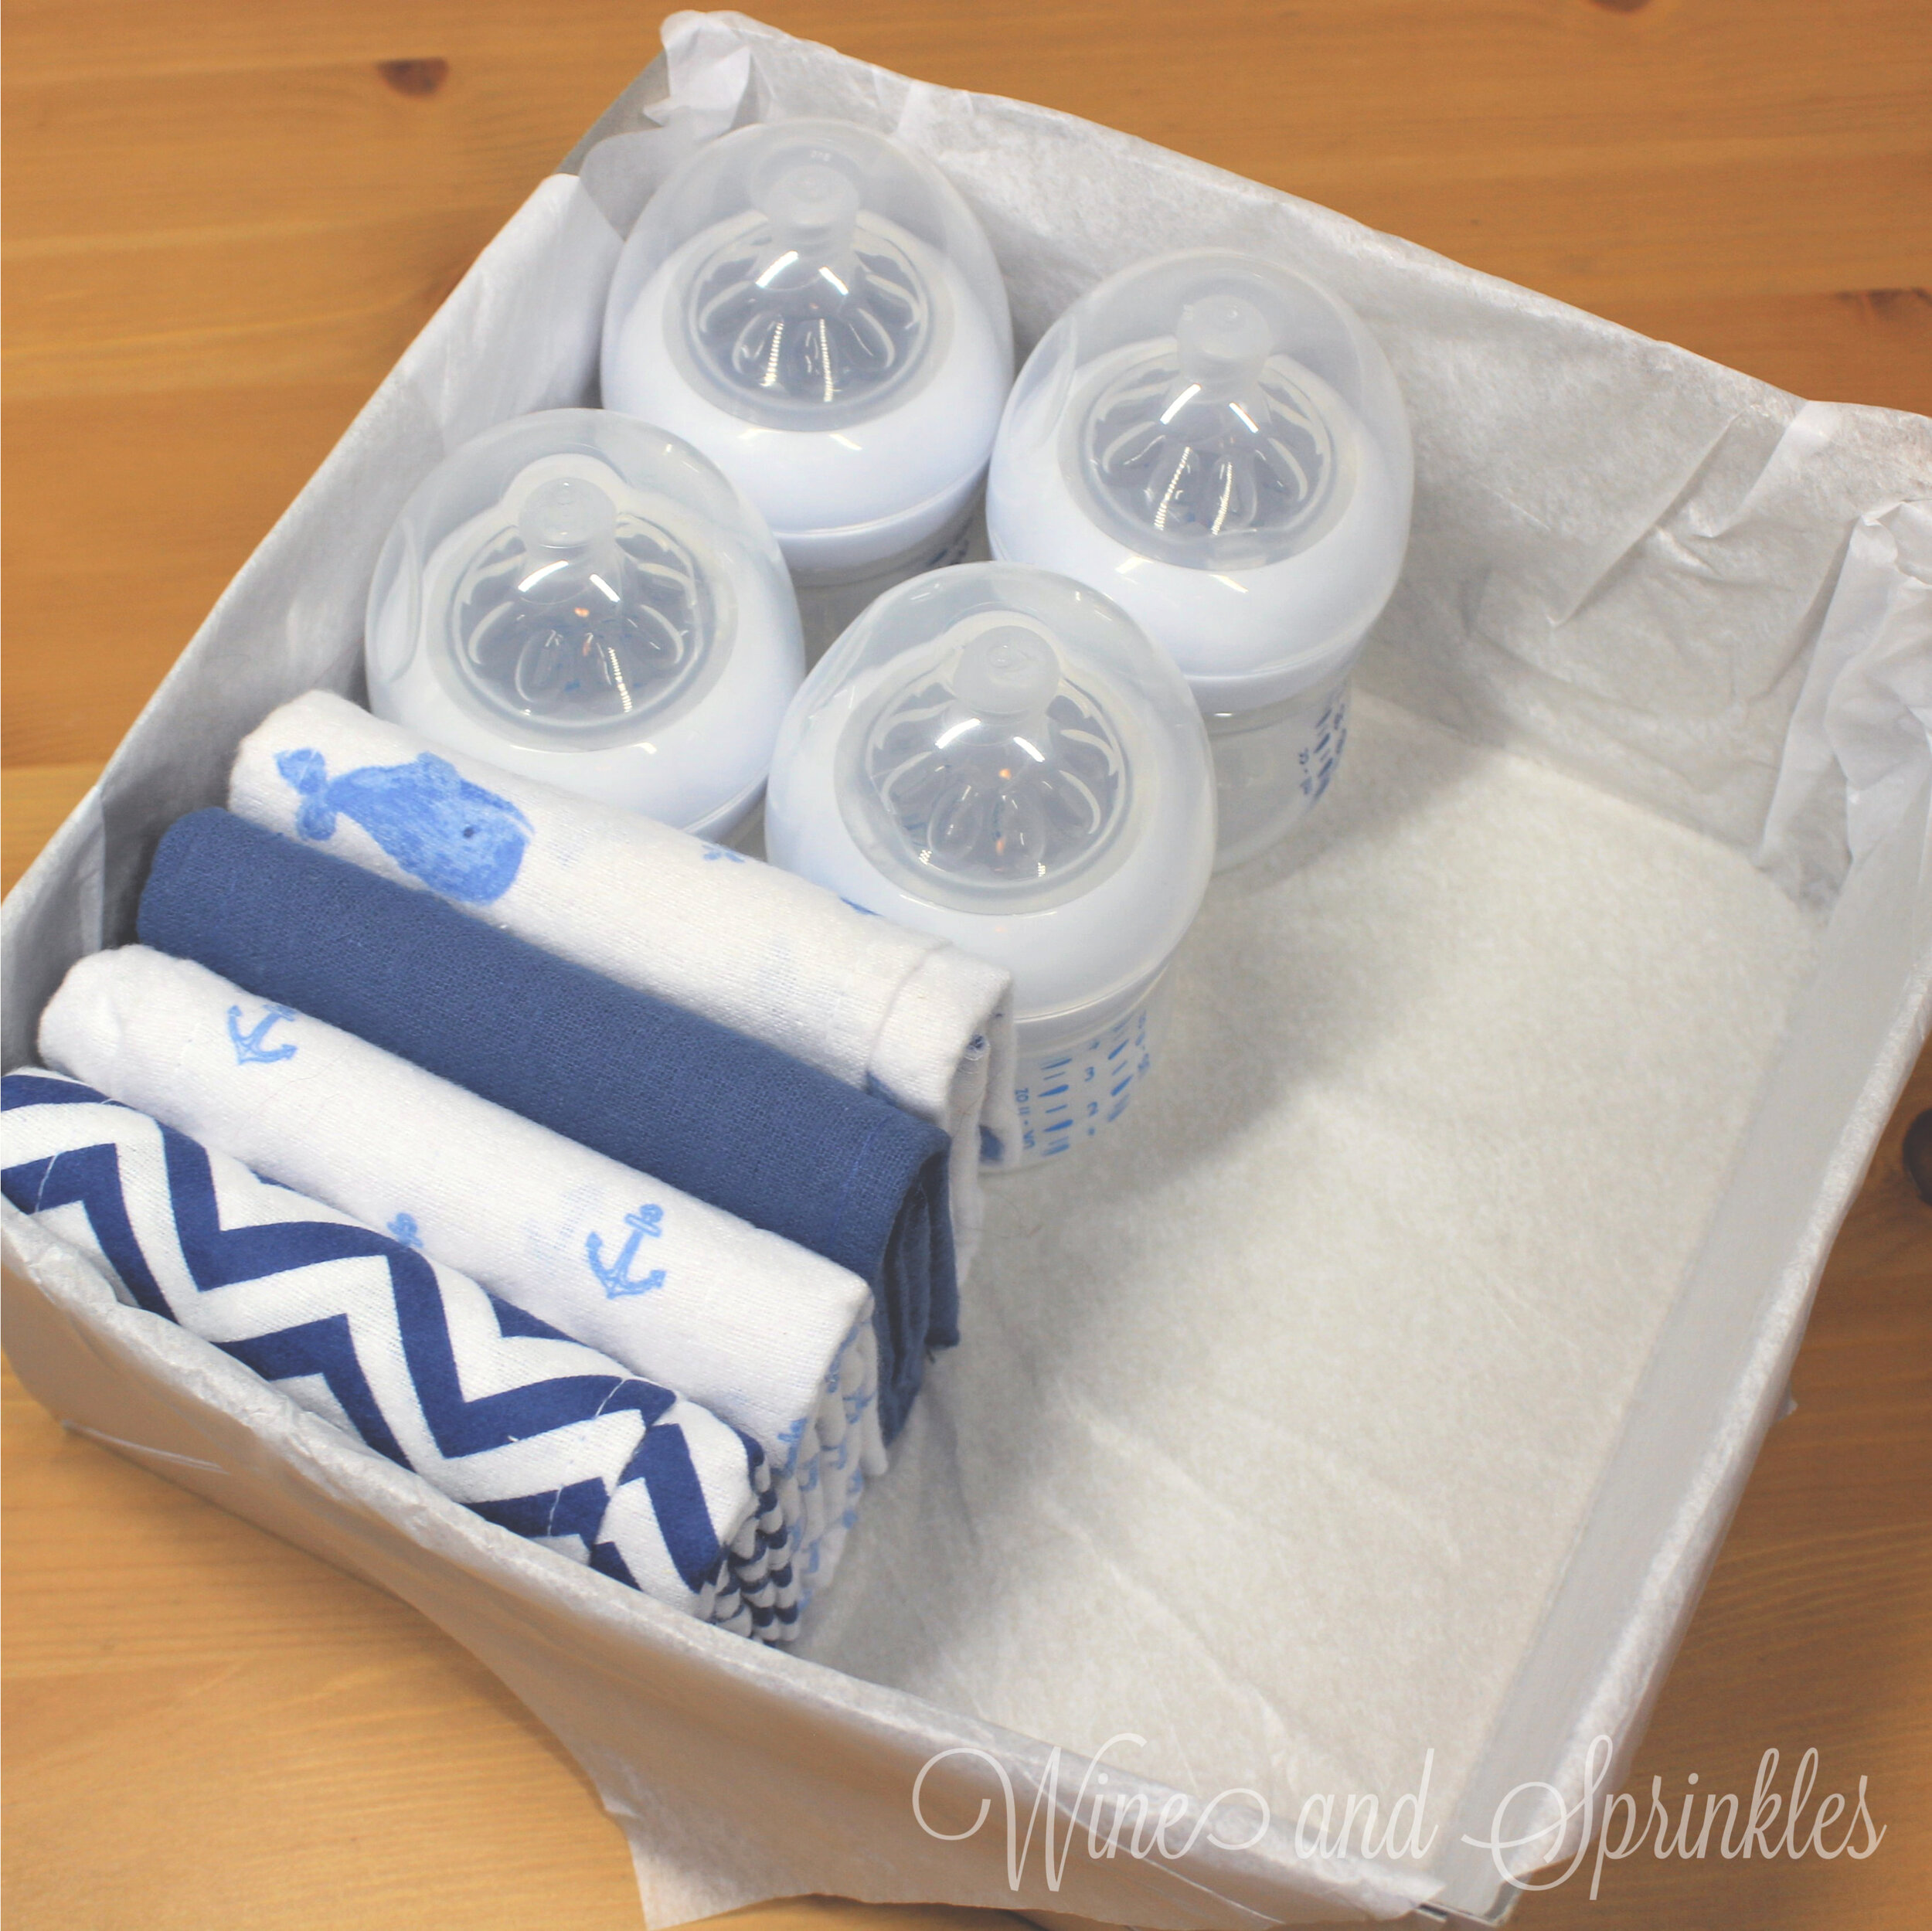
Inspired by my Bibs, Burp Cloths, and Bib Bento Gift Box, I wanted to find a fun way to present other baby feeding necessities that weren’t quite as colorful as the bibs and burp cloths. So to finish out our feeding themed Baby Bentos, nothing like finding a fun way to gift bottles, brushes, and binkies than this Bottle and Binky Bento Gift Box! This bento is perfect for equipping your new mother for feeding time; from cleaning bottles afterwards to soothing a fussy hungry baby with a binky.
For this bento, I used the 9 oz. Avent Baby Bottle 4 Pack, Cleaning Brush, and Binkie Set with some extra Size 1 Diapers layered beneath for extra height and padding in the bottom of the box. It's a great use for a couple extra diapers after making diaper cakes, plus I like that even the stuffing of the bento is useful for baby! I absolutely adore the Avent Baby Bottle Sets in general and have given them as baby shower gifts several times. All the mothers I have gifted them to or even mentioned them to love these bottles and find them very useful for switching between breastfeeding and bottle feeding.
For these and other Baby Gift Box Bentos, I used a 10 inch square box to house our gifts and it was the perfect size for this Feeding Time Bento! These boxes are also great as mailable presents for if you cannot visit your mama to be but still want to send a personal and thoughtful gift. Regardless of if you are mailing or giving in person, I encourage you to stuff the top of your box with tissue paper so that items don’t move around while shipping or wrapping, plus it makes it a fun presentation removing the tissue paper to a lovely organized baby gift!
Supplies:
- Avent 9 oz Bottle 4 Pack
- Bottle Brush
- Binkie 2 Pack
- Size 1 Diapers x 10
- Gift Box
- Tissue Paper (Optional)
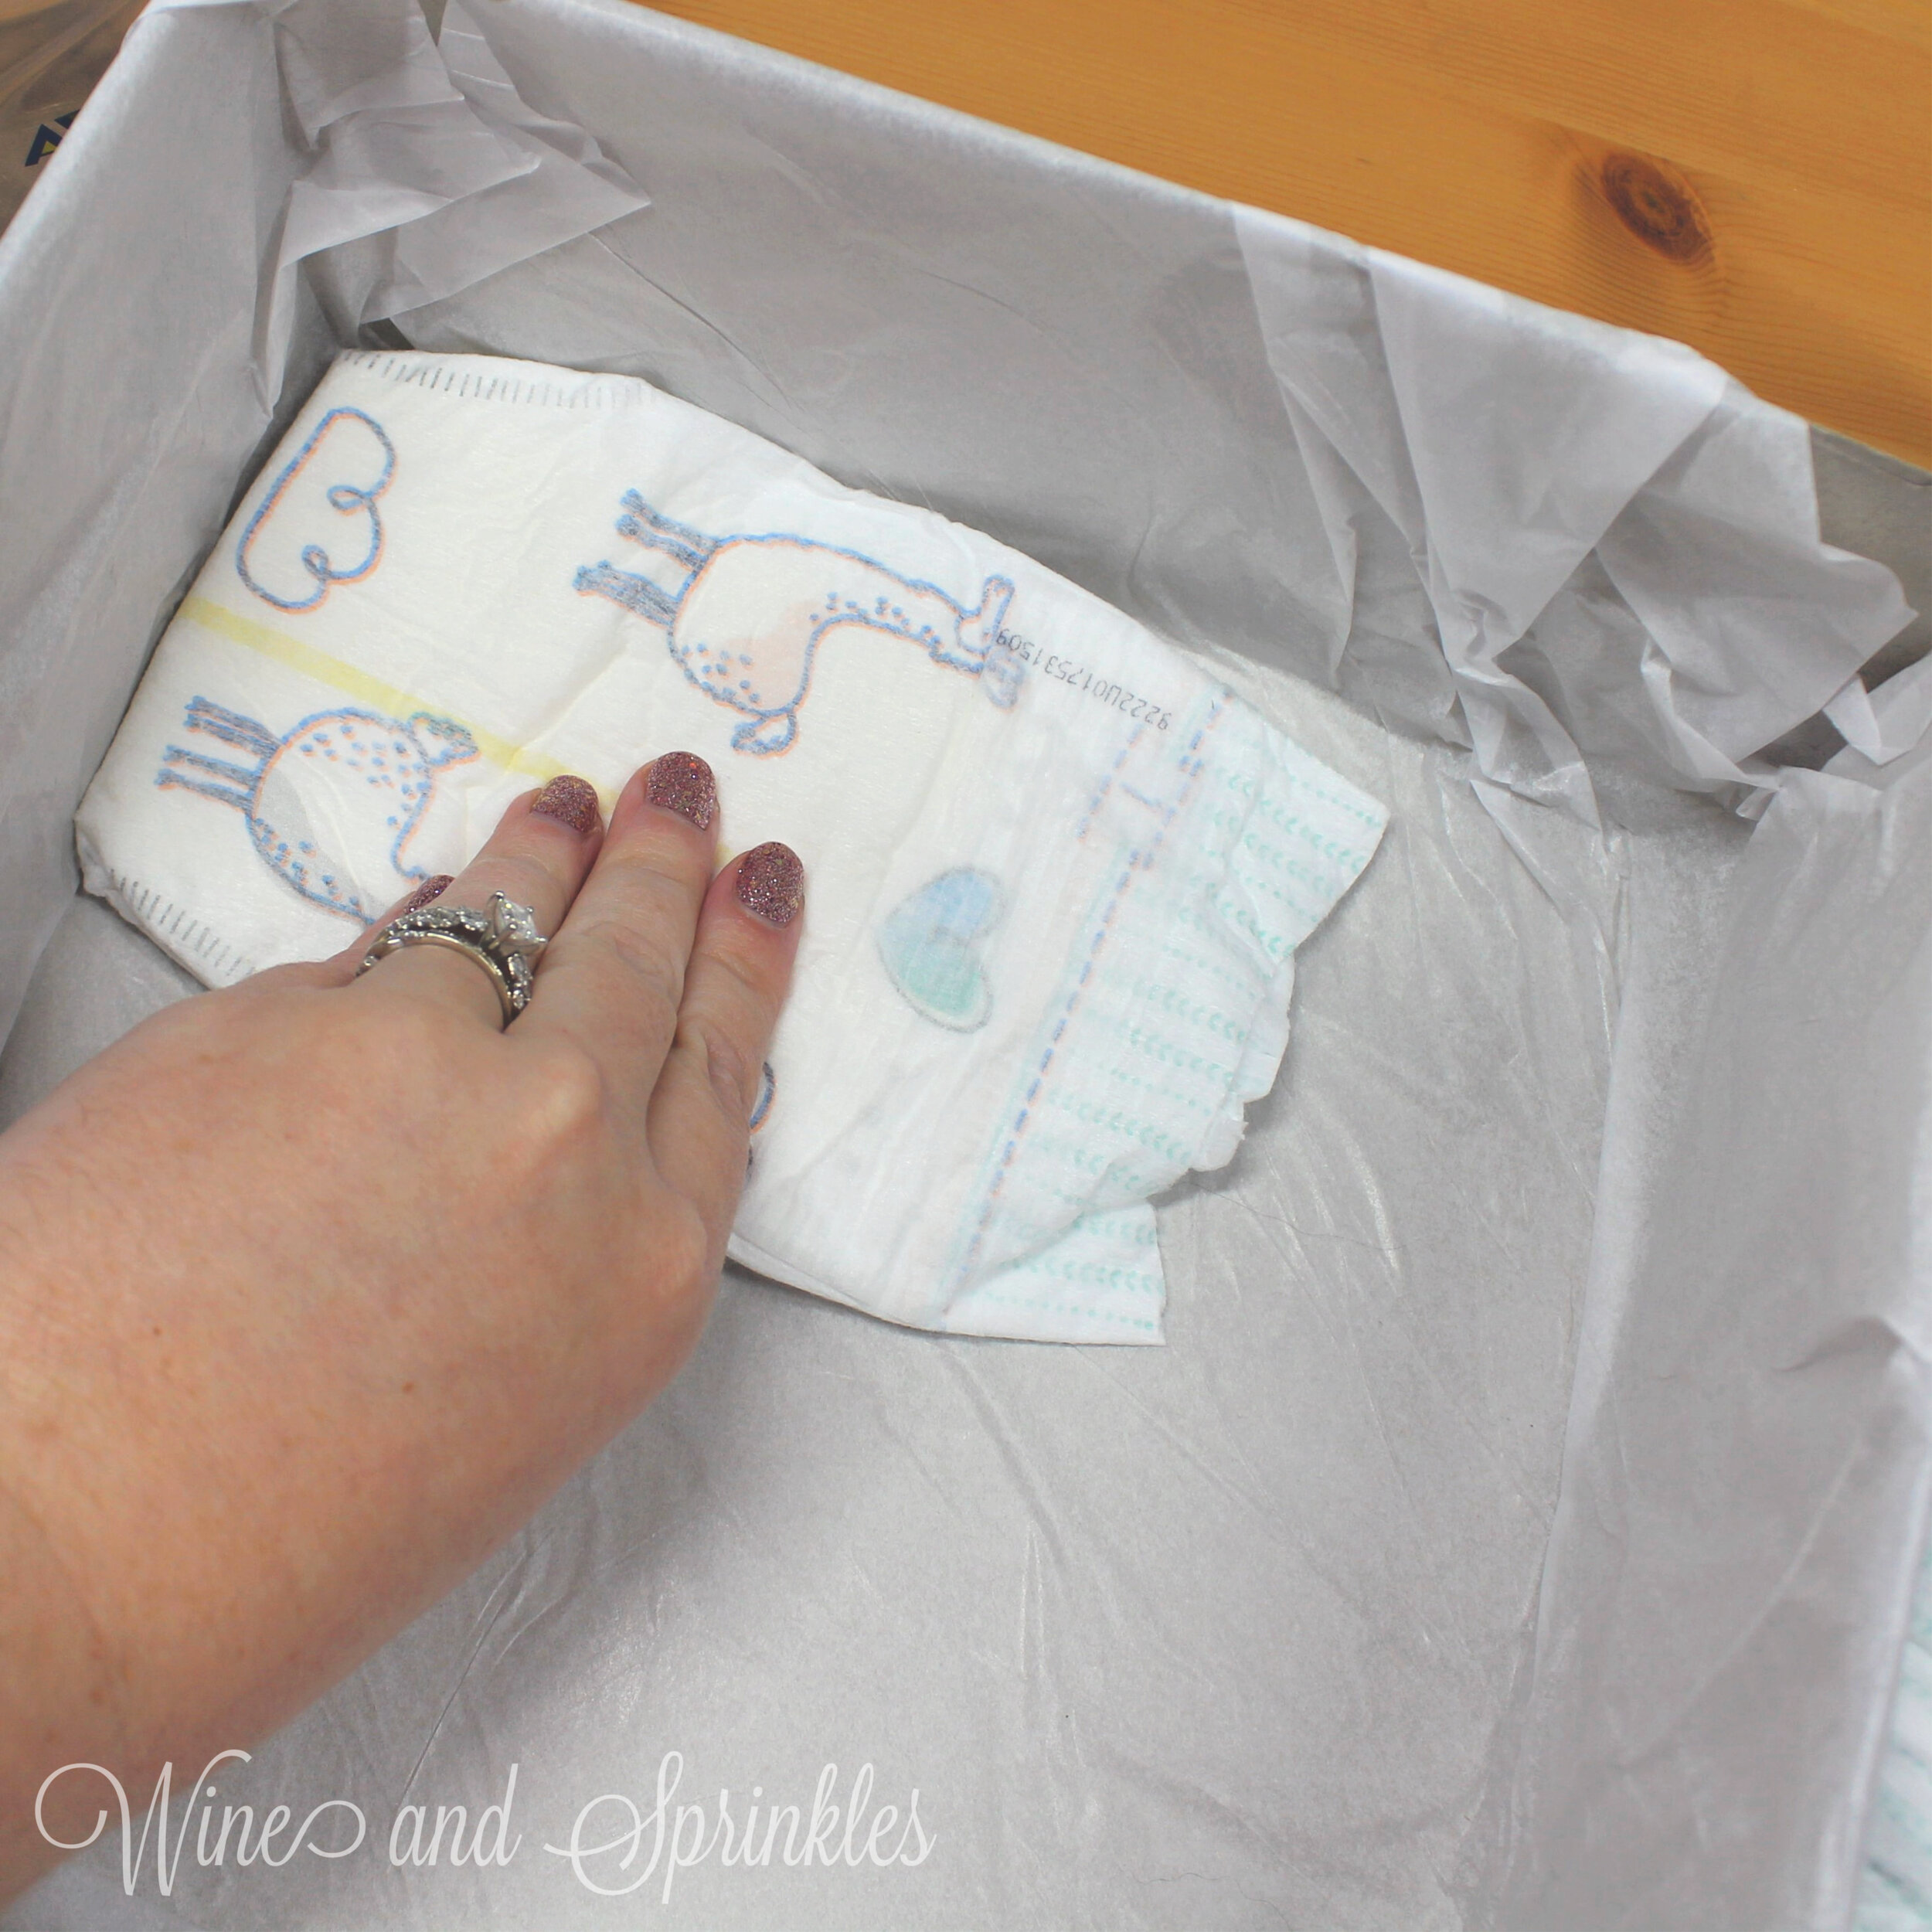
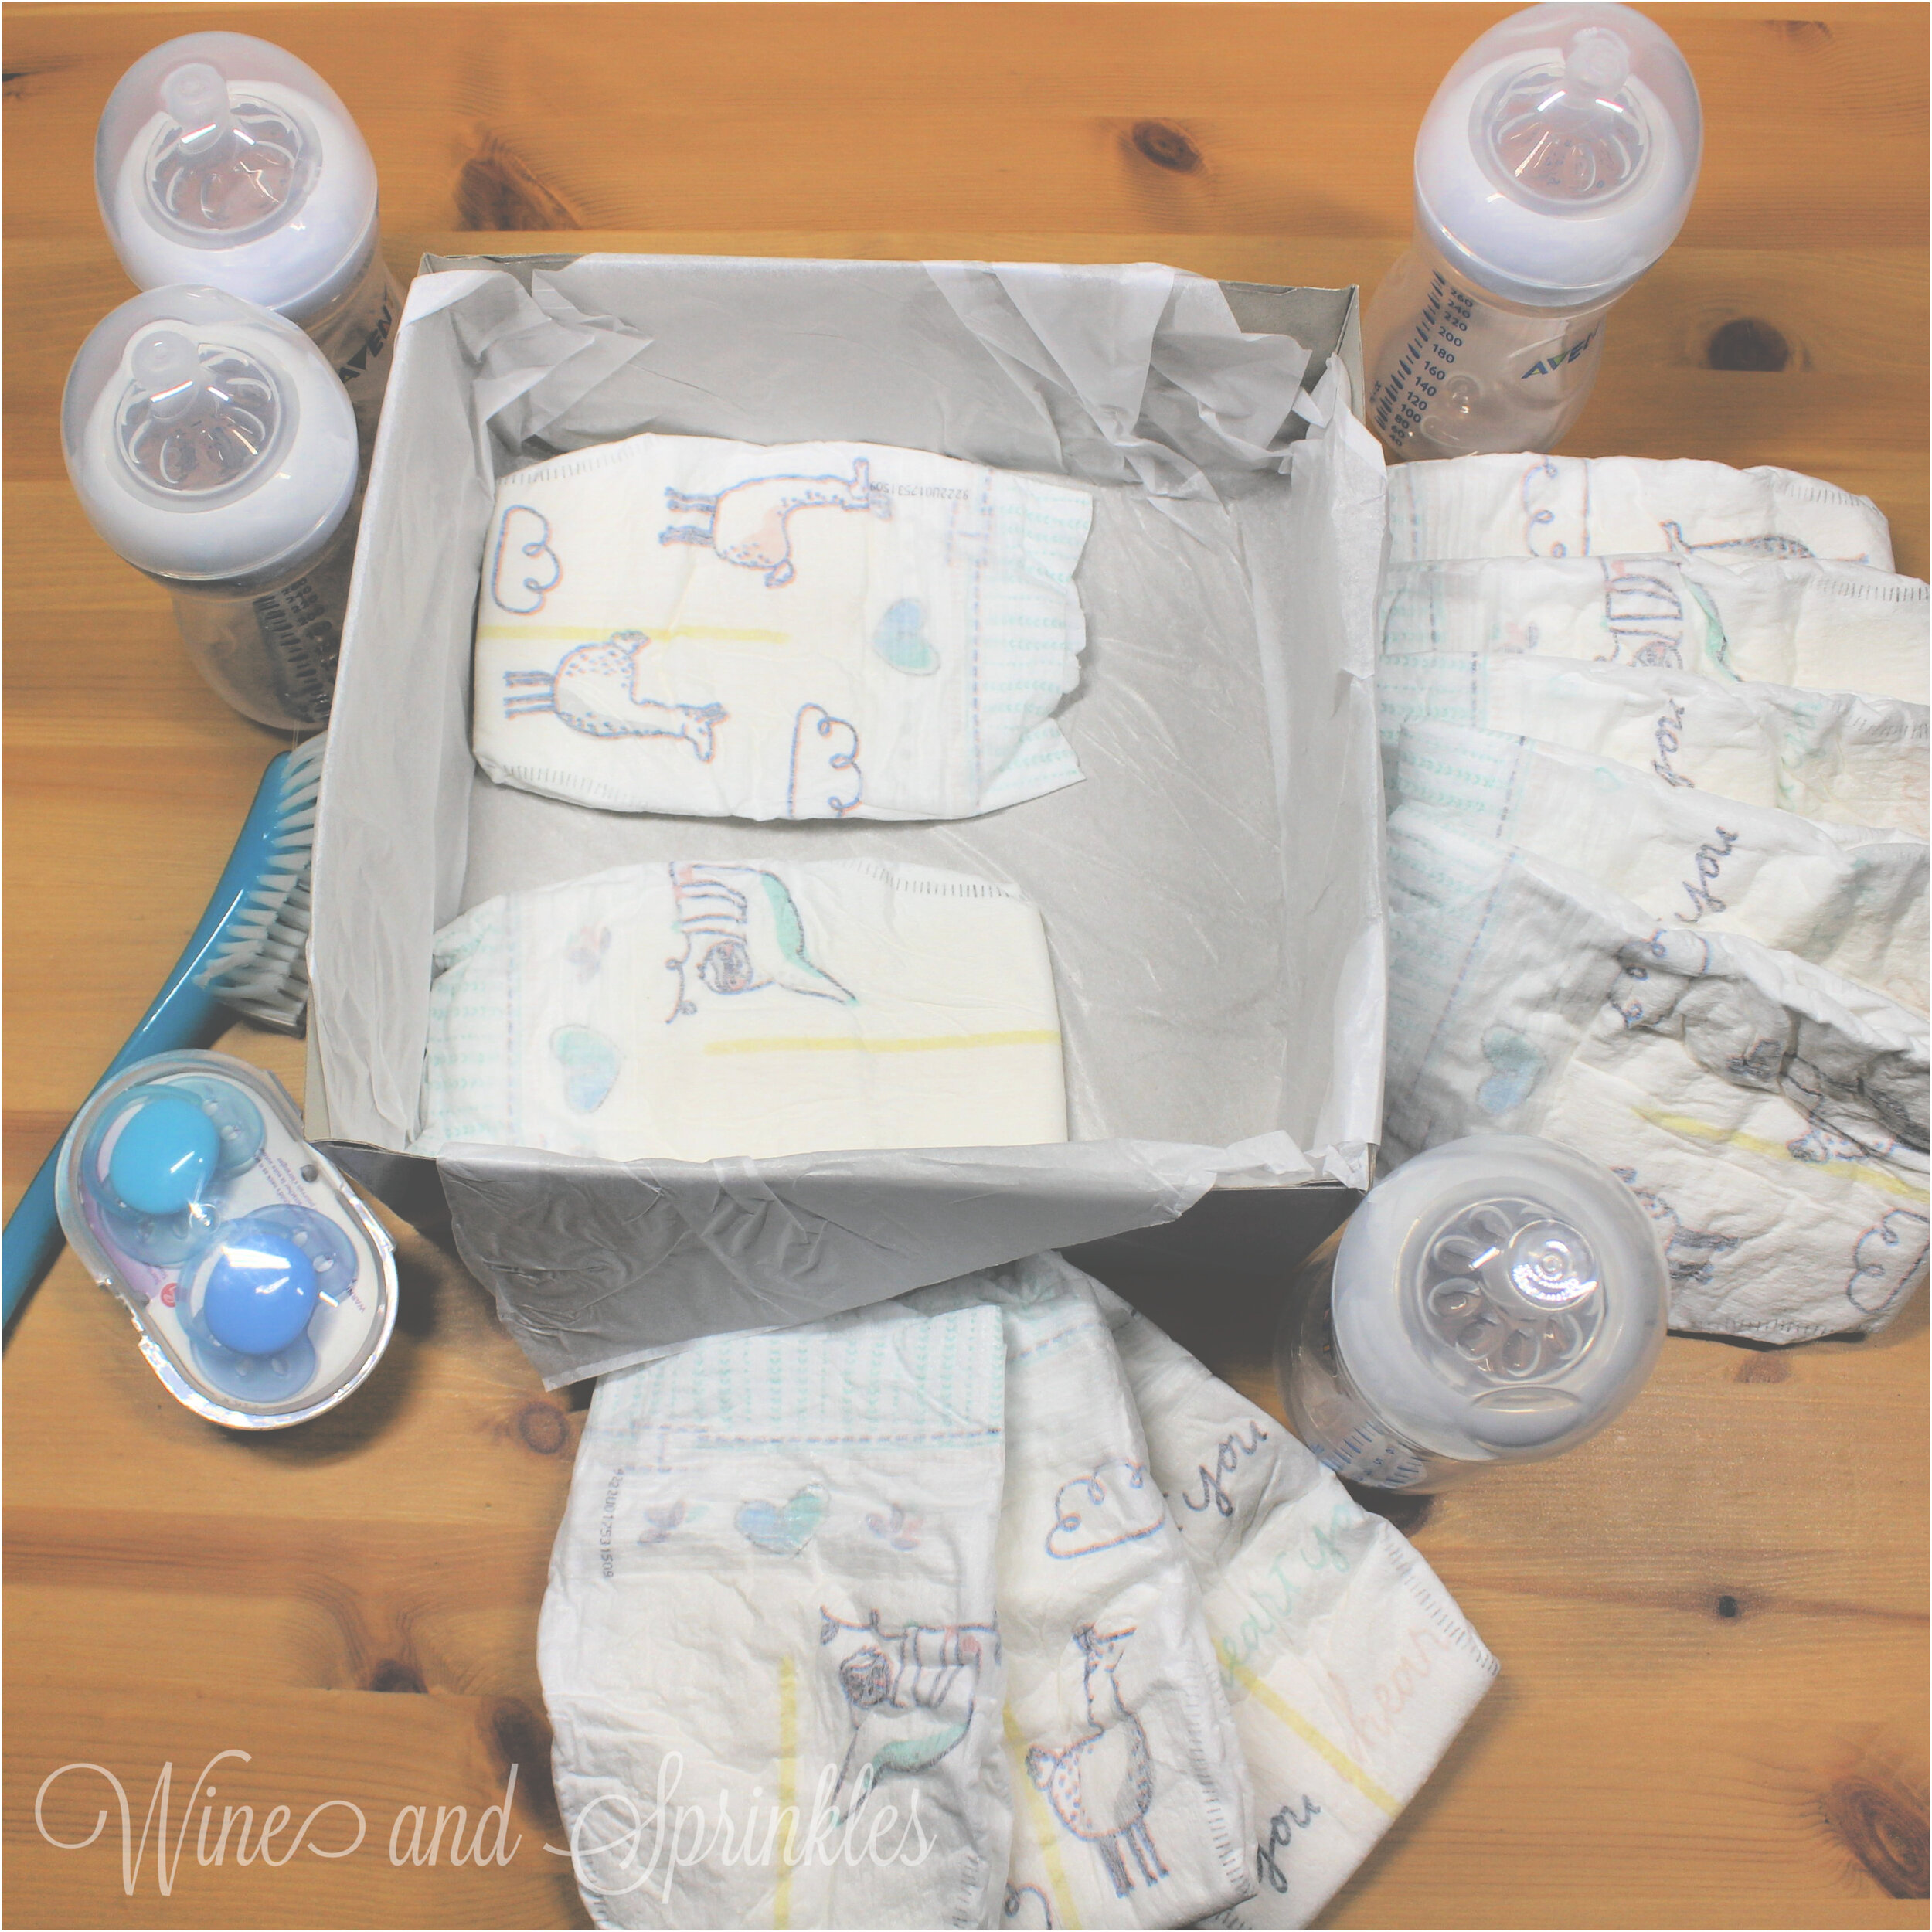
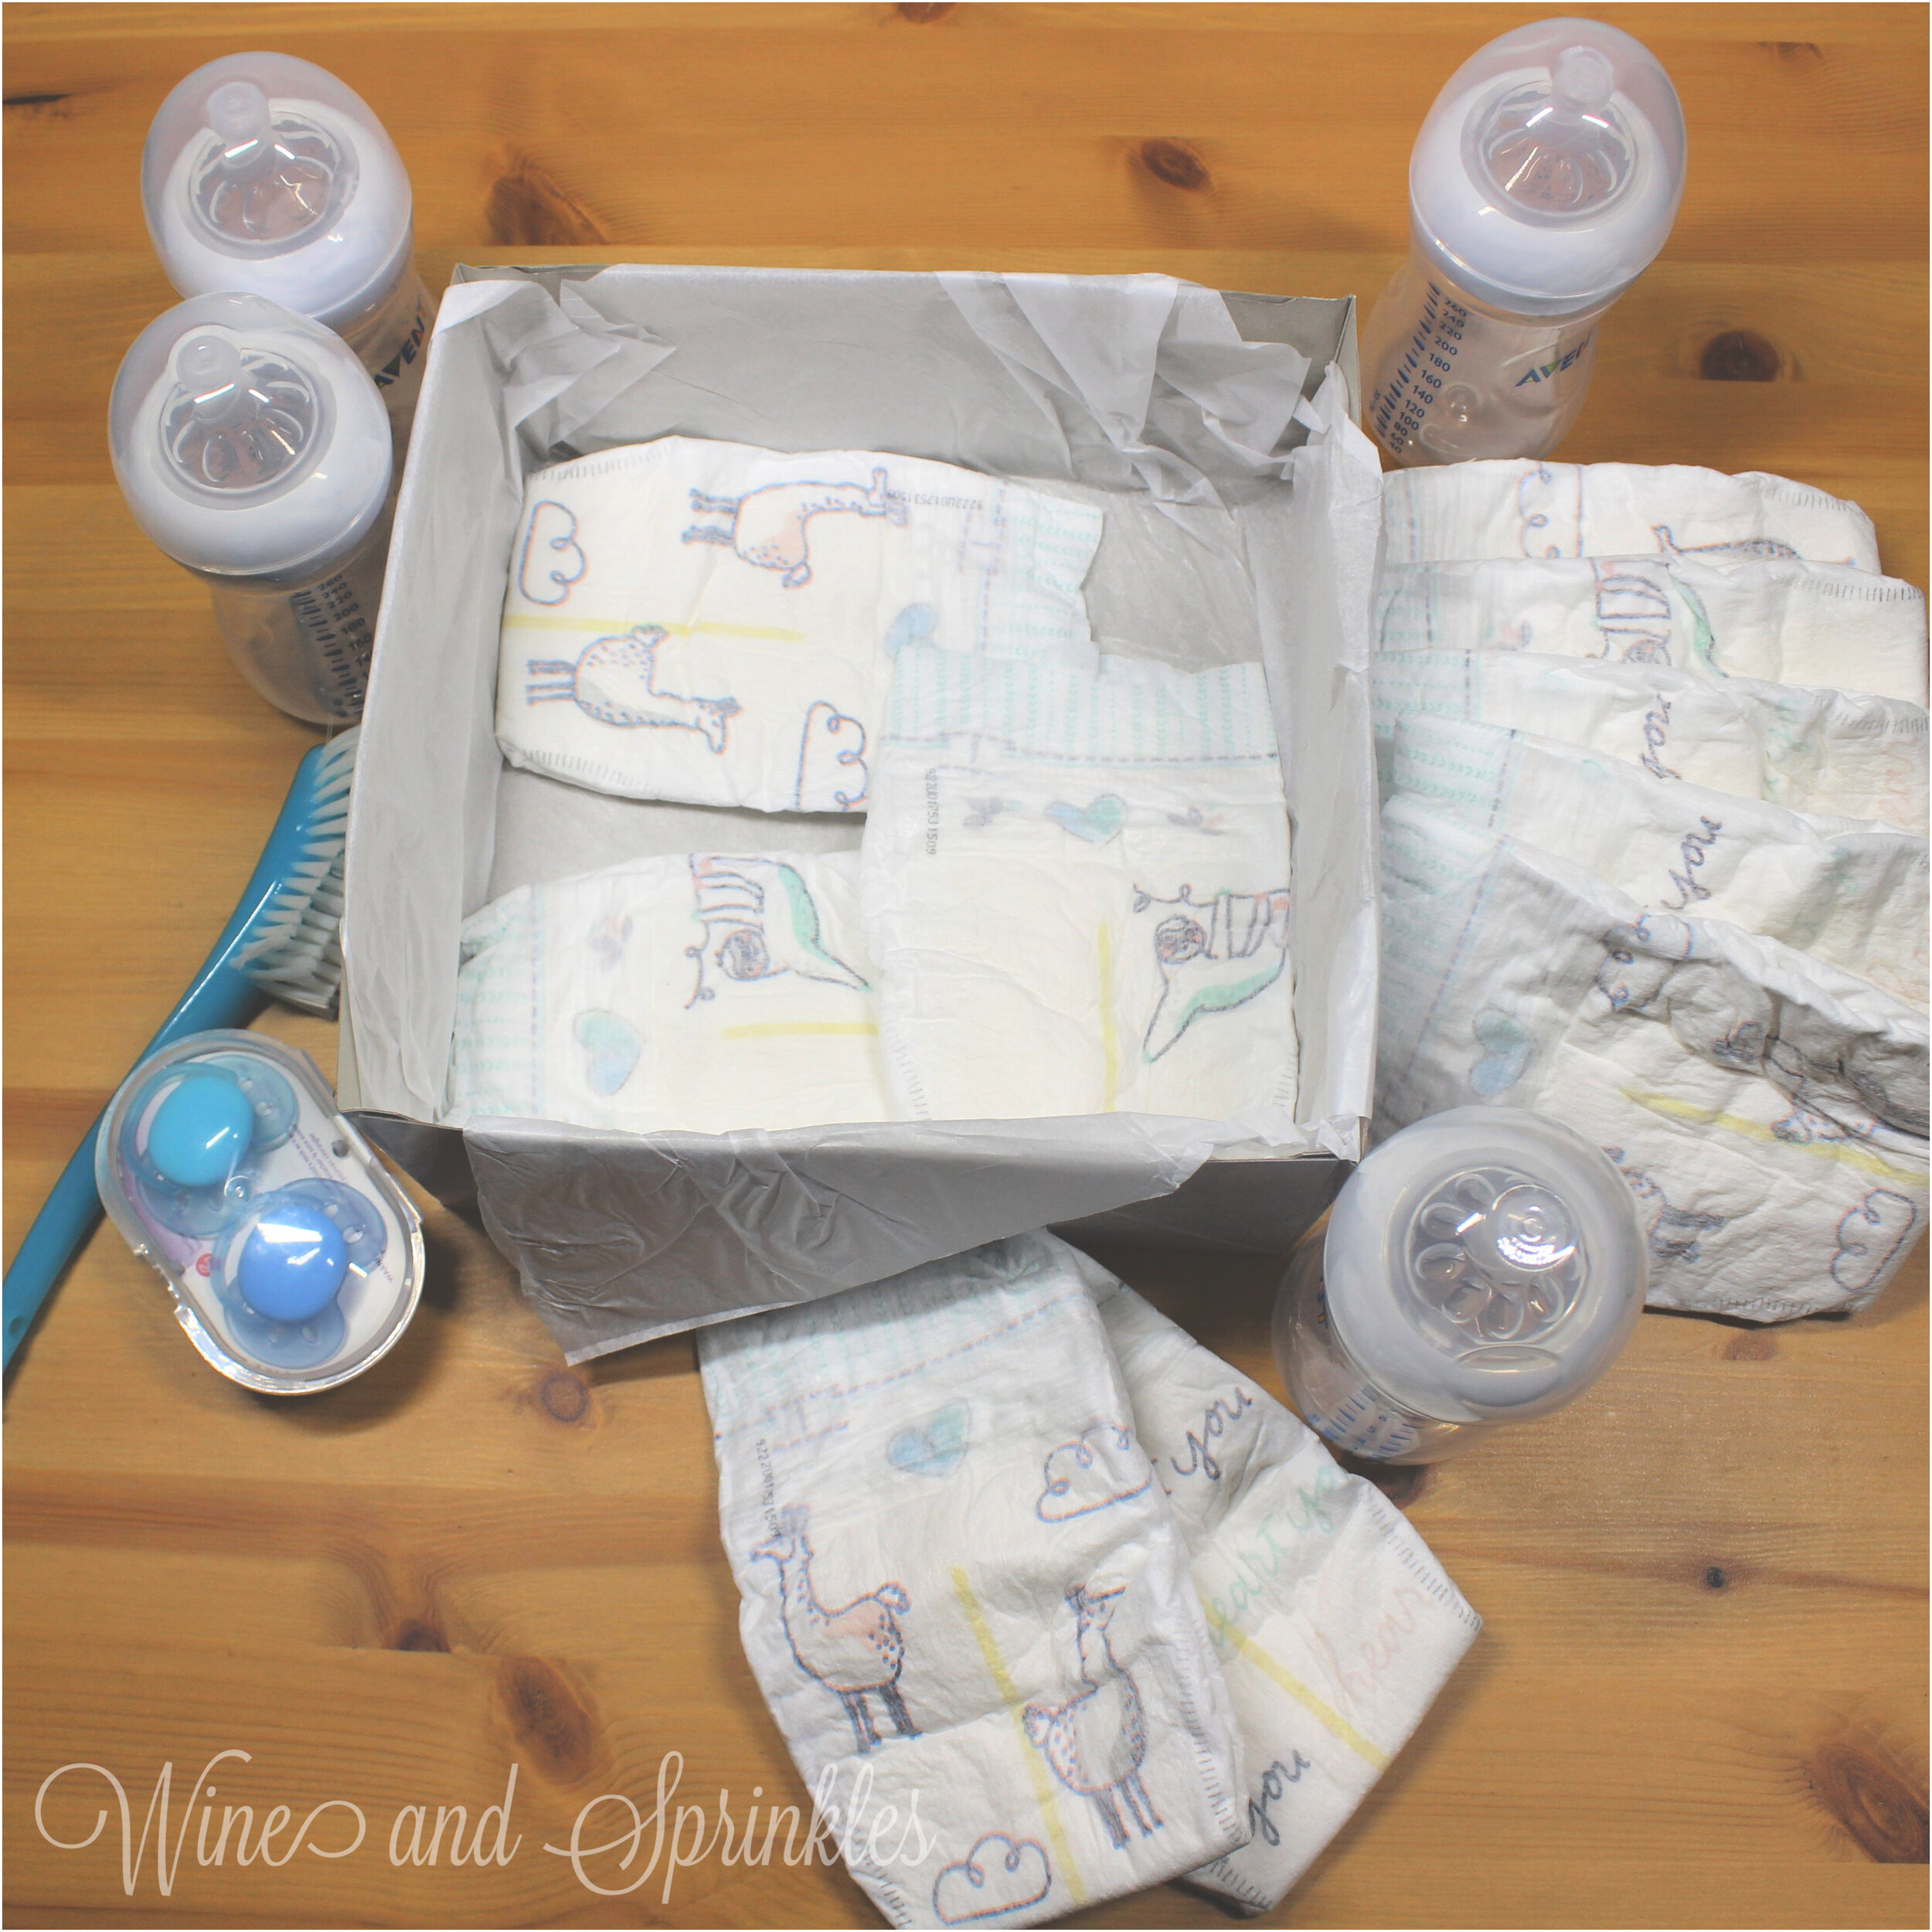
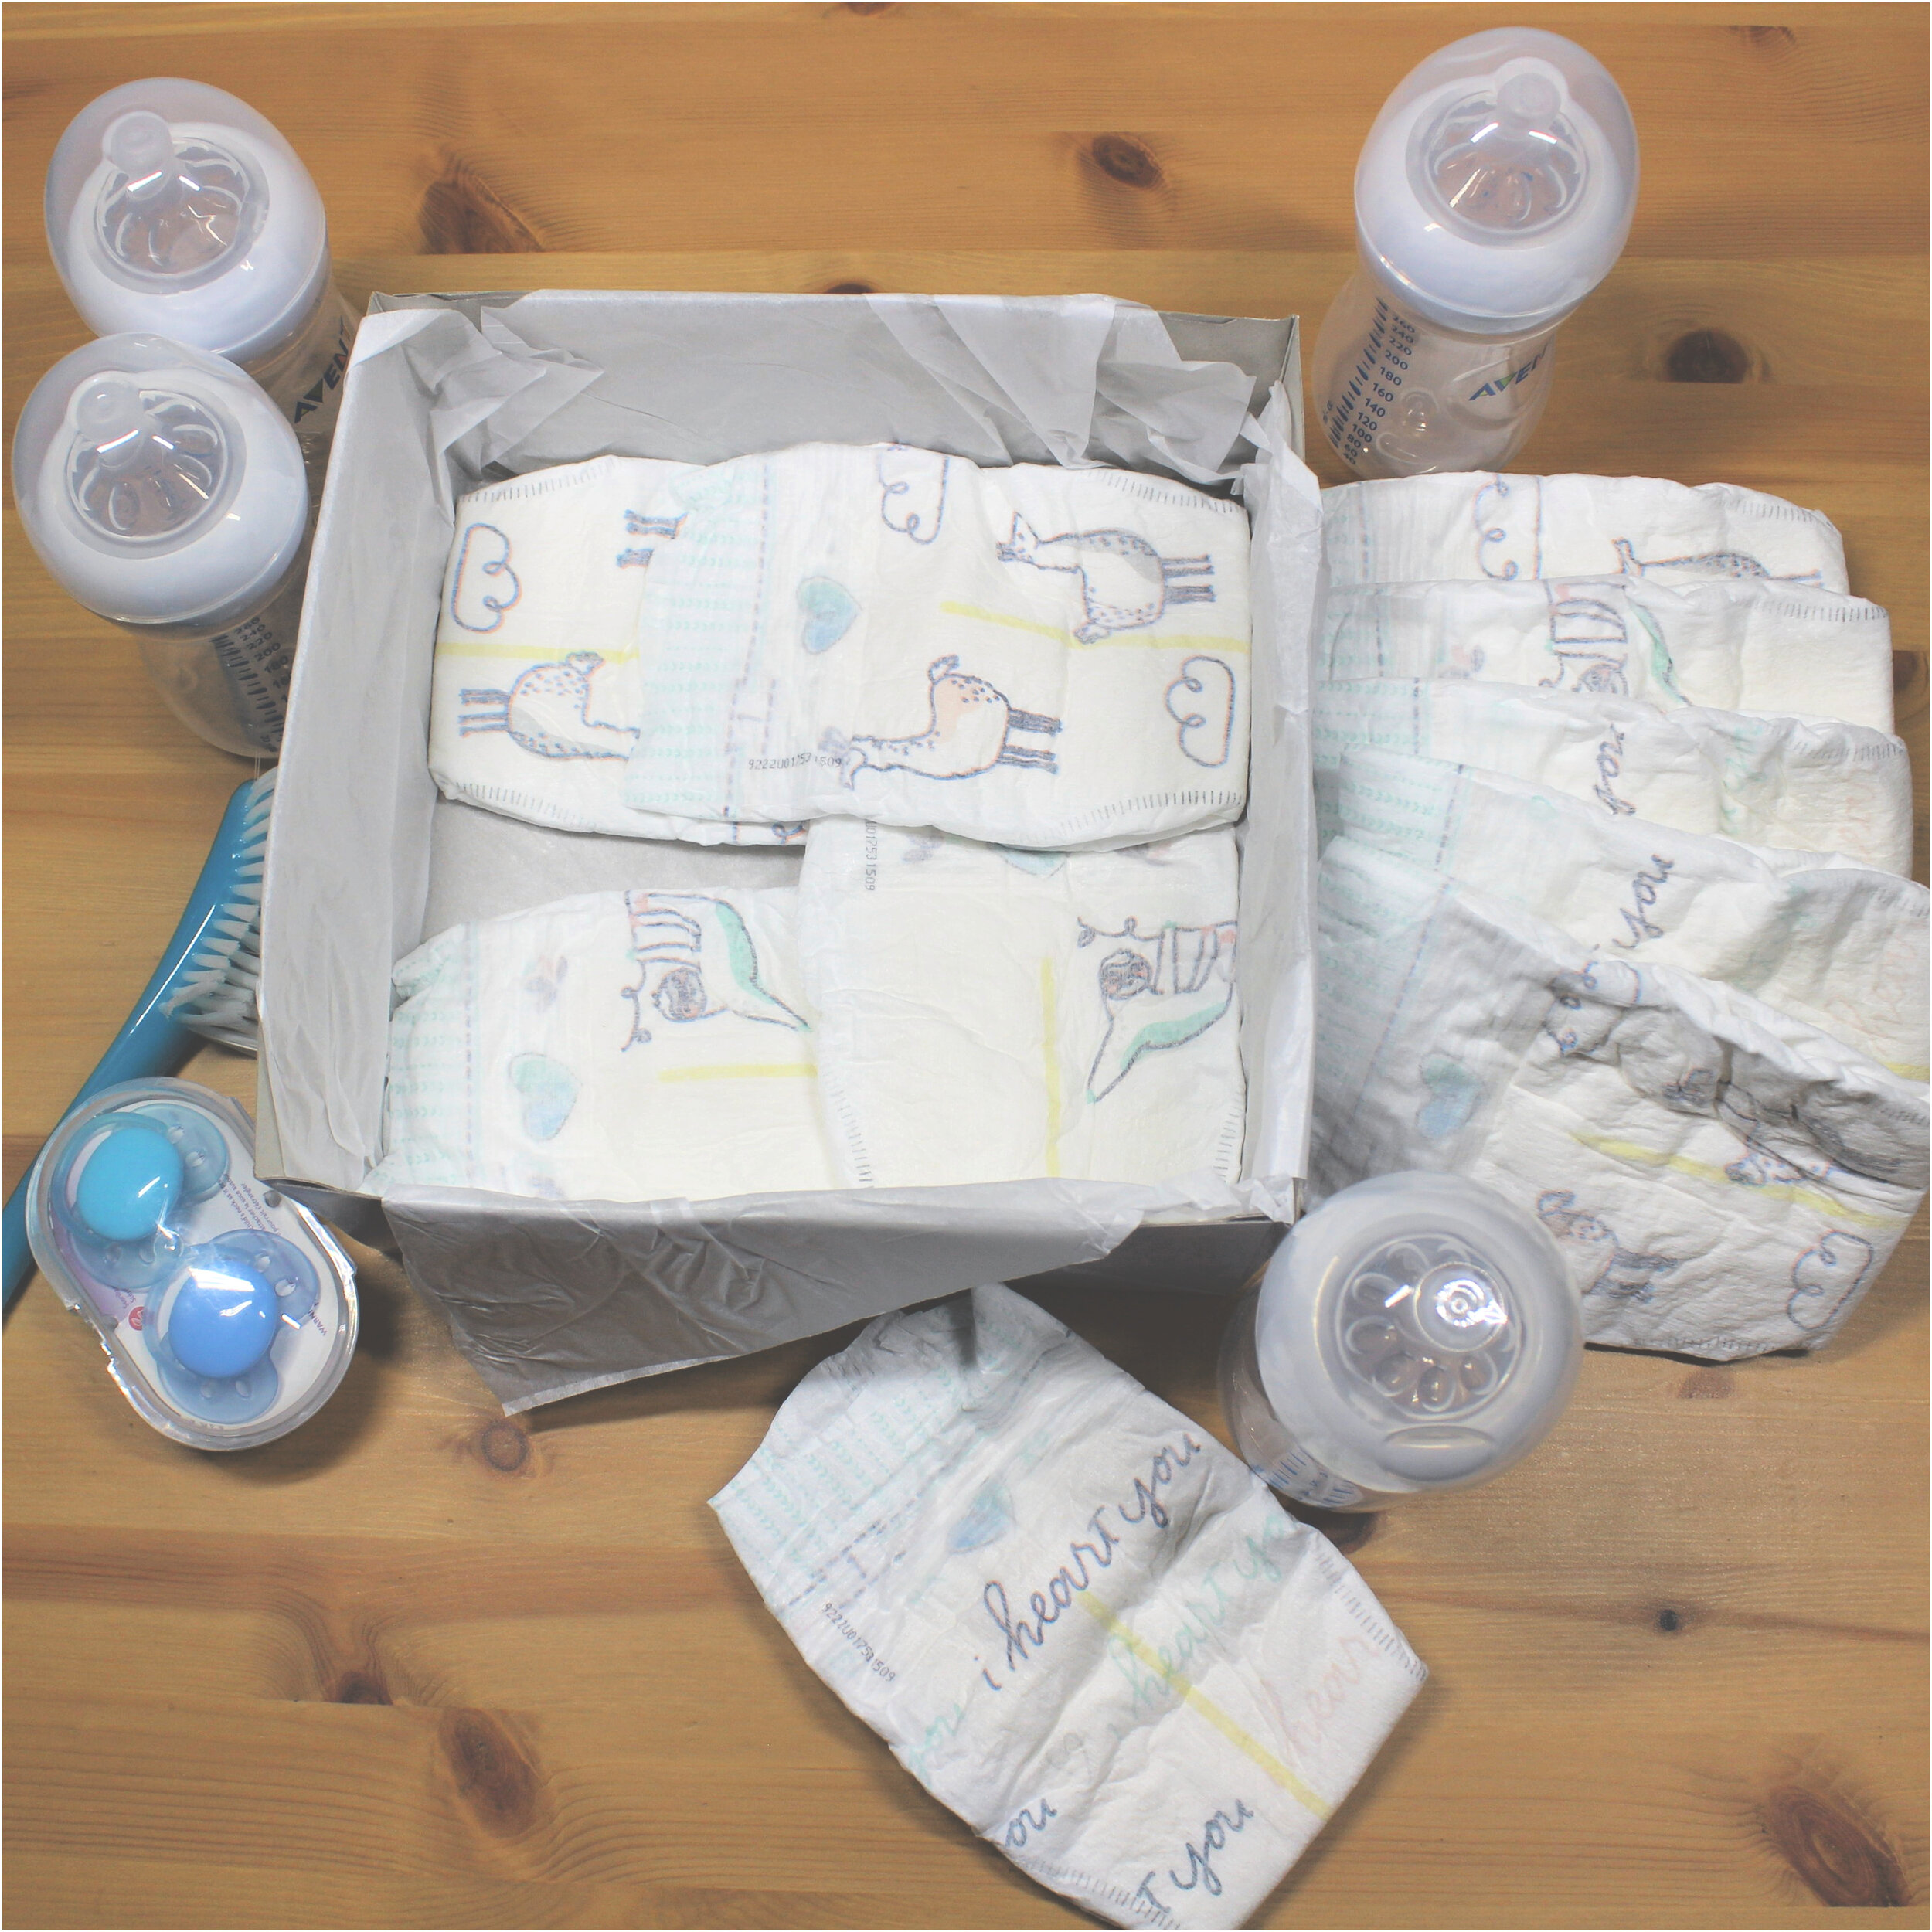
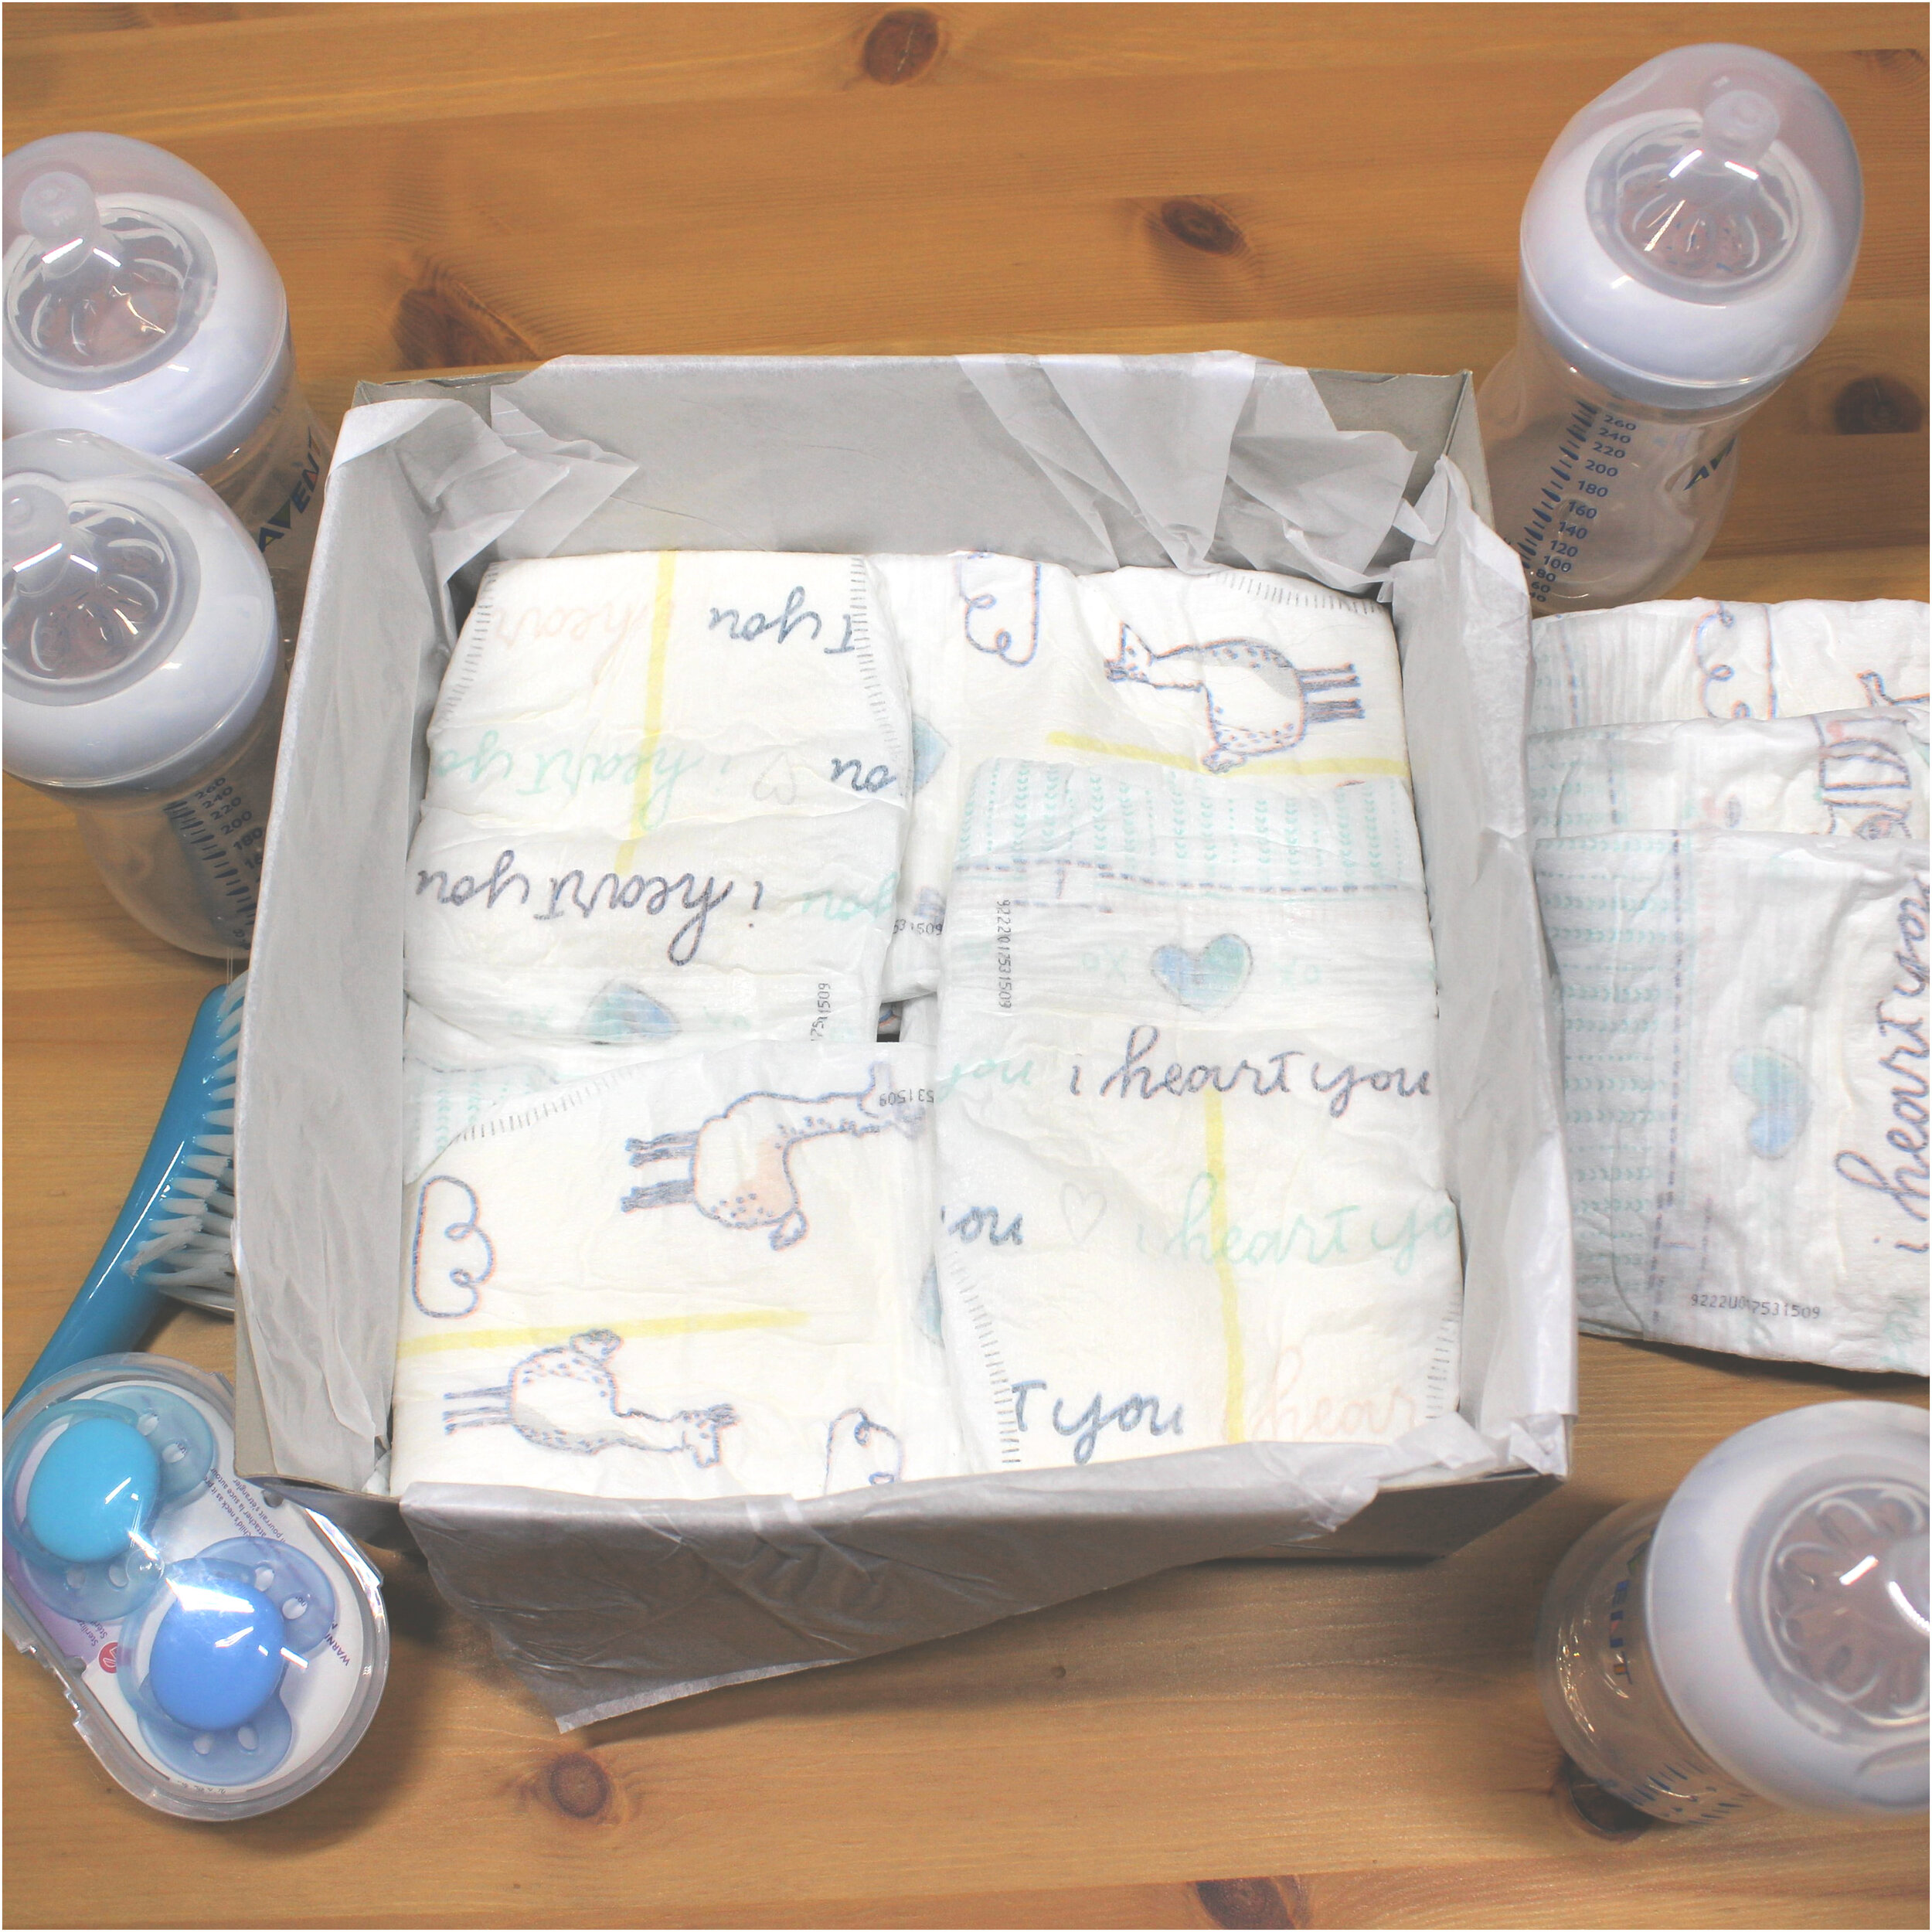
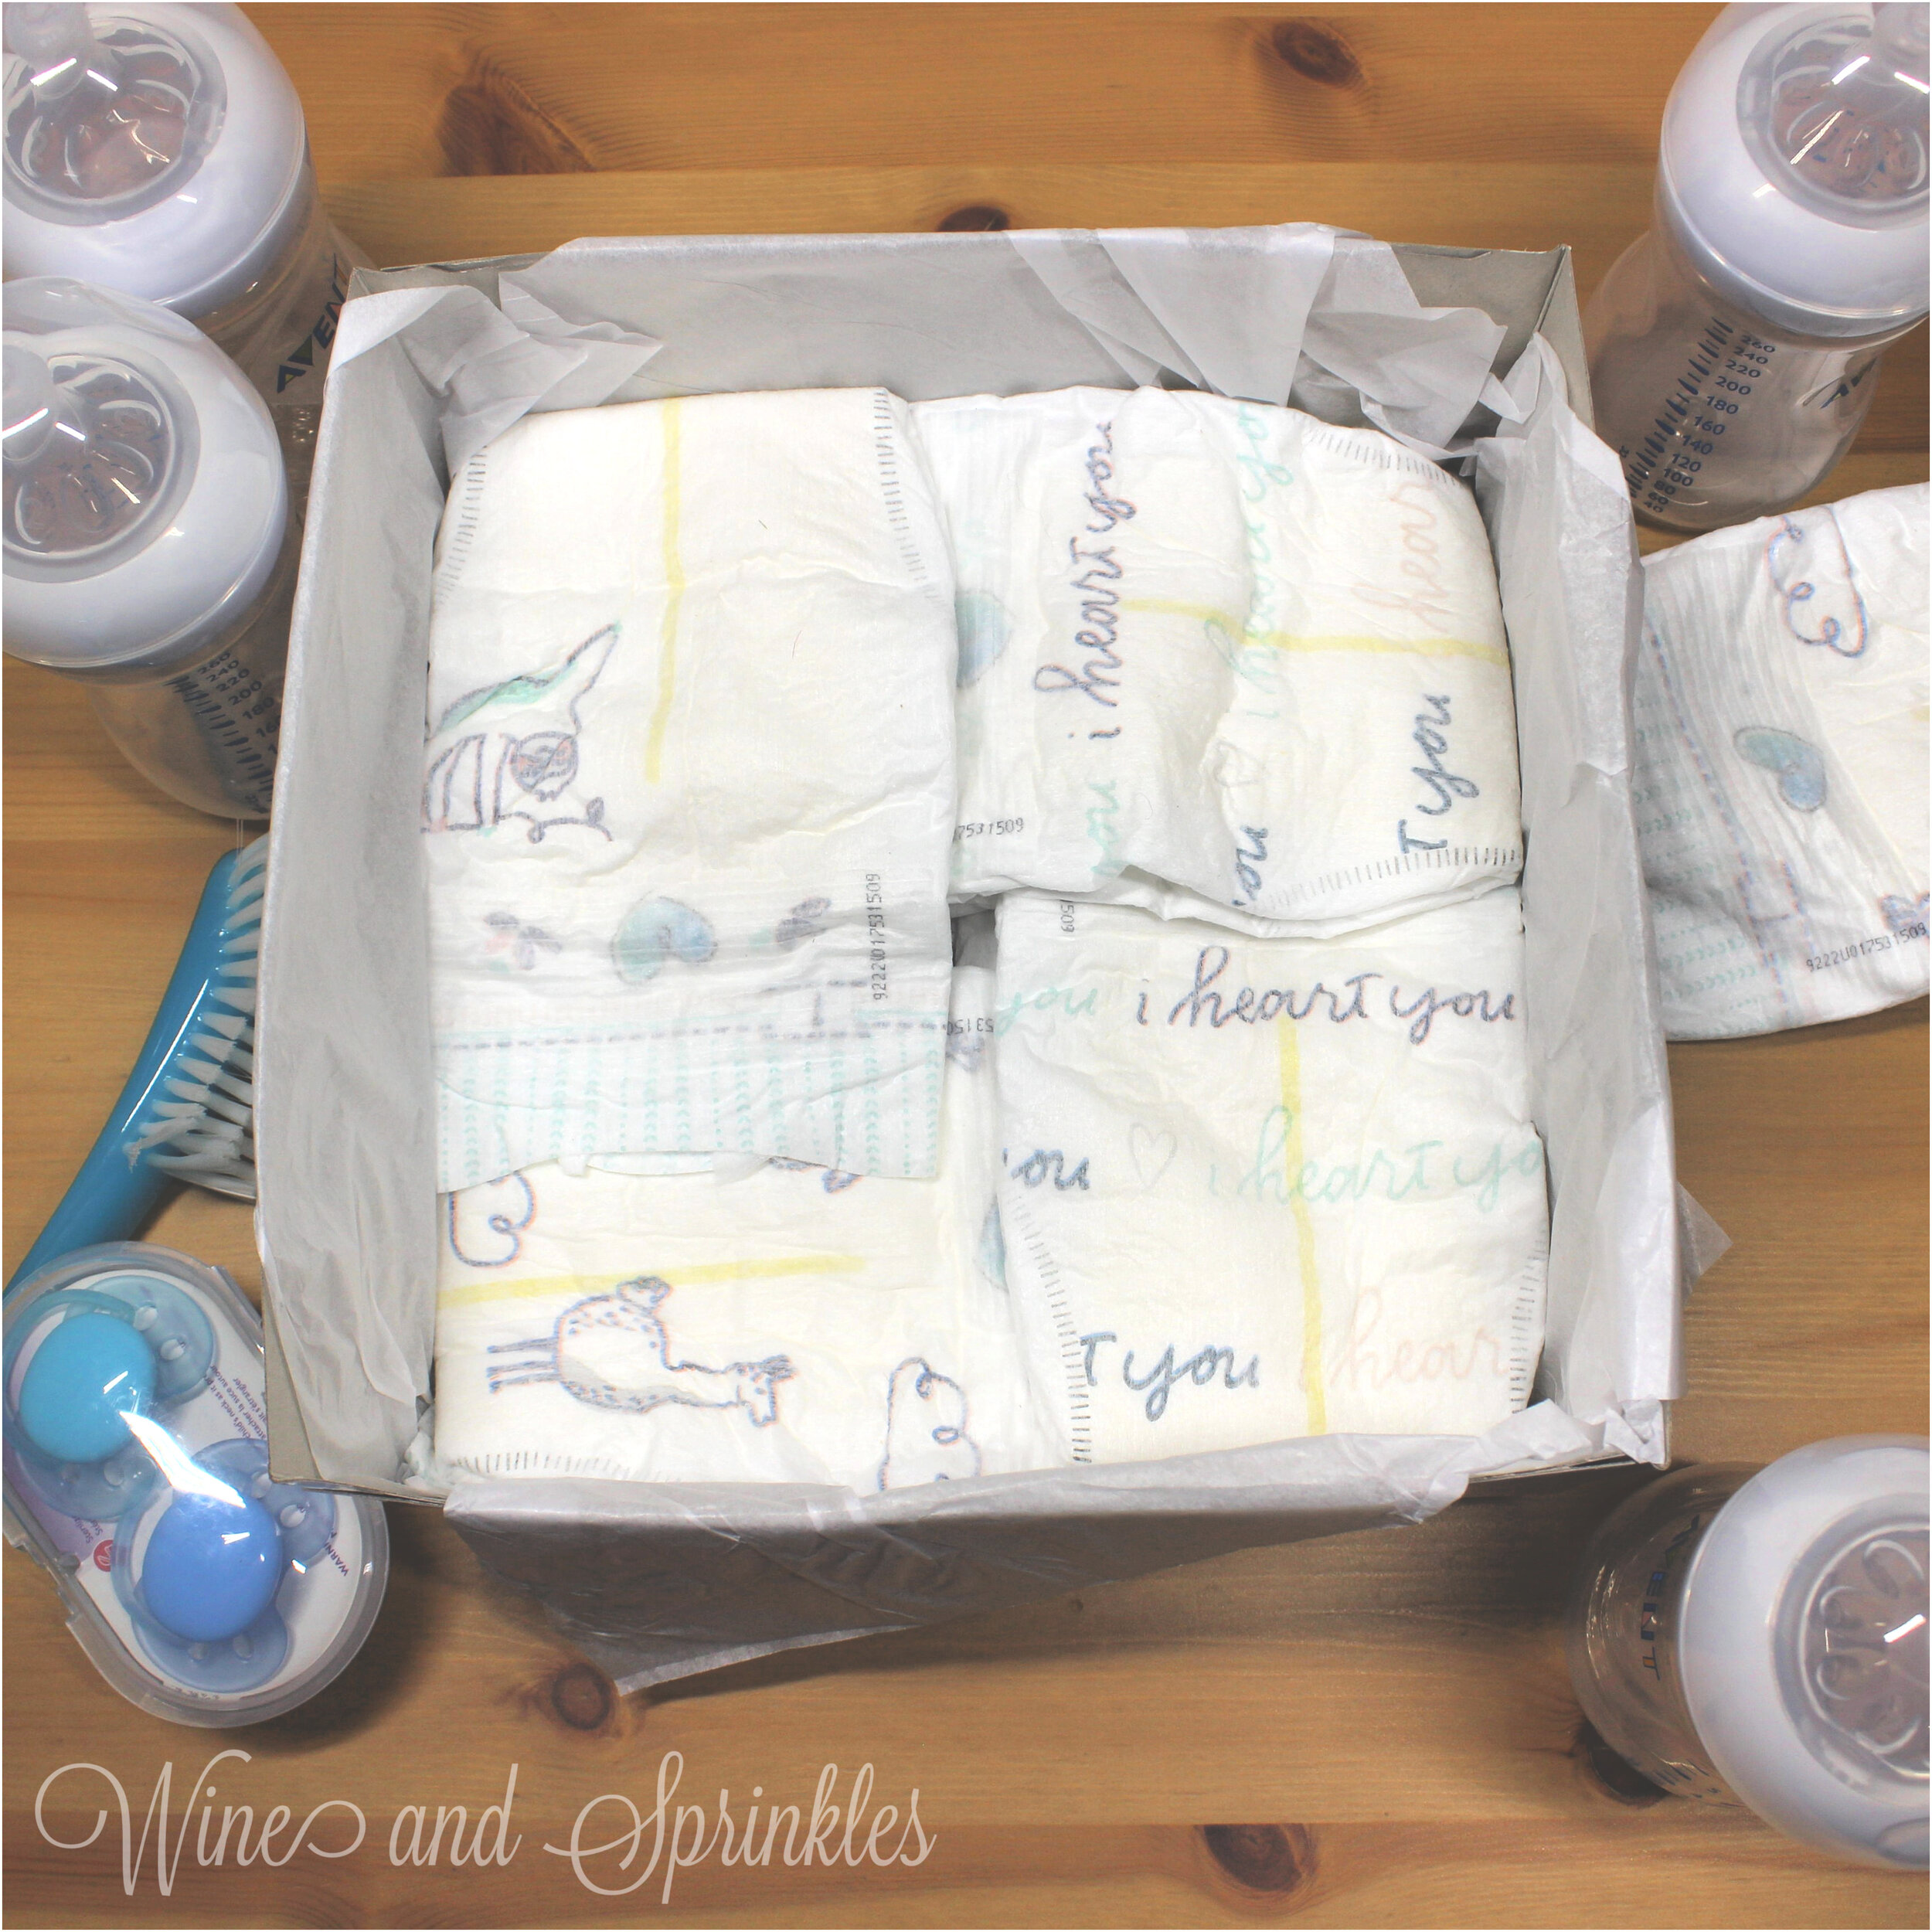
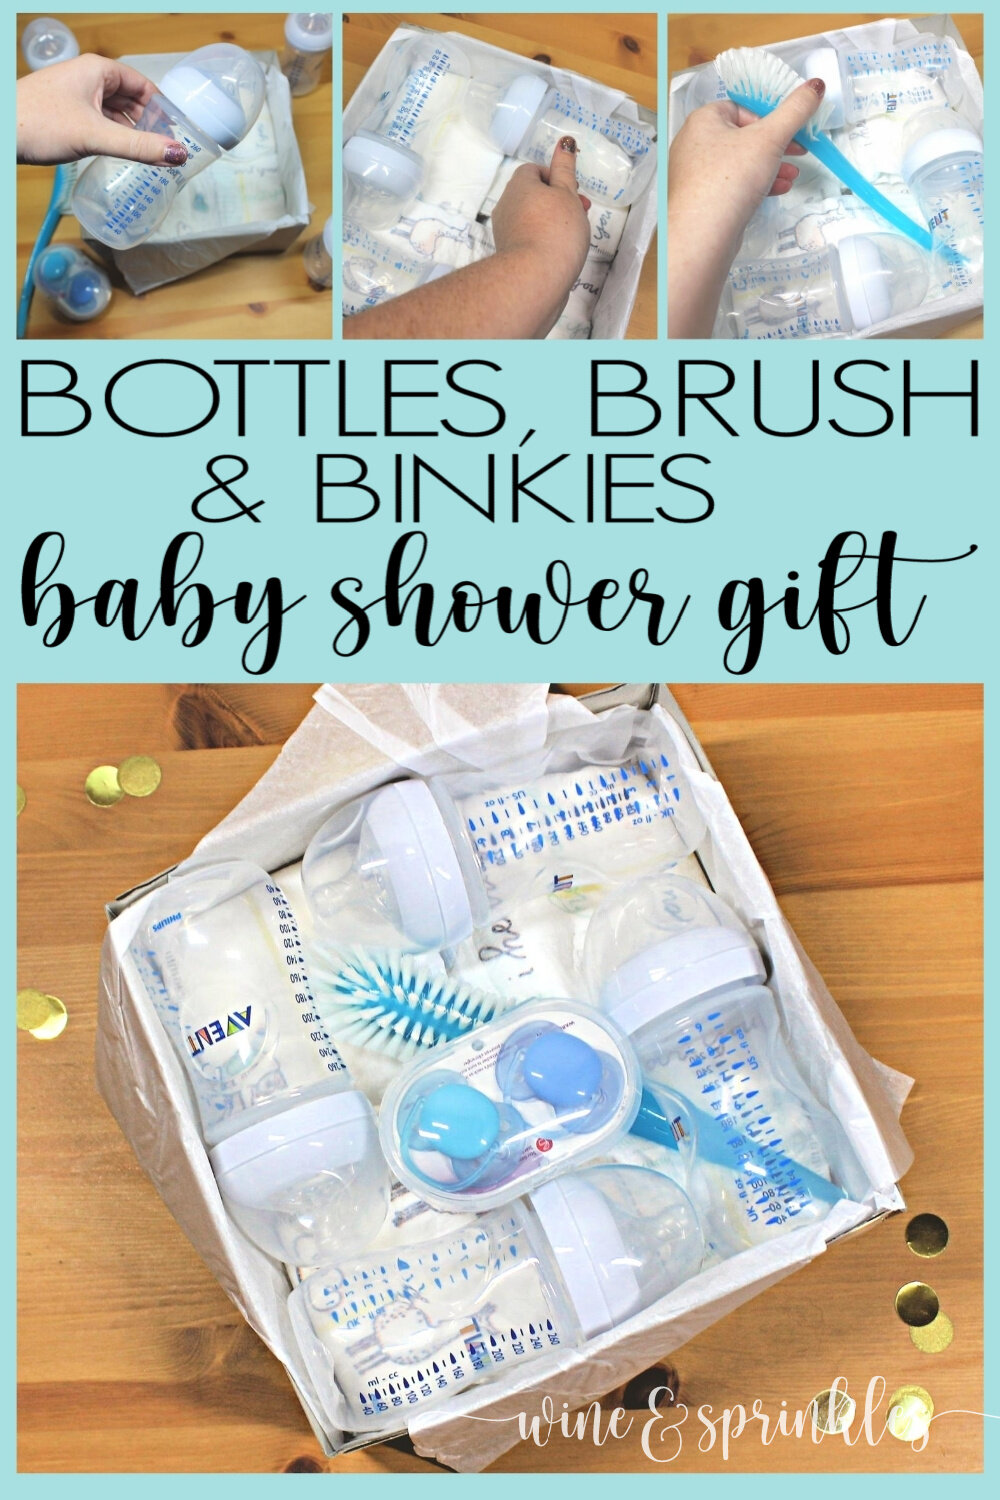
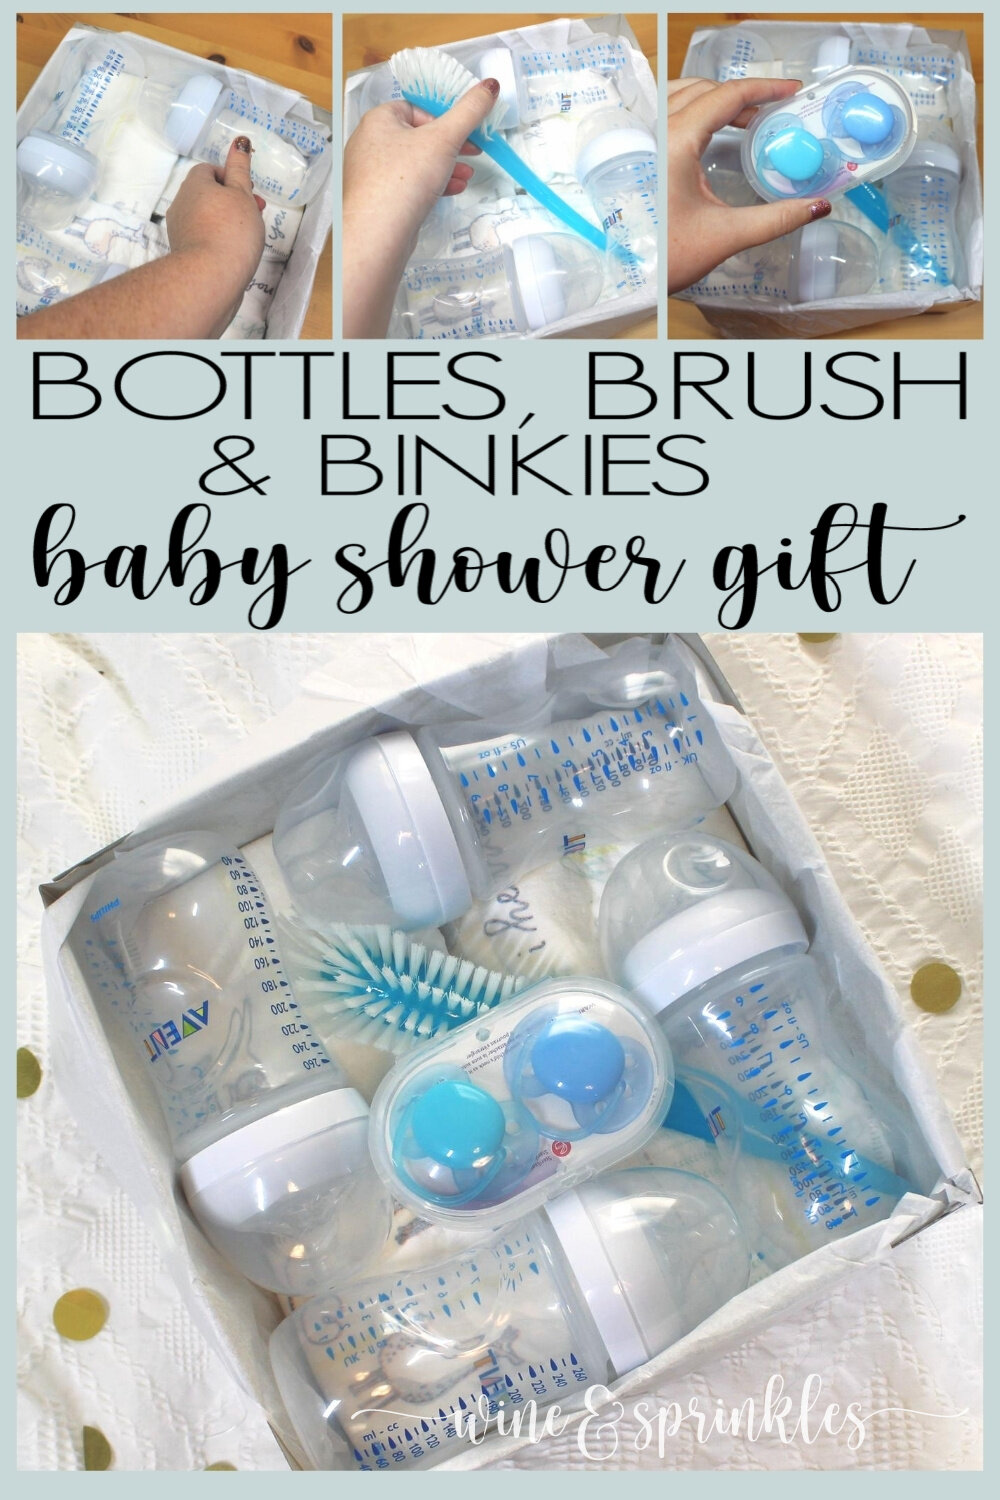
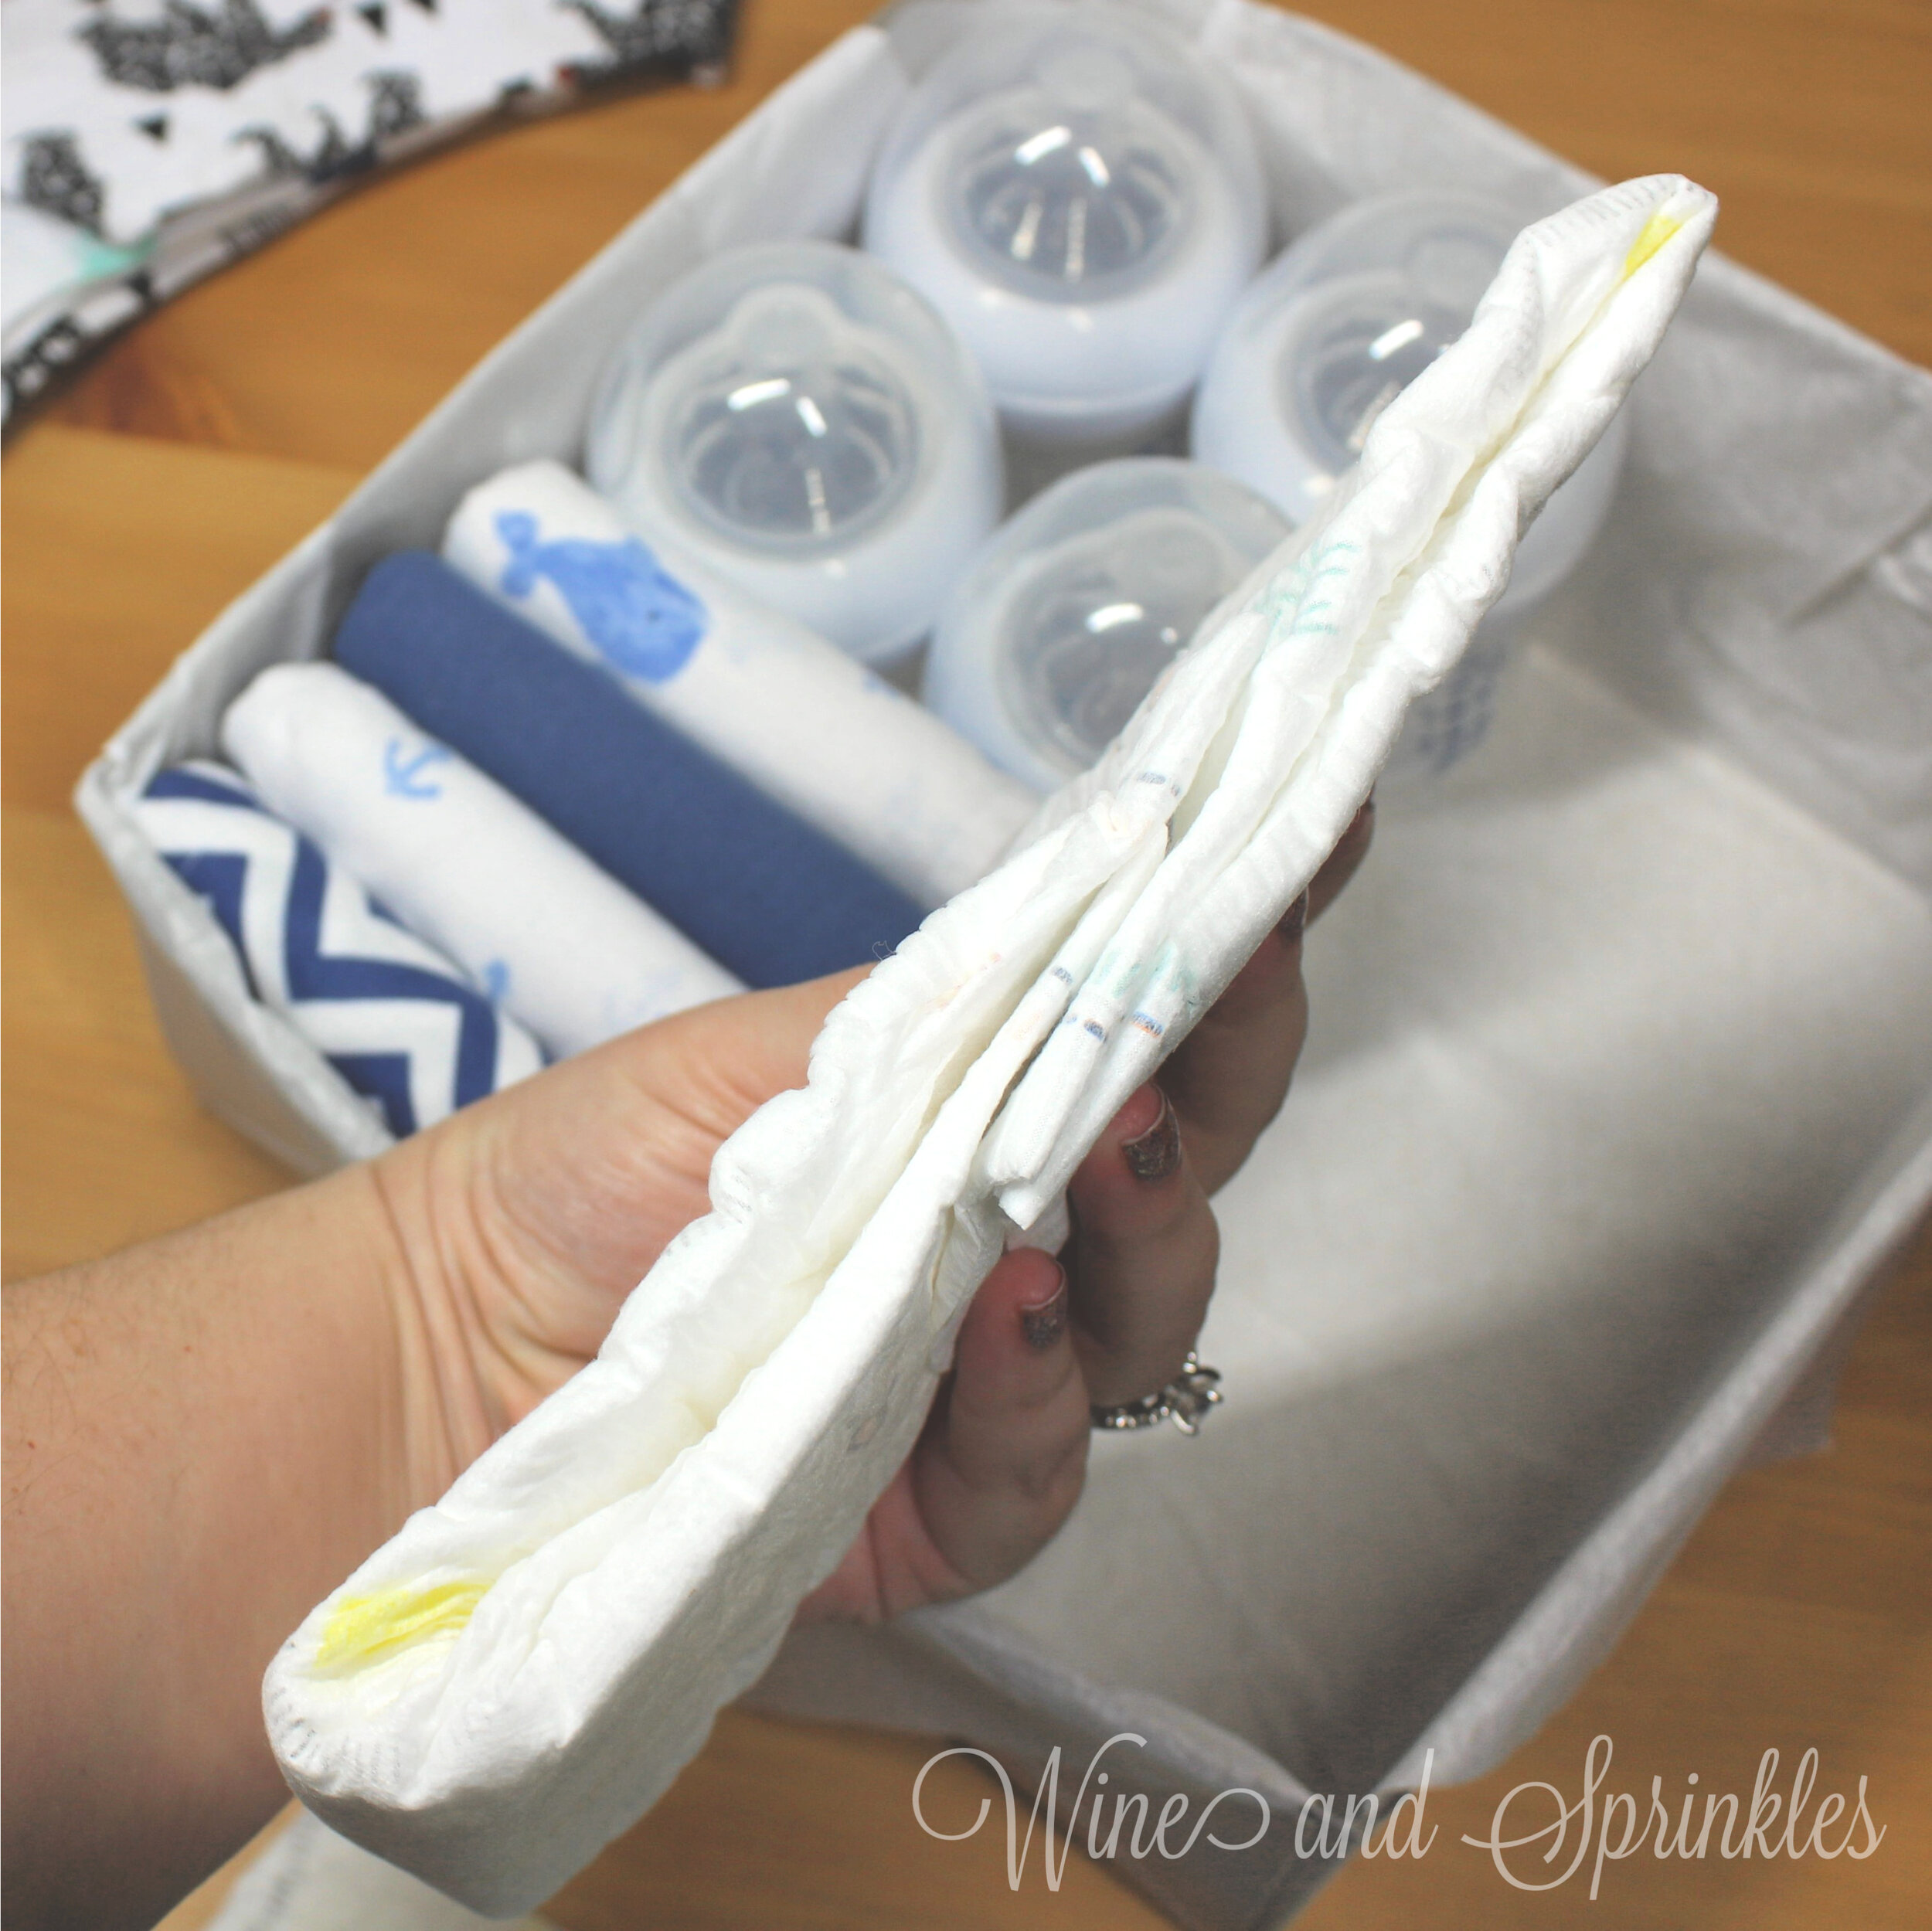
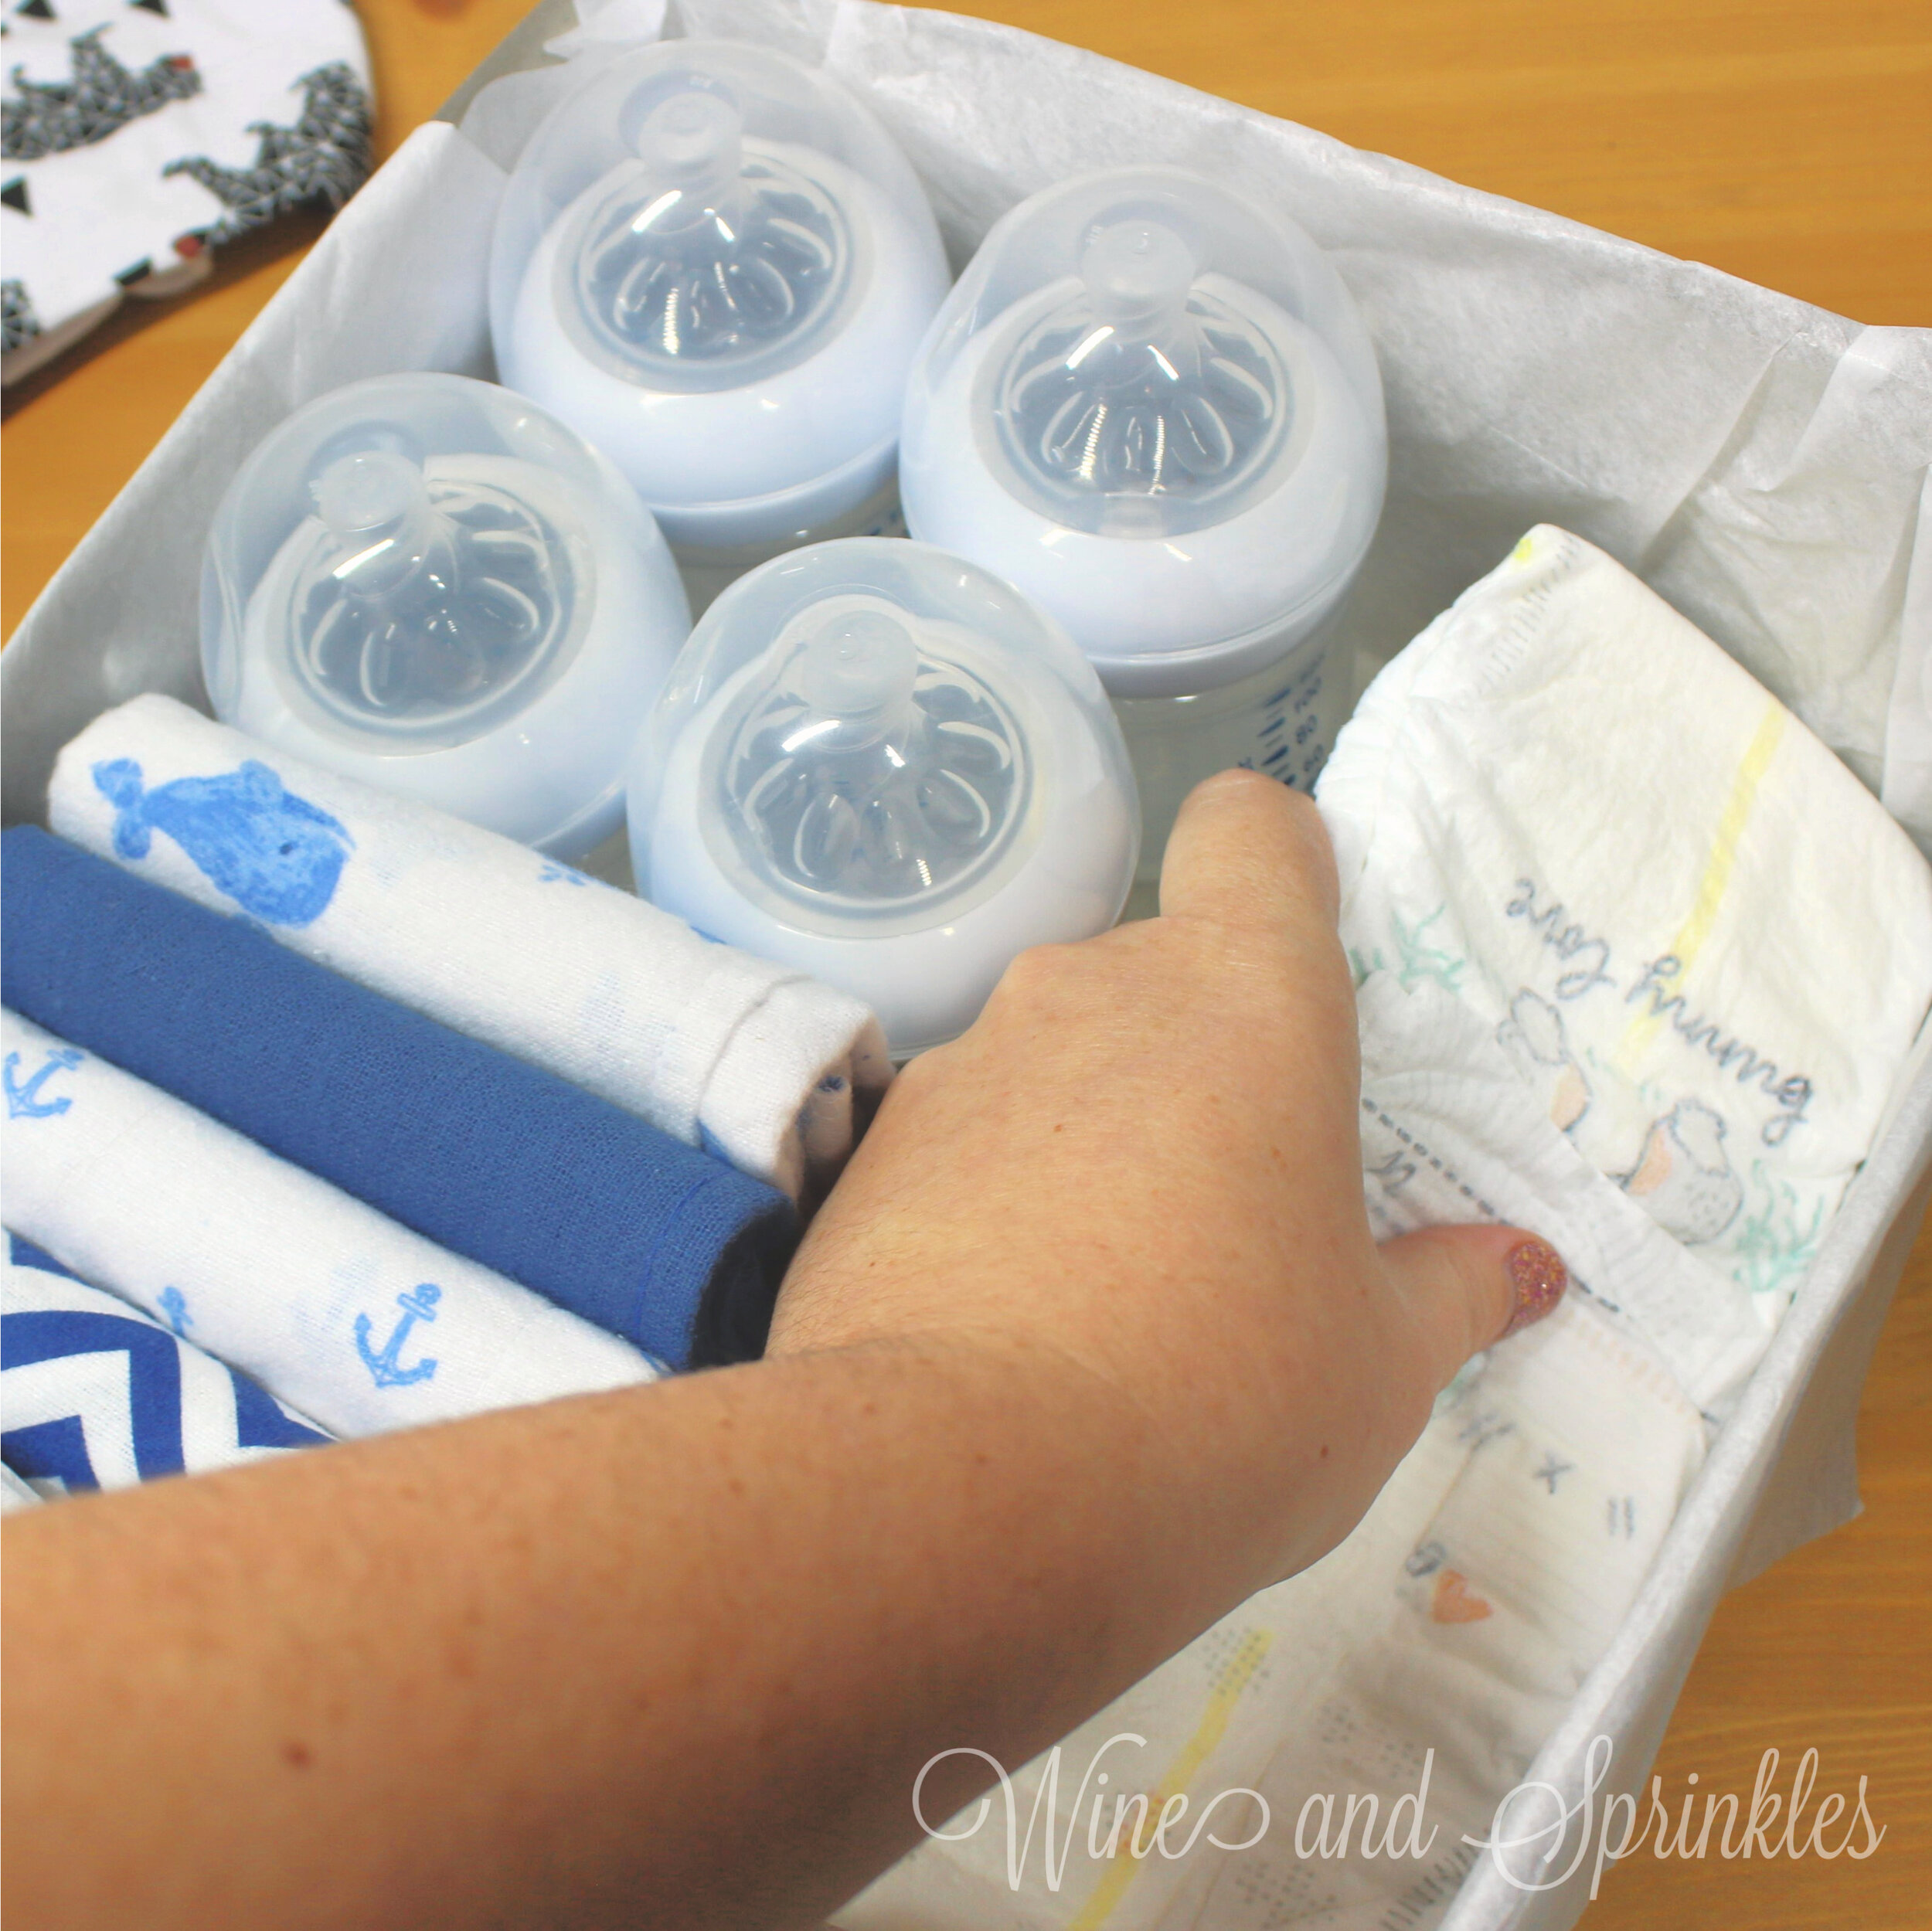
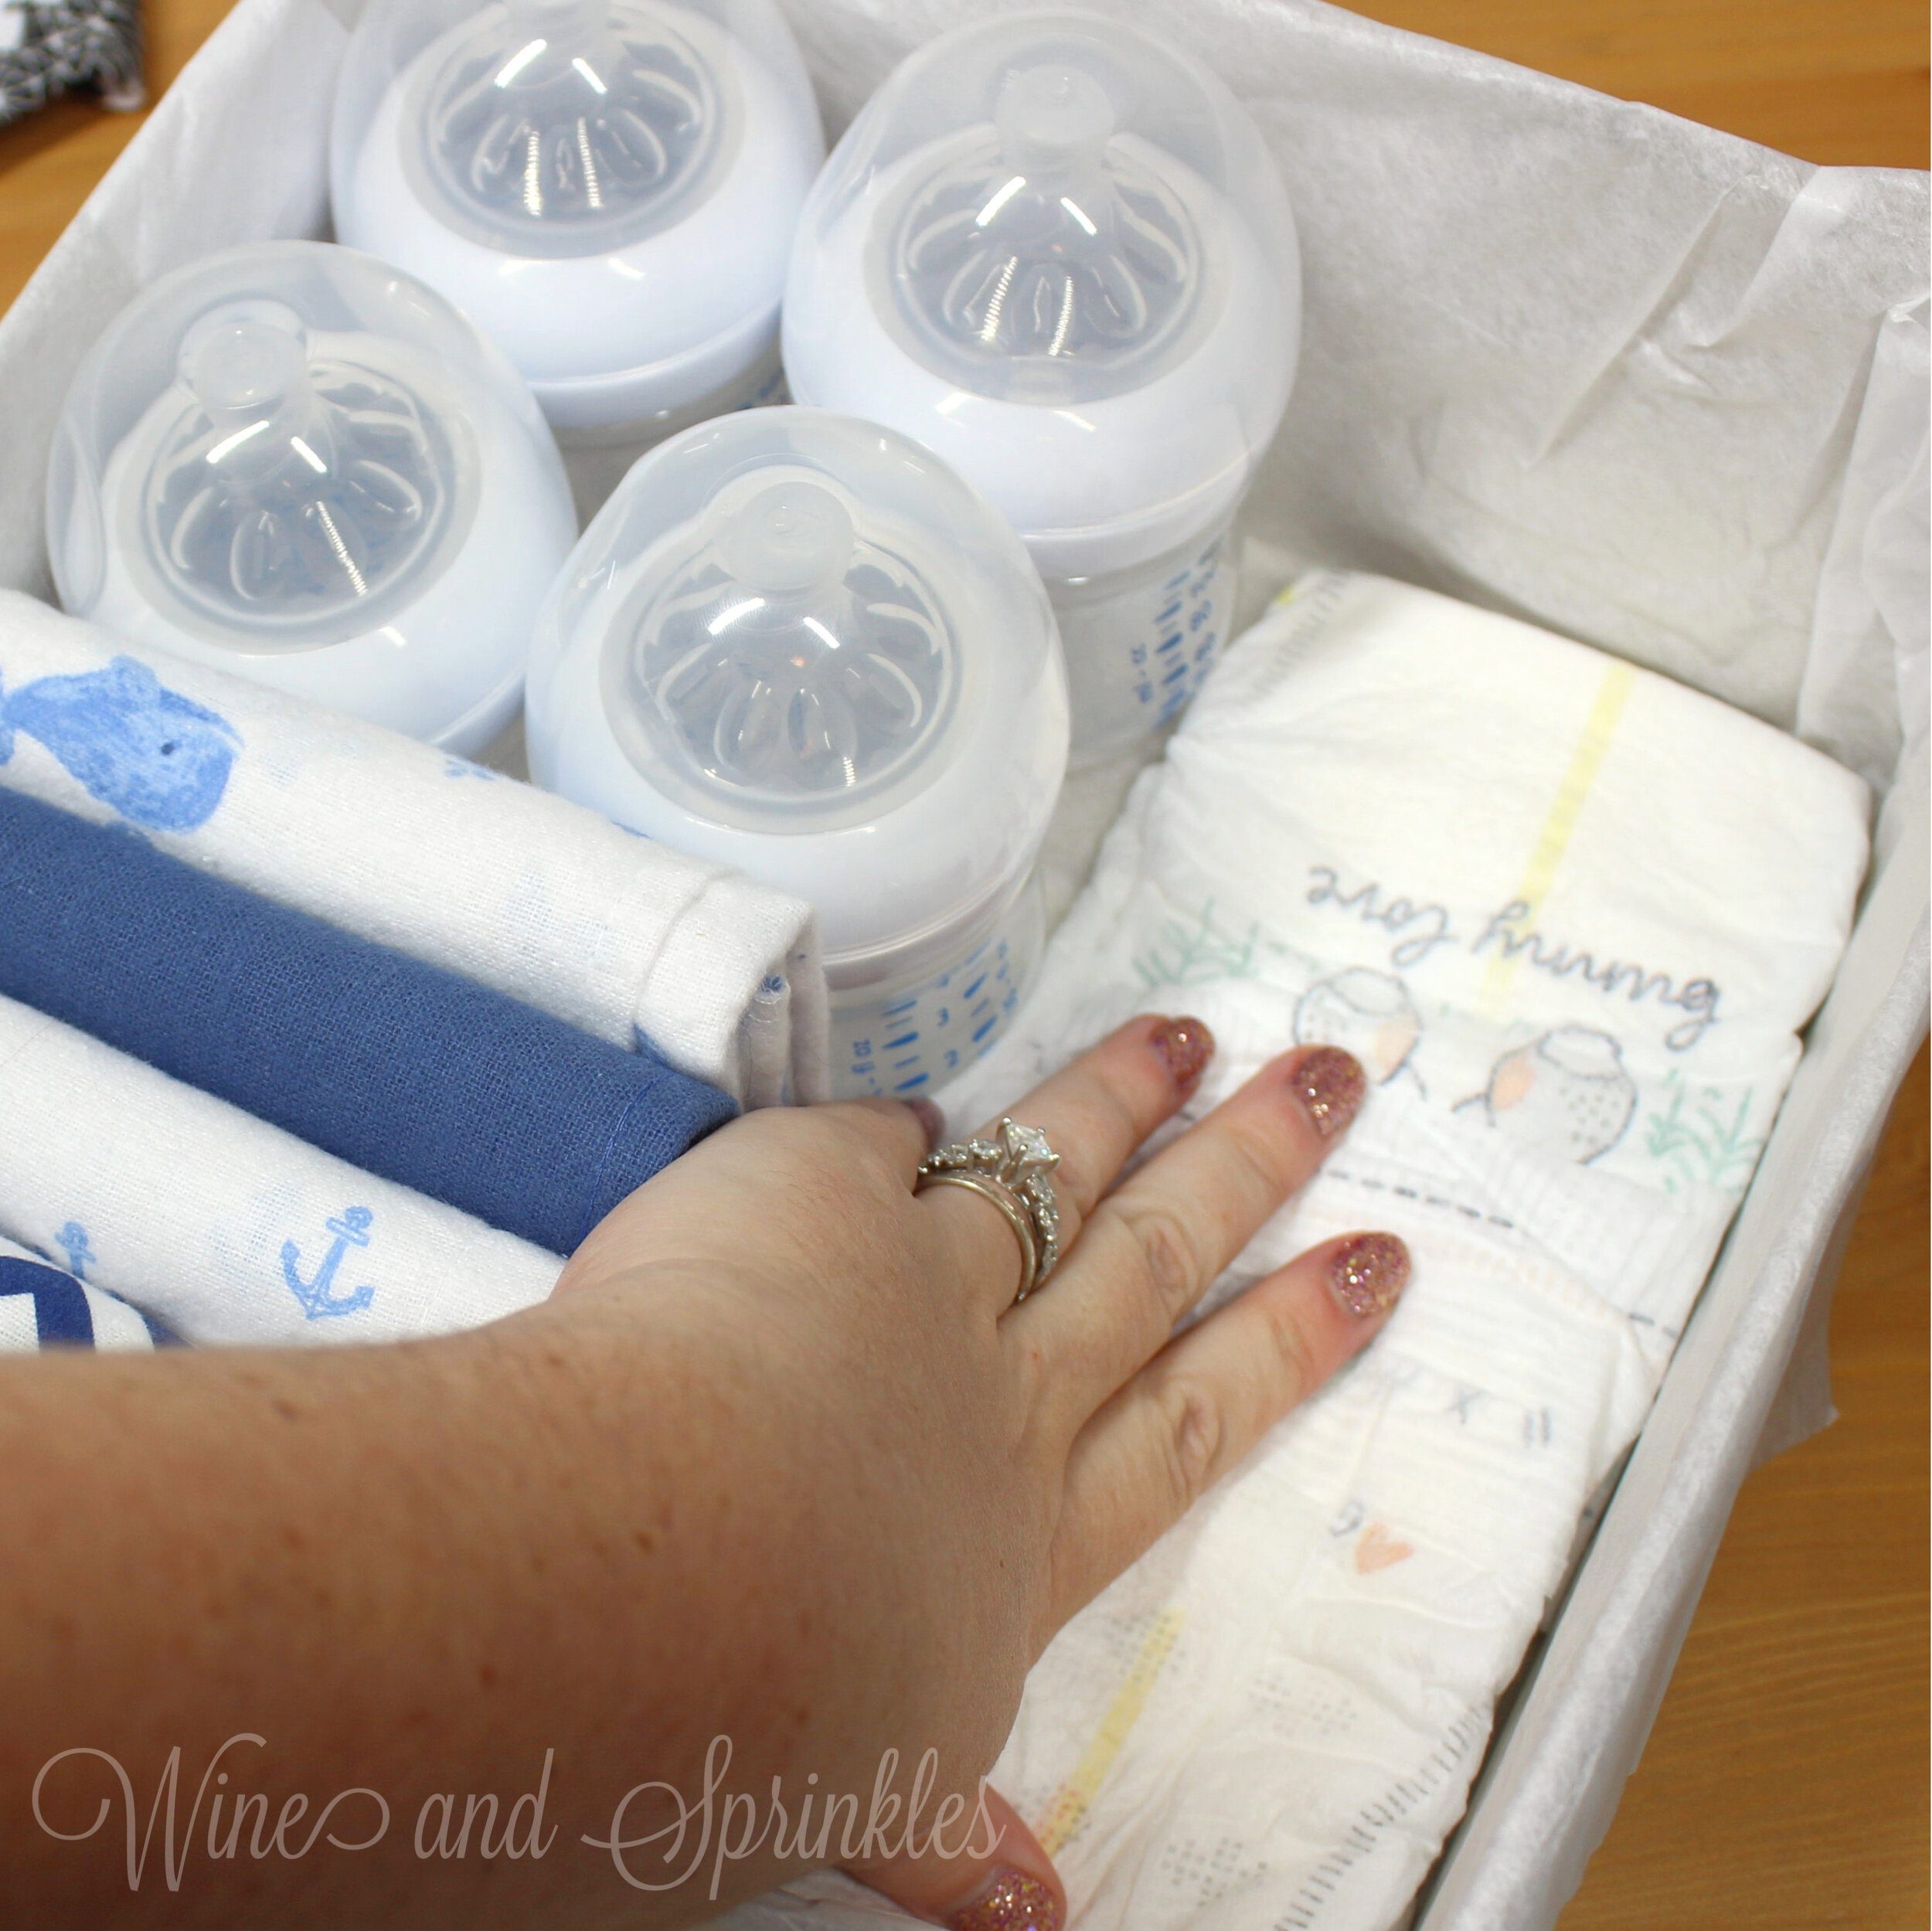
Starting in the upper left corner, layer your diapers to form a padding layer for your bottles, brush and binkies. The bum side of the diaper, as you may imagine, has much more padding than the tops, so I arranged them such that the tops of the diapers were layered under the bums of the last laid diaper, as shown in the photos. After placing my first couple diapers, I filled the box by arranging them counter clockwise in a spiral style pattern, with the bums over the tops of the previous diapers, until the box had about two layers of diapers with a consistent thickness of padding throughout the gift box, about 10 diapers.
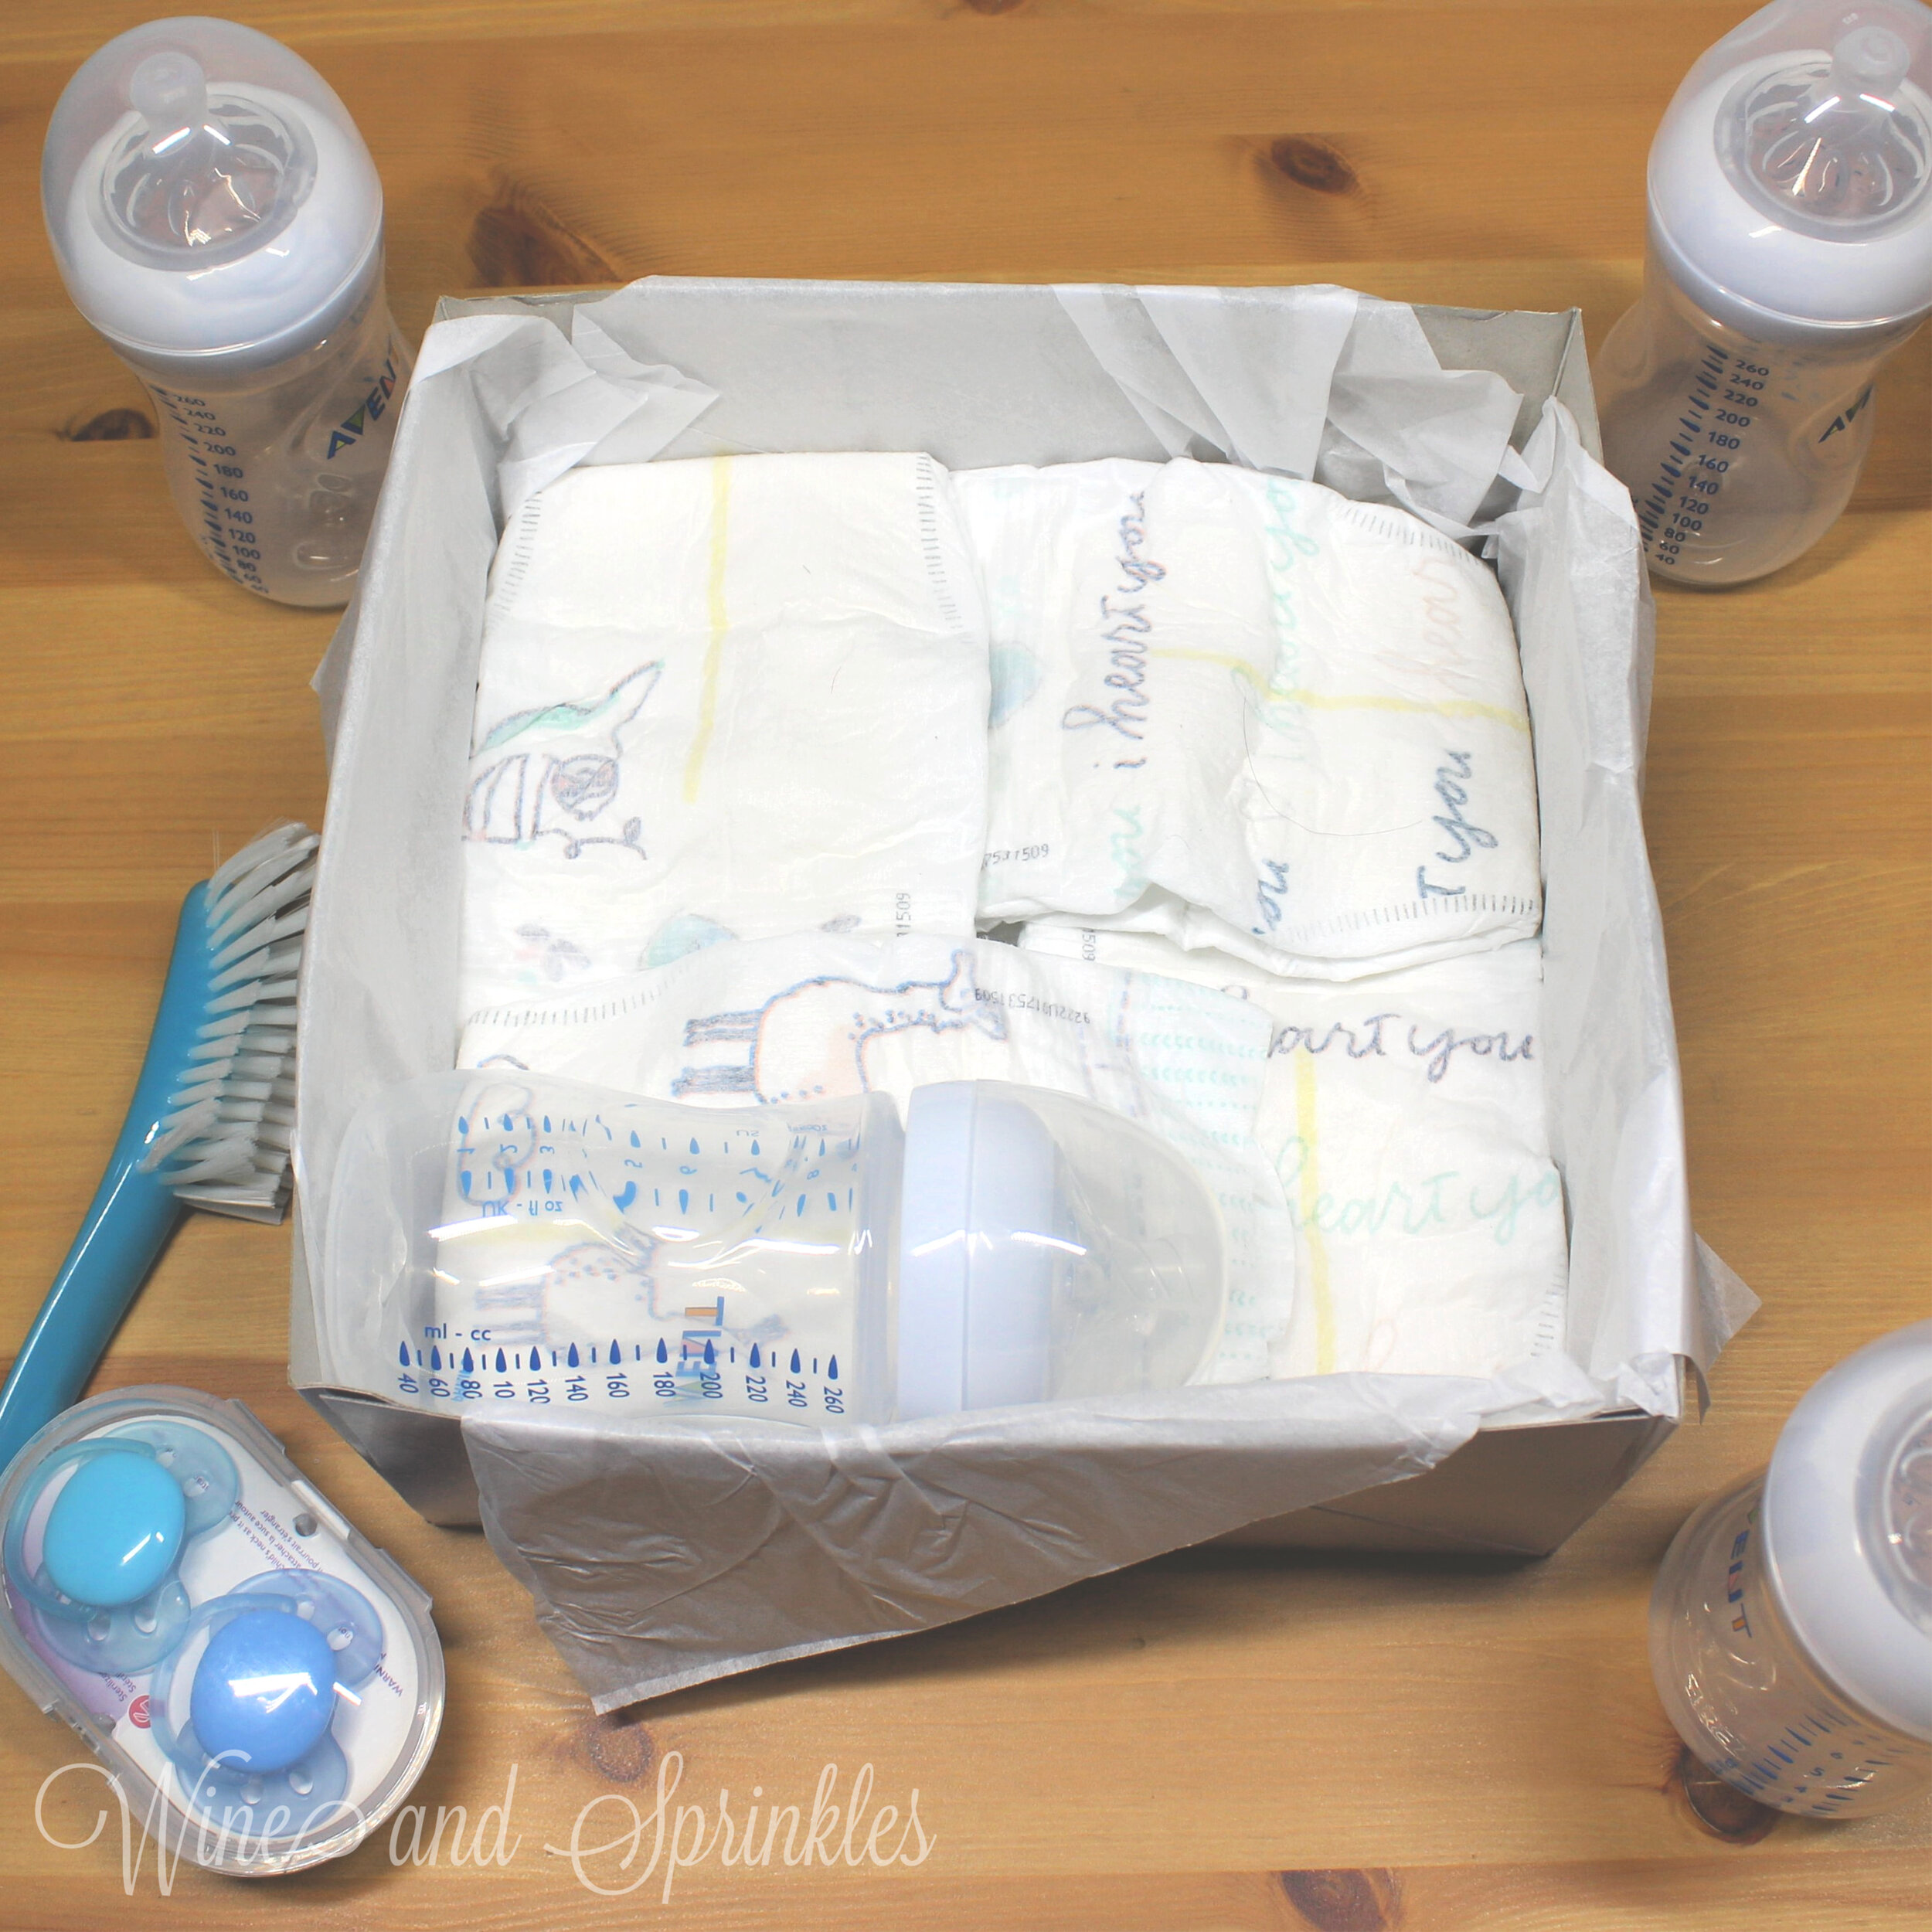
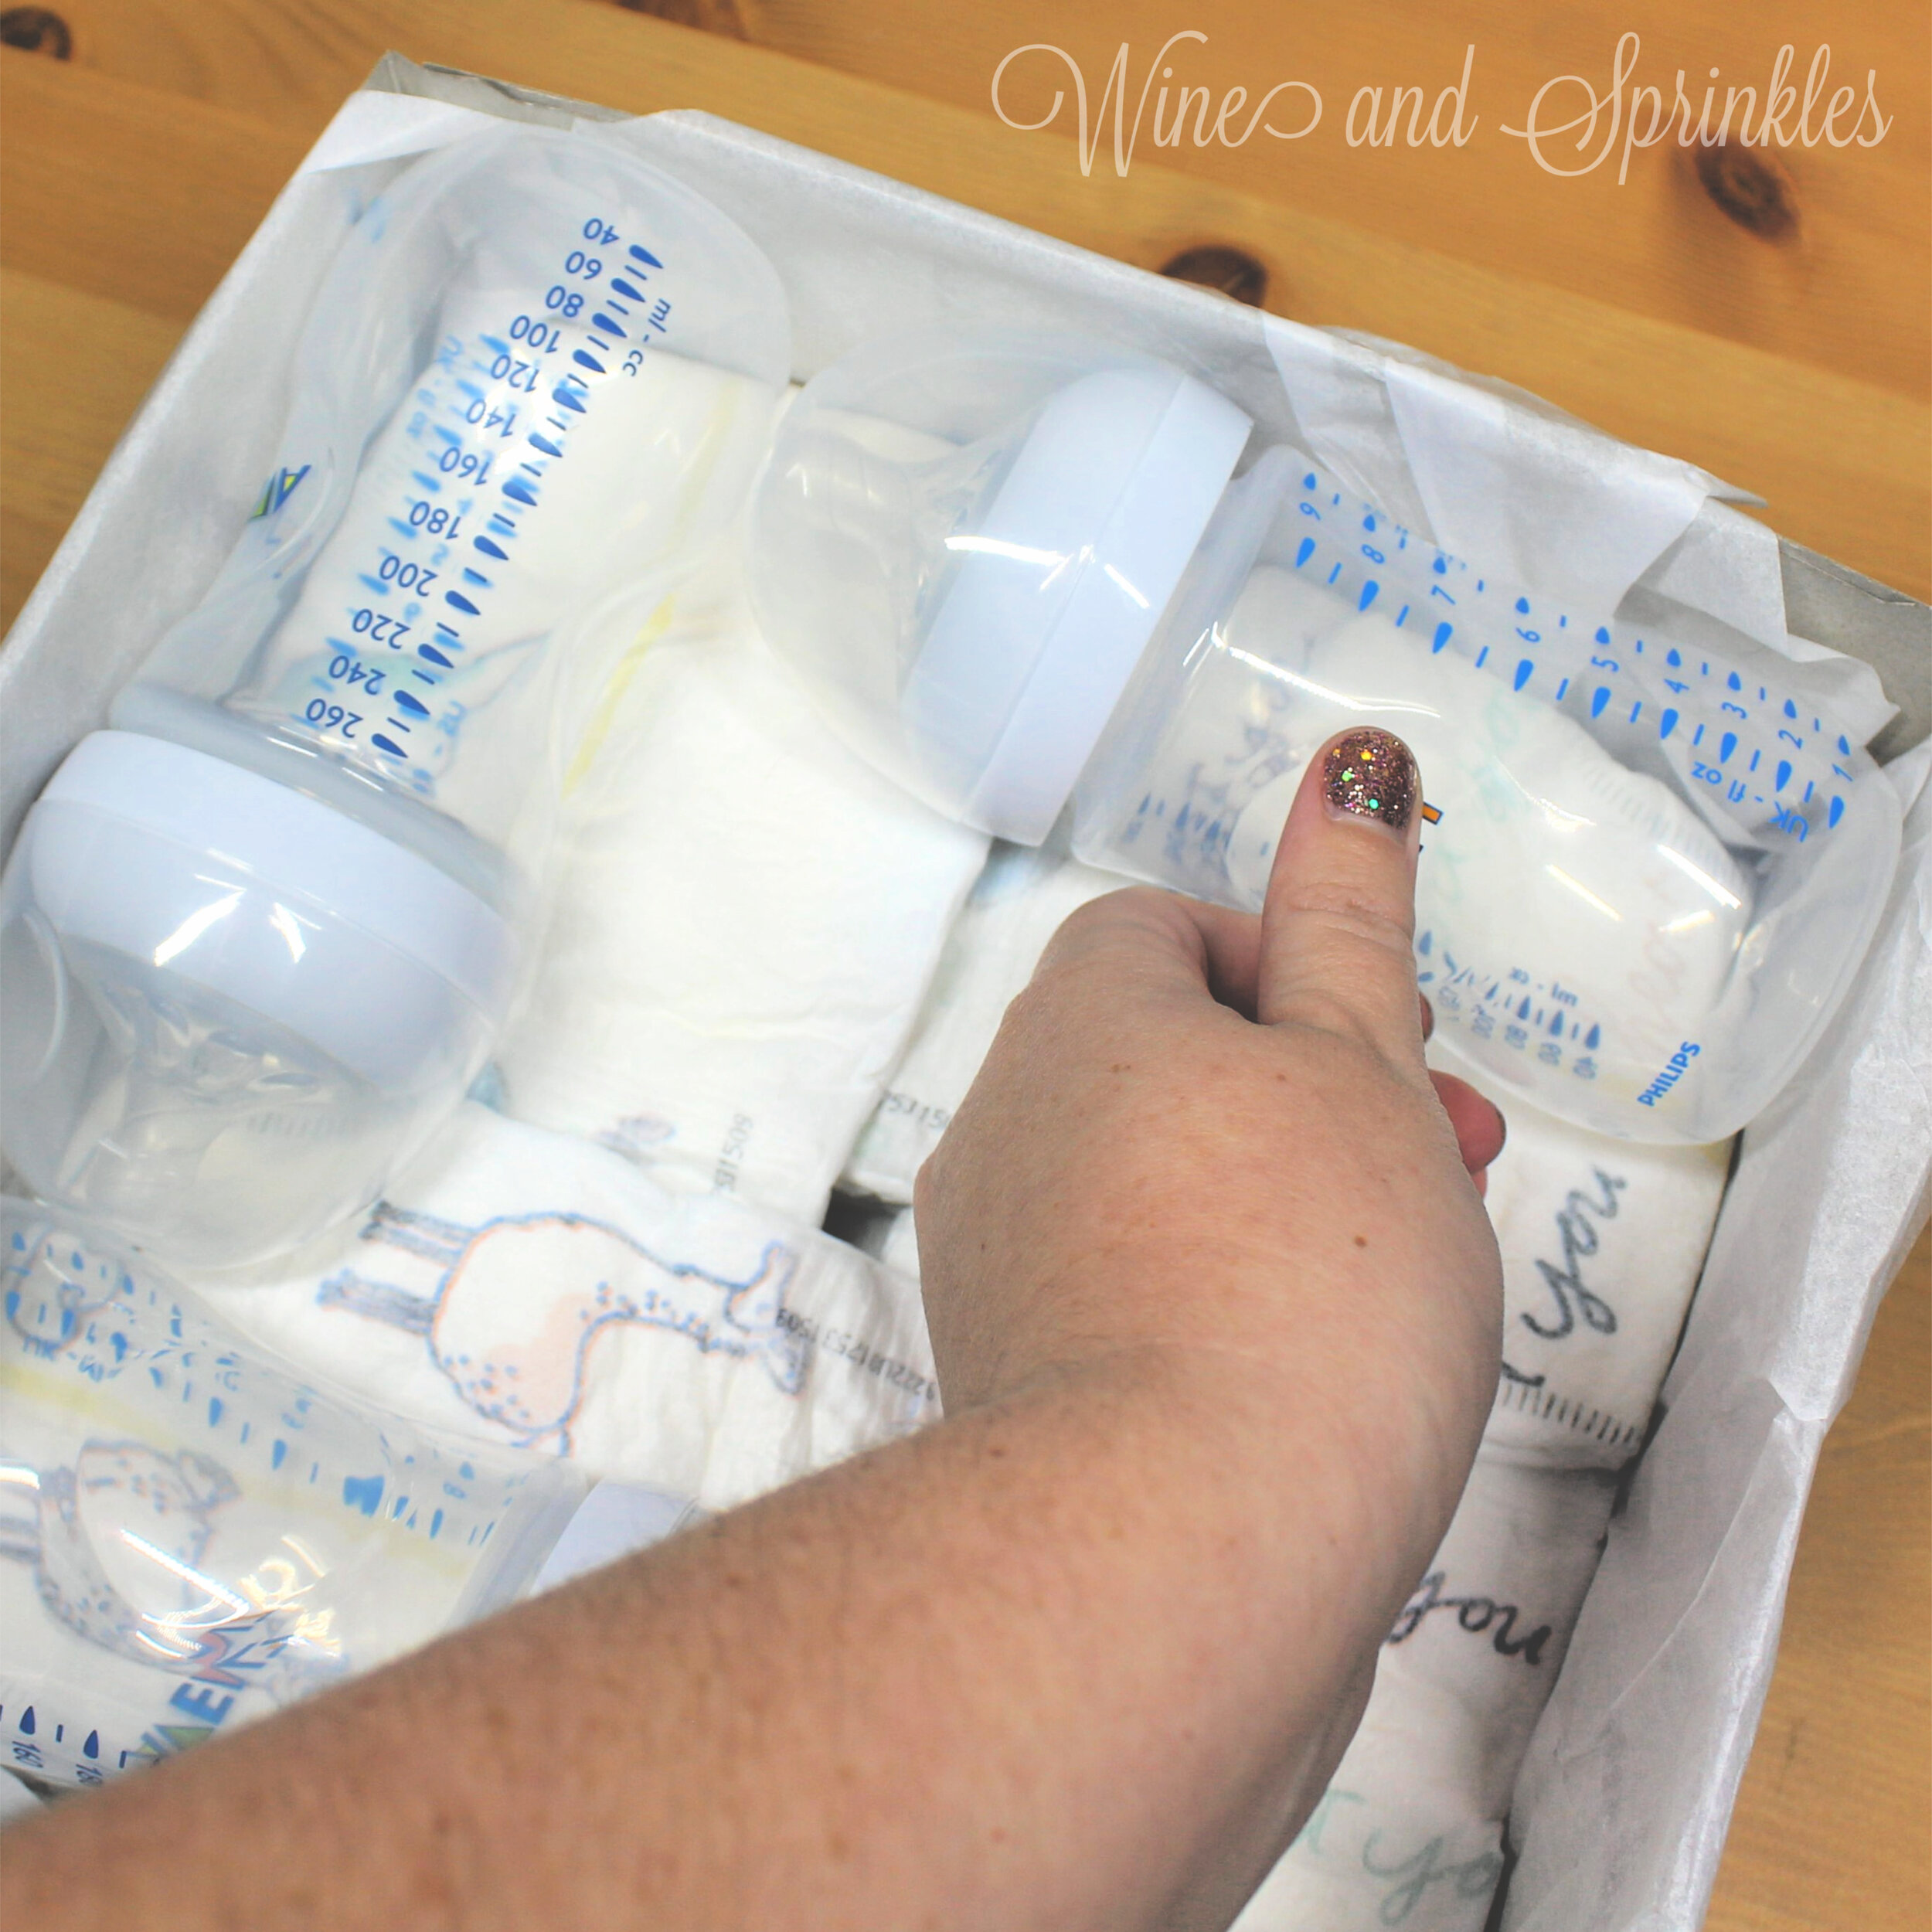
2. Next, I placed the bottles in a complementary pattern on top of the diapers. Place the bottles, starting in the lower right, with the bottom of the bottle along the edge of the box with the top pointing to the opposite wall. Place the next bottle in perpendicular to the first, with the bottom still along the edge and the top of the bottle facing the side of your first bottle, as shown in the photos. Repeat this with the other two bottles, to form a baby bottle square frame on top of the diaper layer.
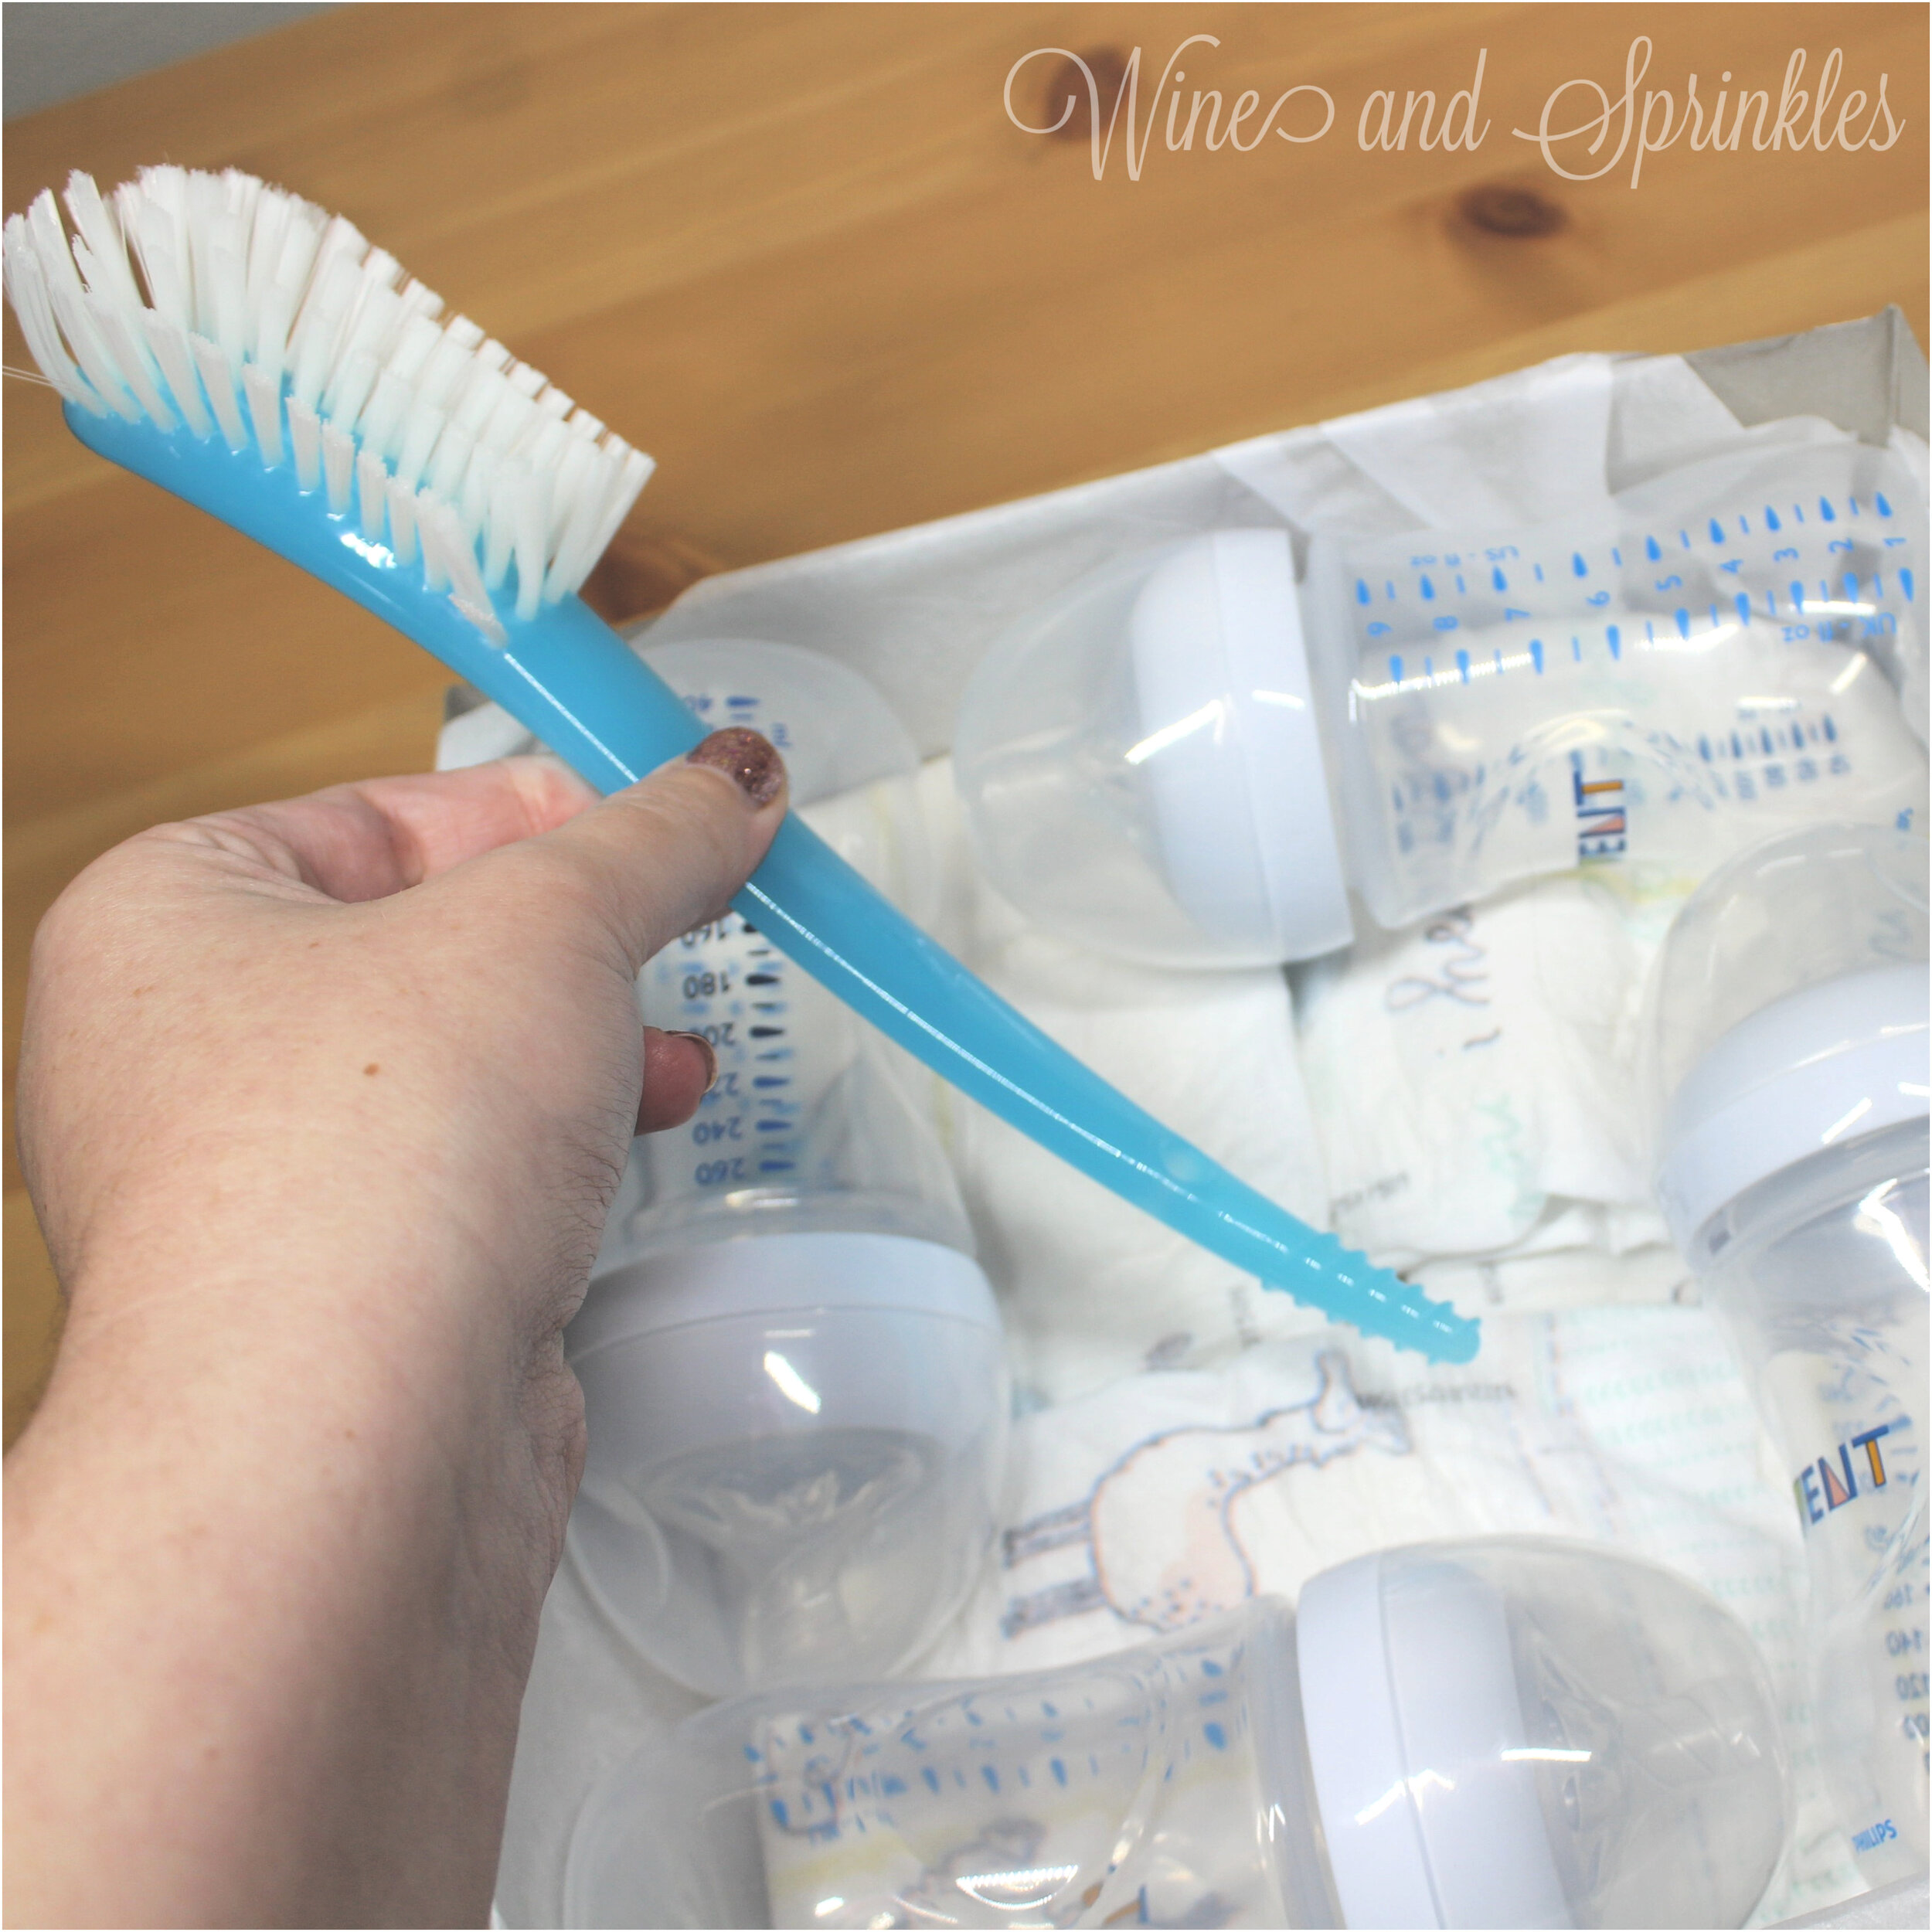
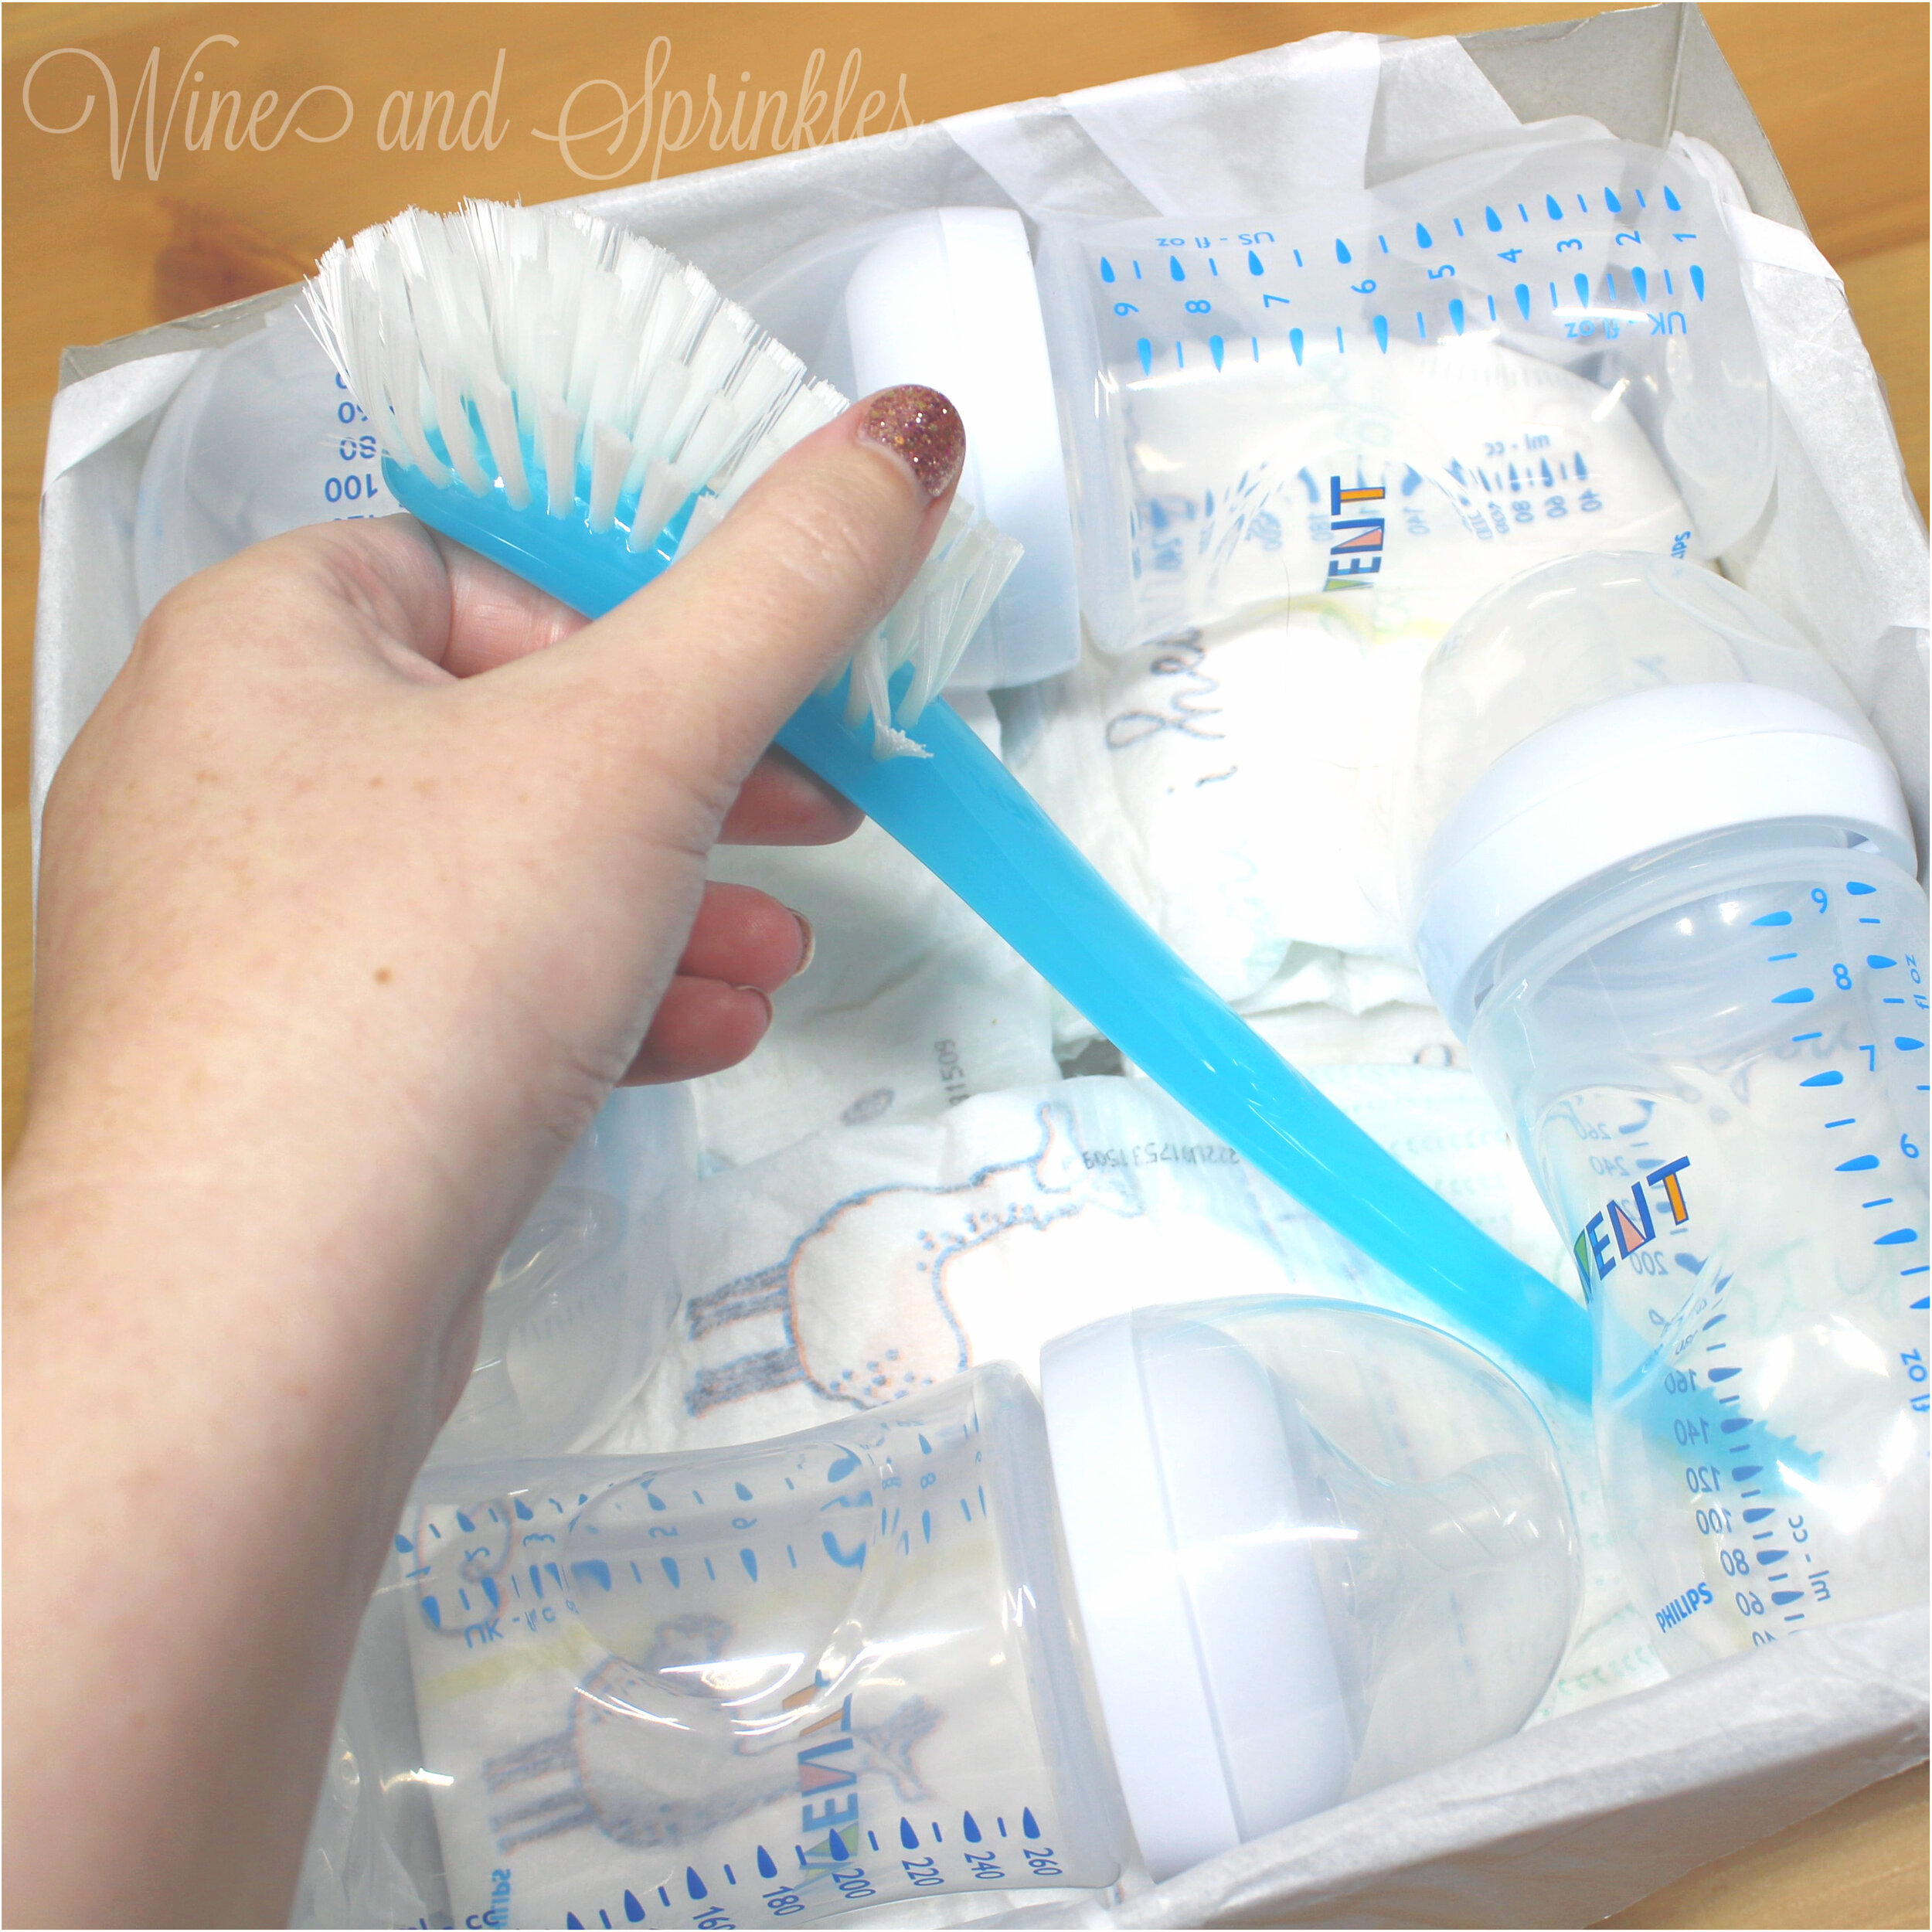
3. Next, tuck the bottle cleaning brush under your bottom right bottle, laying it bristle side up such that it is secured by your top bottles in a diagonal in the middle of the box.
4. Finish your bento by placing your binkie set into the open space on top of your bottle brush and your bento is ready to gift to your favorite soon to be mama!
Looking for more Baby Bento Inspiration?
SEE MORE BABY BENTO POSTS HERE:
OUR PINS FOR THE POST:
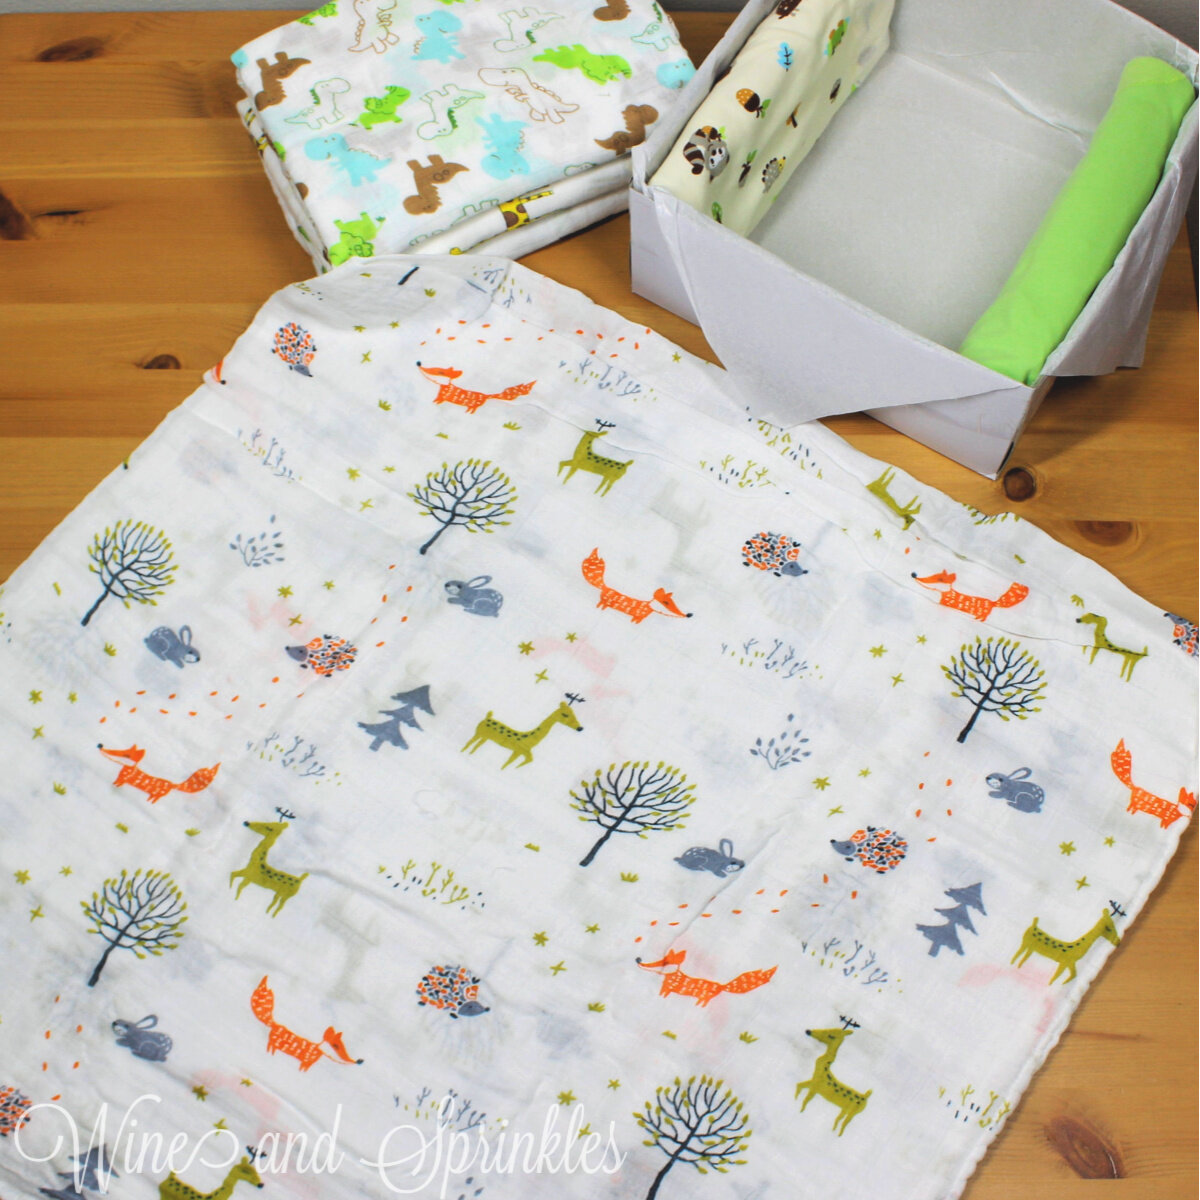
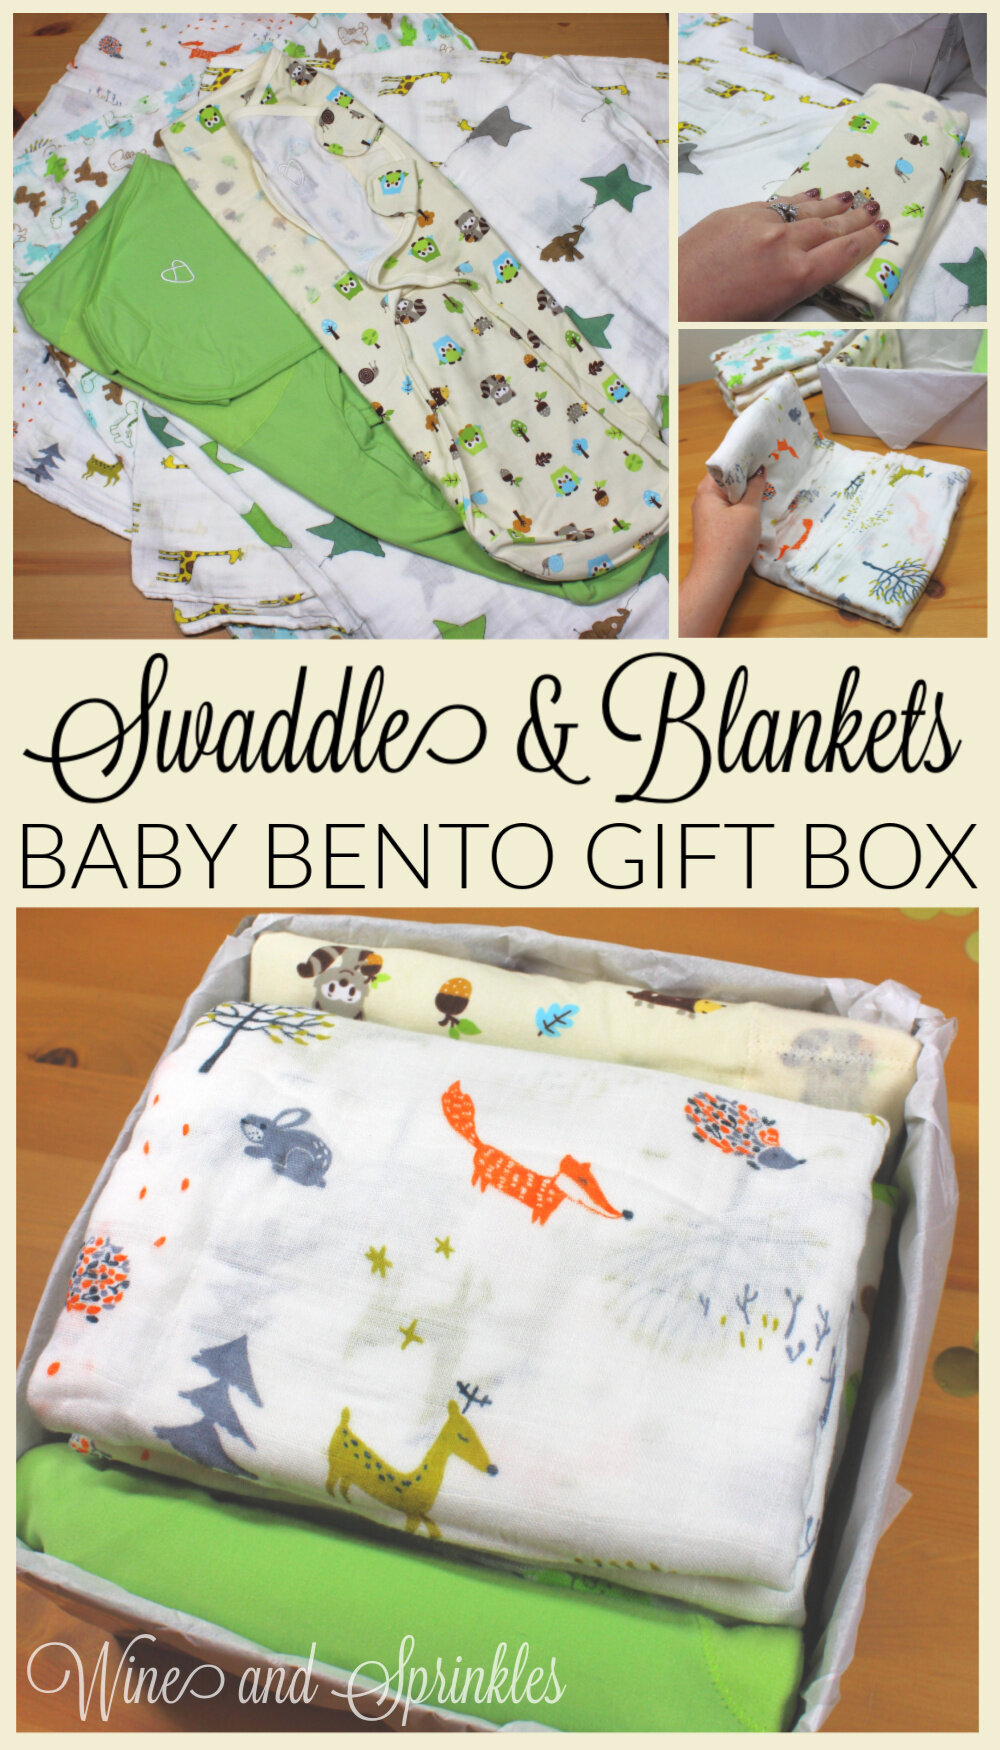
Swaddler Starter Pack Baby Bento Gift Box
This post contains affiliate links, meaning that if you click on a link I will recieve a small comission. This costs you nothing extra and I only promote products I use and love! You can read our full disclosure here
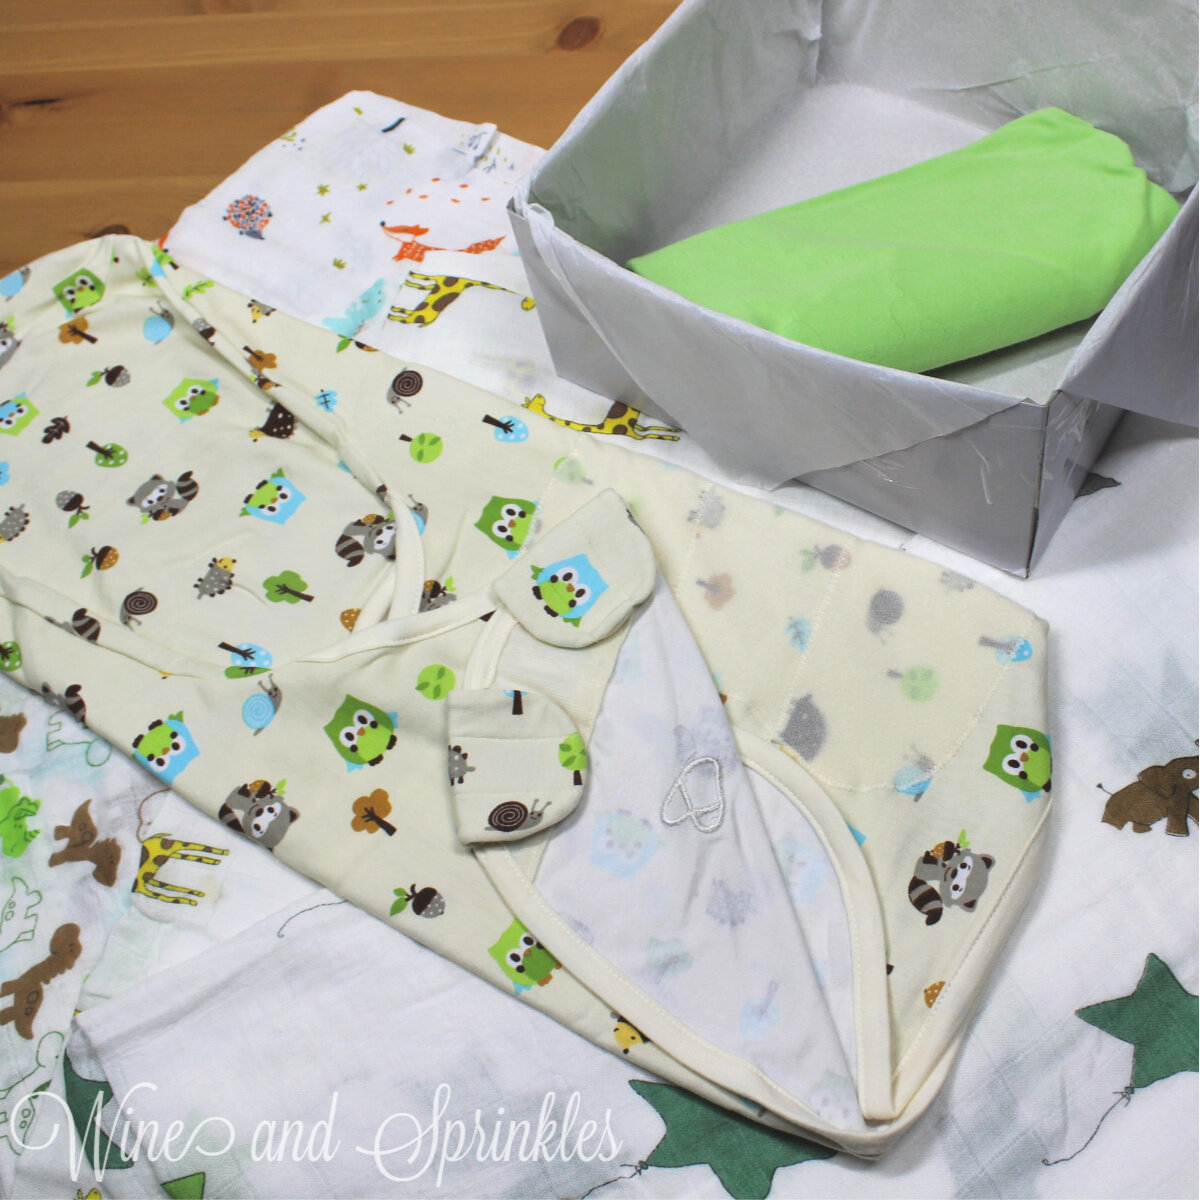
During the first couple months of life, while babies are looking adorable in their newborn cloth for pictures, they are more often than not cuddled up in blankets or swaddles, napping and getting used to the new world they are in. Inspired by the Bedding Essentials Baby Bento Gift Box, I wanted to have another simple and elegant bento for baby bedtime supplies, so a mix of modern and traditional swaddle blankets were a great choice!
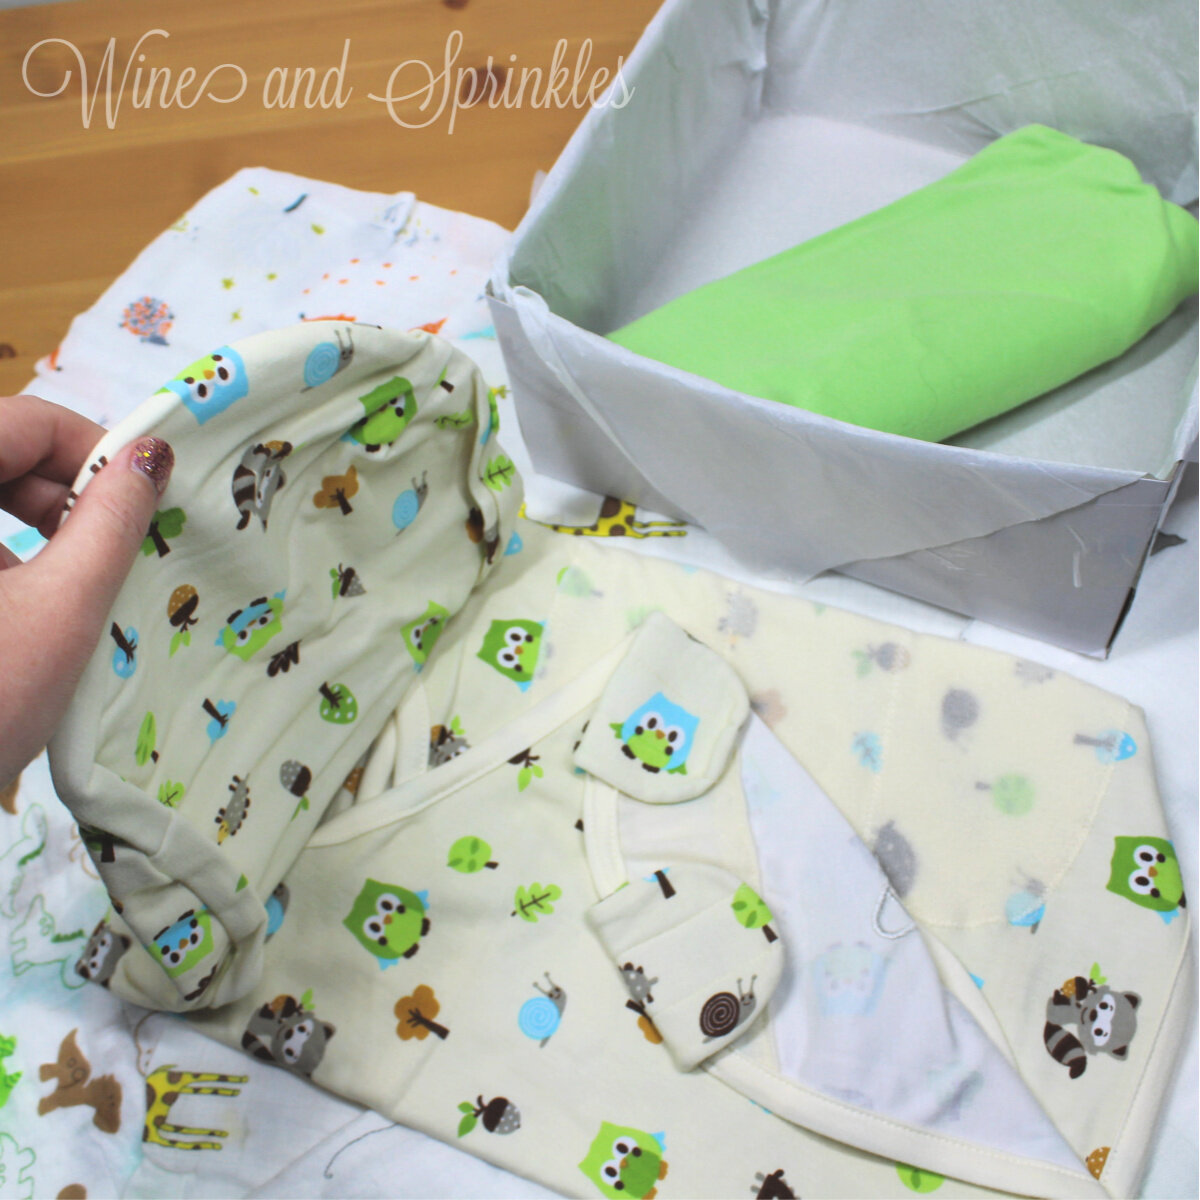
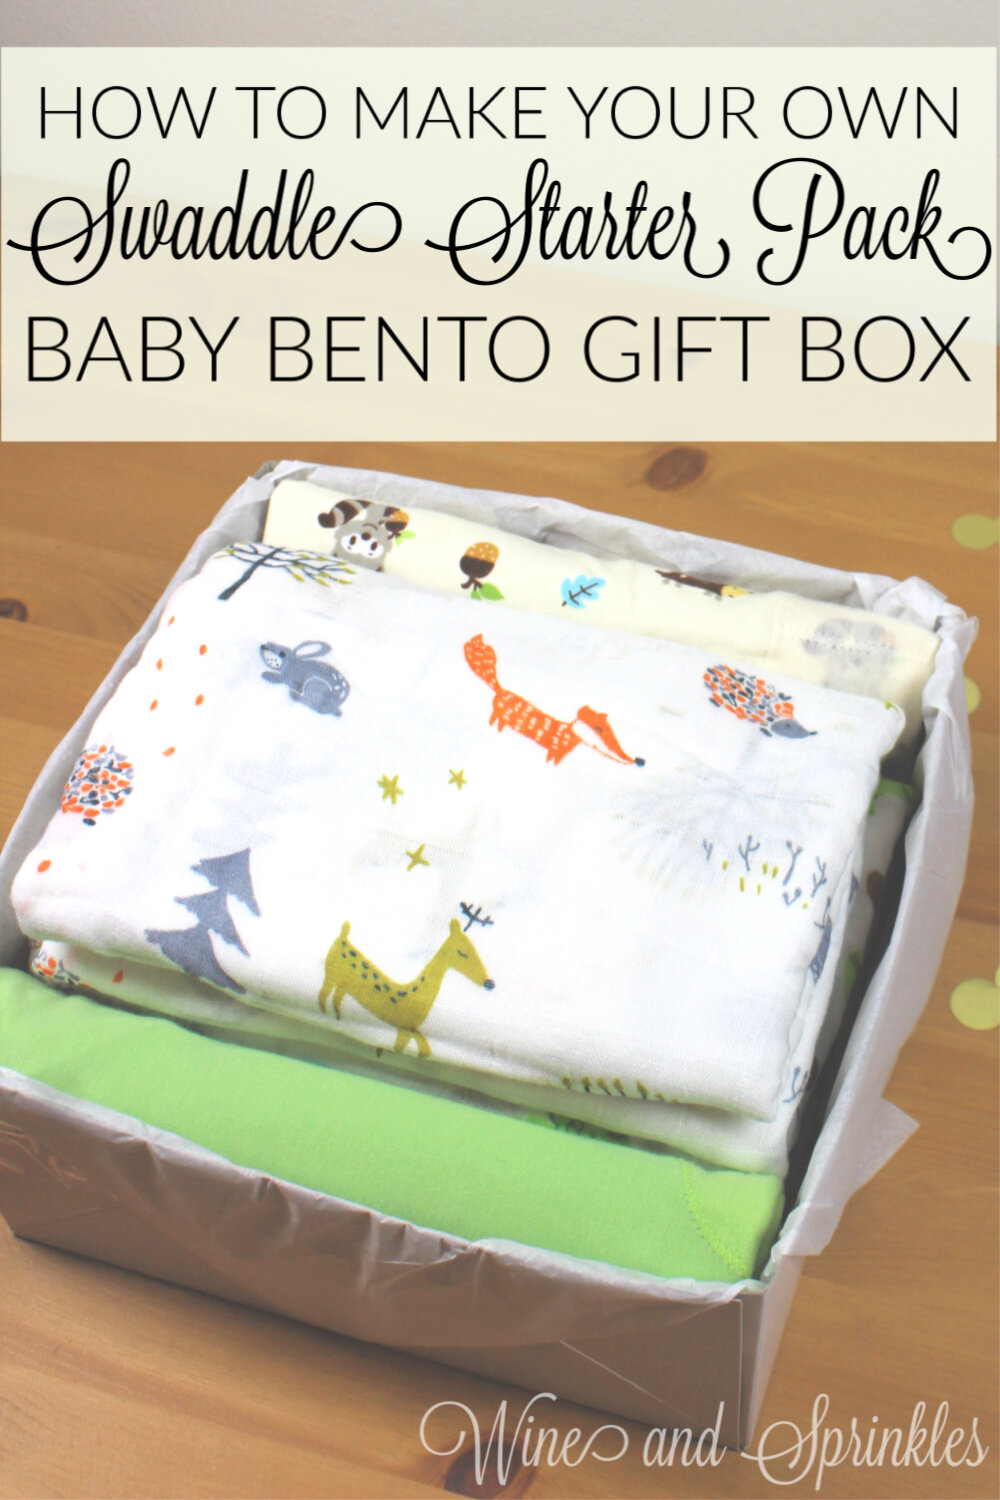
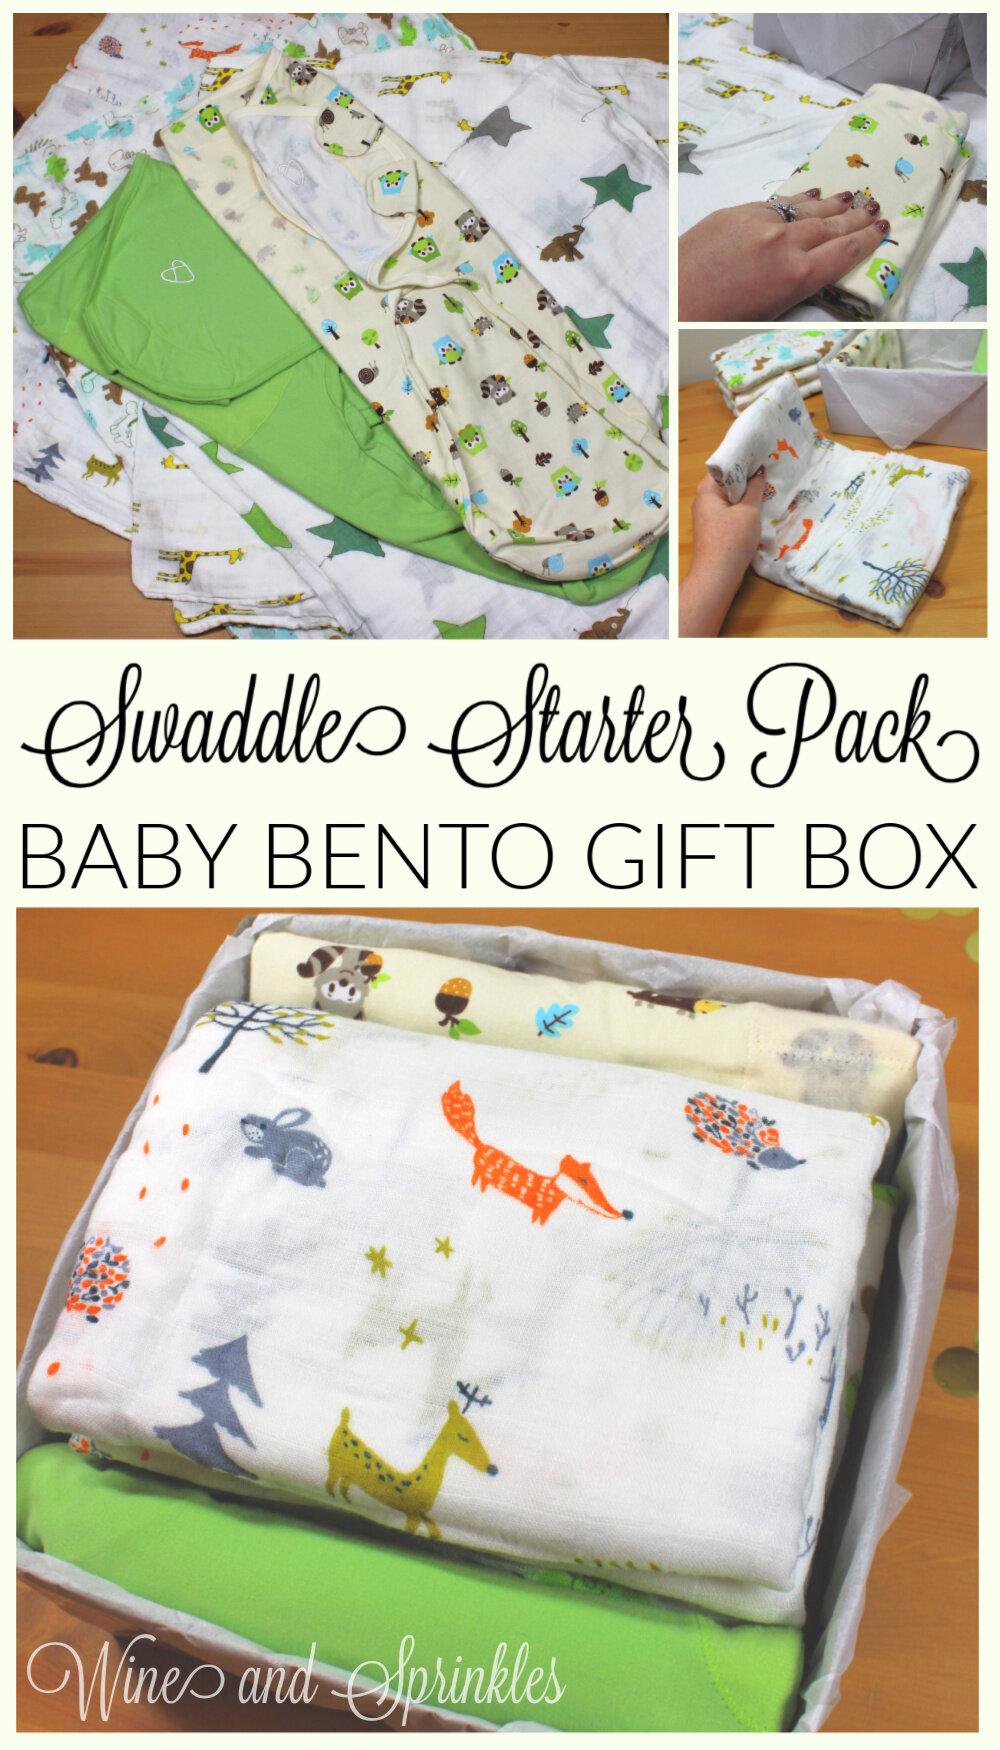
This bento contains two Modern Swaddles and a Swaddle Blanket 4 Pack for all of baby’s cozy swaddle needs! While modern swaddles are, from what I hear, far easier for baby wrangling, some mothers adore the old school fabric swaddles you wrap yourself, so this bento has something for everyone. In addition, the traditional swaddle blankets can be used as receiving blankets, stroller covers, or any number of other baby care uses so they will be loved regardless of what style of swaddle your mama-to-be prefers! In addition to the ones I found on Amazon, Carter’s also has several Swaddle 2 Packs if you are looking for other options in those adorable Carter’s baby prints! I’ve bought oodles of cute baby clothing gifts for my family and friends from Carter’s, so I have to include their swaddles too!
For these and other Baby Gift Box Bentos, I used a 10 inch square box to house our gifts and it was the perfect size for this Swaddle Blanket Bento! While this bento could potentially fit in a smaller box, it was pretty full with my best folding and the swaddles themselves folded much more easily than they would in a smaller box.
These boxes are also great as mailable presents for if you cannot visit your mama to be but still want to send a personal and thoughtful gift. Regardless of if you are mailing or giving in person, I encourage you to stuff the top of your box with tissue paper if there is extra room so that items don’t move around while shipping or wrapping, plus it makes it a fun presentation removing the tissue paper to a lovely organized baby gift!
Supplies:
- Swaddle Blanket 4 Pack
- SwaddleMe Swaddle 2 Pack
- Square Gift Box
- Tissue Paper (Optional)
PART 1 - FOLDING SWADDLES
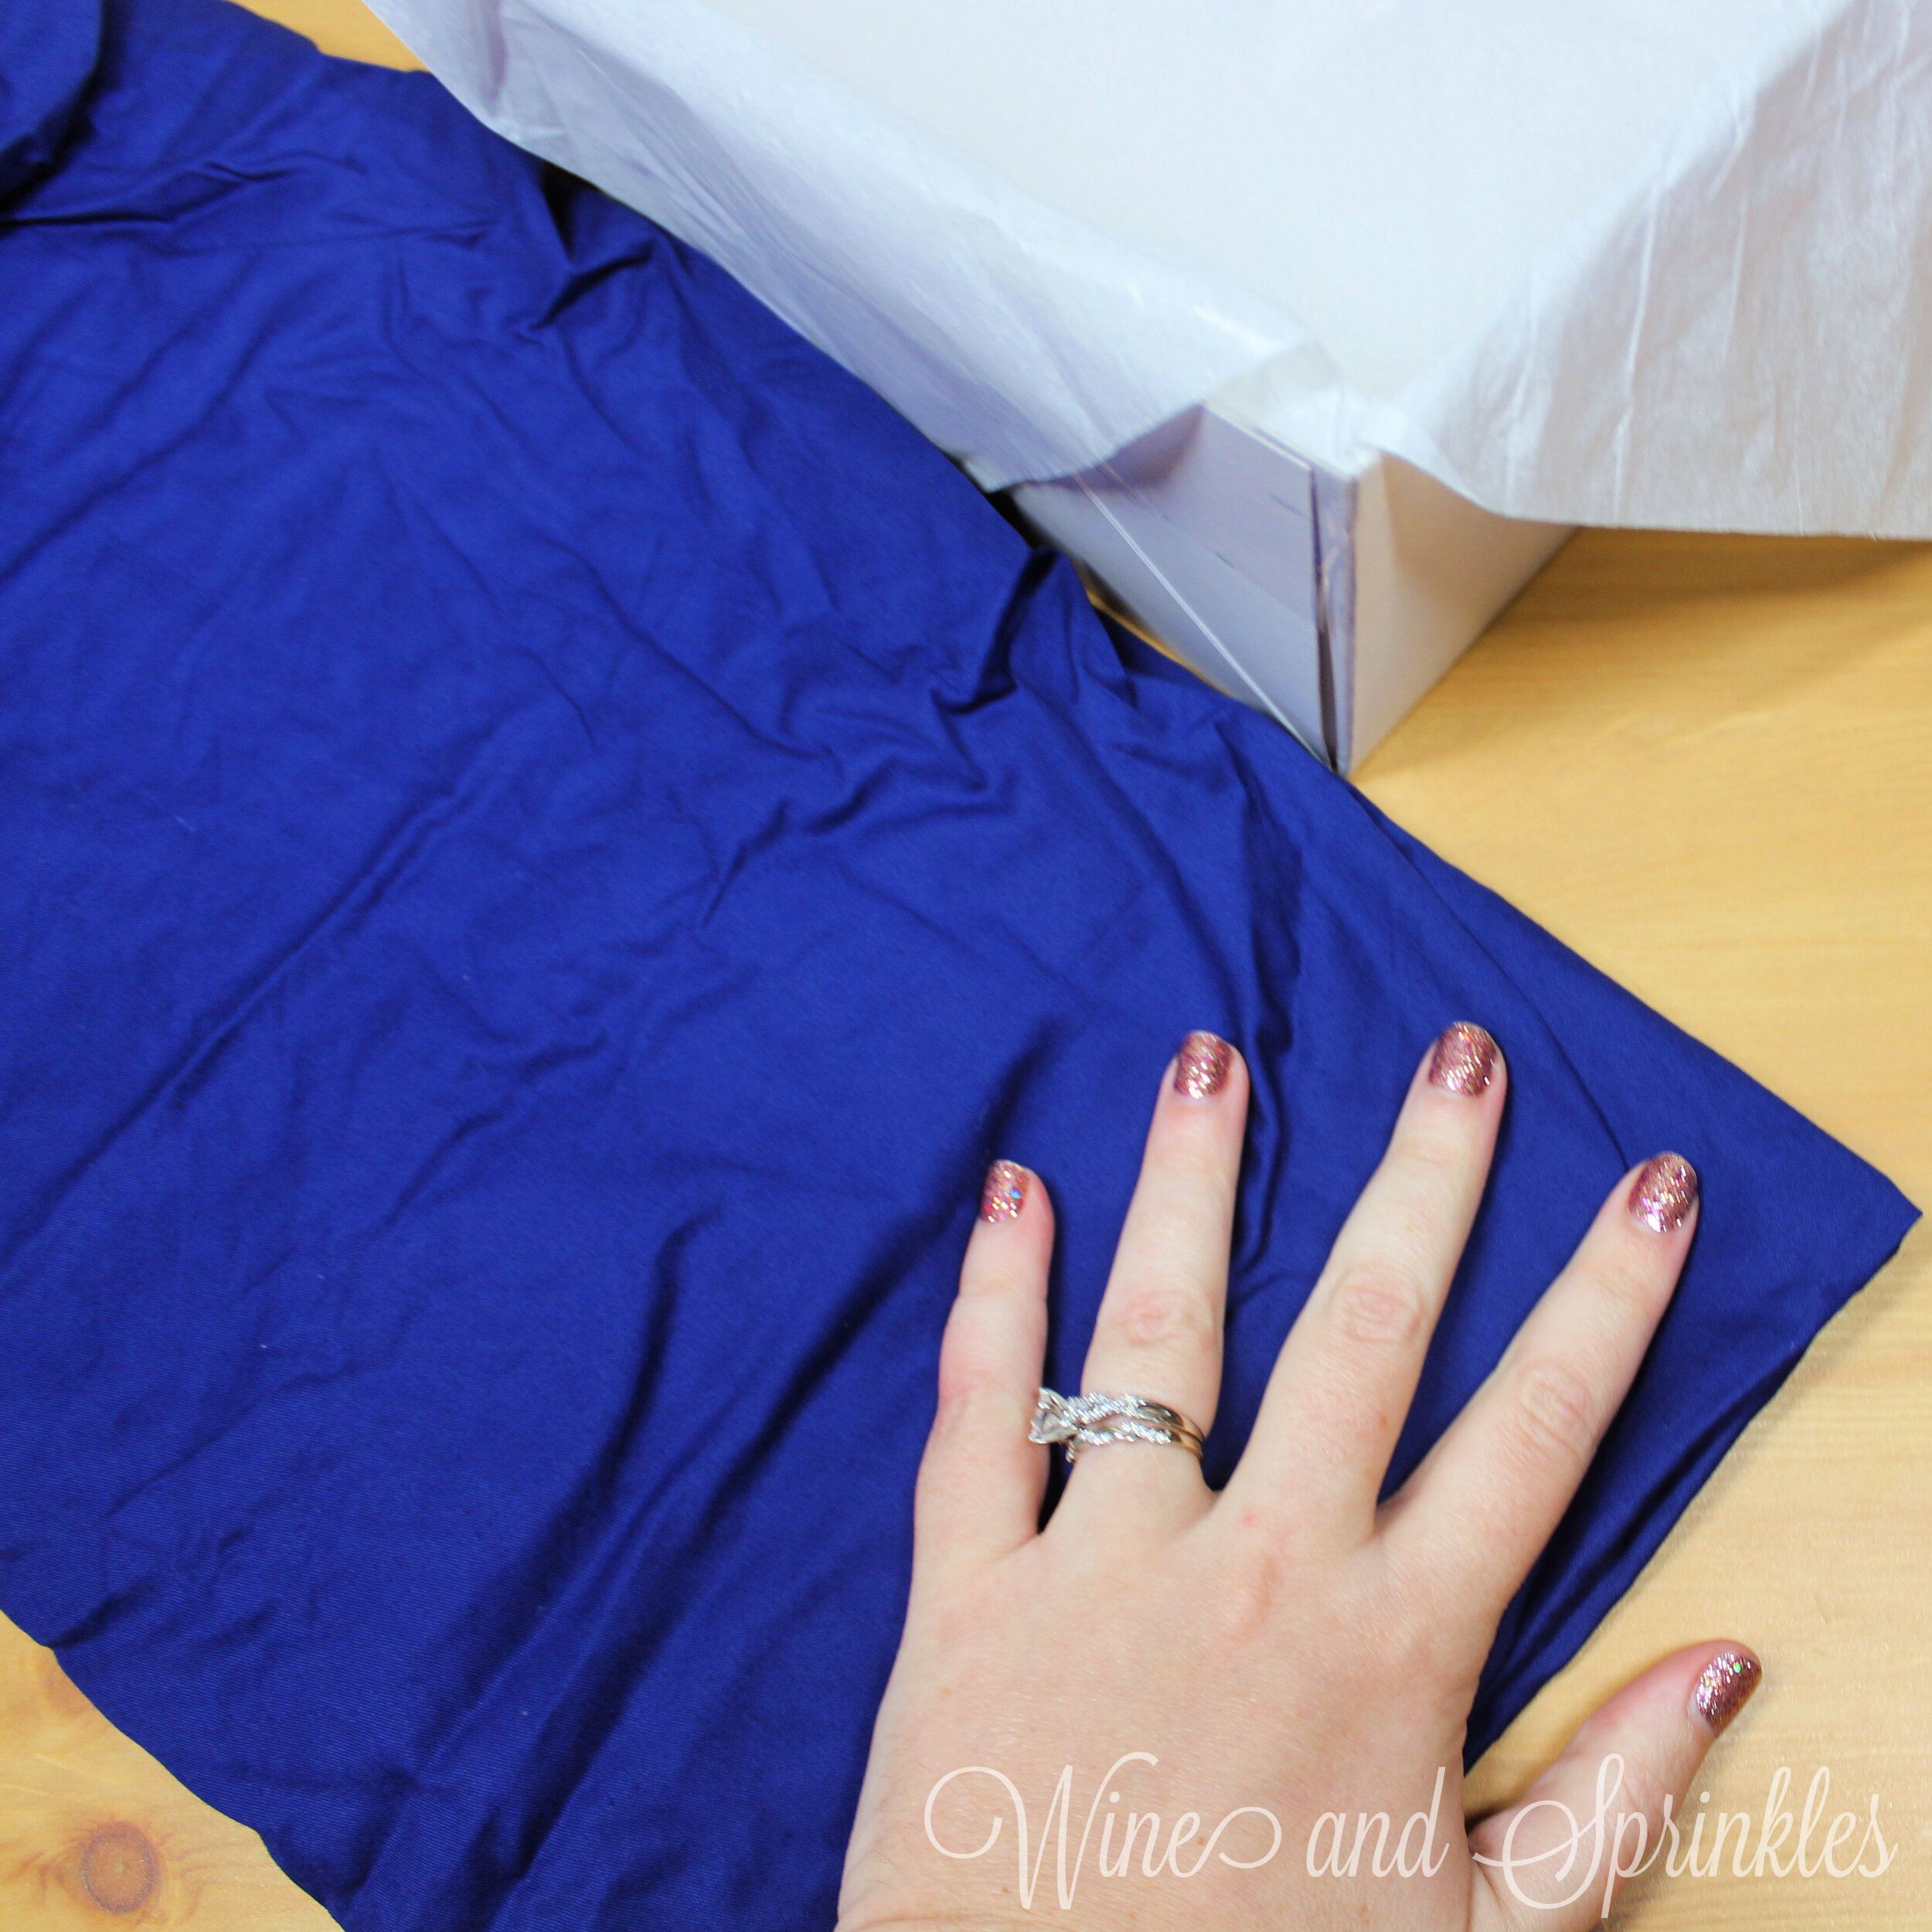
First we will start by folding the swaddles that frame the receiving blankets. I recommend this size swaddle because it's already the width of the box, making folding even easier! If your swaddle is bigger, you will need to fold in the edges to make it the width of your box before starting folding, which may make your swaddles harder to fold with a consistent thickness throughout.
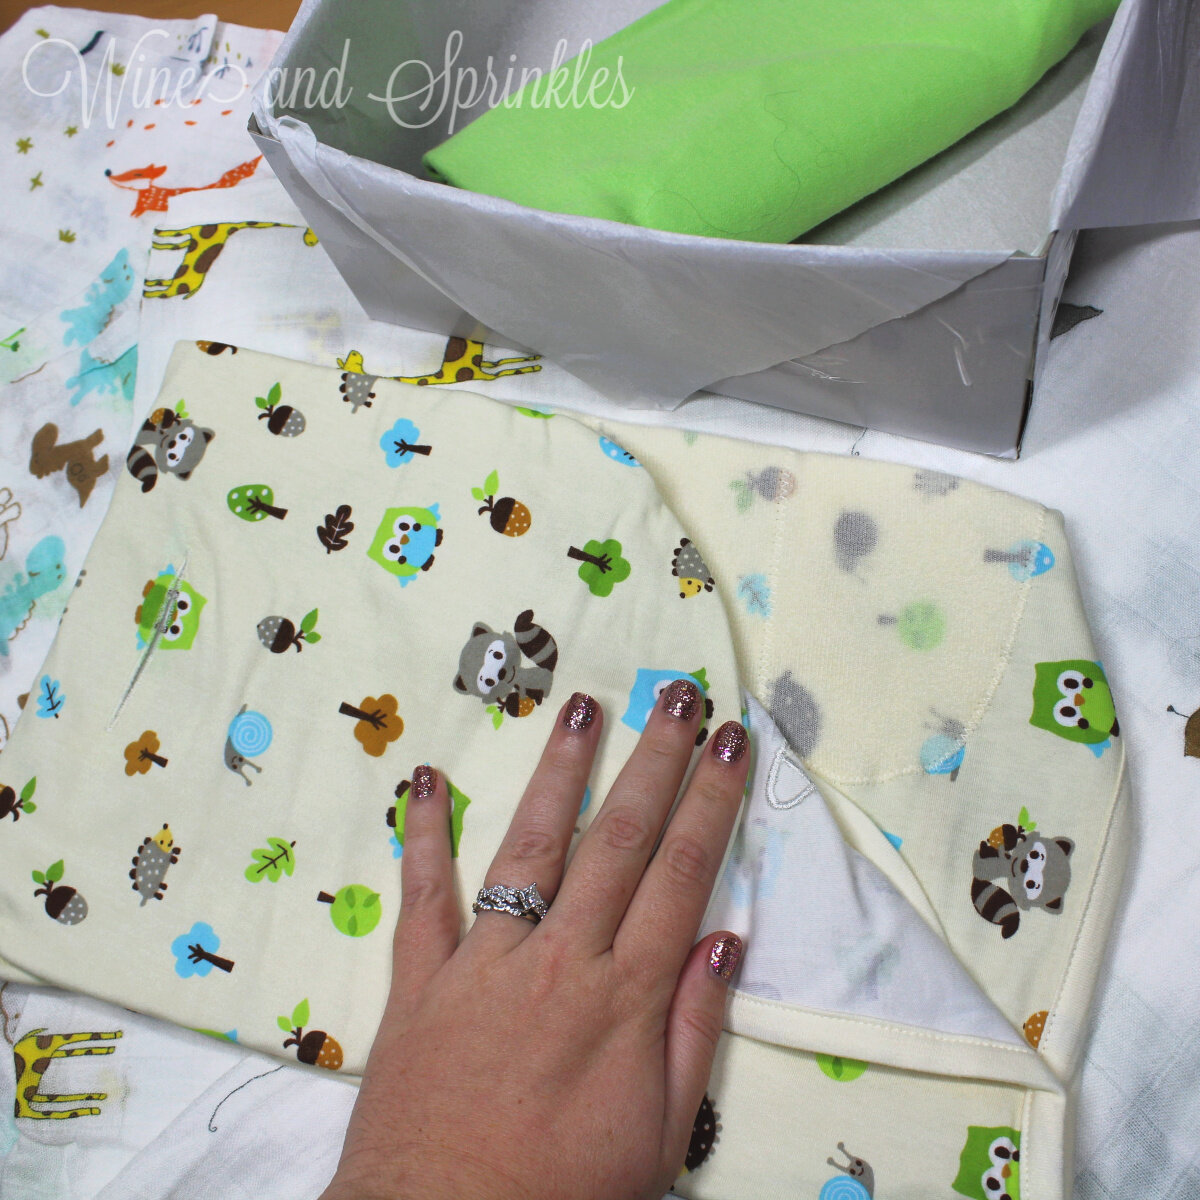
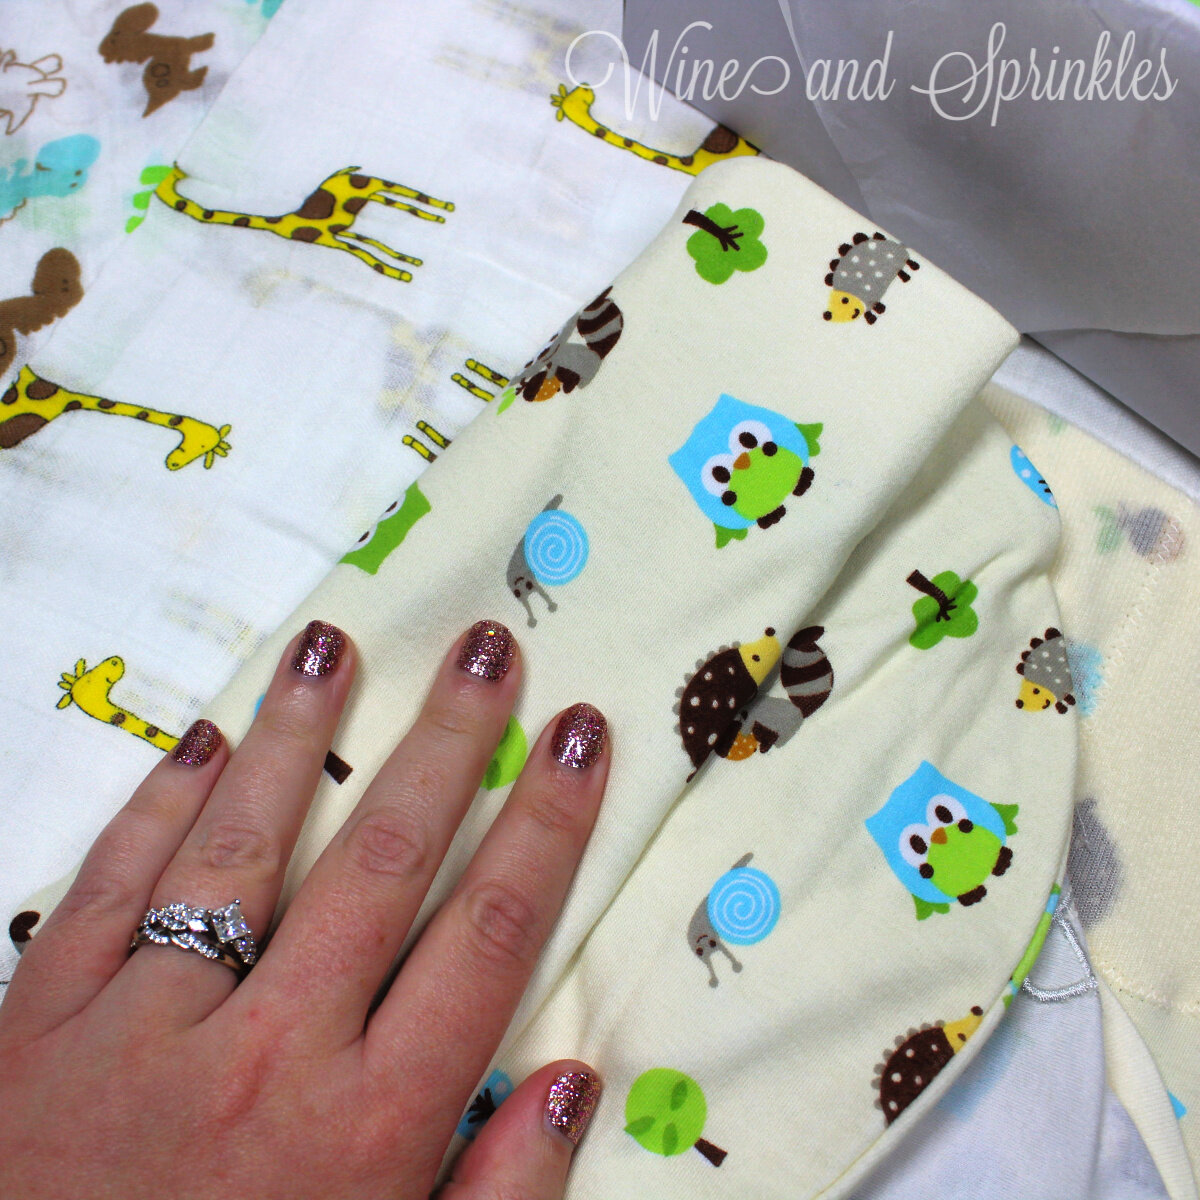
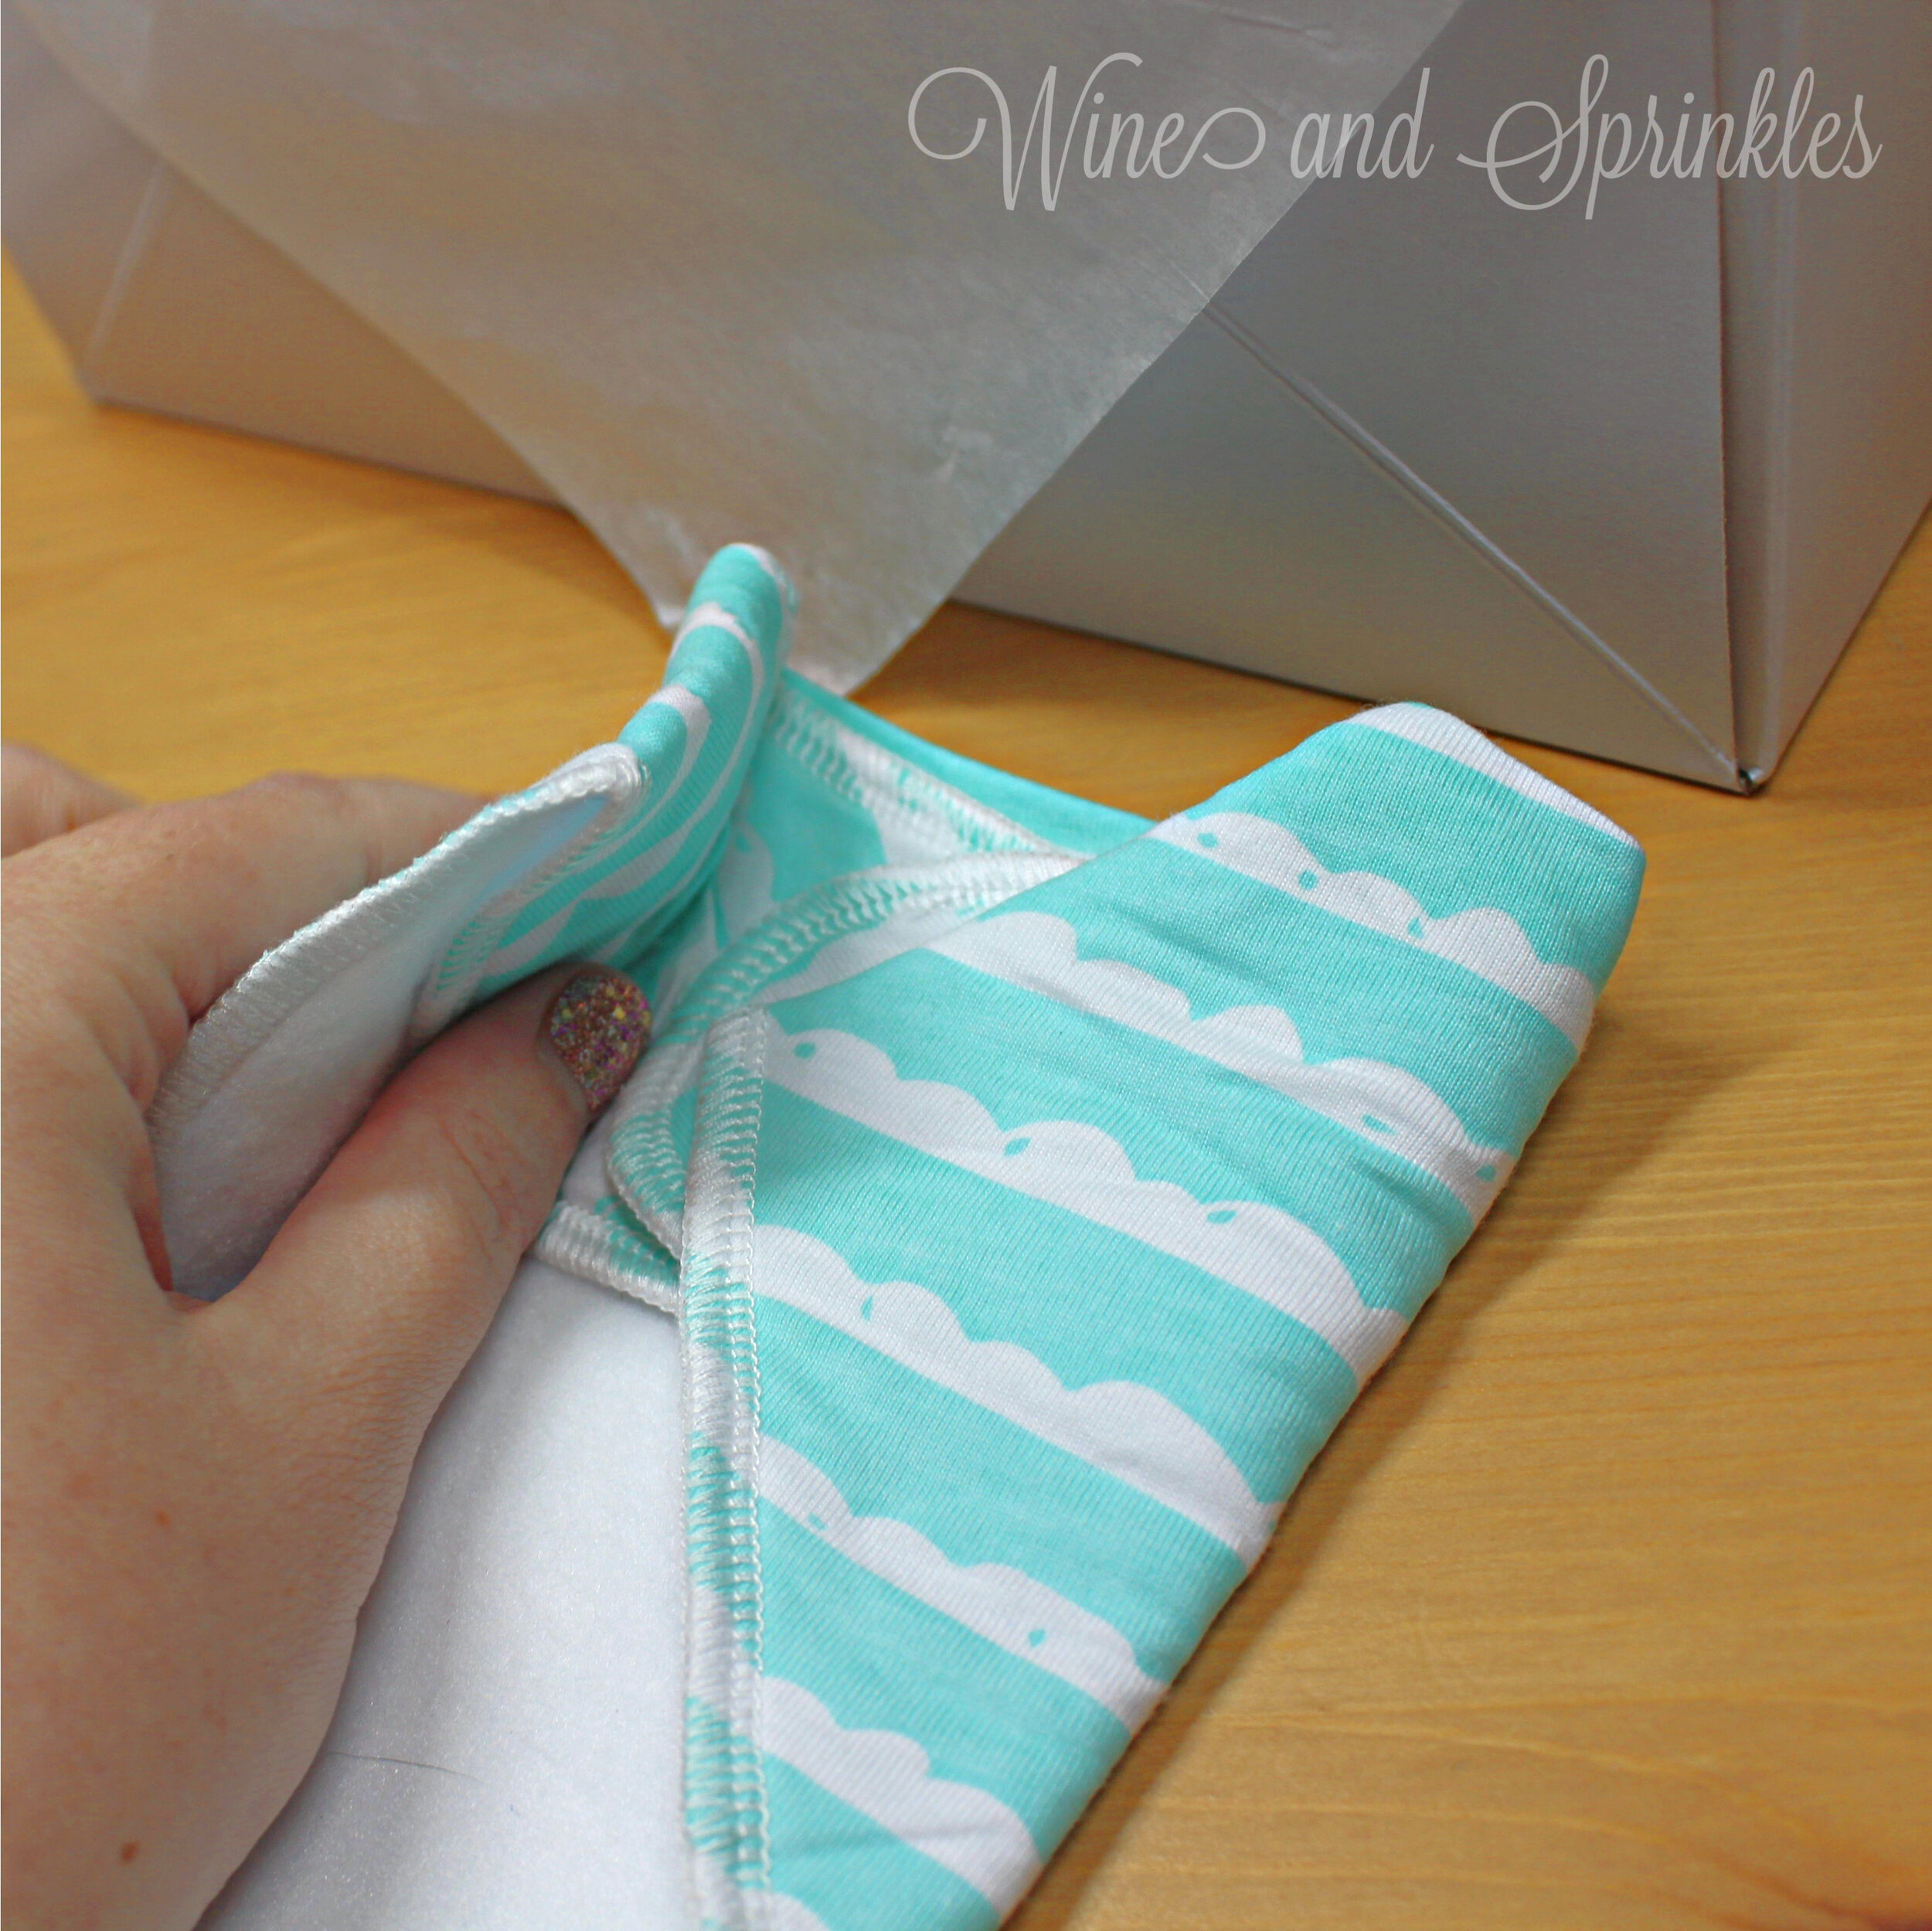
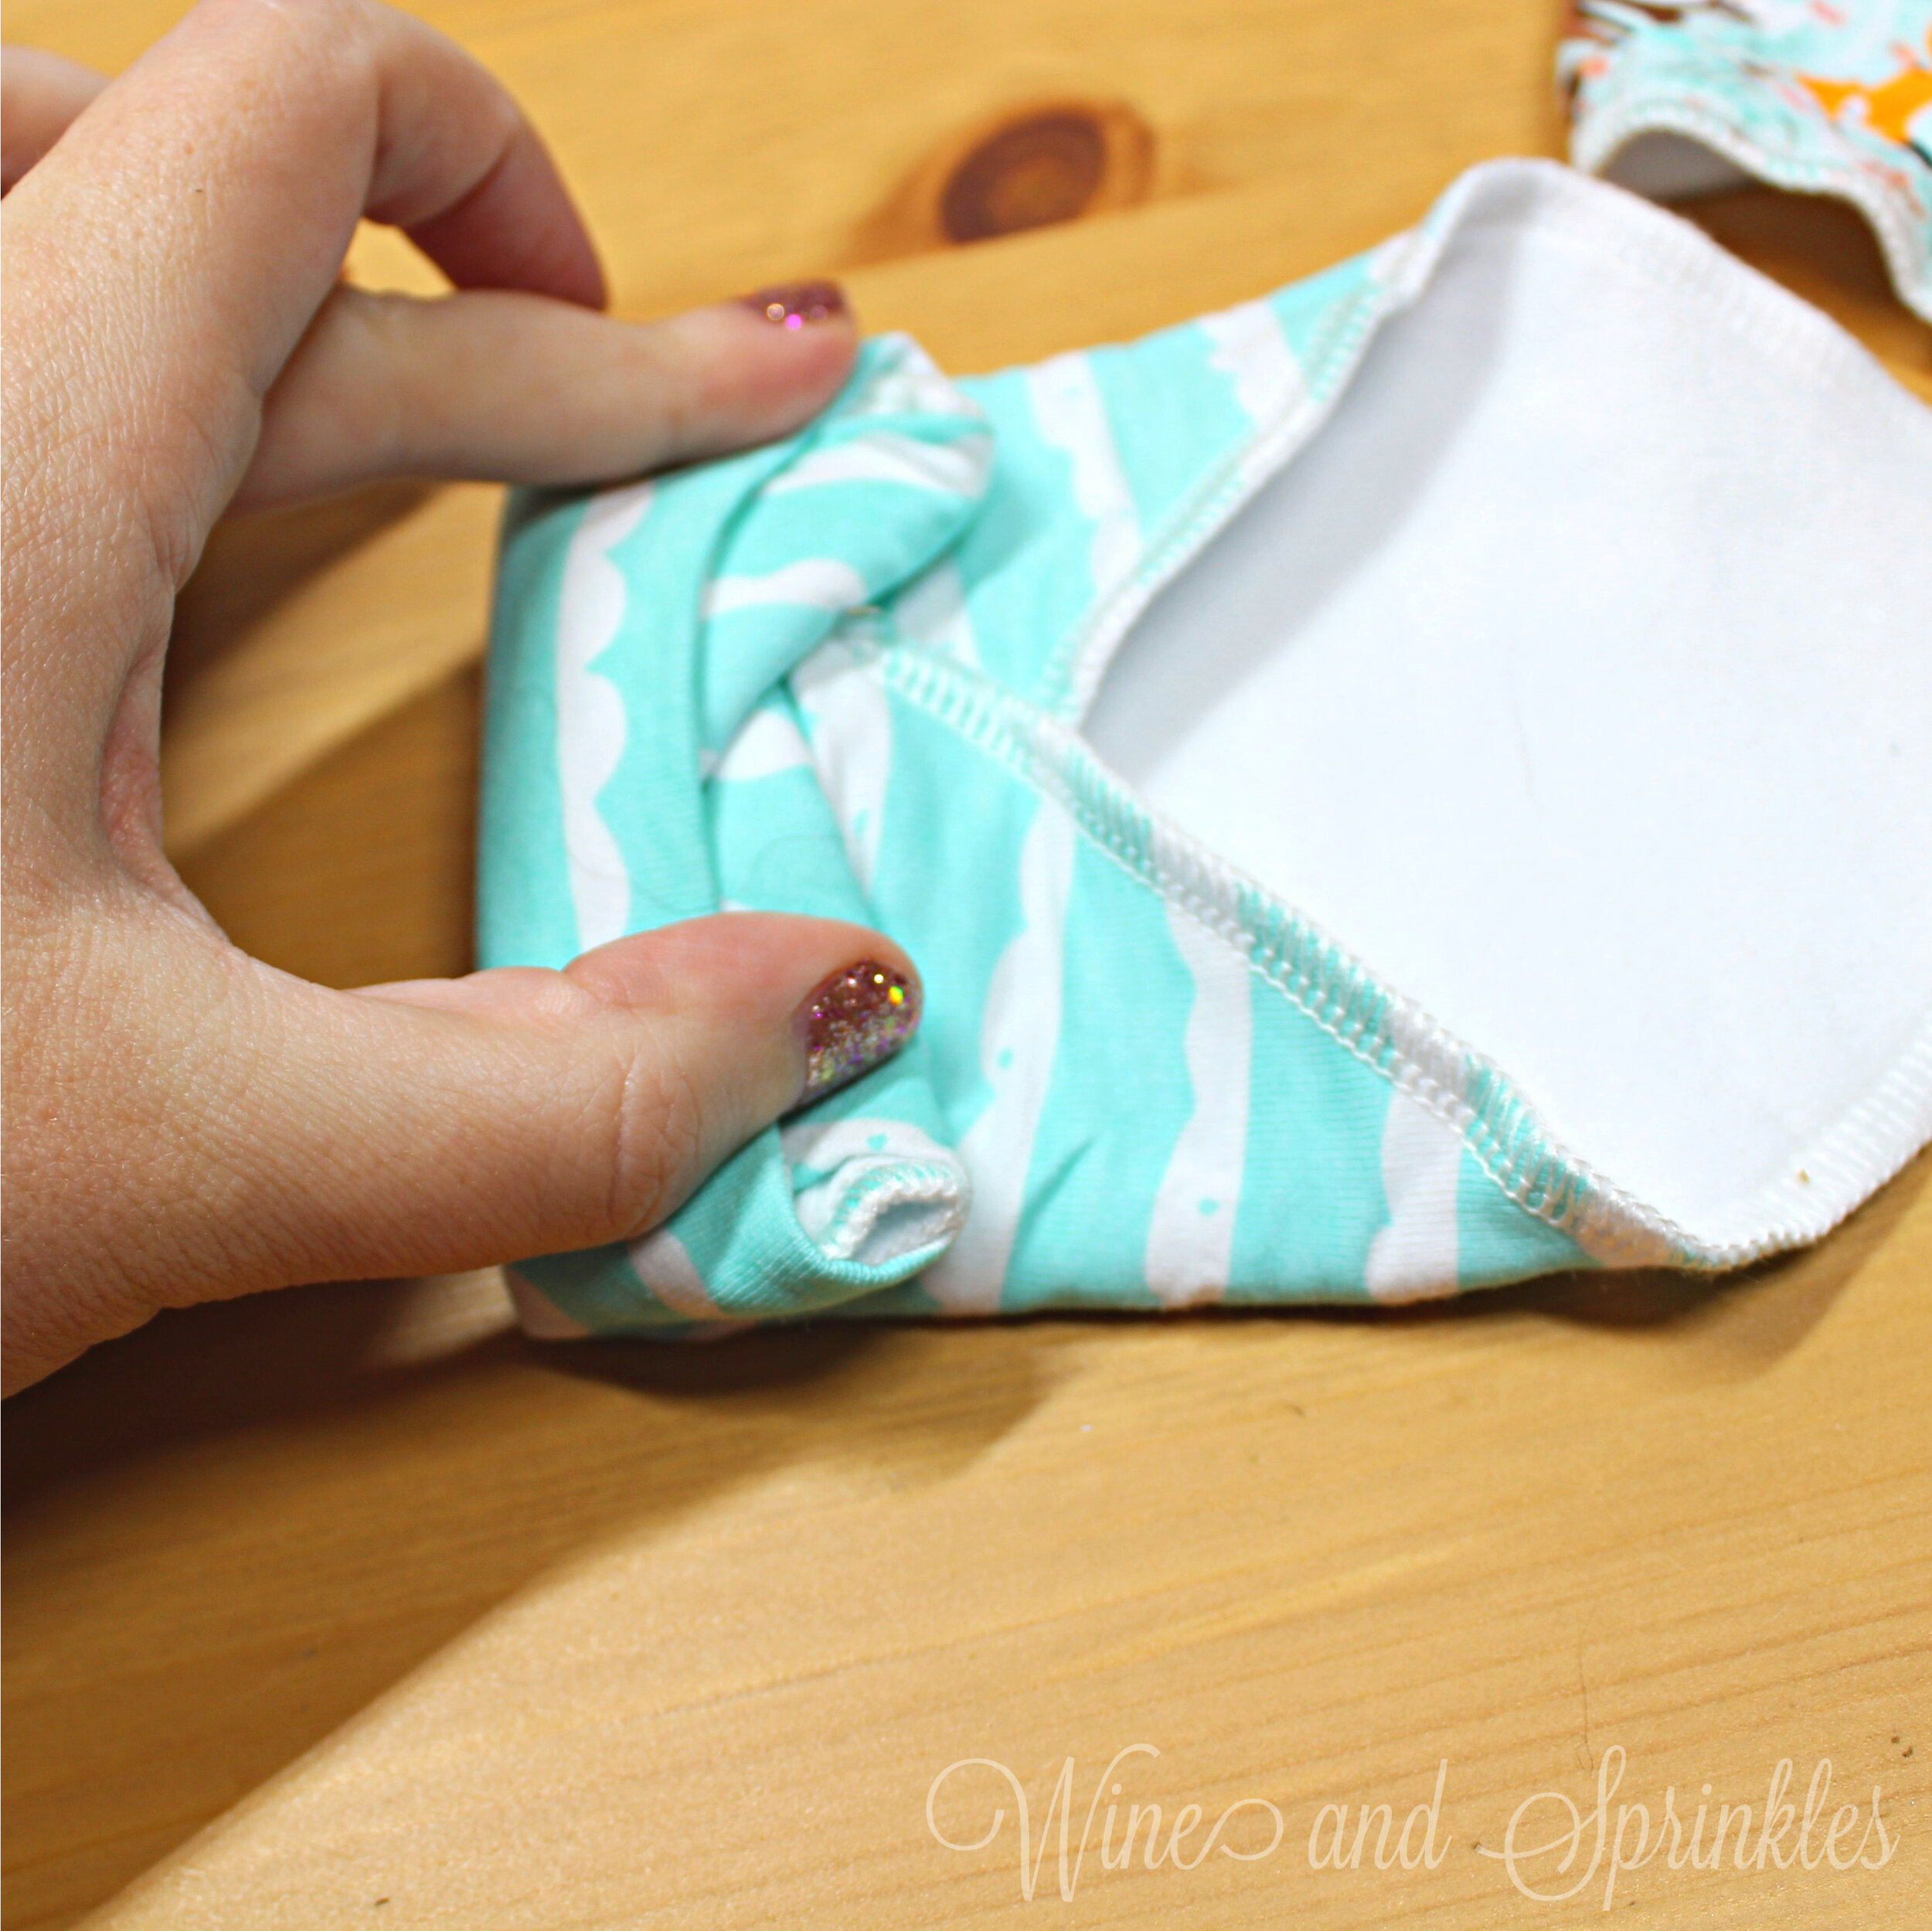
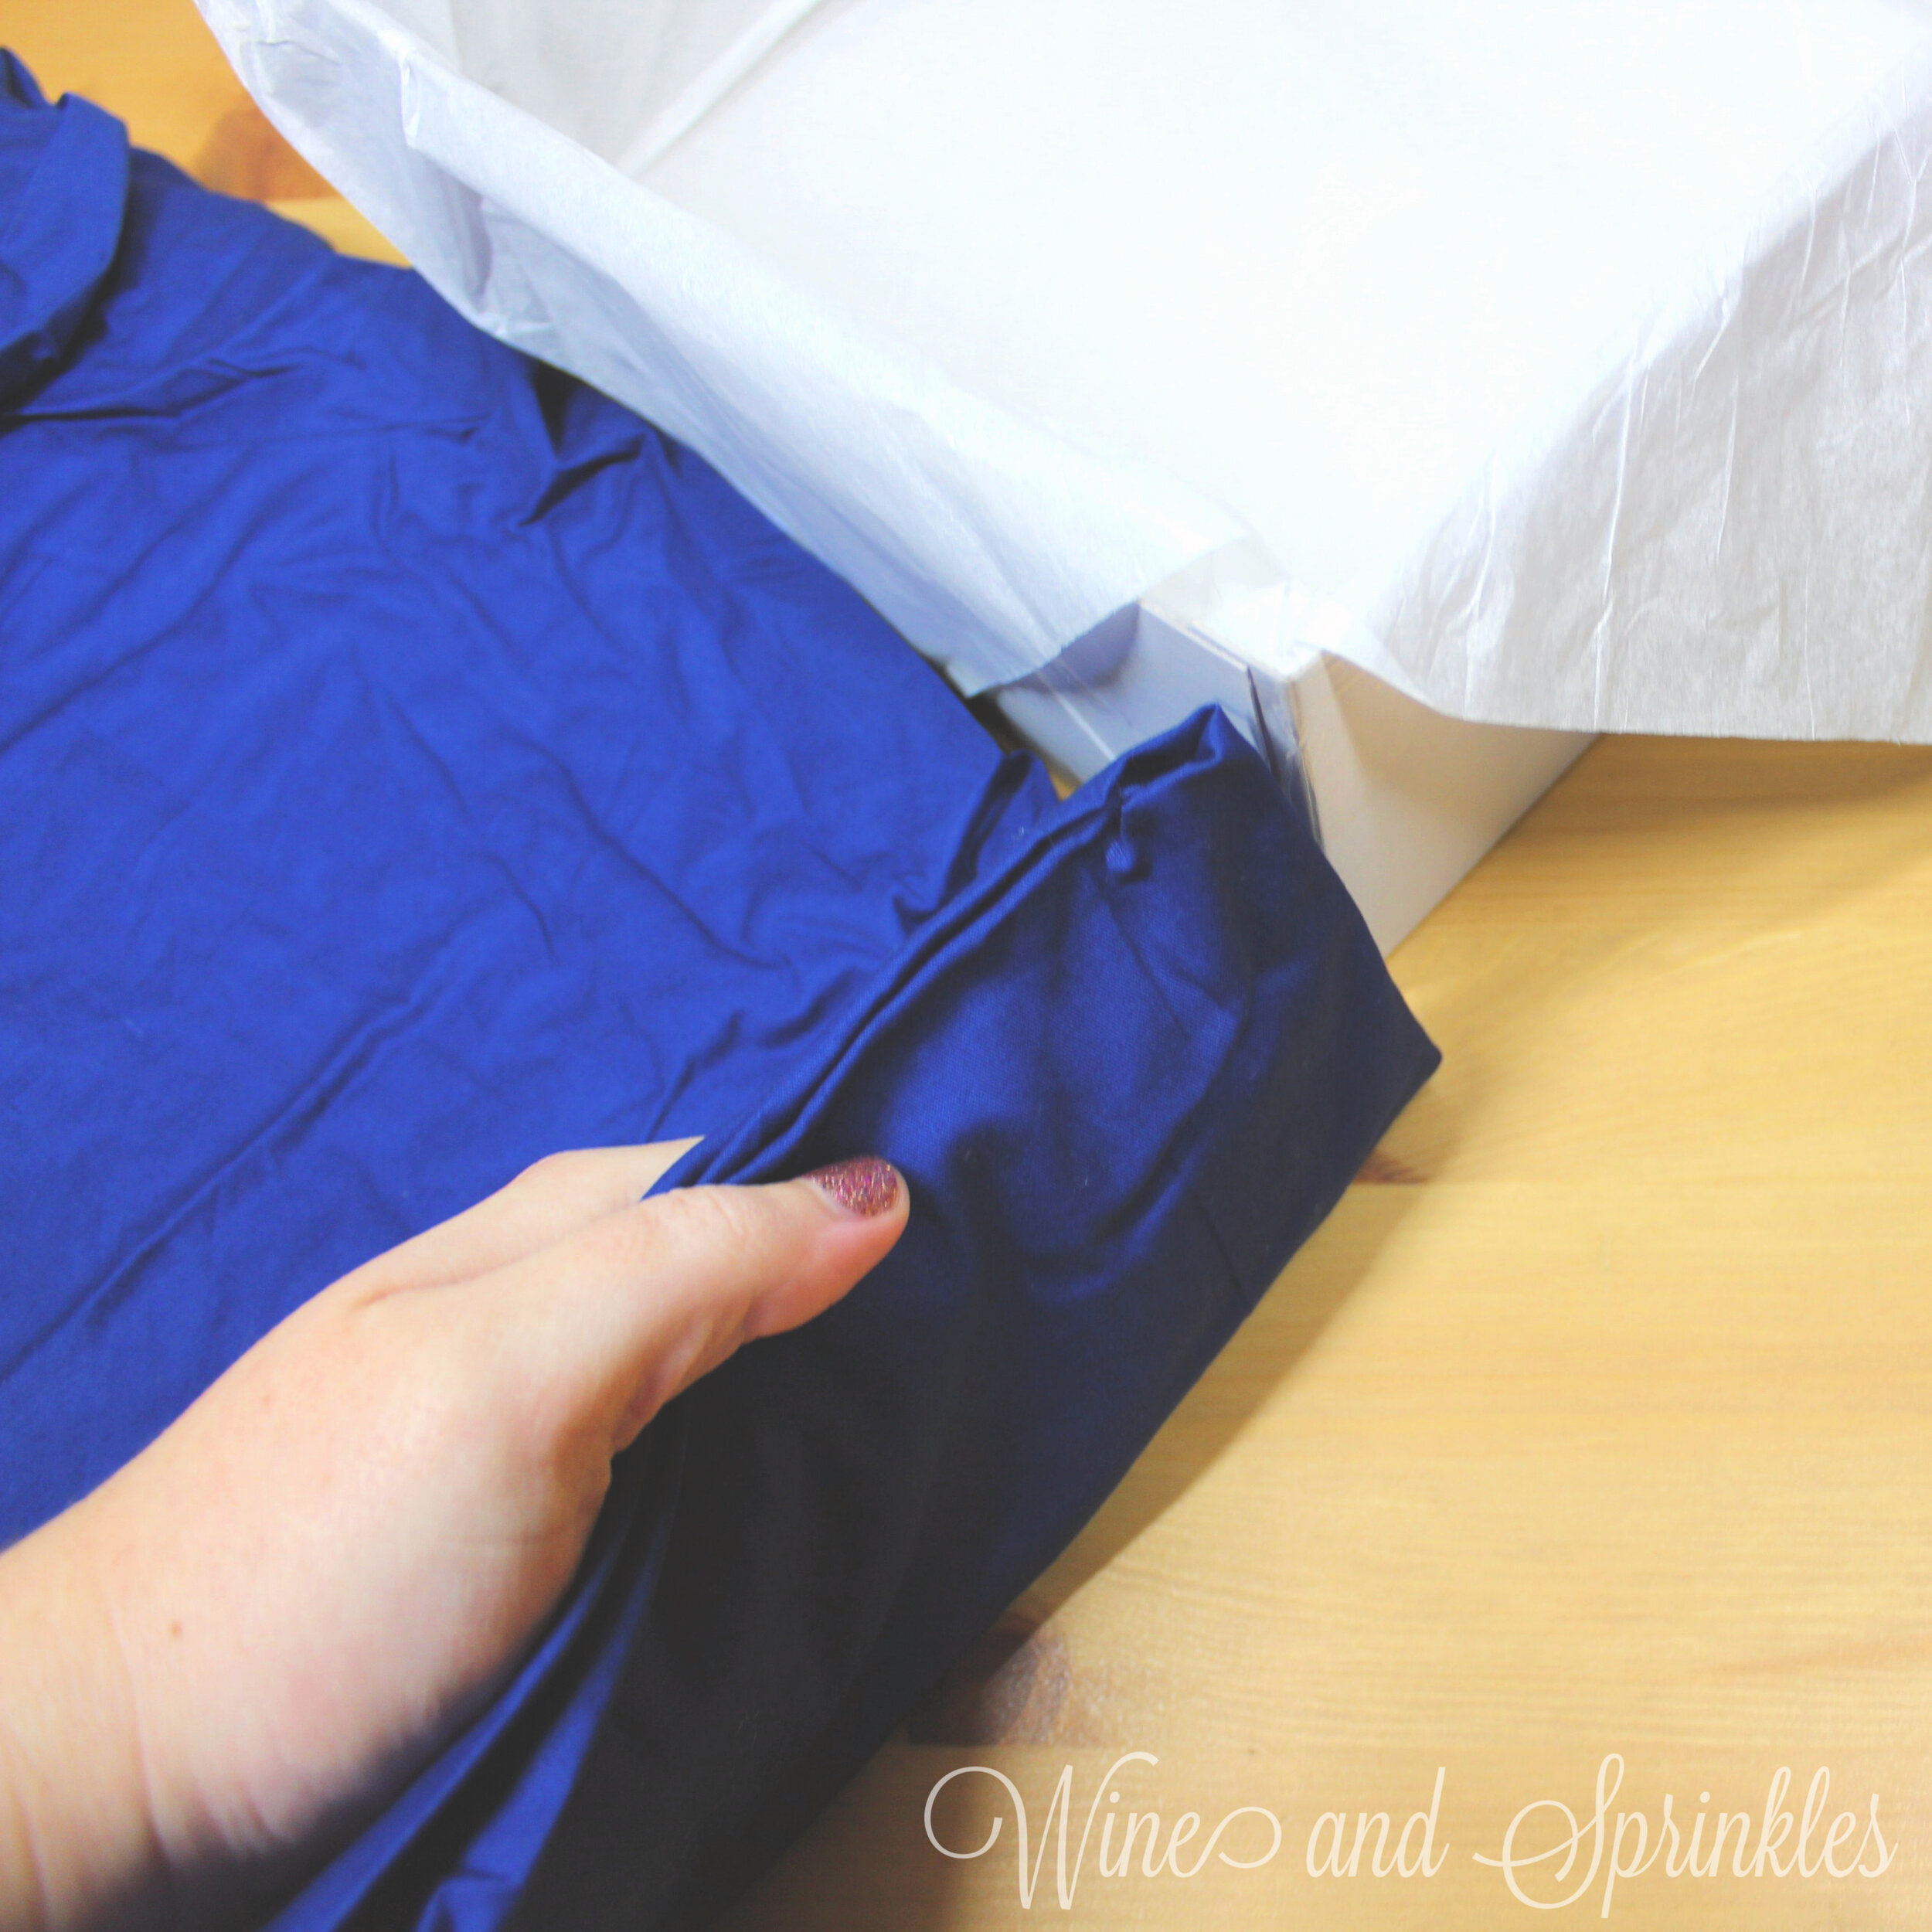
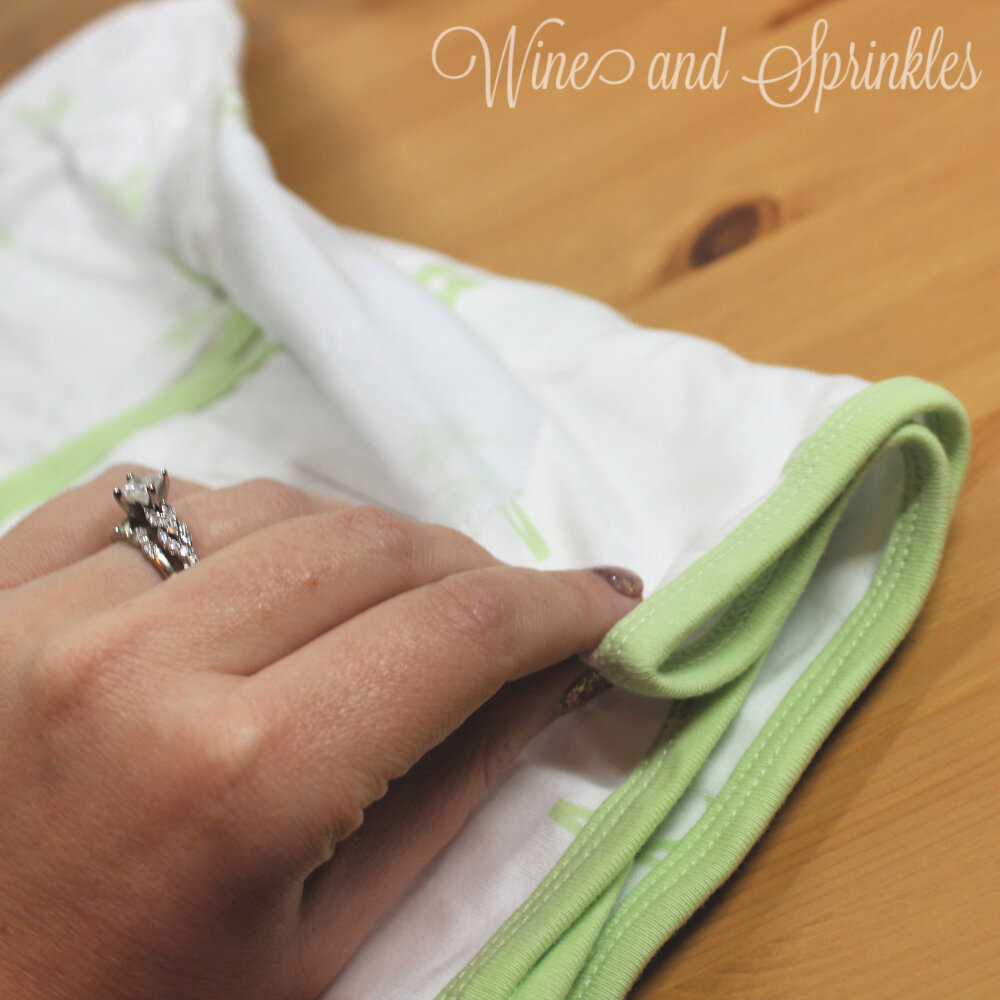
Start with your swaddle face up, with the sides of the swaddle folded in as shown. Then, fold out the outer wing to make a more uniform thickness throughout.
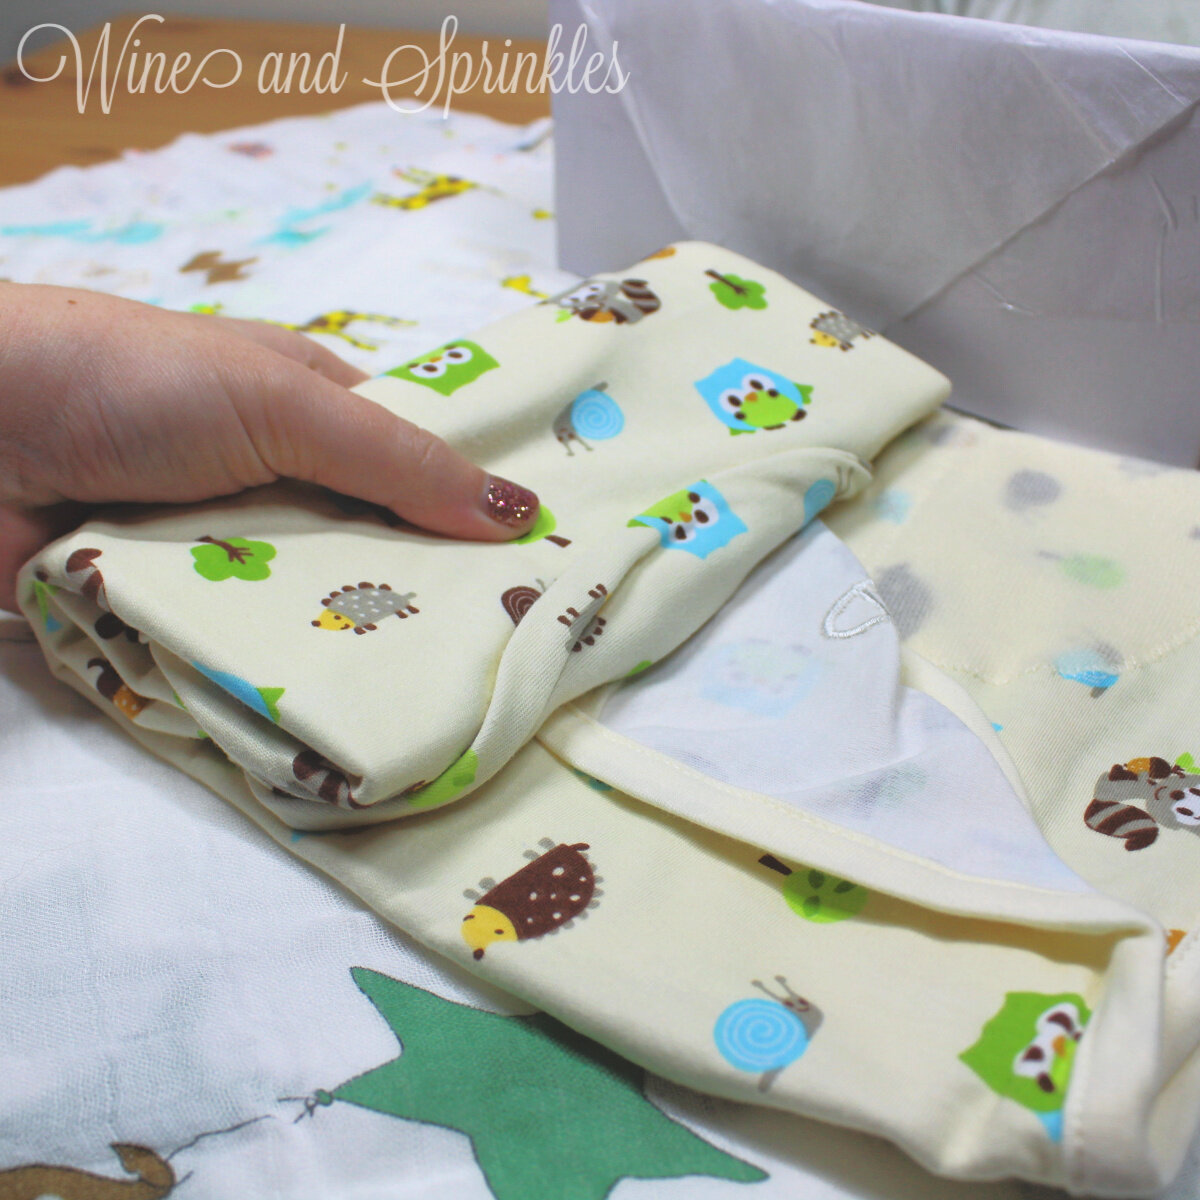
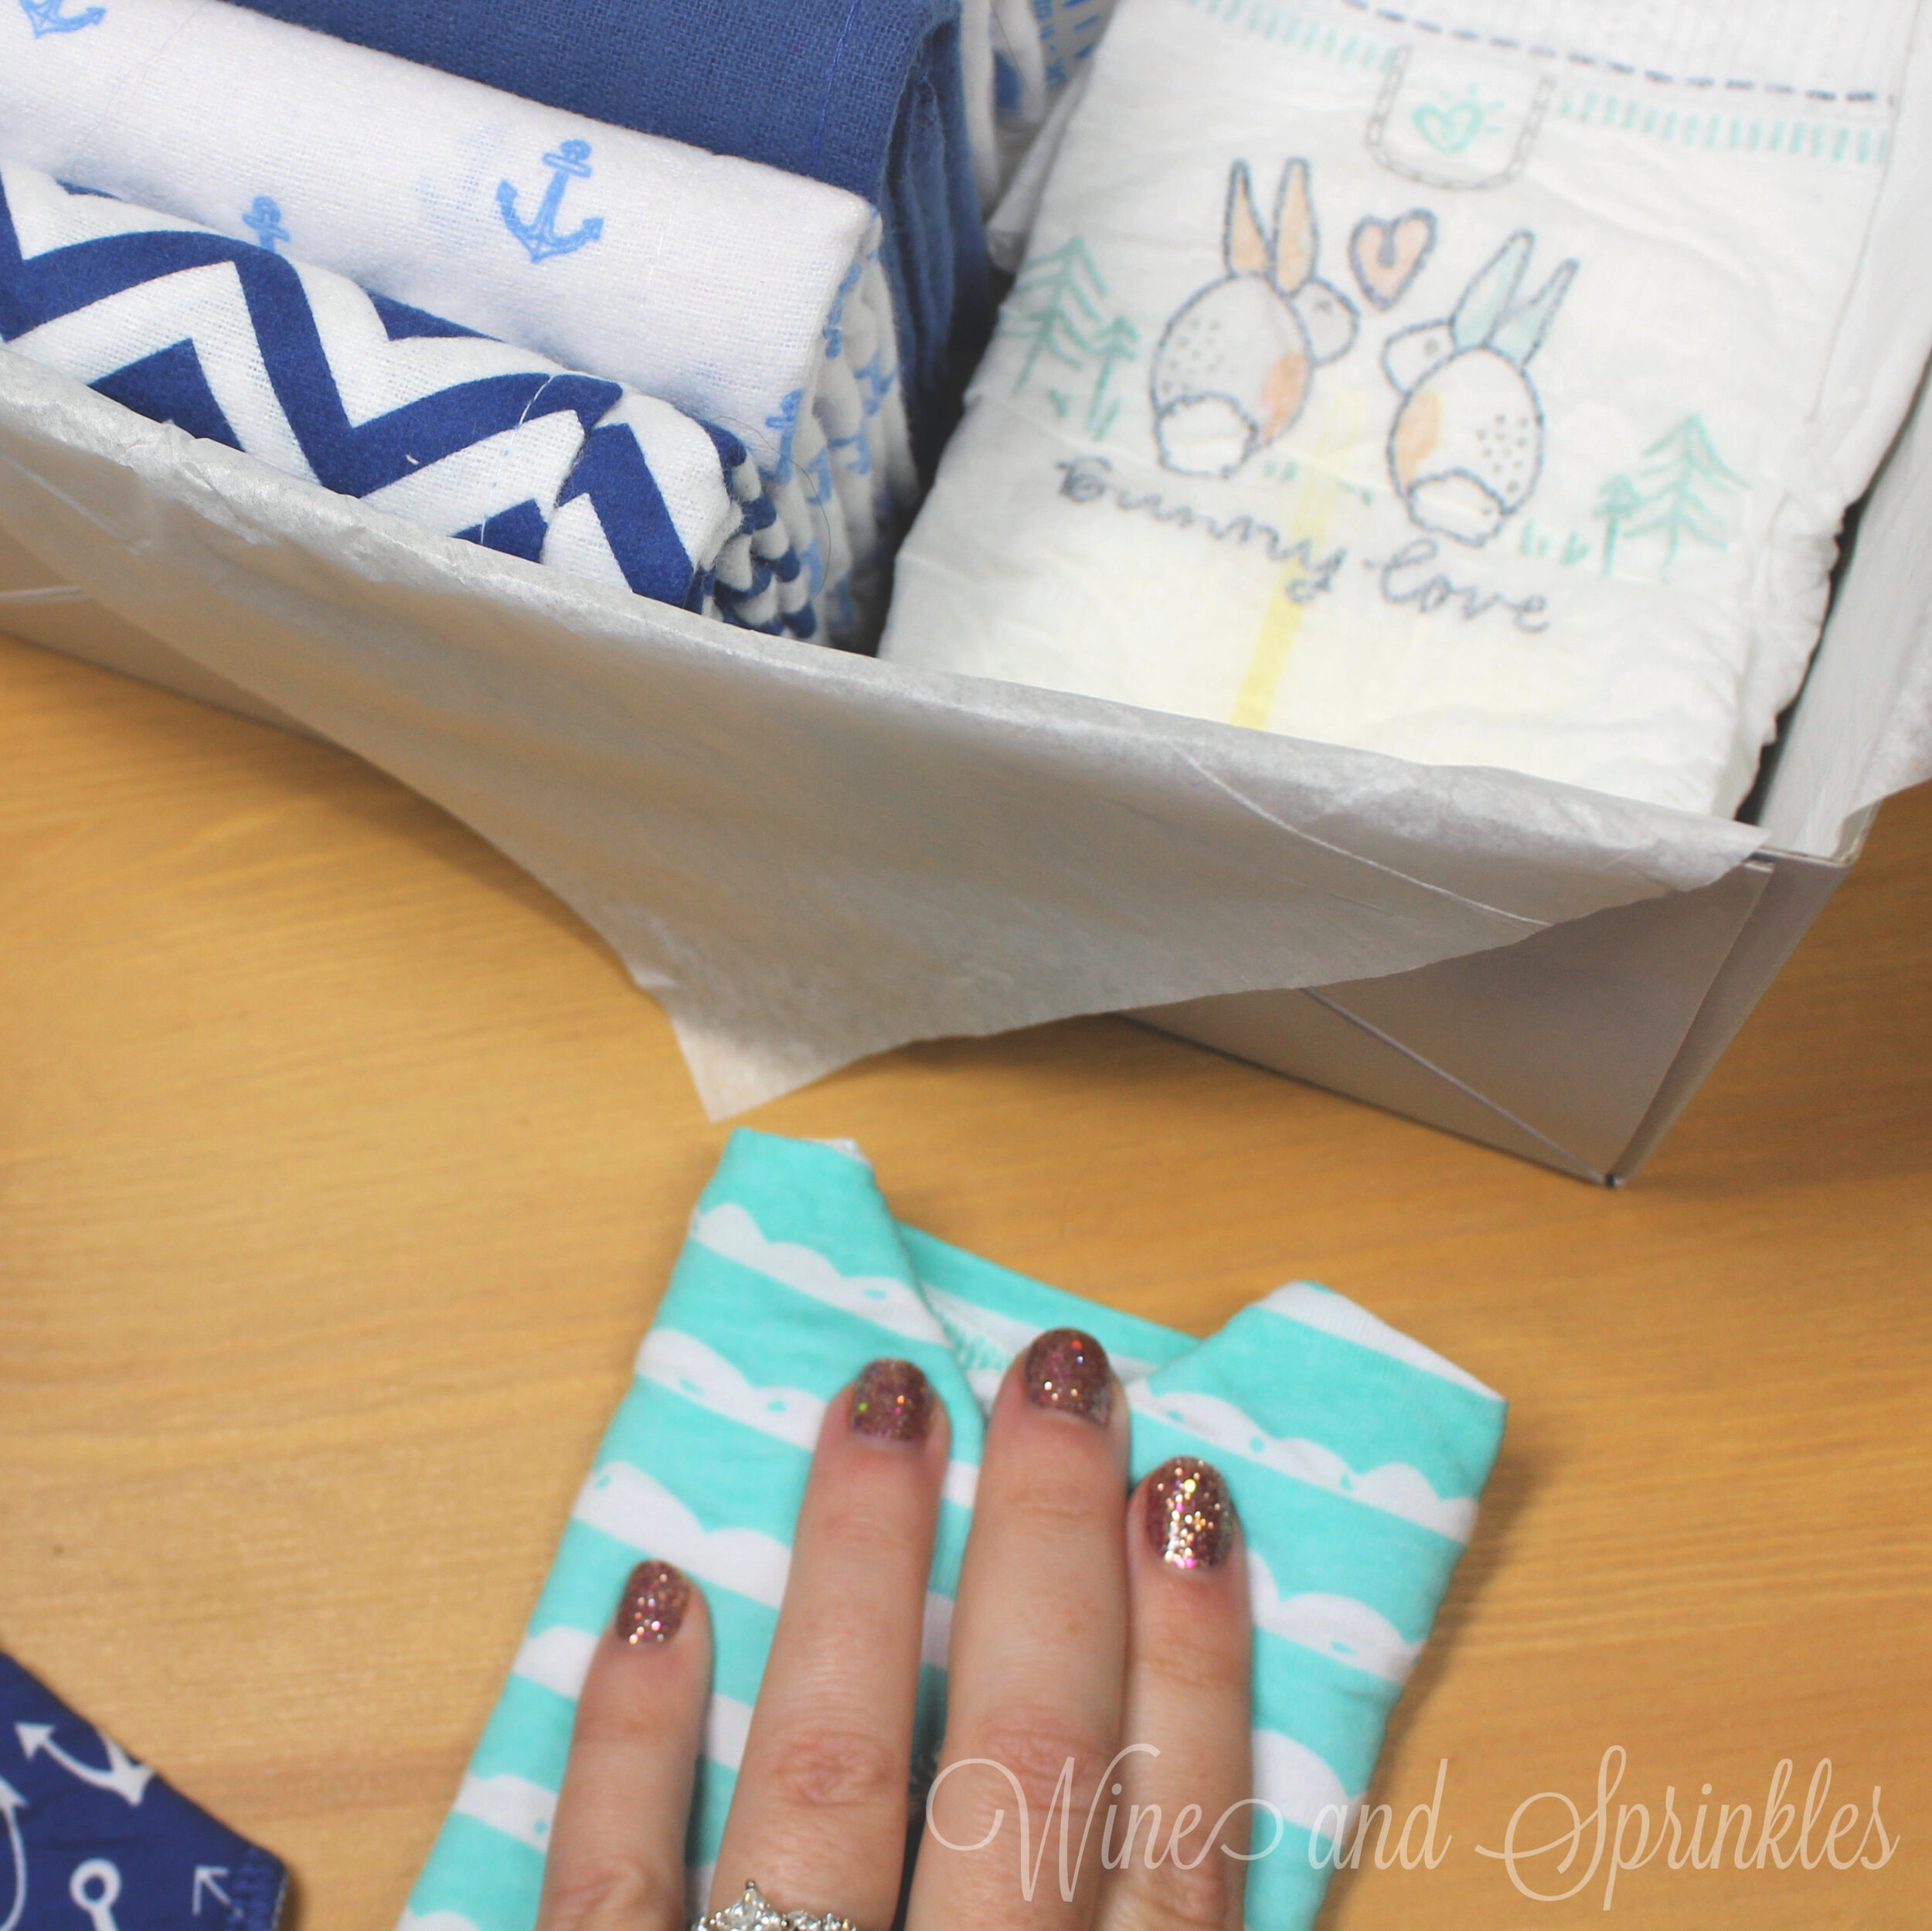
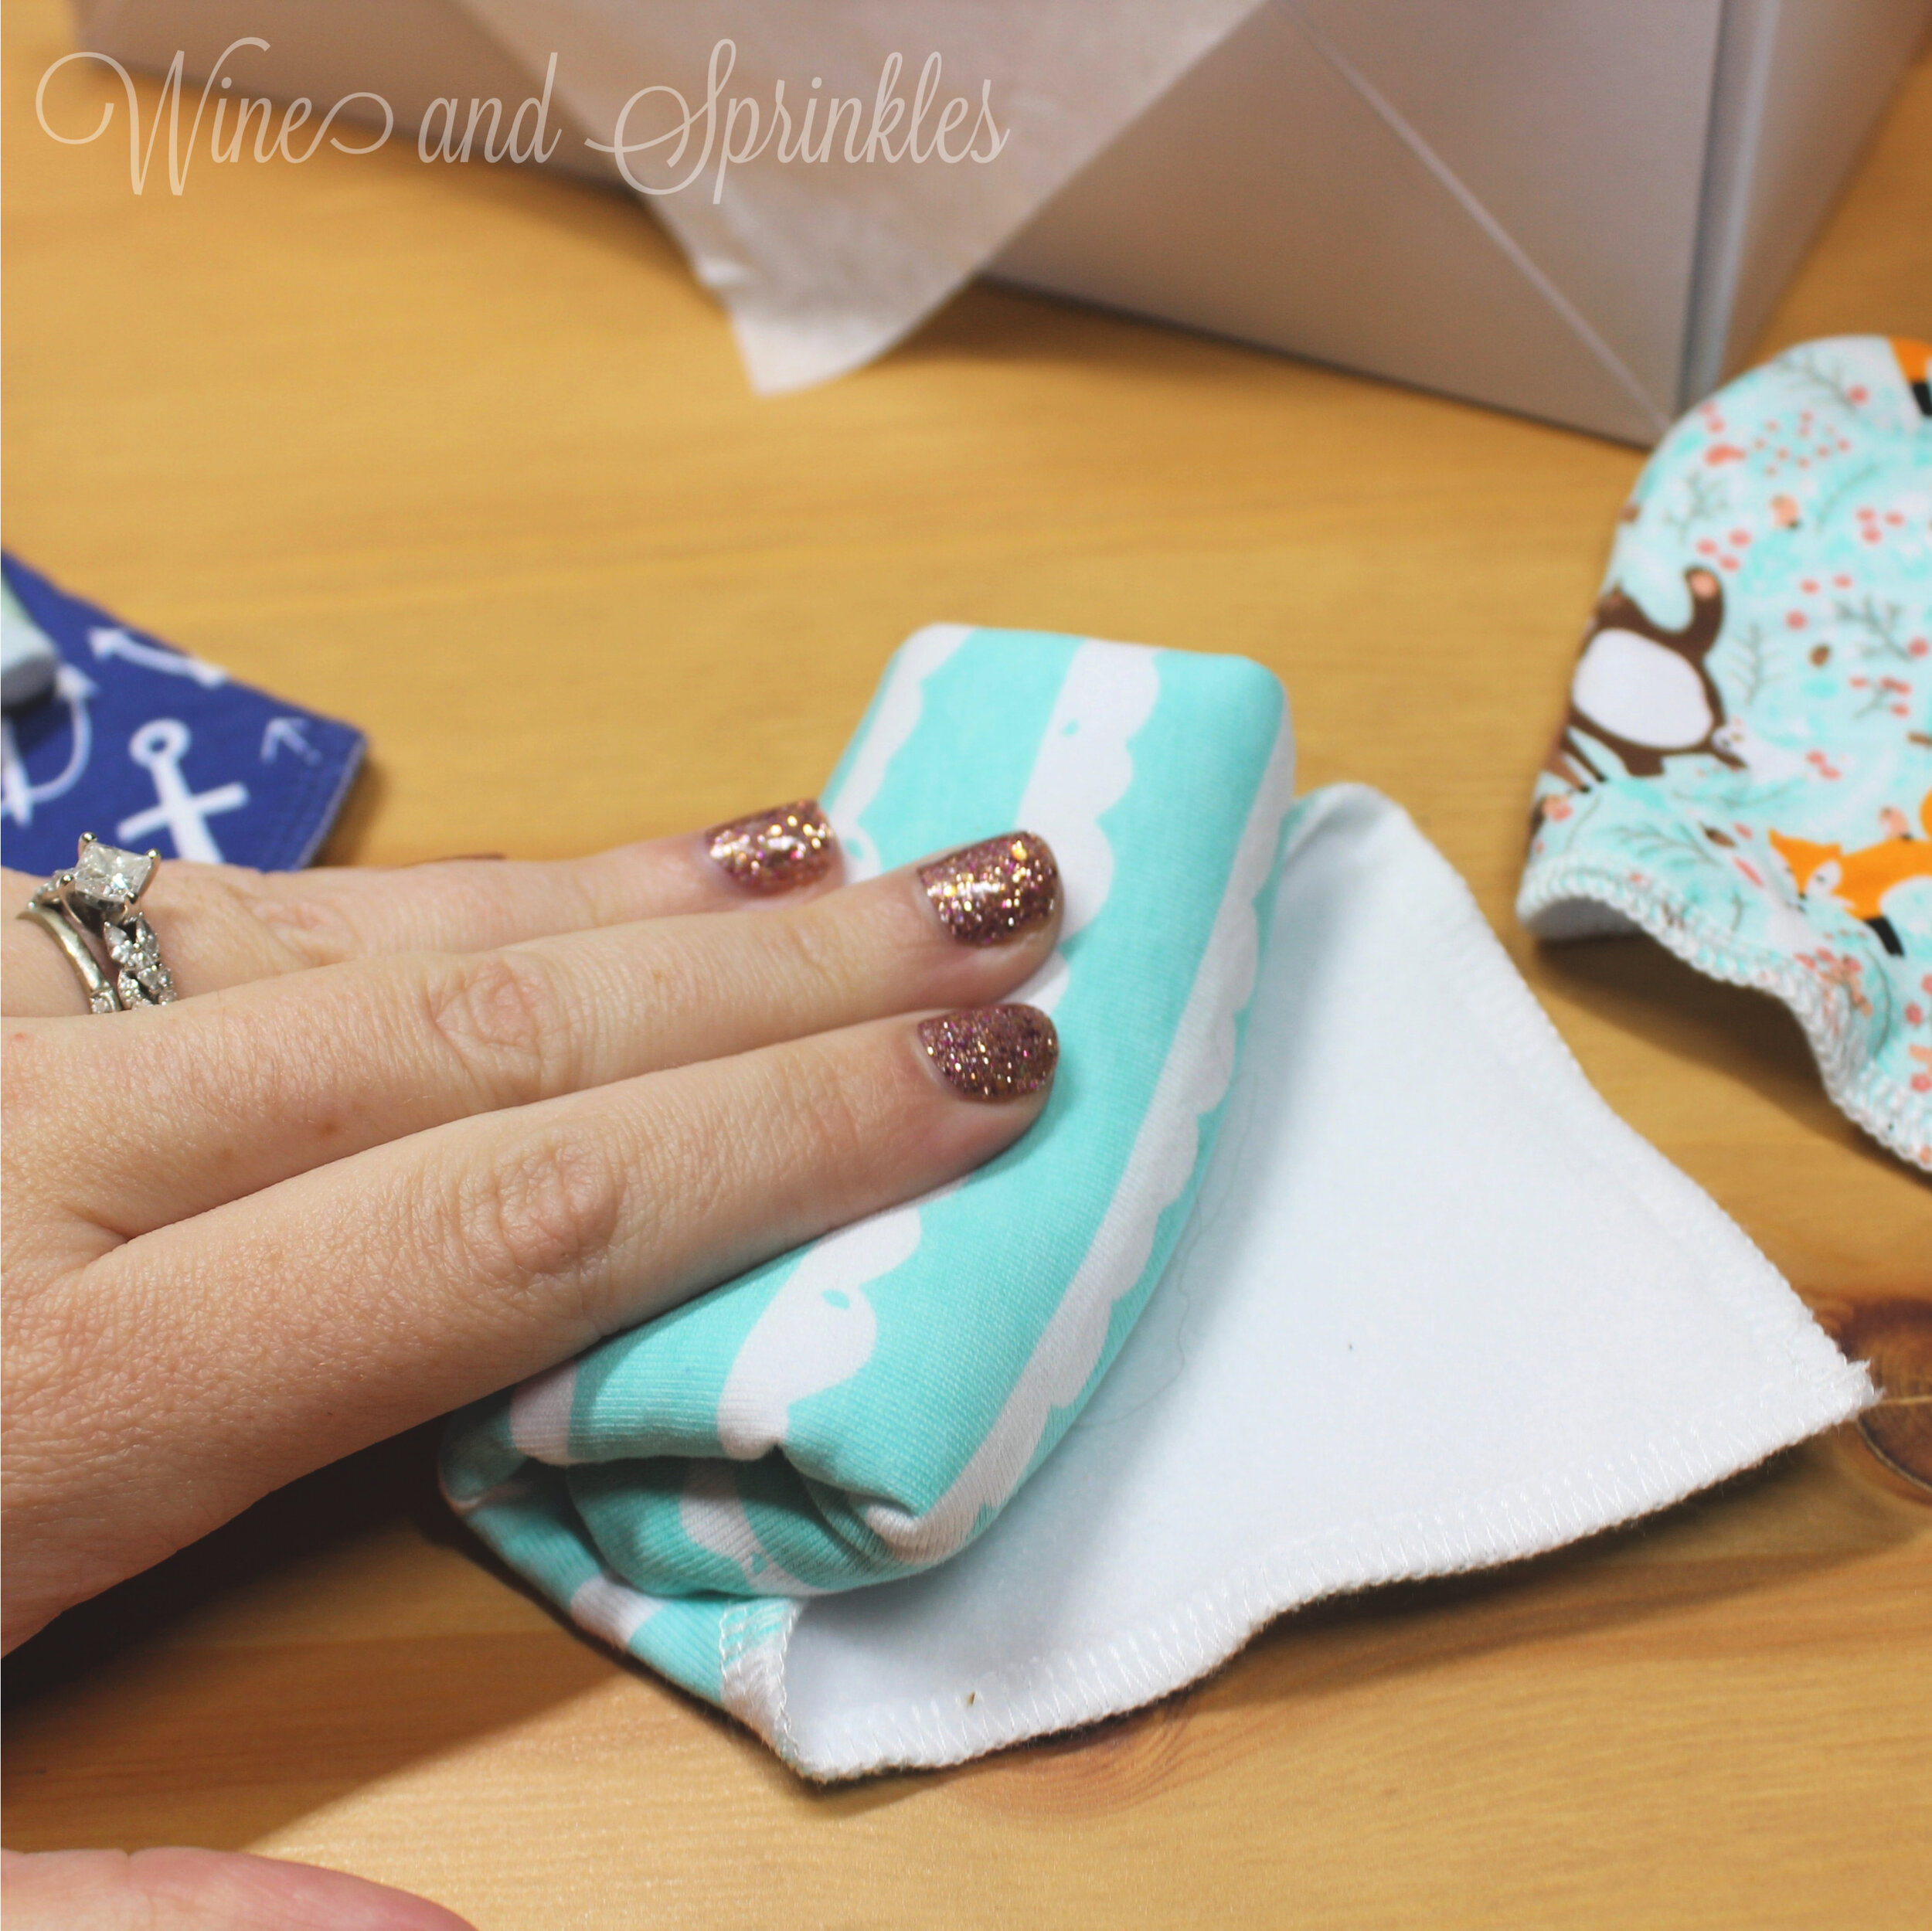
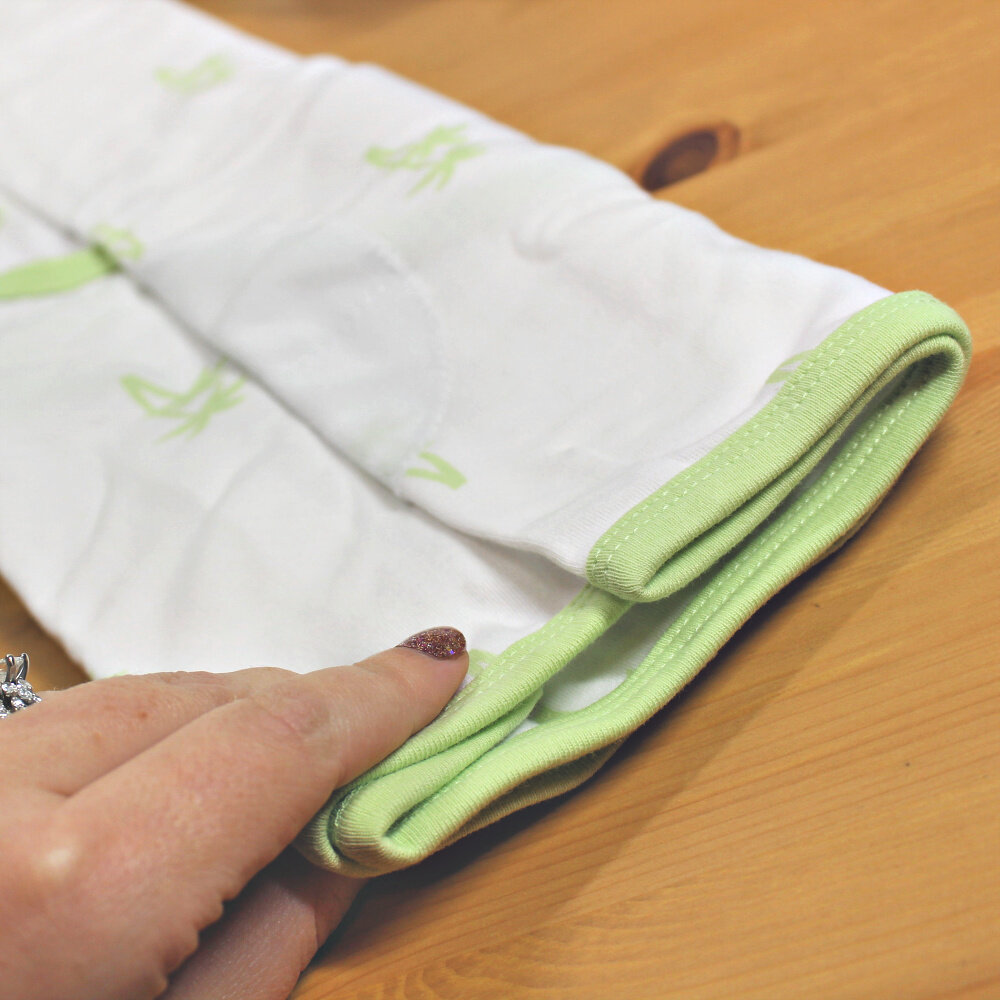
Now, take the bottom of the swaddle and fold it over the wing, covering the velcro securing bits and forming a rectangular packet, as shown in the photos.
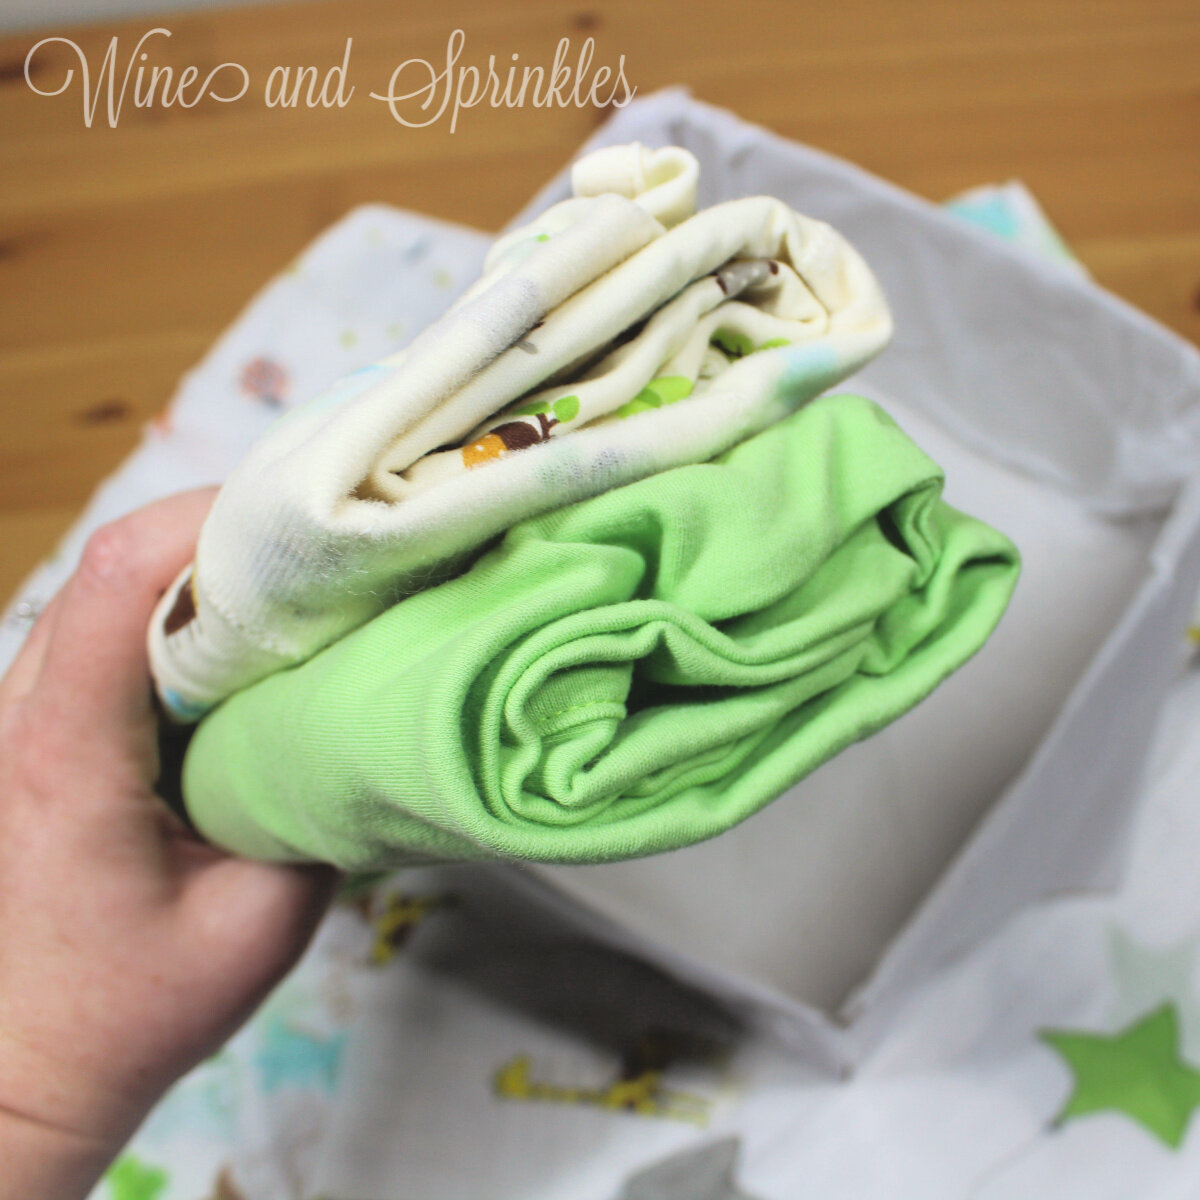
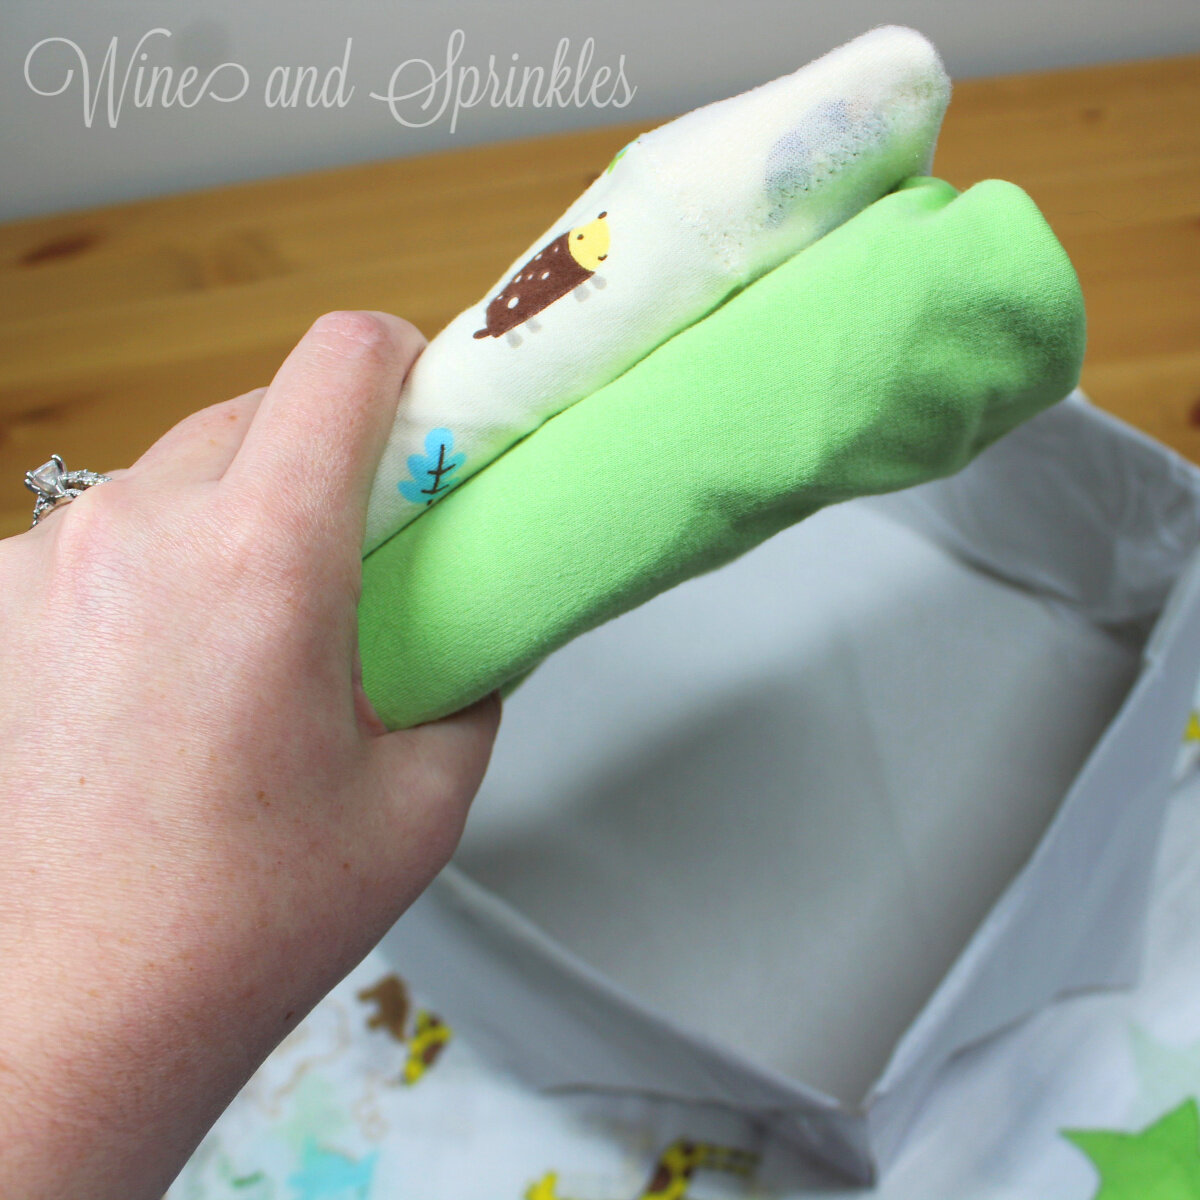
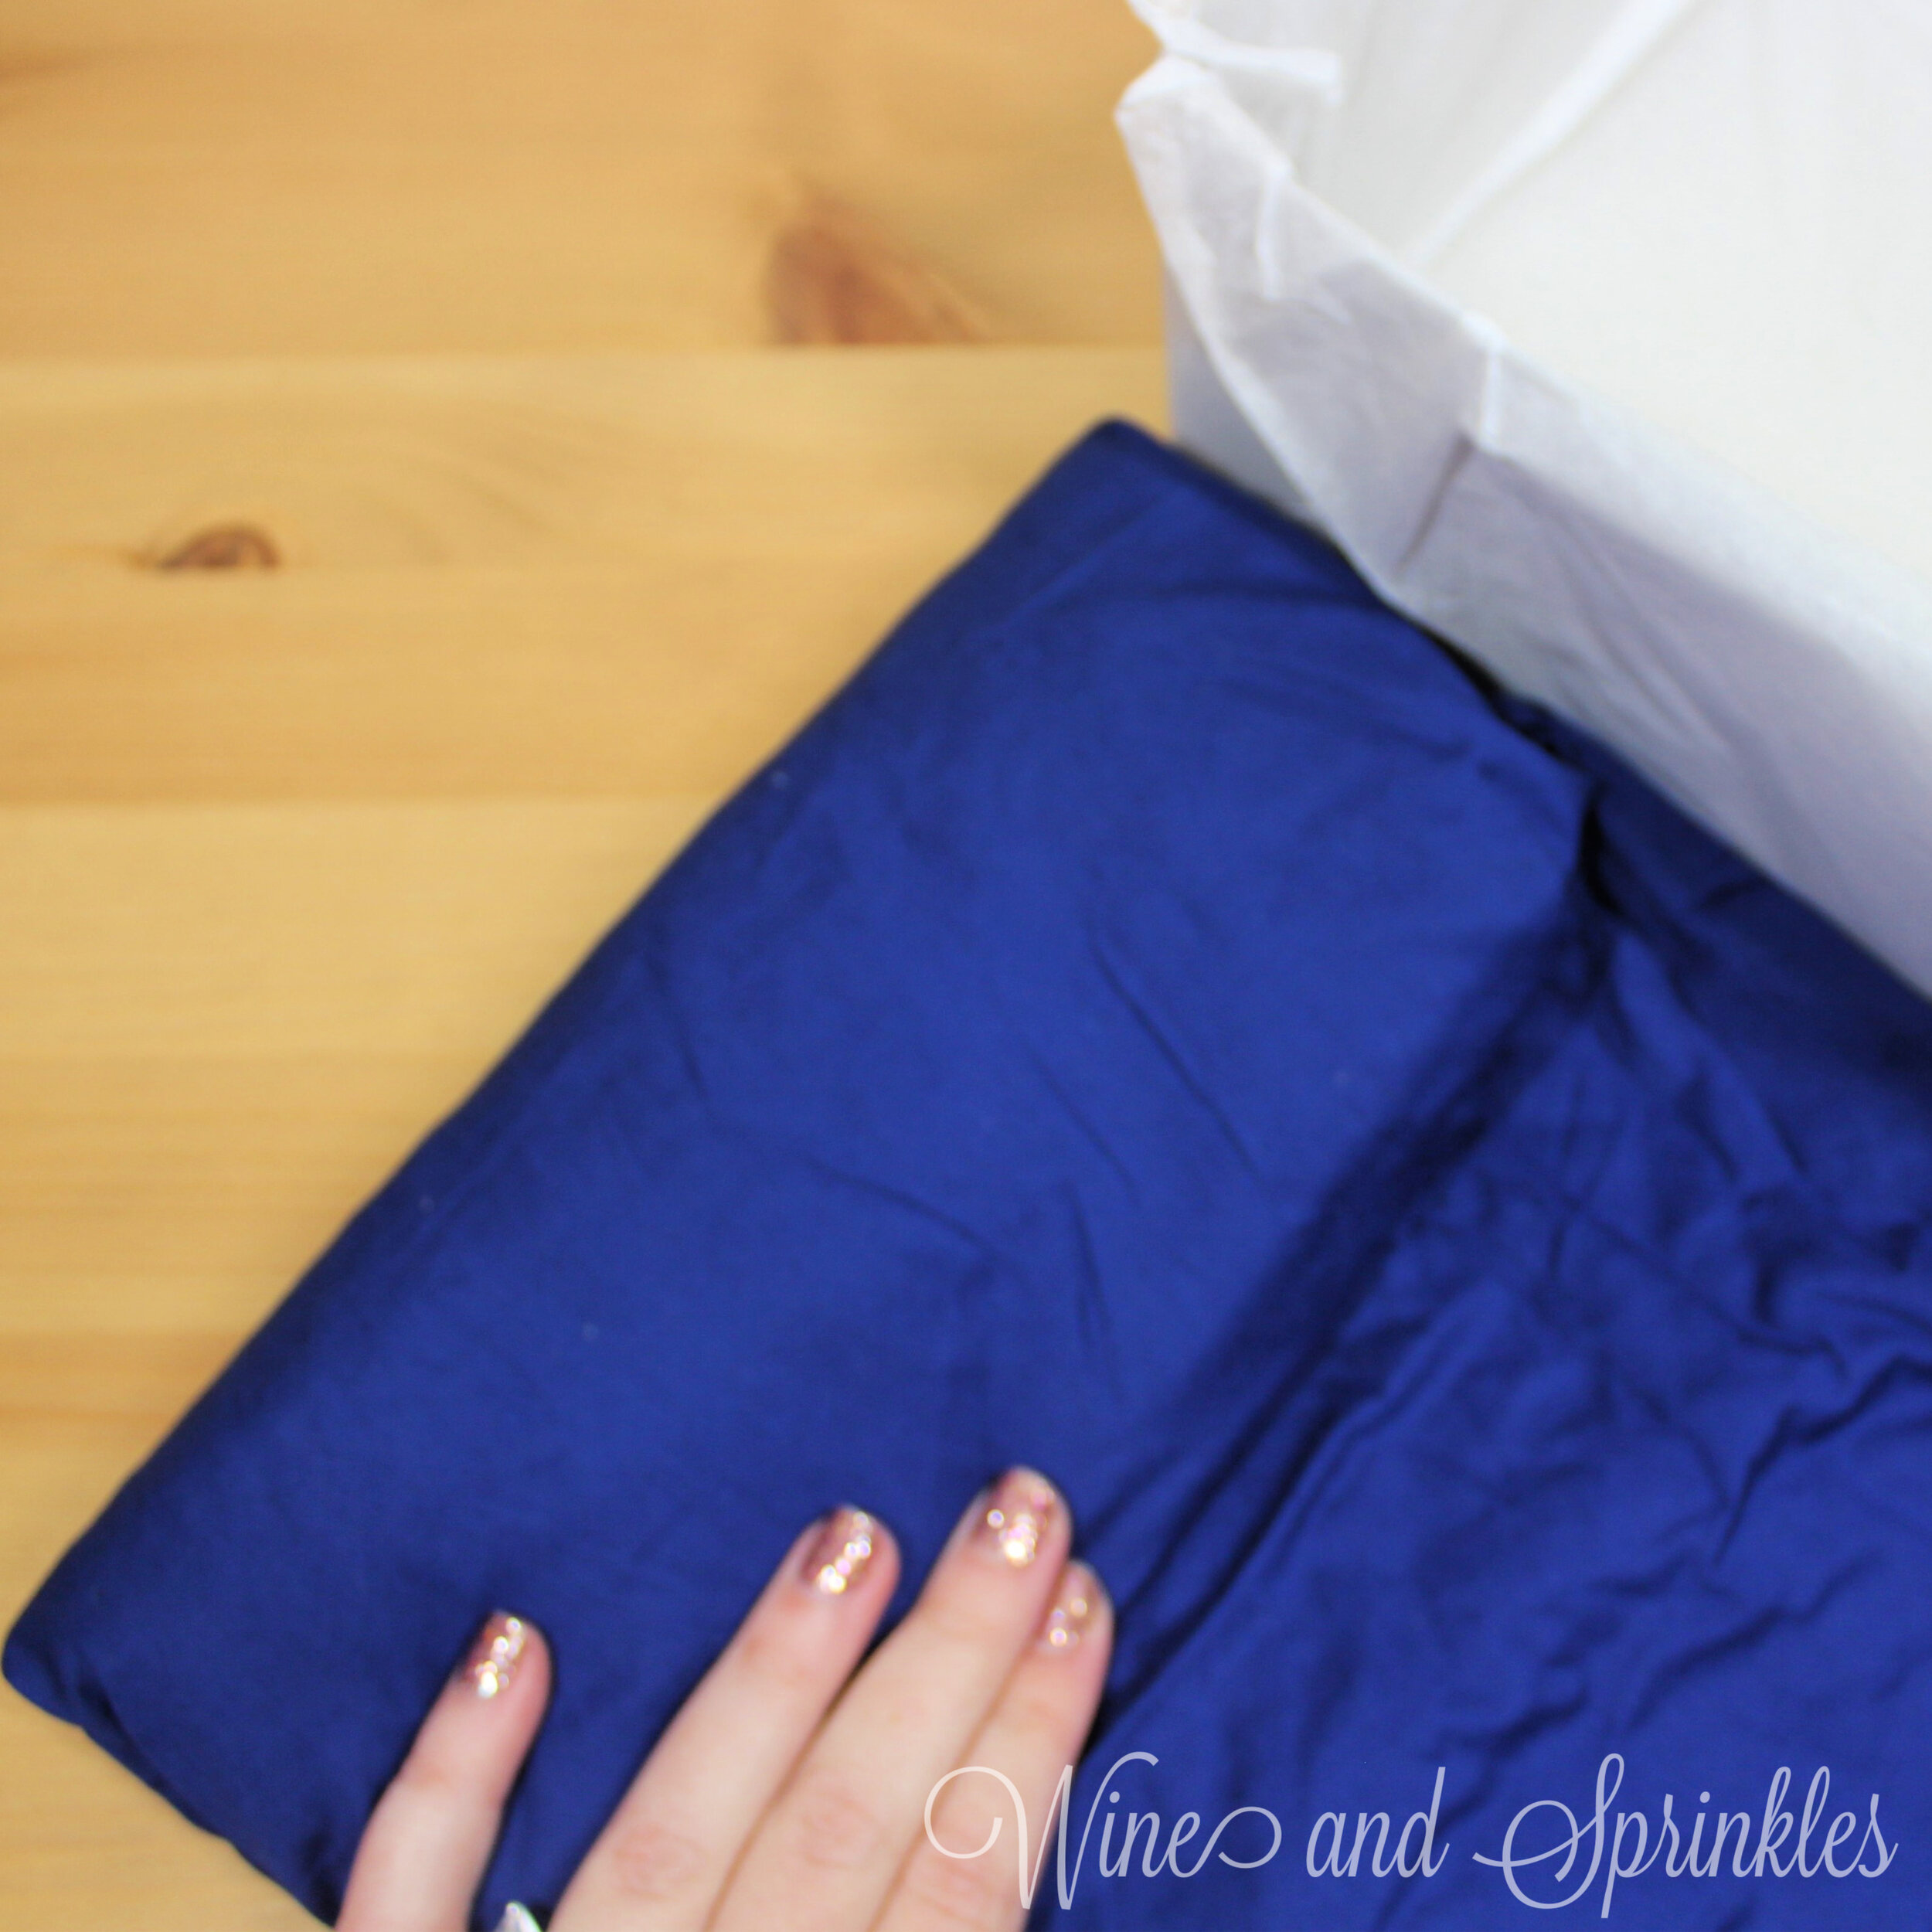
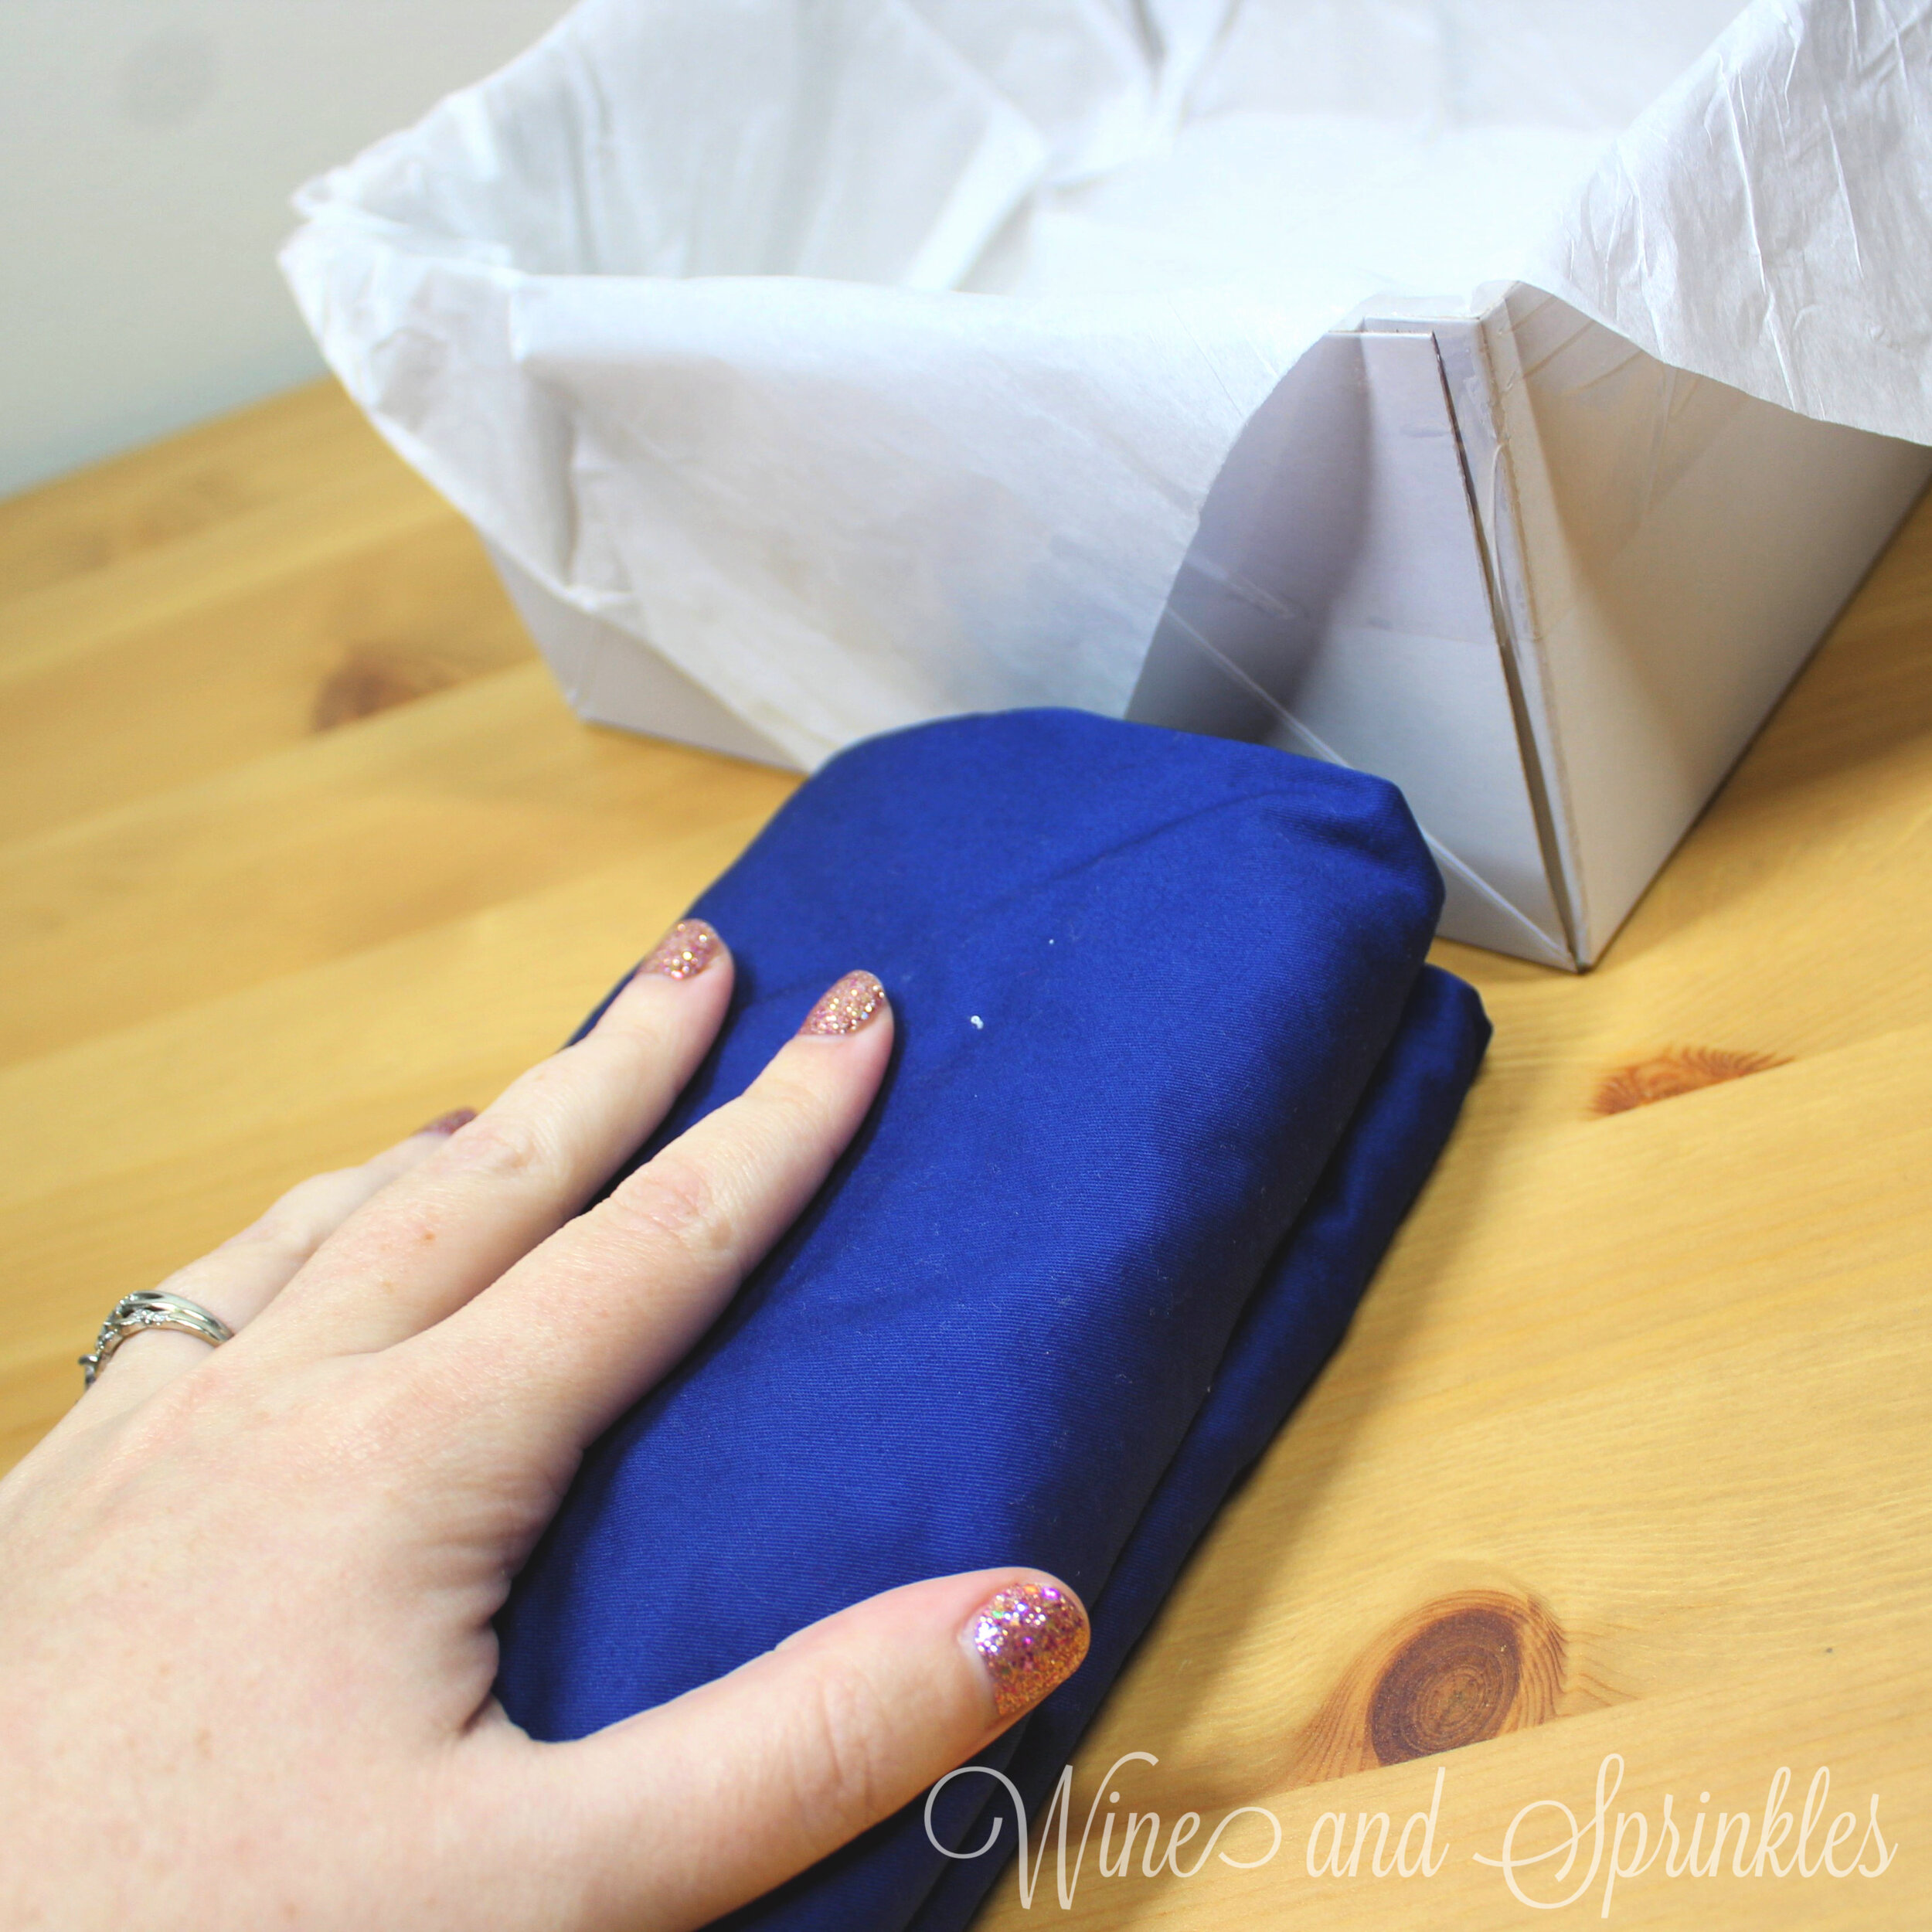
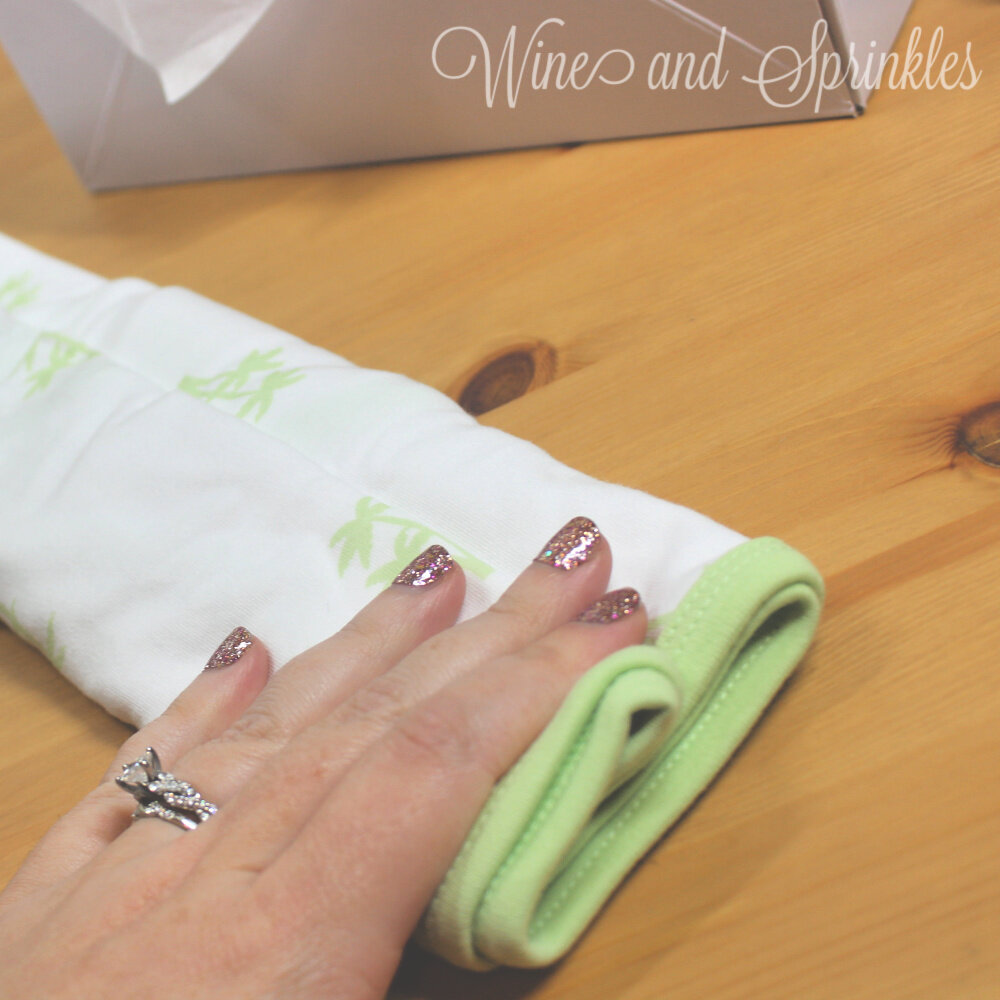
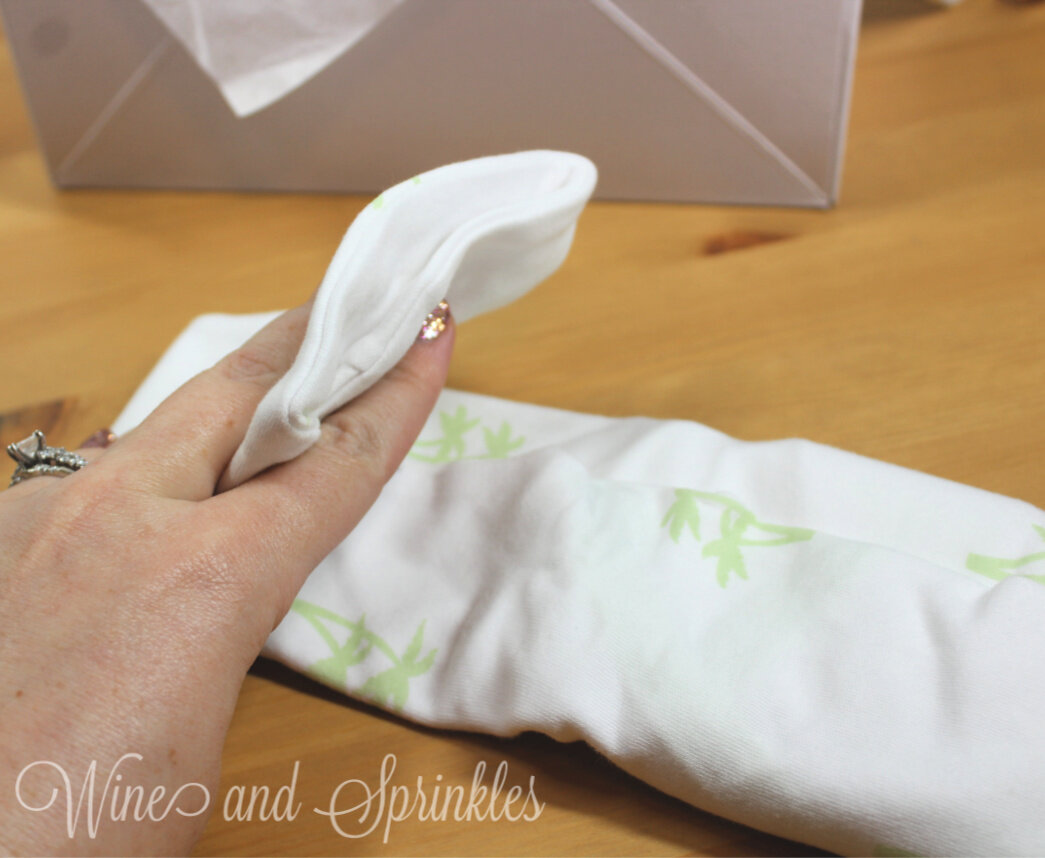
3. Using the height of the gift box as a guide,start at the bottom of the swaddle and fold it over, with the folded end being slightly lower than the height of your box. Continue folding the swaddle over itself until the entire swaddle is a rolled up rectangular packet that is the height and width of your gift box.
4. Repeat the same folding process with the remaining swaddle. Then, place the swaddles along the top and bottom of the gift box, folded side up. The remaining space will be used as a guide for folding the flannel receiving blankets.
PART 2 - FOLDING RECEIVING BLANKETS
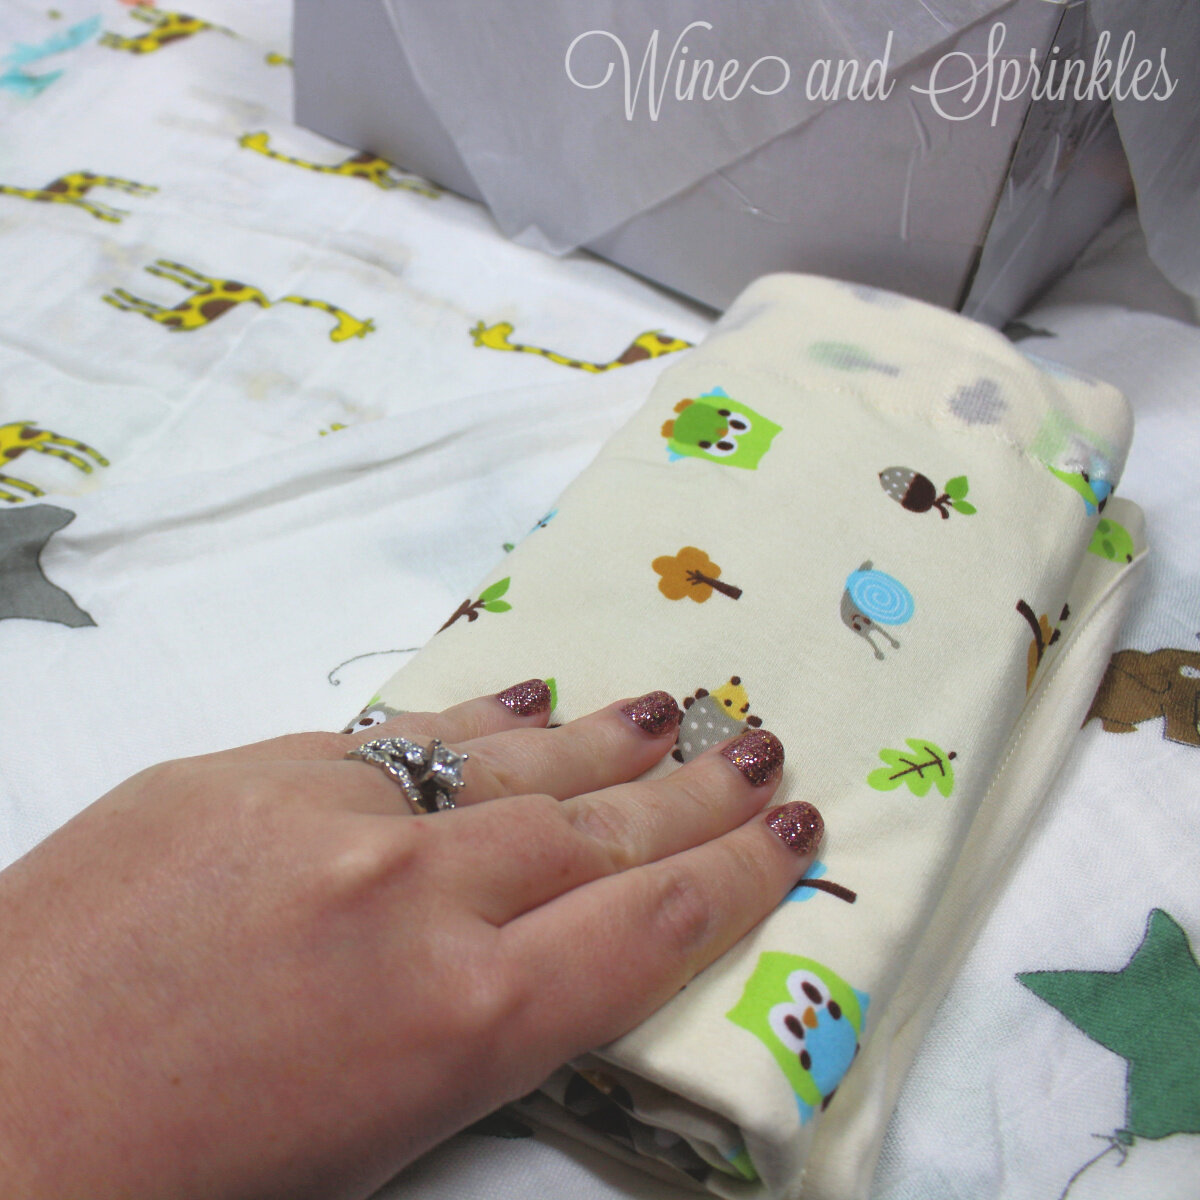
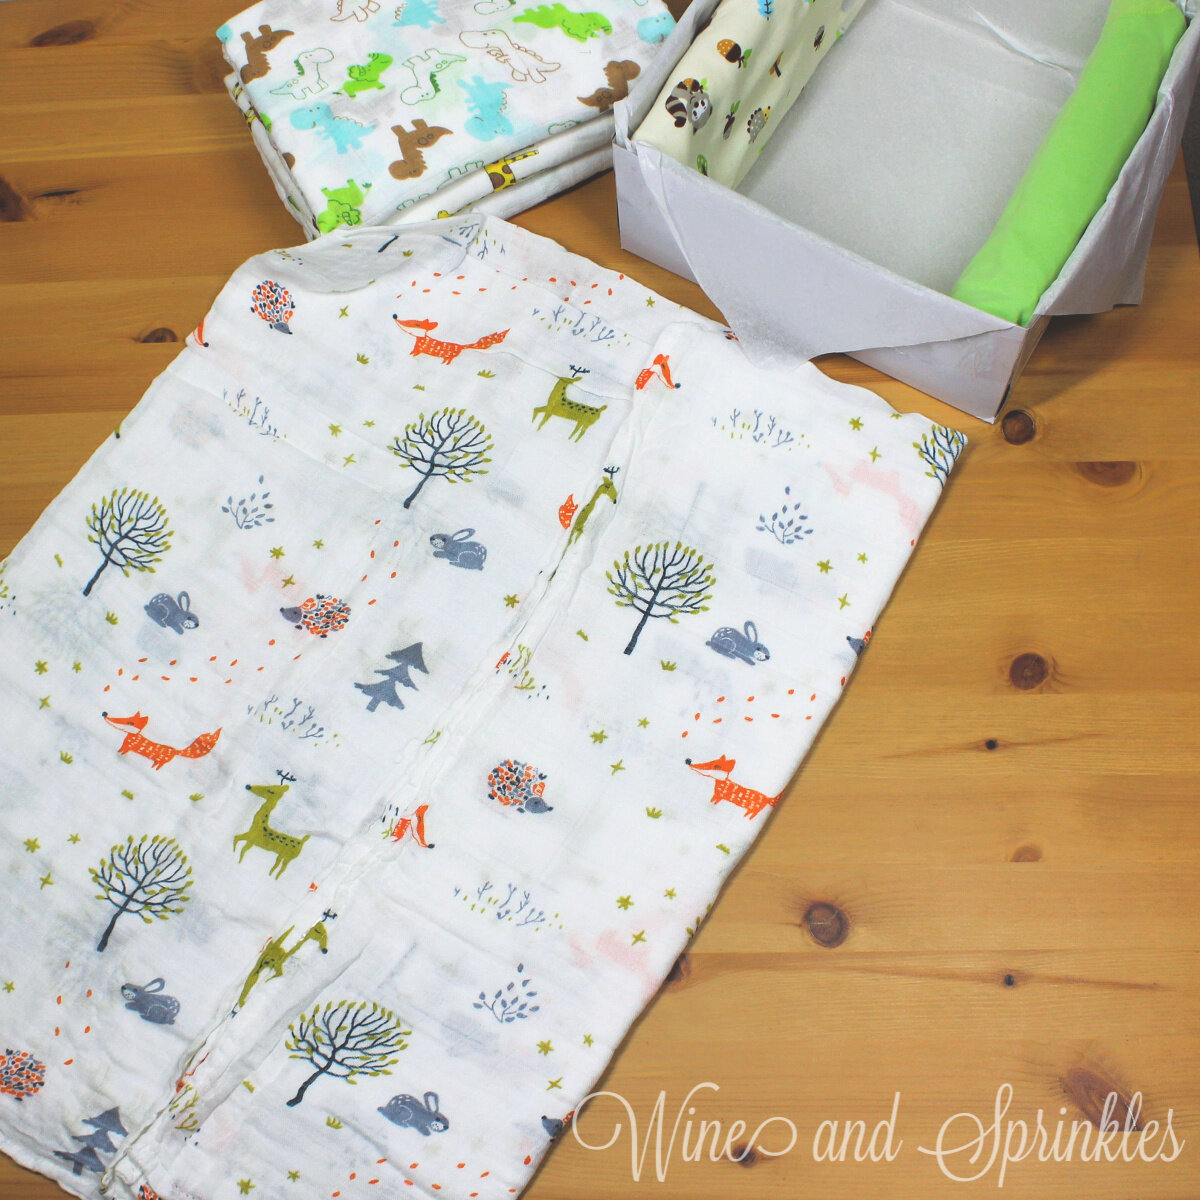
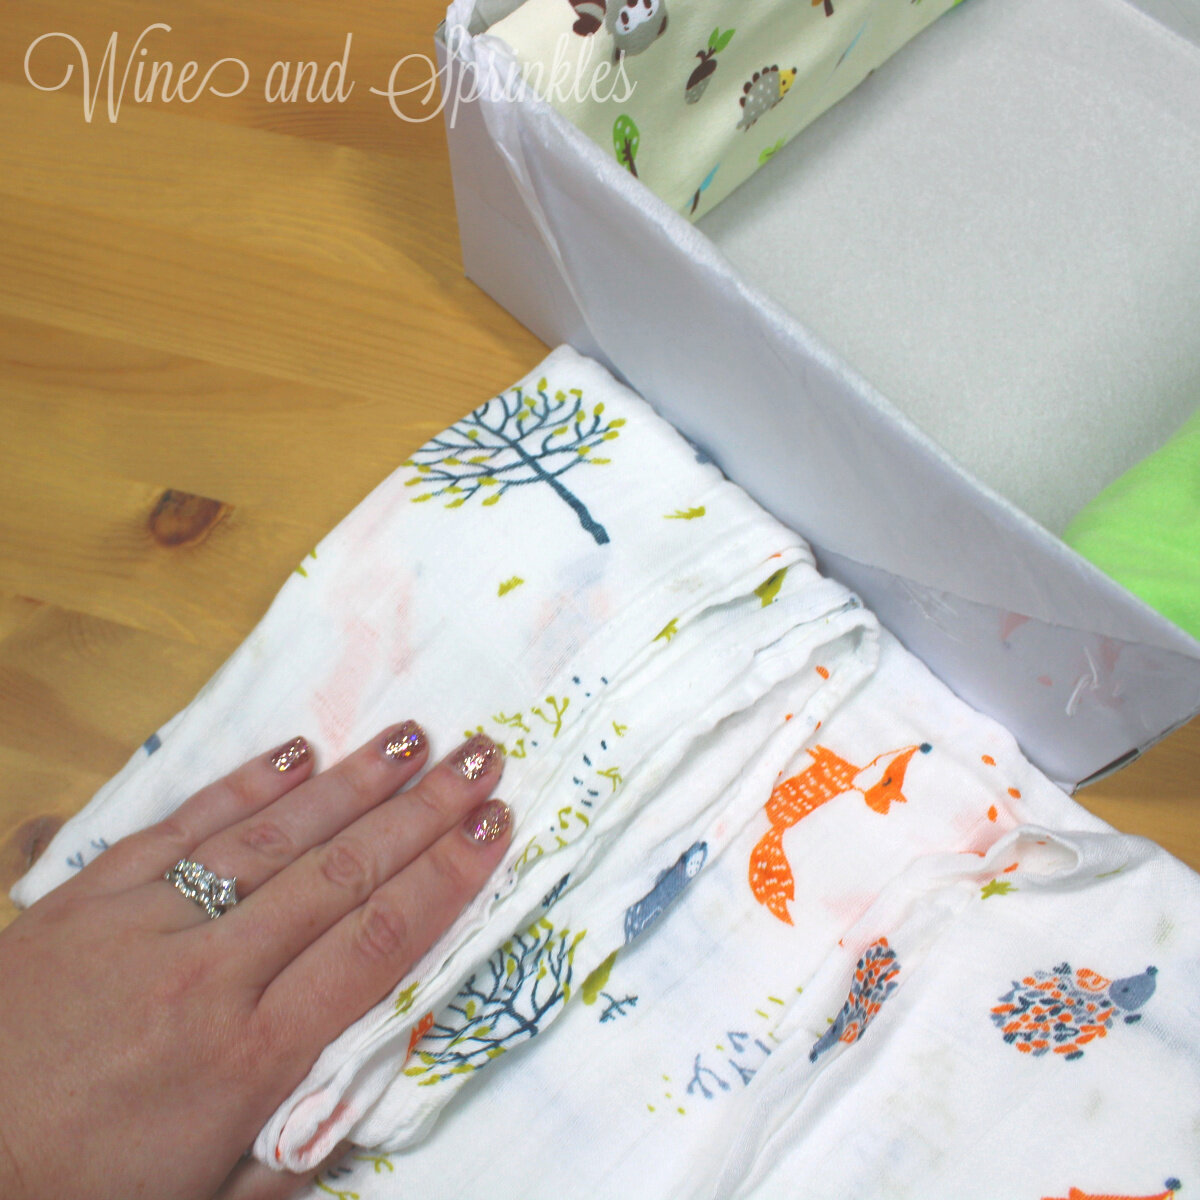
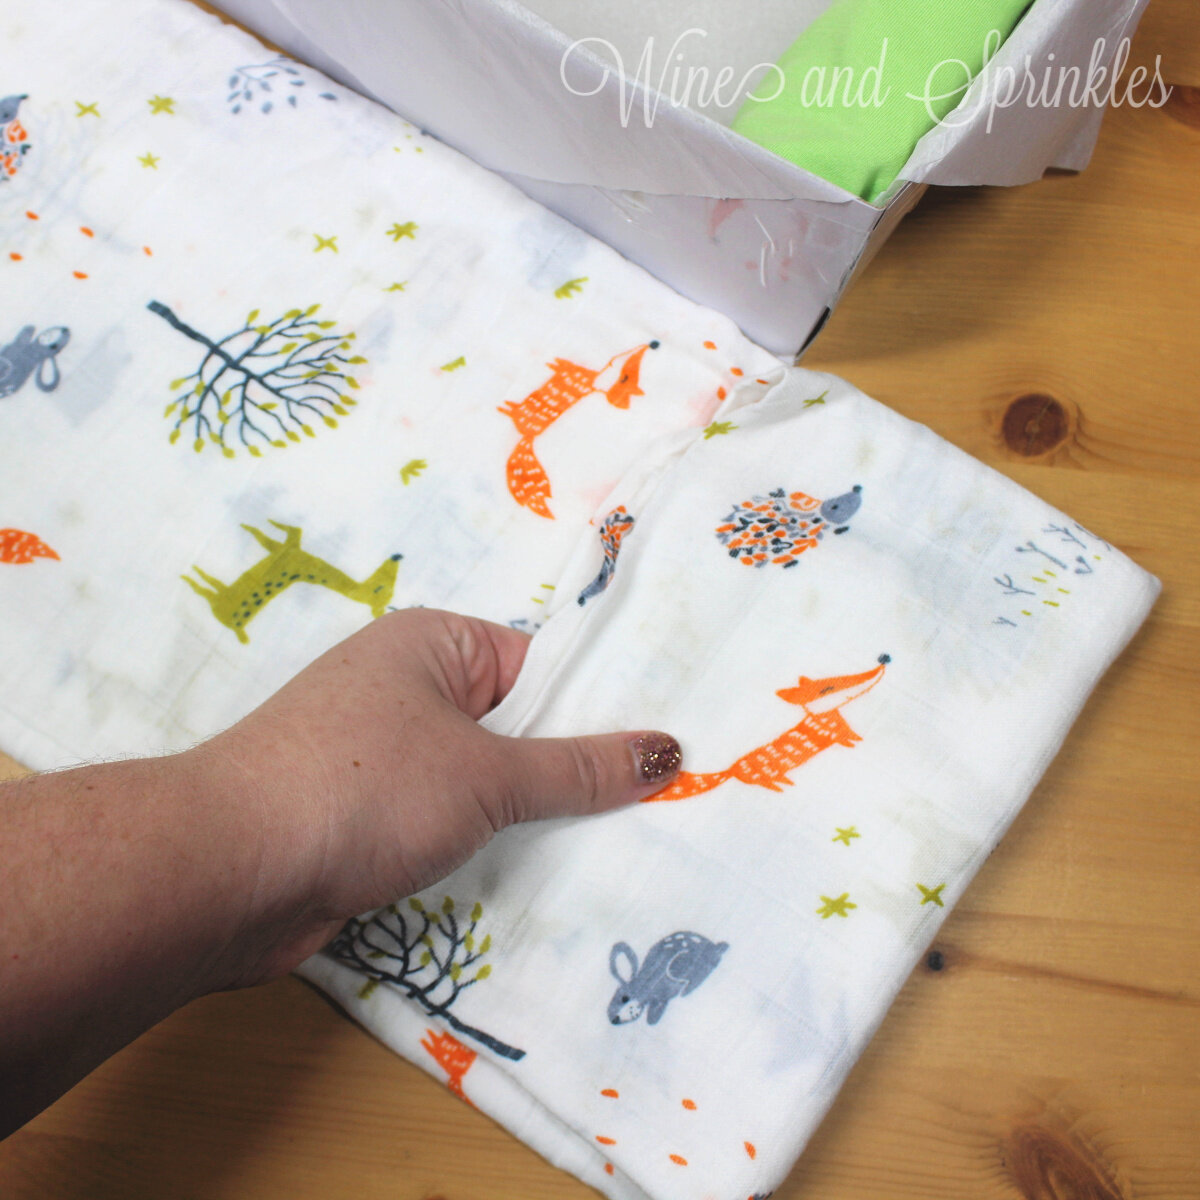
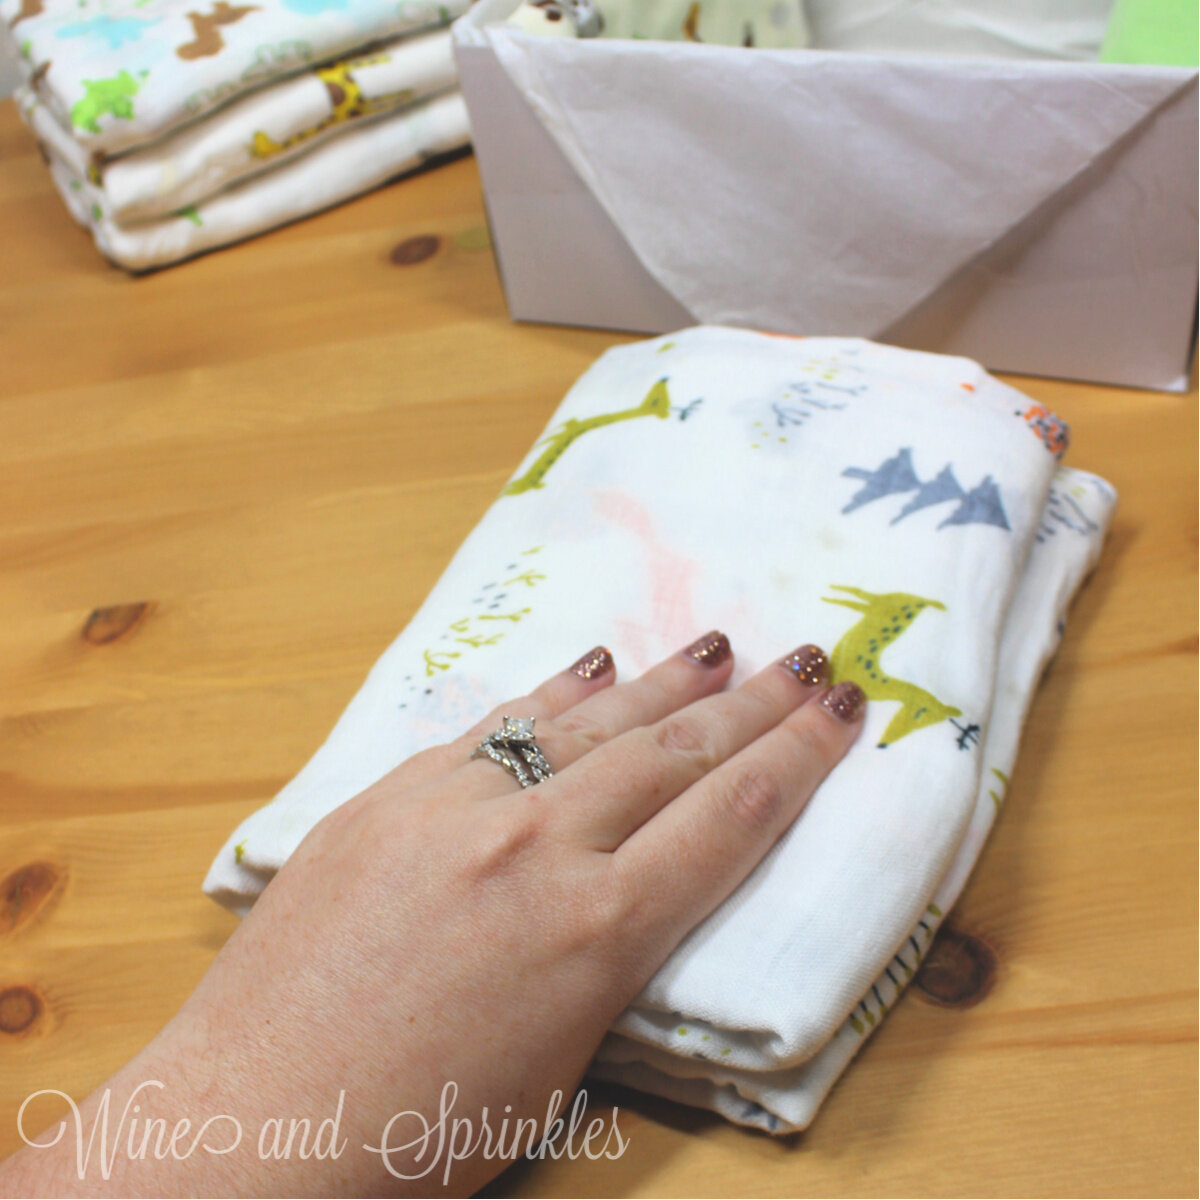
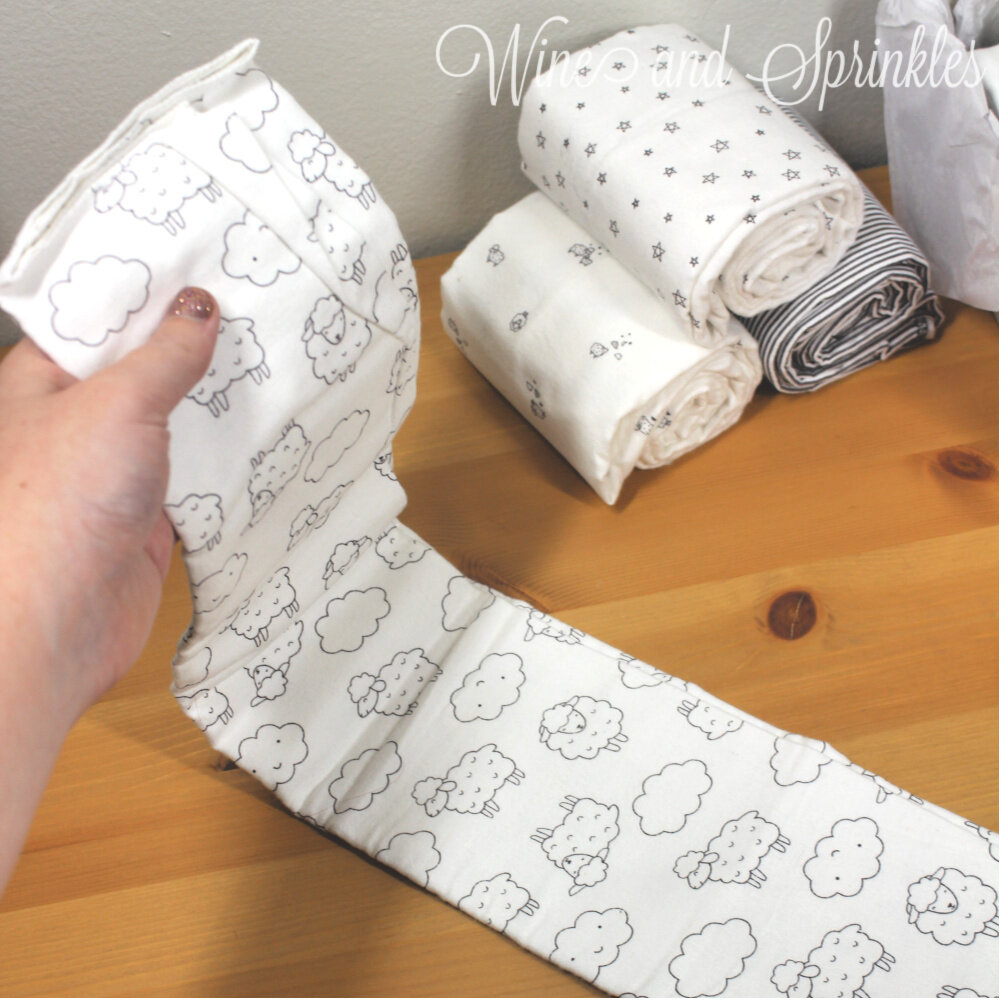
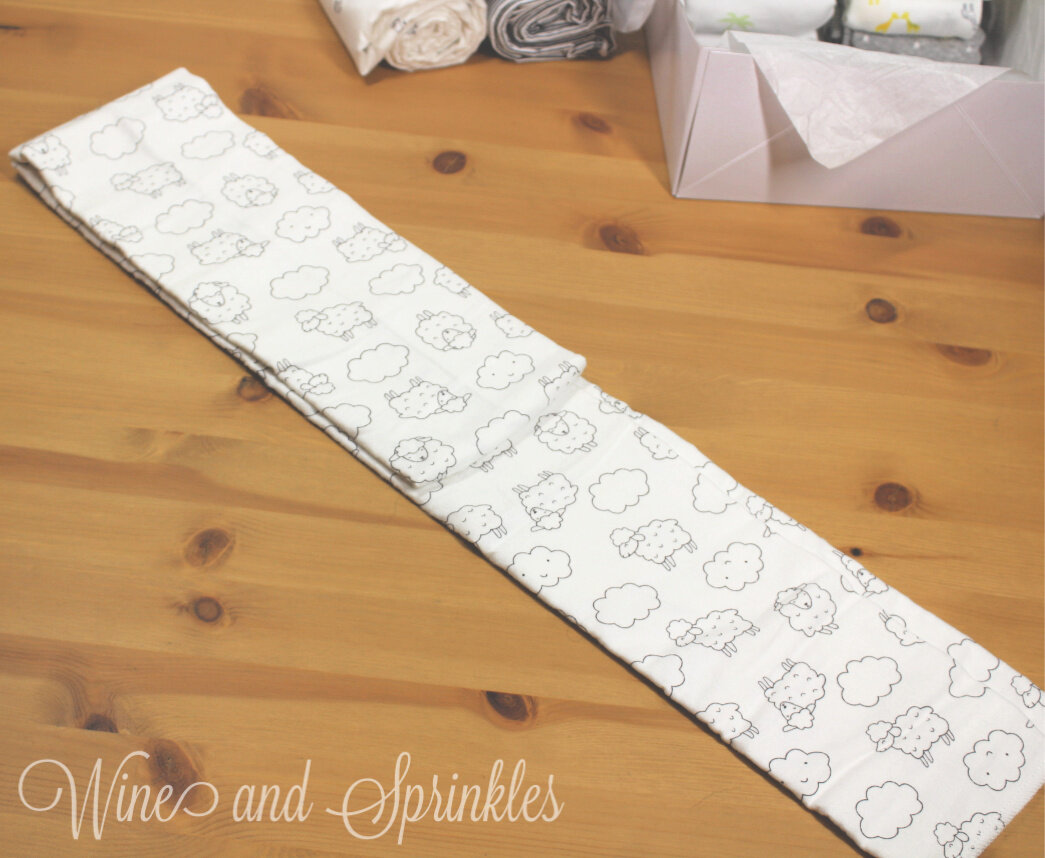
1. Start by folding your large flannel receiving blankets into quarters, creating a smaller square of fabric to continue folding. Using the width of your gift box as a guide, fold in the sides of the blanket to create a long rectangular packet that is the width of the gift box.
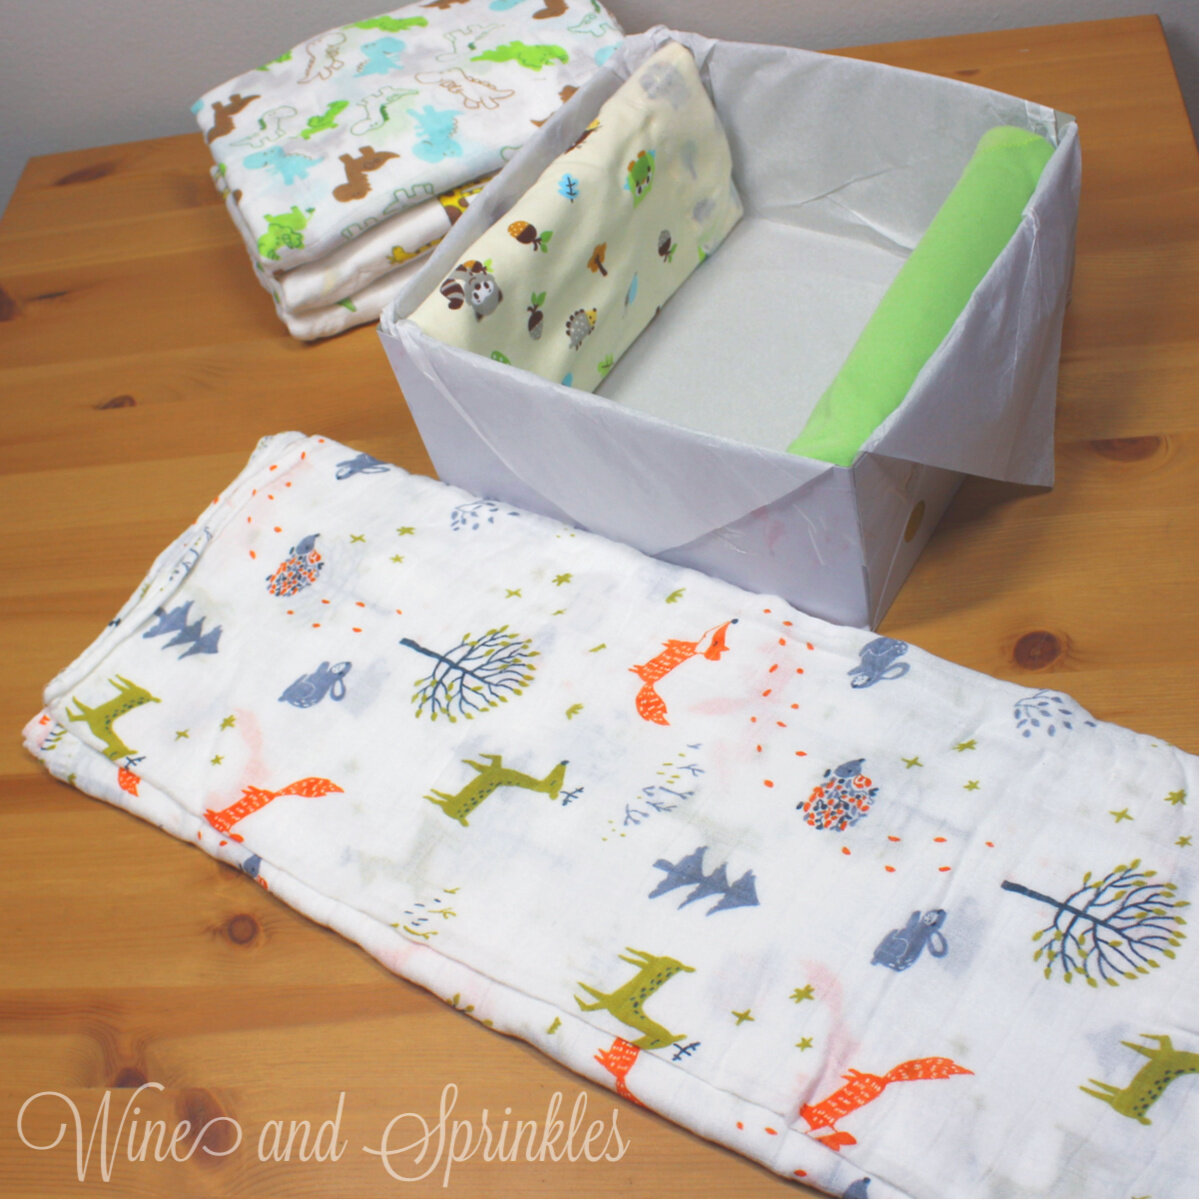
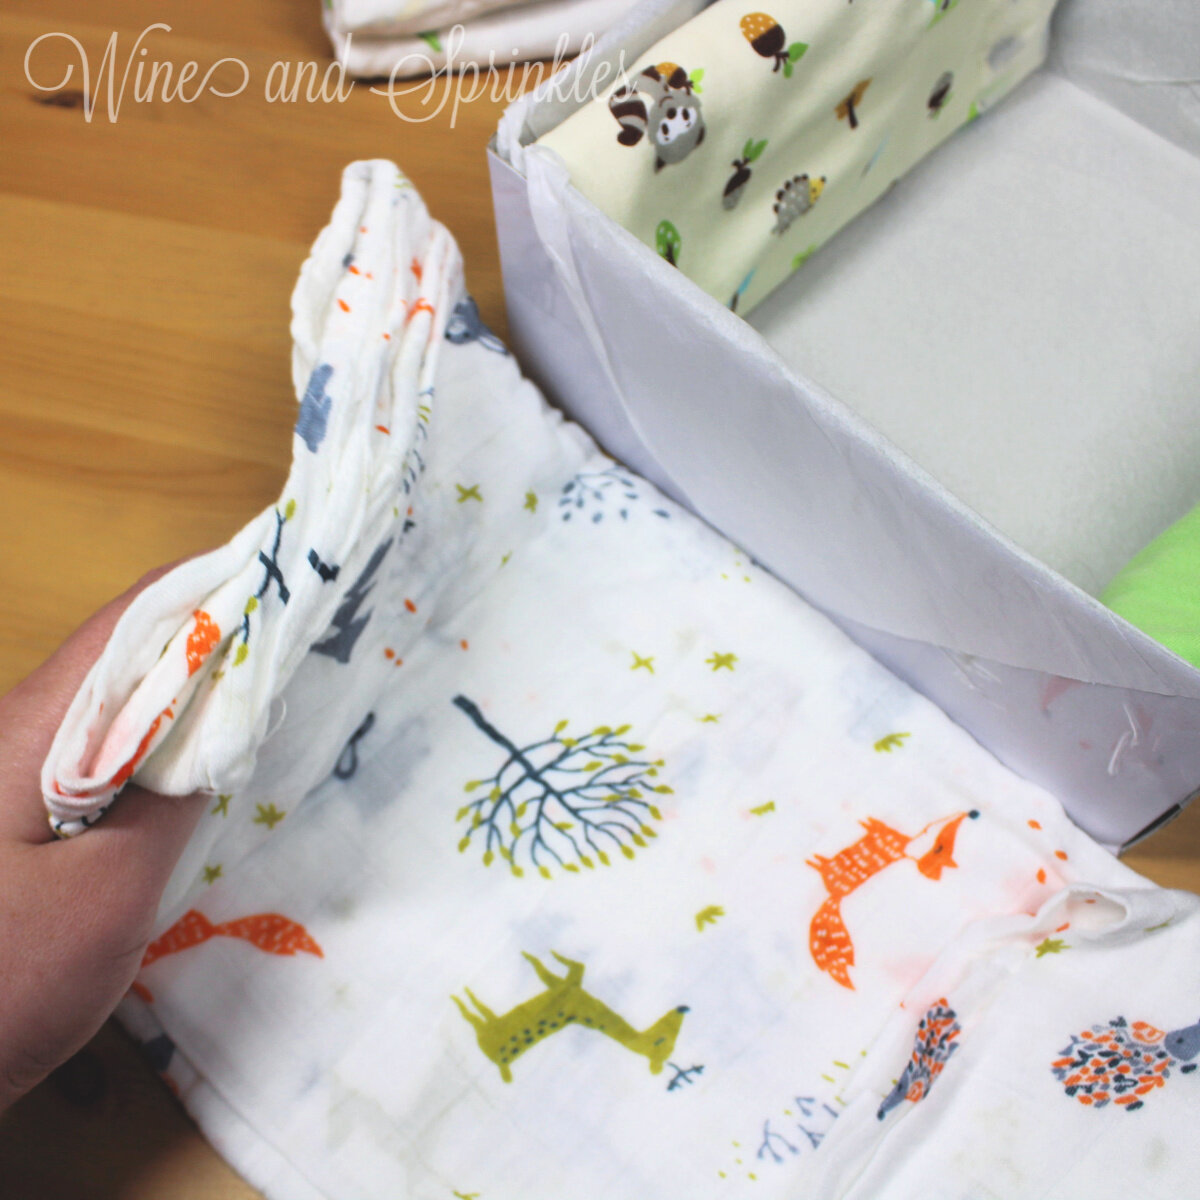
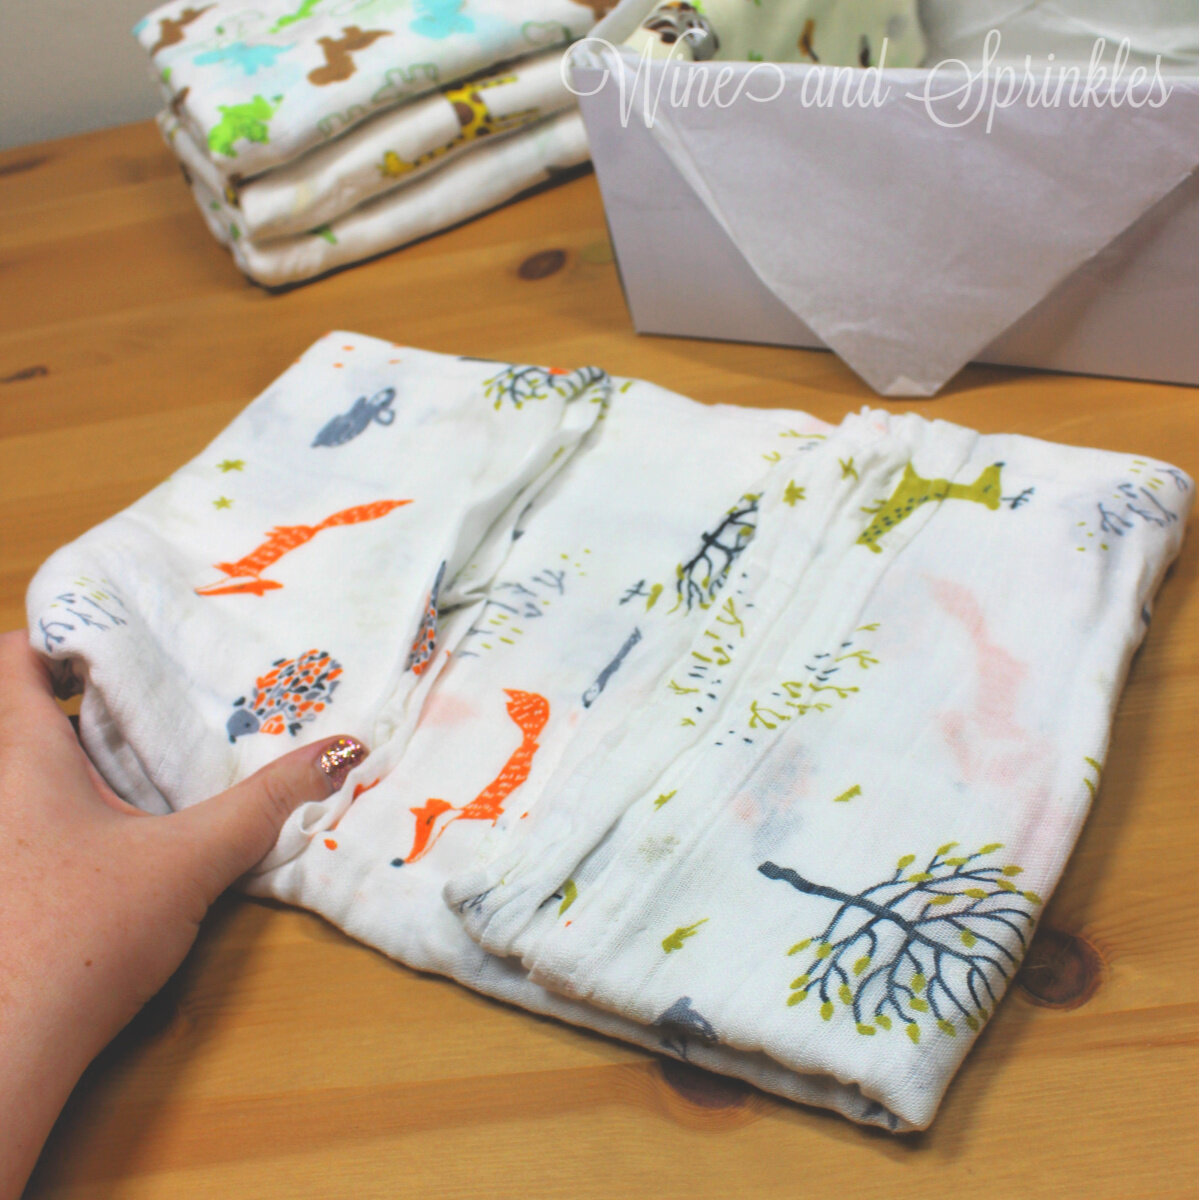
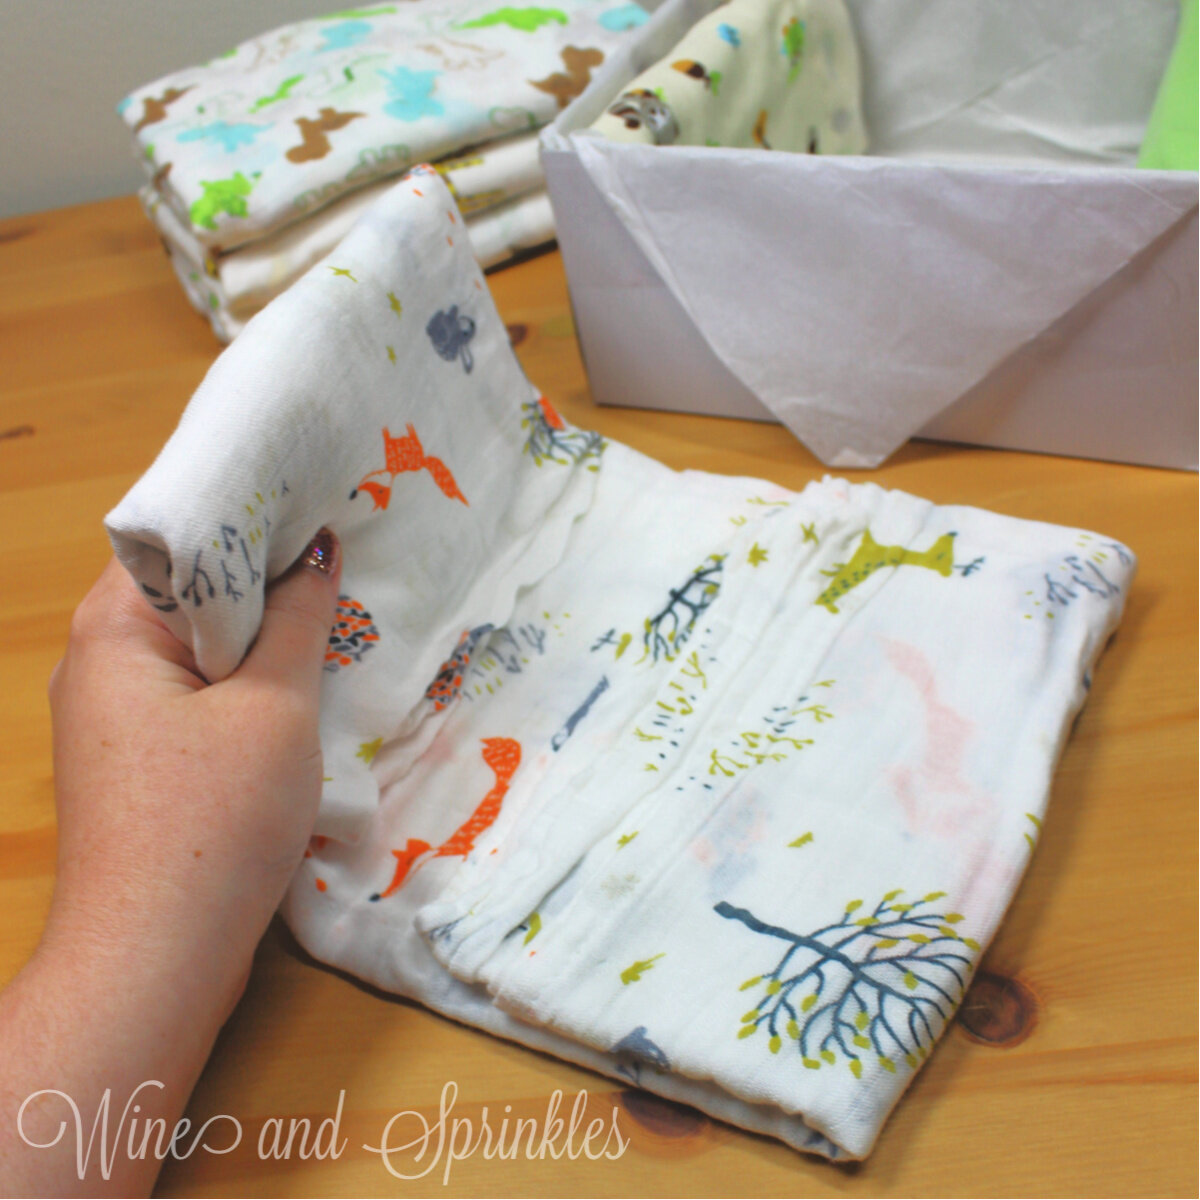
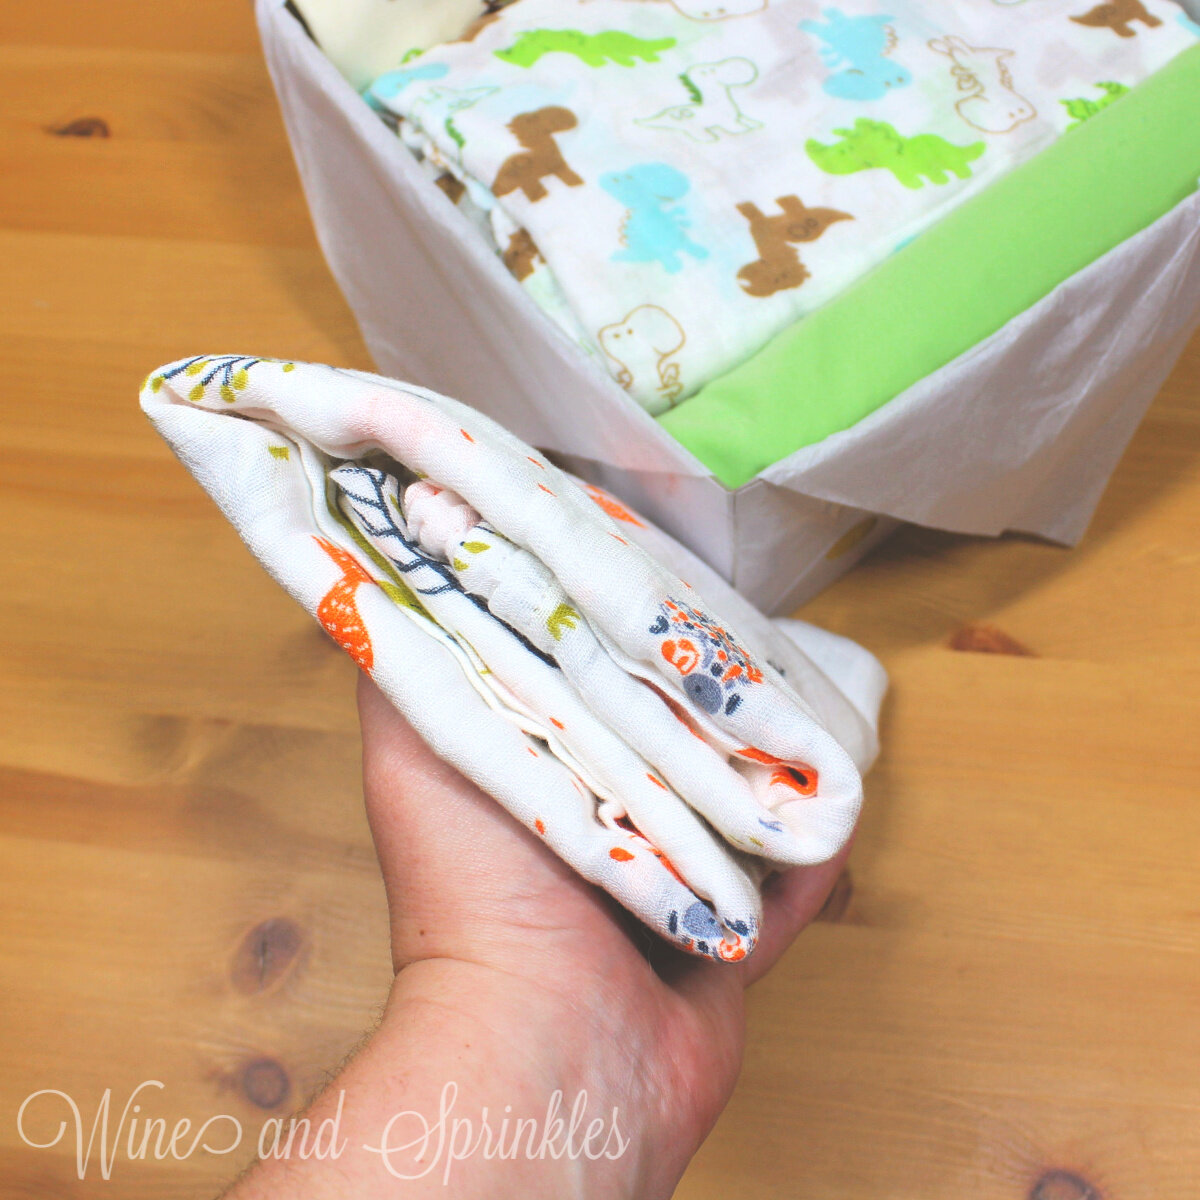
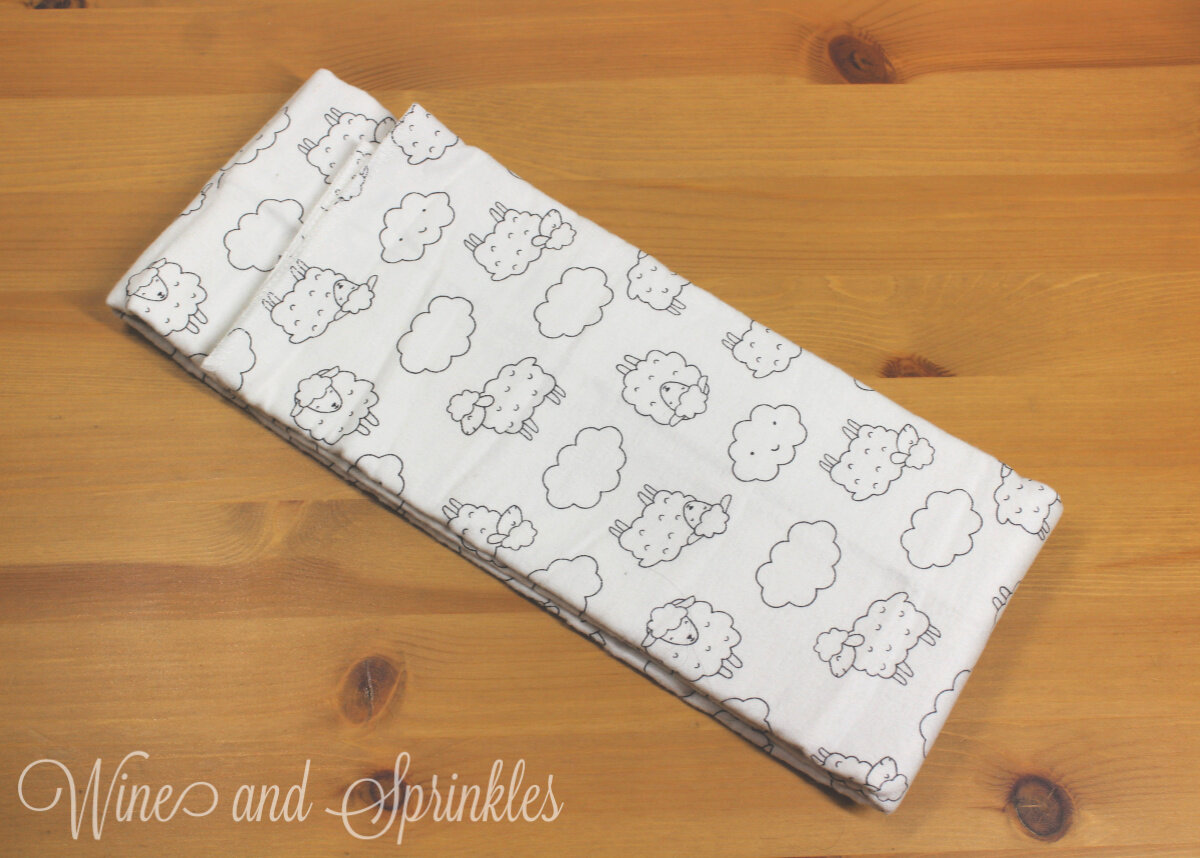
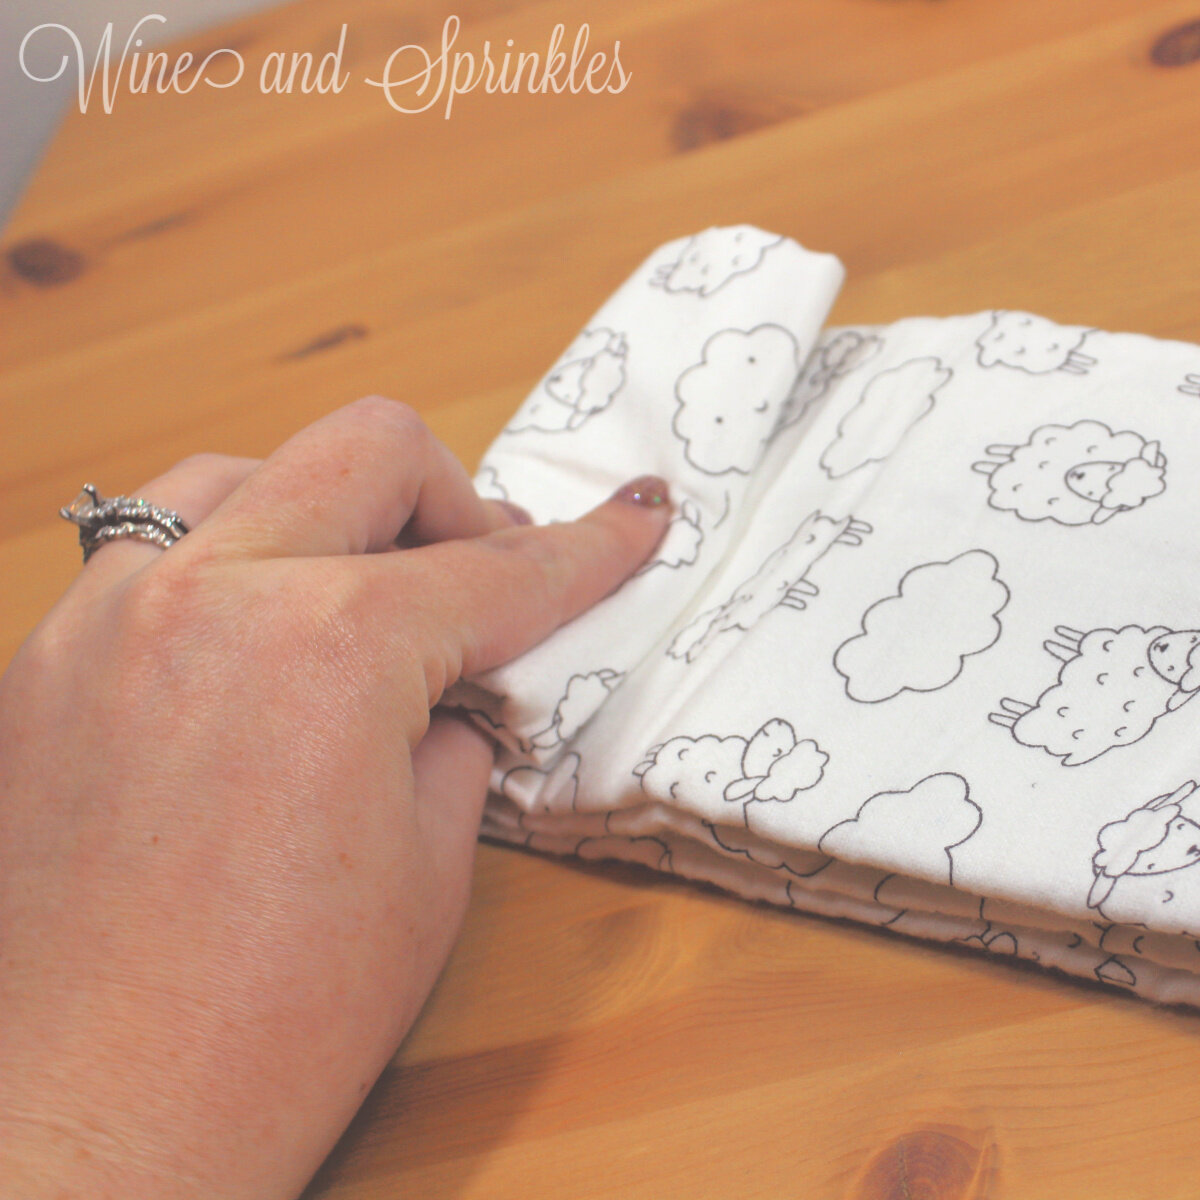
2. Turn the packet 90 degrees so the long side runs along the edge of your gift box. Using the width of the open space in the gift box as a guide, fold in both ends of the packet so the loose edges are on top and the folds are the width of the open space, as shown in the photos. Fold the packet over once more, concealing the loose edges and creating a small rectangle that is the width and length of the extra space in your gift box
3. Repeat the process with the remaining blankets, then stack them on top of each other in the middle of your gift box, completing your bento and showing off your favorite pattern on the top!
Looking for more Baby Bento Inspiration?
SEE MORE BABY BENTO POSTS HERE:
OUR PINS FOR THIS POST:
Bibs, Burp Cloths, and Bottles Feeding Themed Baby Bento Gift Box
This post contains affiliate links, meaning that if you click on a link I will recieve a small comission. This costs you nothing extra and I only promote products I use and love! You can read our full disclosure here
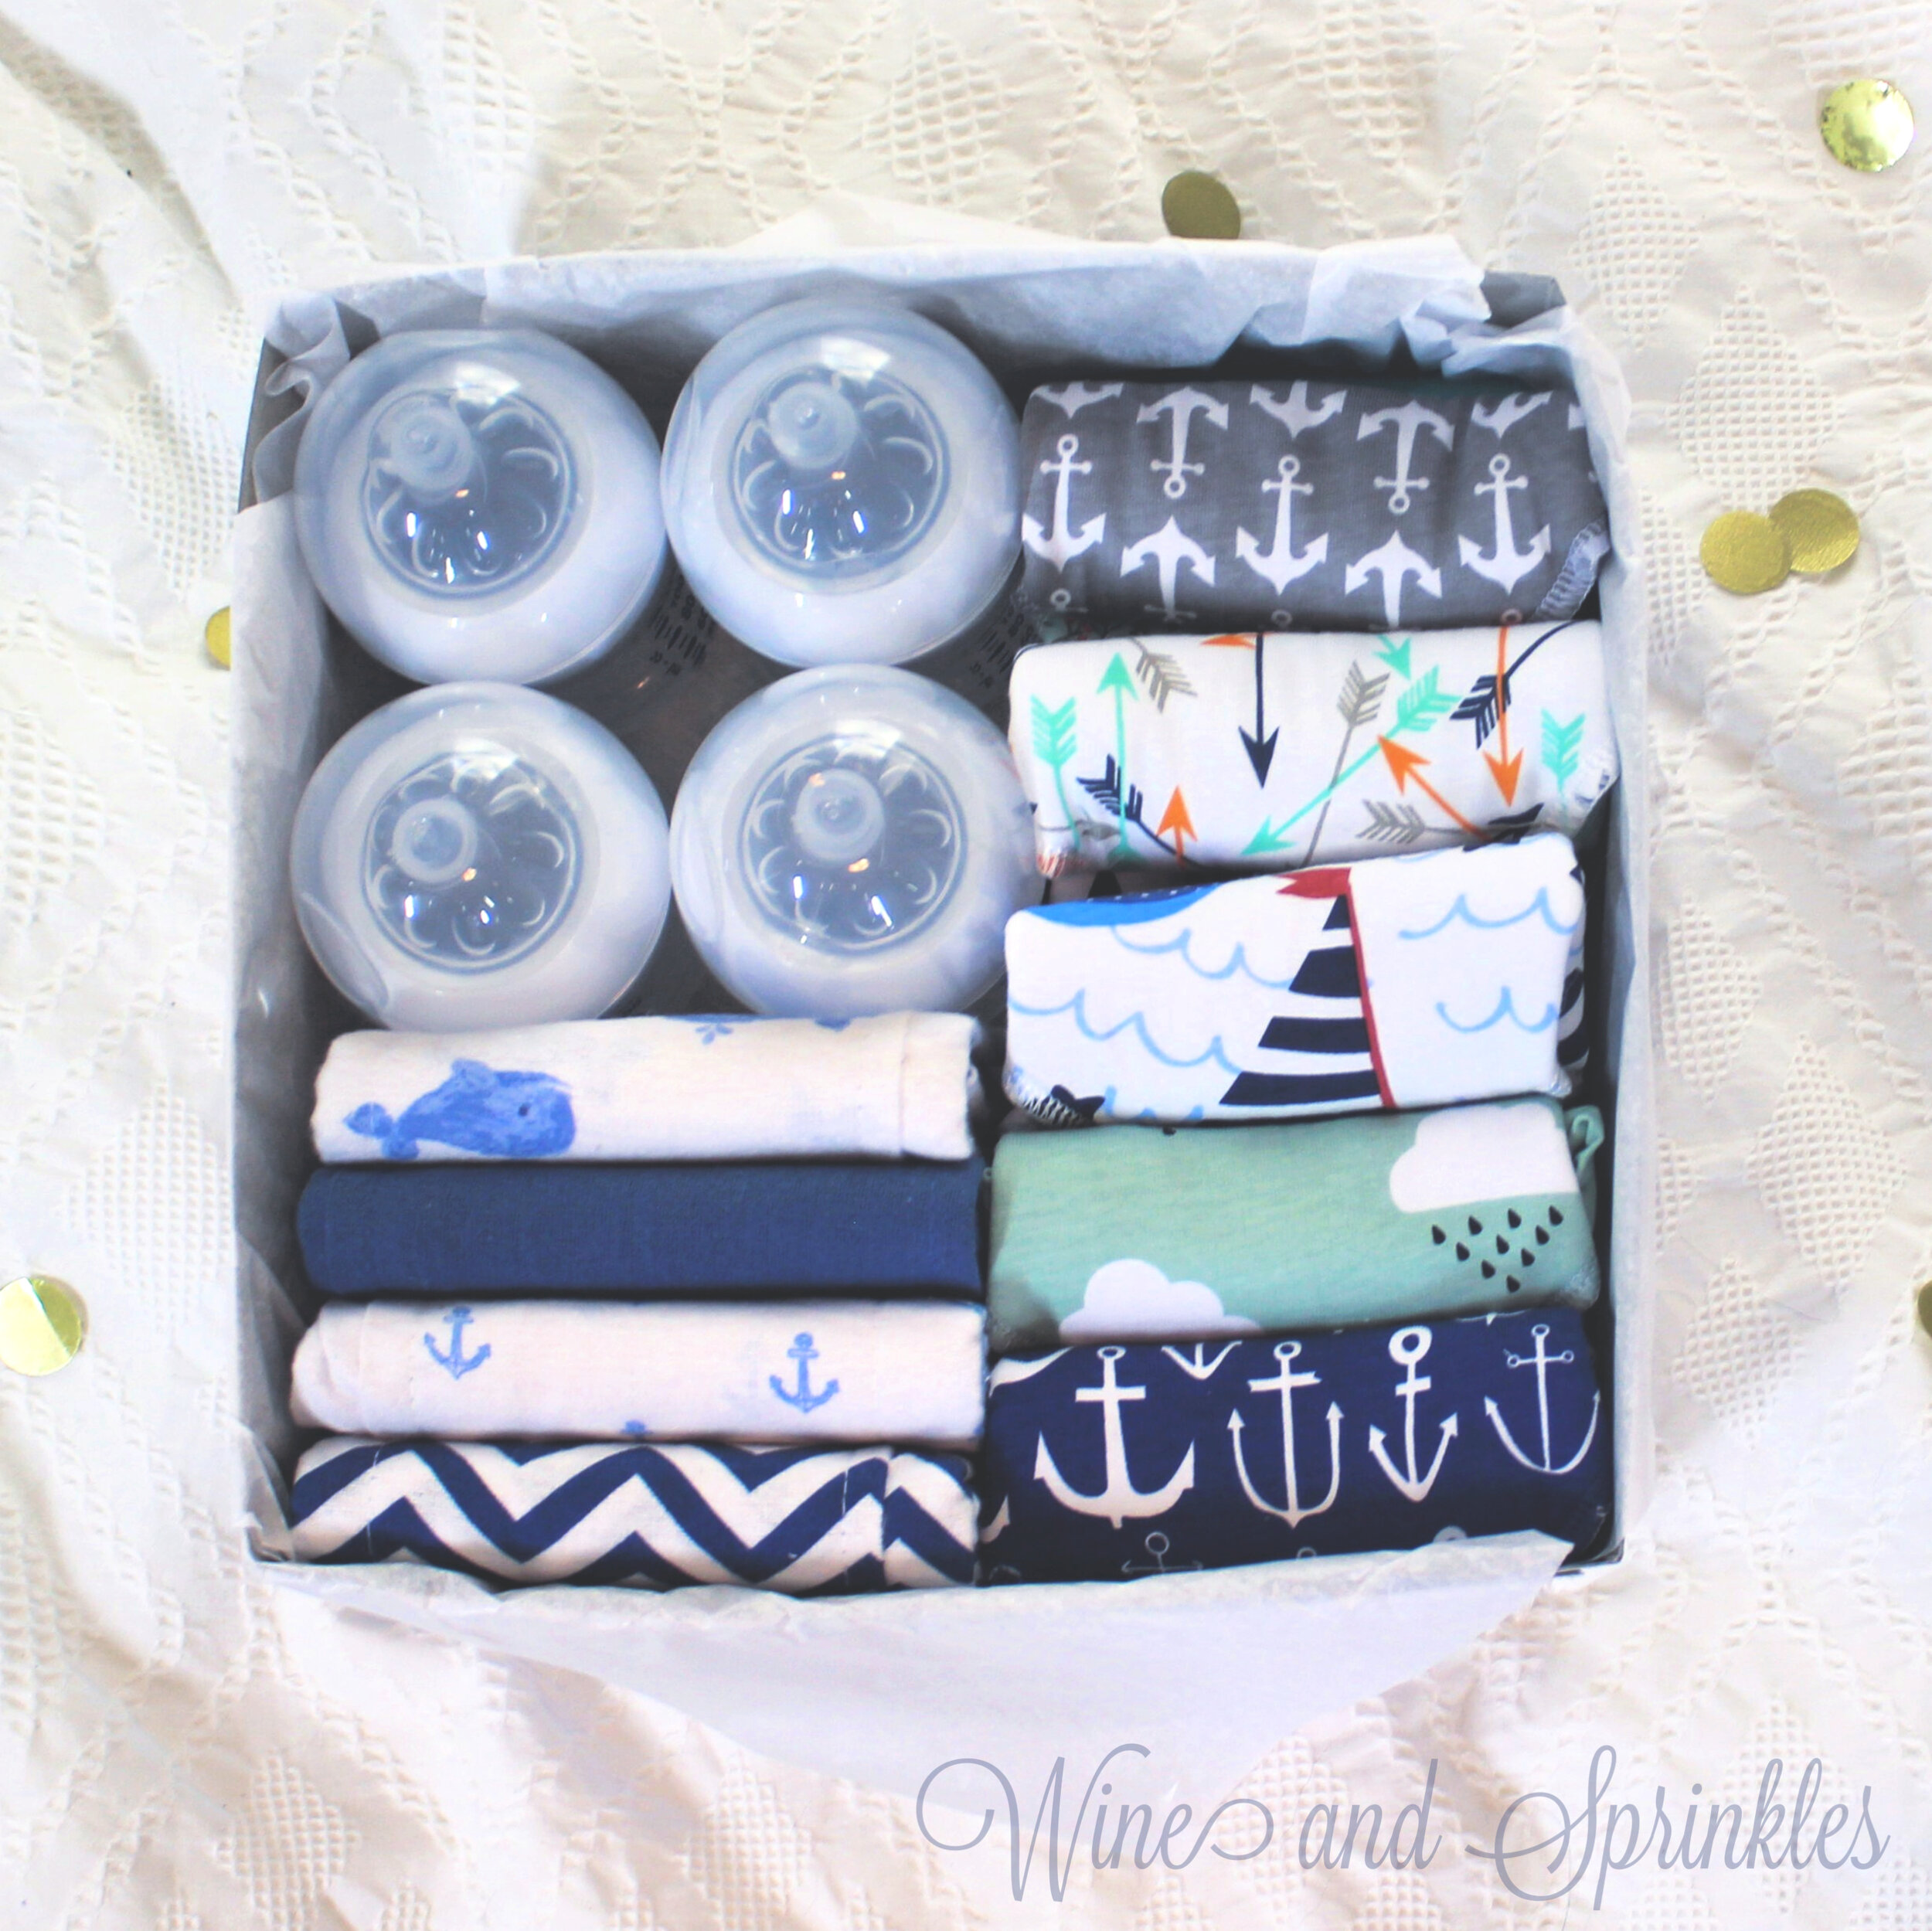
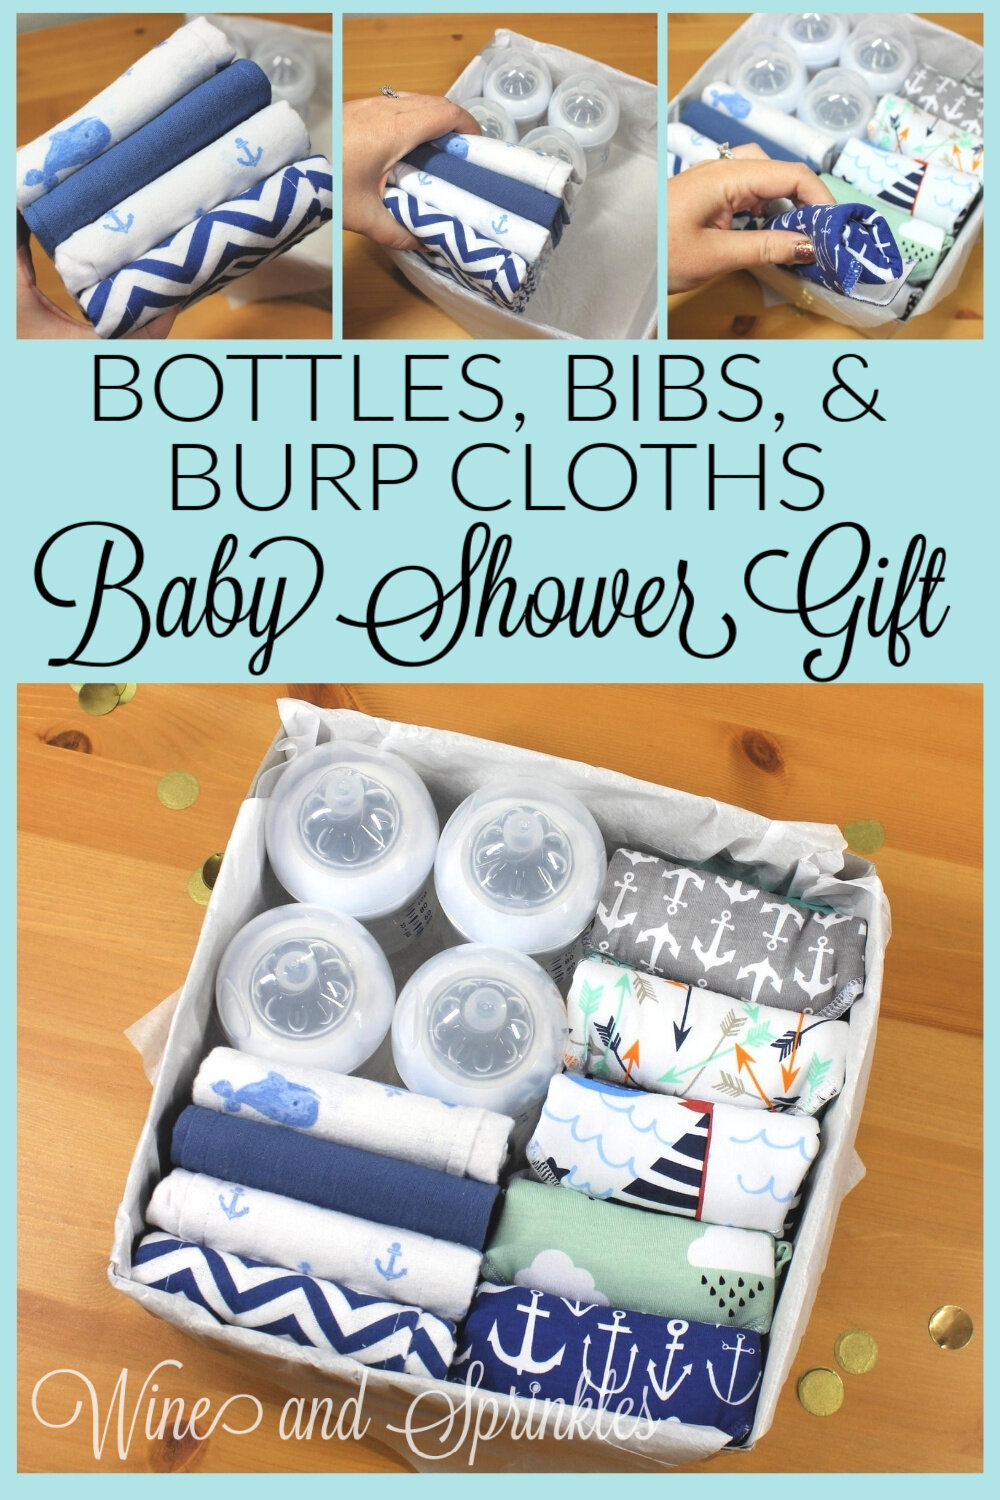
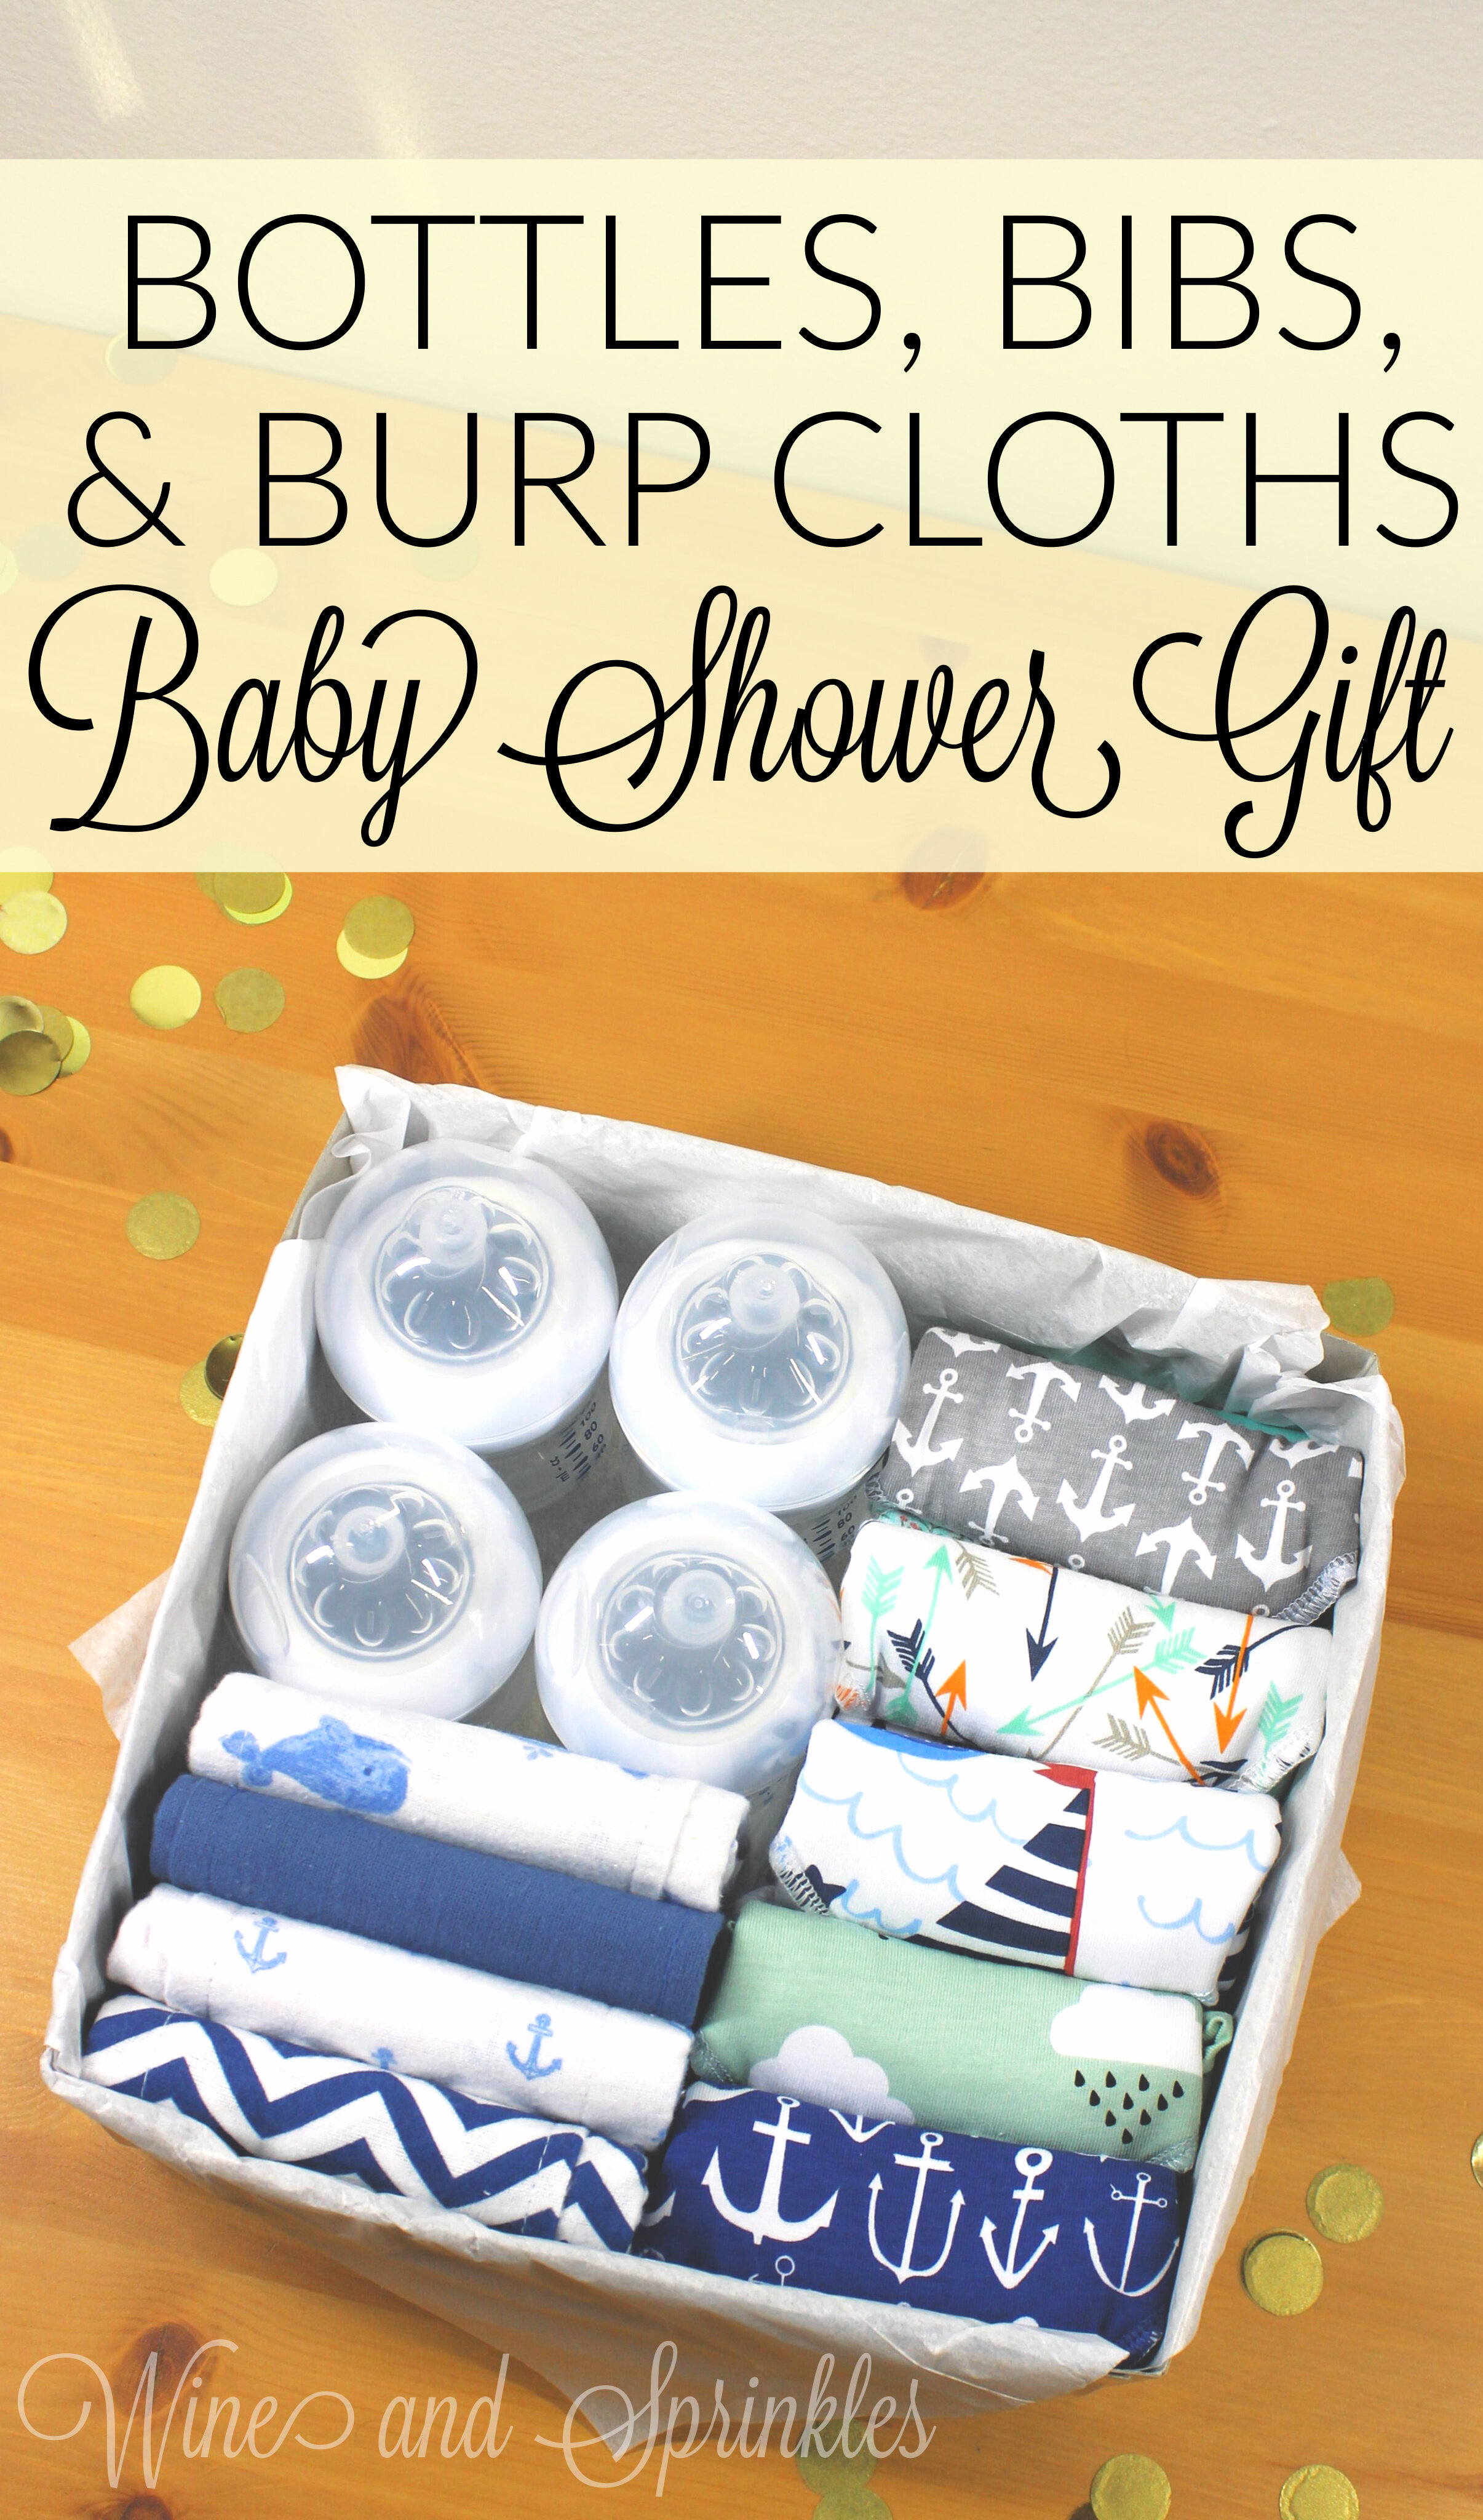
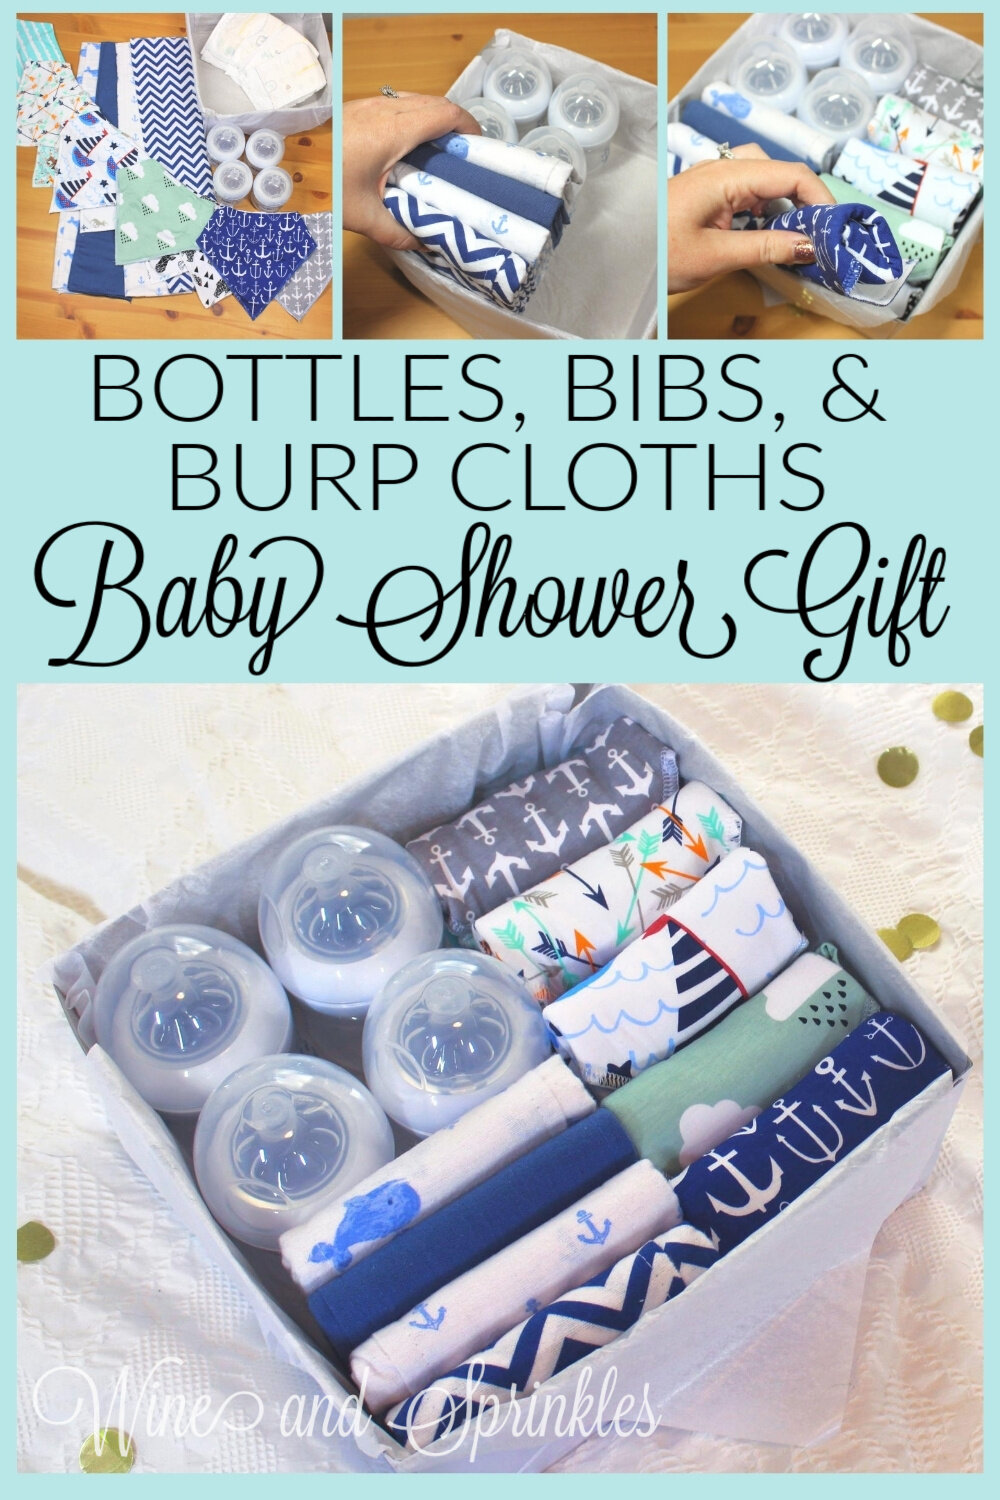
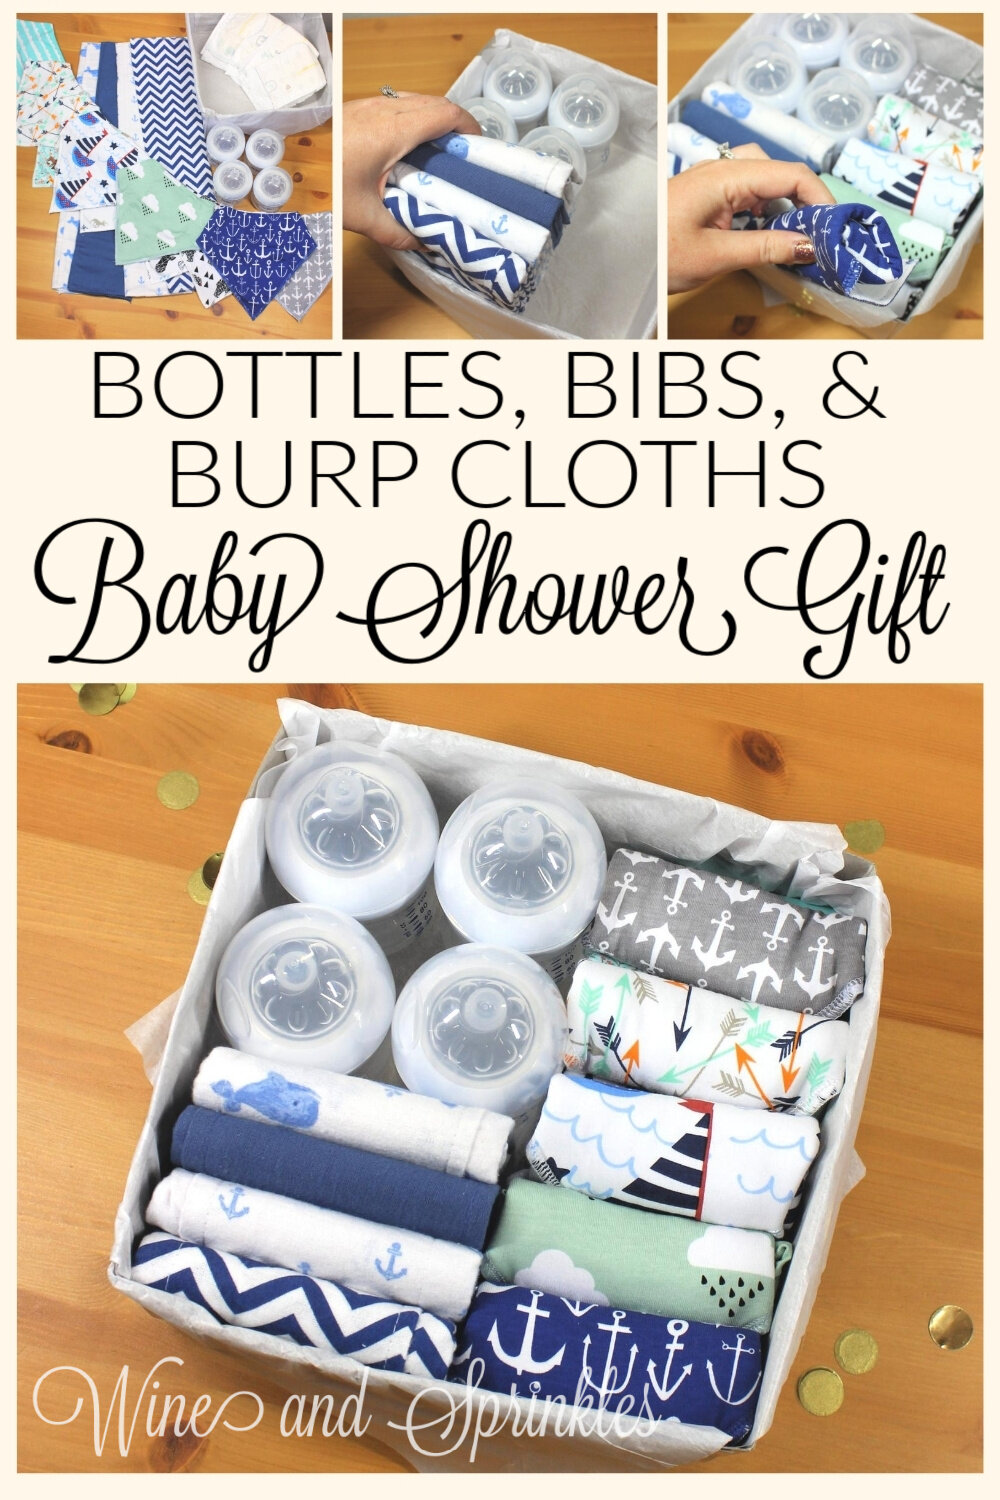
We’ve featured bentos now for adorable Baby Bathtime Items as well as Bedding and Naptime Essentials, but we have yet to explore the wide world of another favorite baby pastime, eating! While there are all sorts of different feeding items a new baby needs, I think the most fun to gift are patterned bibs and burp clothes, with some great bottles for good measure. Thus, this Feeding Bundle Bento was born,a cute and festive way to showcase these adorable baby necessities!
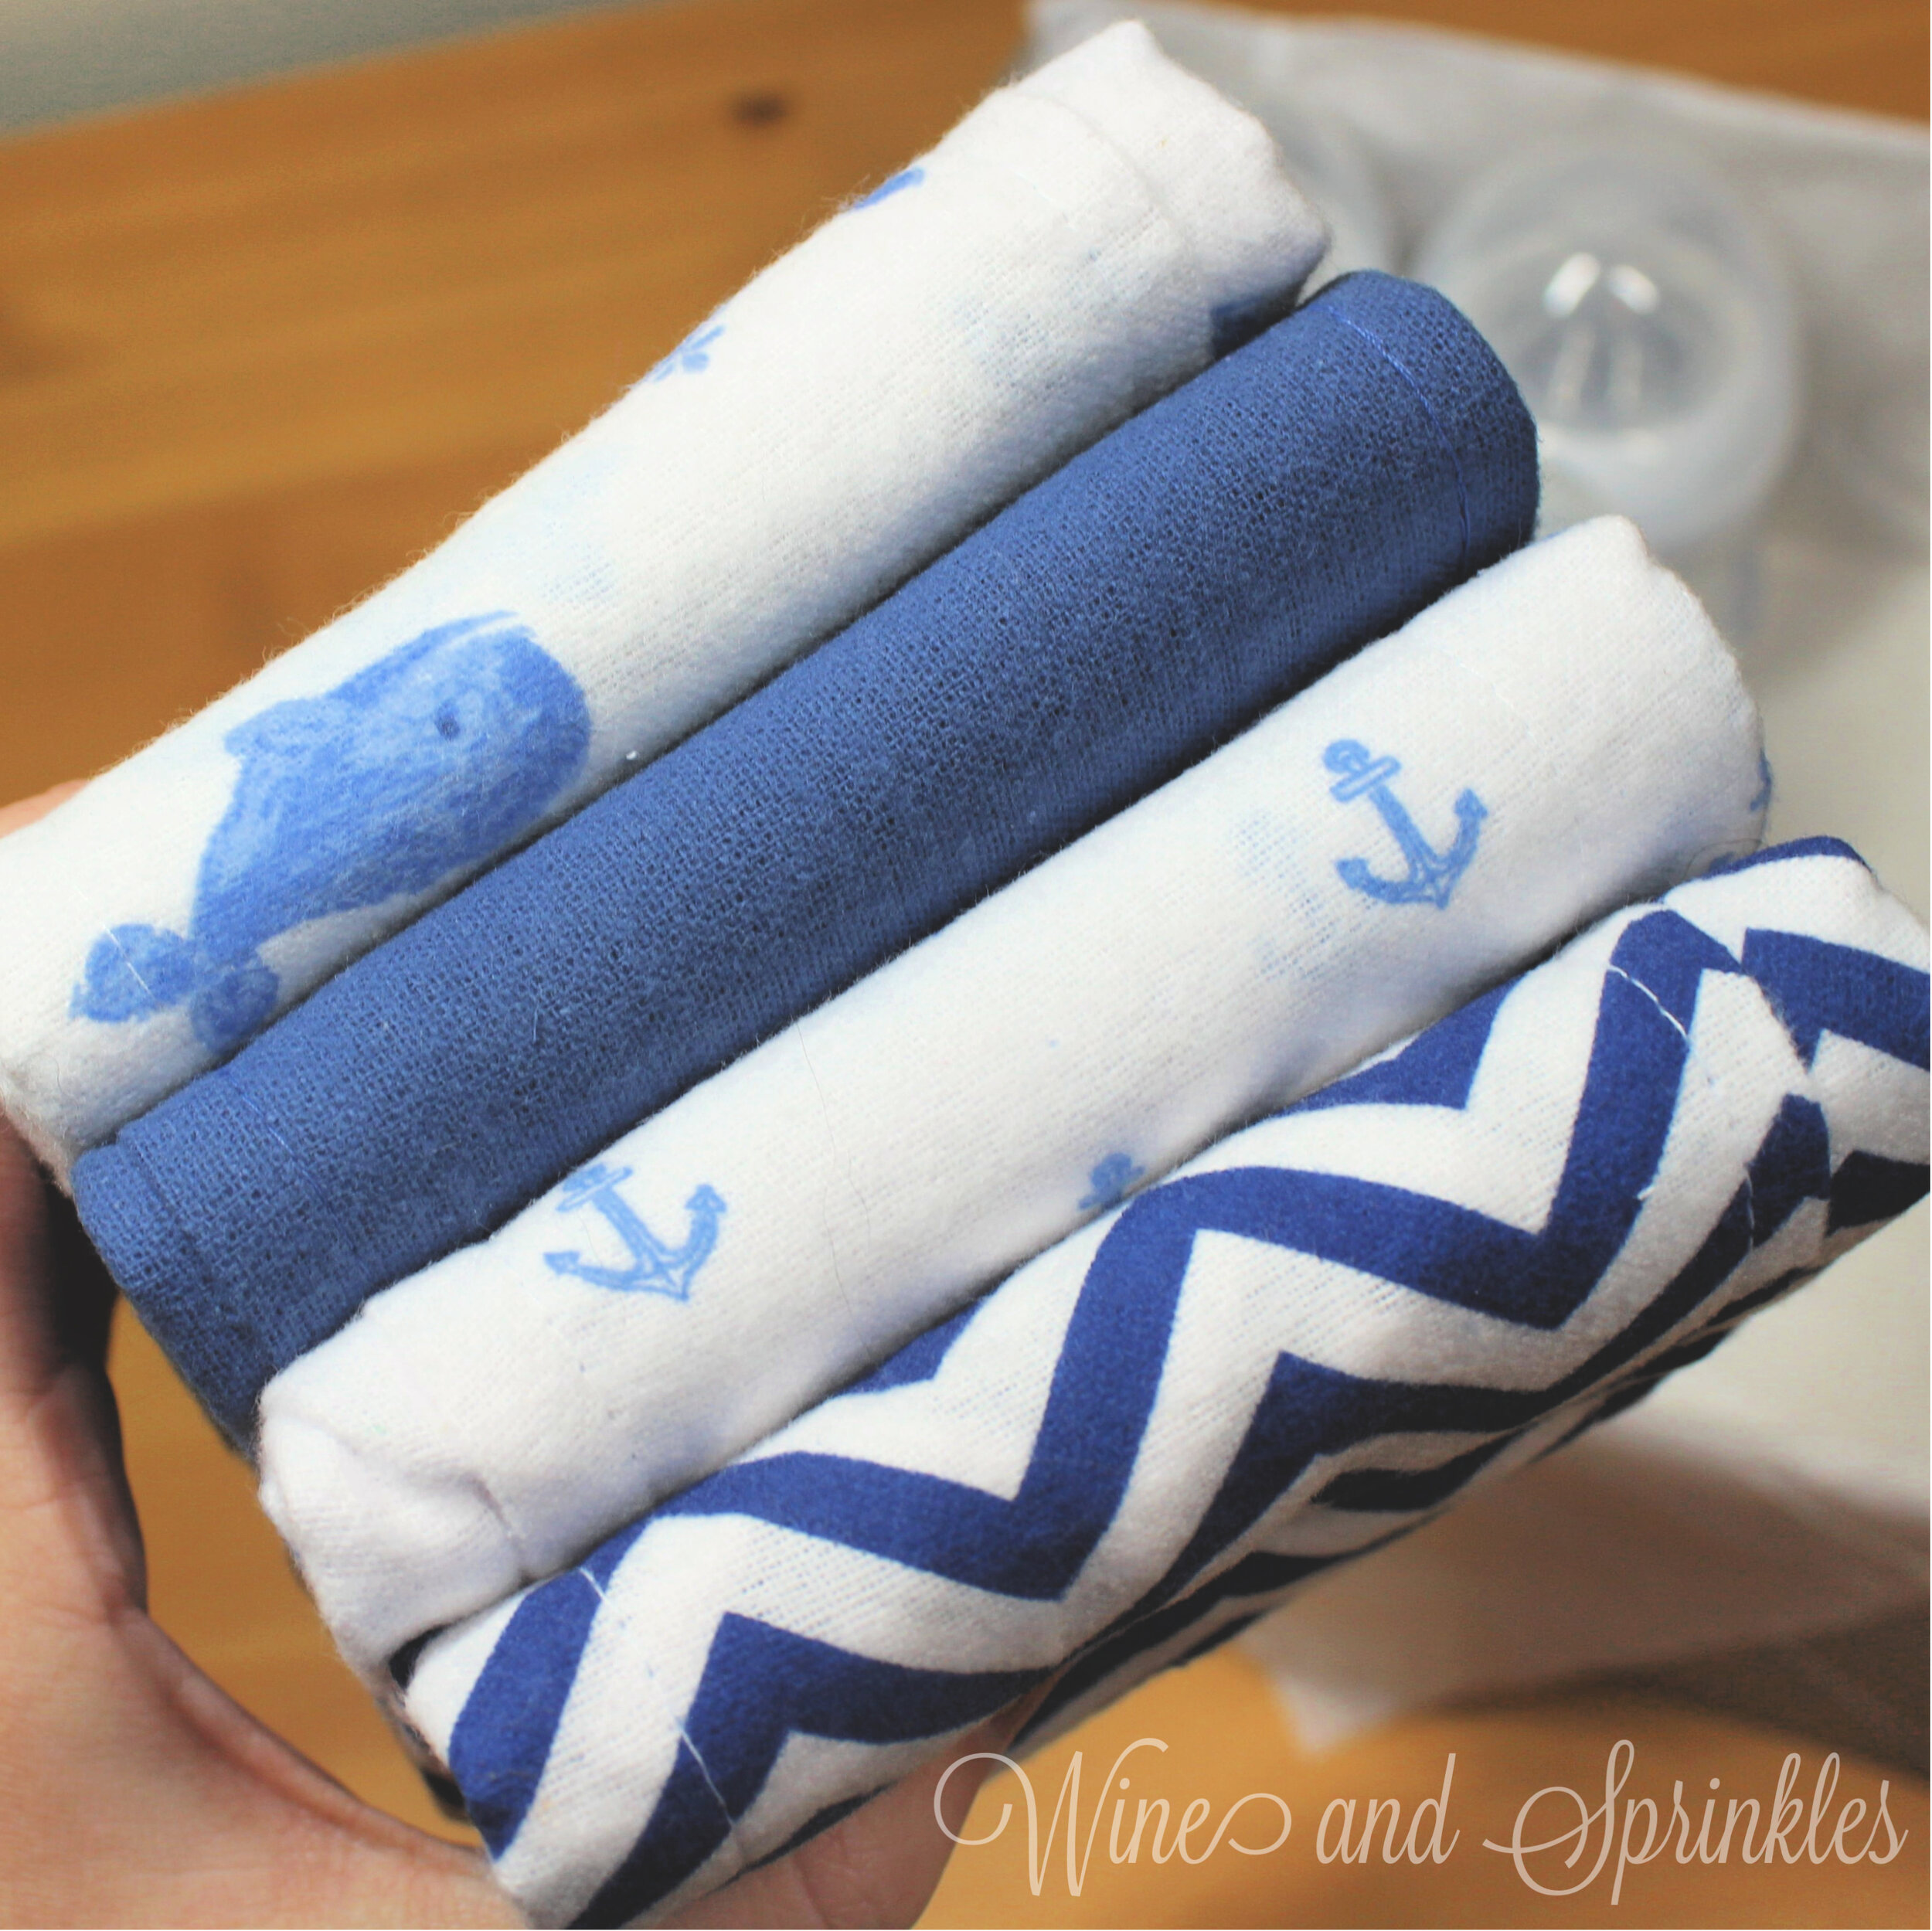
This Feeding Time themed Bento contains a 4 oz. Baby Bottle 4 Pack, Burp Cloth 4 Pack, and a Bib Bandana 10 Pack for a perfect feeding starter kit for any new parents. As far as bottles are concerned, I can’t say enough good things about the Avent Baby Bottle Set! I’ve bought both the 4 oz. and 9 oz. Bottles, along with the Sterilizer and Brush several times for different friends of mine and each have raved over how well their babies like these bottles, along with them being great for breastfeeding mothers in general as babies easily switch between the nipple design and breast. For this set I used a 4 oz. Avent Bottle 4 Pack, which was the perfect accent to the festive Bib Bandanas and Burp Clothes. I actually had two different 4 packs to choose from as far as burp cloths went, both a Blue Whales and Gray Whales themed. While both sets were nautical and adorable I went with the Blue Whales for this set, but I encourage you to look through both the Burp Cloth and Bib Bandana assortments to personalize this bento with your favorites, there’s too many amazing options to choose from!
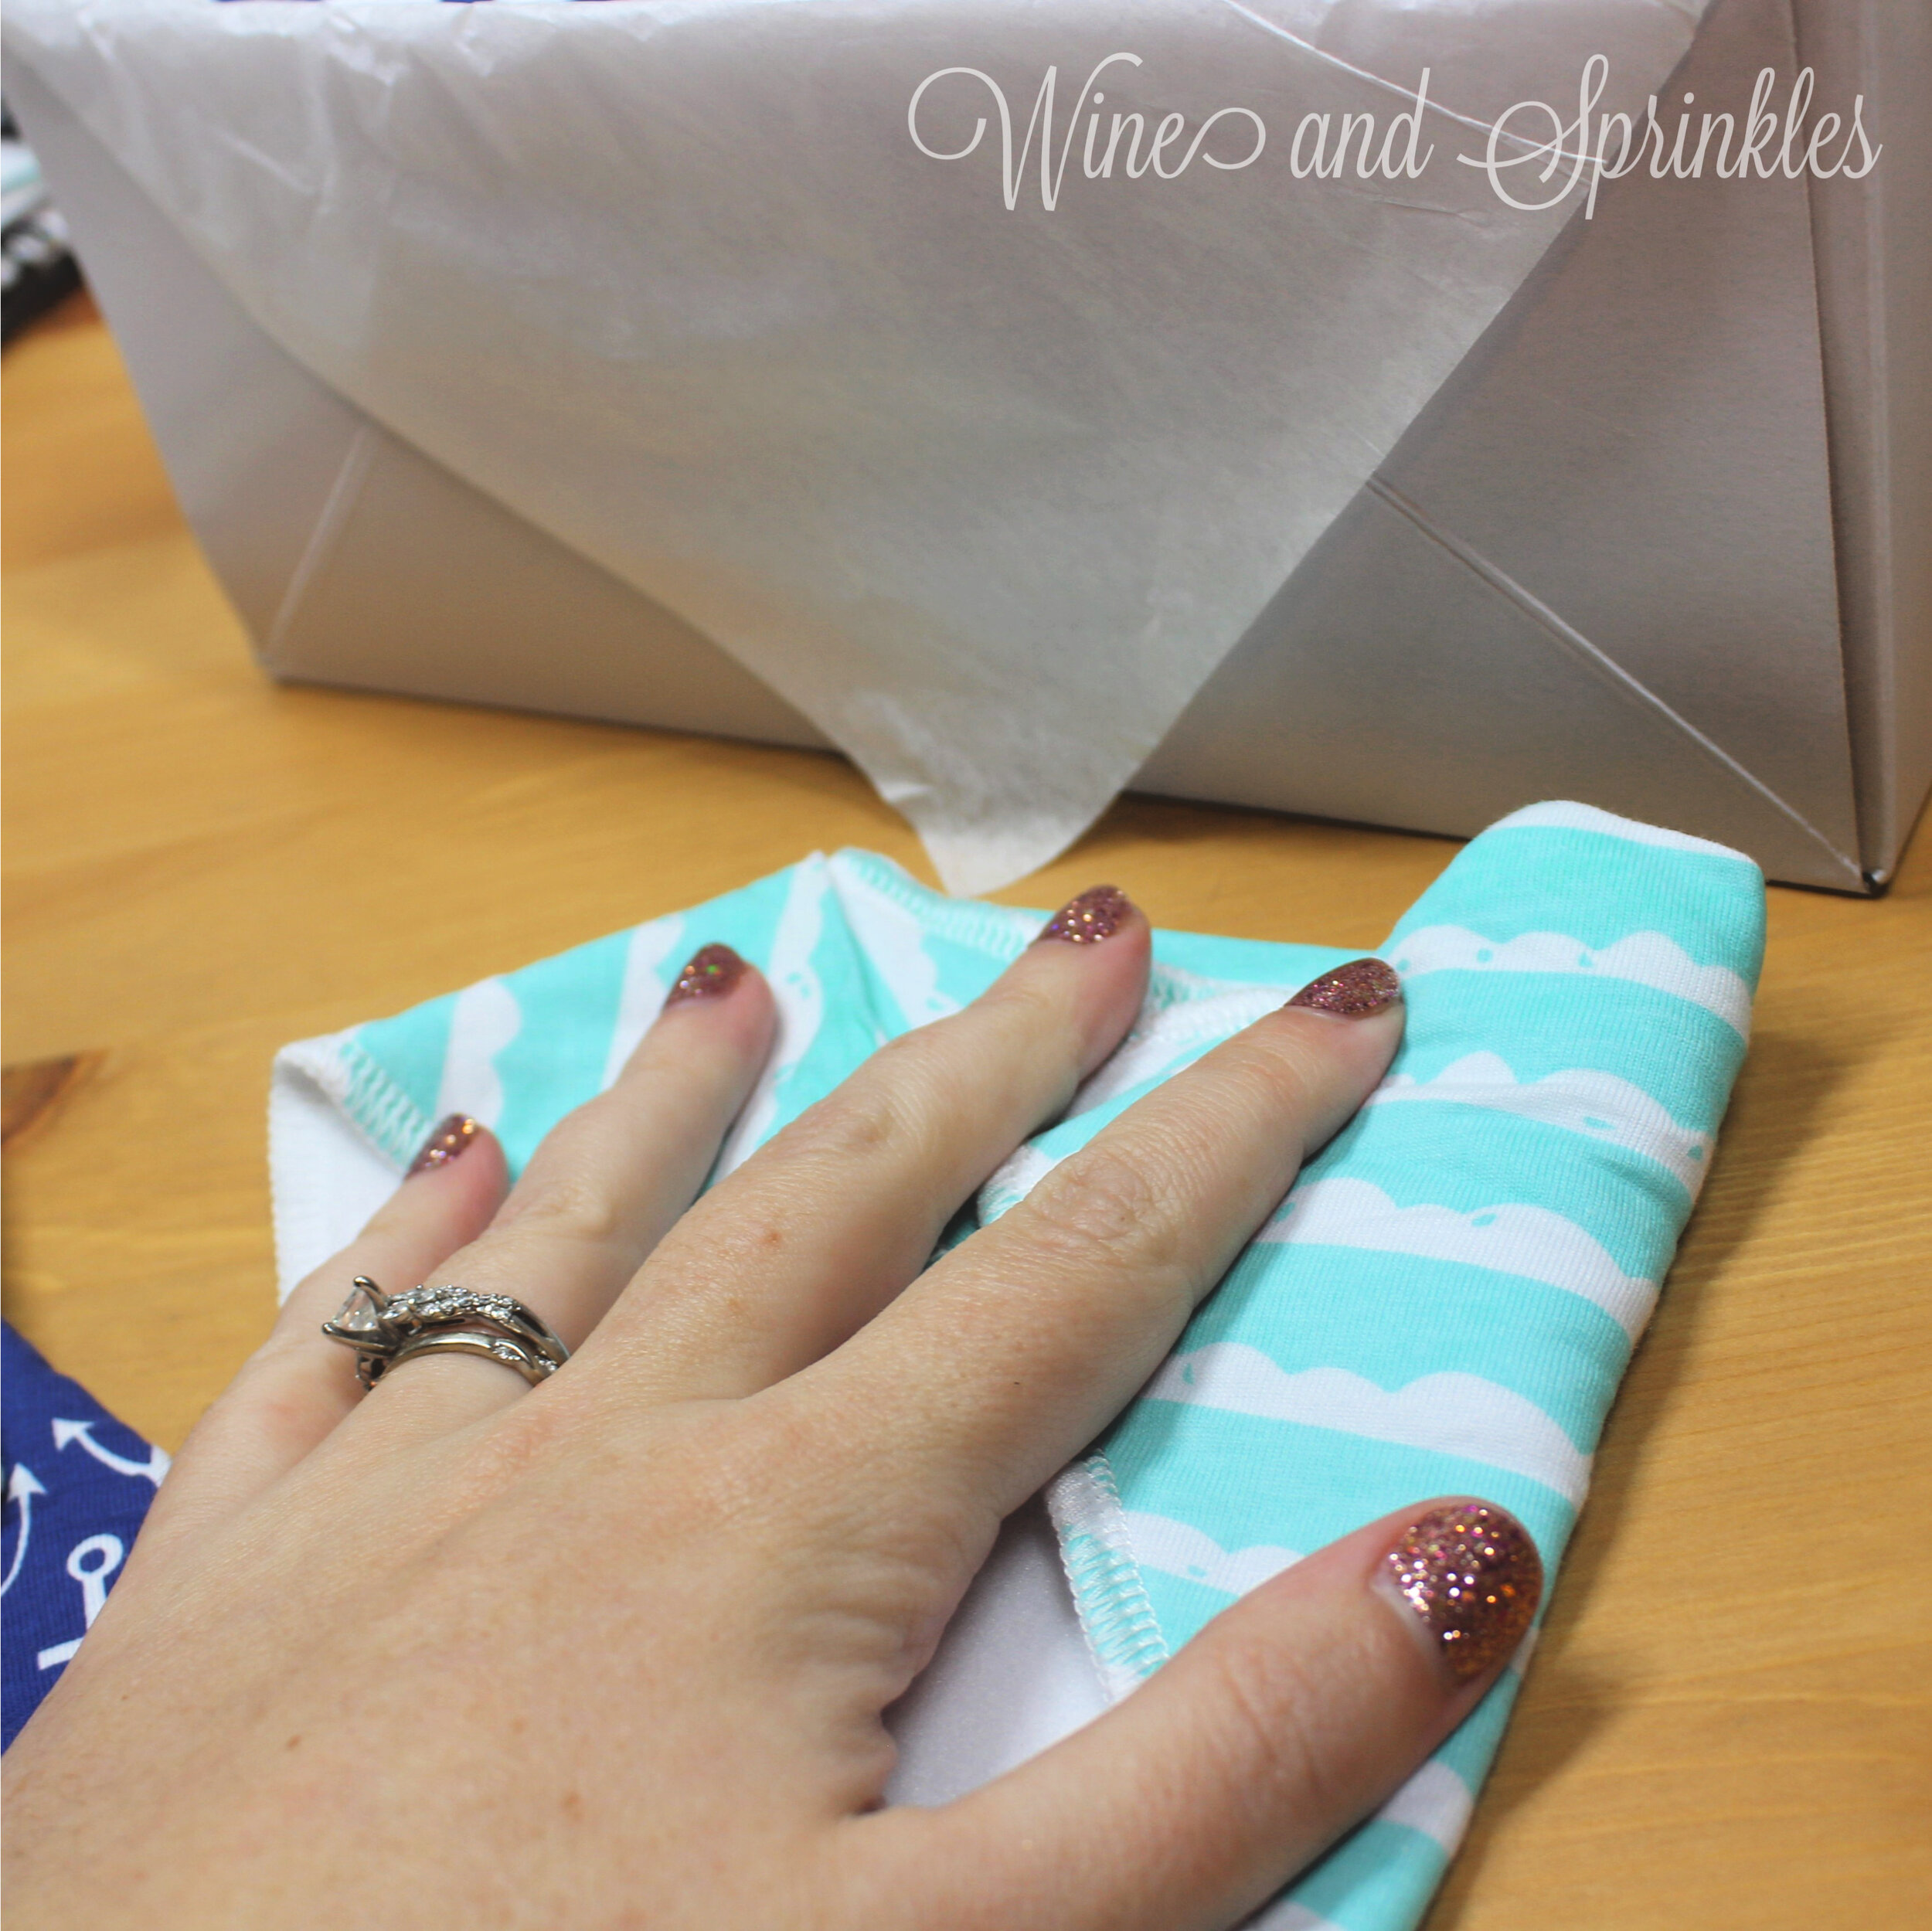
For these and other Baby Gift Box Bentos, I used a 10 inch square box to house our gifts and it was the perfect size for this Bento! While there is certainly an extra room for more bibs, I wouldn’t recommend a smaller box as the bottles and burp cloths fit perfectly. These boxes are also great as mailable presents for if you cannot visit your mama to be but still want to send a personal and thoughtful gift. Regardless of if you are mailing or giving in person, I encourage you to stuff the top of your box, mainly the bib side of this bento, with tissue paper so that items don’t move around while shipping or wrapping, plus it makes it a fun presentation removing the tissue paper to a lovely organized baby gift!
Supplies:
- Burp Cloth 4 Pack
- Avent 4 oz. Bottle 4 Pack
- Bandana Bib 10 Pack
- Gift Box
- Tissue Paper (Optional)
PART 1: BOTTLE AND BURP CLOTH FOLDING & PACKING
This bento was easiest to fold and assemble as two sections, left and right. First, the burp cloths and bottles were packed as described below.
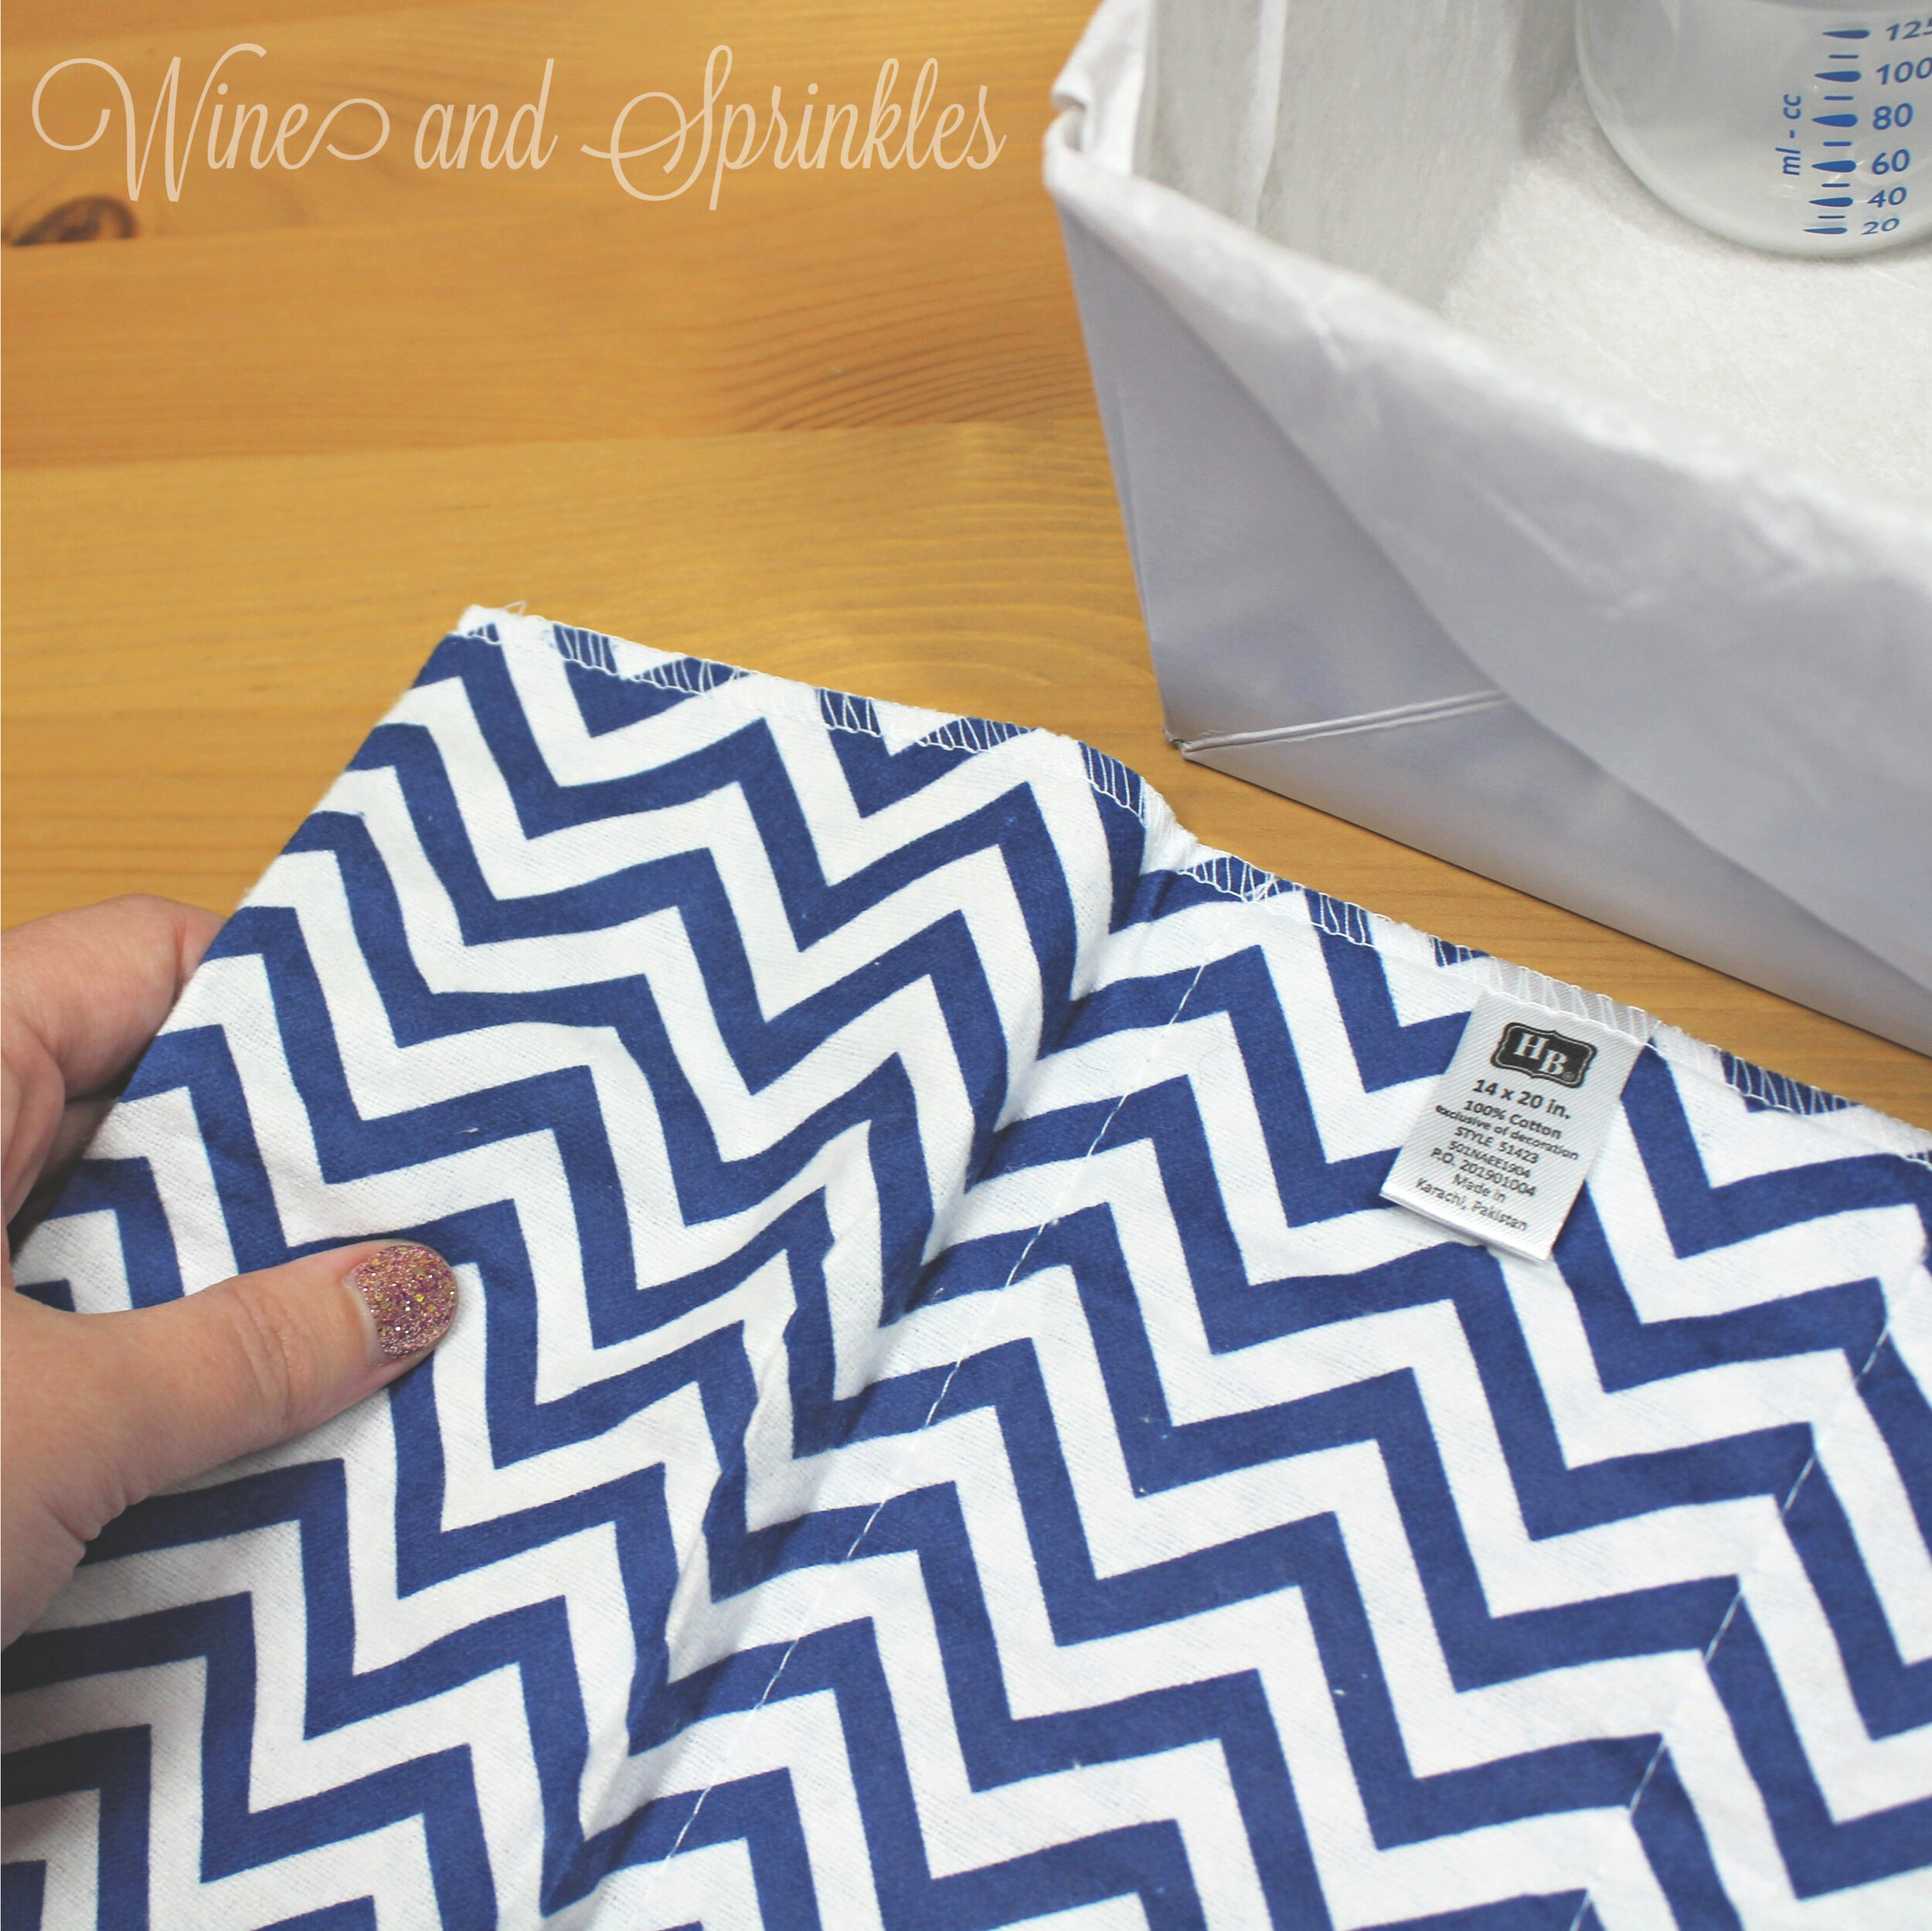
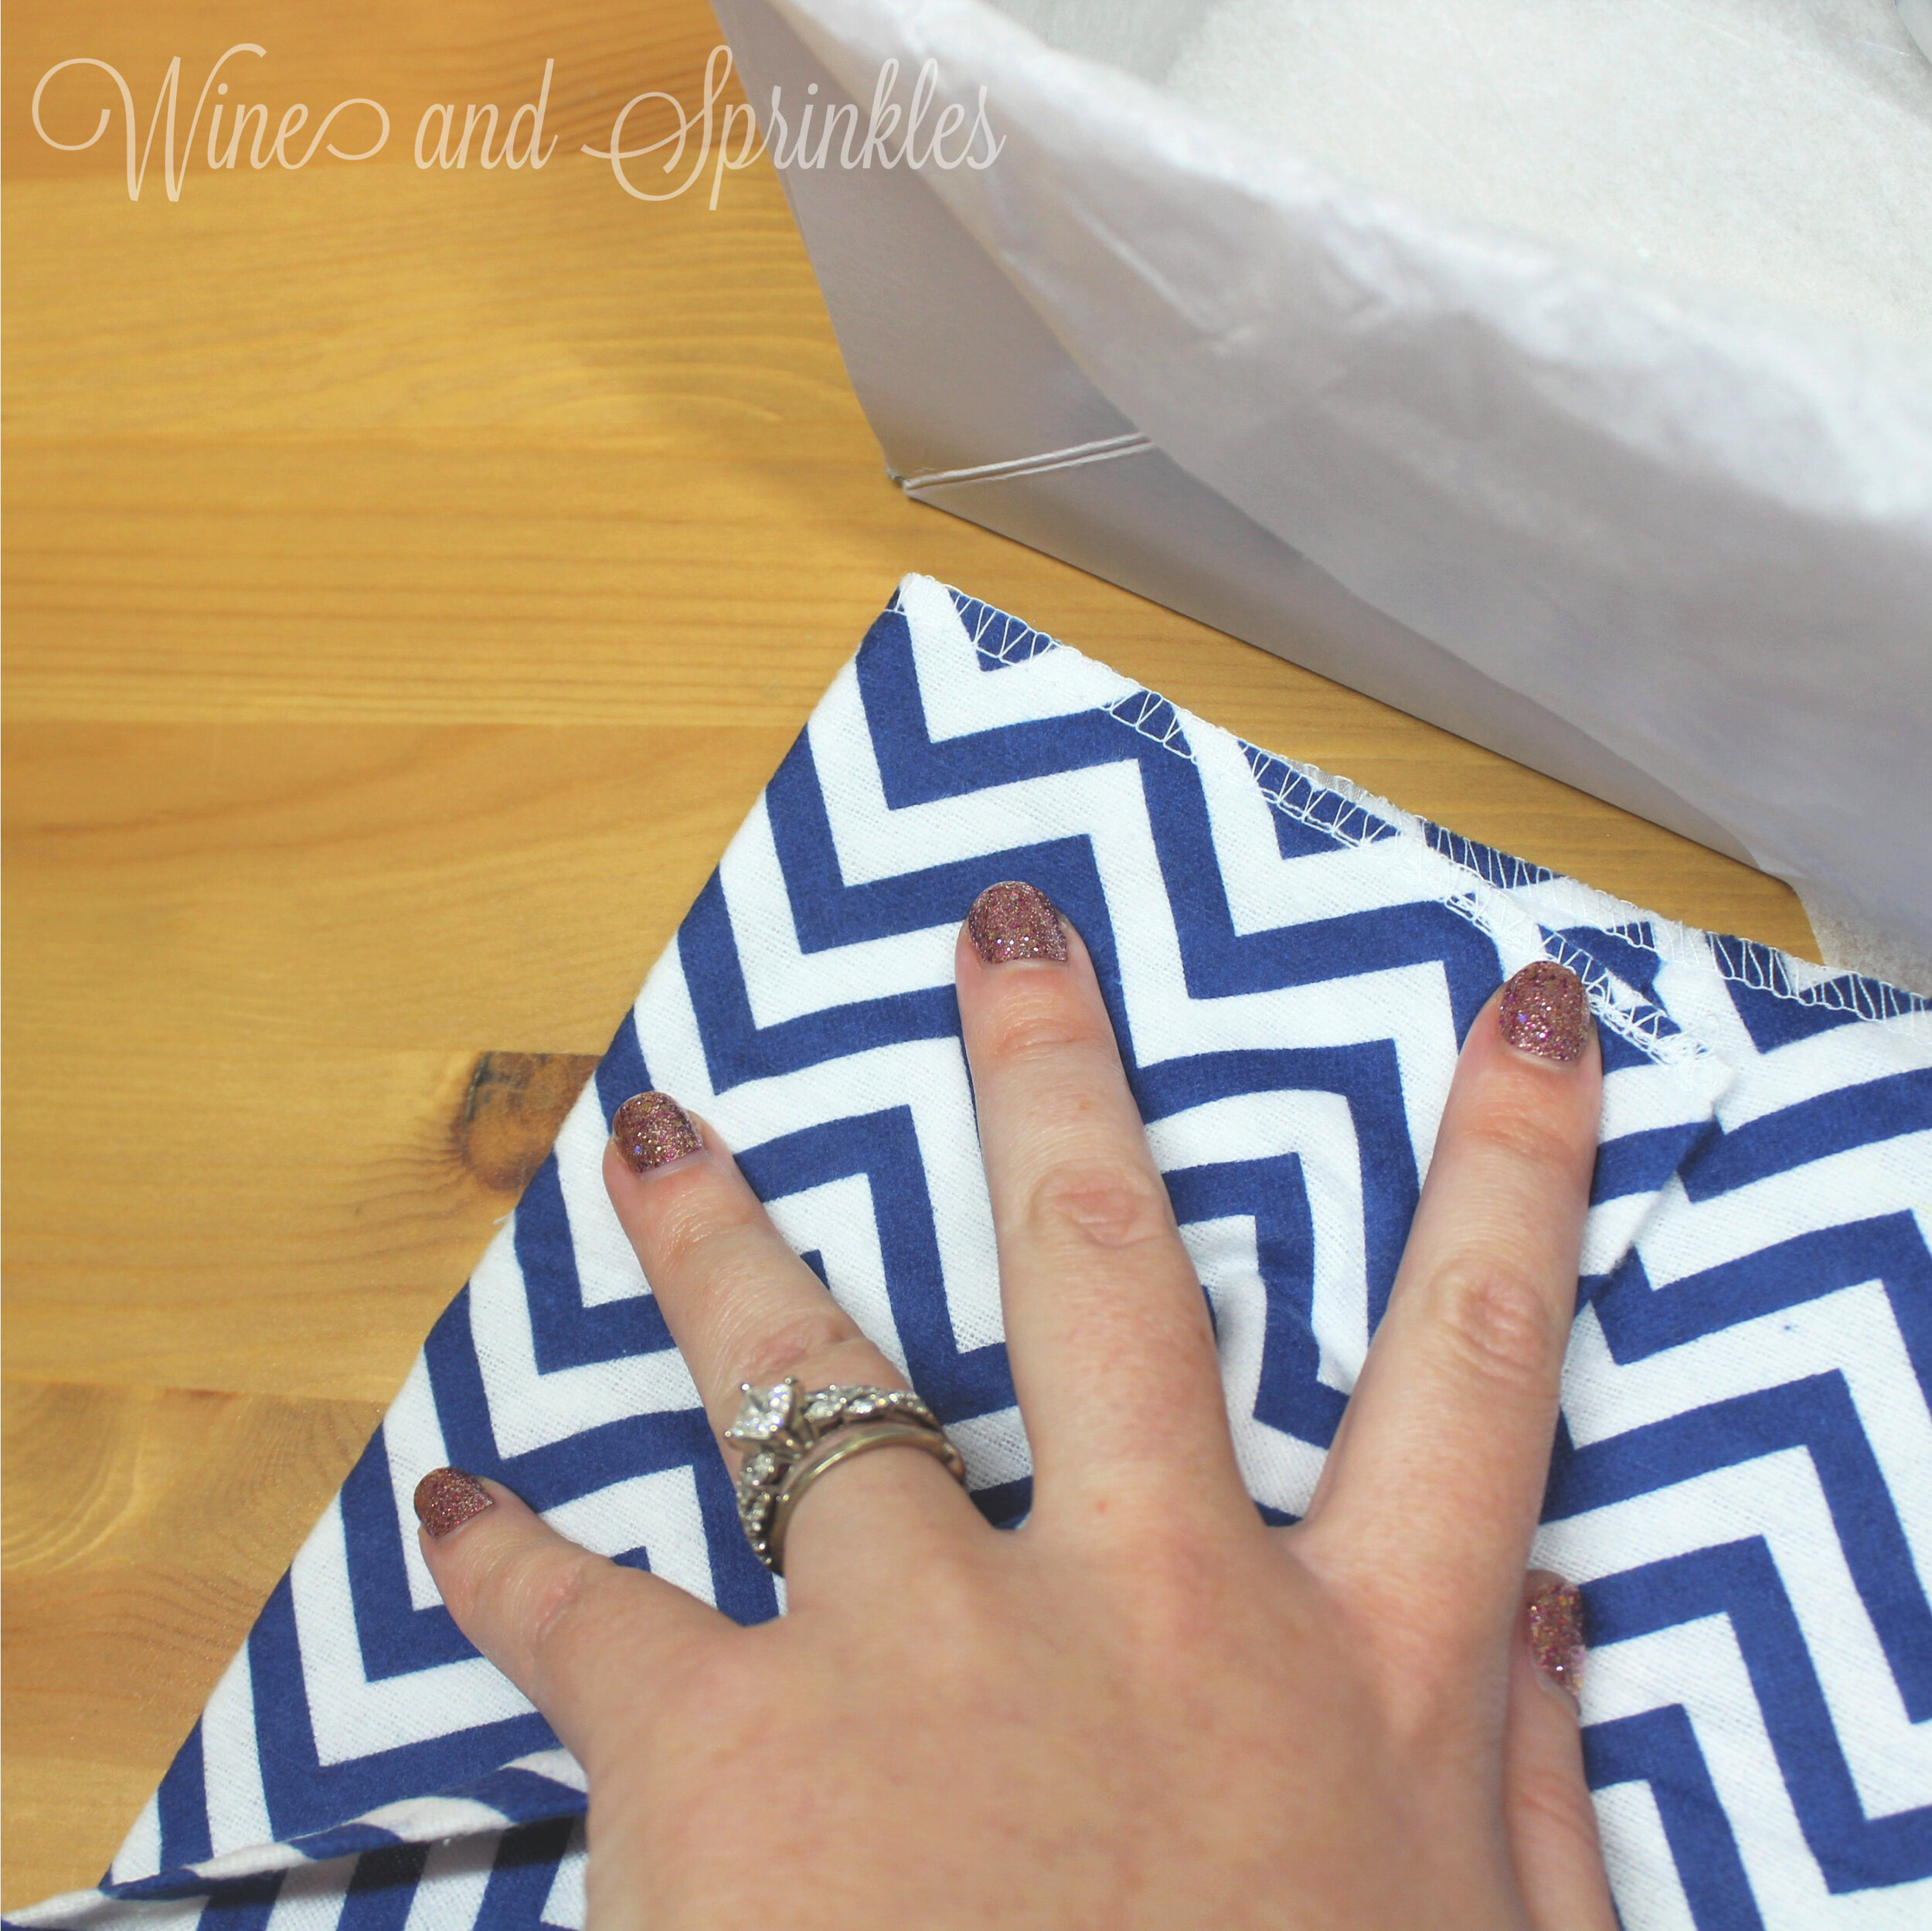
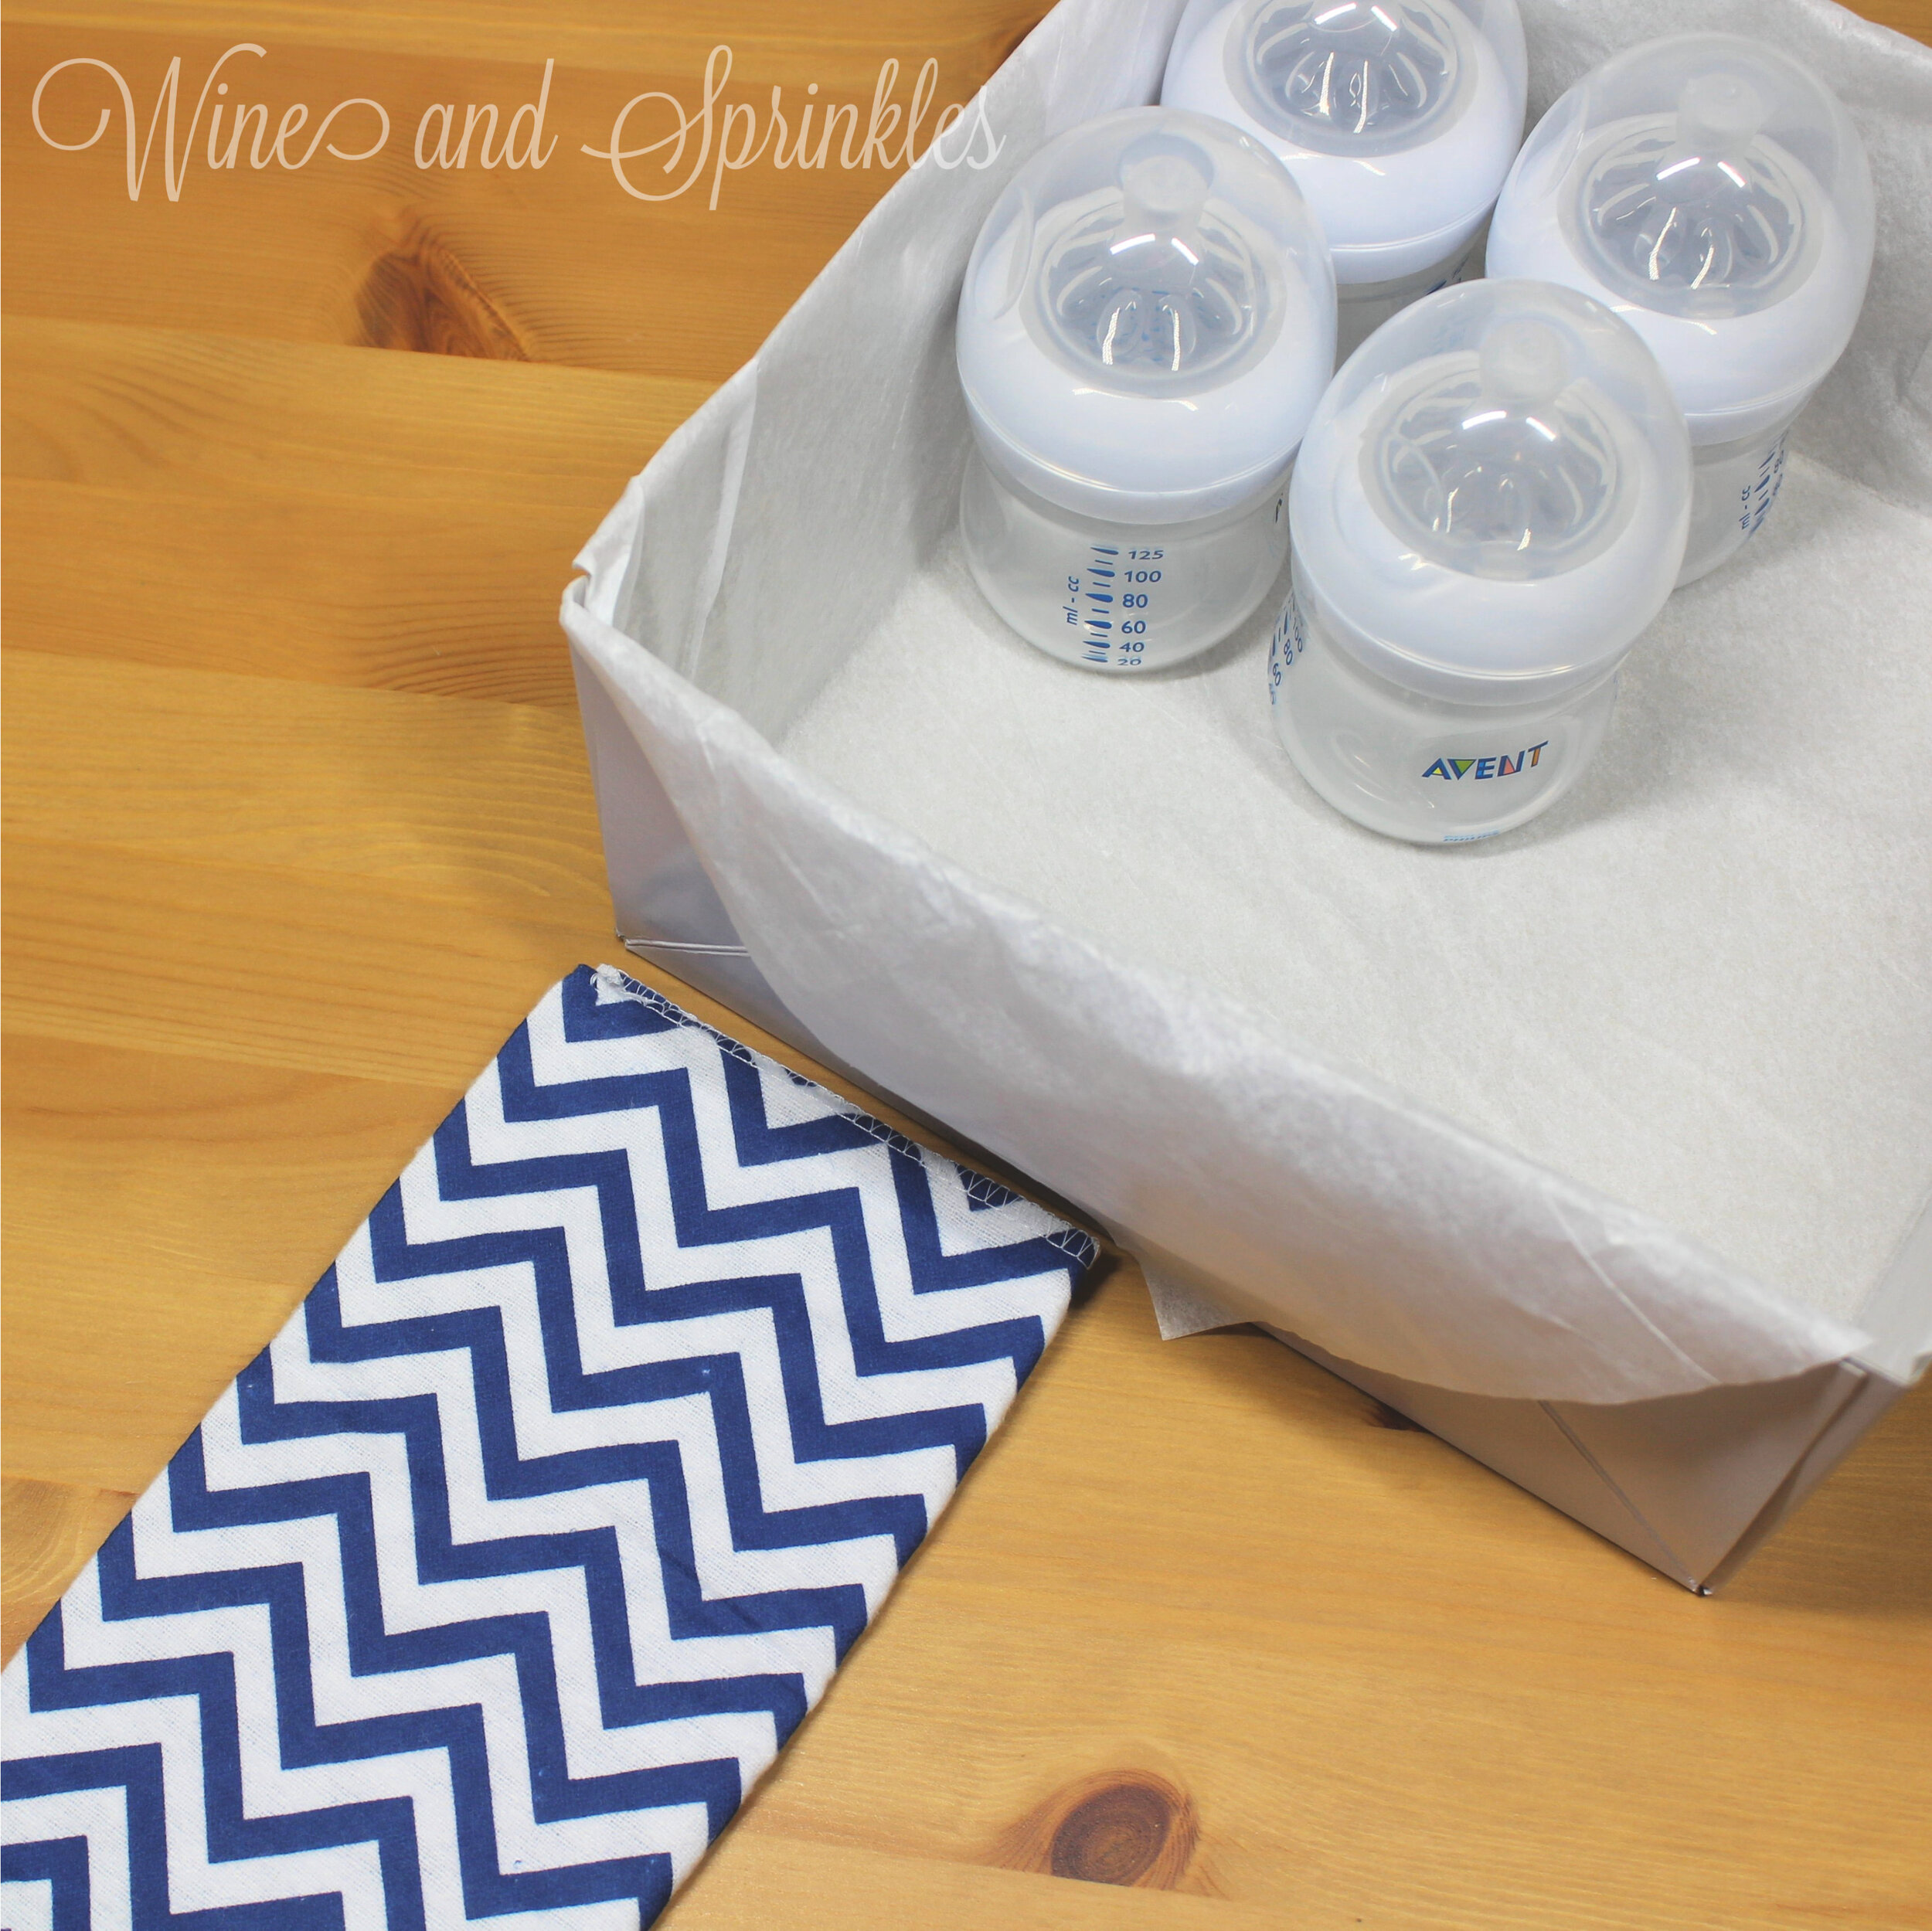
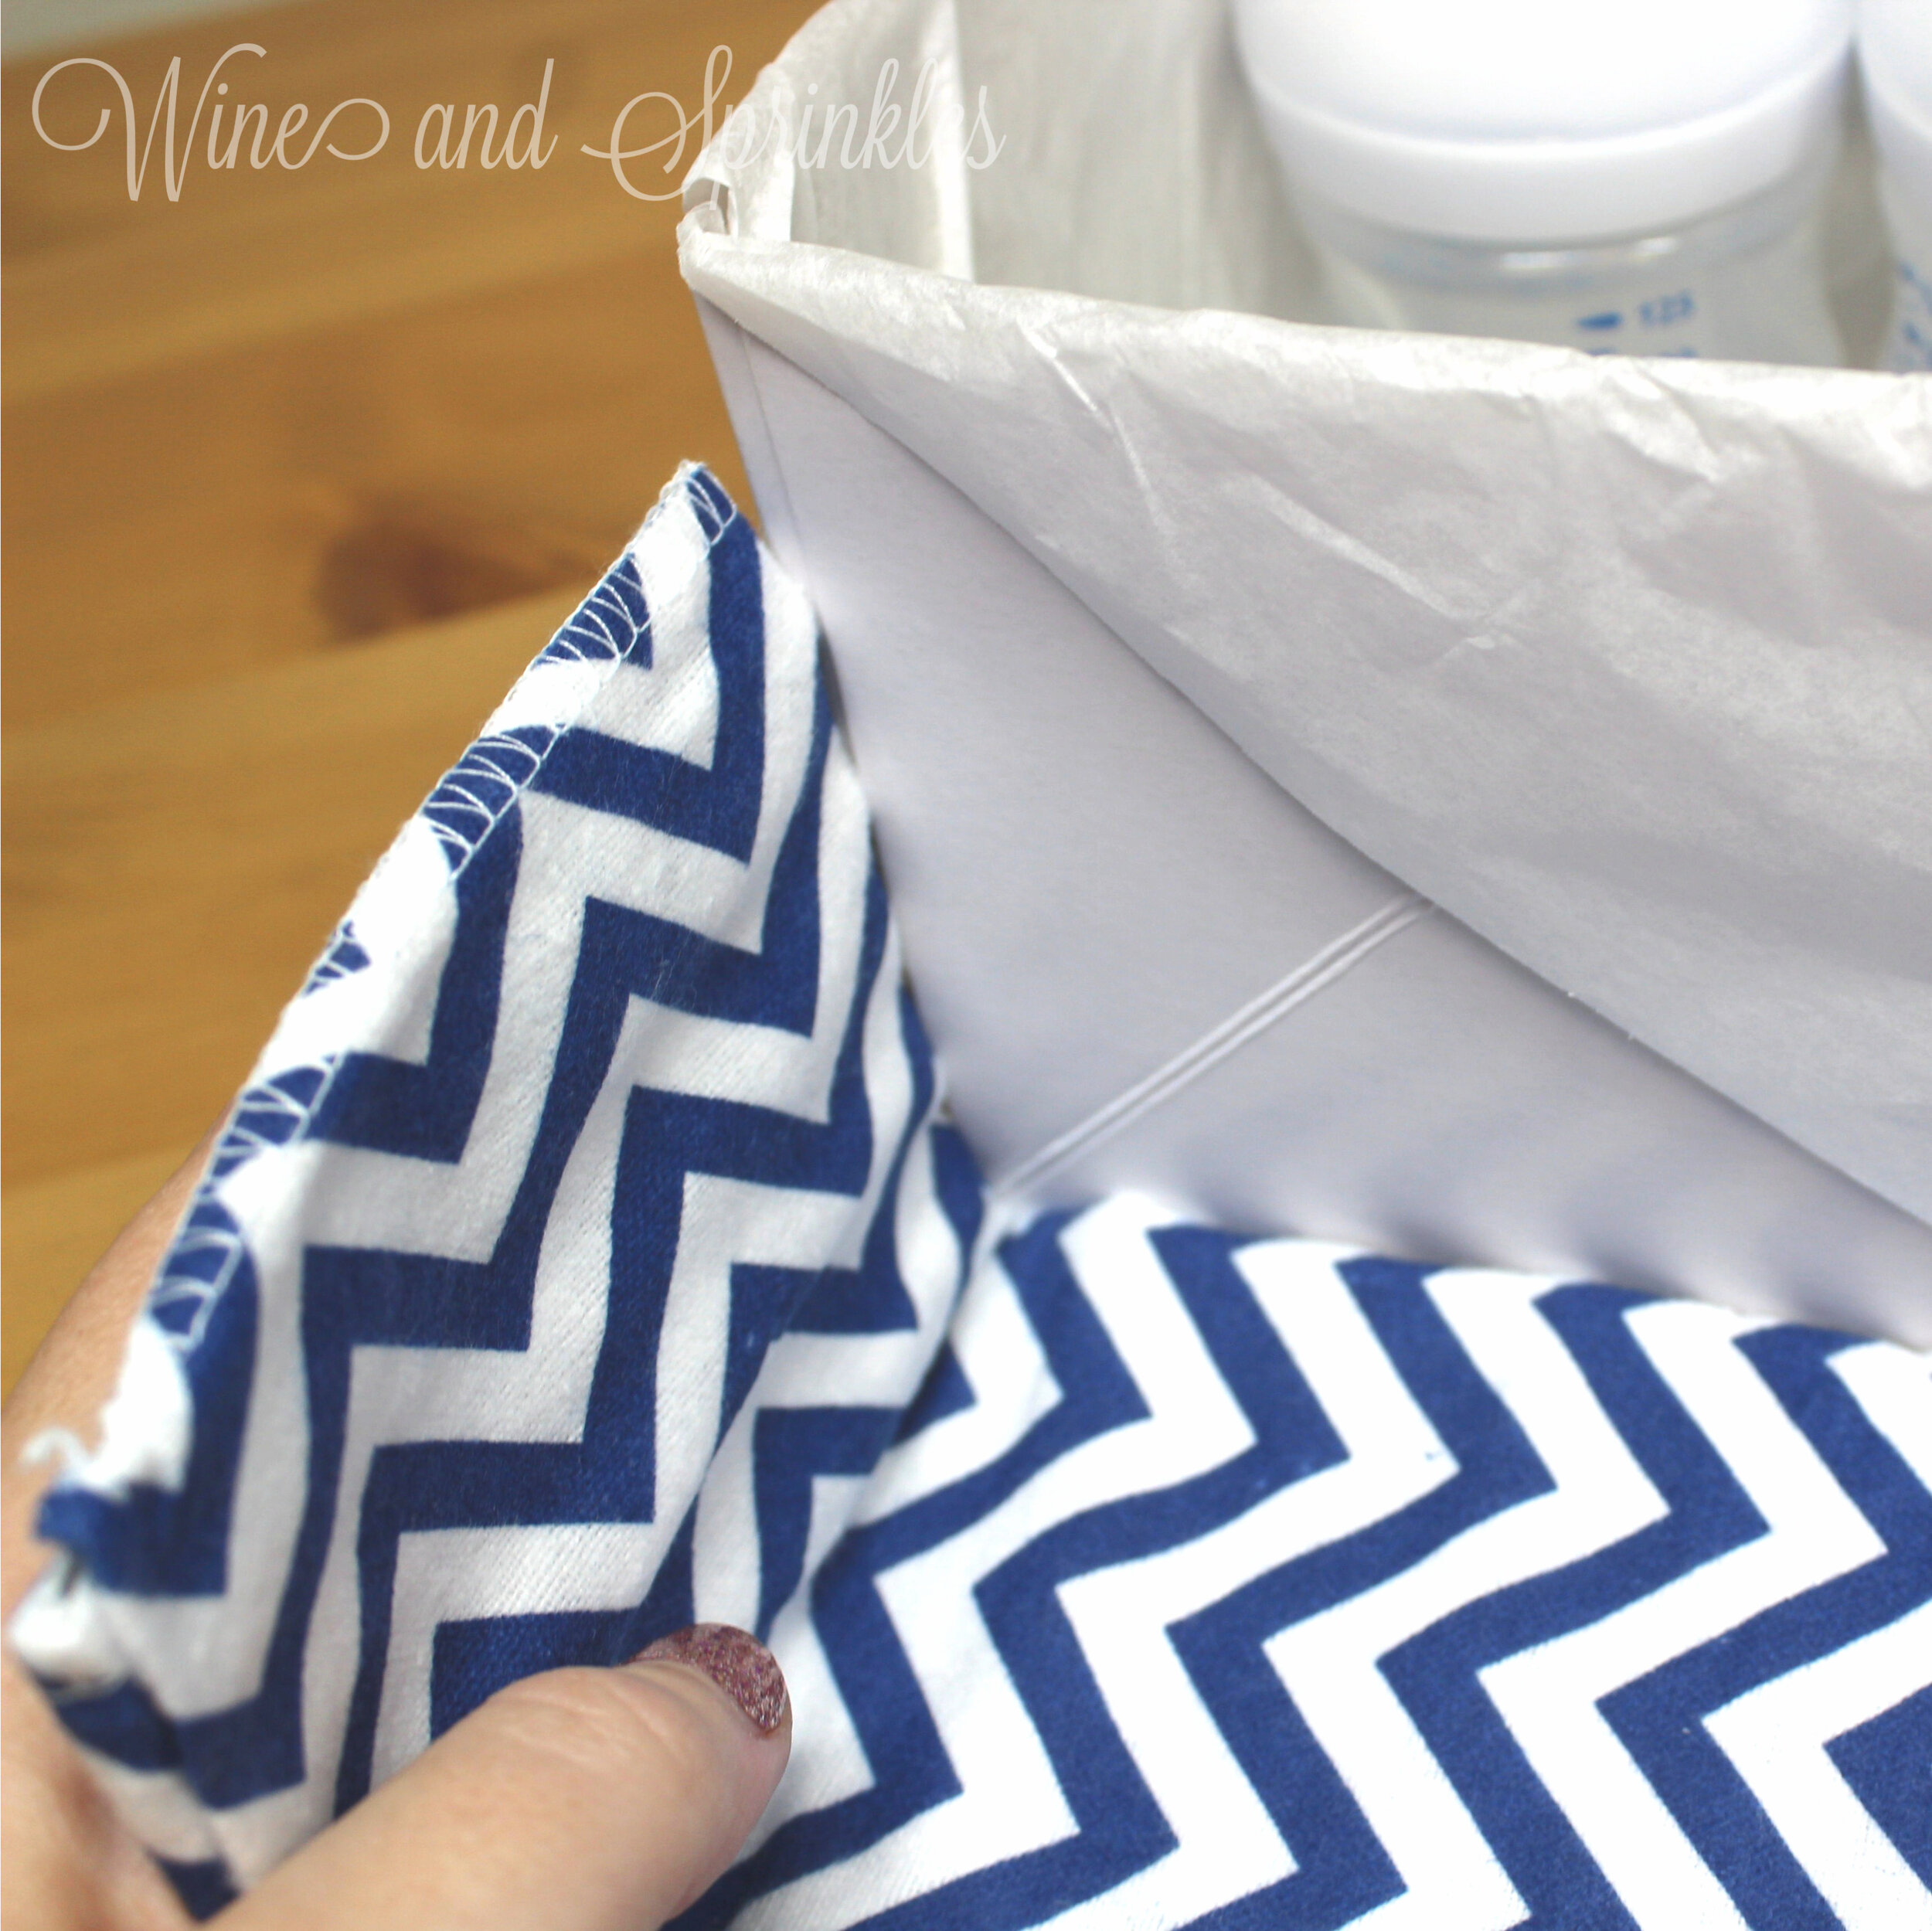
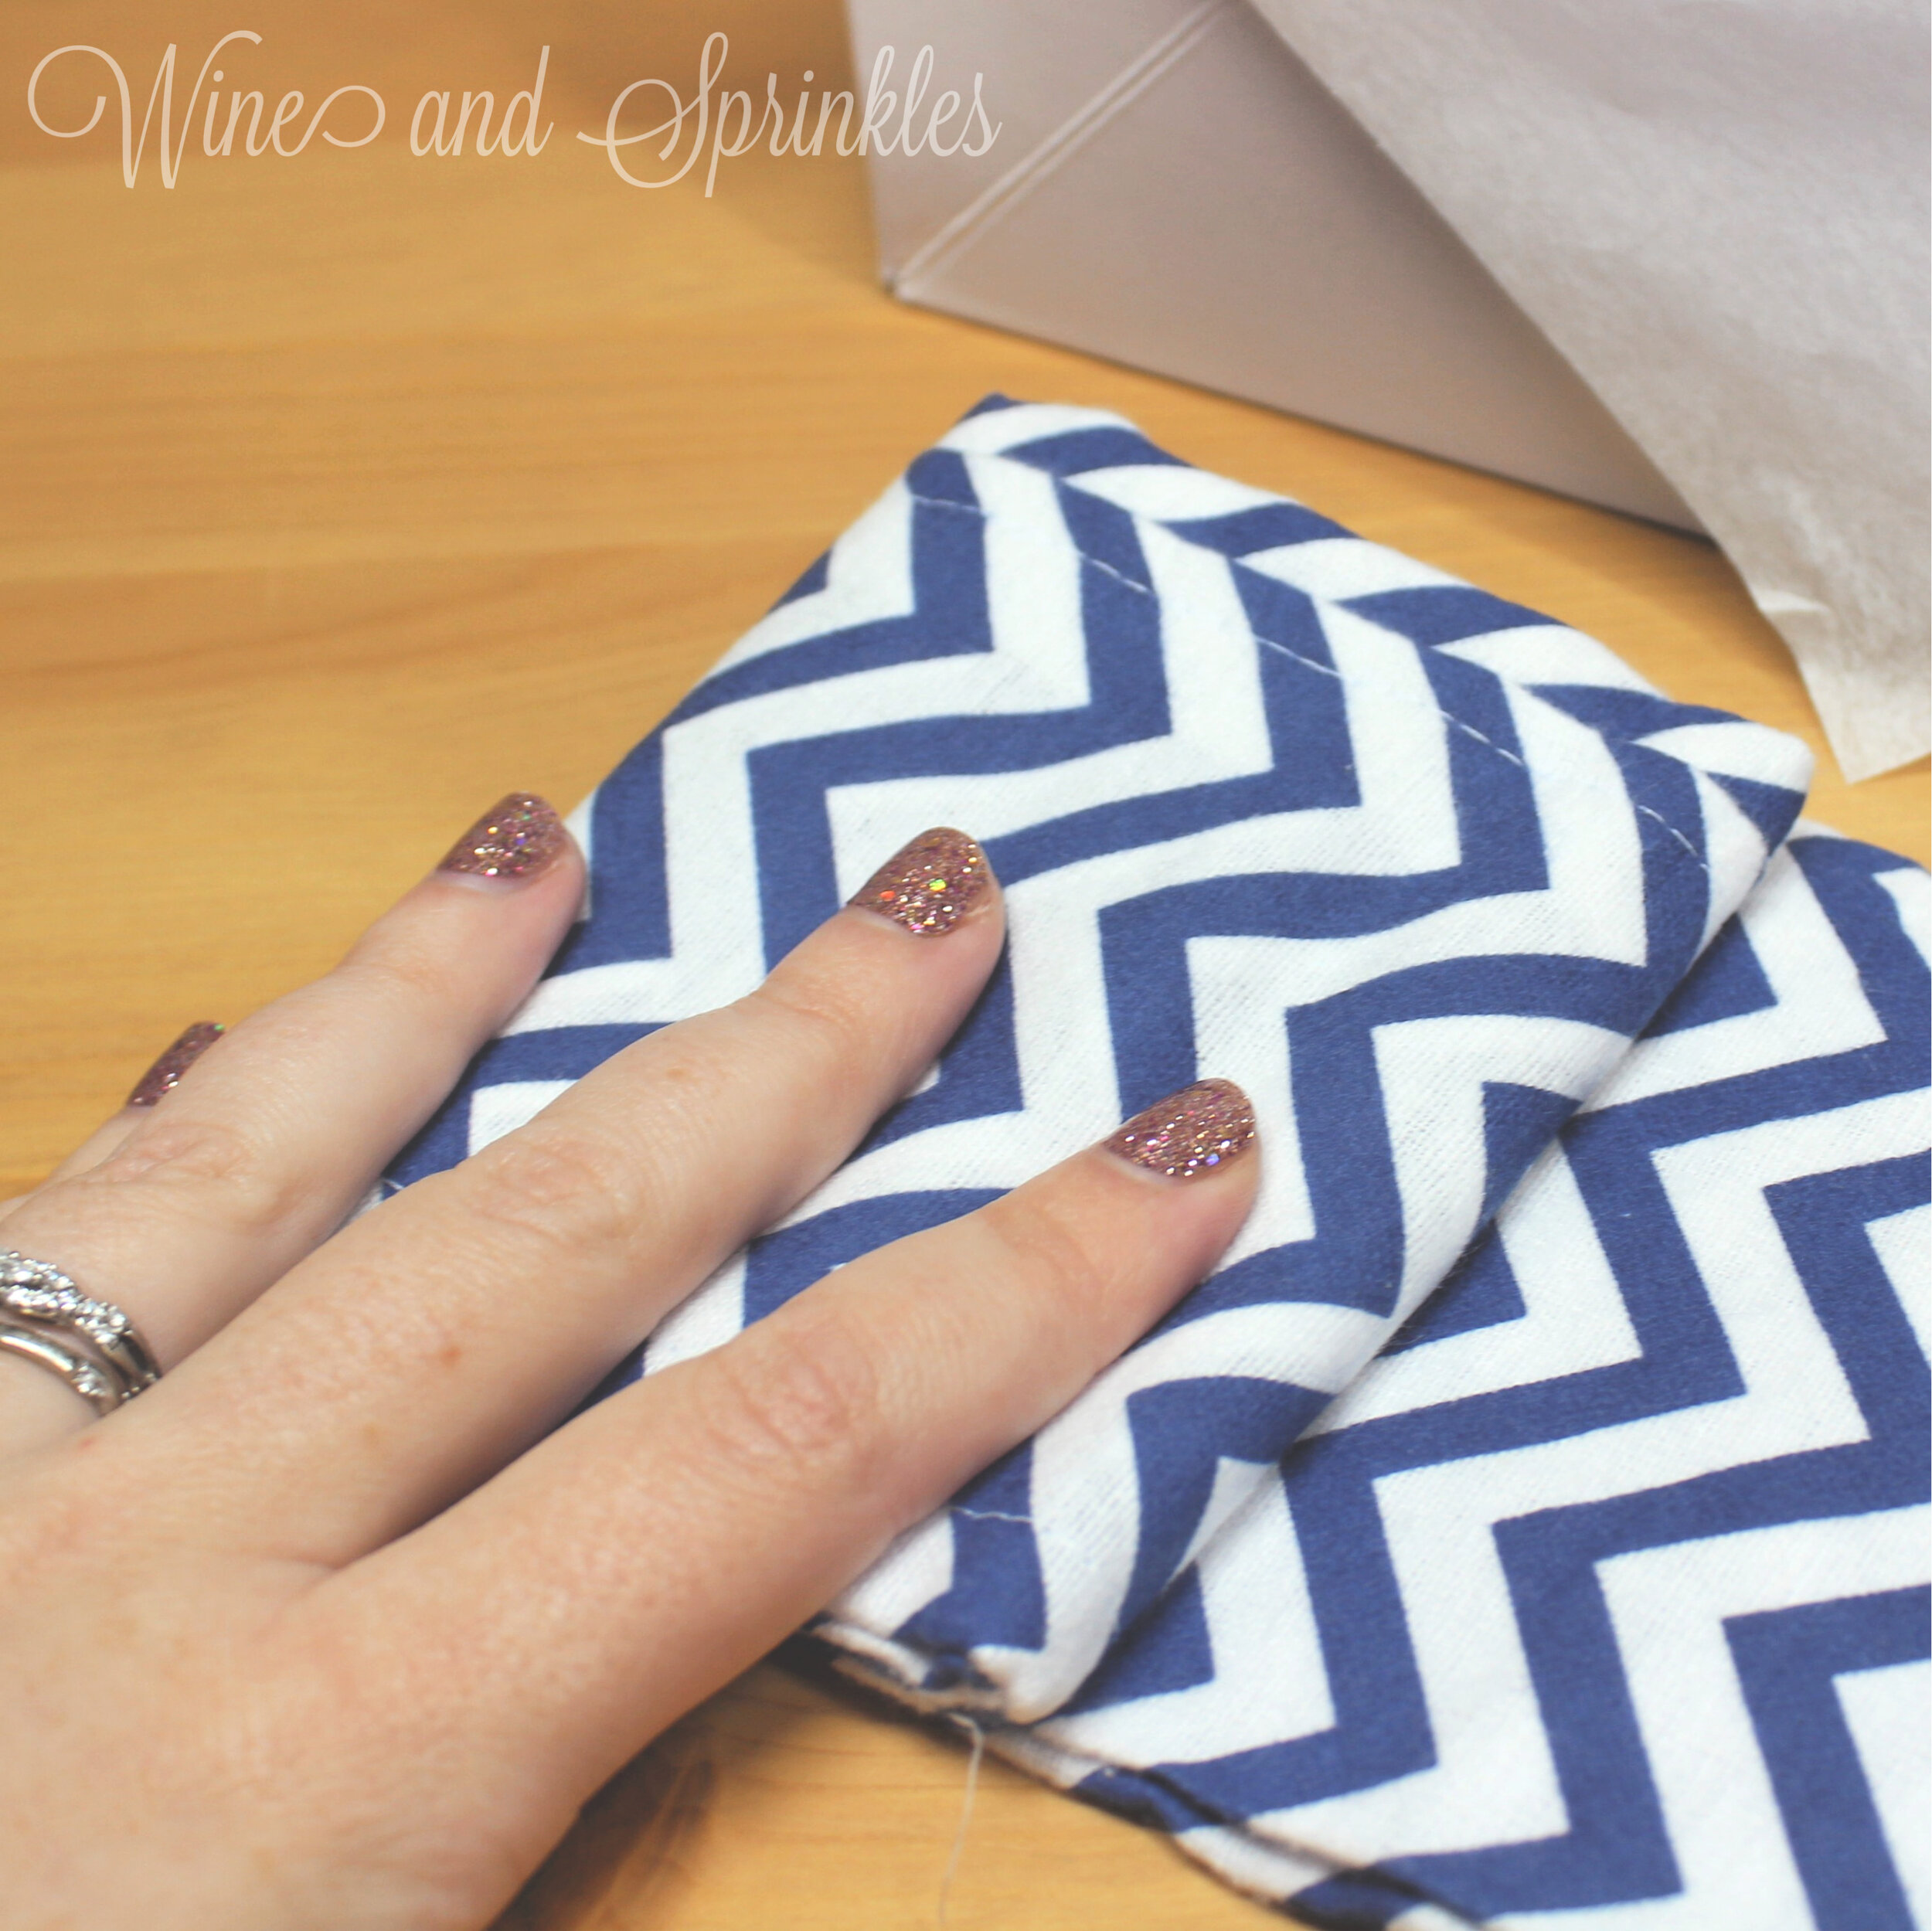
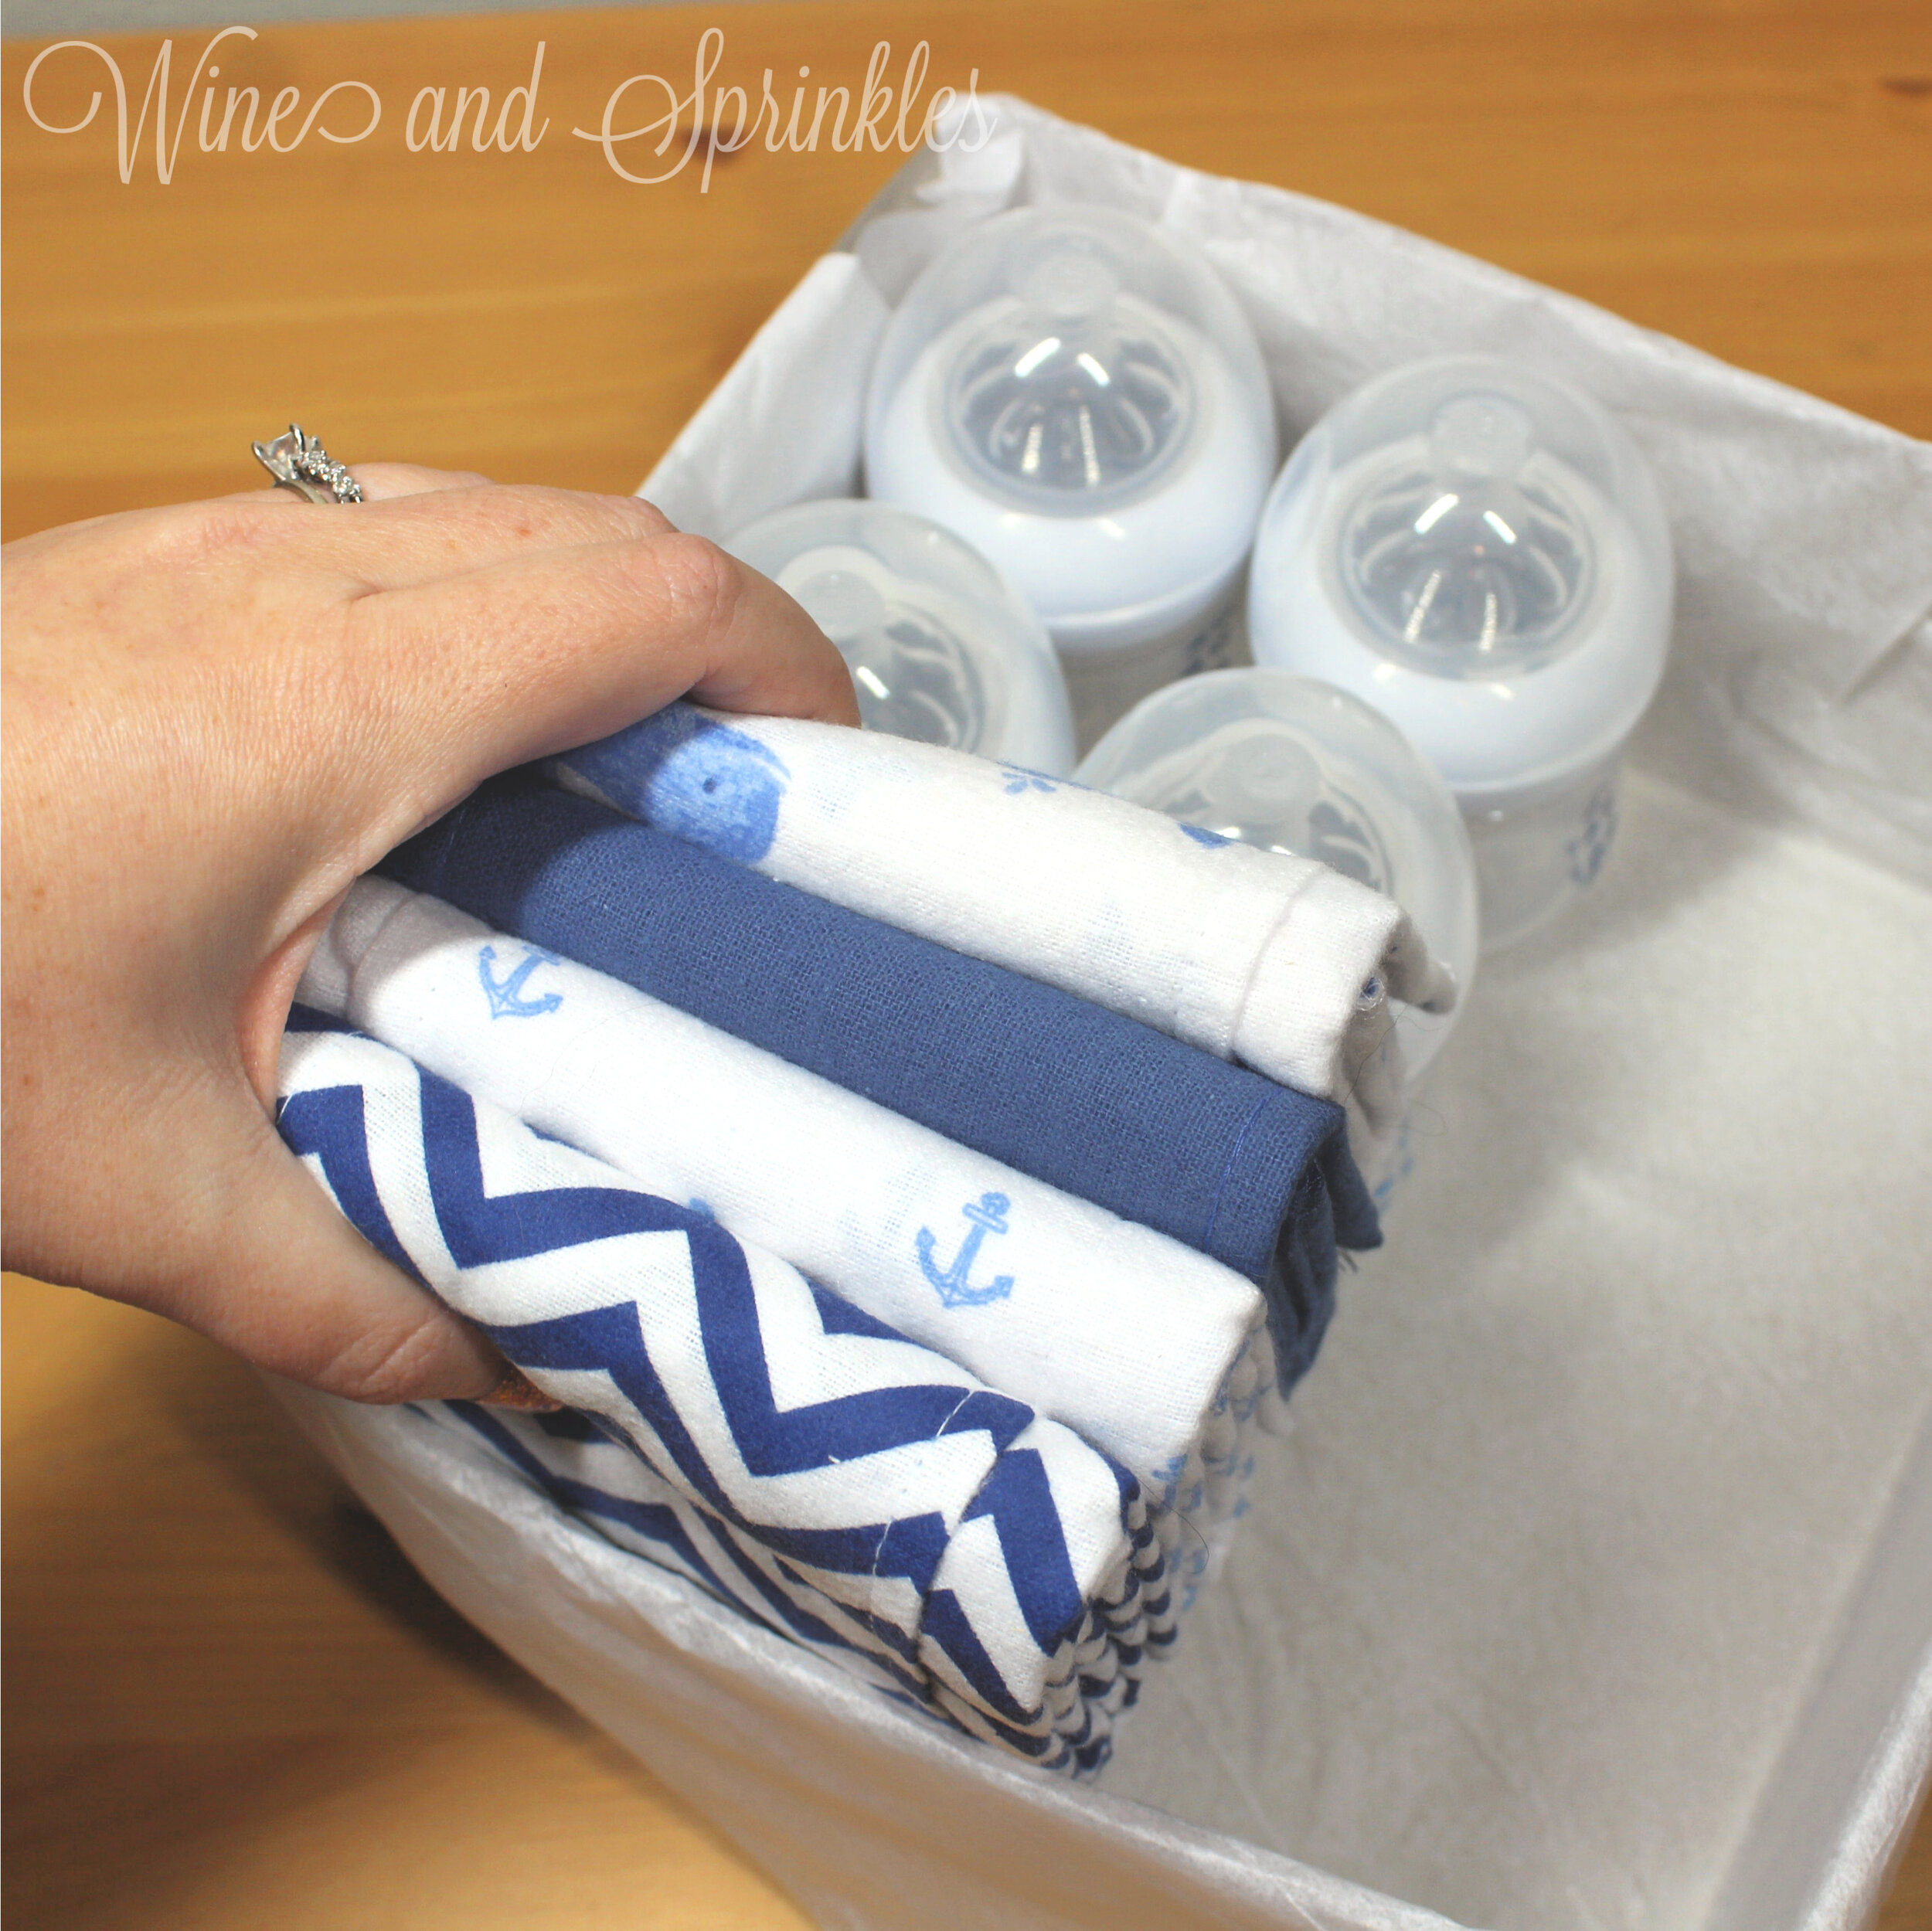
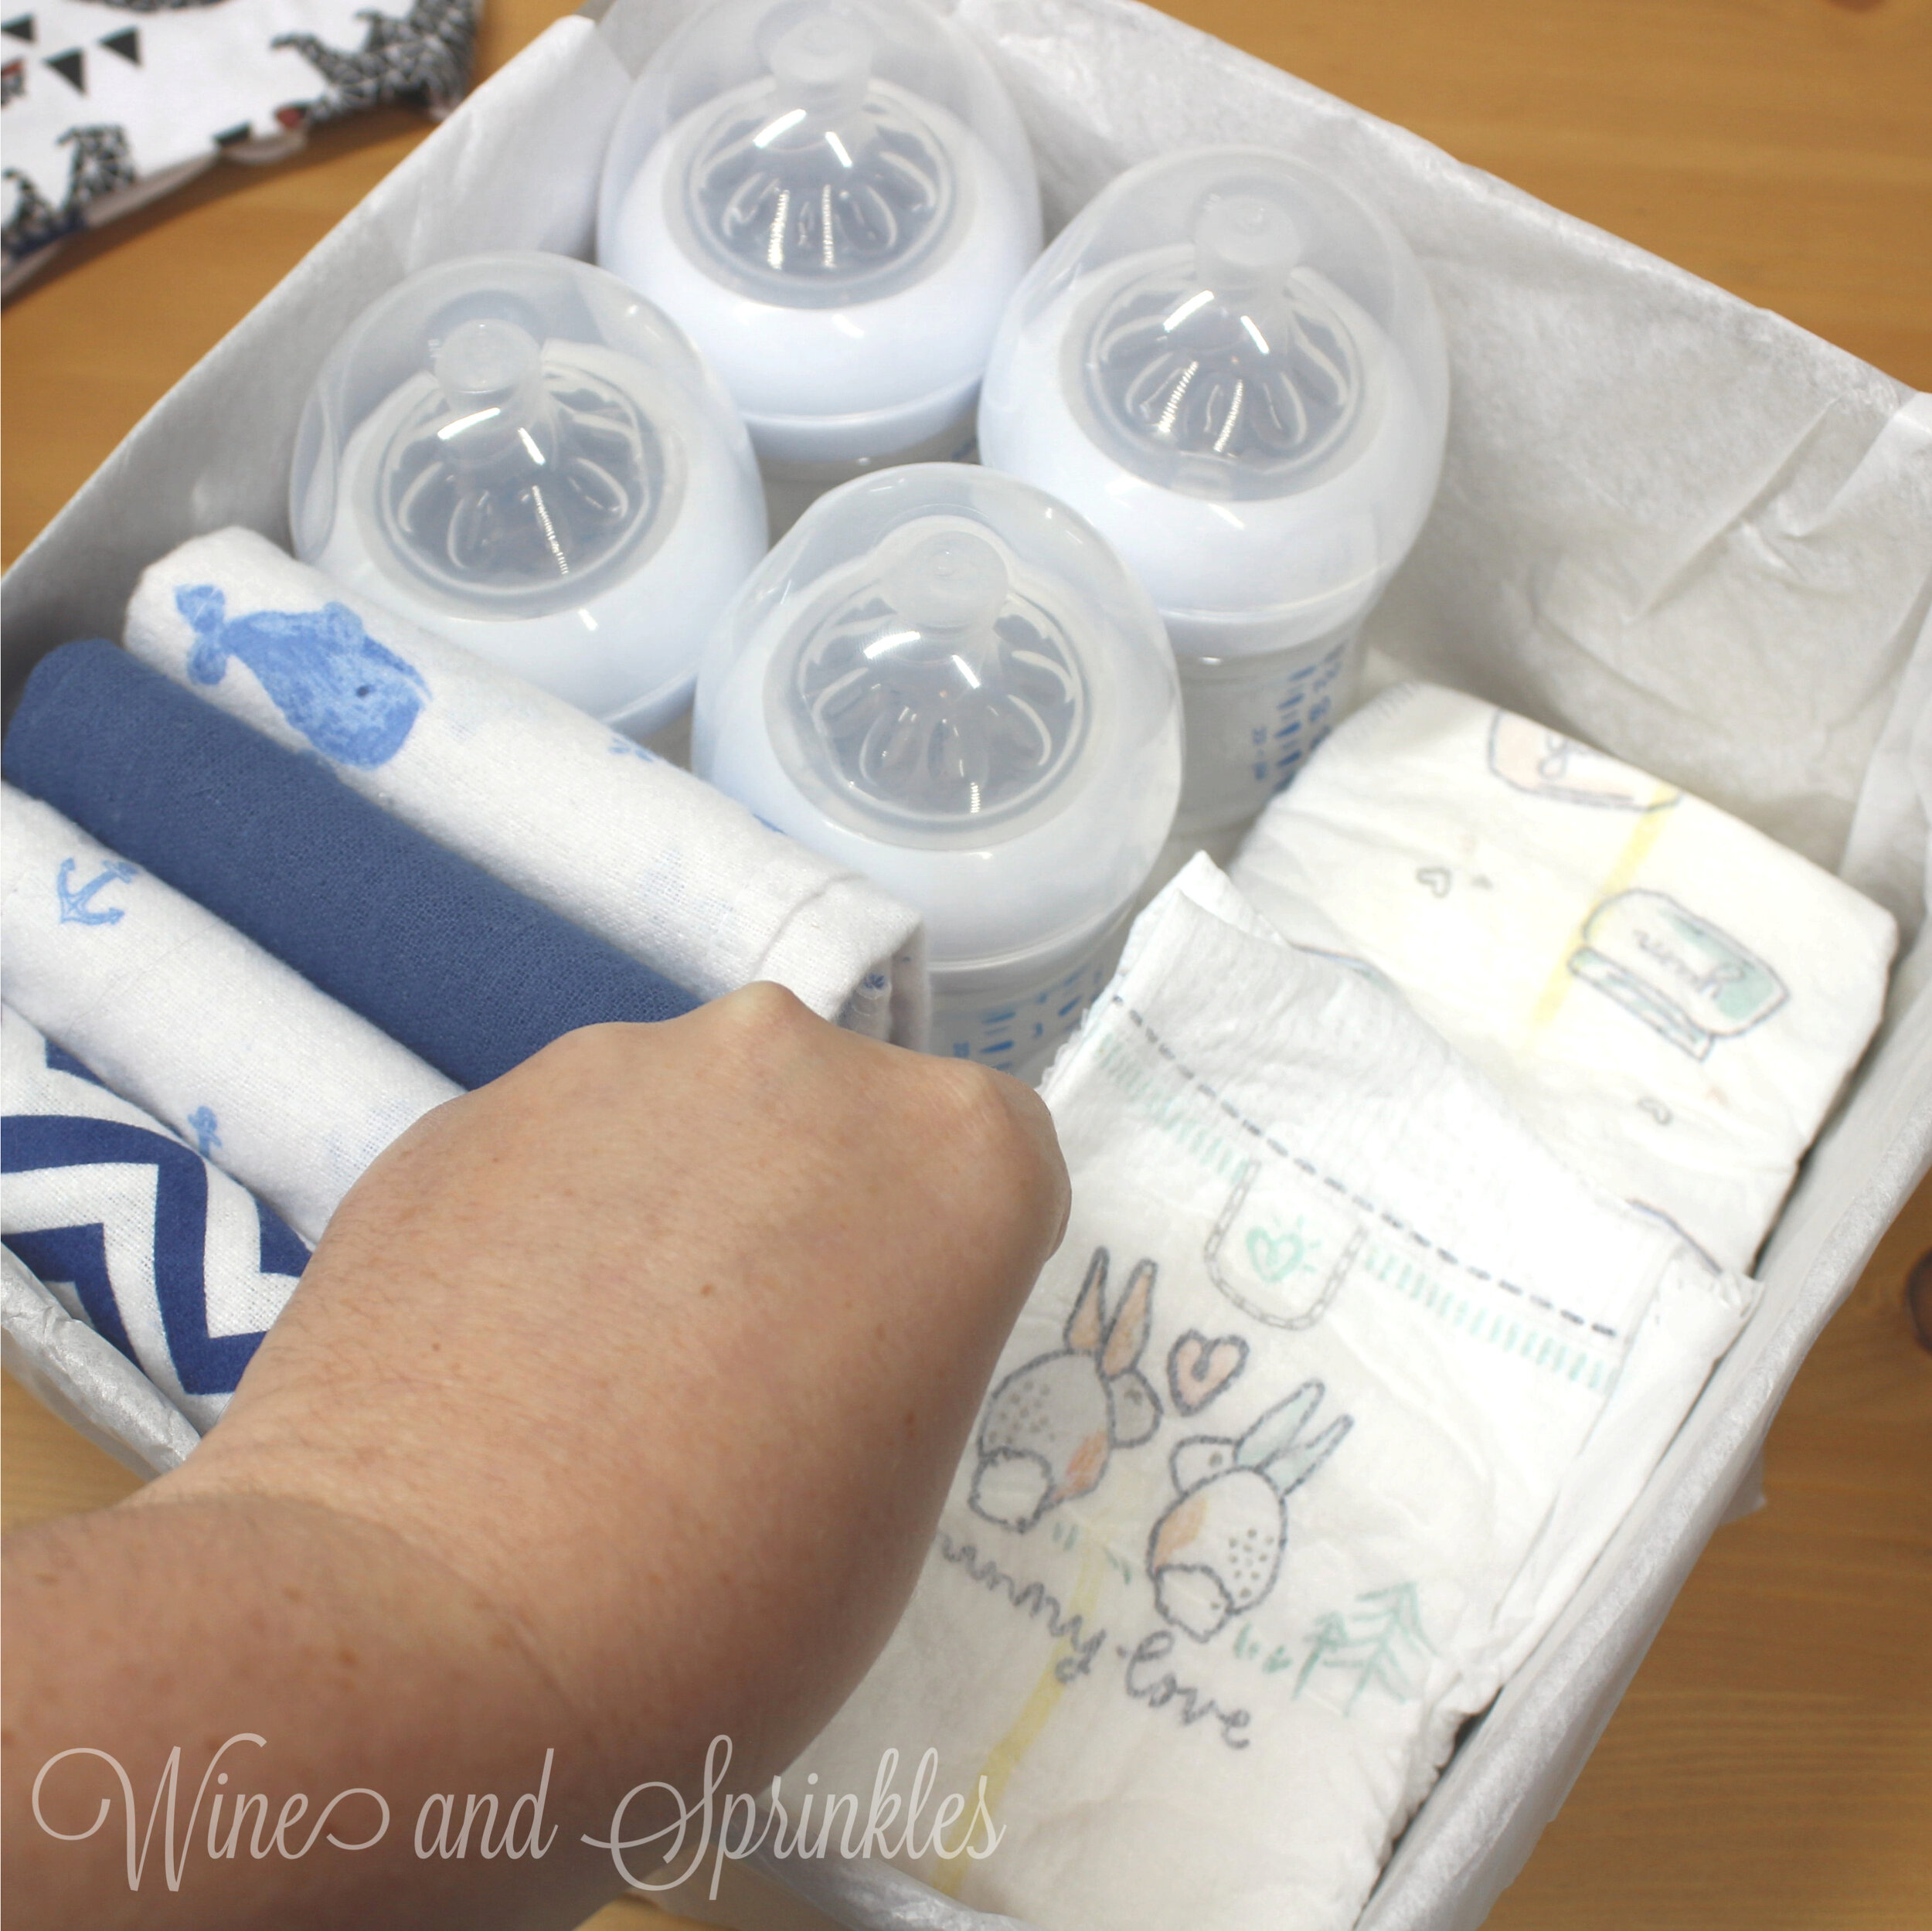
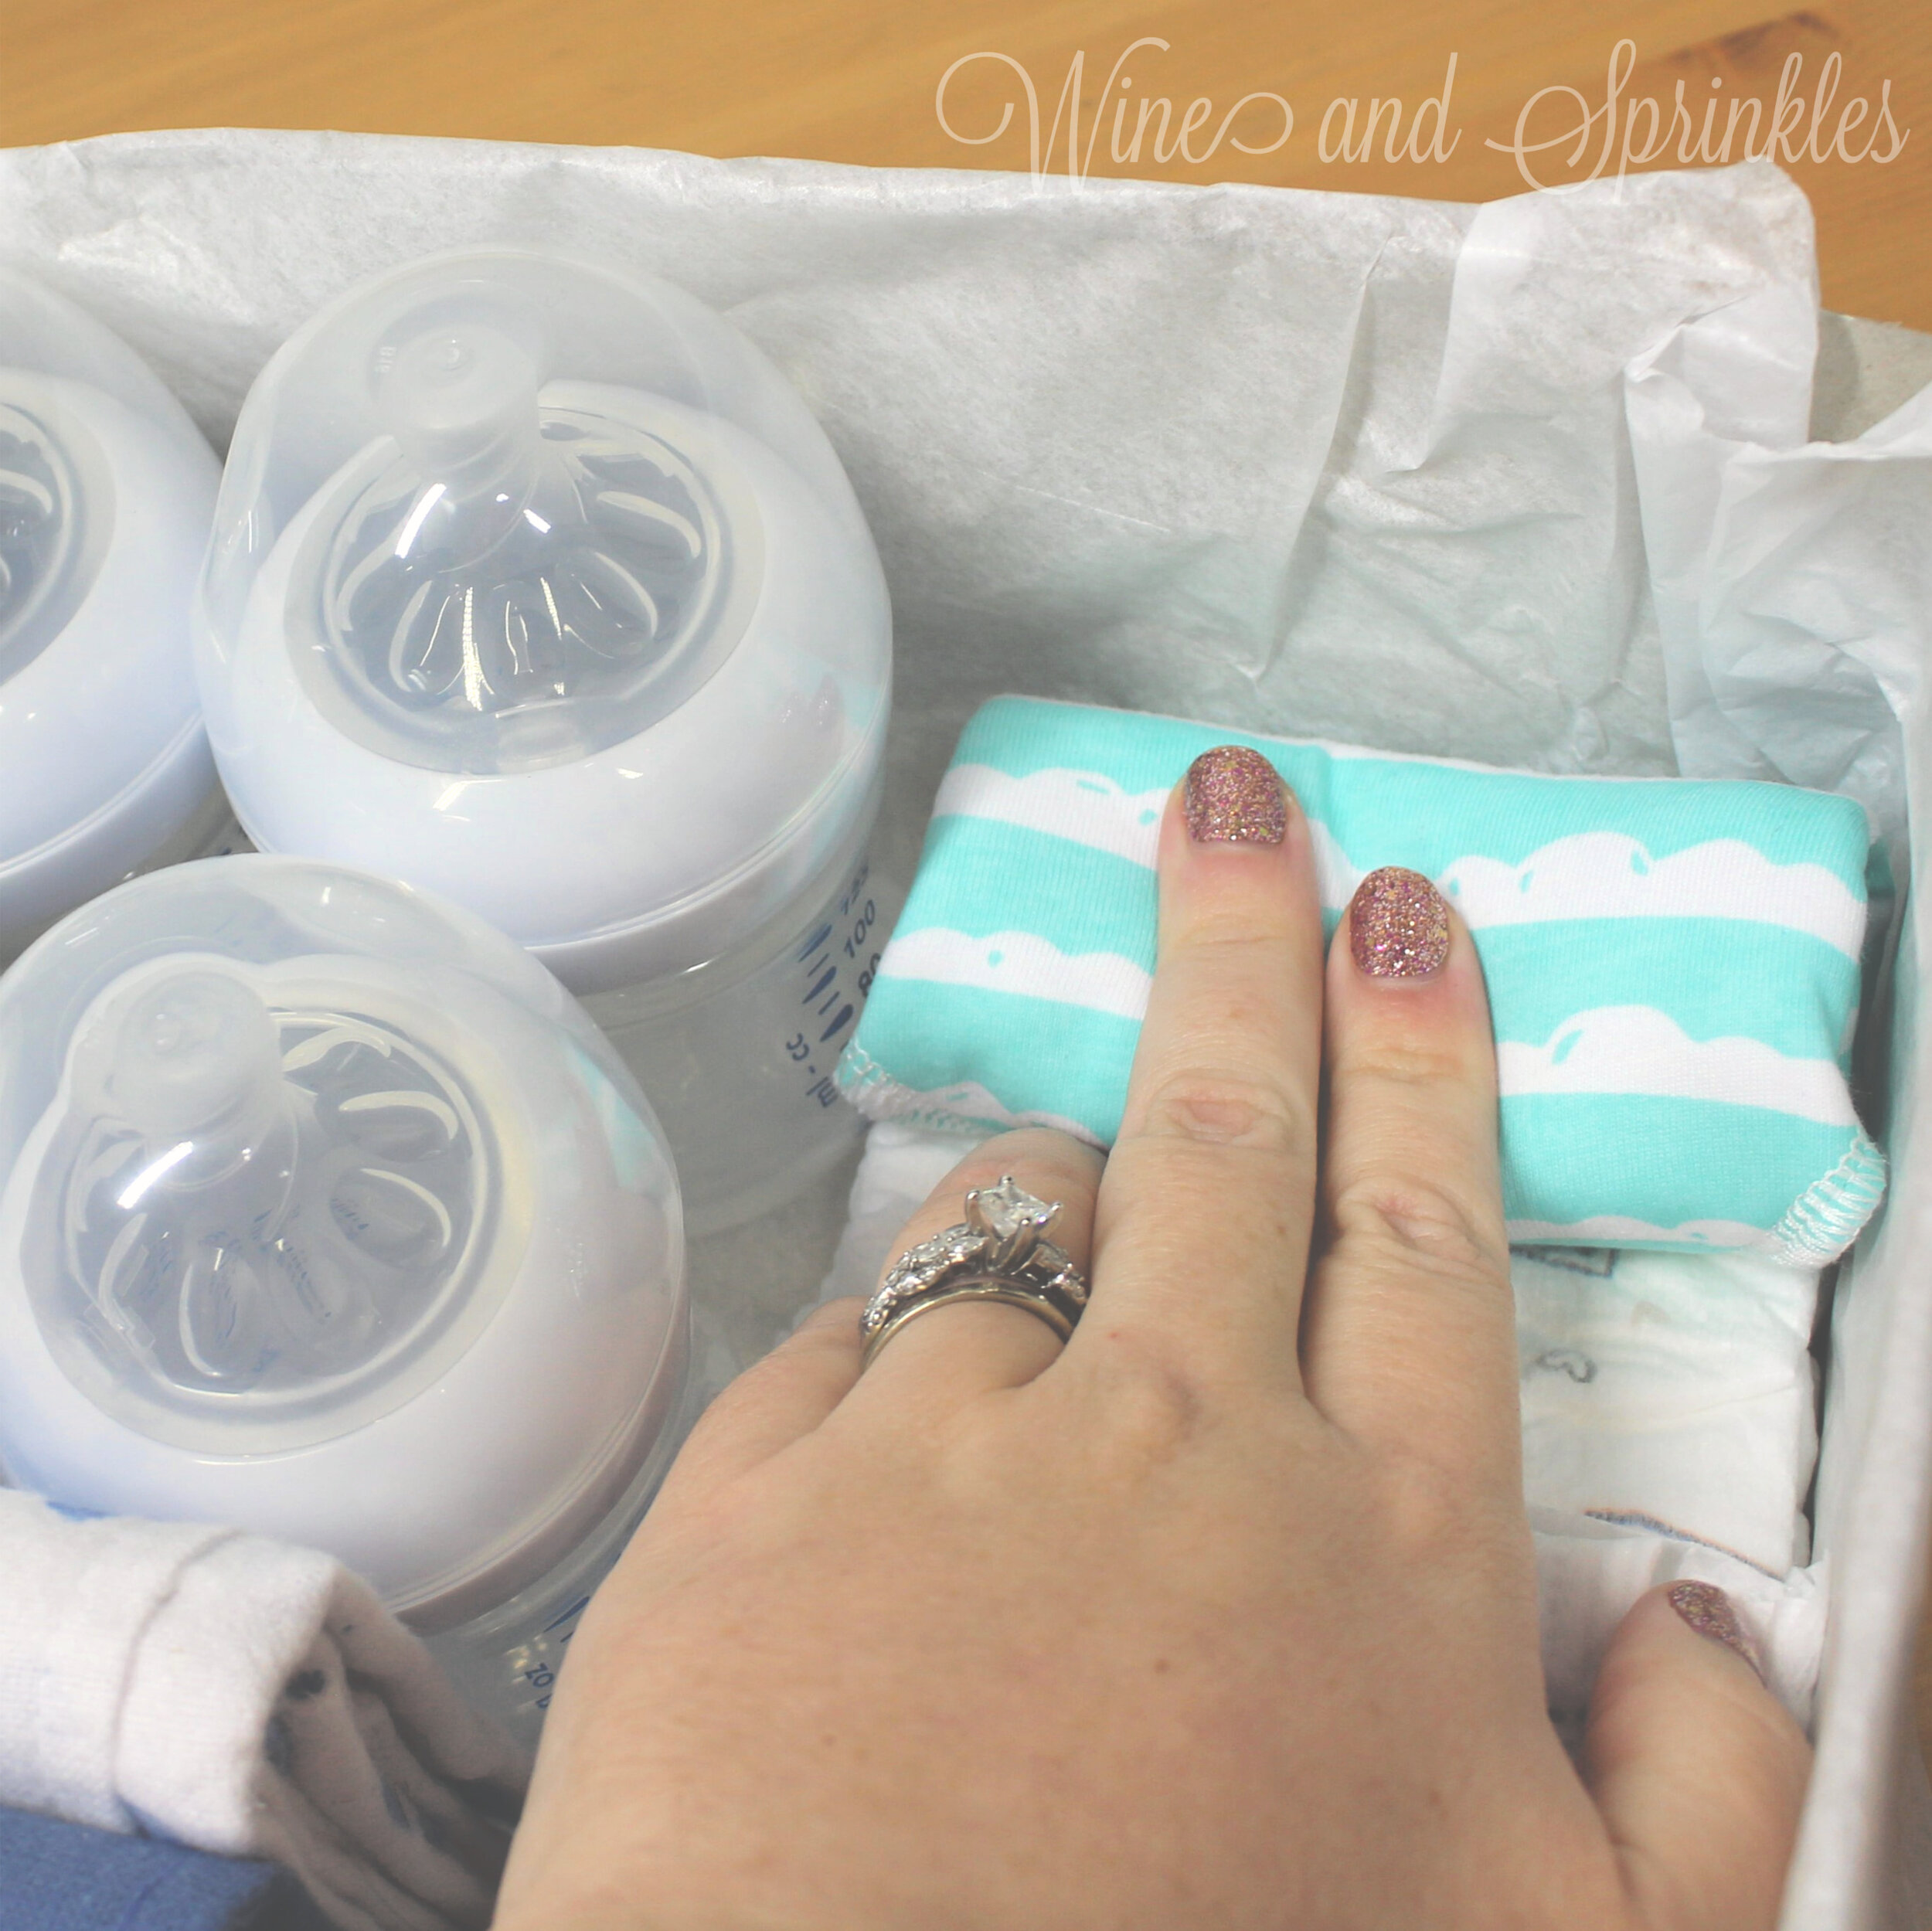
Start by placing your newborn bottles in a square formation in the upper left corner of your box, as shown in the photos. Using the bottles as a guide, fold your burp cloth in thirds so that it forms a long rectangle that is the width of the bottles. Turn the burp cloth 90 degrees so that the long side runs parallel to your box.
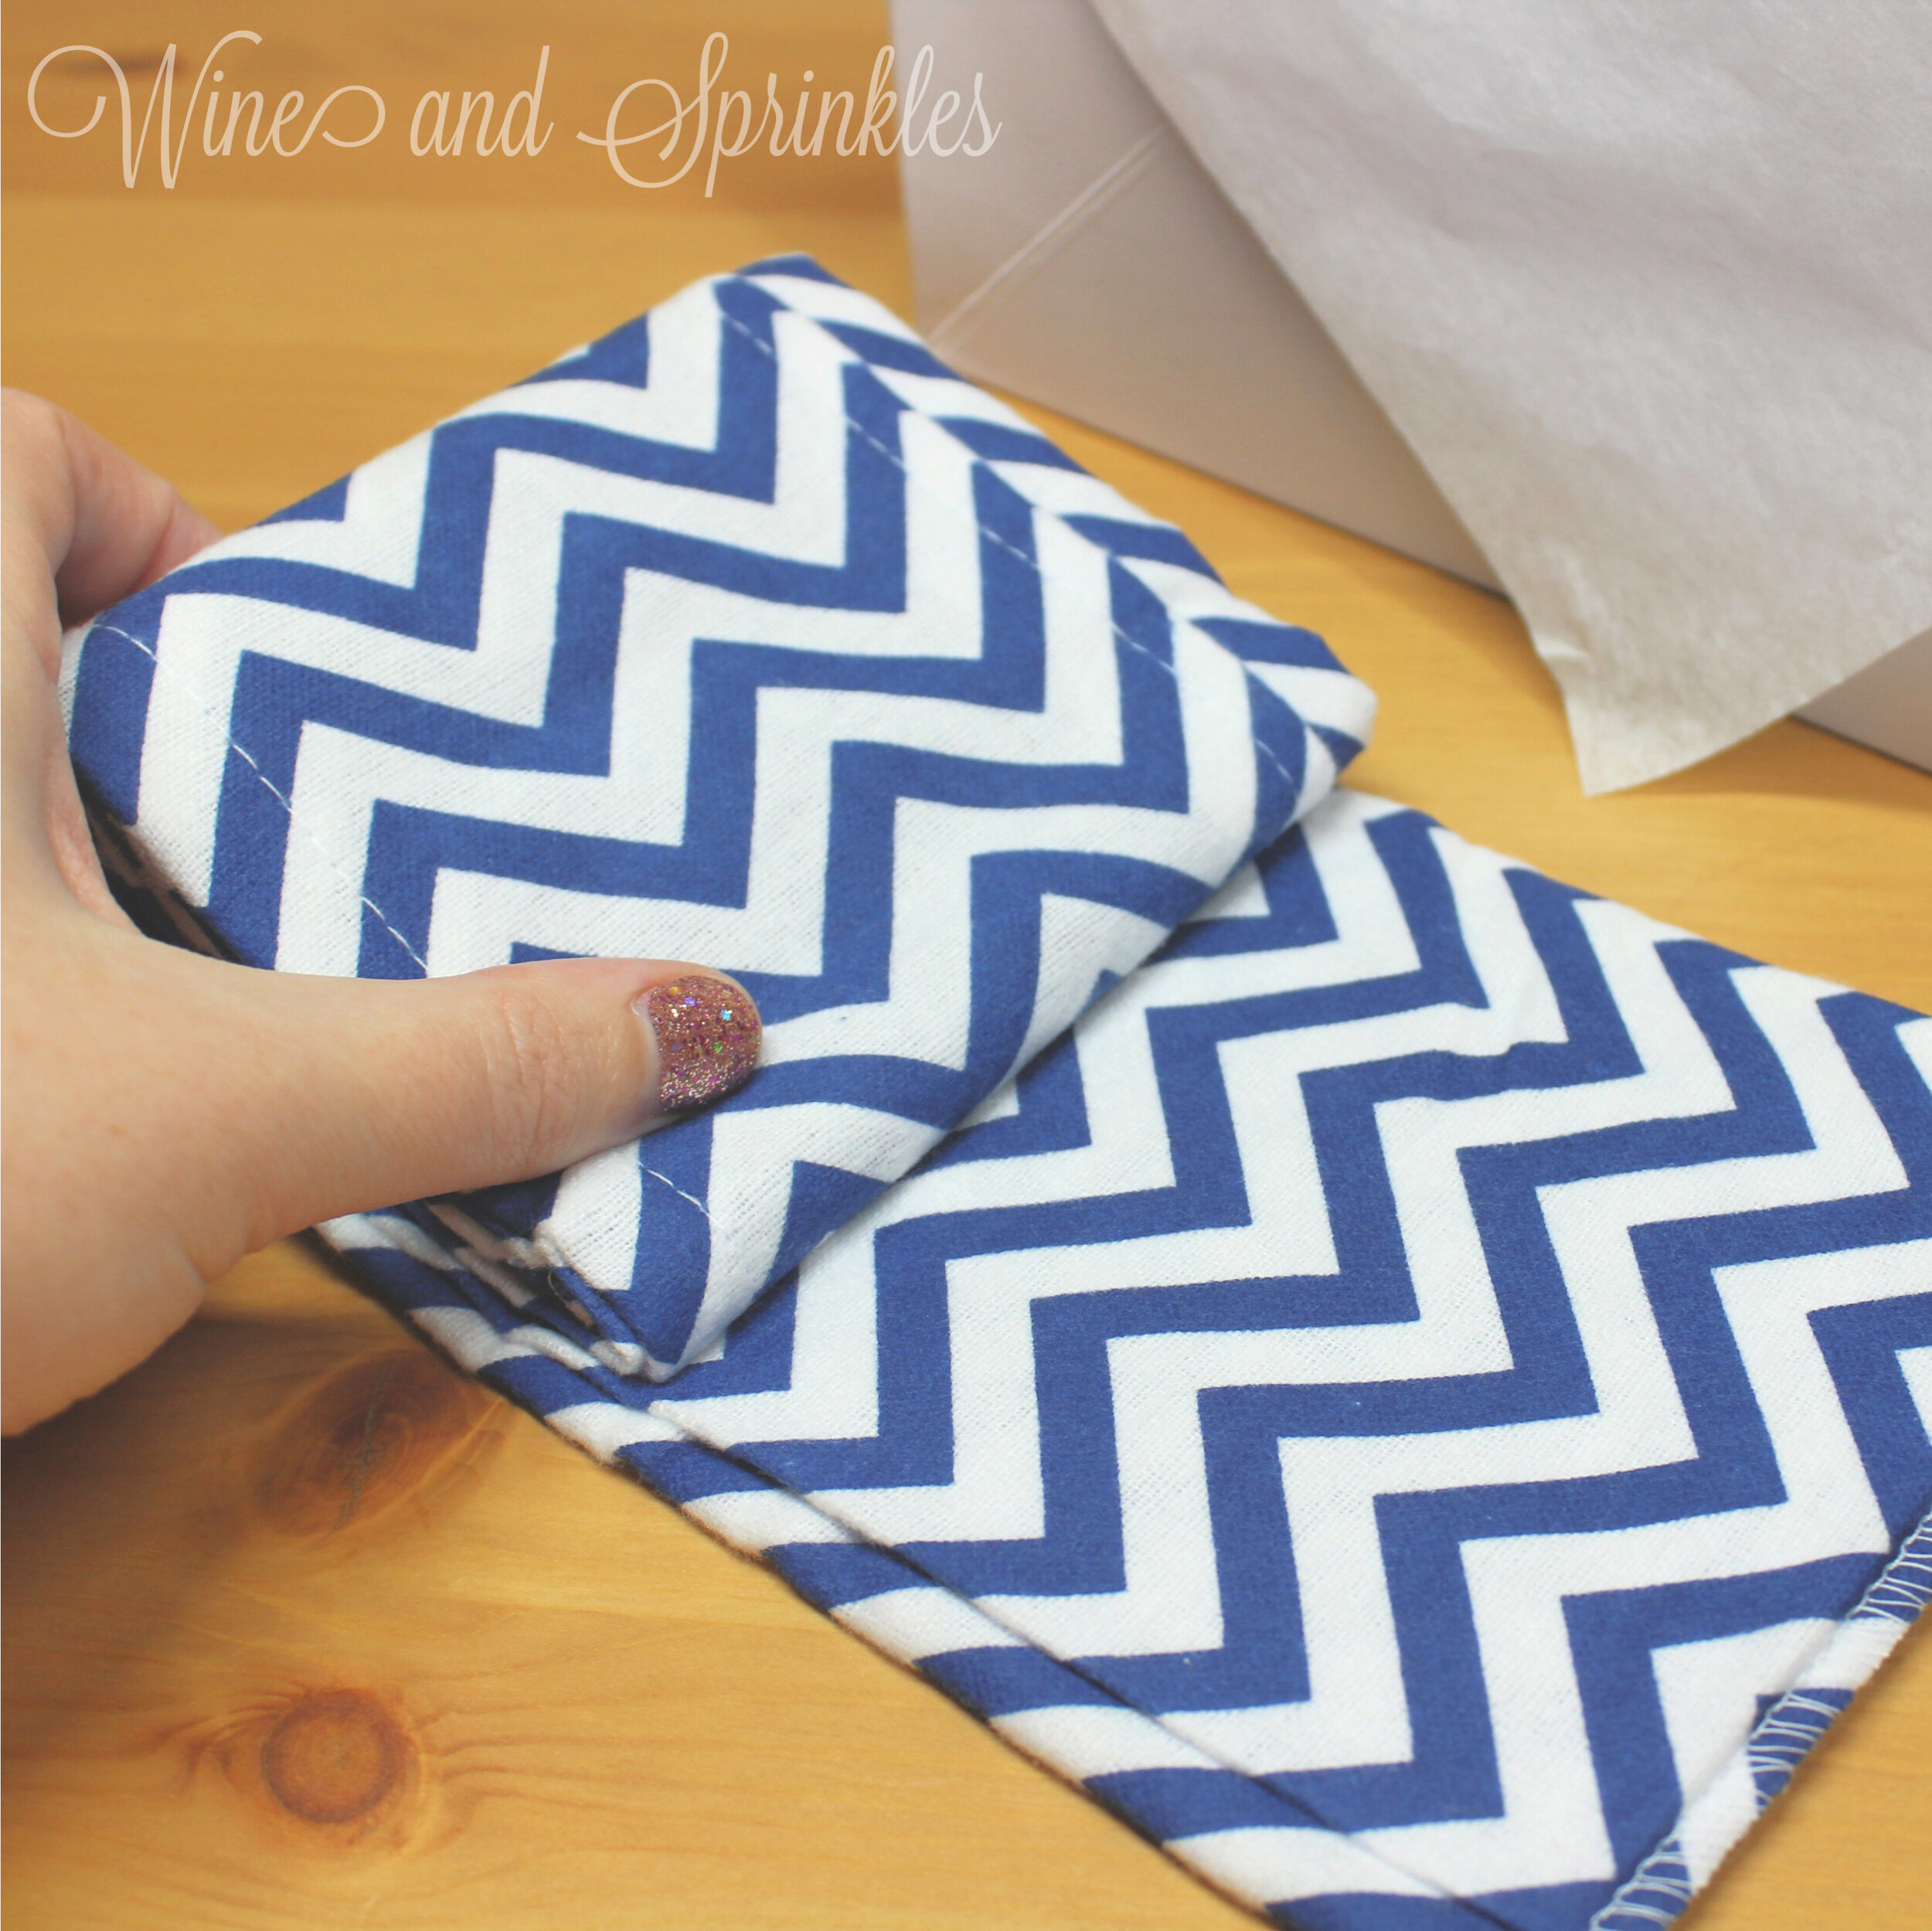
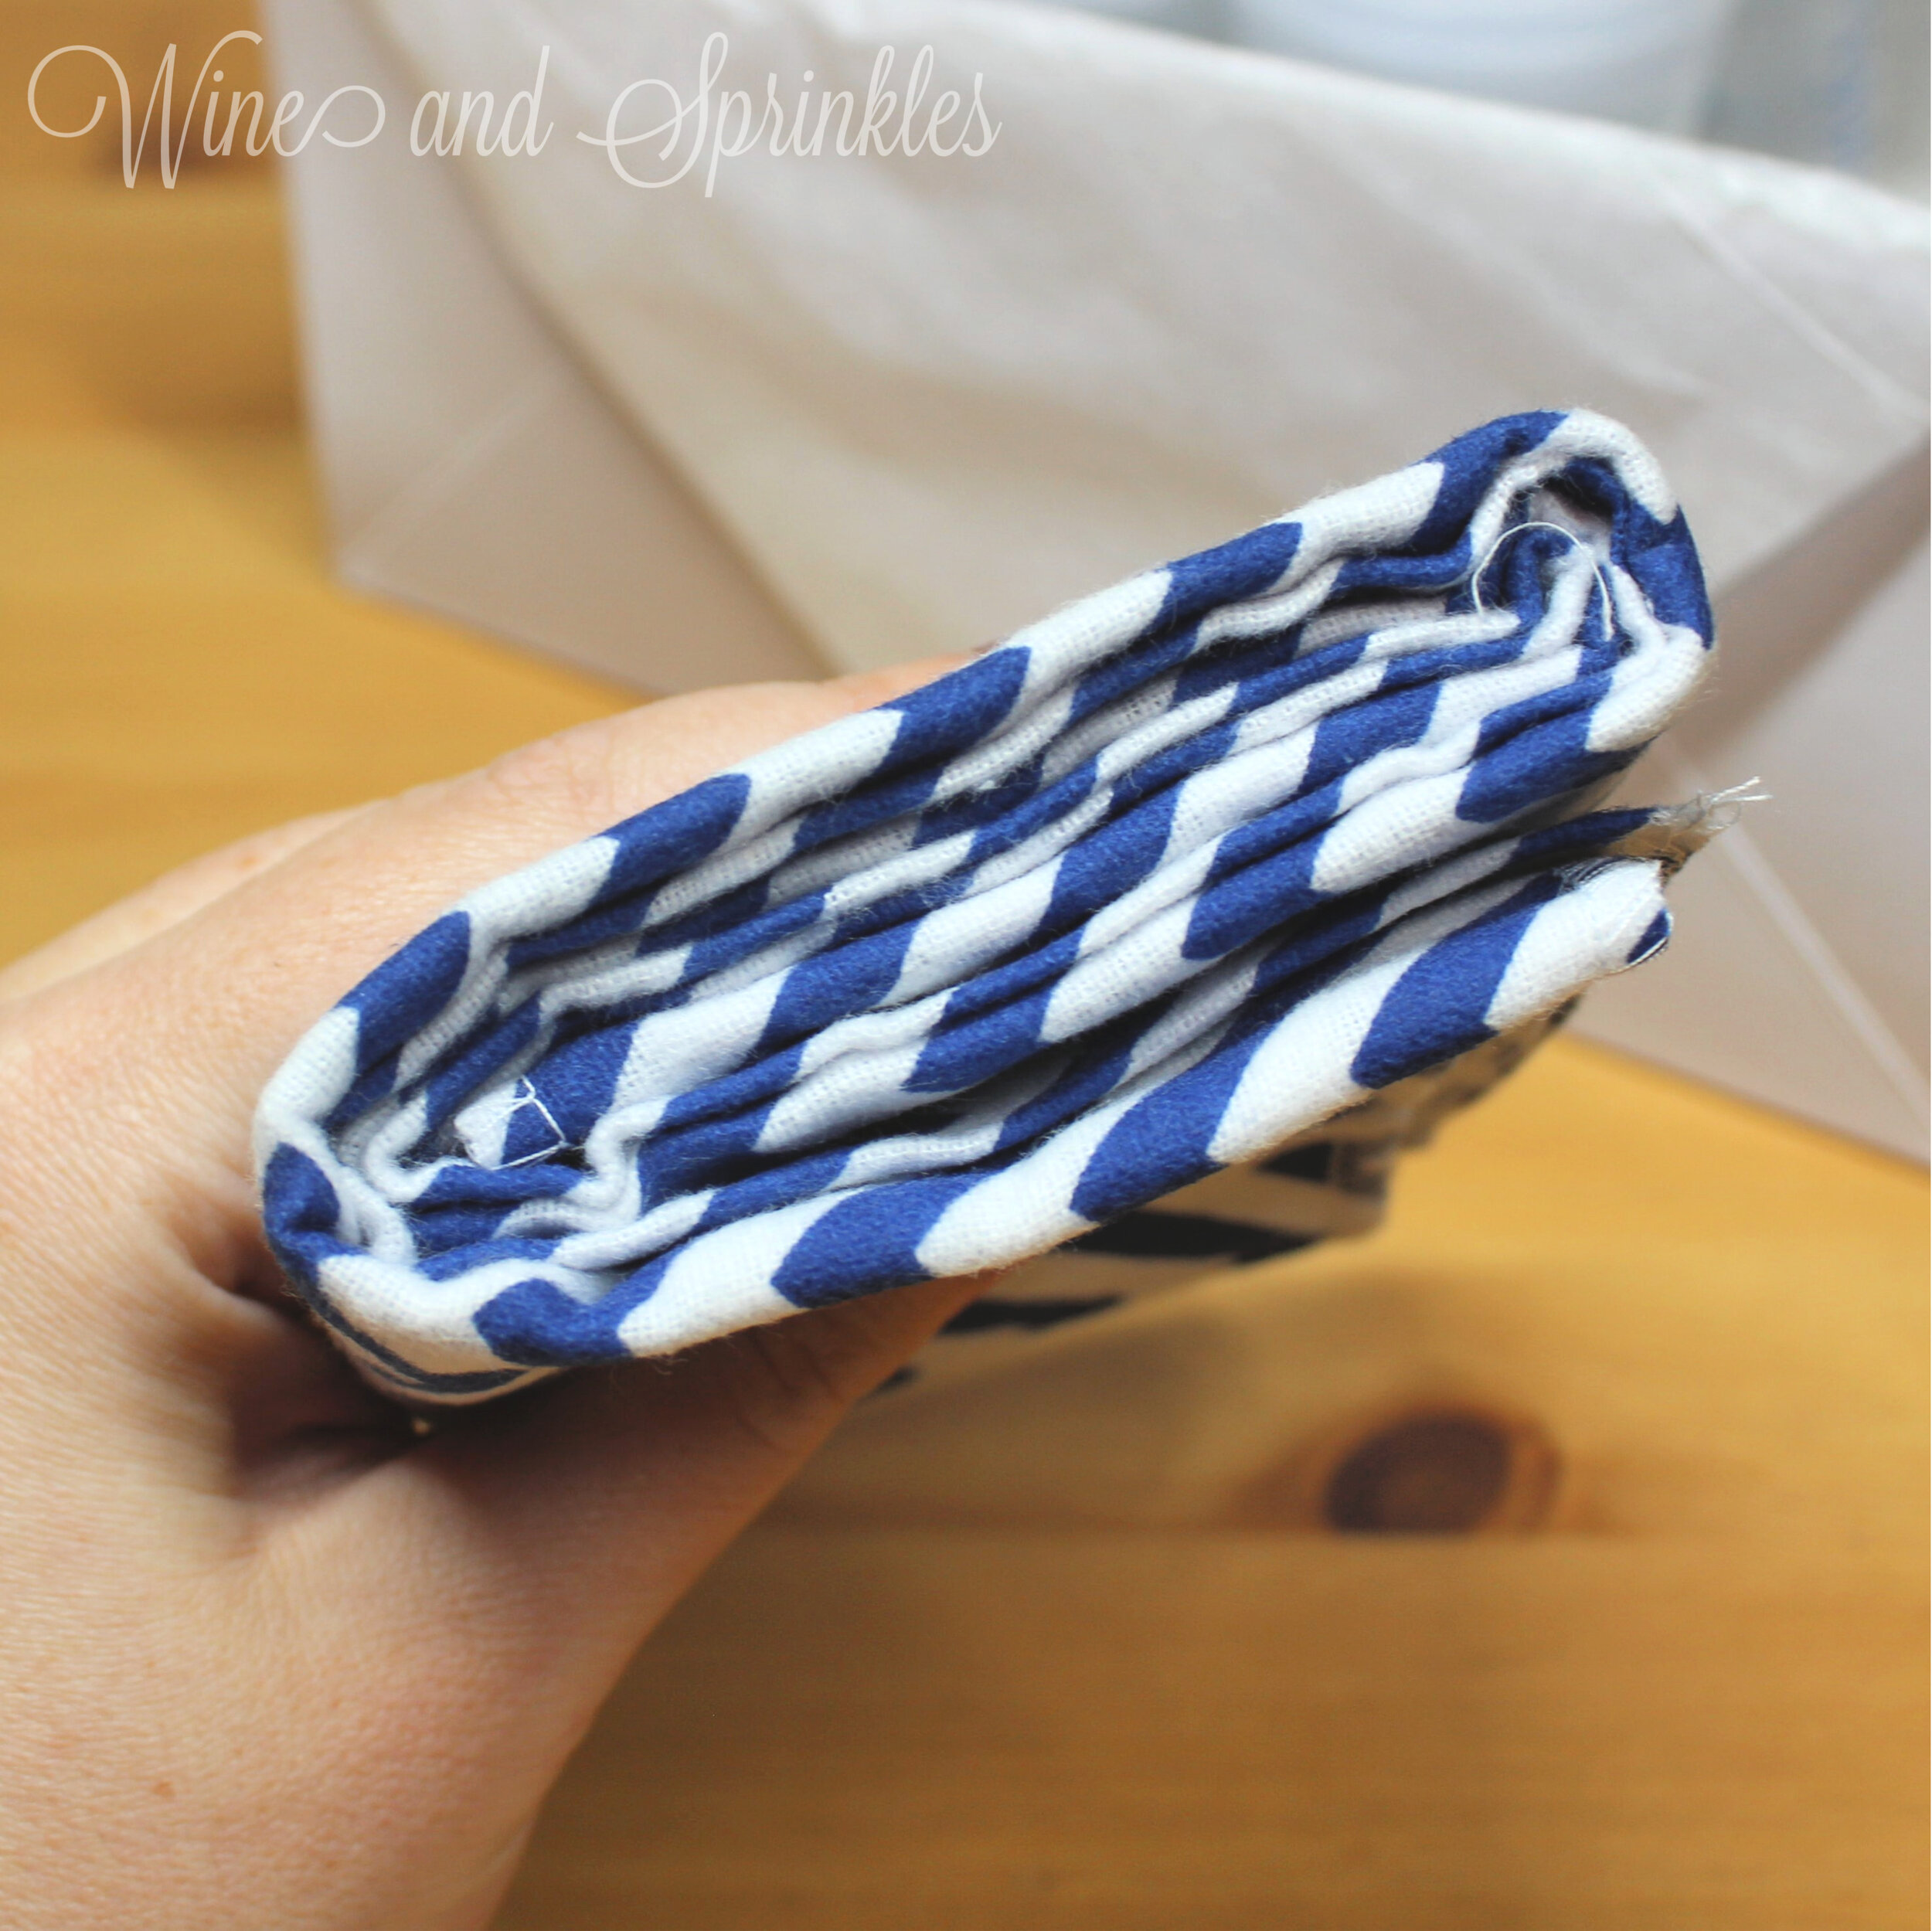
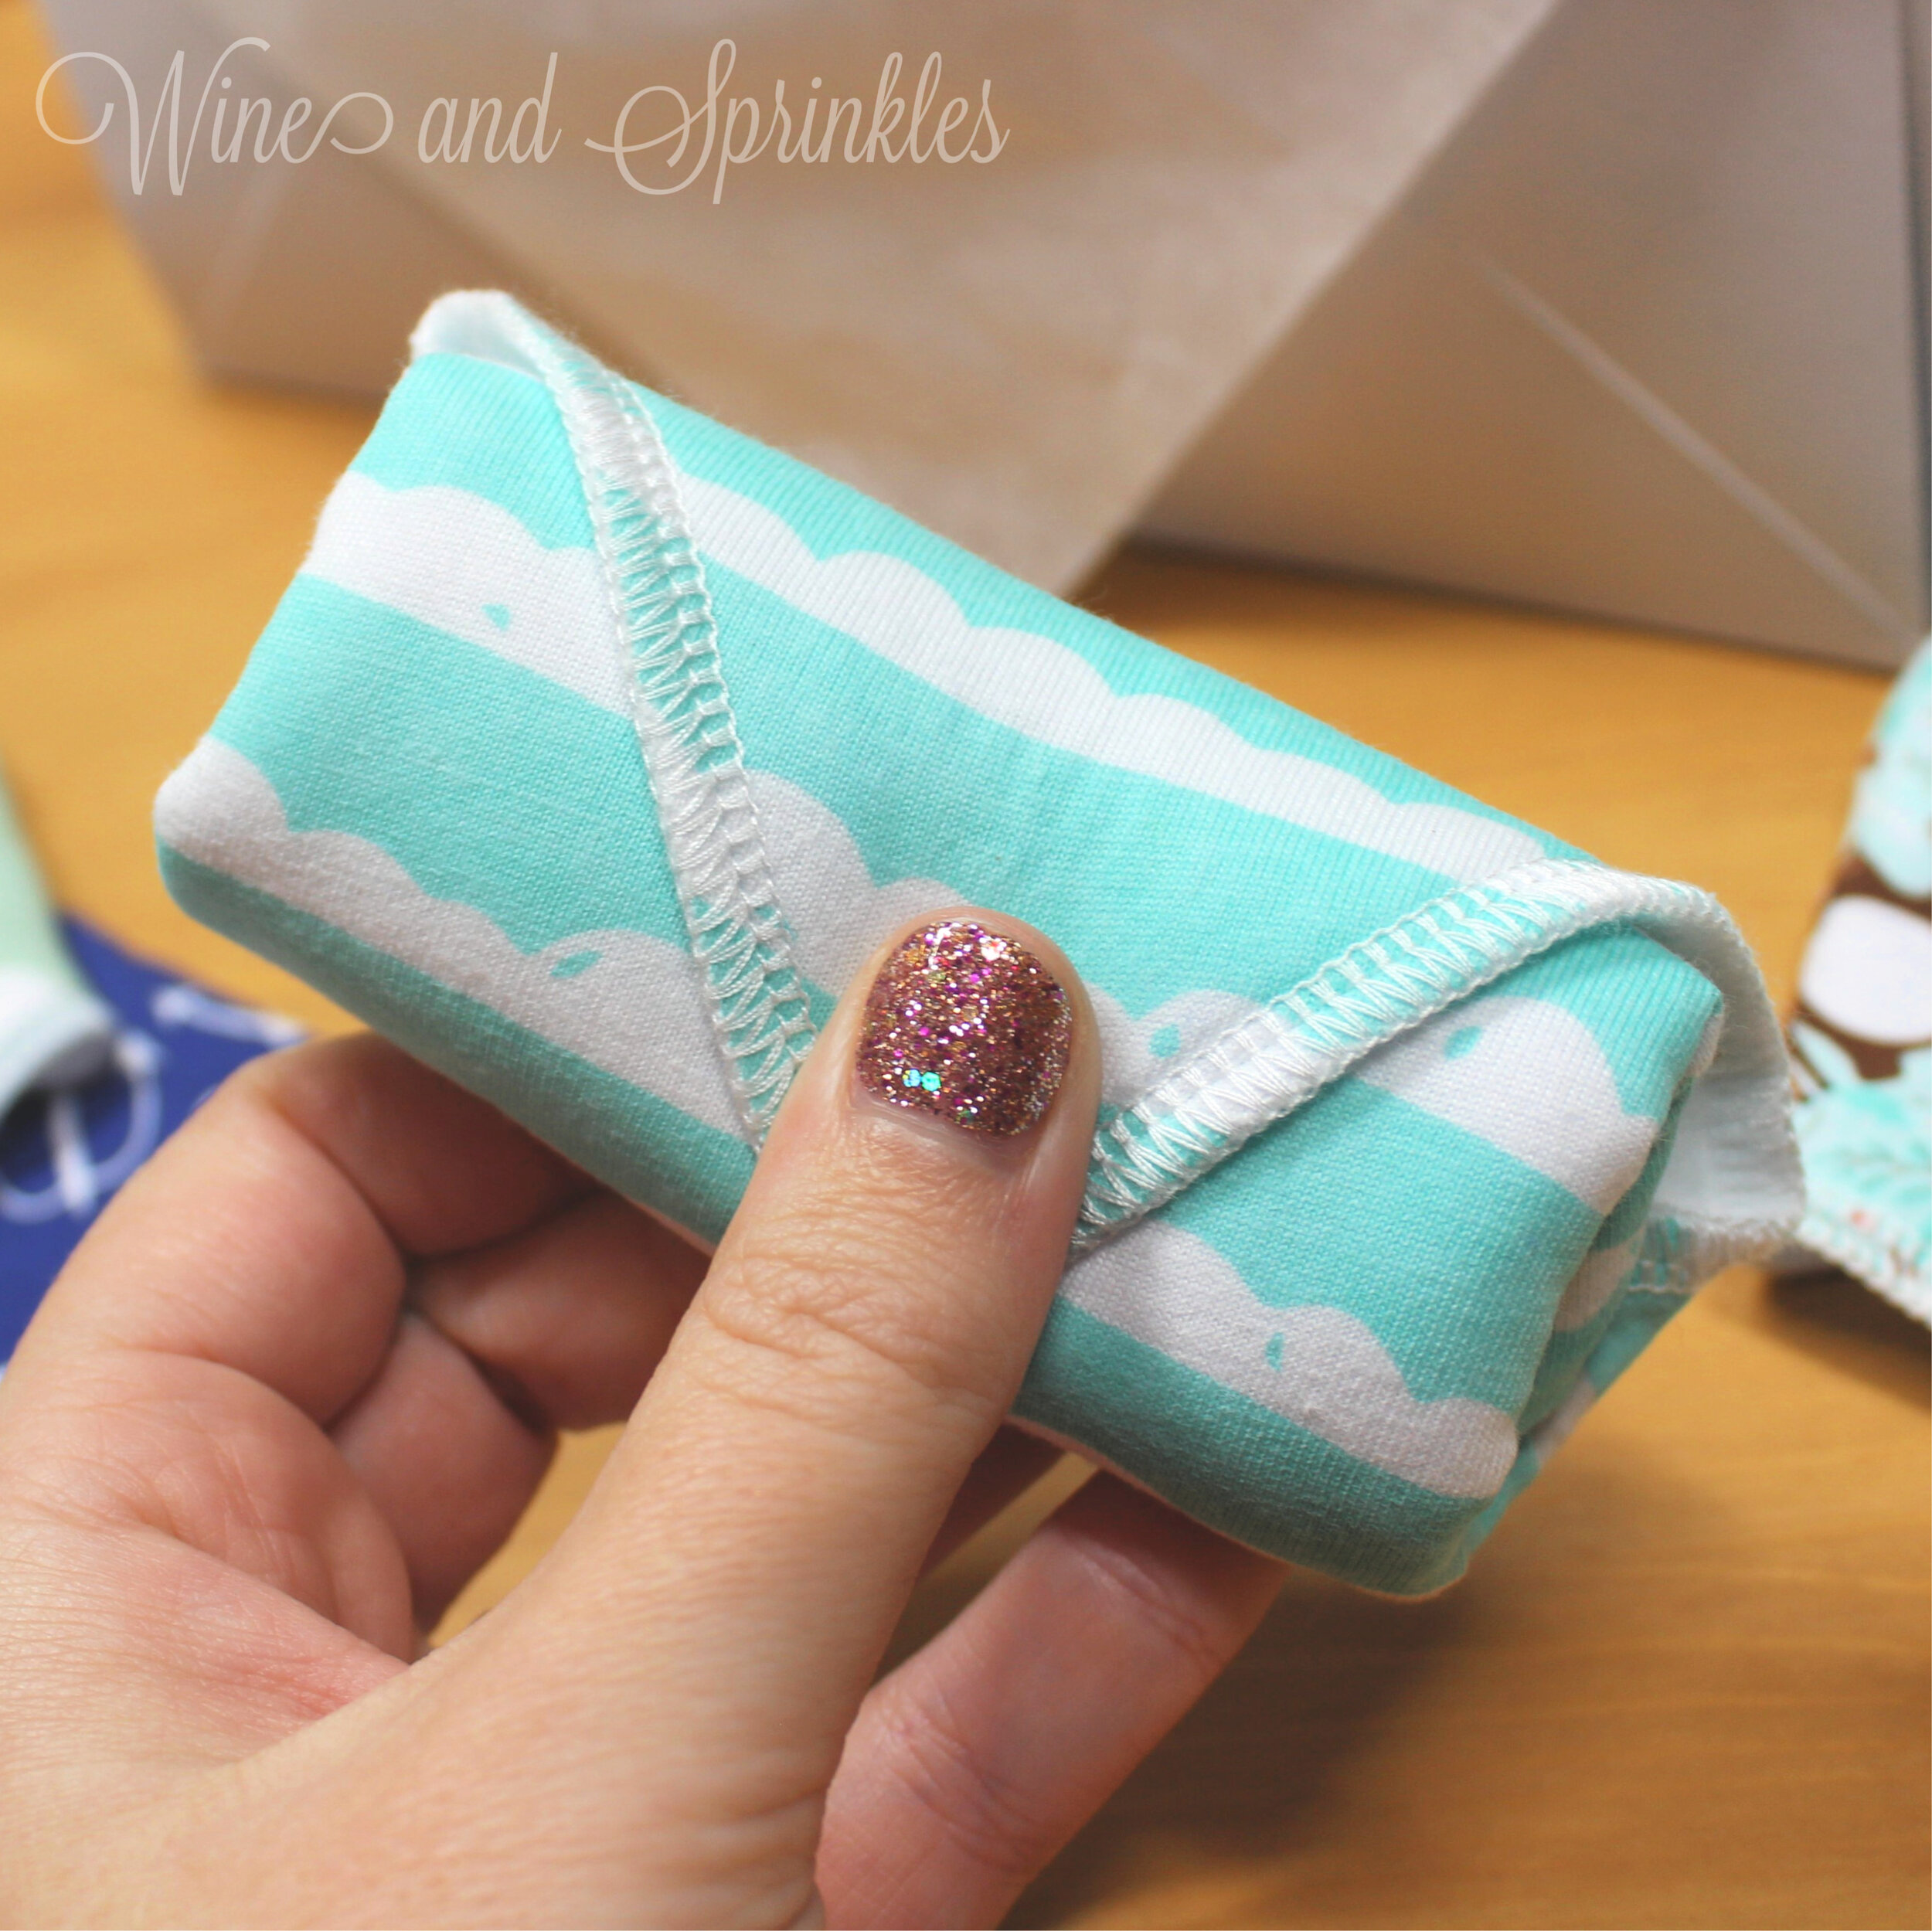
2. Taking the left end of the burp cloth, fold it up so that it is just under the height of the gift box, then fold over and crease. Fold the end over again, using the measured segment as a guide, keeping the fold over as close to the end. Repeat this process until the entire burp cloth is folded up to form a rectangular rolled up packet that is the height of your gift box.
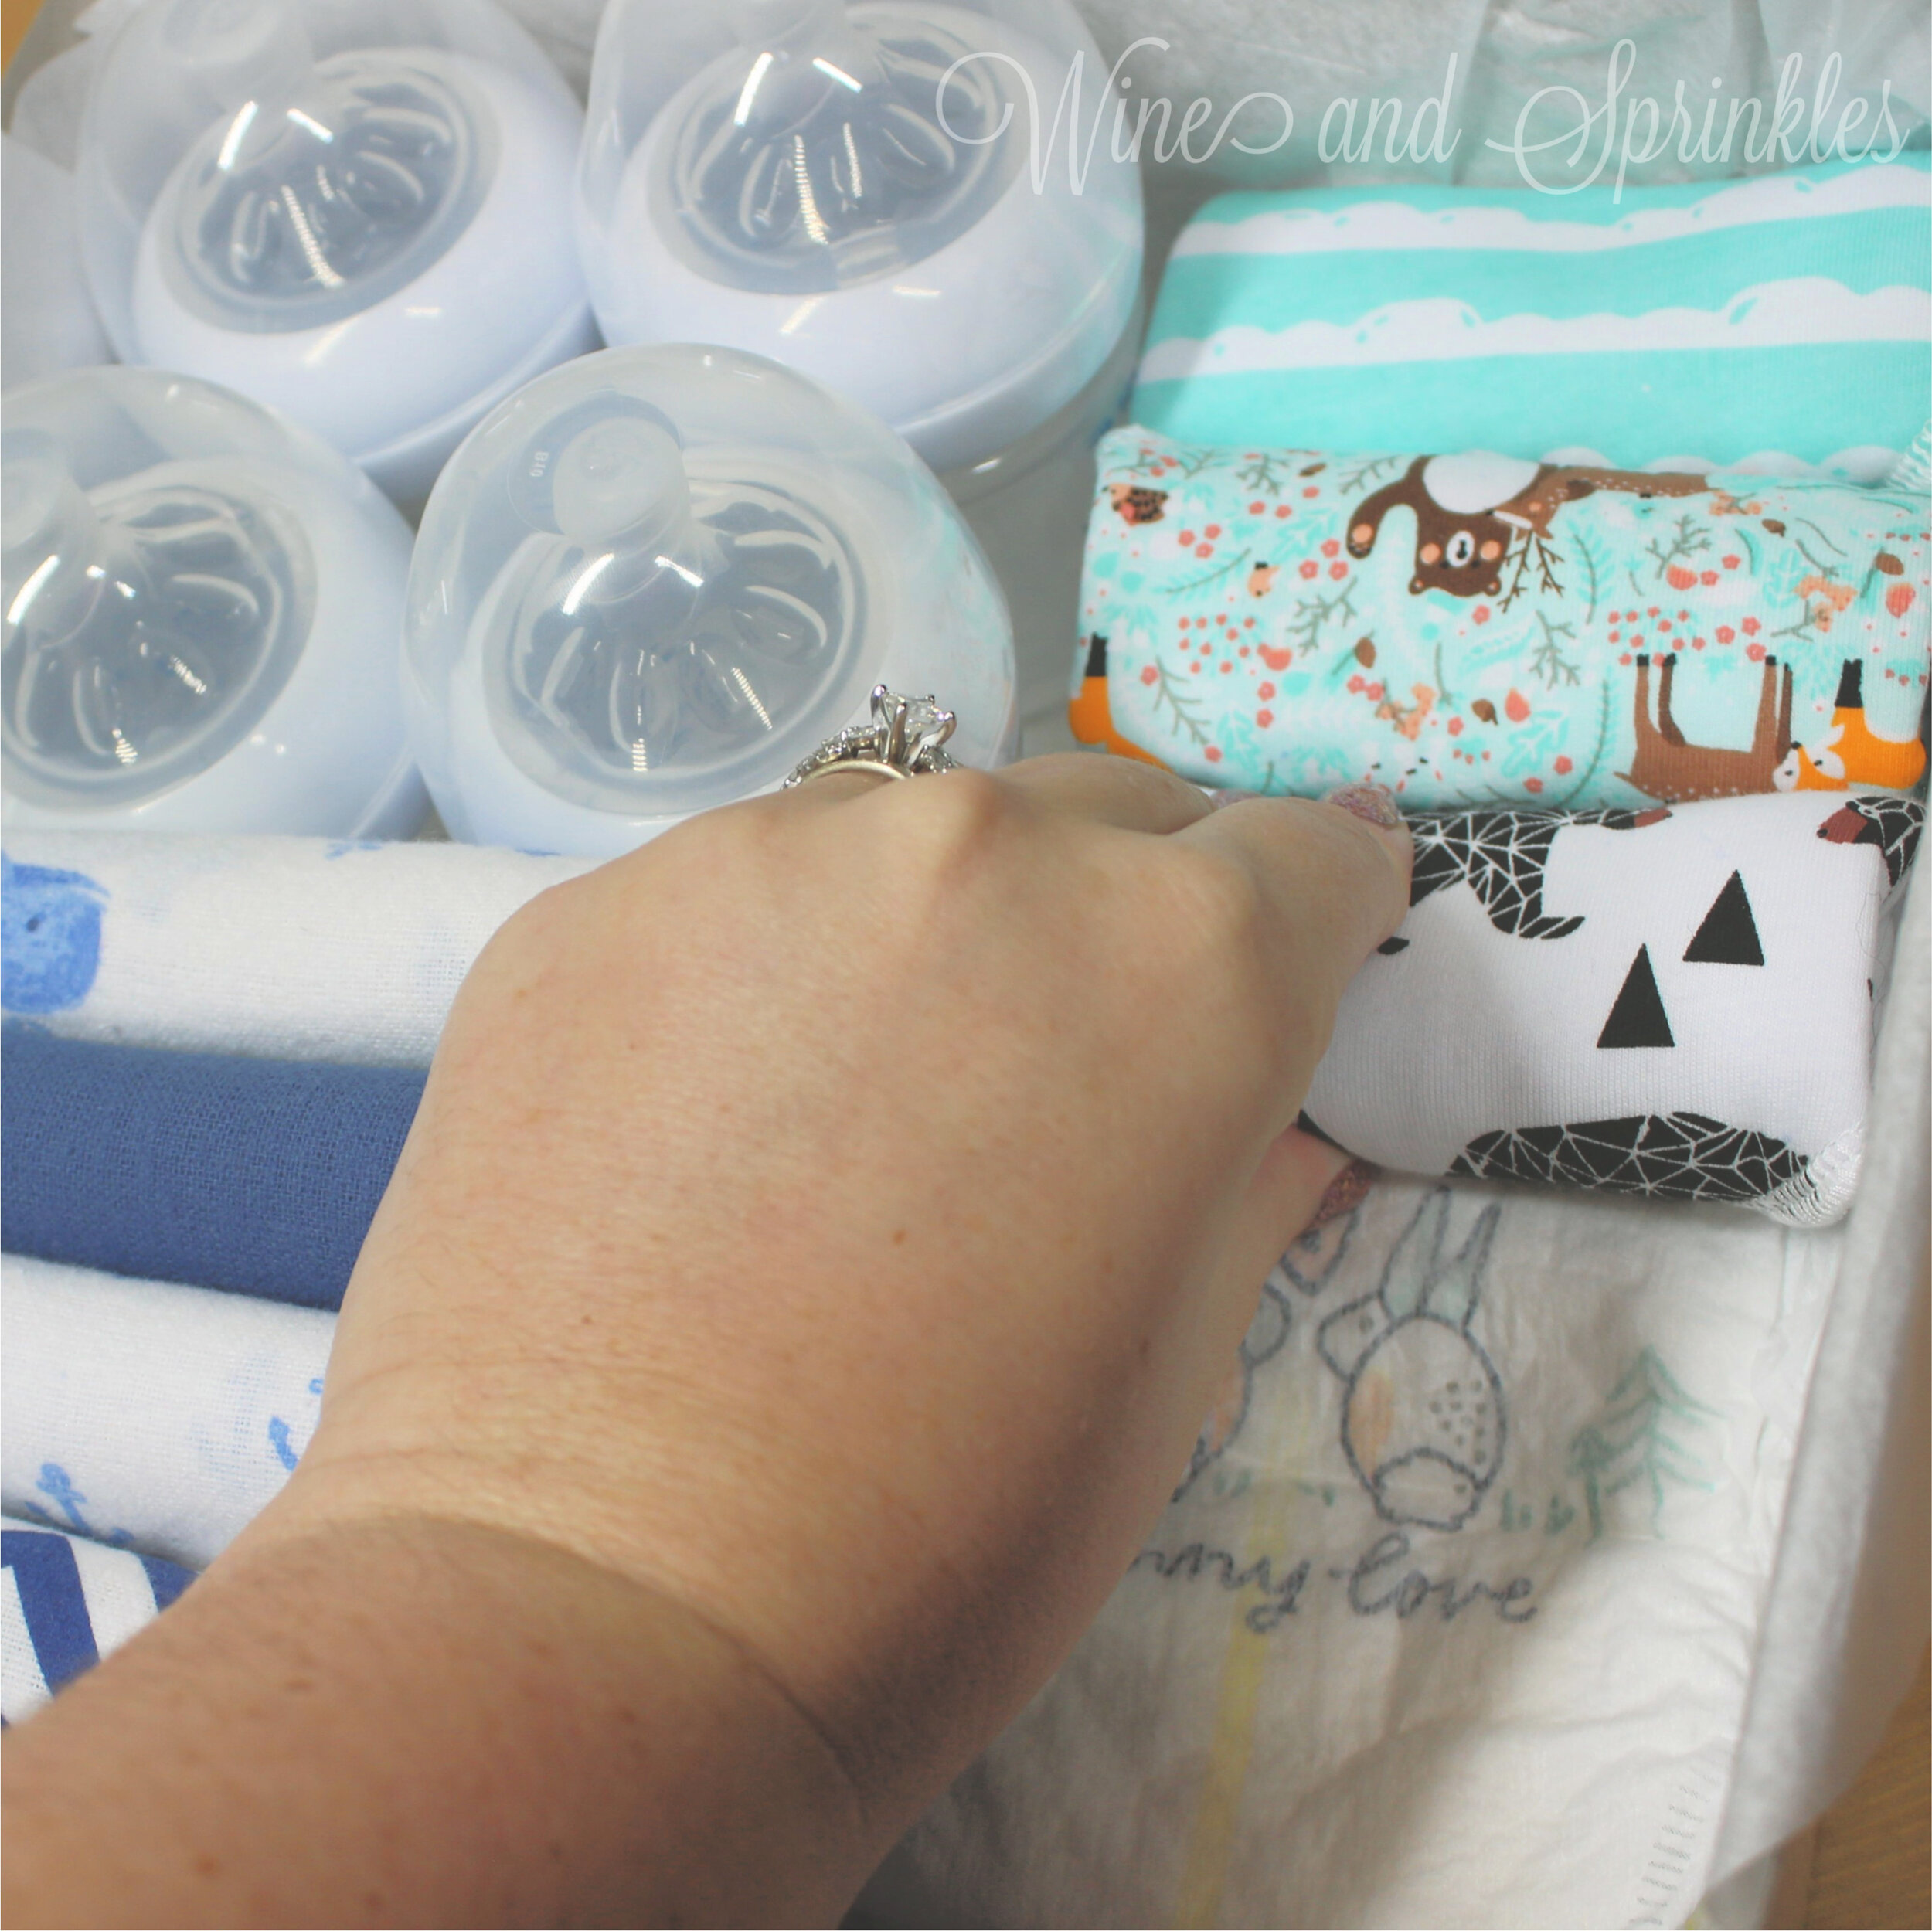
3. Repeat the folding with the remaining burp cloths, then place them in the gift box under the bottles.
PART 2: BIB FOLDING & PLACEMENT
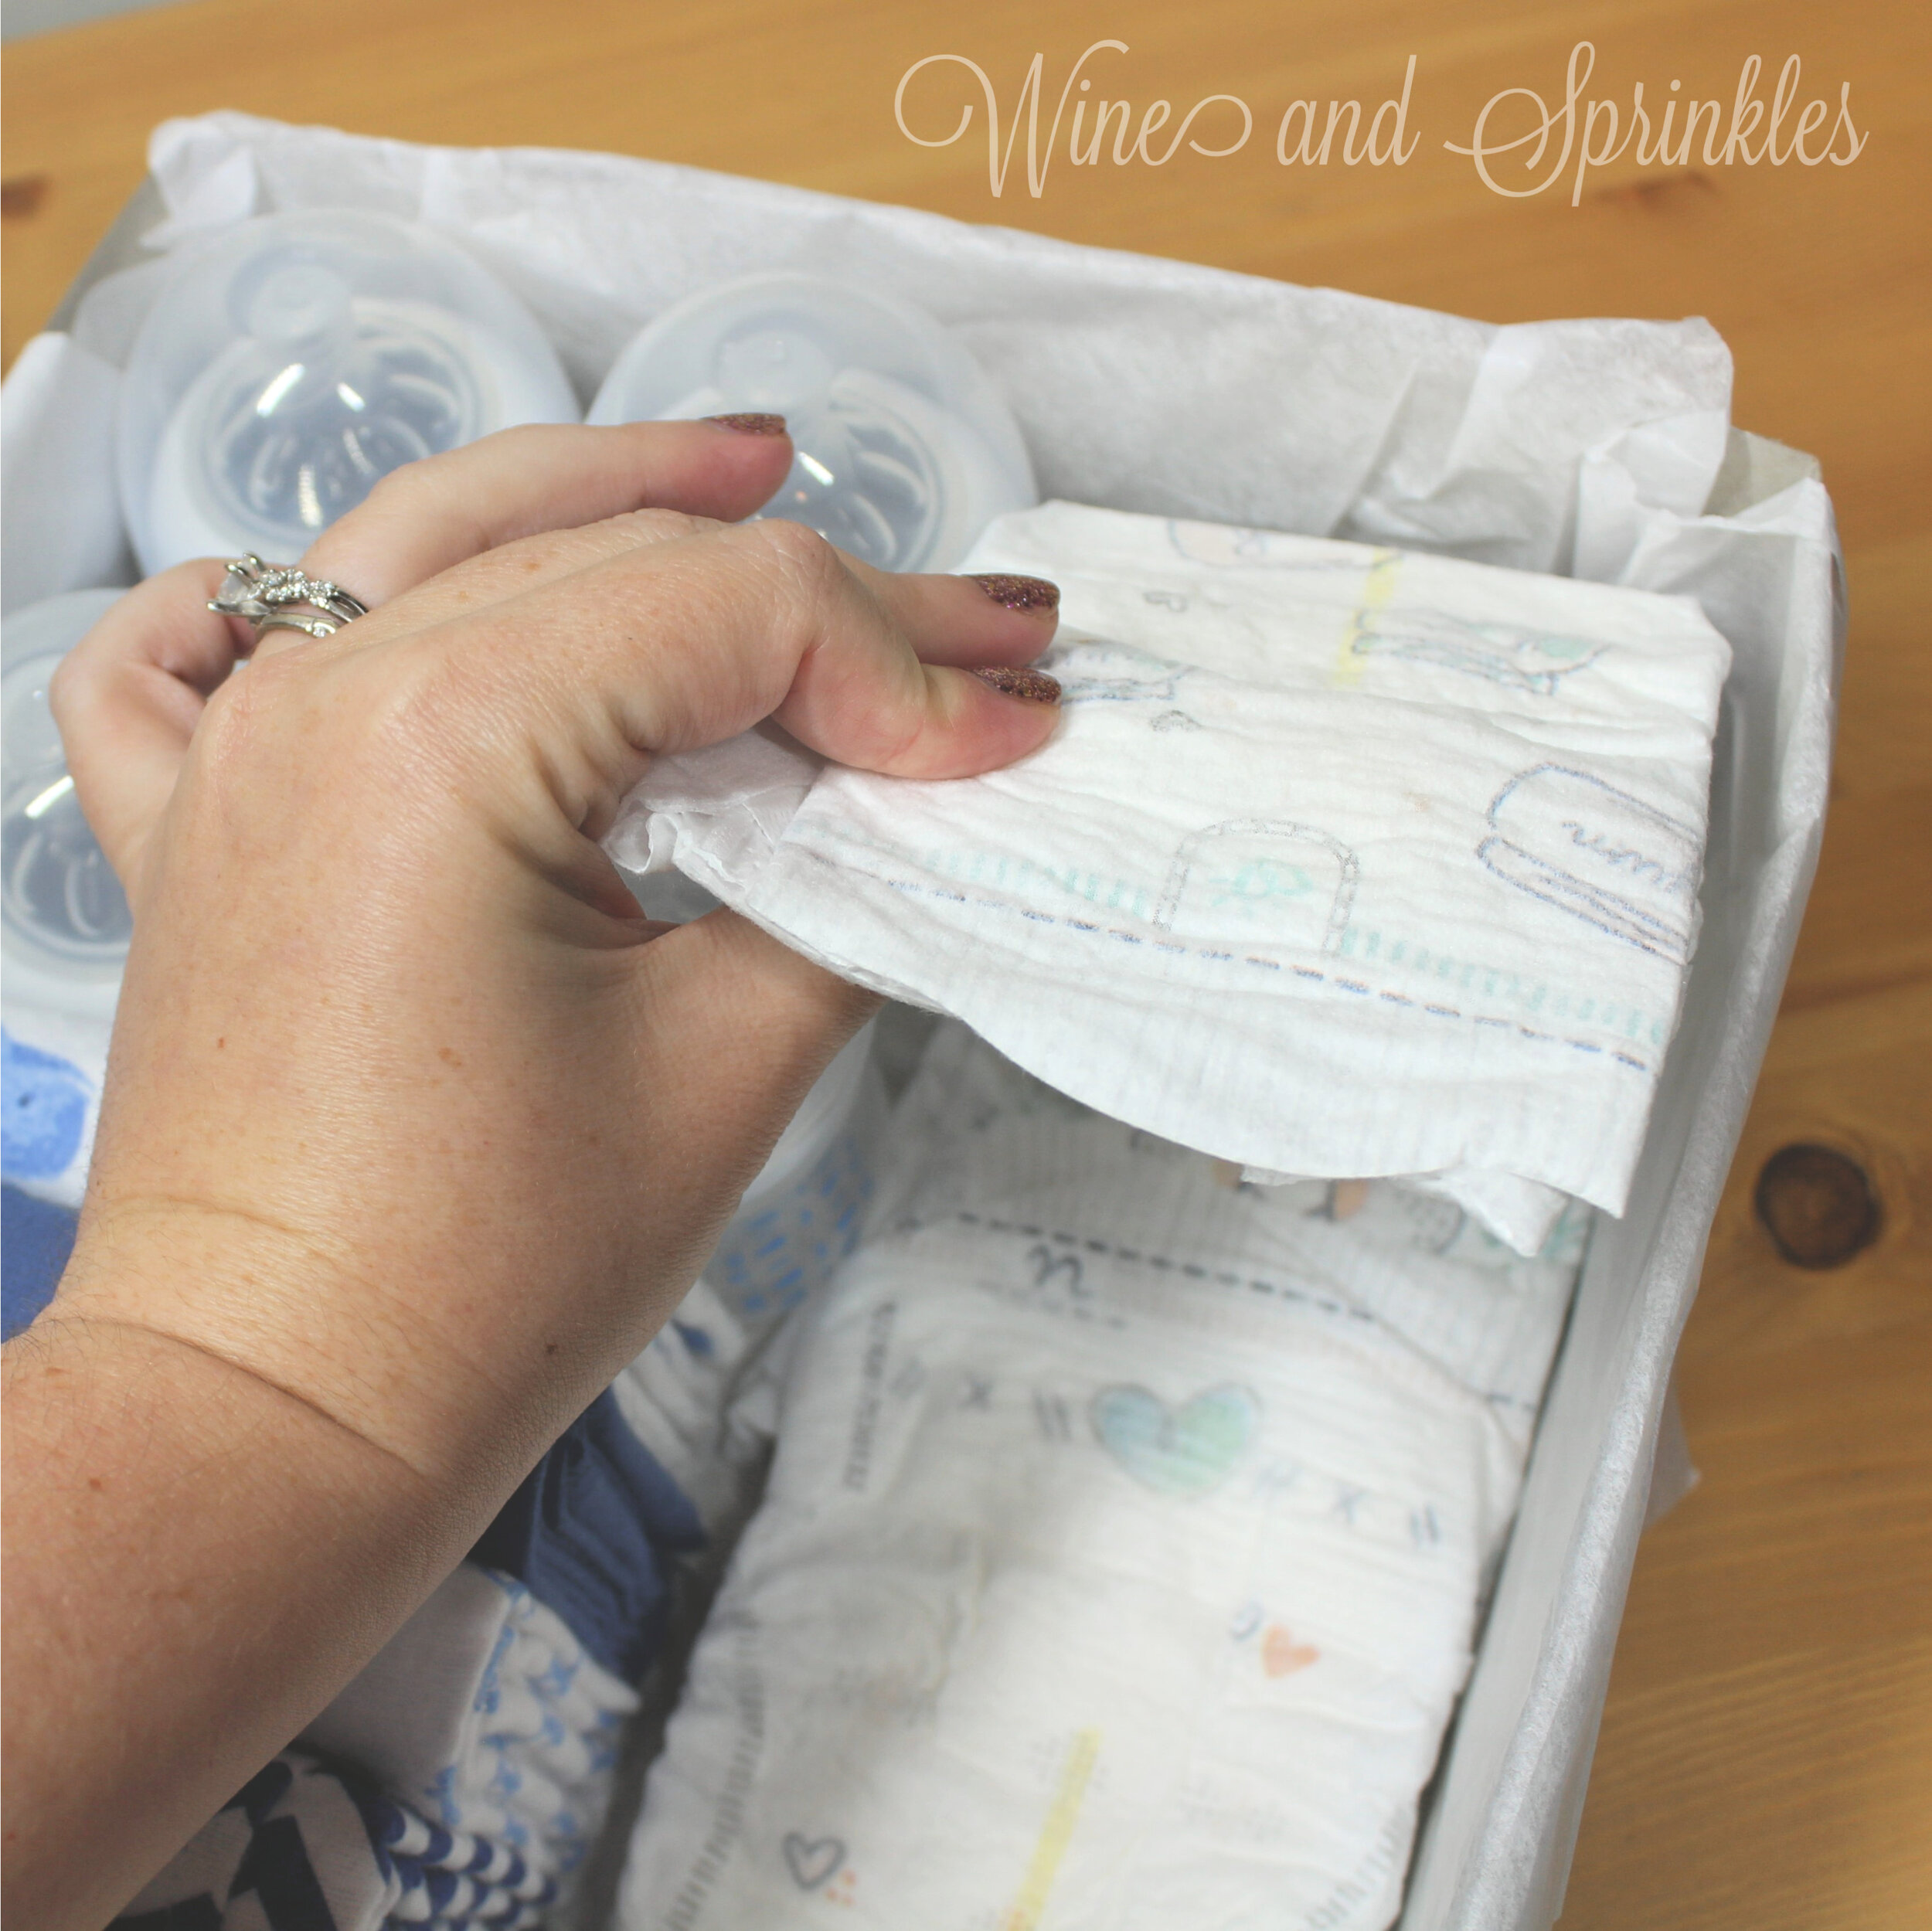
Next, I filled the right side of the bento with a Bandana Bib Multipack, using some extra diapers left behind from some Diaper Cake Projects for padding but you can also use tissue paper or other stuffing to add a little height.
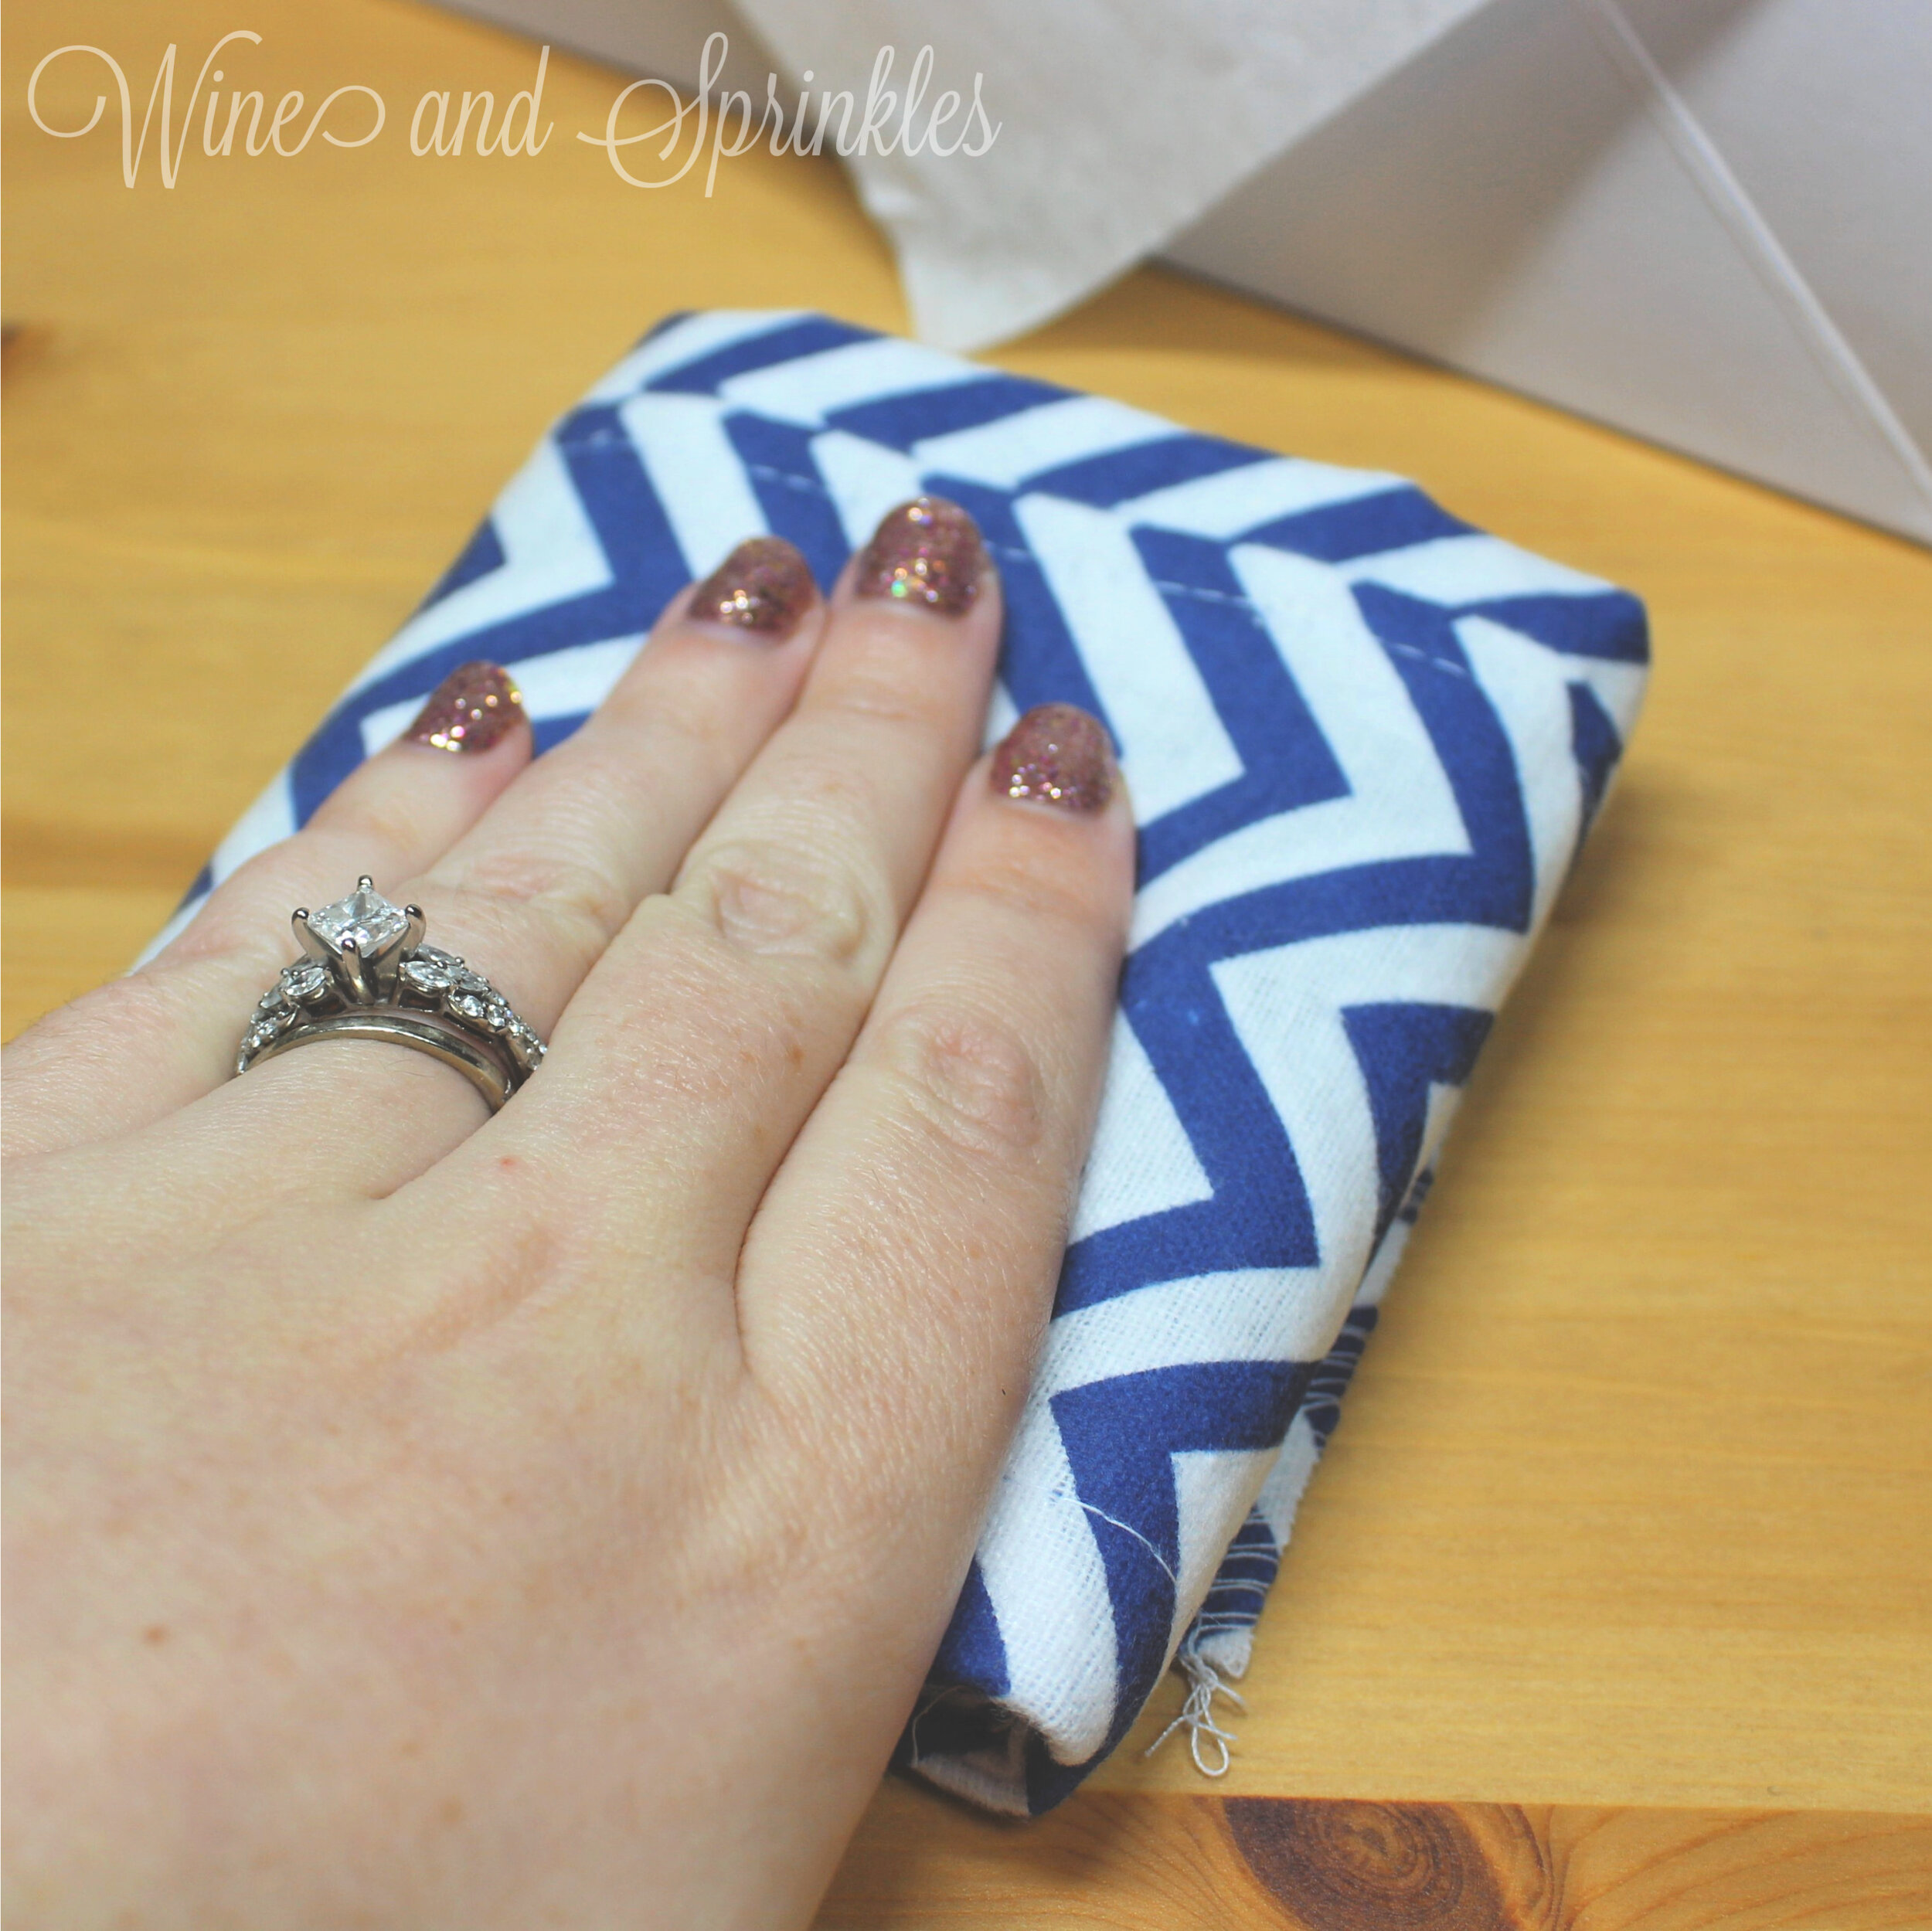
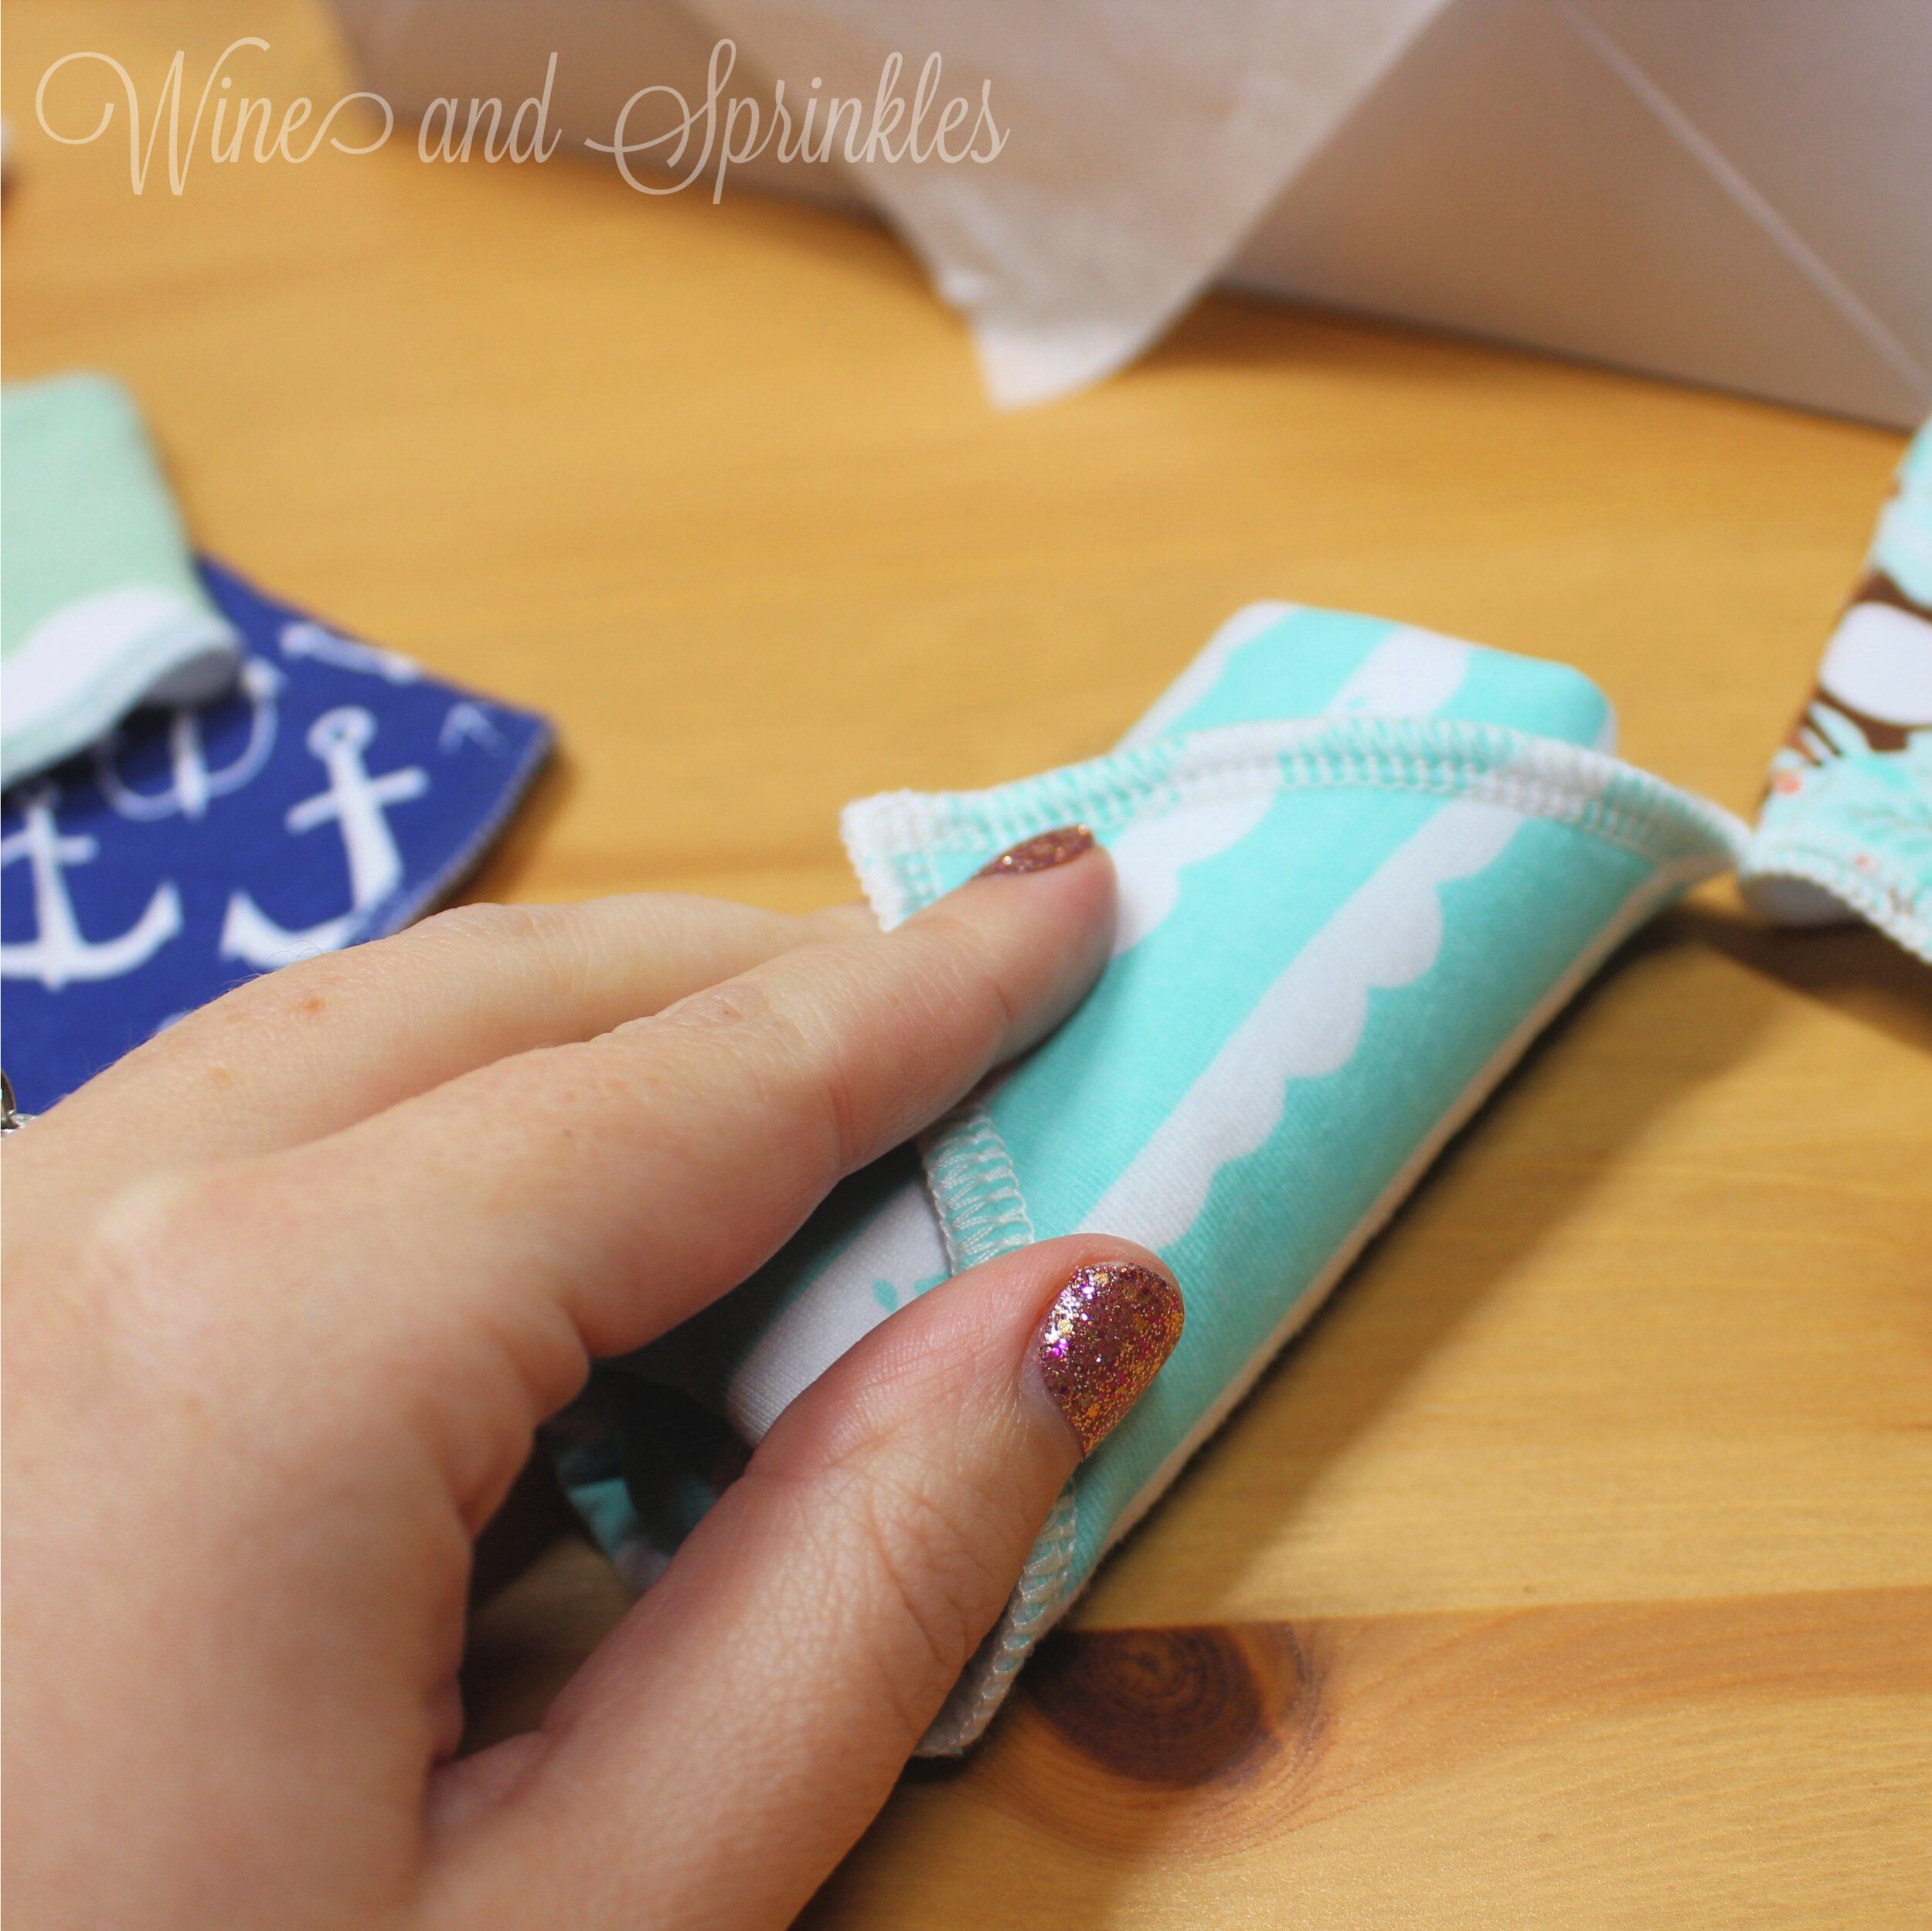
1. Since I wanted a little extra height for the bibs in my bento, I started by making a thin stack of four newborn diapers, as shown in the photos, and used them to fill the right side of the gift box as a padded base. Next, I folded the bibs burrito style, as explained below, packing each bib as I folded it. This will create a total of two layers of bibs, so make sure to save folding your favorite patterns for last so they are the ones that show up on the top!
2. To fold your bibs, start with the bib face down as shown in the photos. Fold the edges of the bib inward, such that the short side of the bib is the width of the remaining space in the gift box.
3. Starting with the top short edge of the bib, fold the end over to create a smooth edge. Similar to how you fold up the burp cloths, roll the bib up so that the edge doesn’t overlap and it forms a burrito shaped packet that is the width of the right side of the gift box.
4. As each bib is folded and rolled up, place it loose end down in the upper right of the gift box, working from top to bottom until there are 5 bibs in an equal layer in the box. Repeat the process for the next 5 bibs, completing the second layer and finishing up your gift box!
Looking for more Baby Bento Inspiration?
SEE MORE BABY BENTO POSTS HERE:
OUR PINTEREST PINS
Bedding Essentials Bento Gift Box
This post contains affiliate links, meaning that if you click on a link I will recieve a small comission. This costs you nothing extra and I only promote products I use and love! You can read our full disclosure here
There is no cuter sight than a new baby, dozing away in their crib in an adorable nursery! Nowadays safety calls for less bedding in cribs, but Mattress Protectors and Sheets are always a must. But, despite some super cute sheet prints and patterns, bedding supplies aren’t always the most exciting thing to buy for a new baby. So I set out for a cute way to package these essentials so that they could be both beautiful and a useful set that every new mother needs!
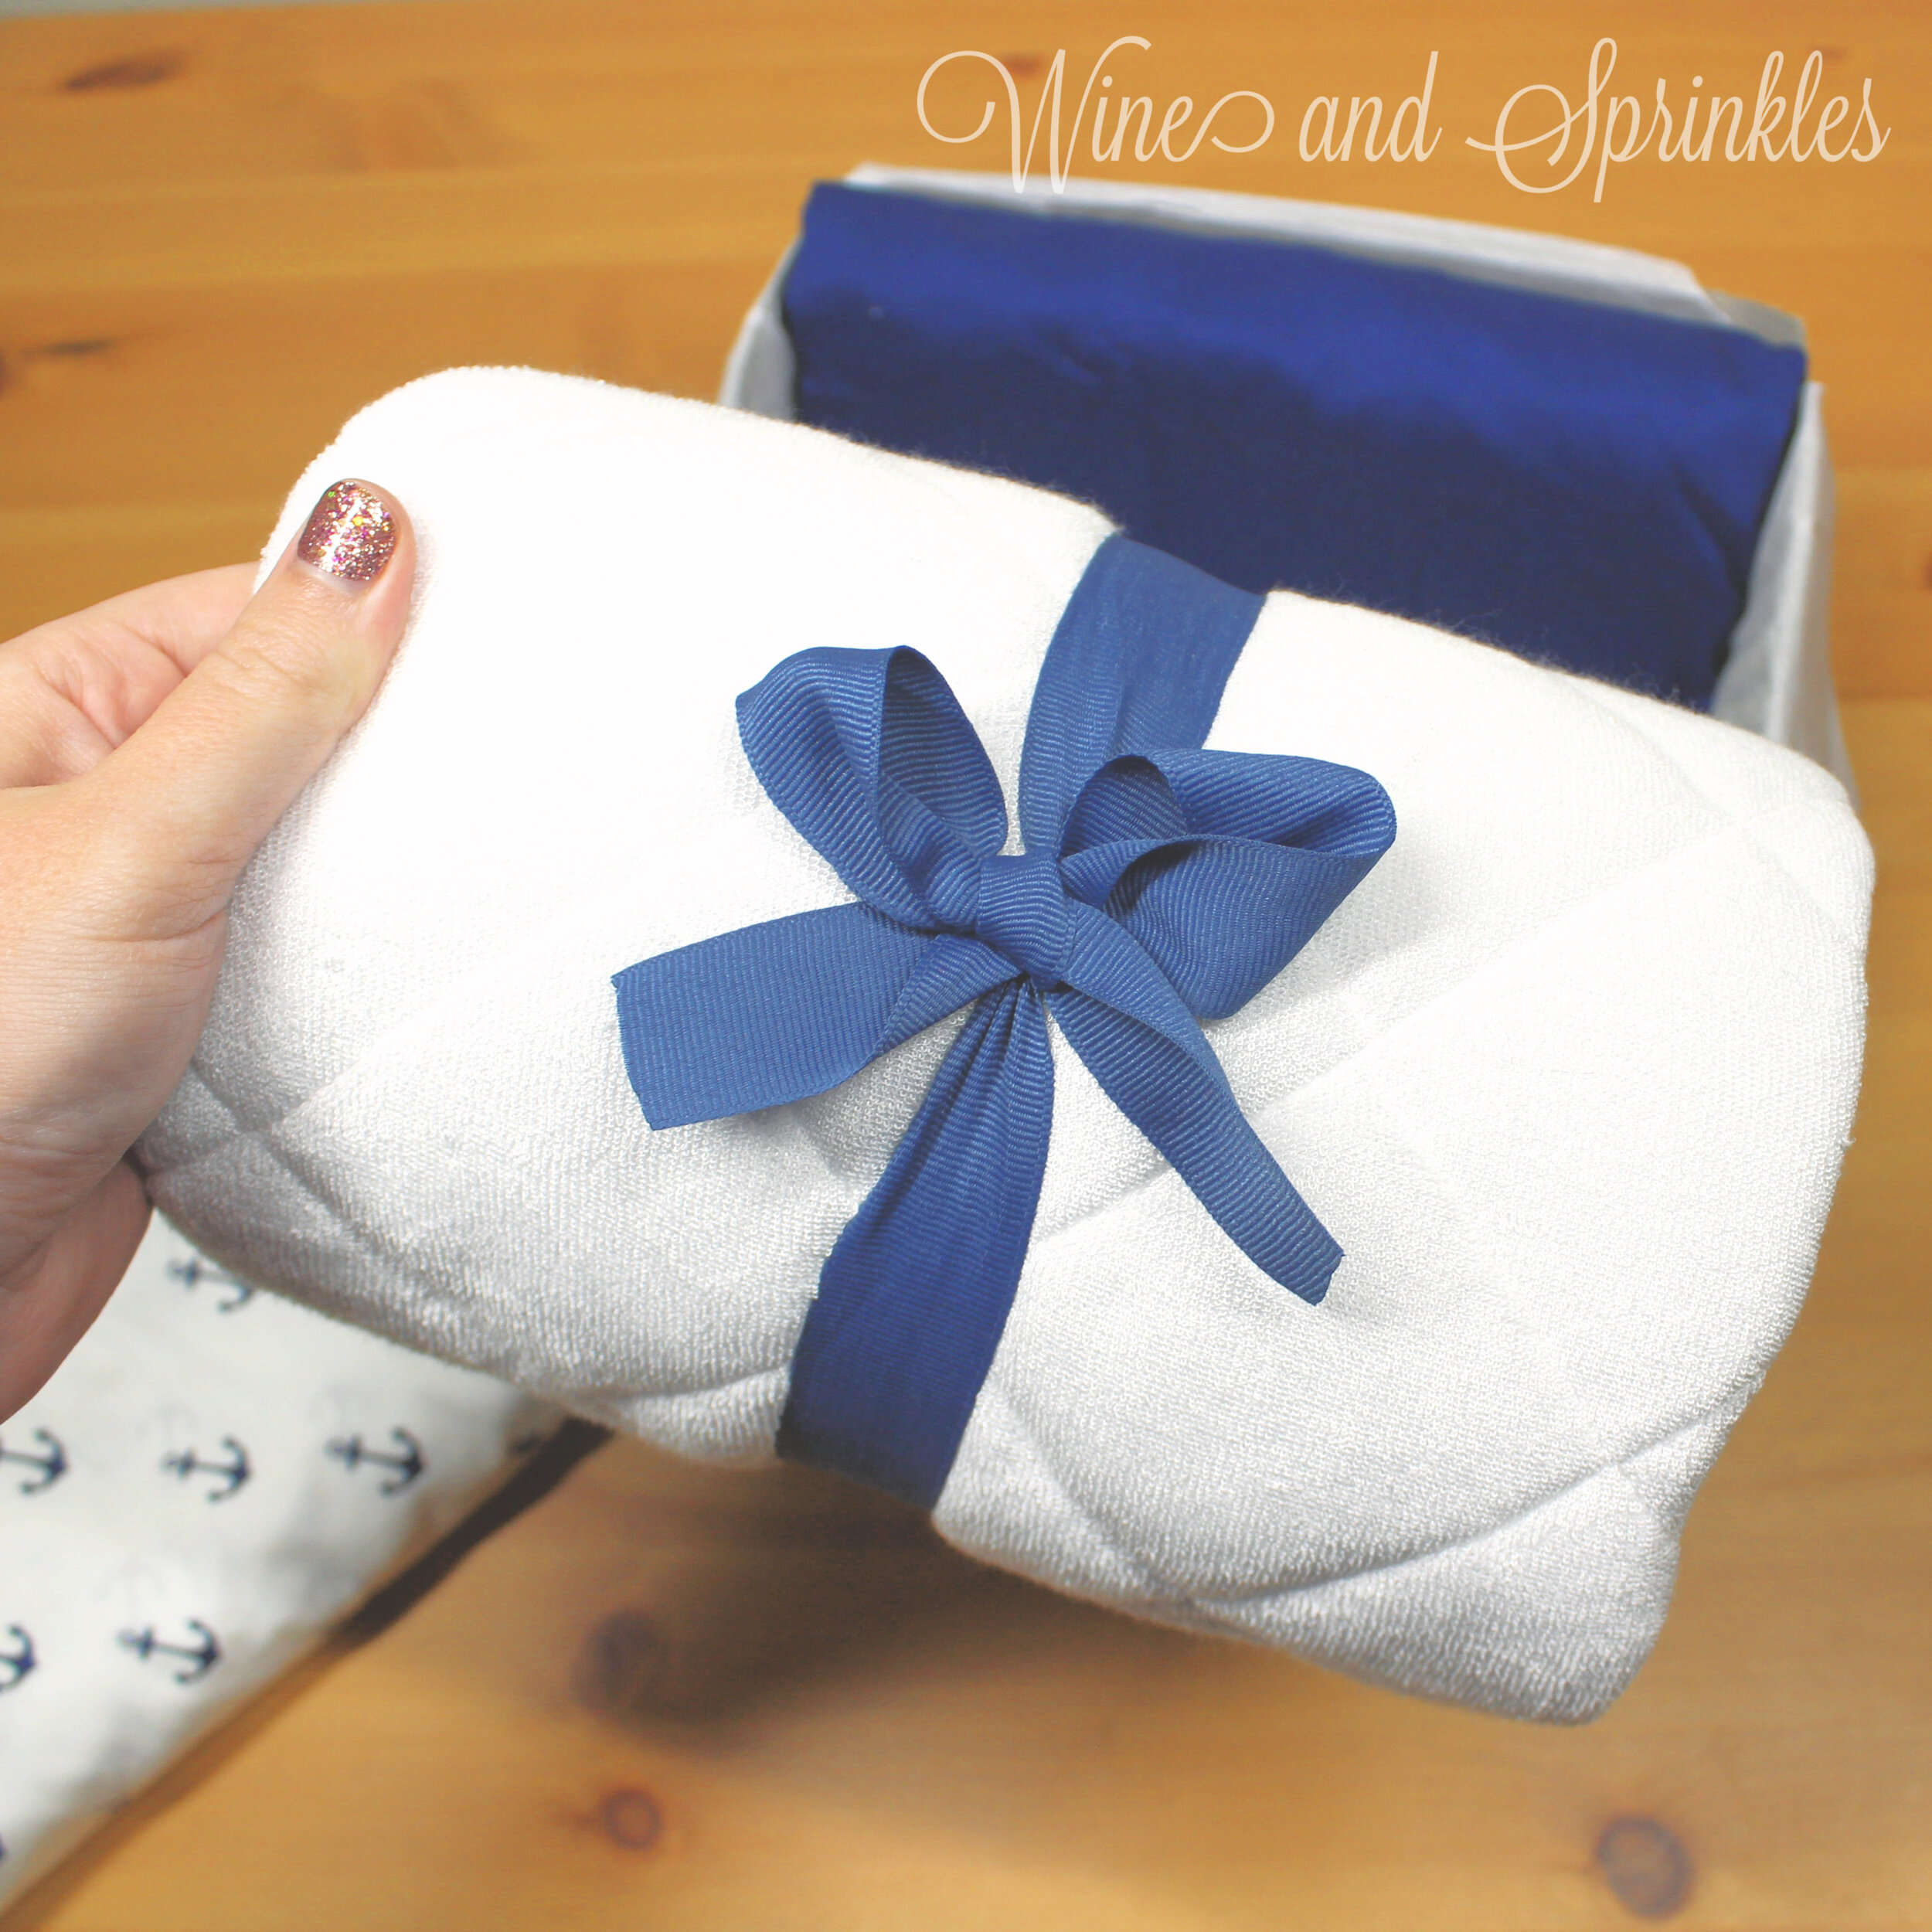
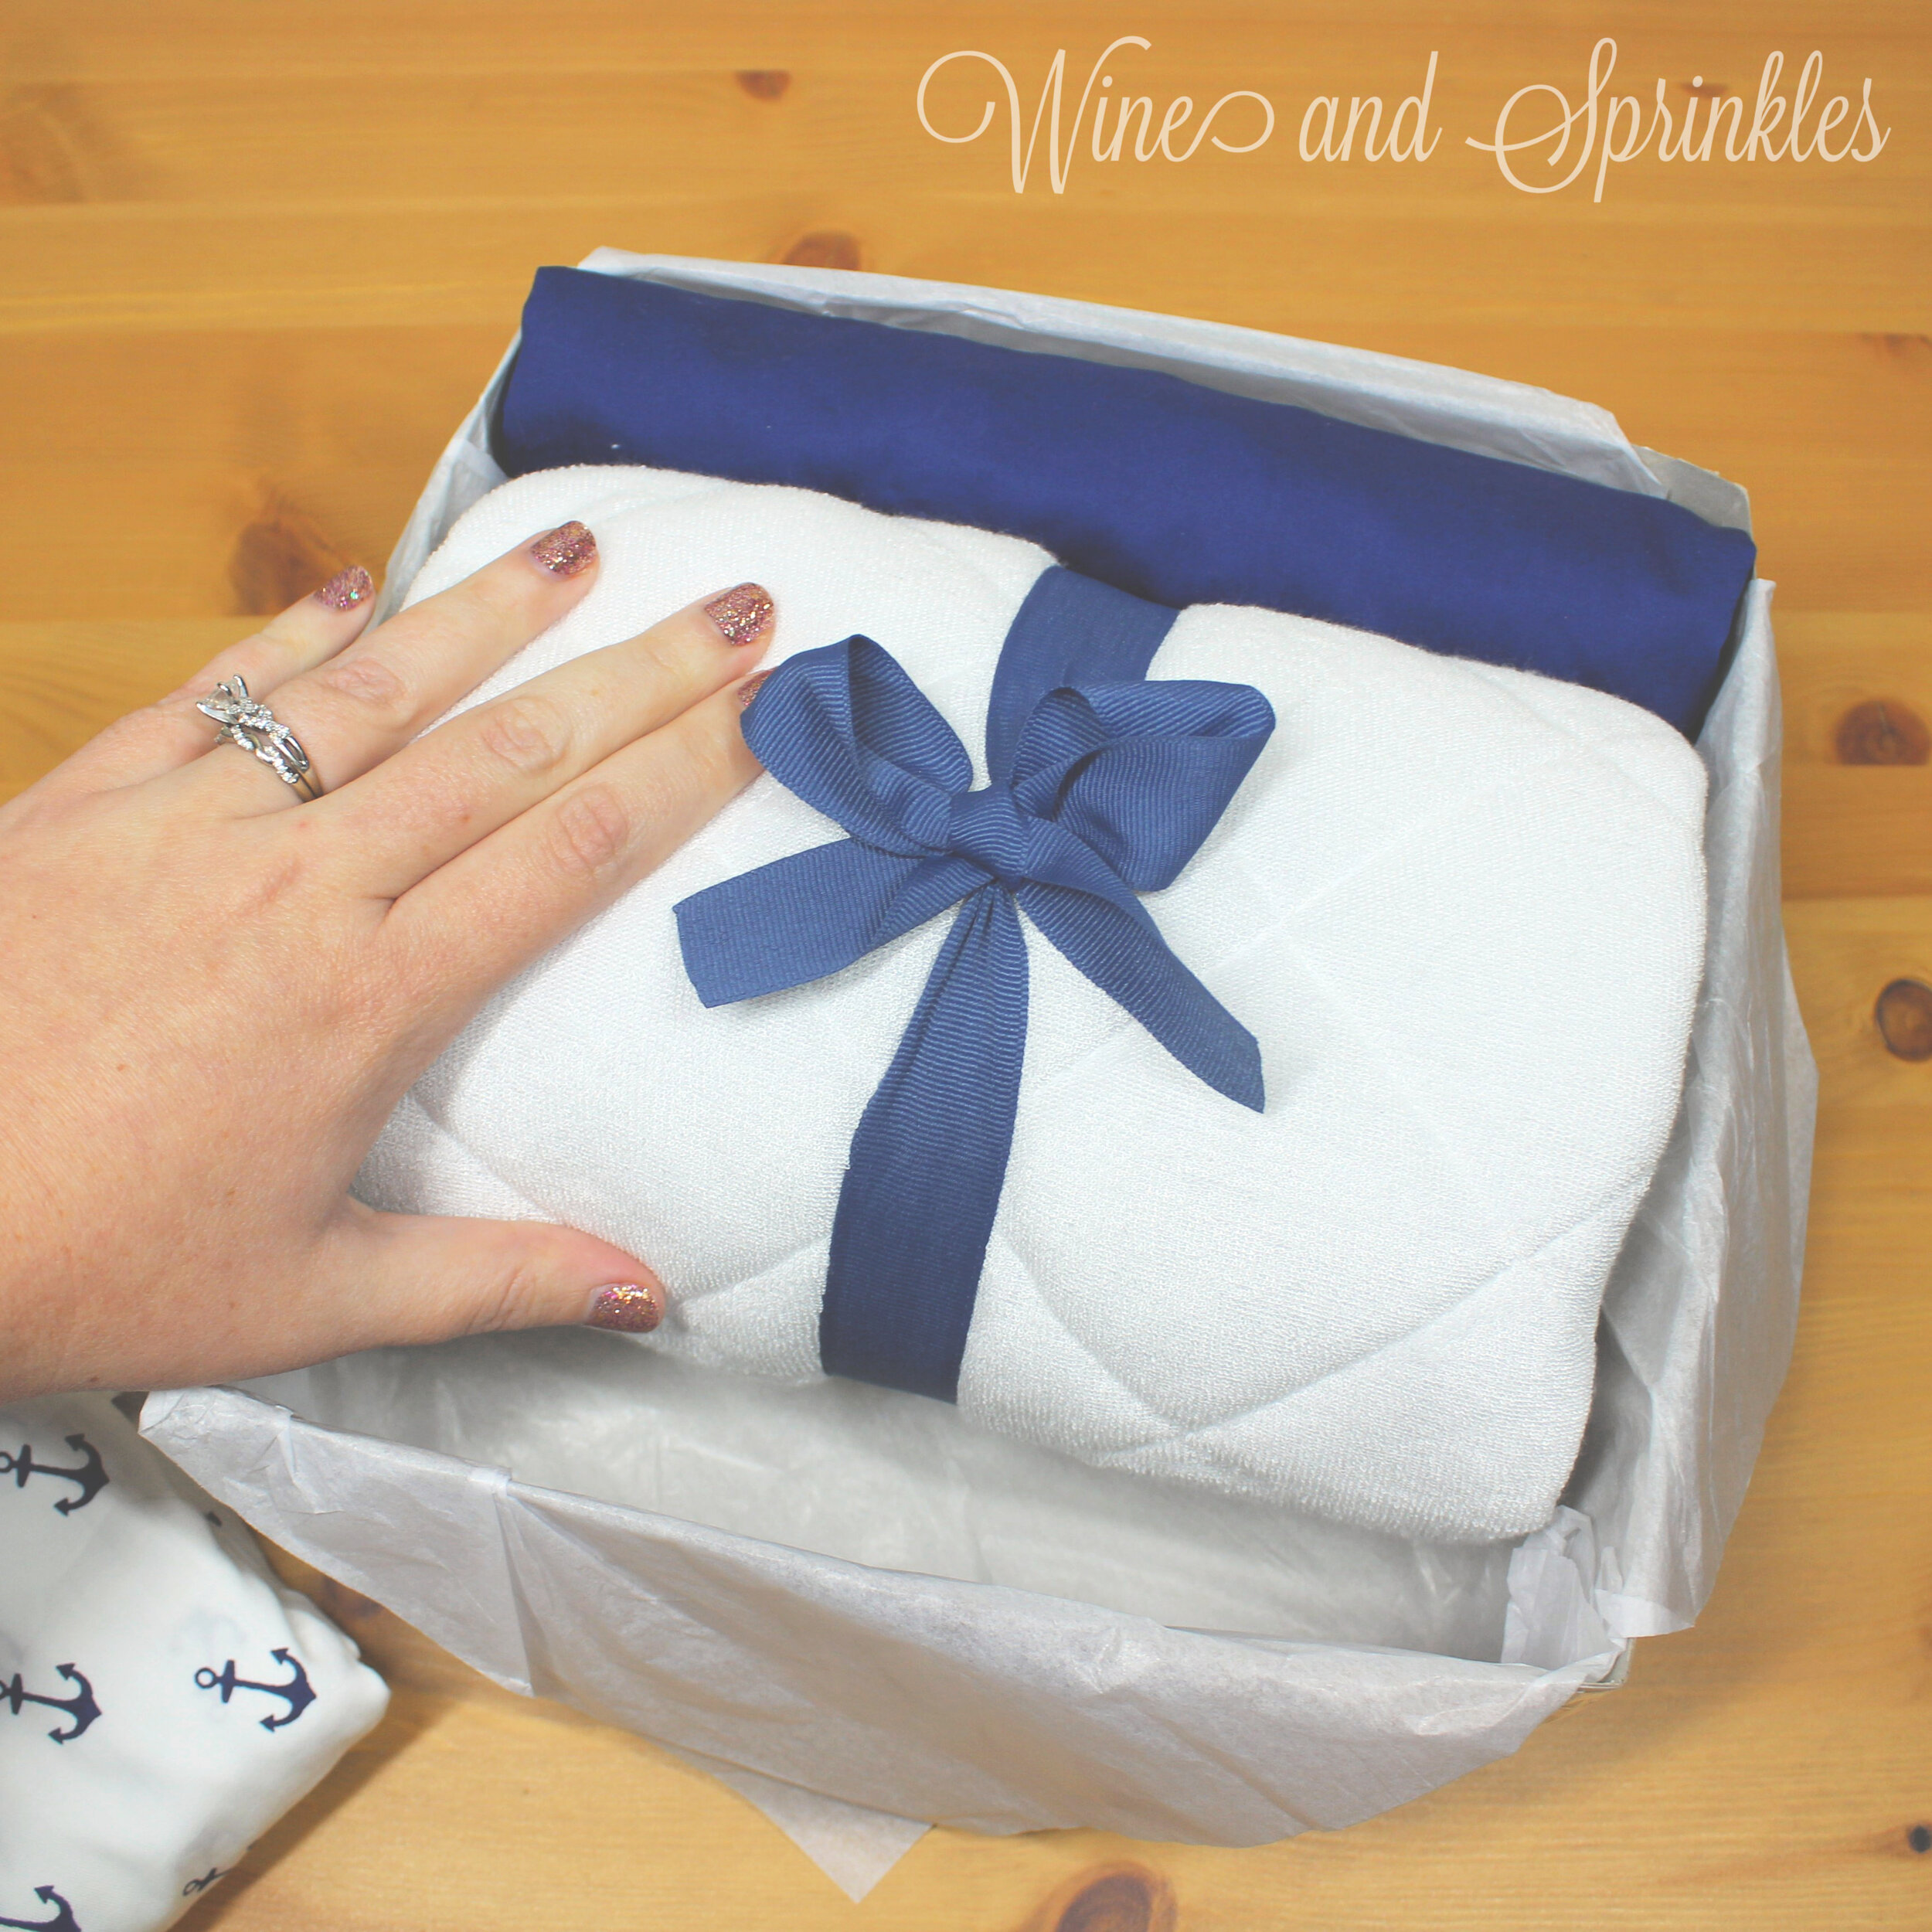
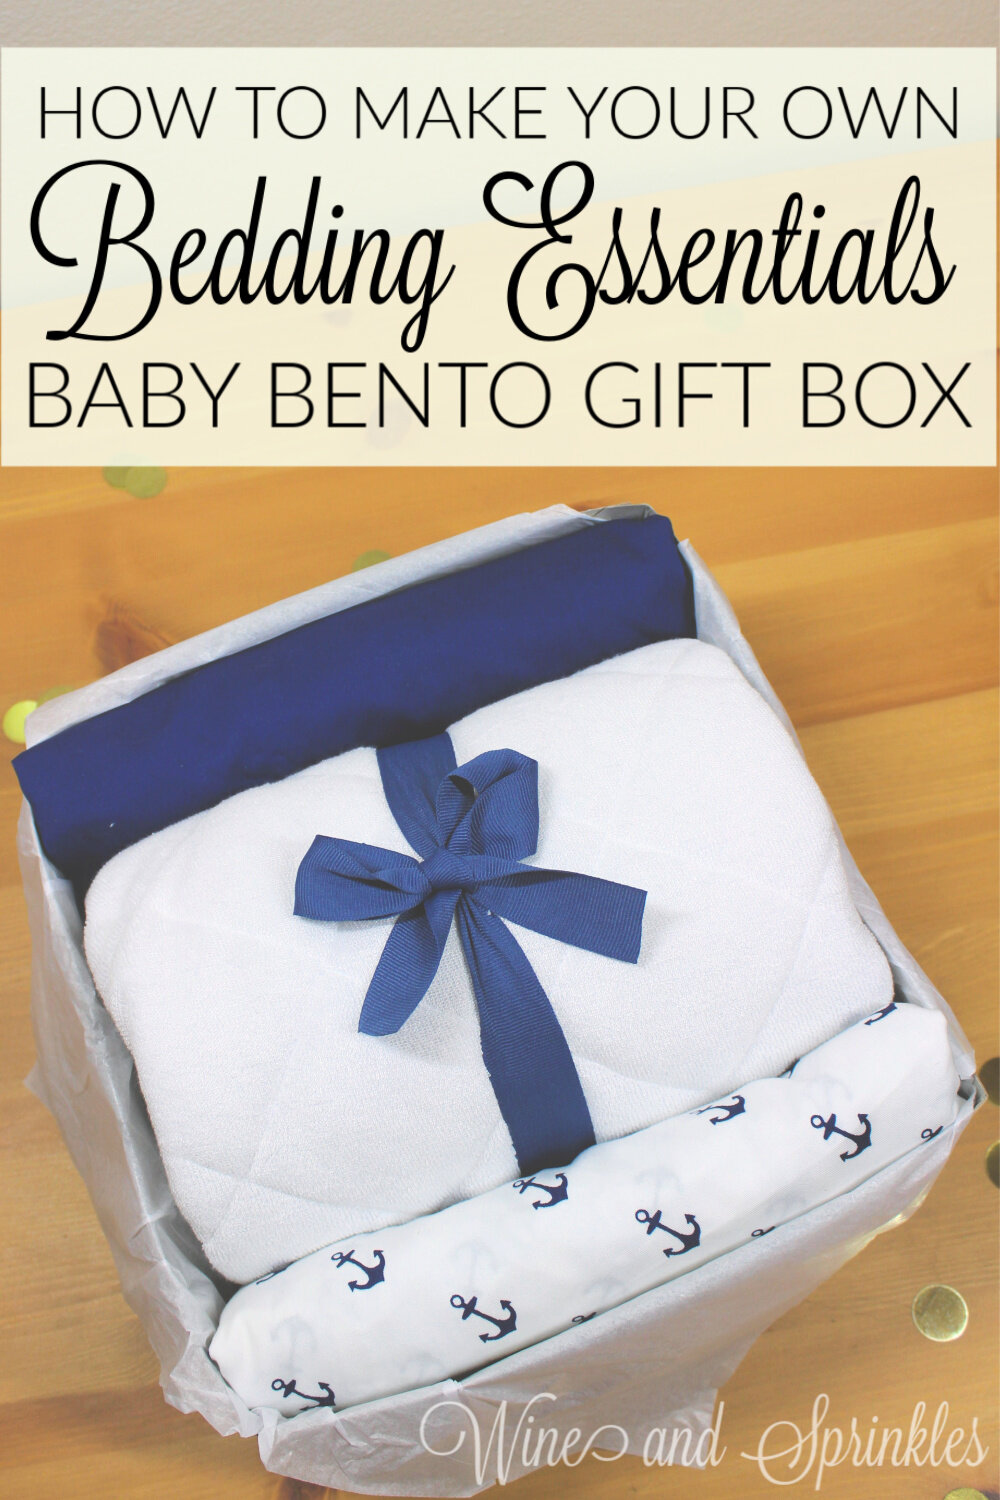
With the Bedding Essentials Bento, I decided to display these necessary items in a minimalist style, with the sheets framing the rolled up mattress protector, tied into a cylinder with a dapper ribbon! This bento displays one standard Crib Mattress Protector and a Crib Sheet 2 Pack, which are not only very needed for a new baby but fun for personalizing with different sheet colors and ribbons! My ribbon actually came with the items in the bento, but you could use any you have on hand to add another dimension of color and pattern to this streamlined gift box.
These boxes are also great as mailable presents to your mama’s to be, a lovely way to send a personal and thoughtful gift from near or far! The best part of this box is there is no extra tissue paper or stuffing required to keep it safe in shipping, all the items fit perfectly with no room to spare! For these and other Baby Gift Box Bentos, I used a 10 inch square box to house our gifts and it was the perfect size for this Bedding Essentials Bento. While you can use other sizes of boxes for this project, you will have to play around a little with the first foldings of the sheets and mattress protector to make them the right width.
Supplies:
- Standard Crib Mattress Protector
- Baby Sheet 2 Pack
- Ribbon
- Square Gift Box
- Tissue Paper (Optional)
SHEET FOLDING
My sheets came prefolded to the perfect size for these gift boxes, but since they are standard crib sheets I learned how they folded them so you can use any sheet set you like!
Start with your sheet face down. Fold the sheet in thirds width wise, such that it is the width of the gift box you are using, with the extra fabric from the sheet smoothed over at the ends to form an almost rectangular packet.
Fold the ends of the sheets inward, such that the height of the fold is slightly lower than the height of the box. Once both ends of the sheet are folded in, fold it over once more to make a small rectangular packet that is the width and height of the gift box.
MATTRESS PROTECTOR FOLDING
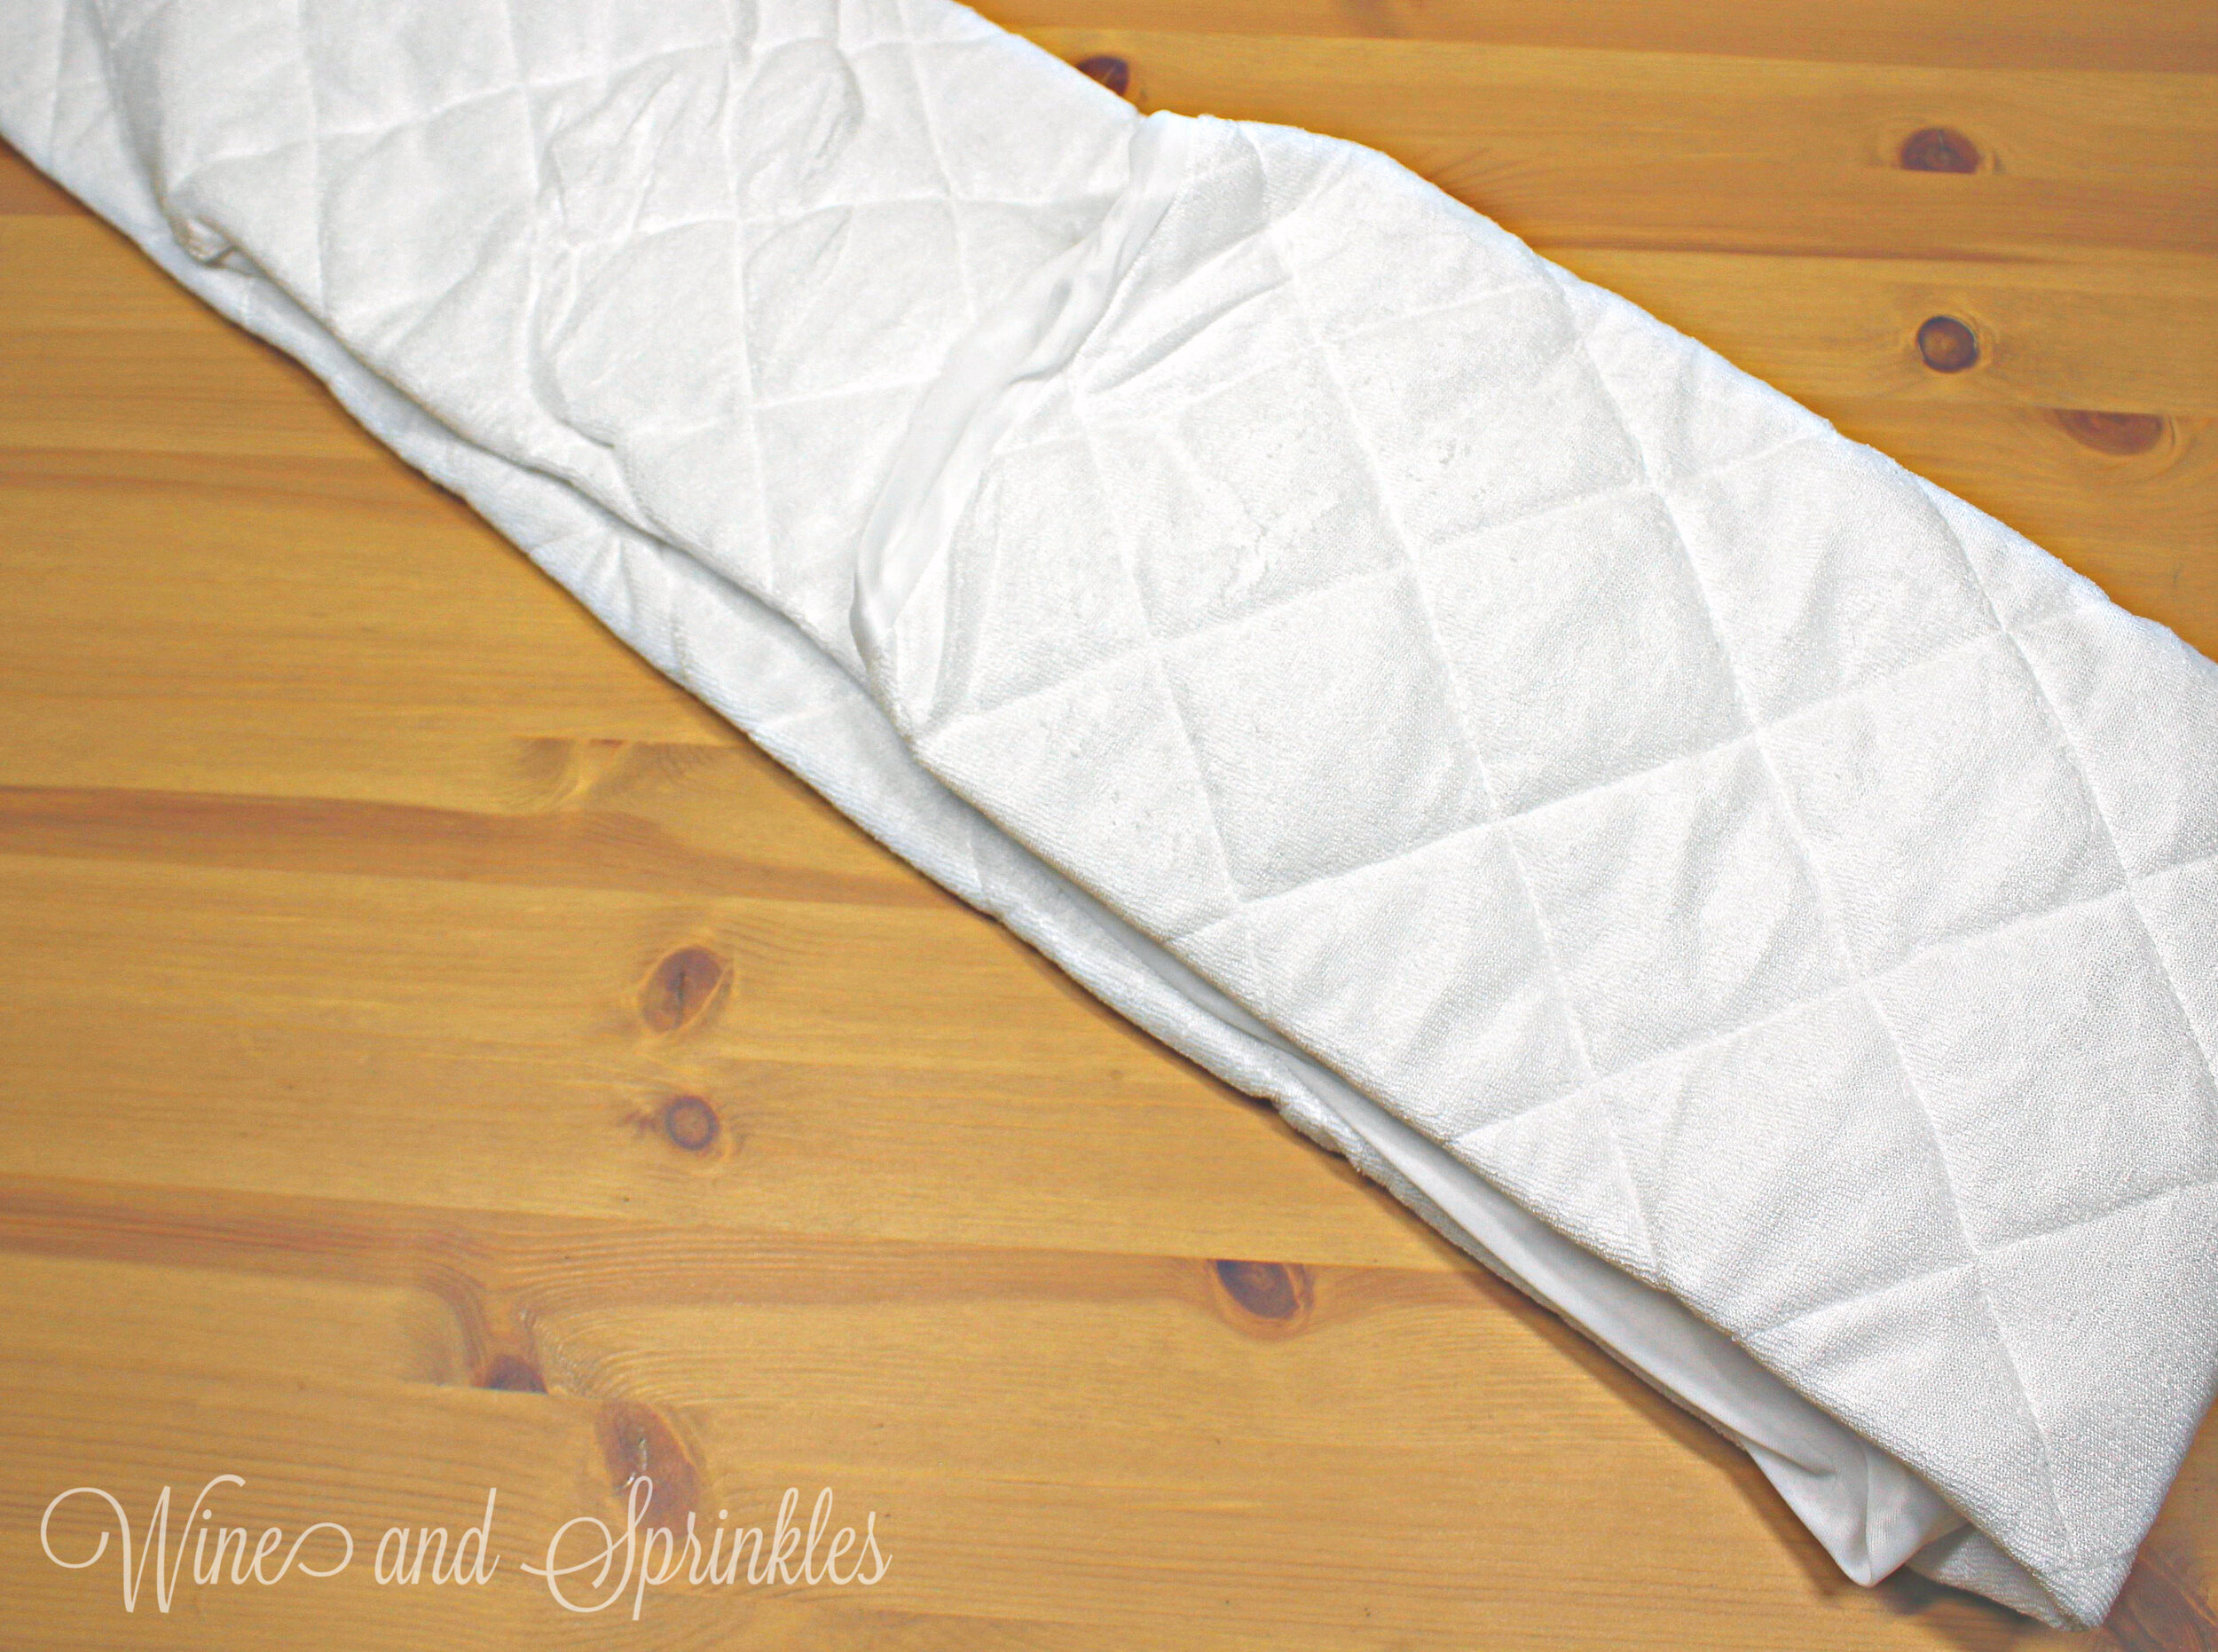
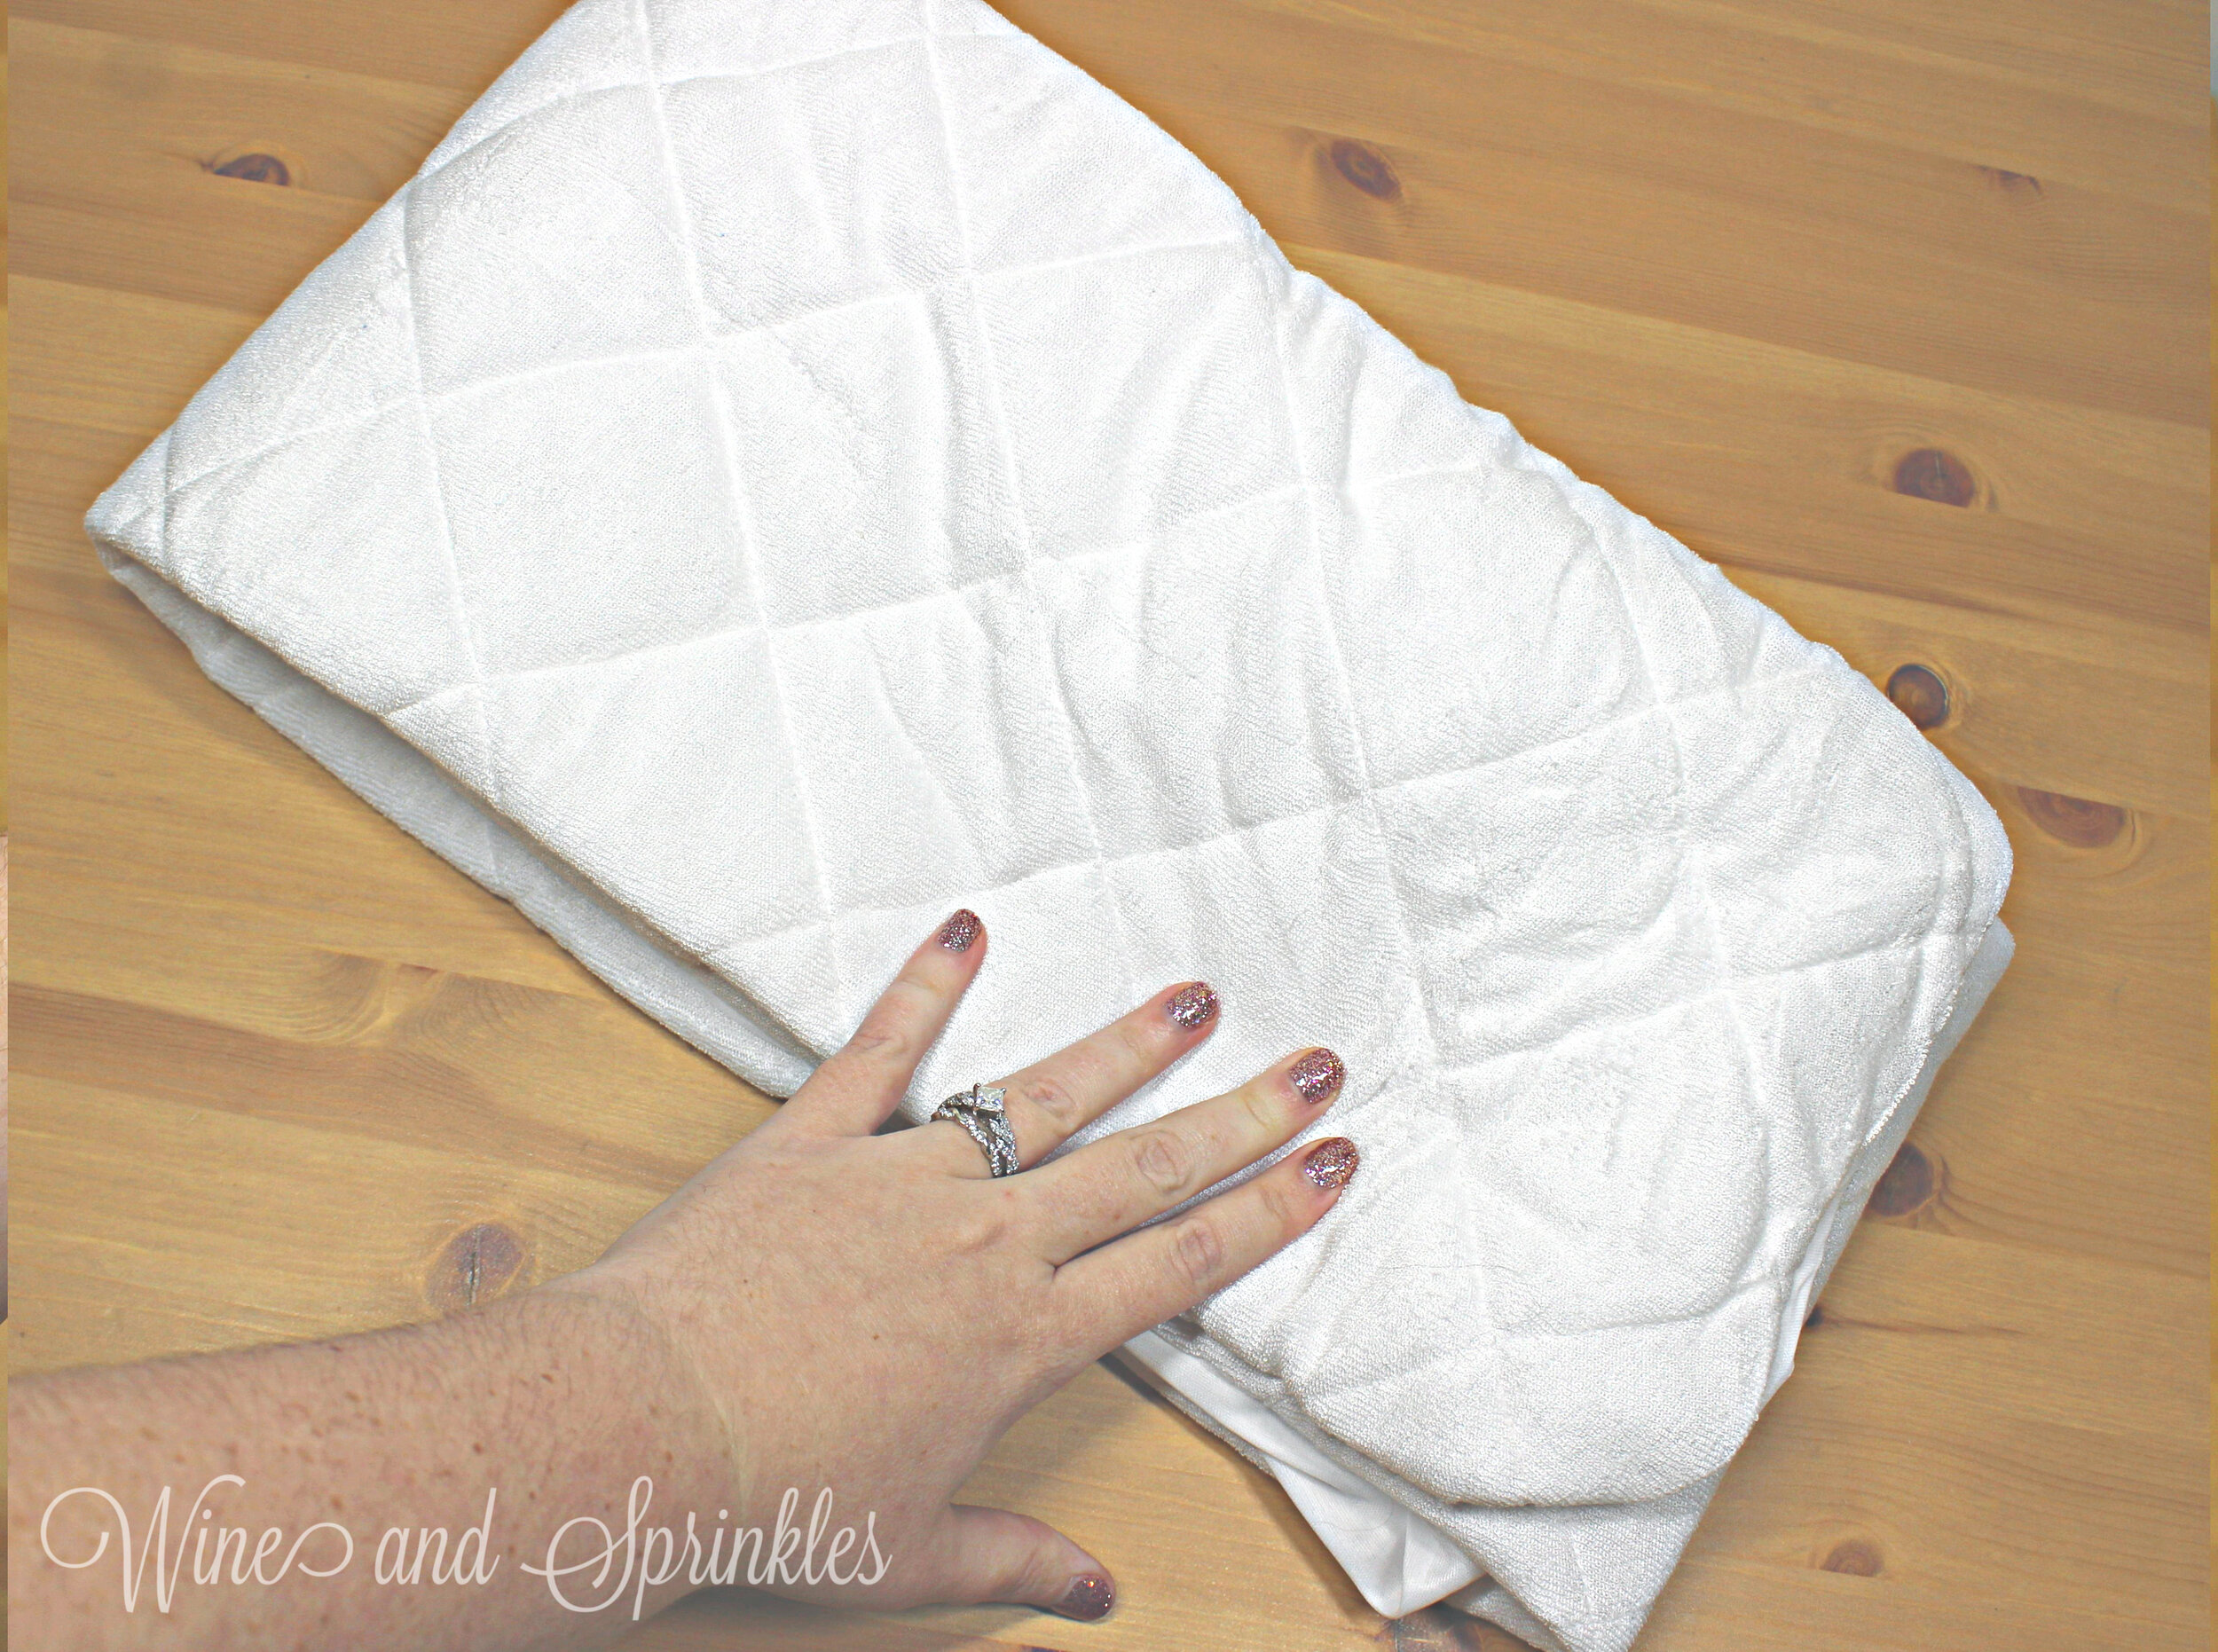
While the mattress protector didn’t come fully folded and ready for this bento, it did come at the proper width of my gift box, so if you are using a similar size you will be able to skip the steps folding it into a rectangular packet and move straight to the rolling up and tying portion, but just in case I learned how it was folded and outlined it below.
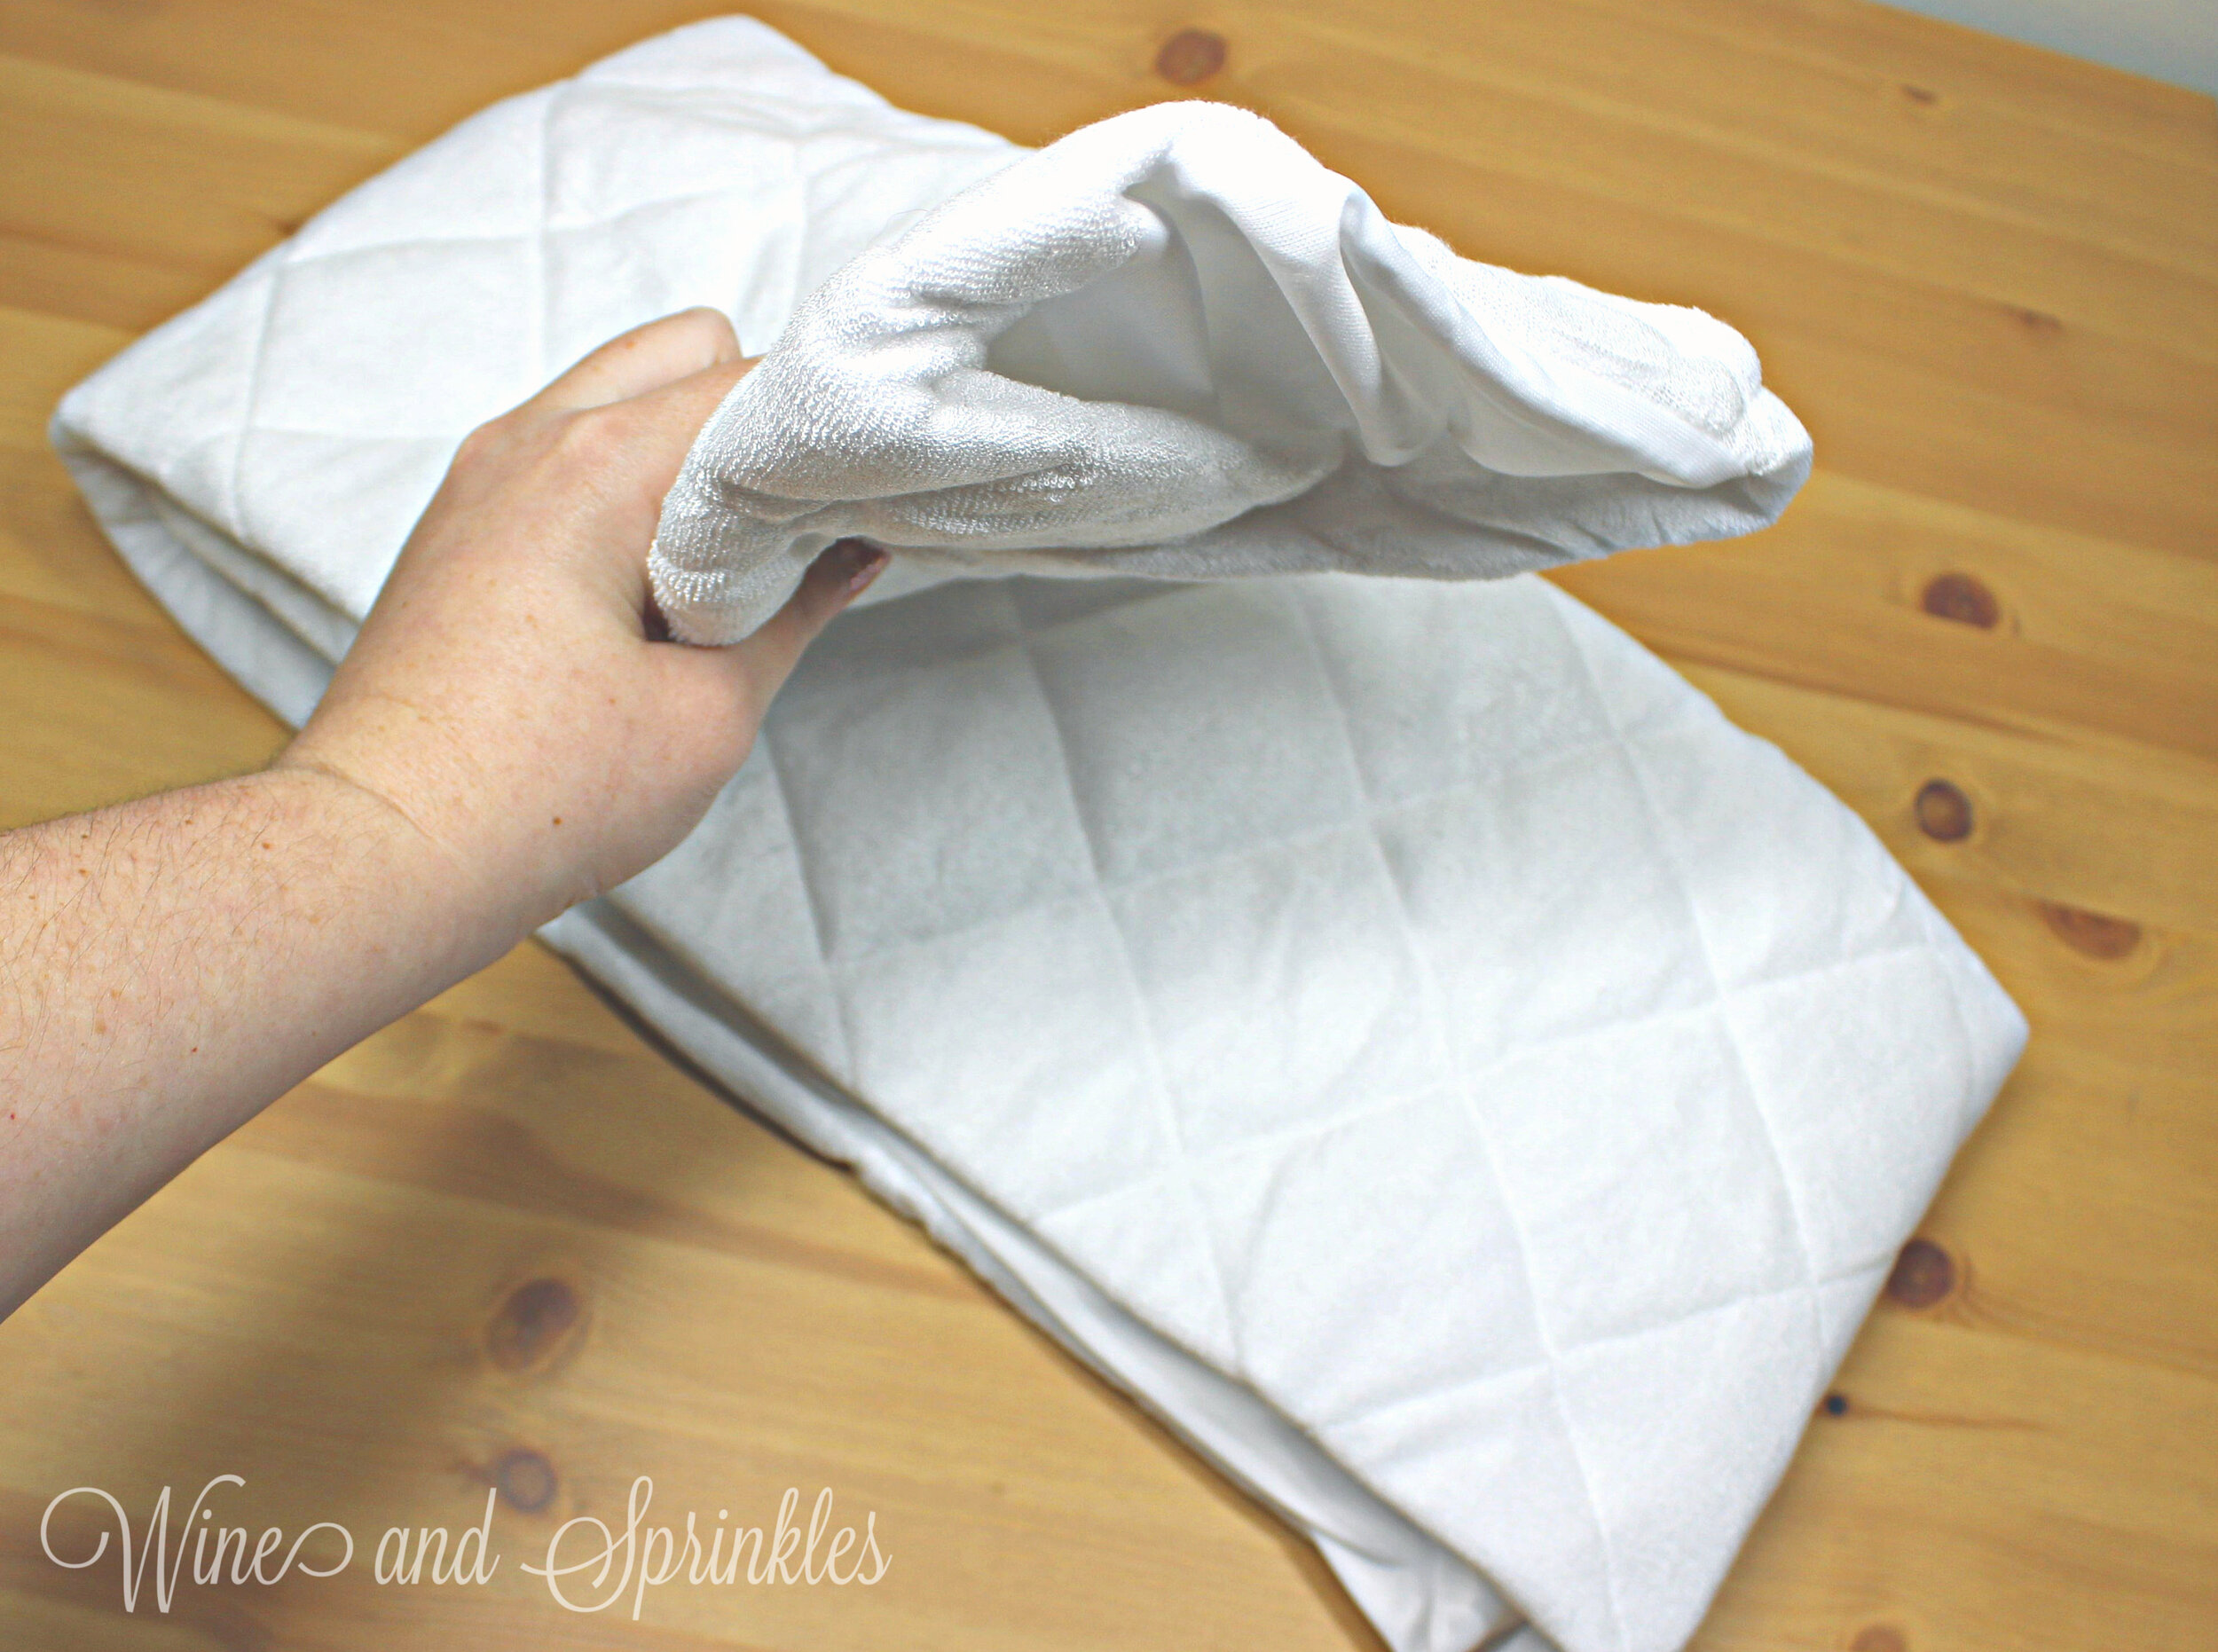
Start with the mattress protector face down, folding it in thirds width wise such that it is the width of your gift box.
Now fold the protector into thirds again, width wise, to create a shorter rectangular packet as shown below.
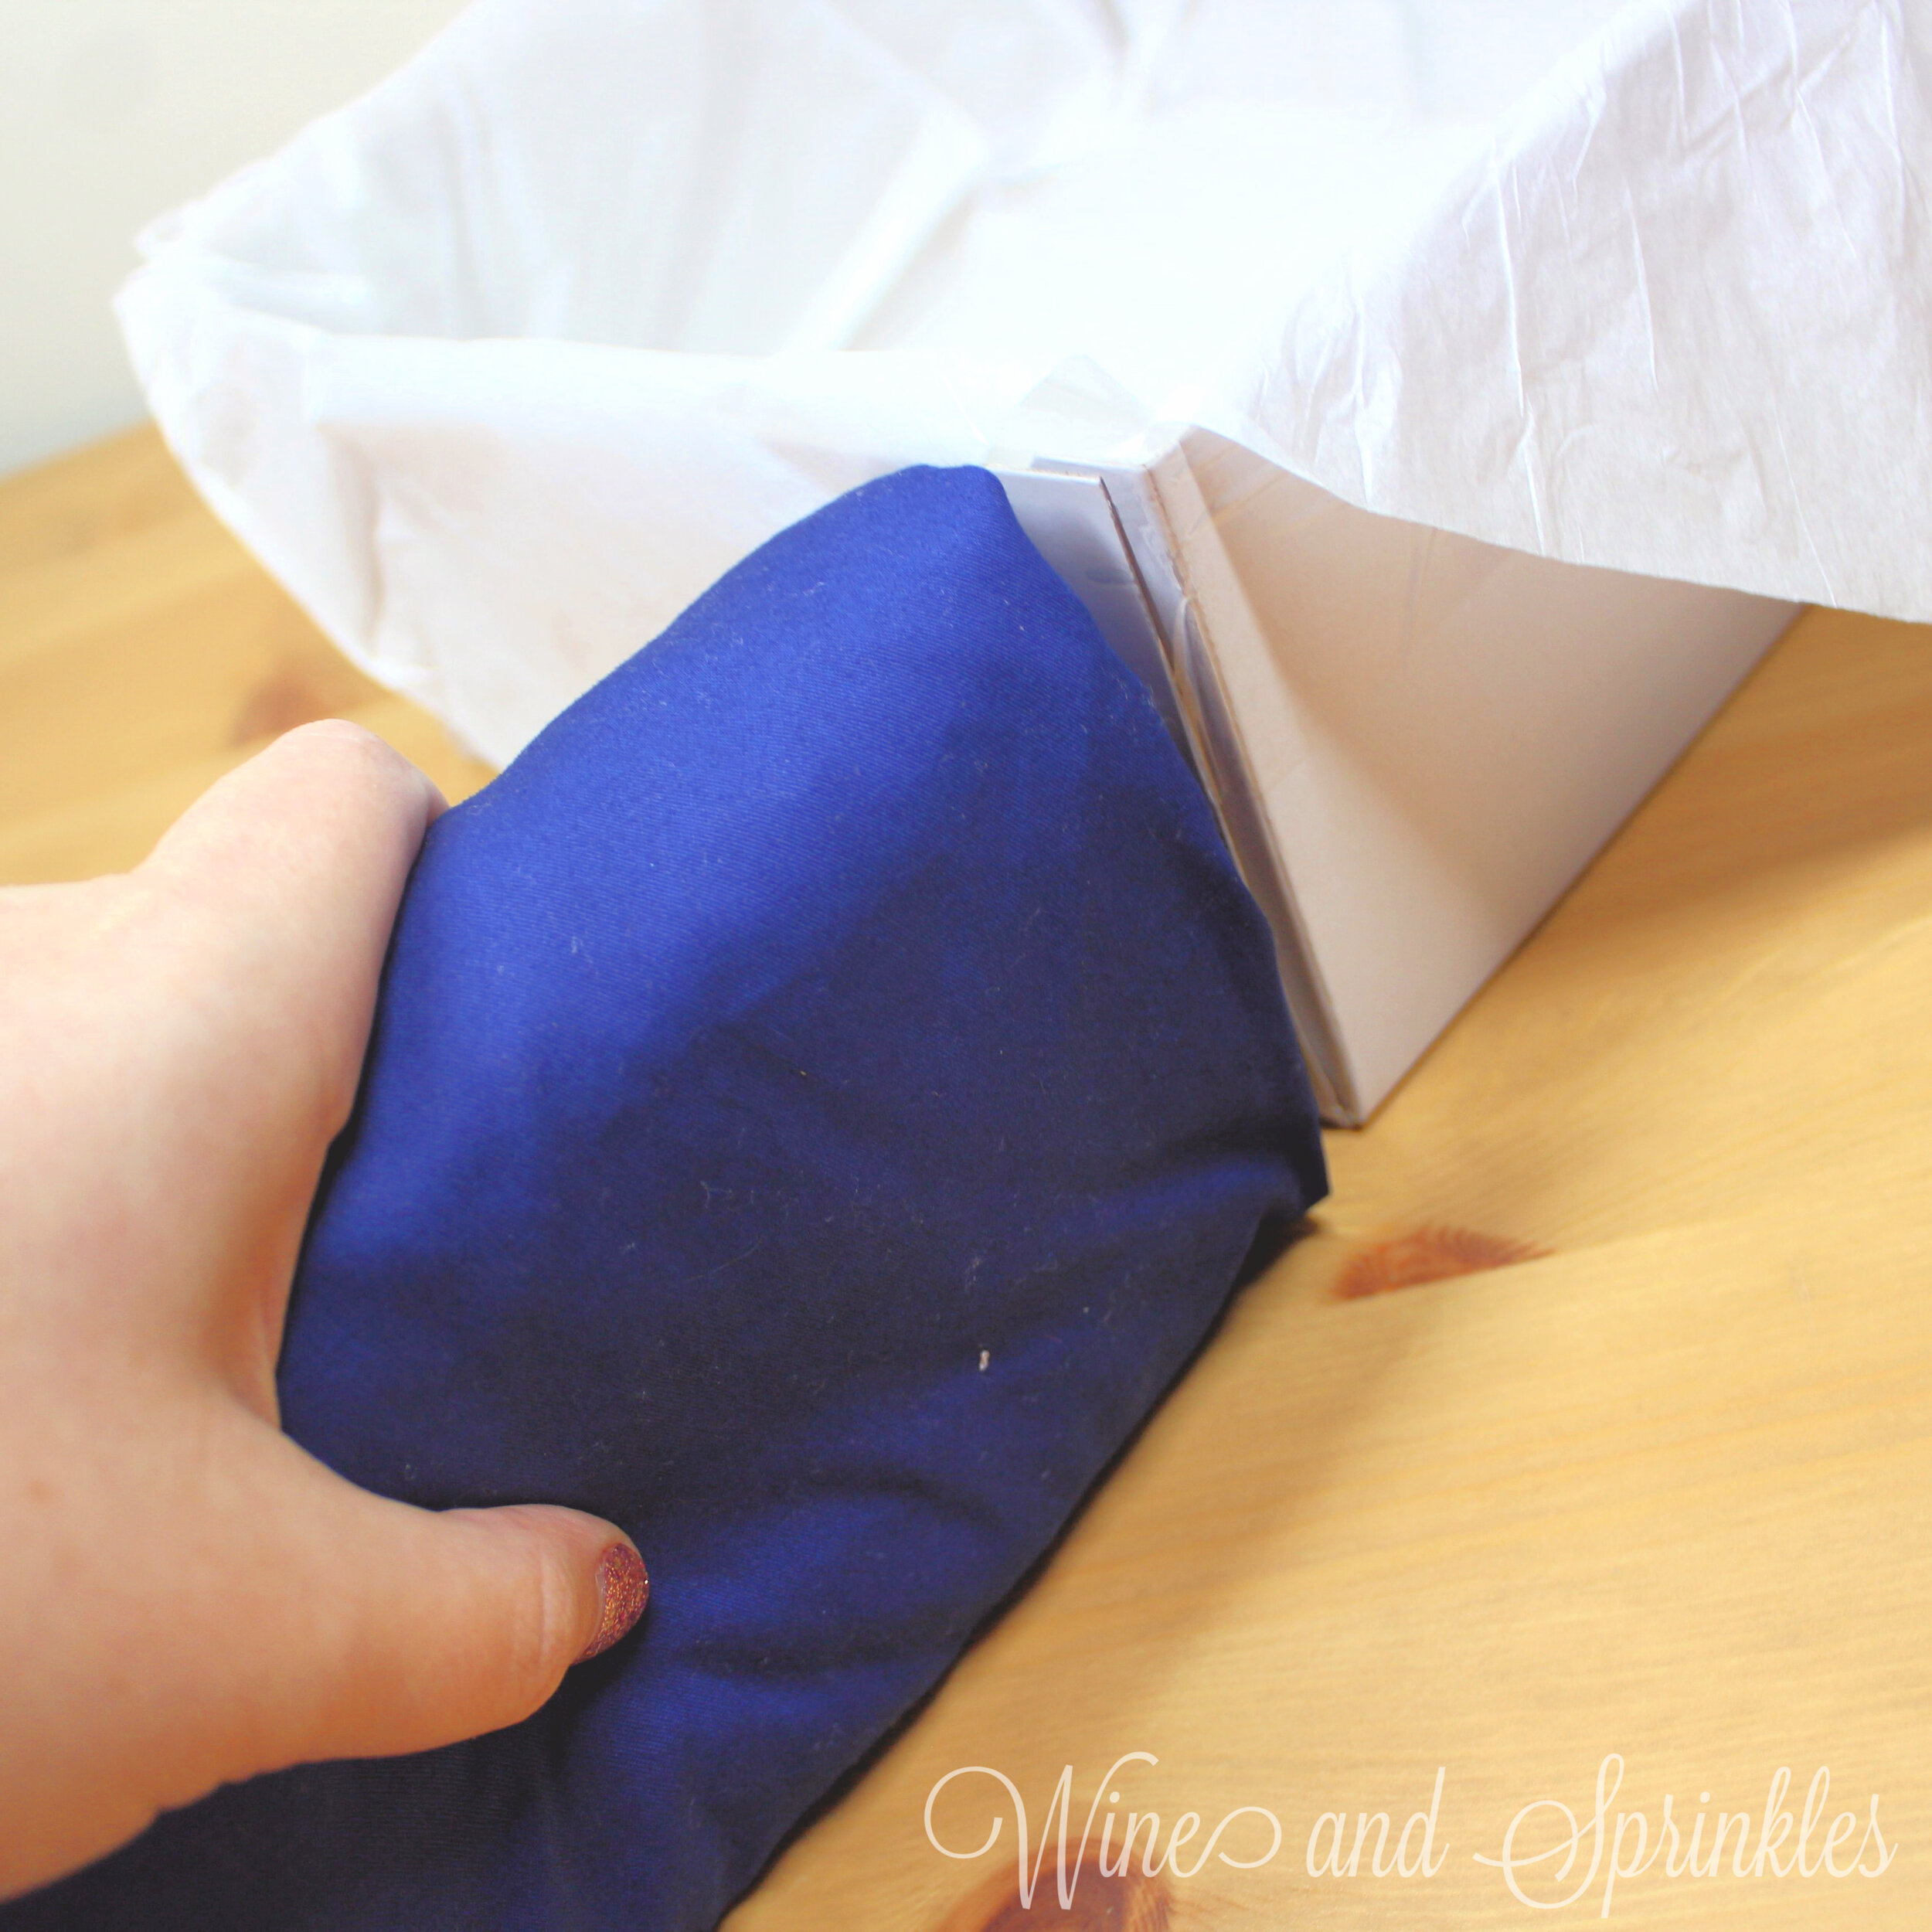
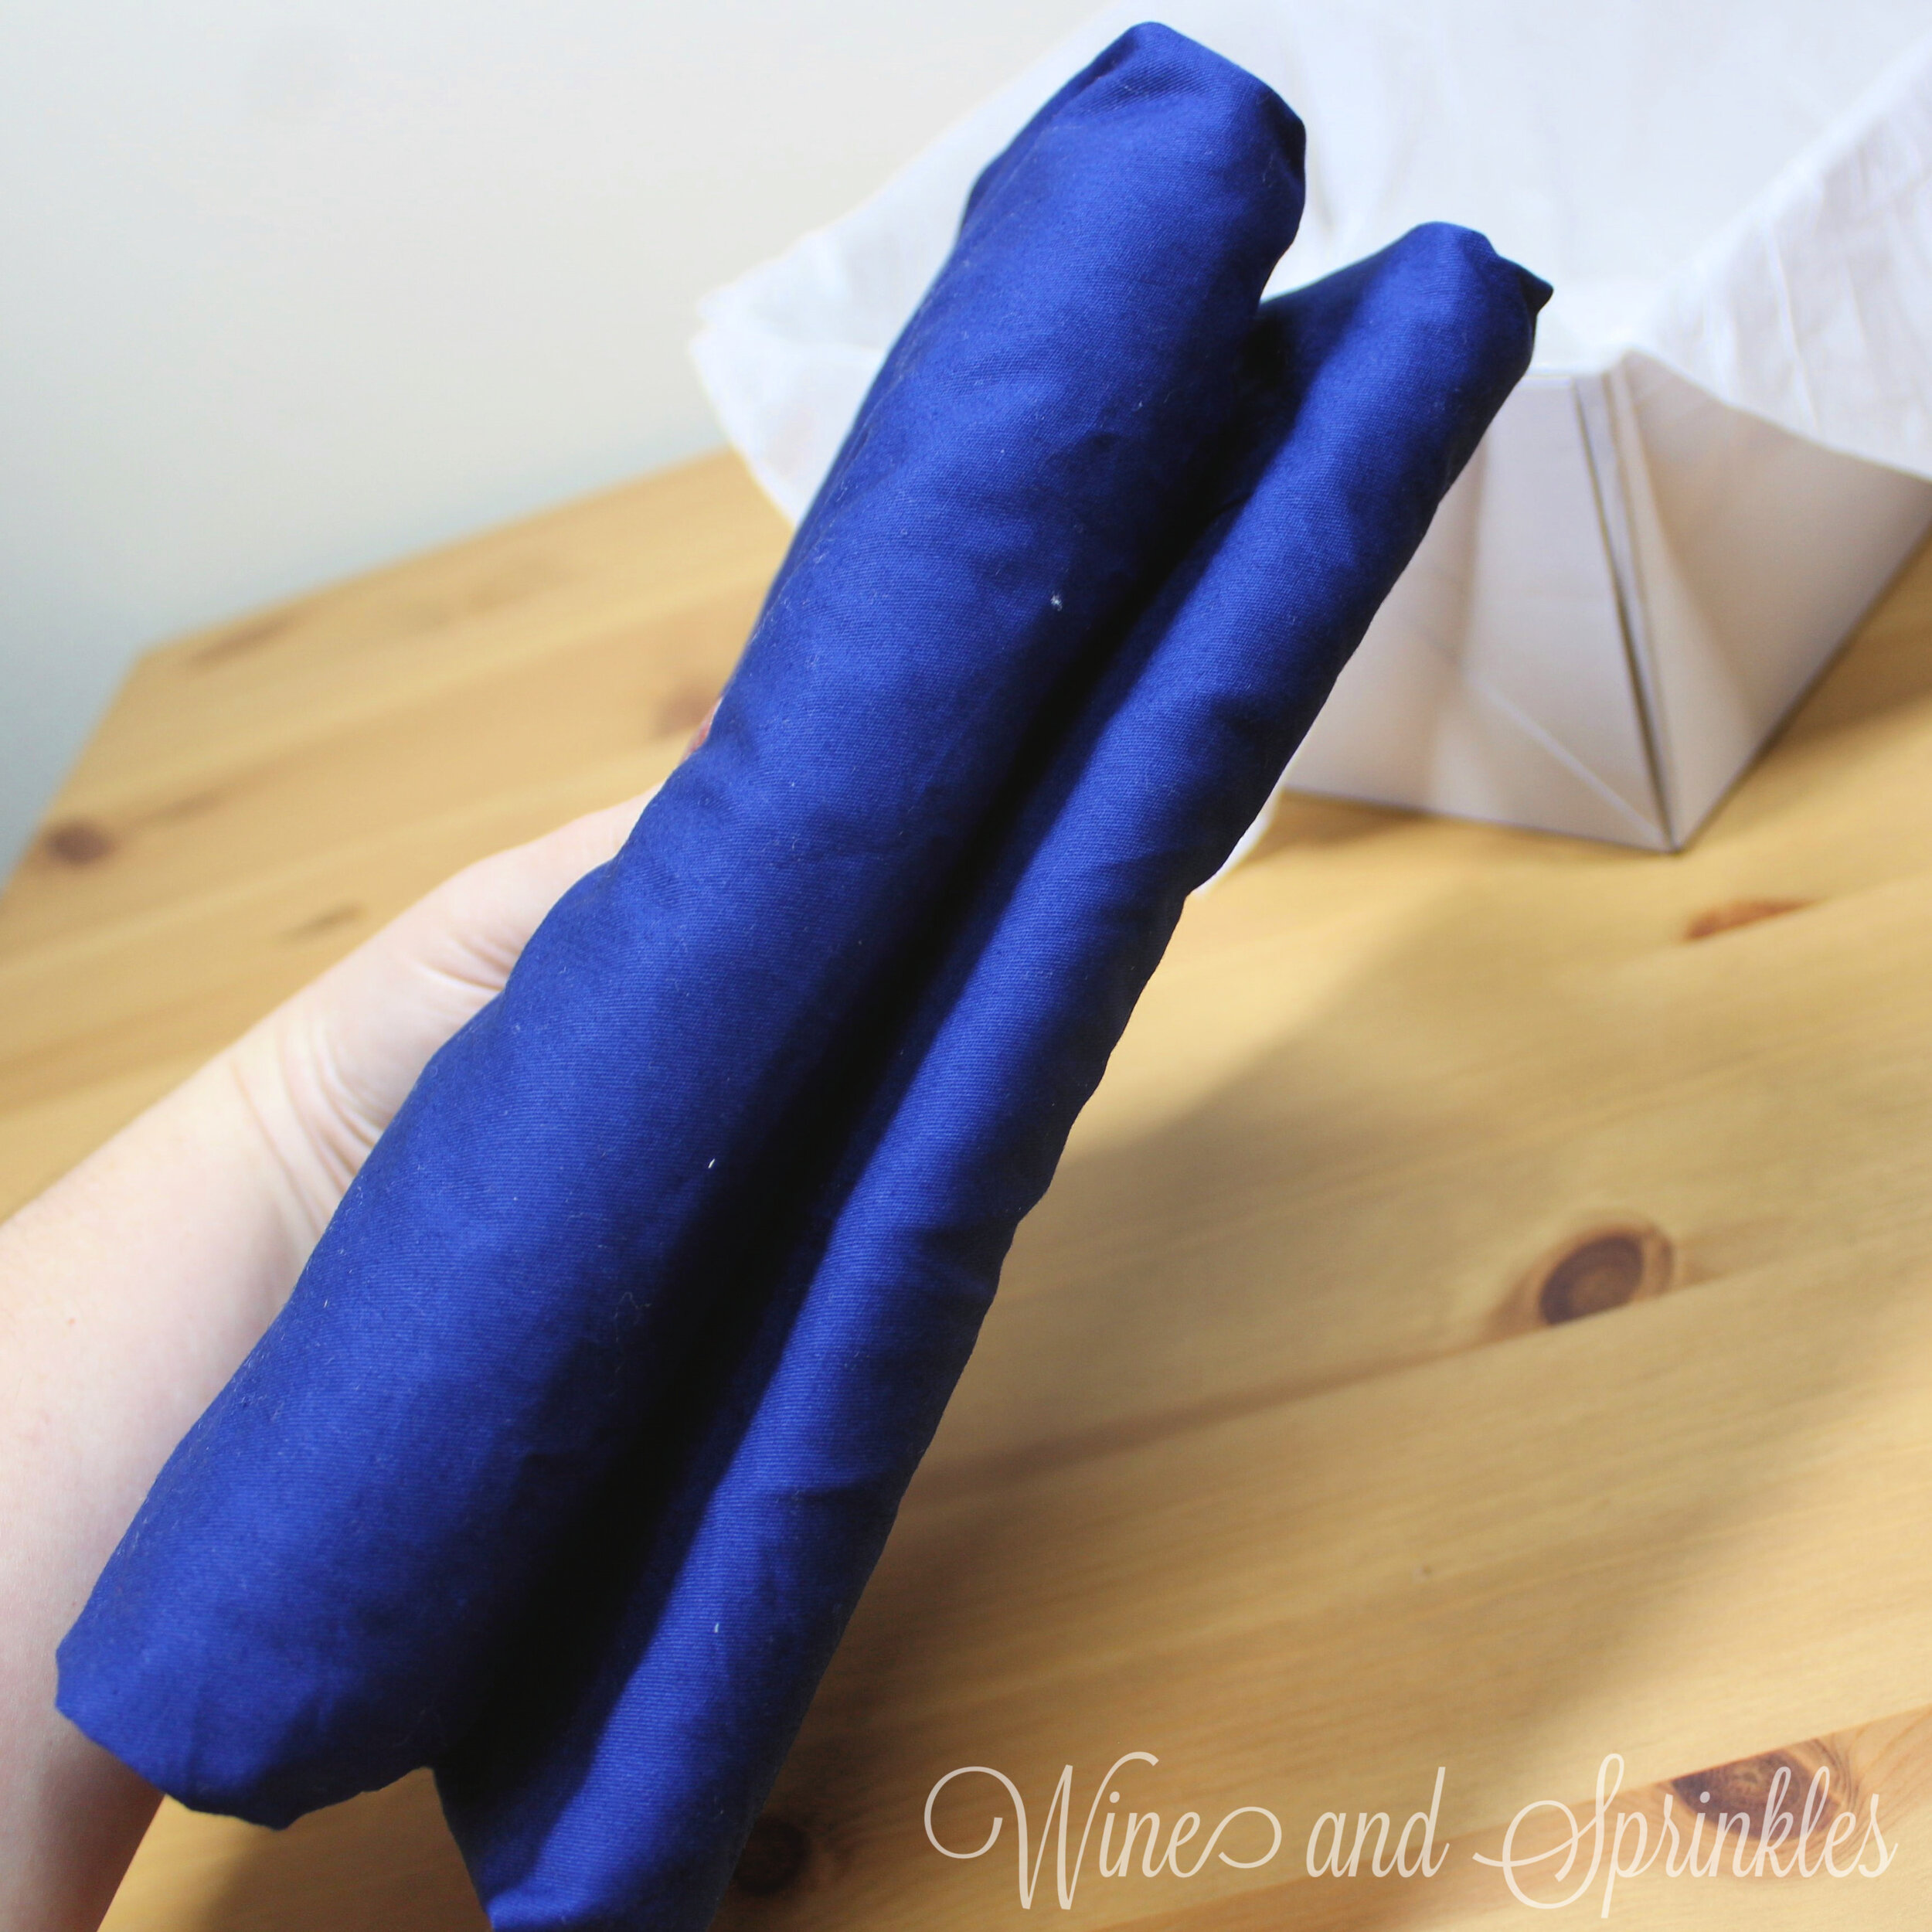
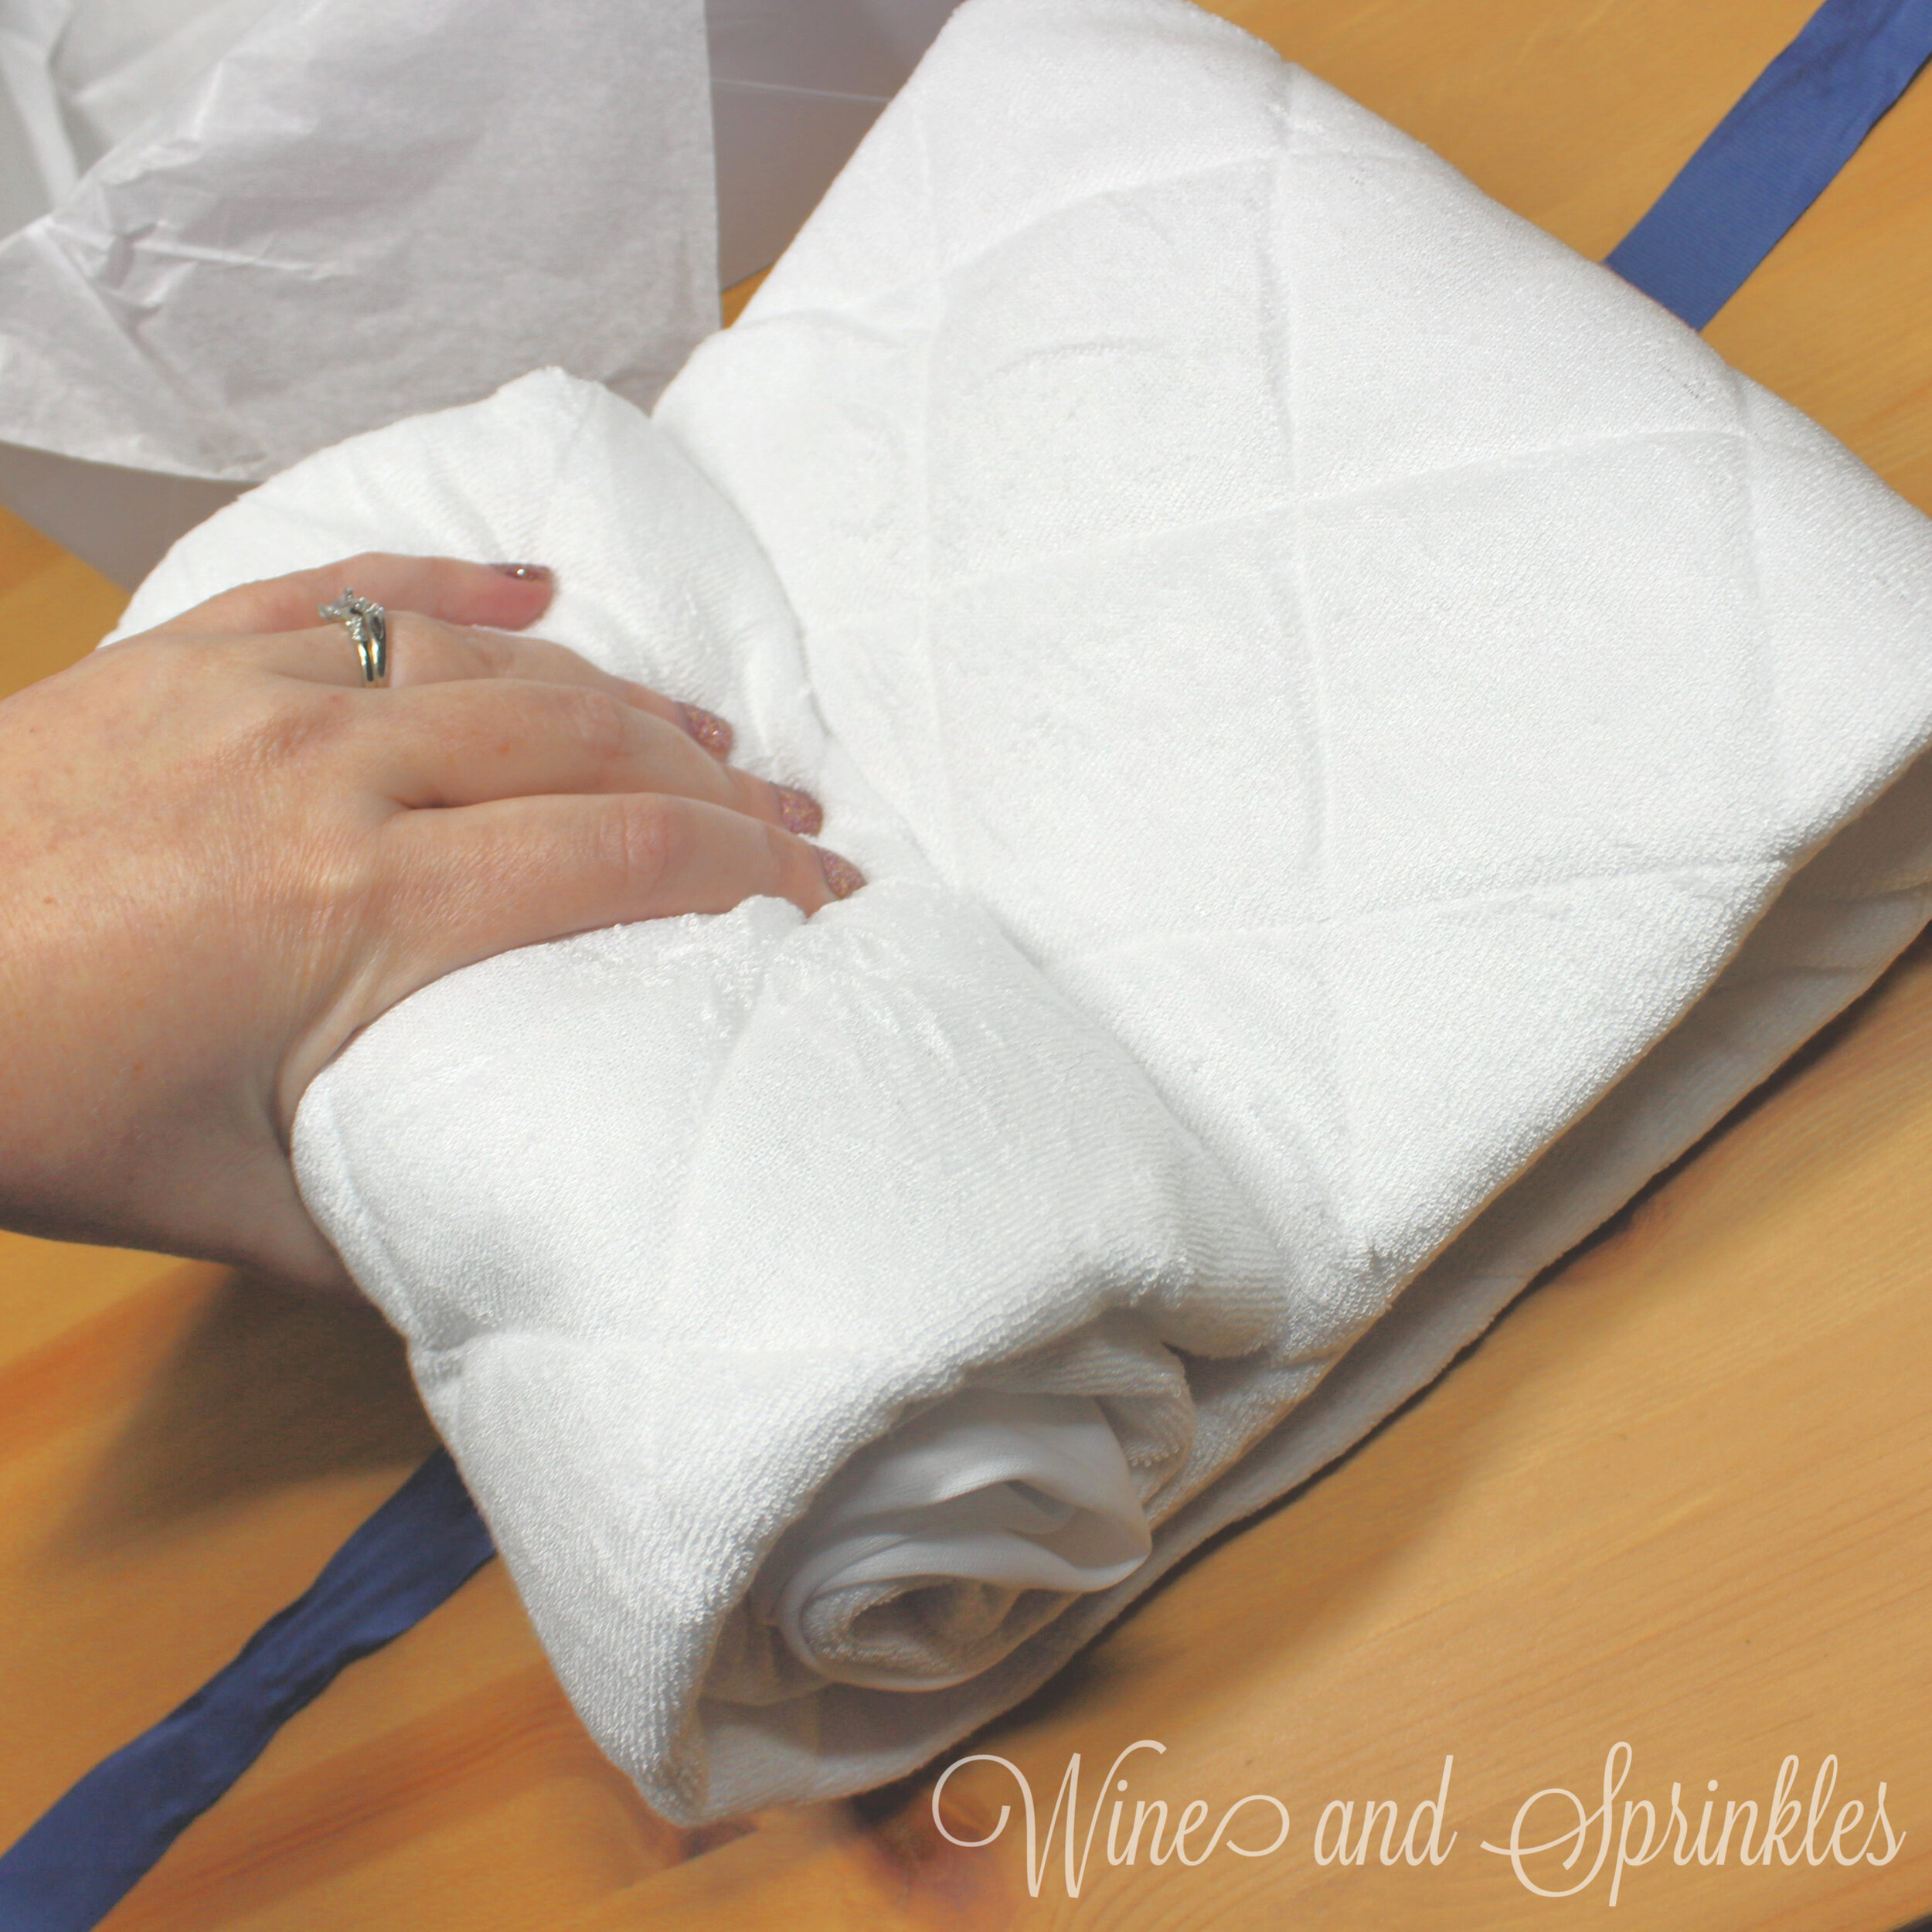
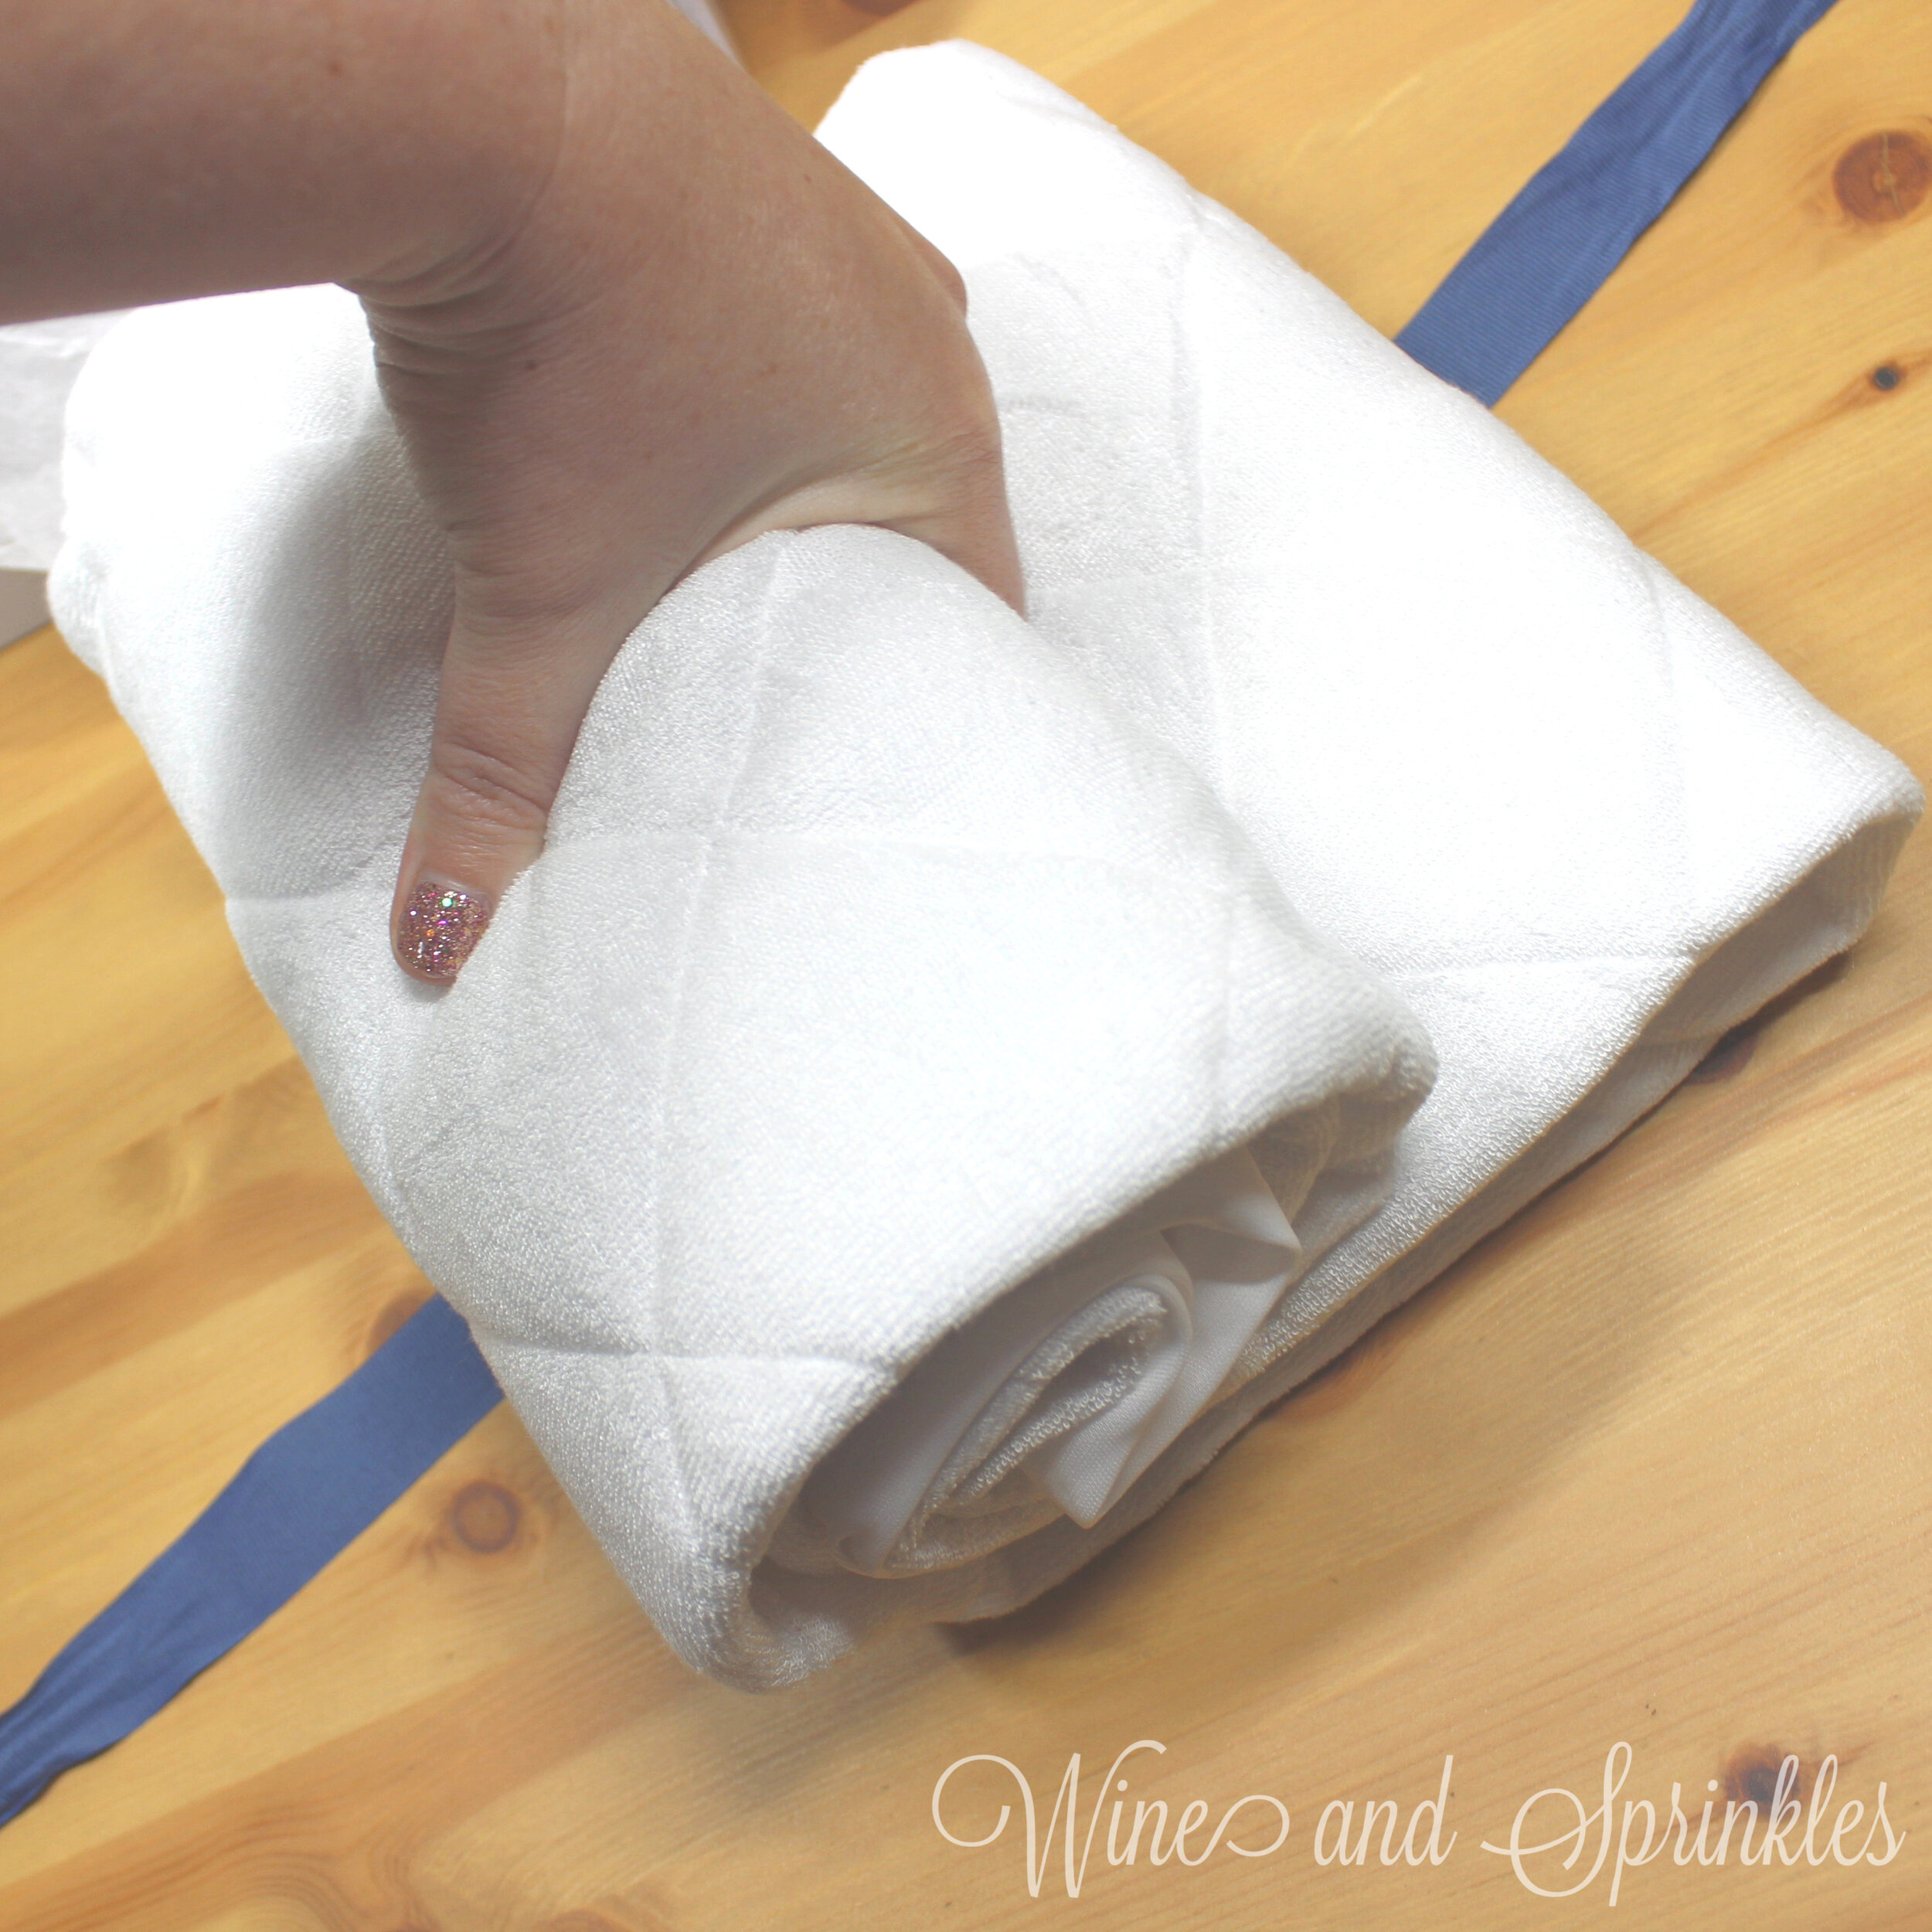
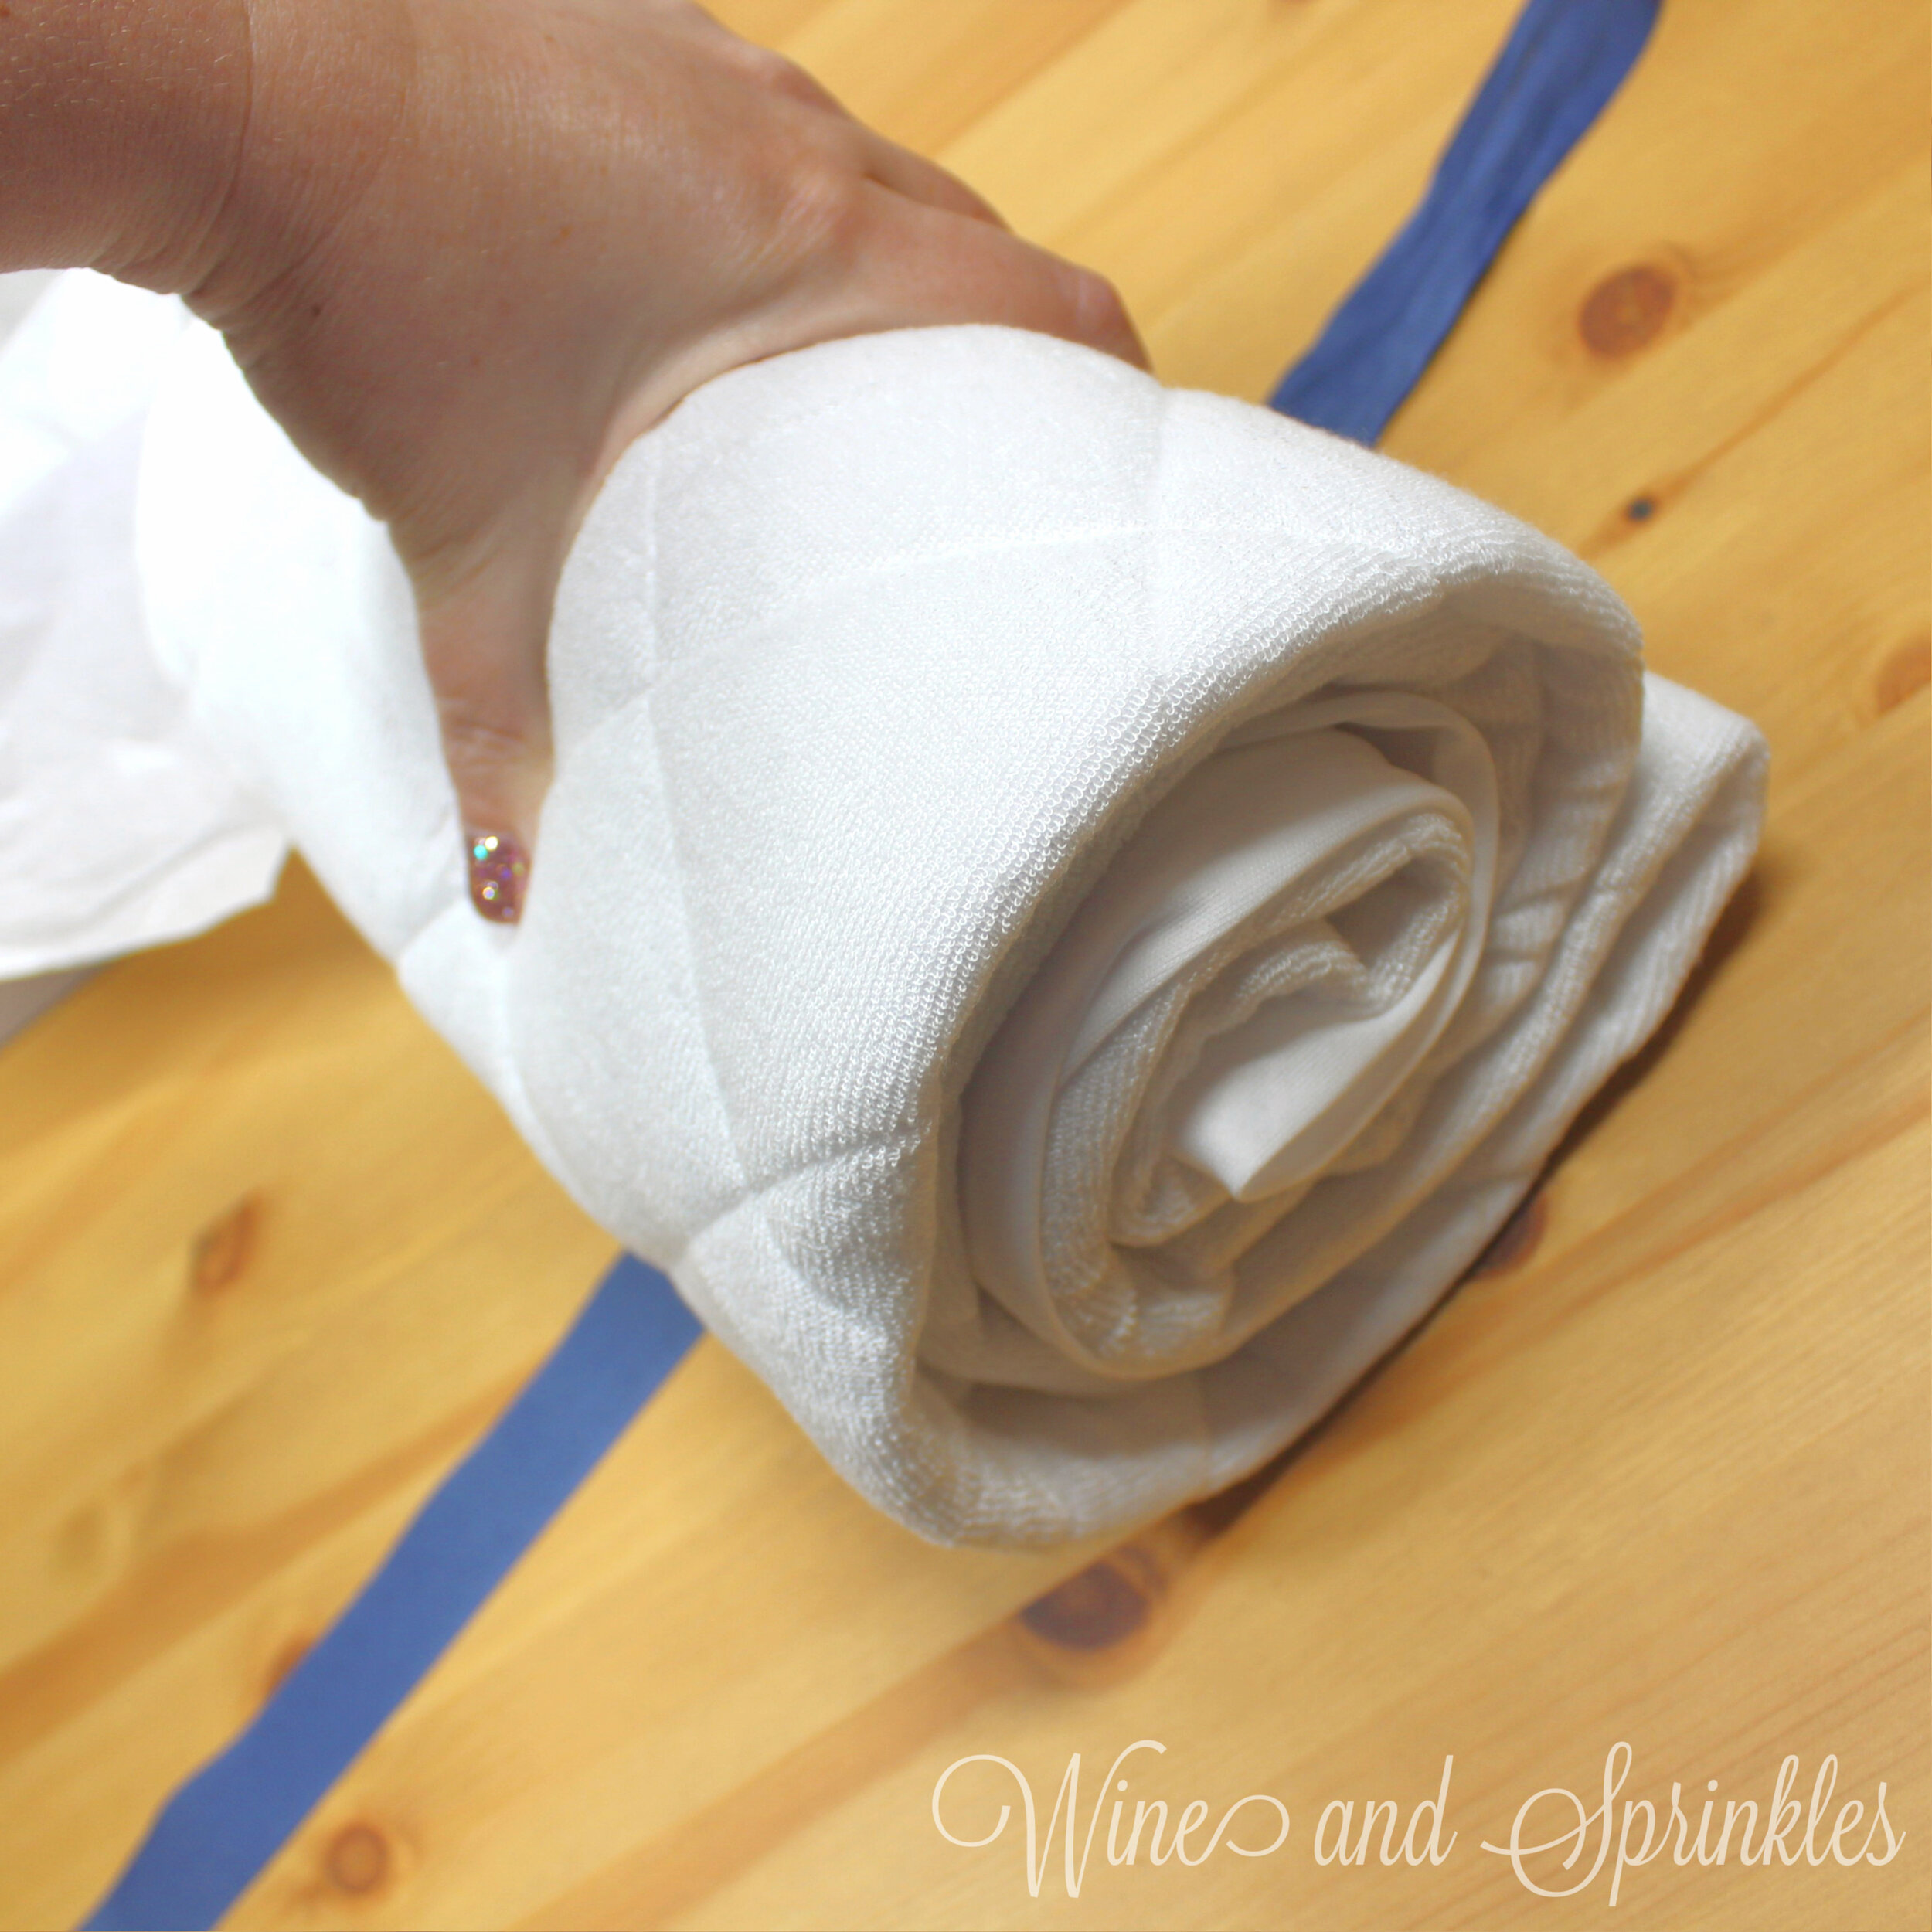
3. Place the ribbon to secure your mattress protector centered under the rectangular packet running lengthwise. Starting on the open ended side, roll the mattress protector into a tight cylinder as shown in the photos. Secure the cylinder with the ribbon, tying it into a bow.
BENTO ASSEMBLY
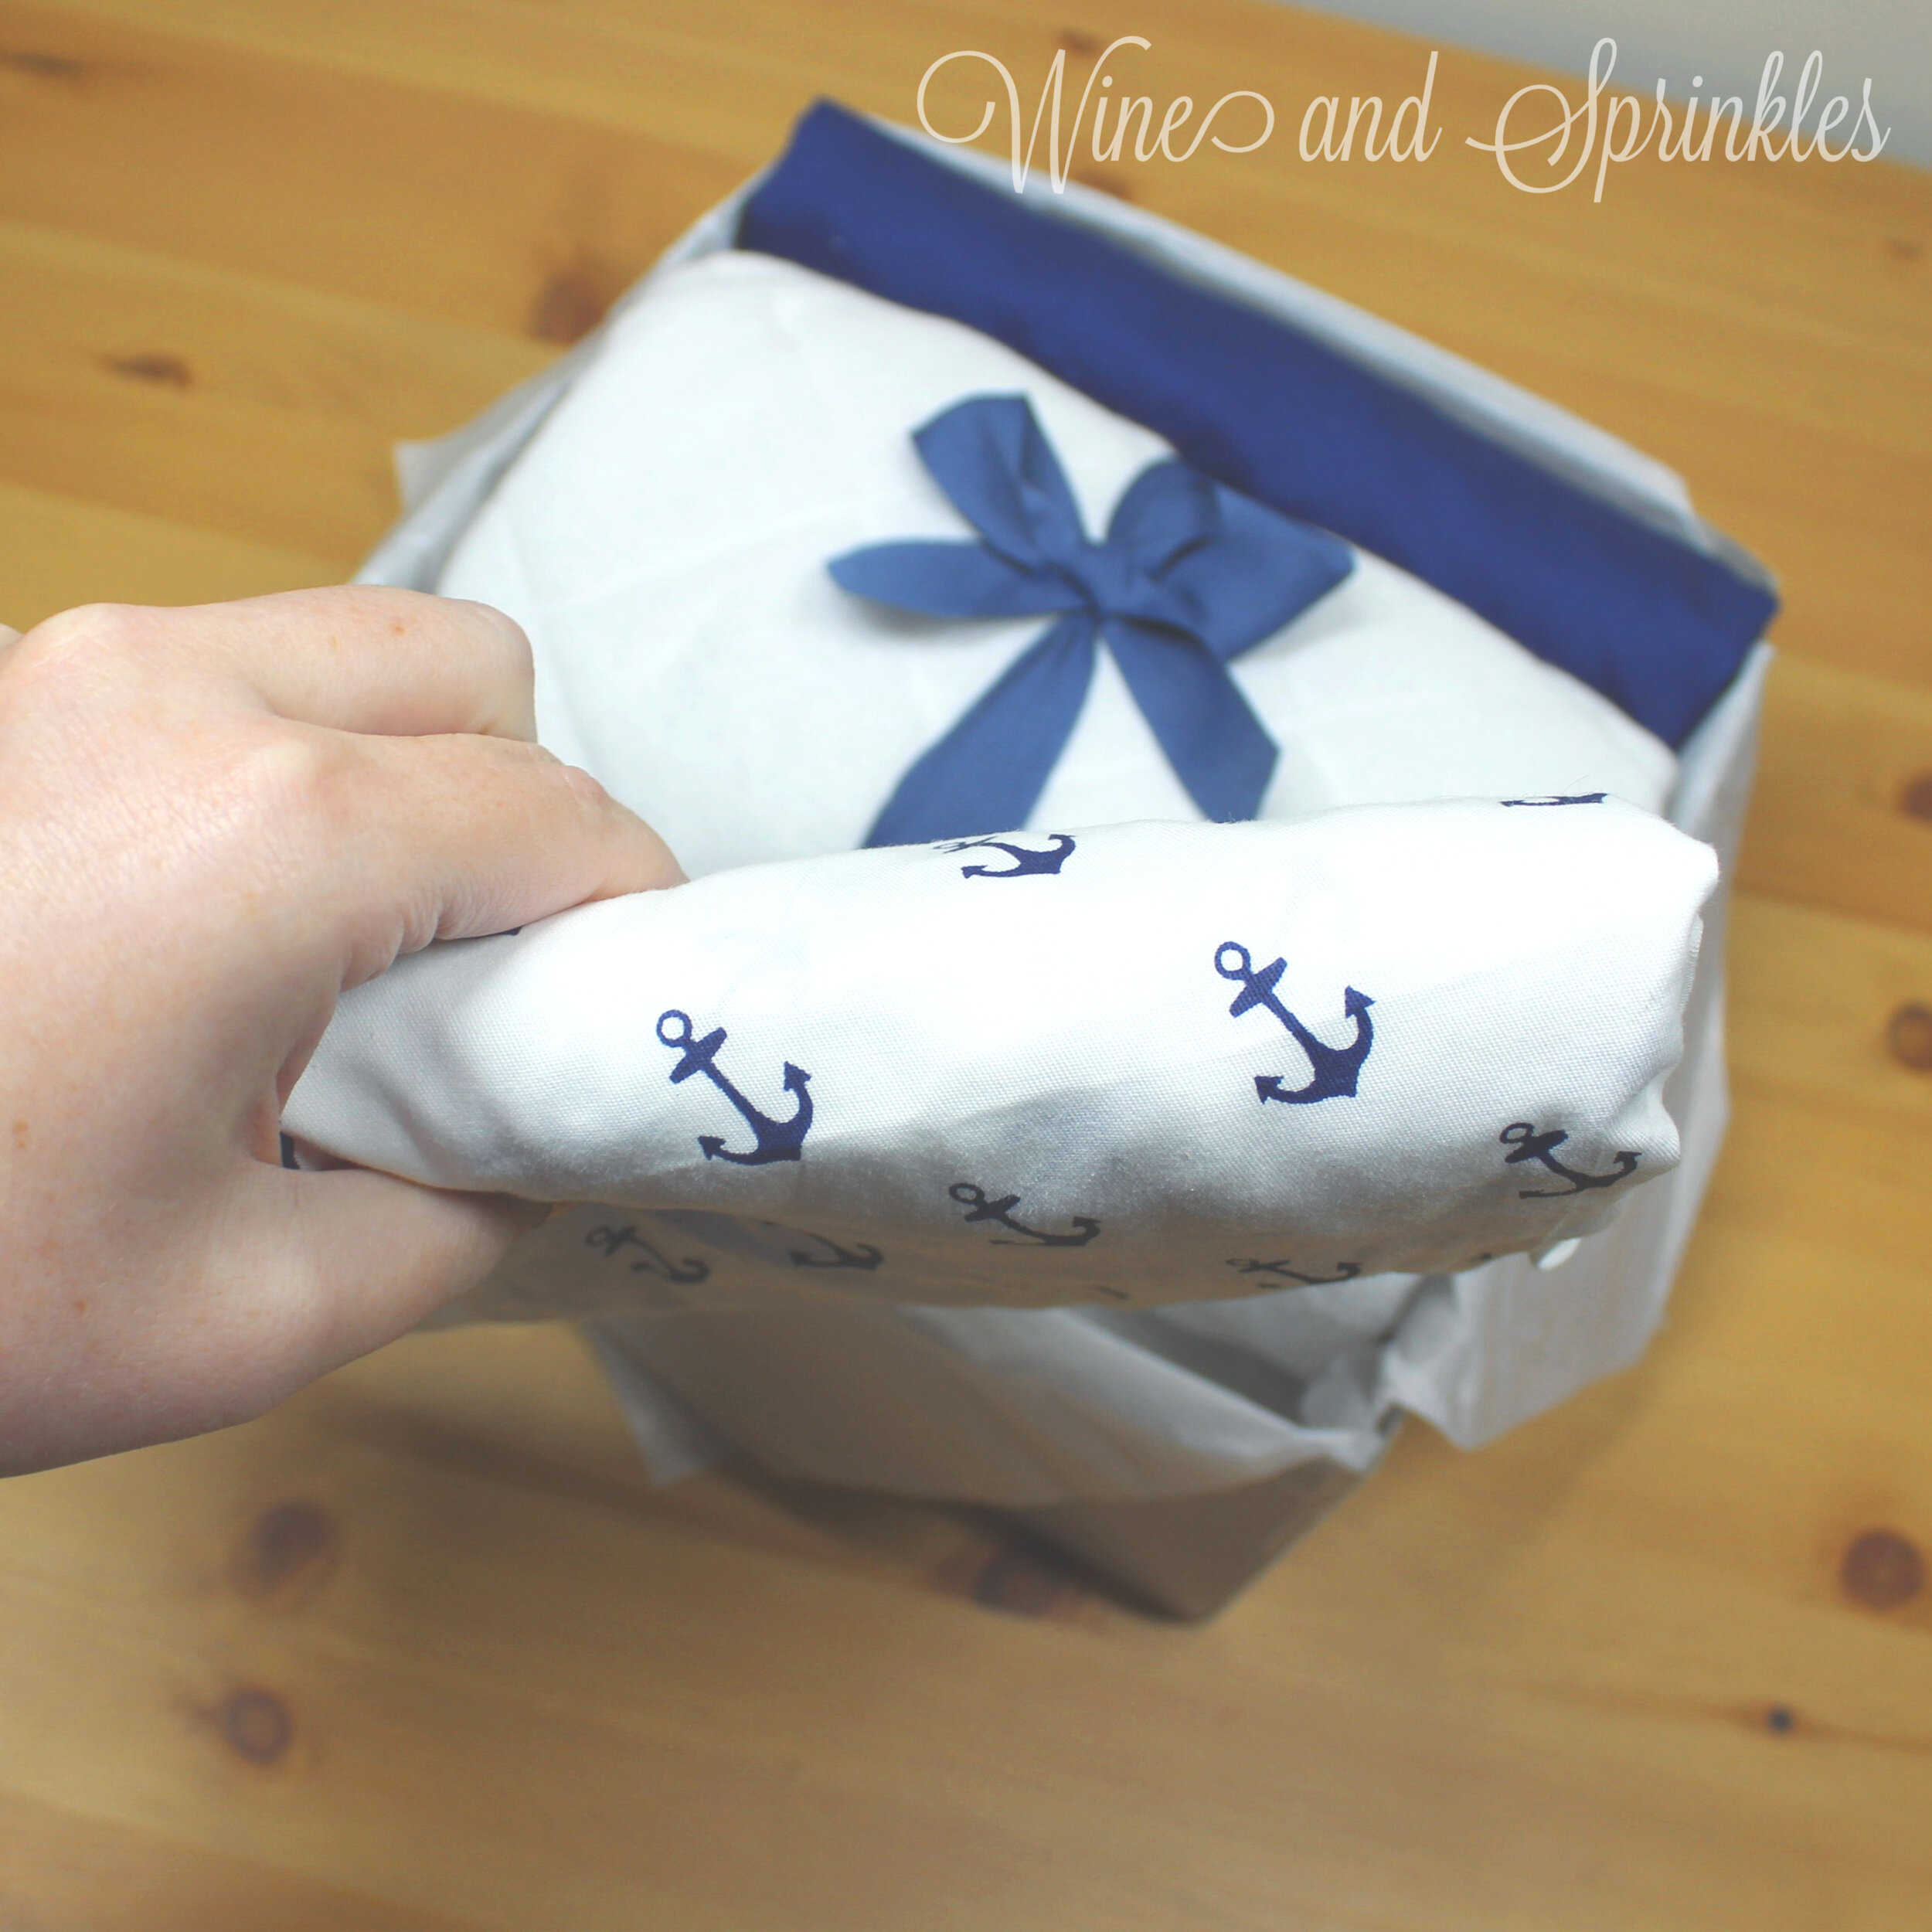
Now you are ready to assemble your bento, which is simple and easy! Start by placing one sheet inside the box along the top edge, and secure it in place with the mattress protector cylinder. Finish the bento by inserting the last sheet under the mattress protector,and top with your box lid and your bento is ready to gift!
Newborn Nap Time Baby Bento Gift Box
This post contains affiliate links, meaning that if you click on a link I will recieve a small comission. This costs you nothing extra and I only promote products I use and love! You can read our full disclosure here
While parents don’t seem to get a lot of sleep with their newborns, their babies sure love to nap! So when designing Baby Bento Boxes, I wanted to include a gift set that was made specifically with baby sleeping essentials in mind. Thus the Newborn Naptime Baby Bento came to be!
This bento includes four Flannel Receiving Blankets, three Sleep Sacks, and two Swaddles so Baby is ready for naps no matter how he or she likes to snooze! I bought my receiving blankets in a Carter’s Clothing outlet, with the sleep sacks coming from their Simple Joys Collection on Amazon, but there are also so many adorable options for 2 Packs and Single Sleeper Gowns on Carter’s Website so I have included them so you have lots of options to pick from! In addition to these, Carter’s also has several Swaddle 2 Packs if you are looking for other options than the ones I found on Amazon in those adorable Carter’s baby prints!
For these and other Baby Gift Box Bentos, I used a 10 inch square box to house our gifts and it was the perfect size for this Naptime Bento! Make sure to check your local stores for these, I found mine at the local Walmart in their gift section but I have also linked a similar product that you can purchase online.
These boxes are also great as mail-able presents for if you cannot visit your mama to be but still want to send a personal and thoughtful gift. Regardless of if you are mailing or giving in person, I encourage you to stuff the top of your box with tissue paper so that items don’t move around while shipping or wrapping, plus it makes it a fun presentation removing the tissue paper to a lovely organized baby gift!
Supplies:
- Flannel Receiving Blanket 4 Pack
- Newborn Cotton Sleeper Gown 3 Pack
- Newborn Swaddle 2 Pack
- Square Gift Box
- Tissue Paper (Optional)
For this bento, I started by folding the Sleeper Gowns, followed by the Swaddles, then the Receiving Blankets. After all the pieces were folded I assembled the gift box and packed it, but it is useful to have it while you fold to make sure that the pieces will fit without leaving gaps.
FOLDING SLEEPER GOWNS
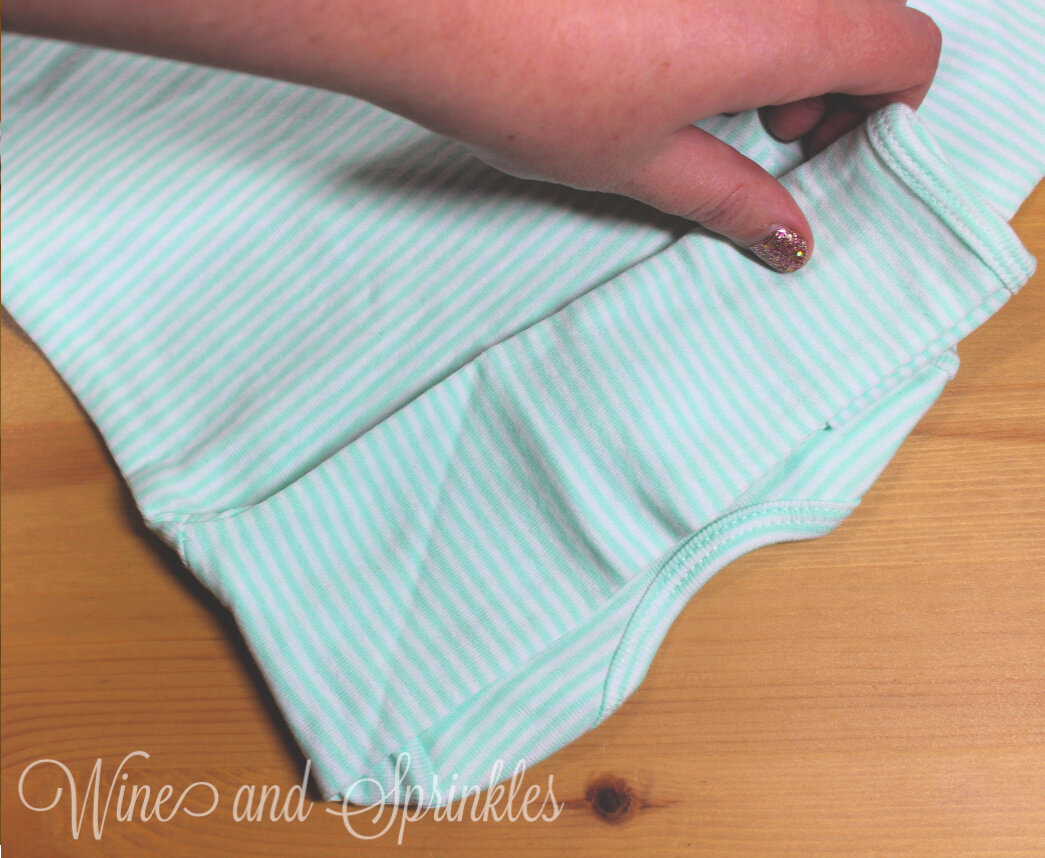
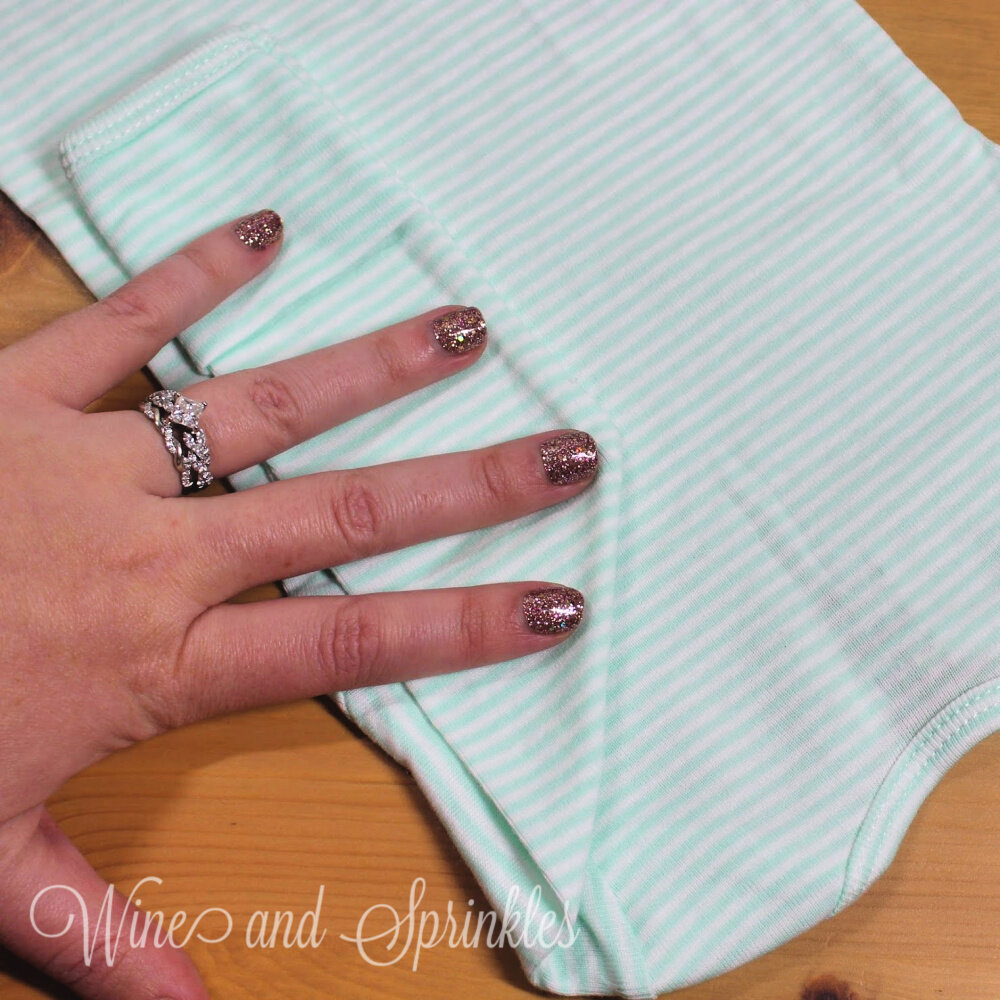
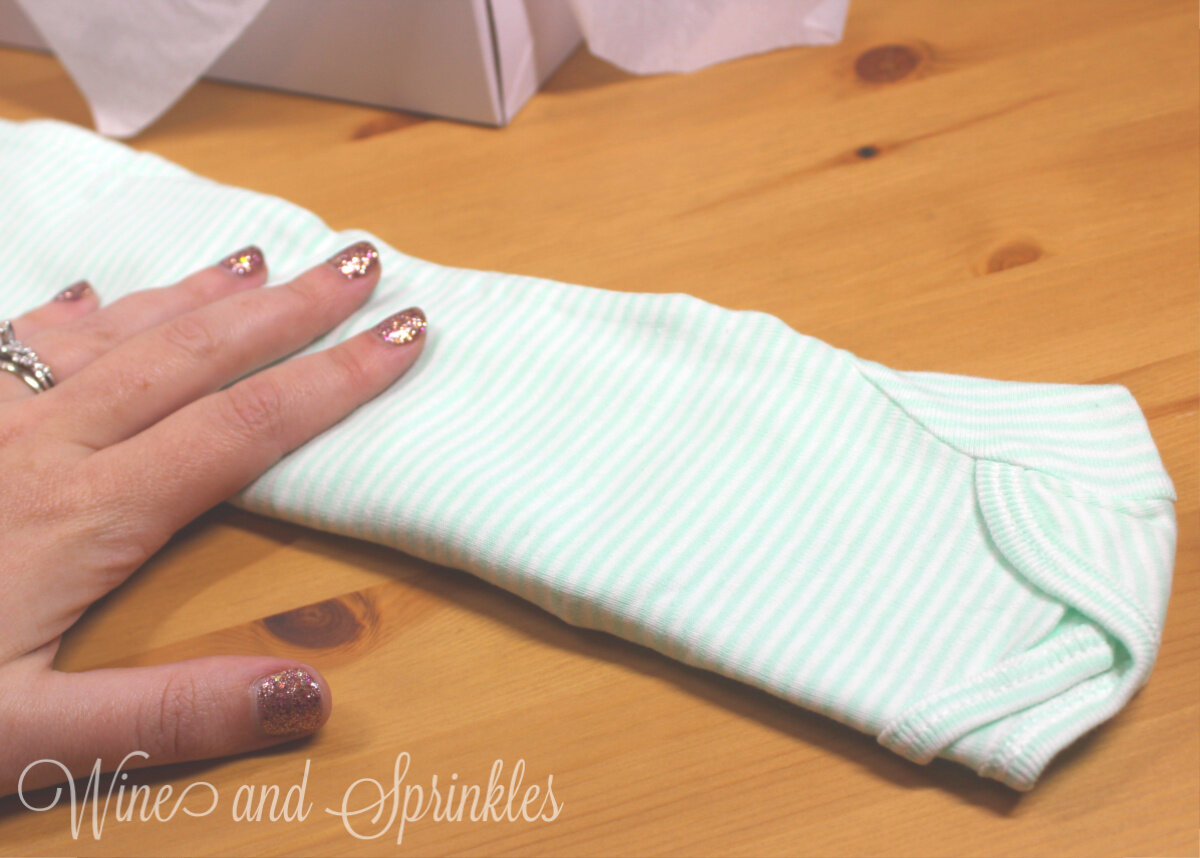
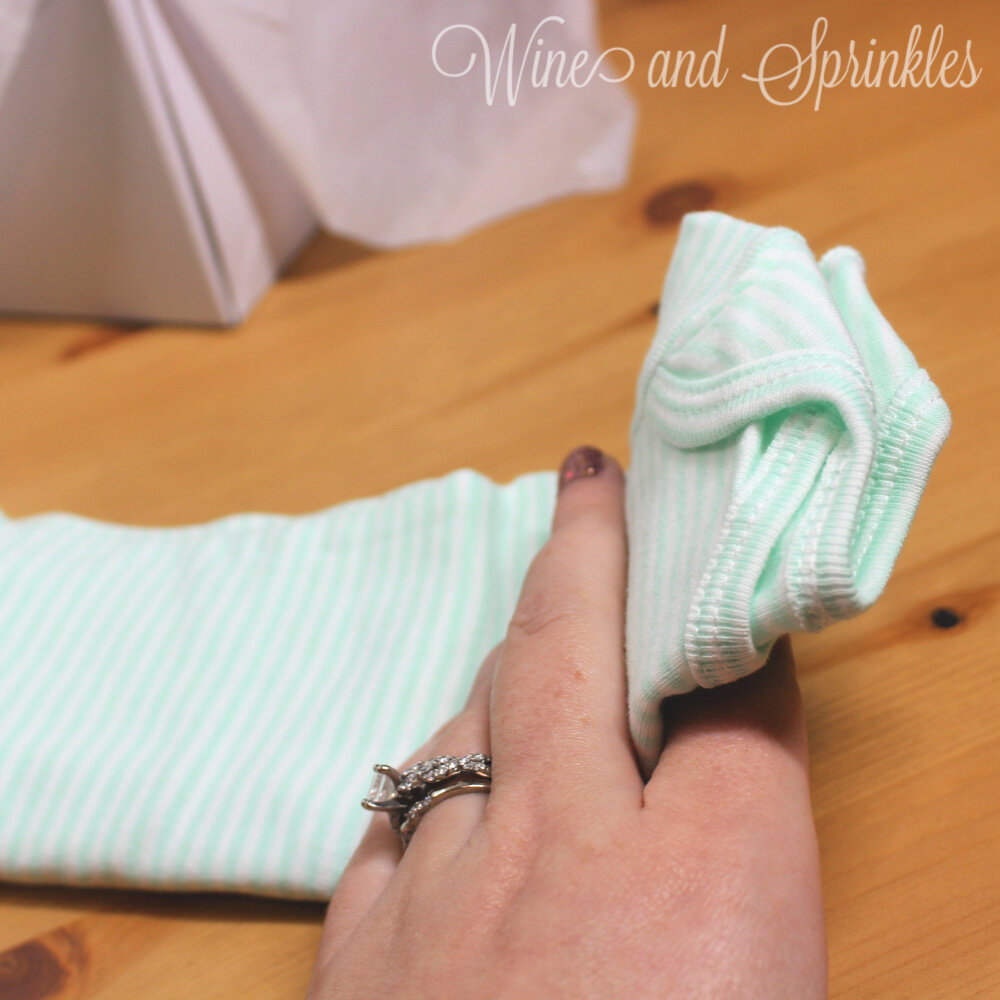
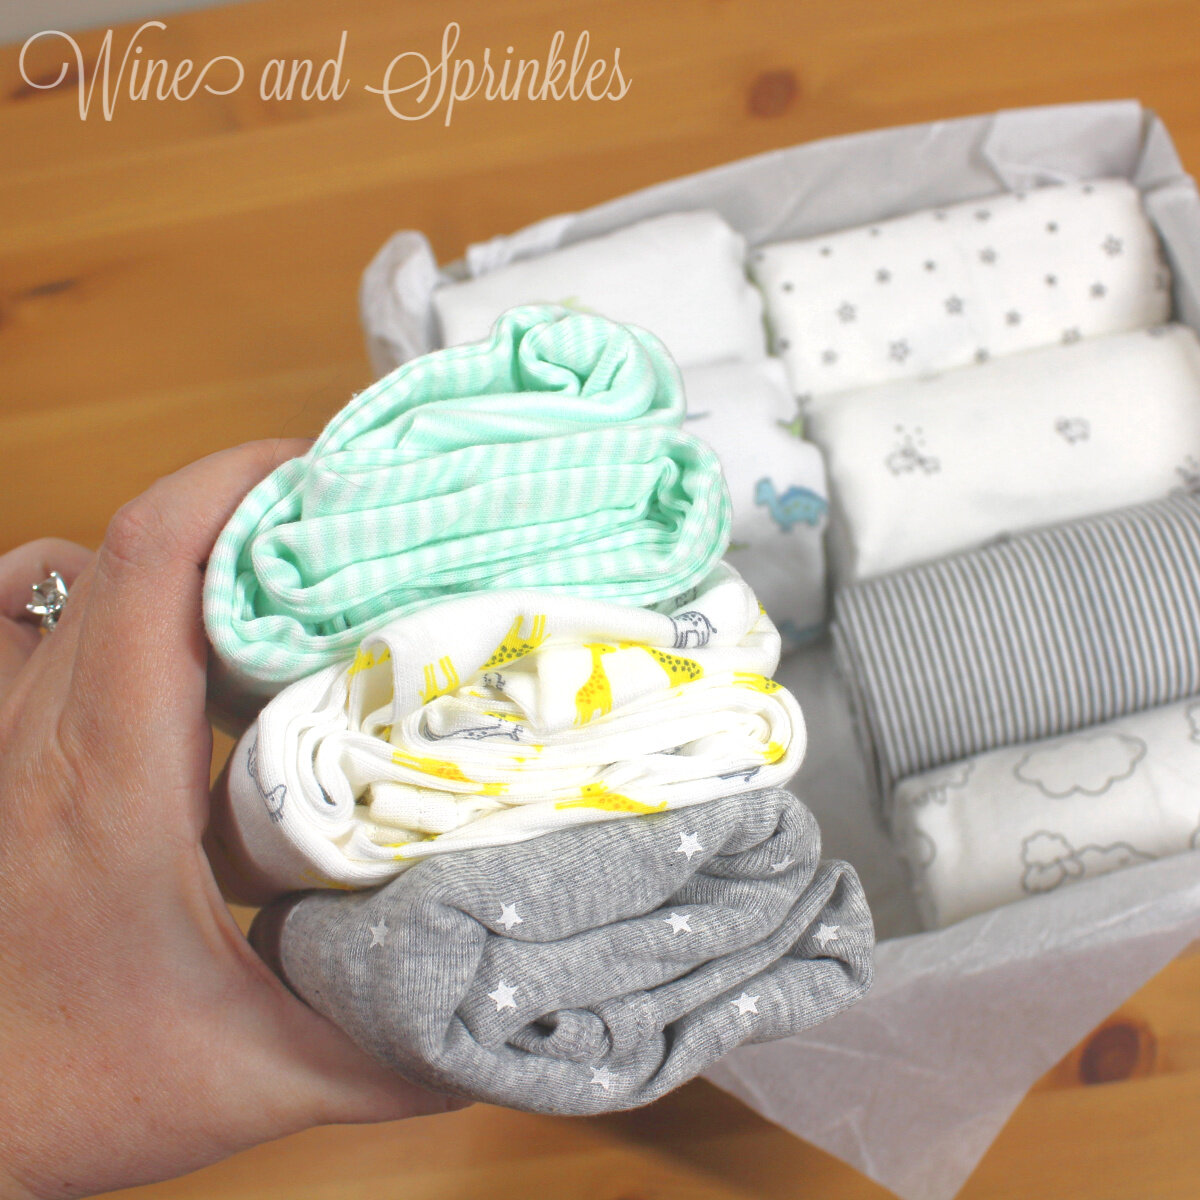
Start with your sleeper gown face down. Fold each arm across the body, then fold back so that it runs parallel with the side of the garment. Then, fold up the bottom of the gown to meet the cuffs of the arms, as shown in the photos to the left.
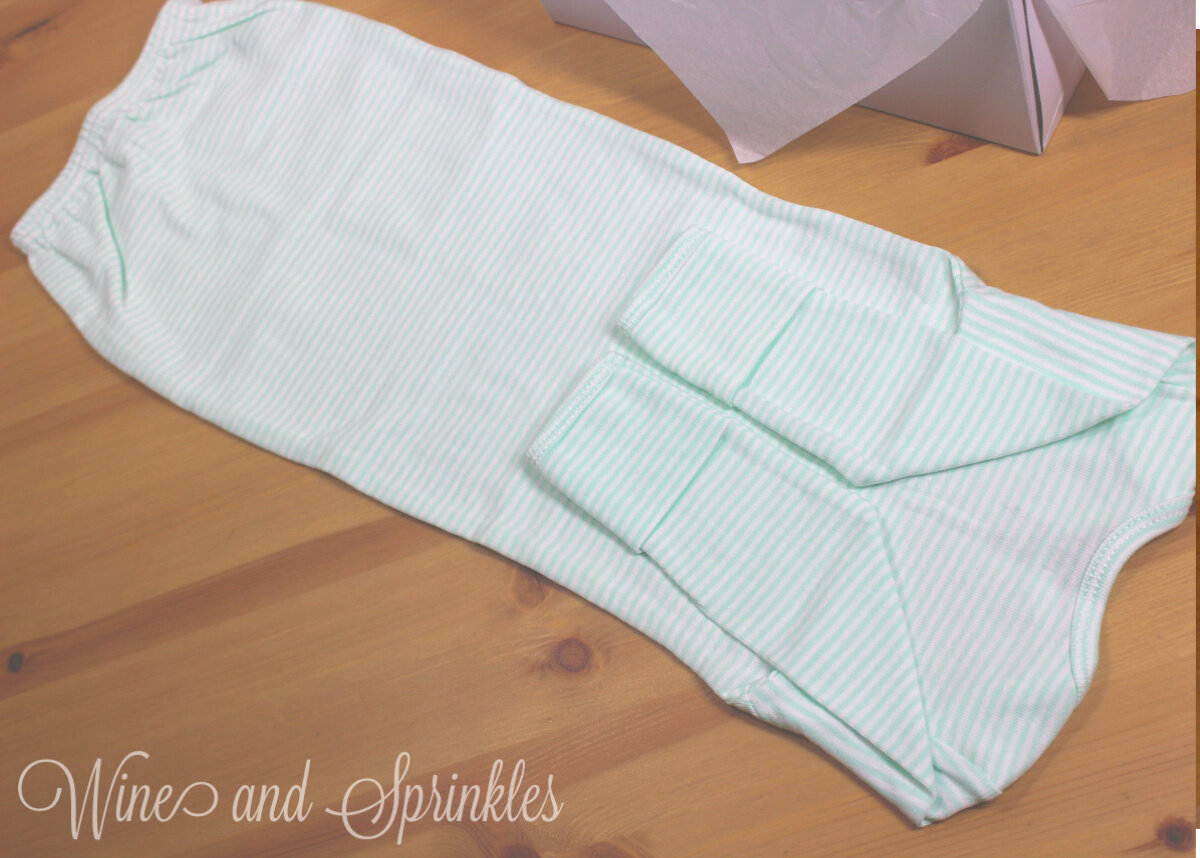
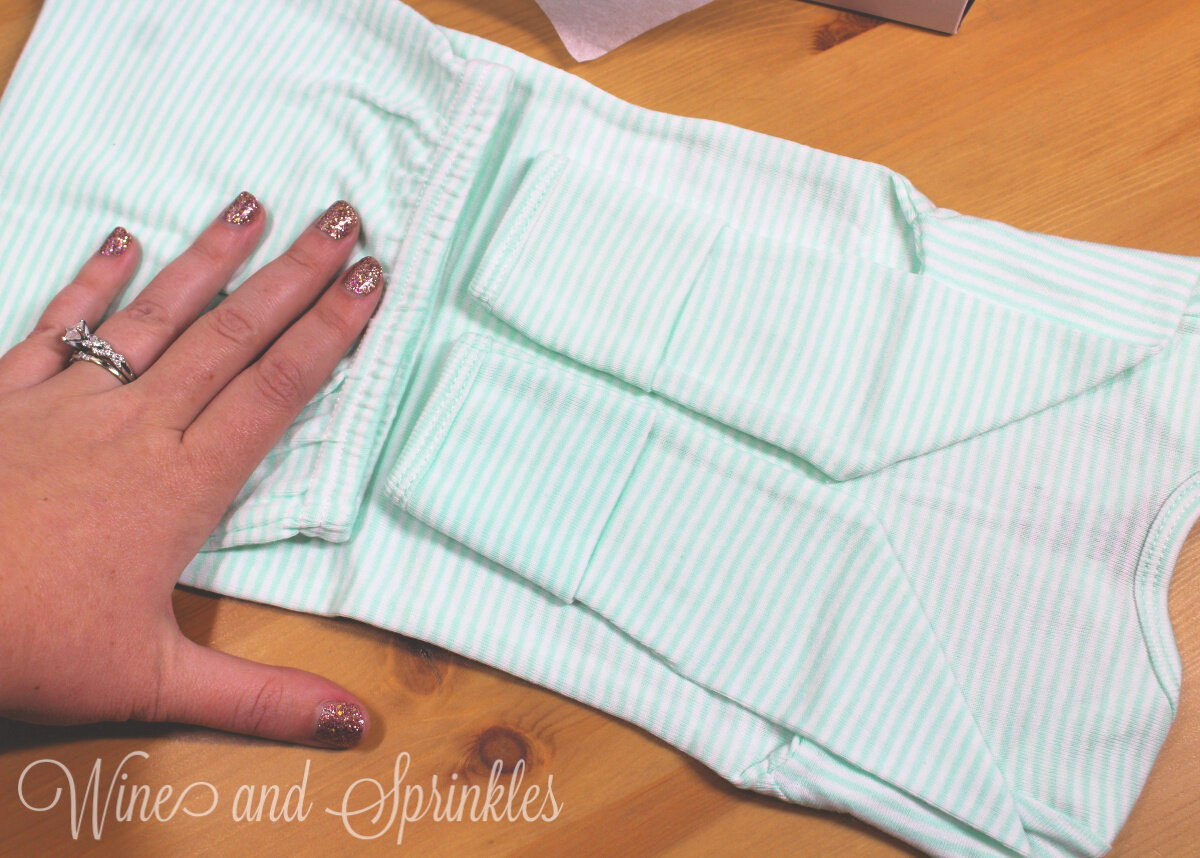
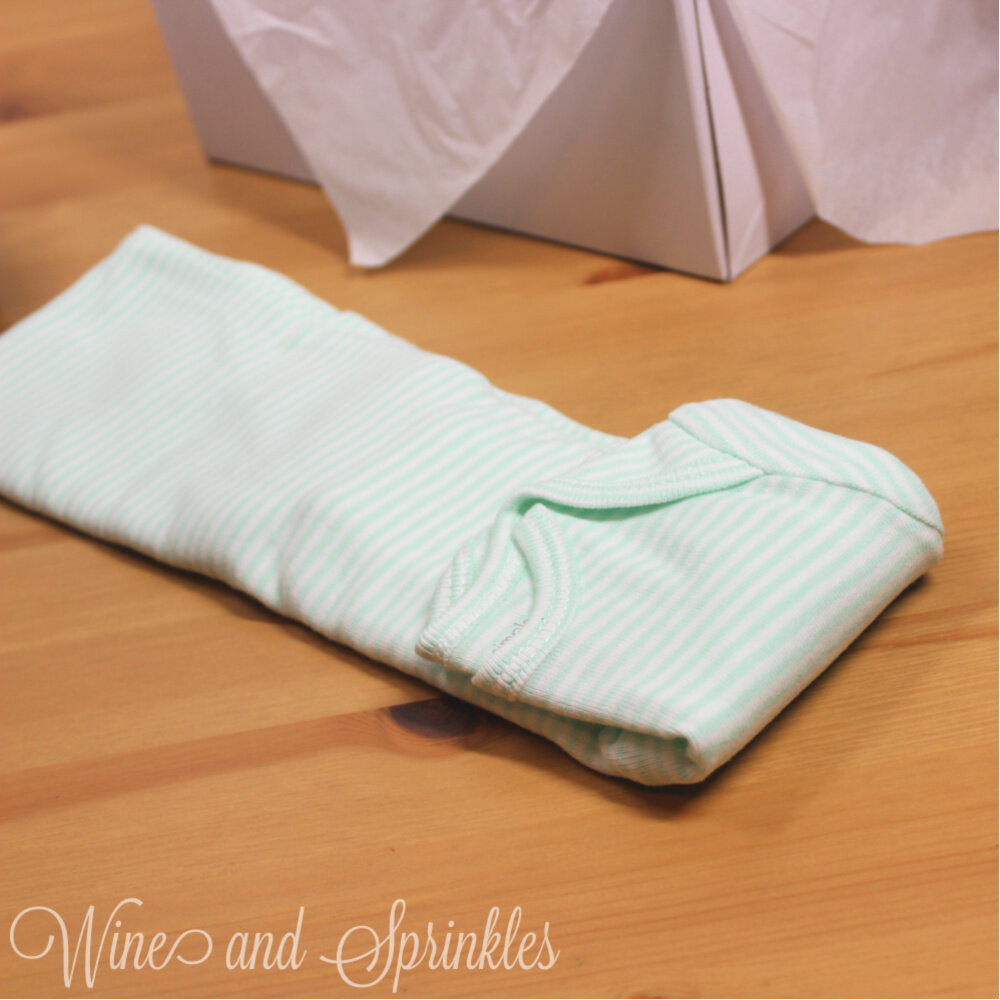
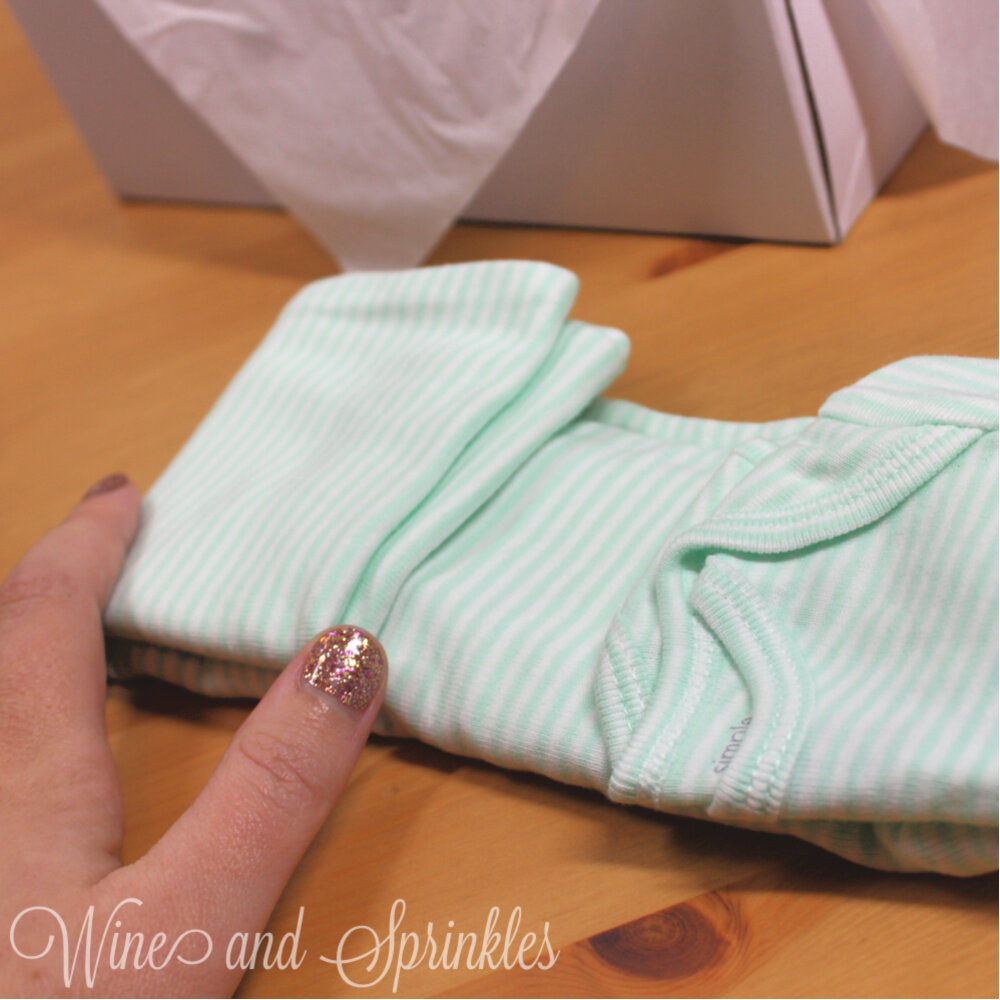
Fold the gown in half lengthwise with the arms and bottom inside the fold creating a long rectangle. Next, fold up the top and bottom of the gown to meet in the middle of the rectangle, leaving room between them as shown in the photos below.
3. Finally, fold the top half over the bottom half, creating a small almost square packet. Repeat the process with the remaining two sleeper gowns.
FOLDING SWADDLES
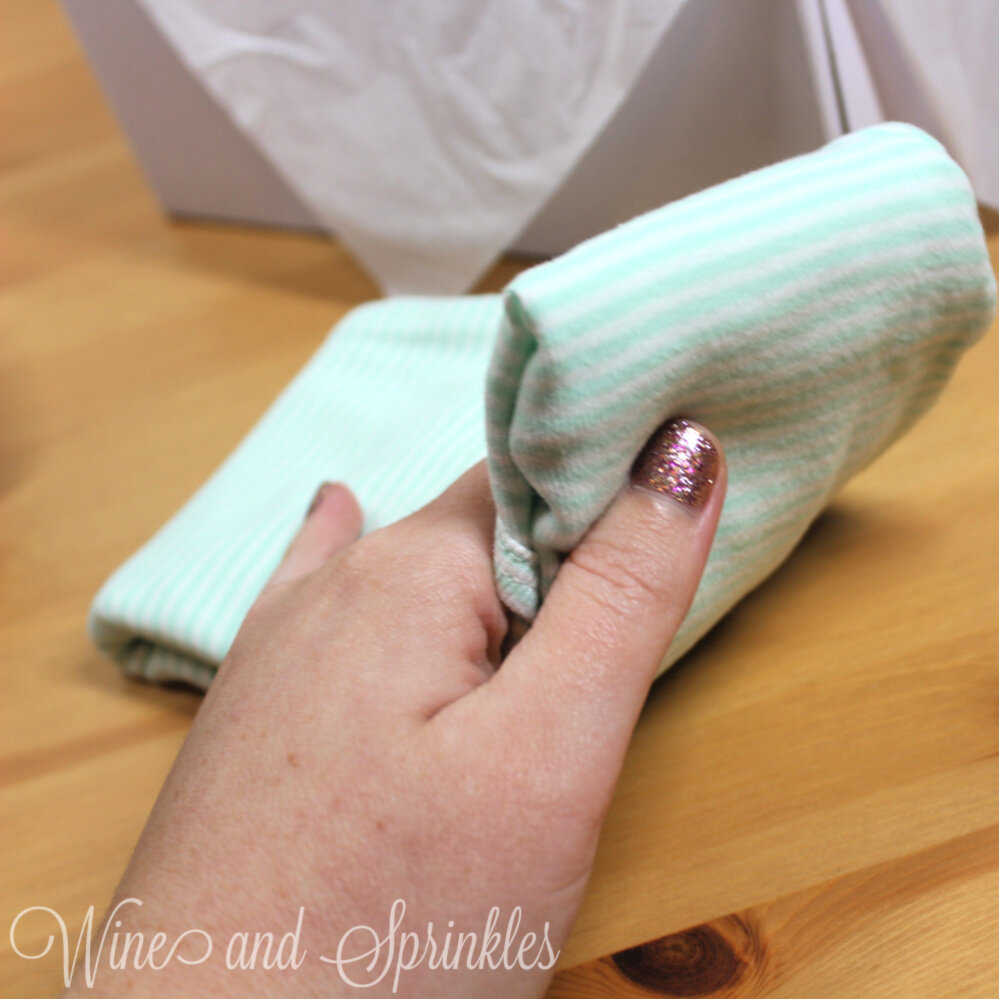
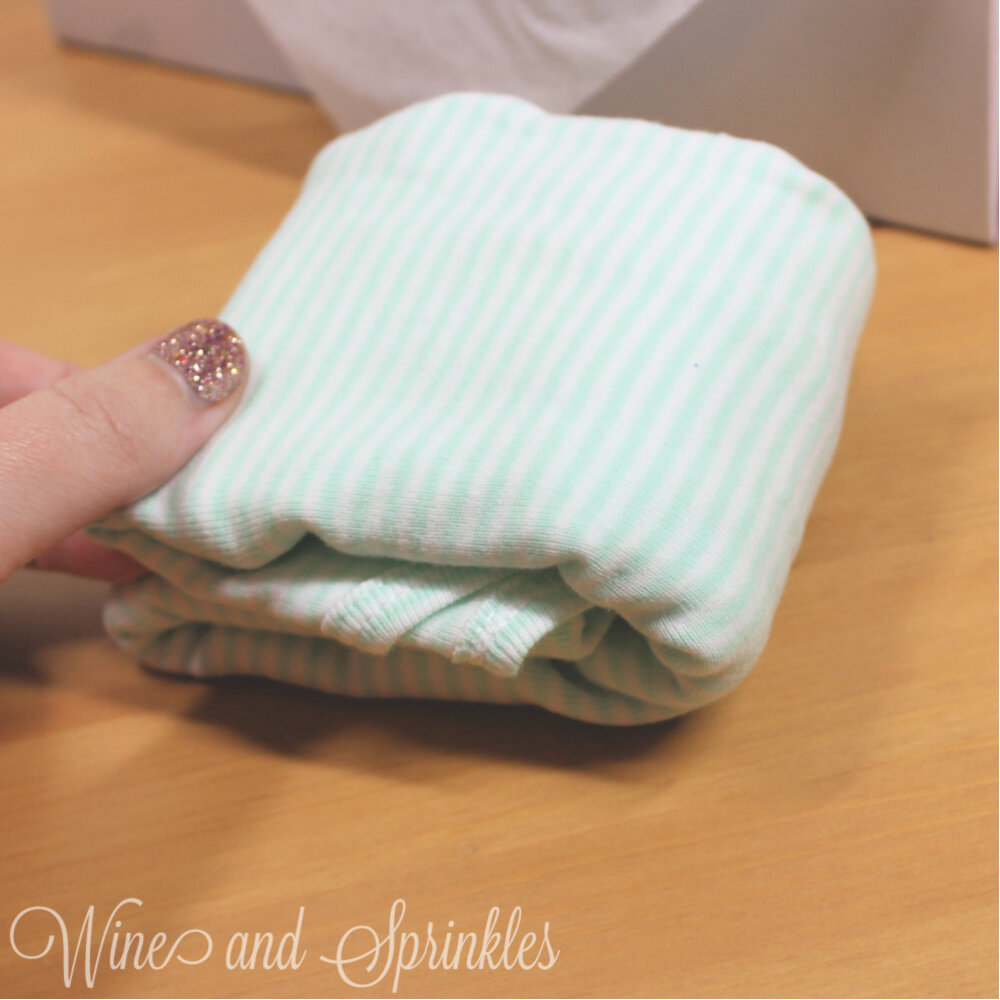
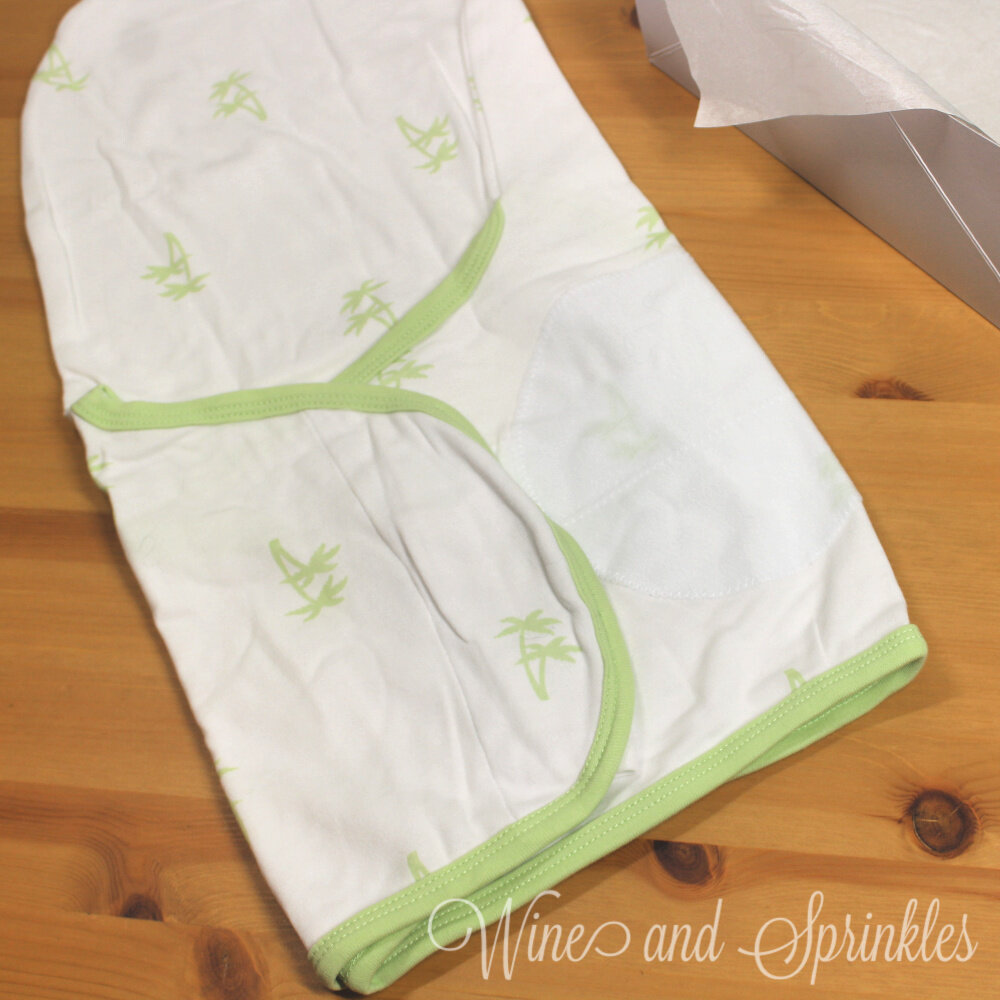
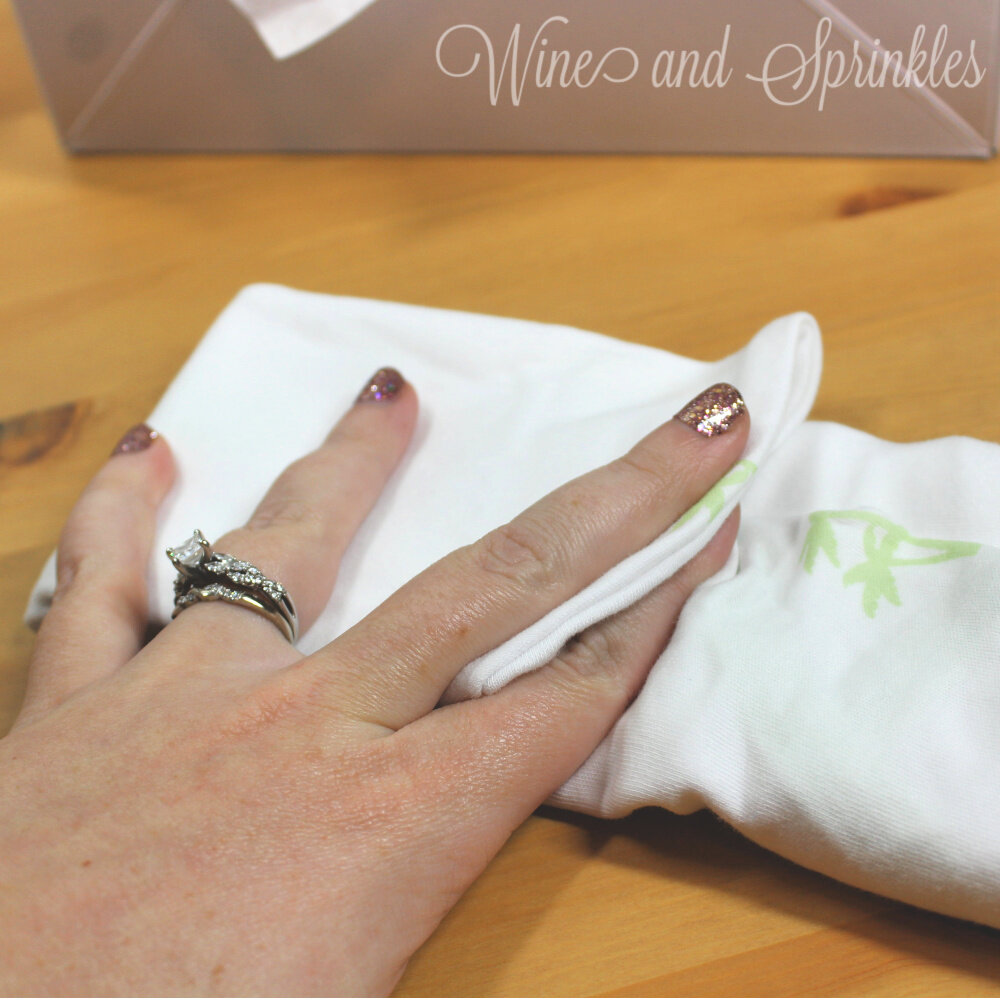
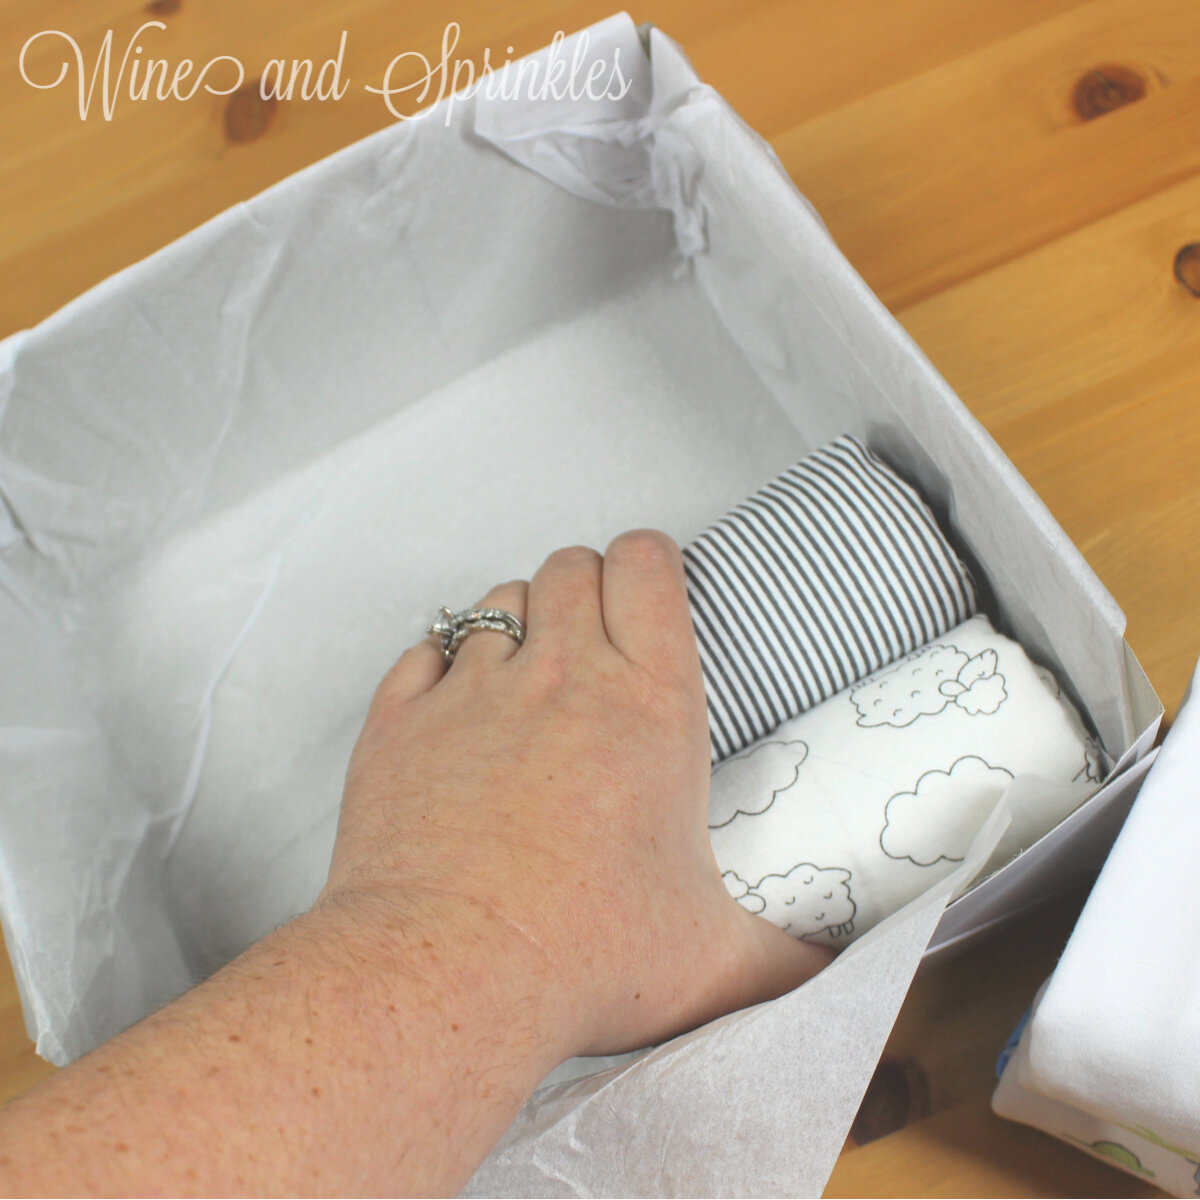
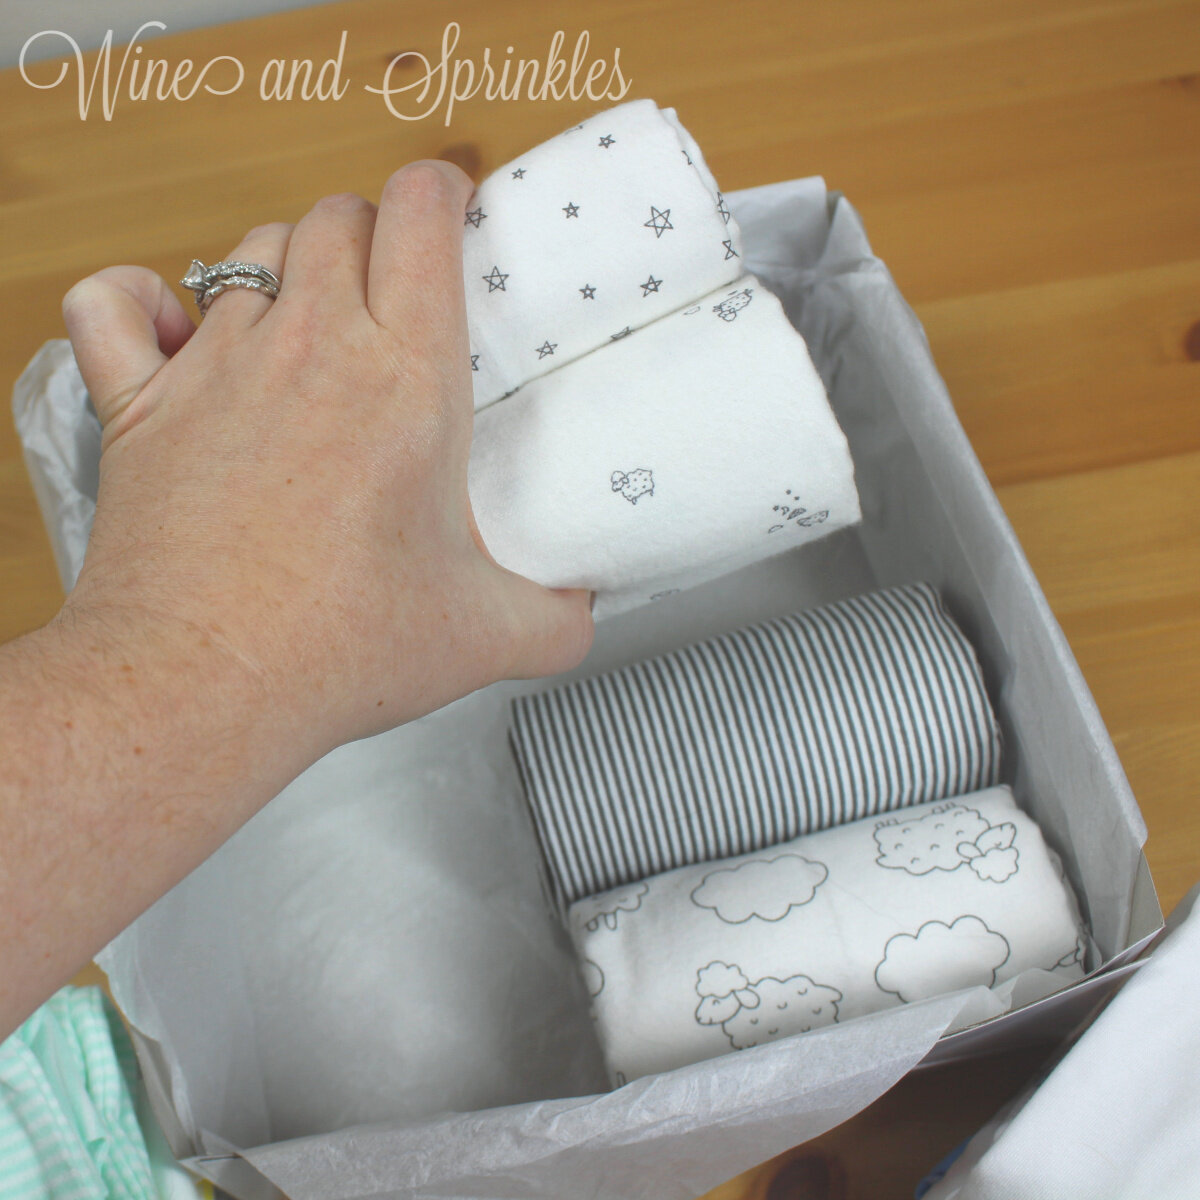
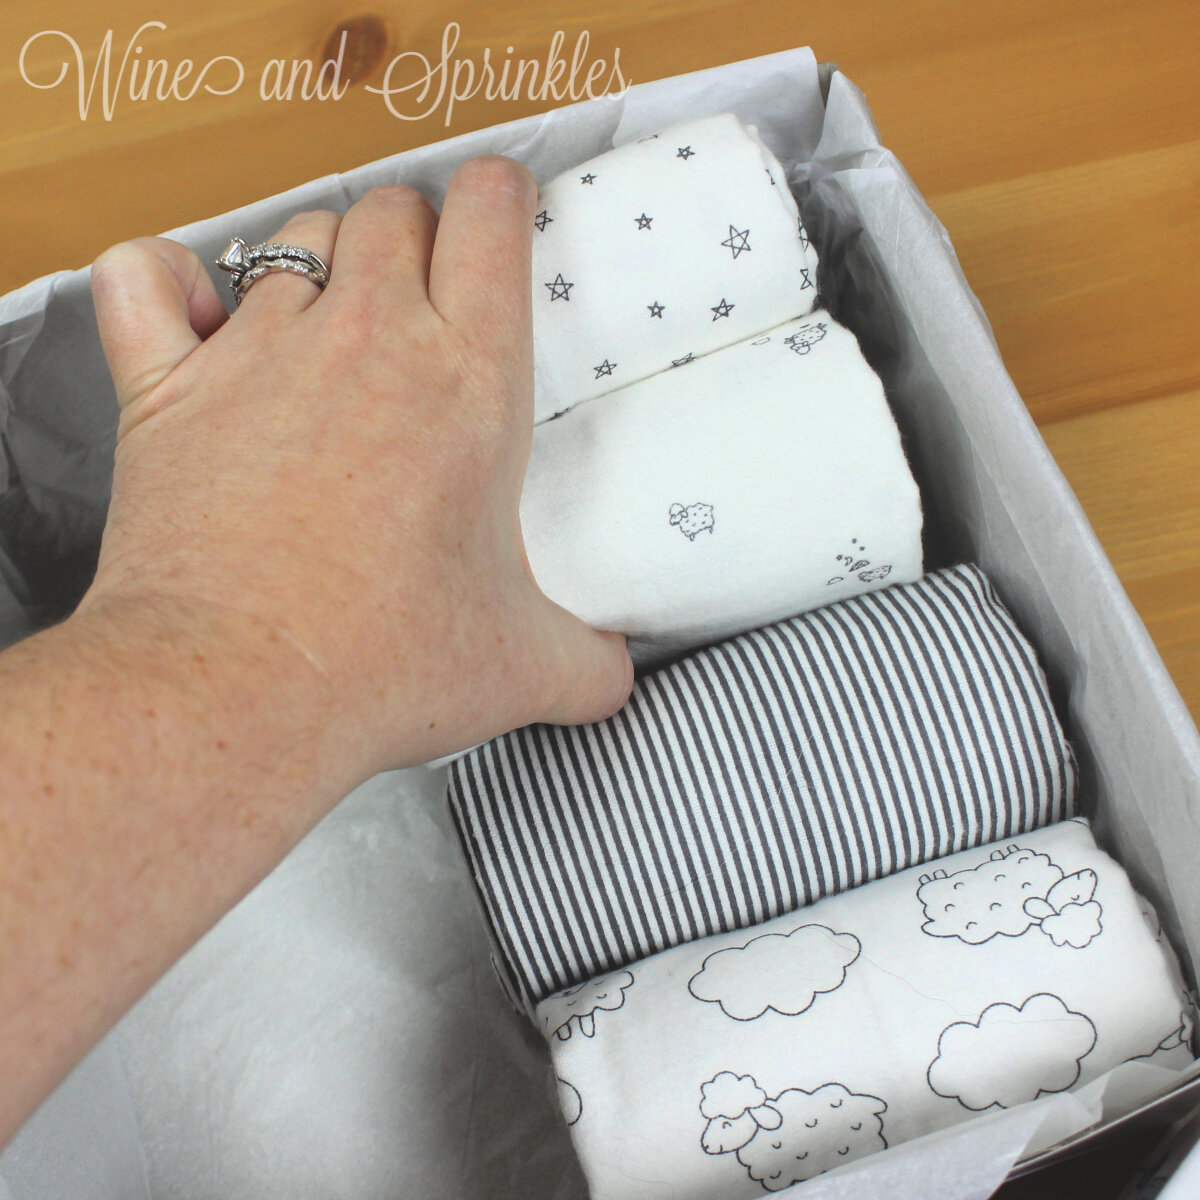
1. Start with your swaddle face up, then fold it into thirds lengthwise, as shown in the photos. It is less important to make the folds perfect thirds and more important to make them the same width as the sleeper onesie packets.
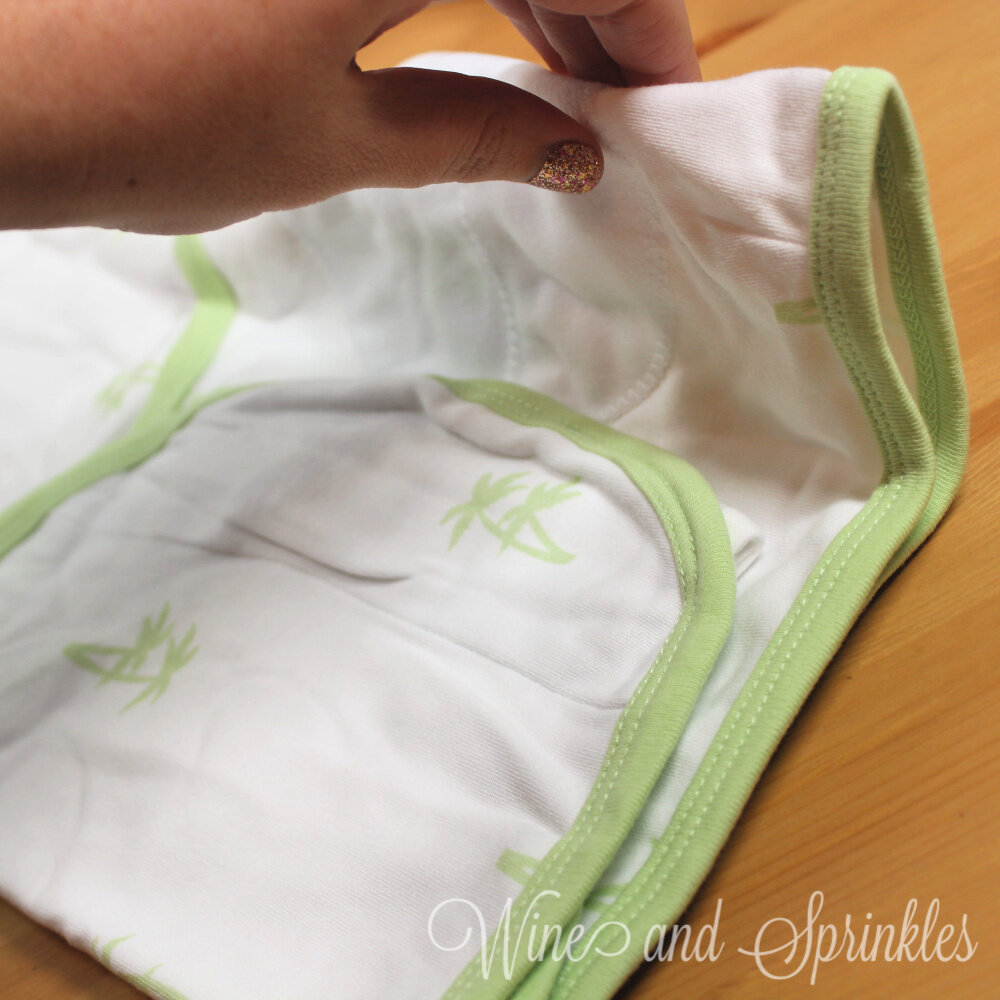
2. Next, fold the bottom of the swaddle up to meet the bottom of the wings of the swaddle. You’ll notice the bottom of the folded swaddle rectangle is less bulky than the top, so the bottom of the swaddle should be flush with where this bulkiness starts.
3. Fold the top of the swaddle over to meet in the middle of the rectangle, then fold over once more to make a rectangular packet similar to the sleeper gowns. Repeat with the remaining swaddle.
FOLDING RECEIVING BLANKETS
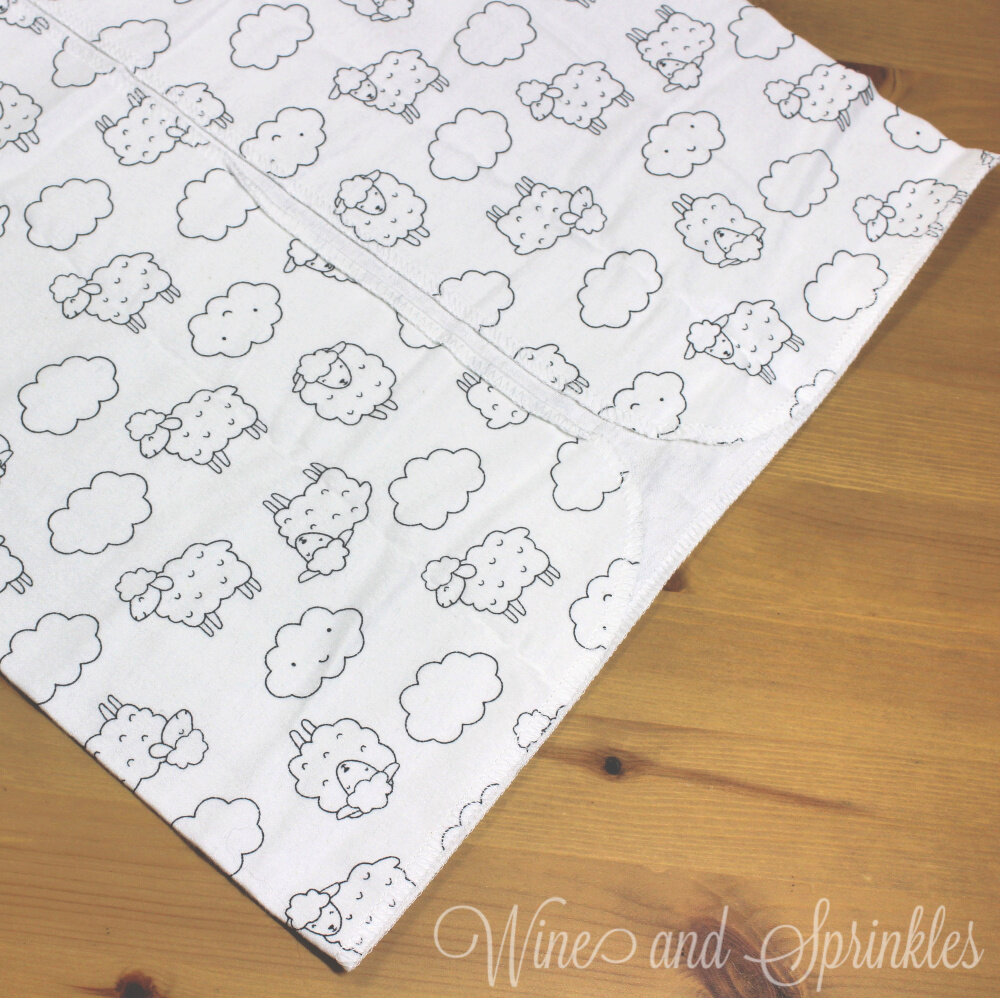
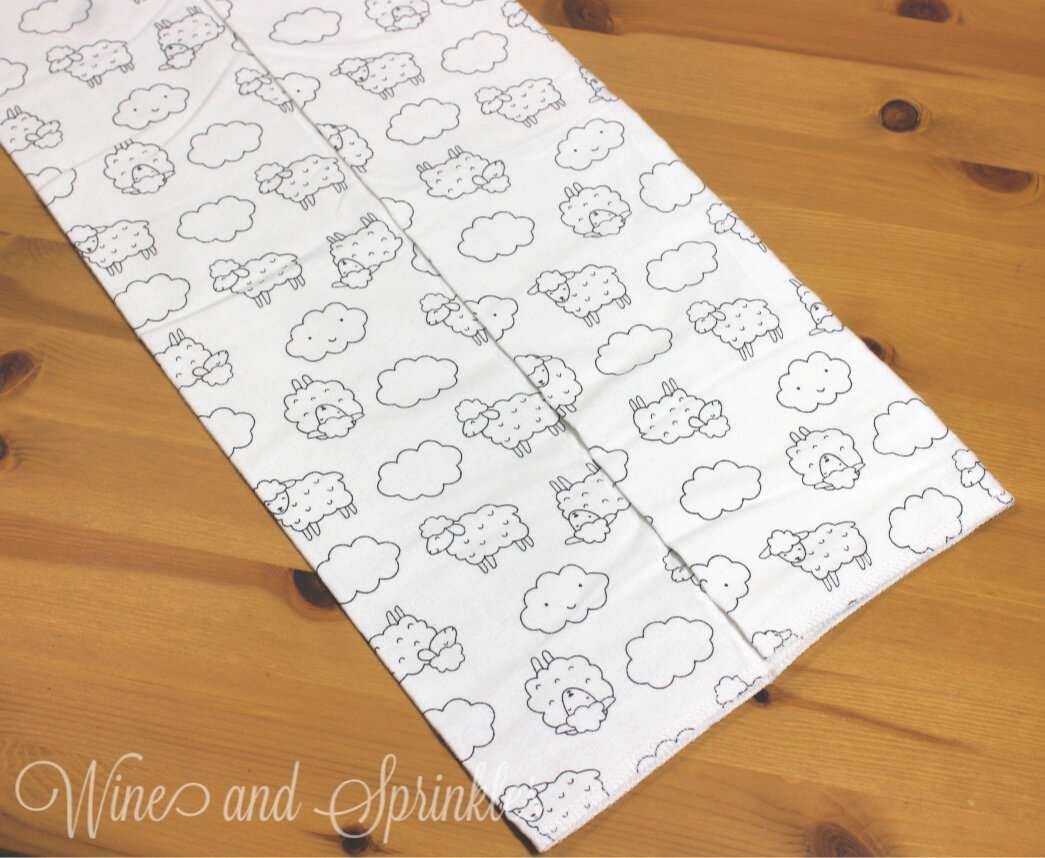
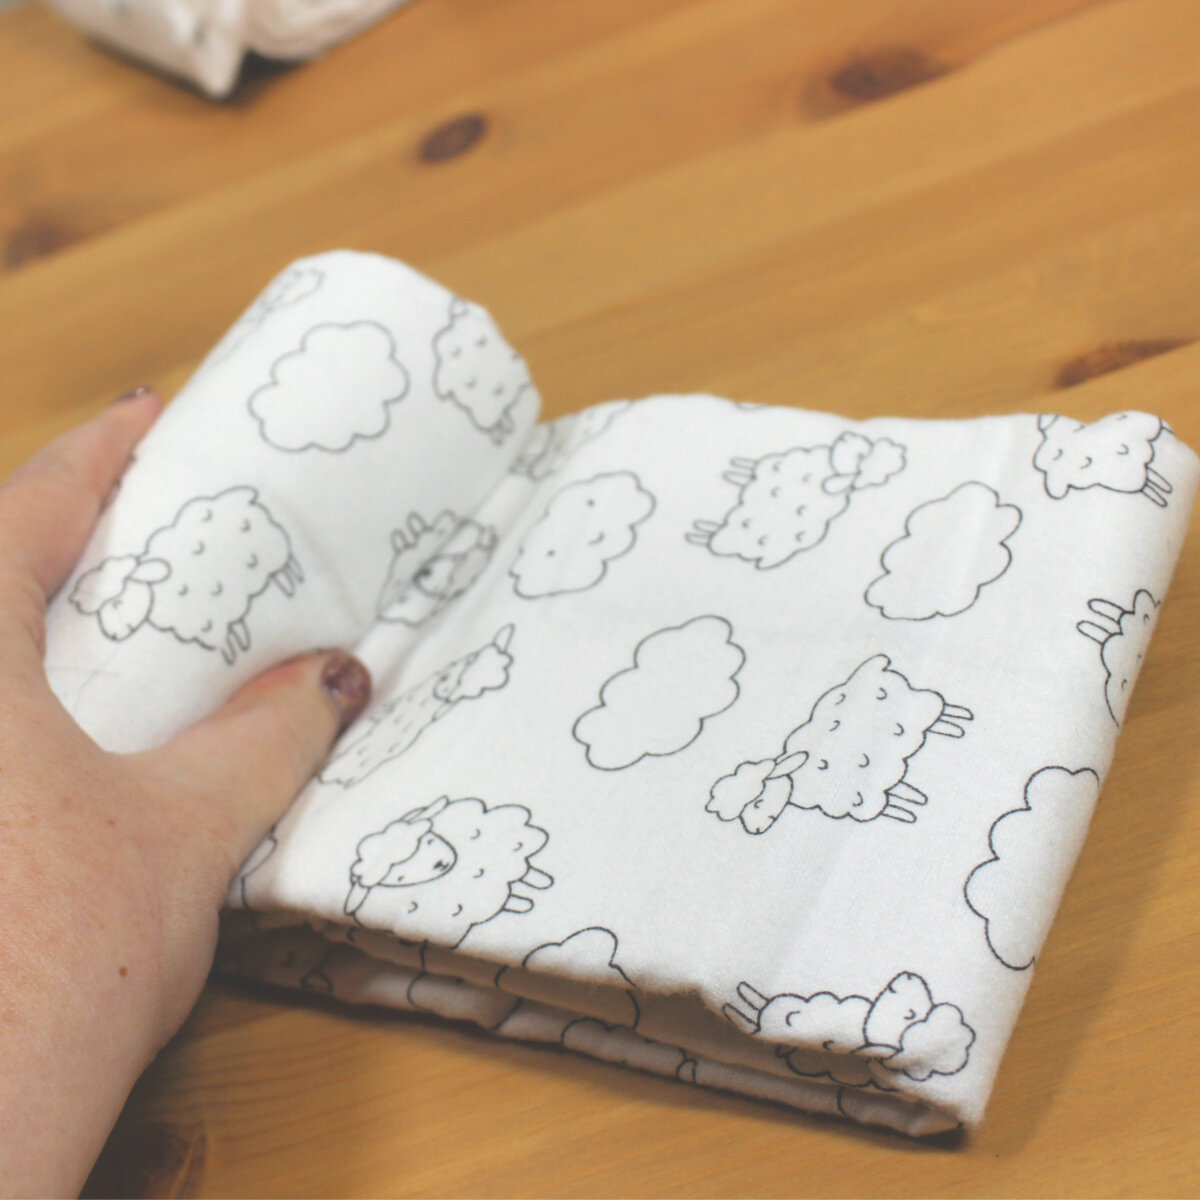
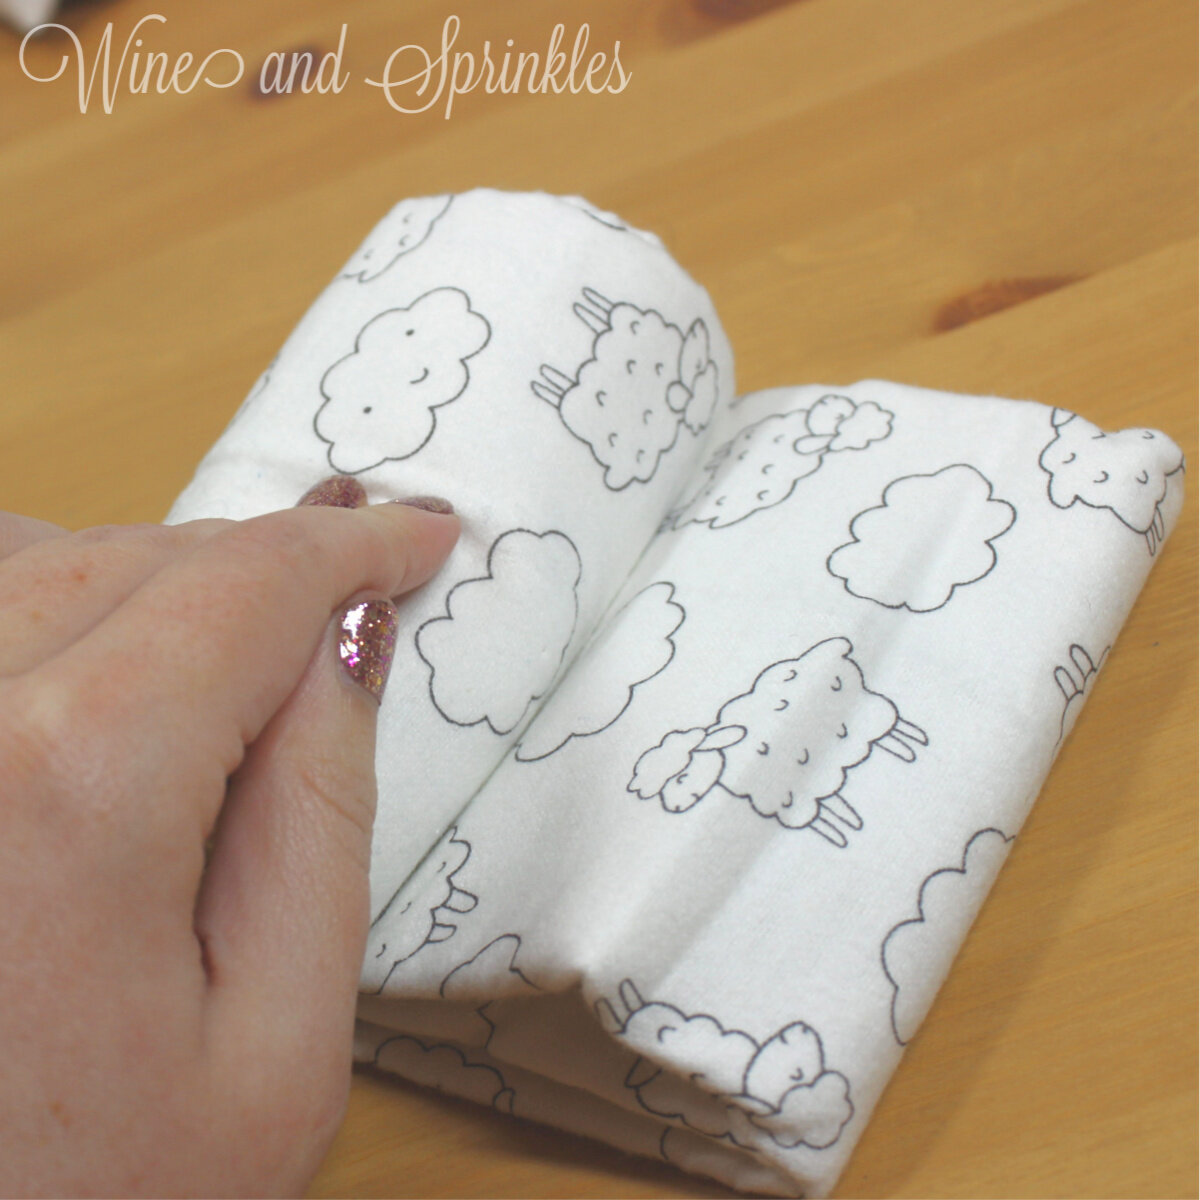
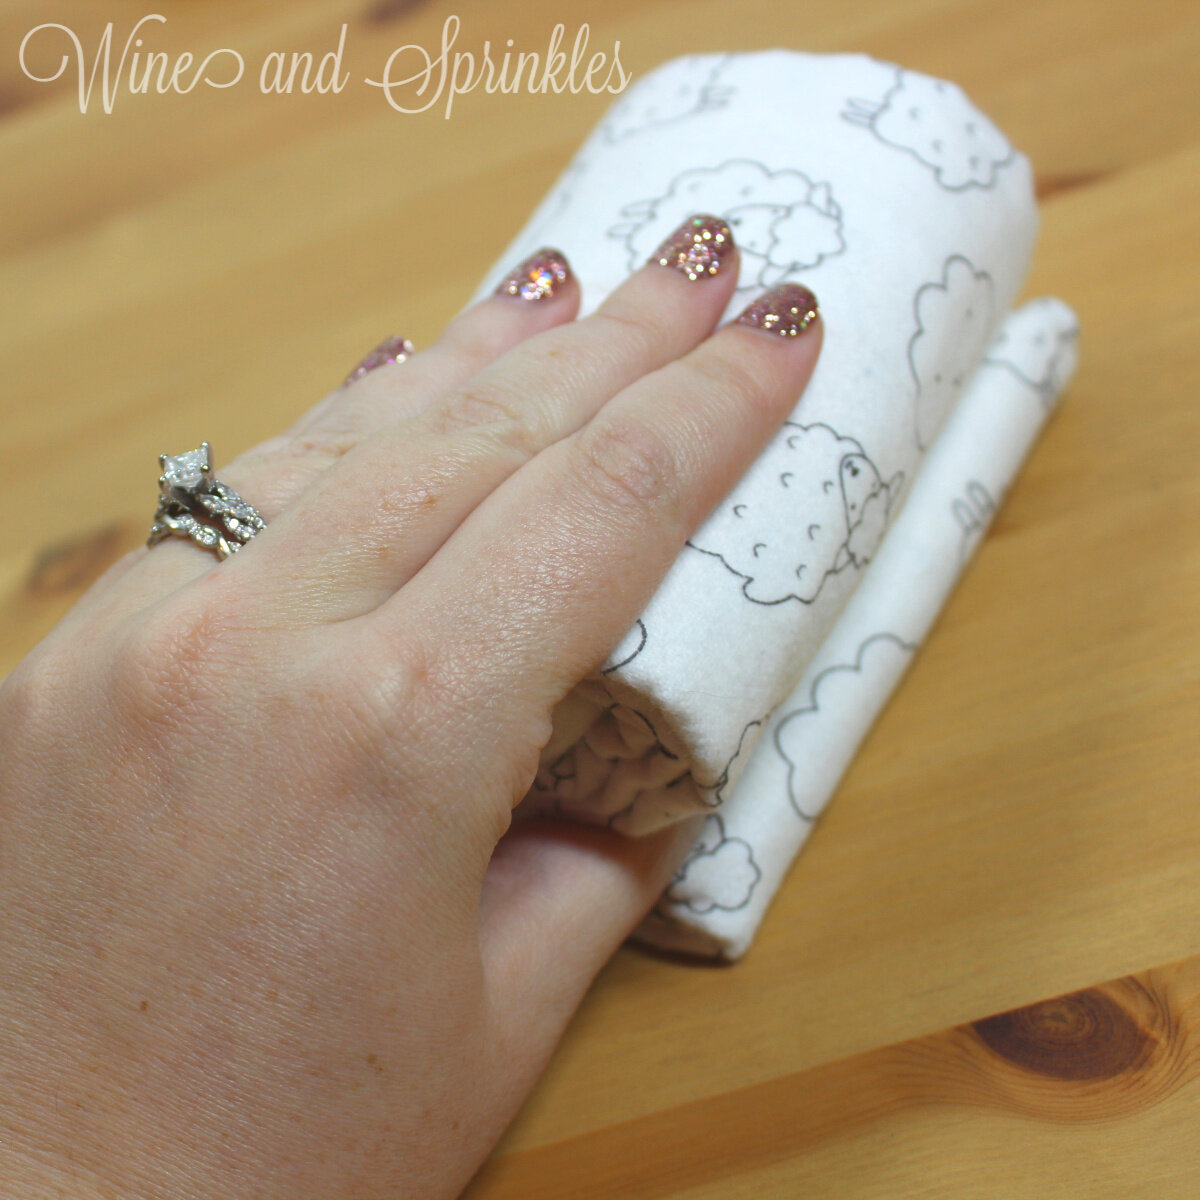
1. Start with your receiving blanket face down on the table. Then fold in both sides to meet in the middle, as shown in the photos. Fold over once more, creating a long rectangle that is about half the width of your gift box.
2. Next, fold the blanket into thirds widthwise, creating a smaller rectangular packet to roll.Its not necessary for the ends to align perfectly, but more important that the rectangle is the same thickness throughout.
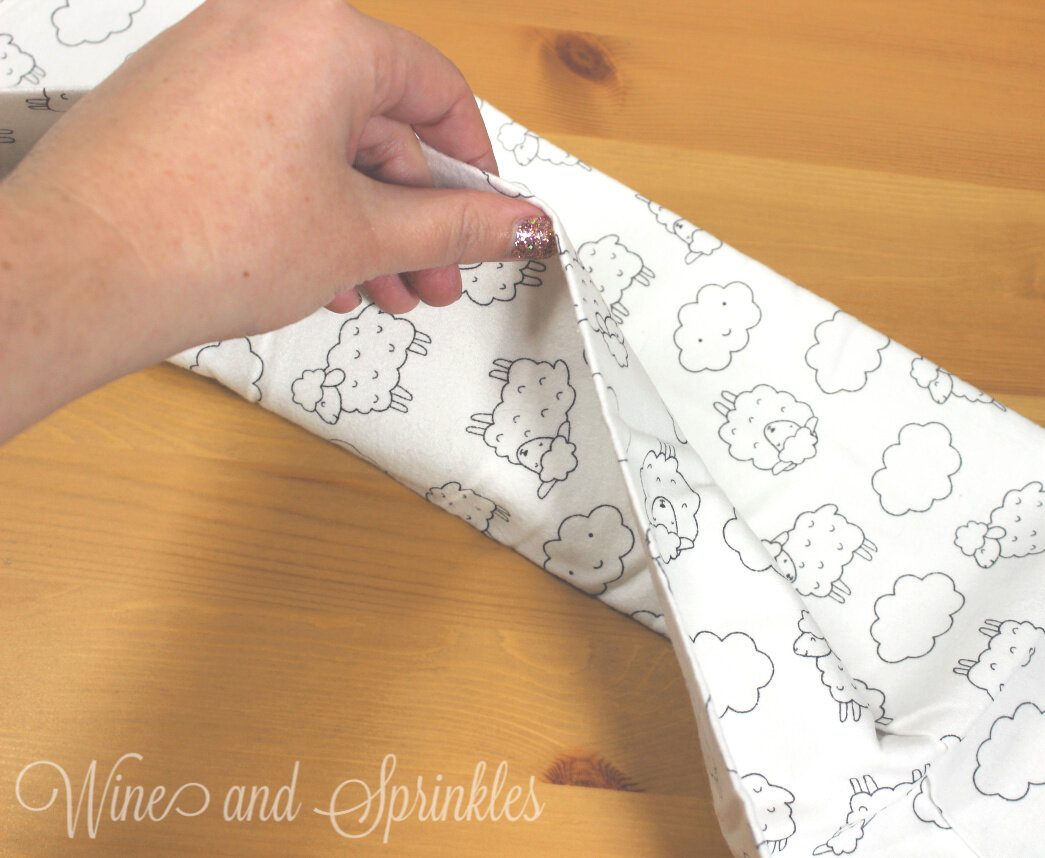
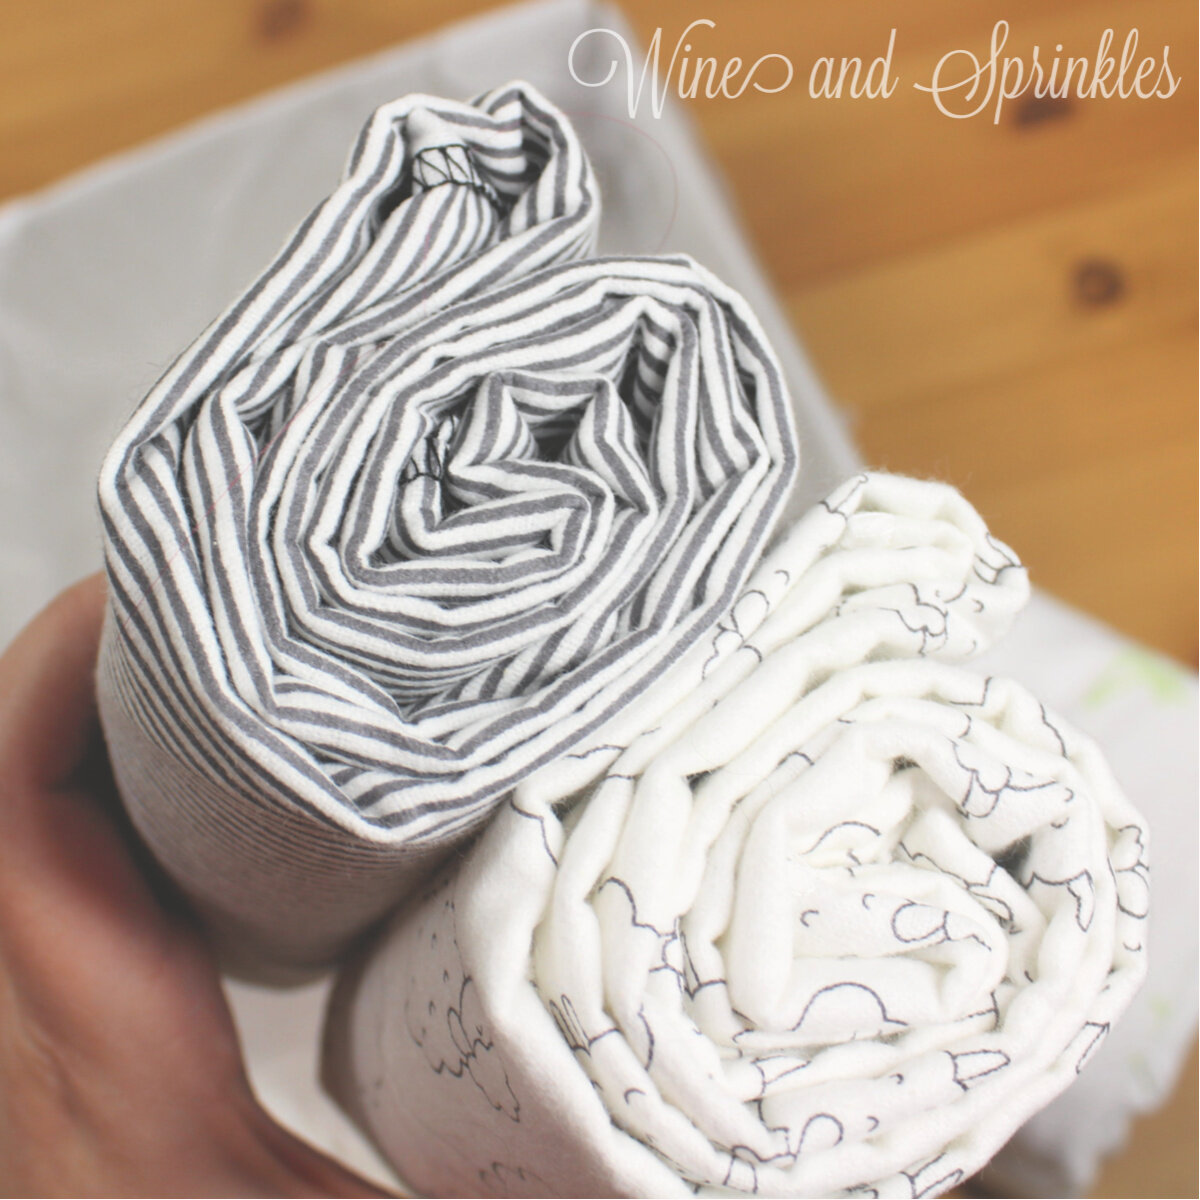
3. Starting at the end with open edges, roll the blanket into a rectangular tube by folding one end over the other until the entire blanket is rolled up, as shown below. Repeat with the remaining blankets.
BENTO ASSEMBLY
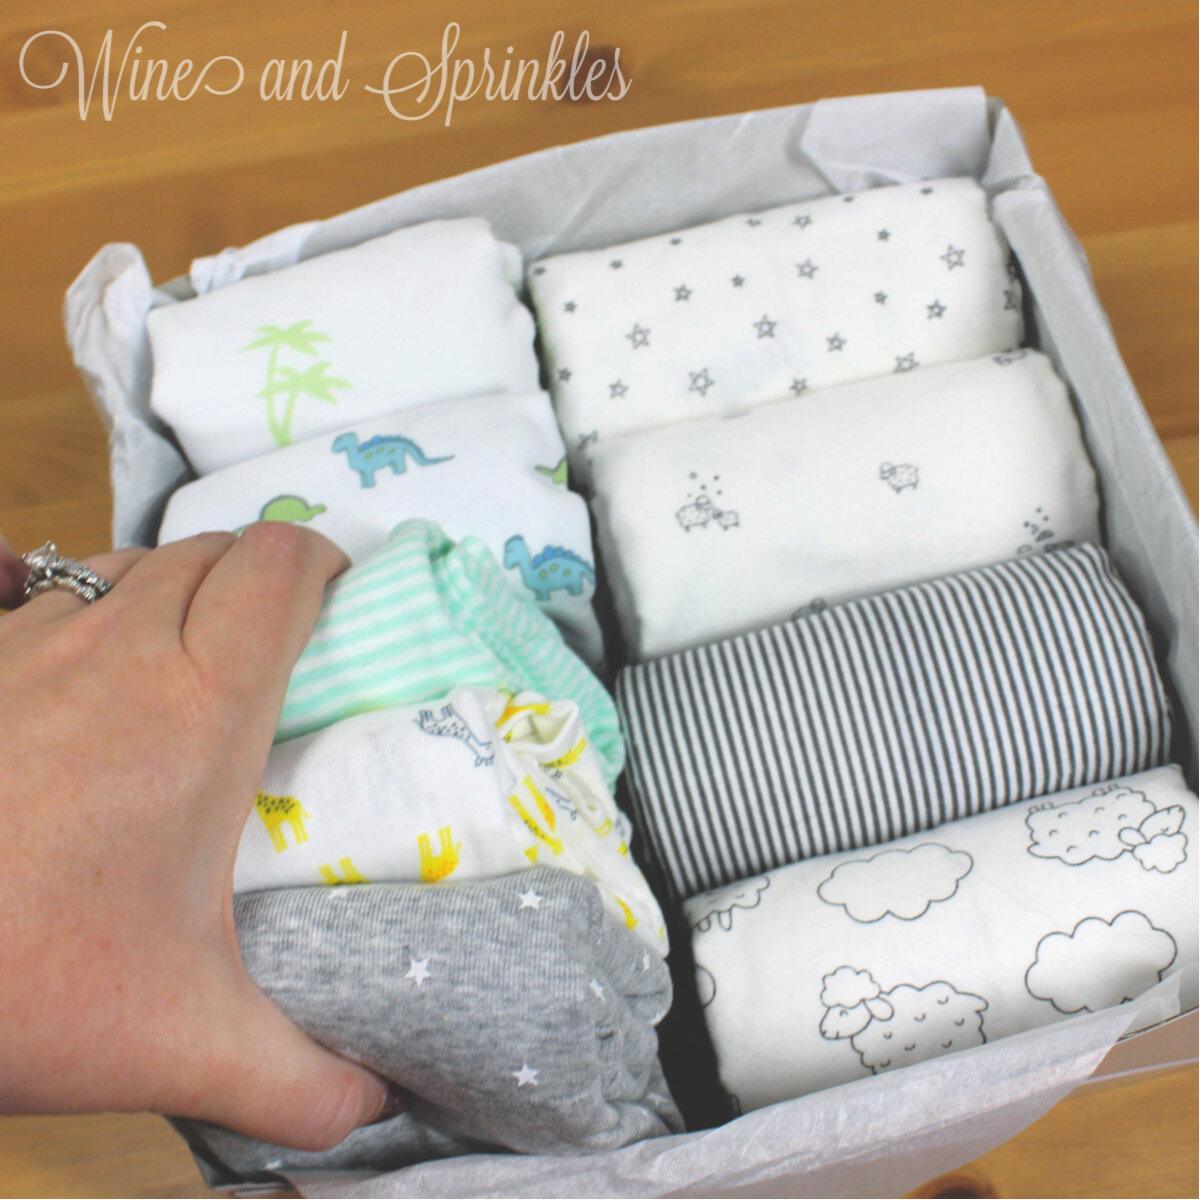
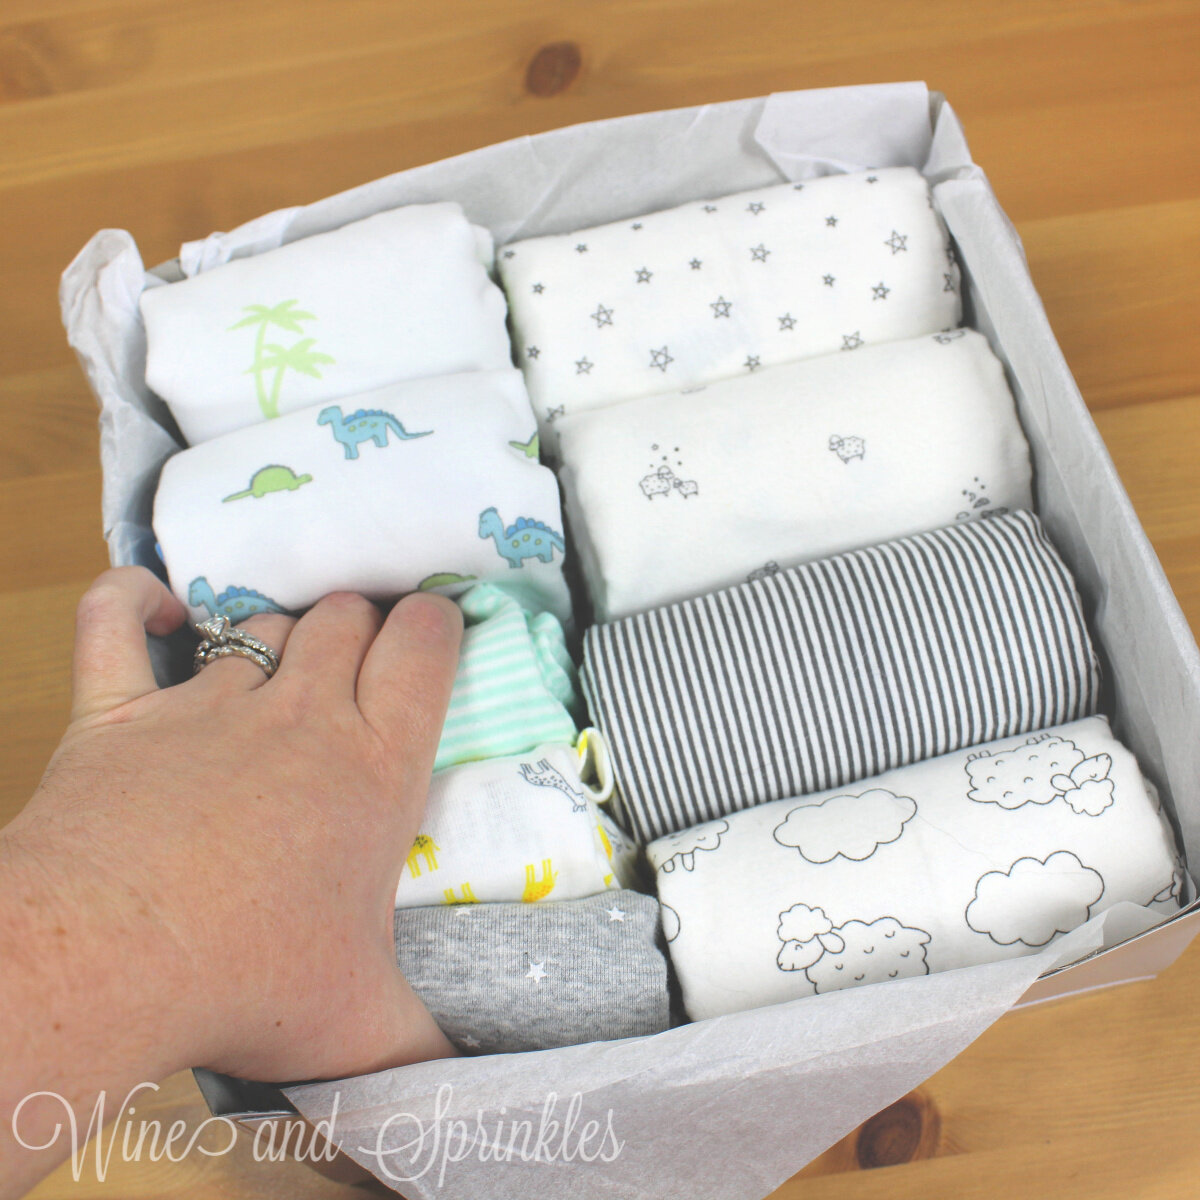
Now it's time to assembly your bento! Start by taking your receiving blankets and stacking them, bottom to top, along the right side of your gift box so that the pretty folded side is facing up and the open ends are tucked into the bottom, as shown to the left.
Then, take you two swaddles and place them in the top left corner of the box, followed by inserting the three sleeper gowns into the bottom left corner. Press them down lightly to fill in the extra space as necessary, and your bento is ready to gift!
Bath Time Essentials Baby Gift Bento Box
This post contains affiliate links, meaning that if you click on a link I will recieve a small comission. This costs you nothing extra and I only promote products I use and love! You can read our full disclosure here
One of my favorite gifts to bring to baby showers are baby bath time supplies, in fact the first baby shower gift I ever bought was a set of baby towels, washcloths and bath supplies that I made a gift basket for in an inflatable baby tub. So when I first started thinking of fun ways to package and give baby gifts, a bathtime essentials gift box was a must!
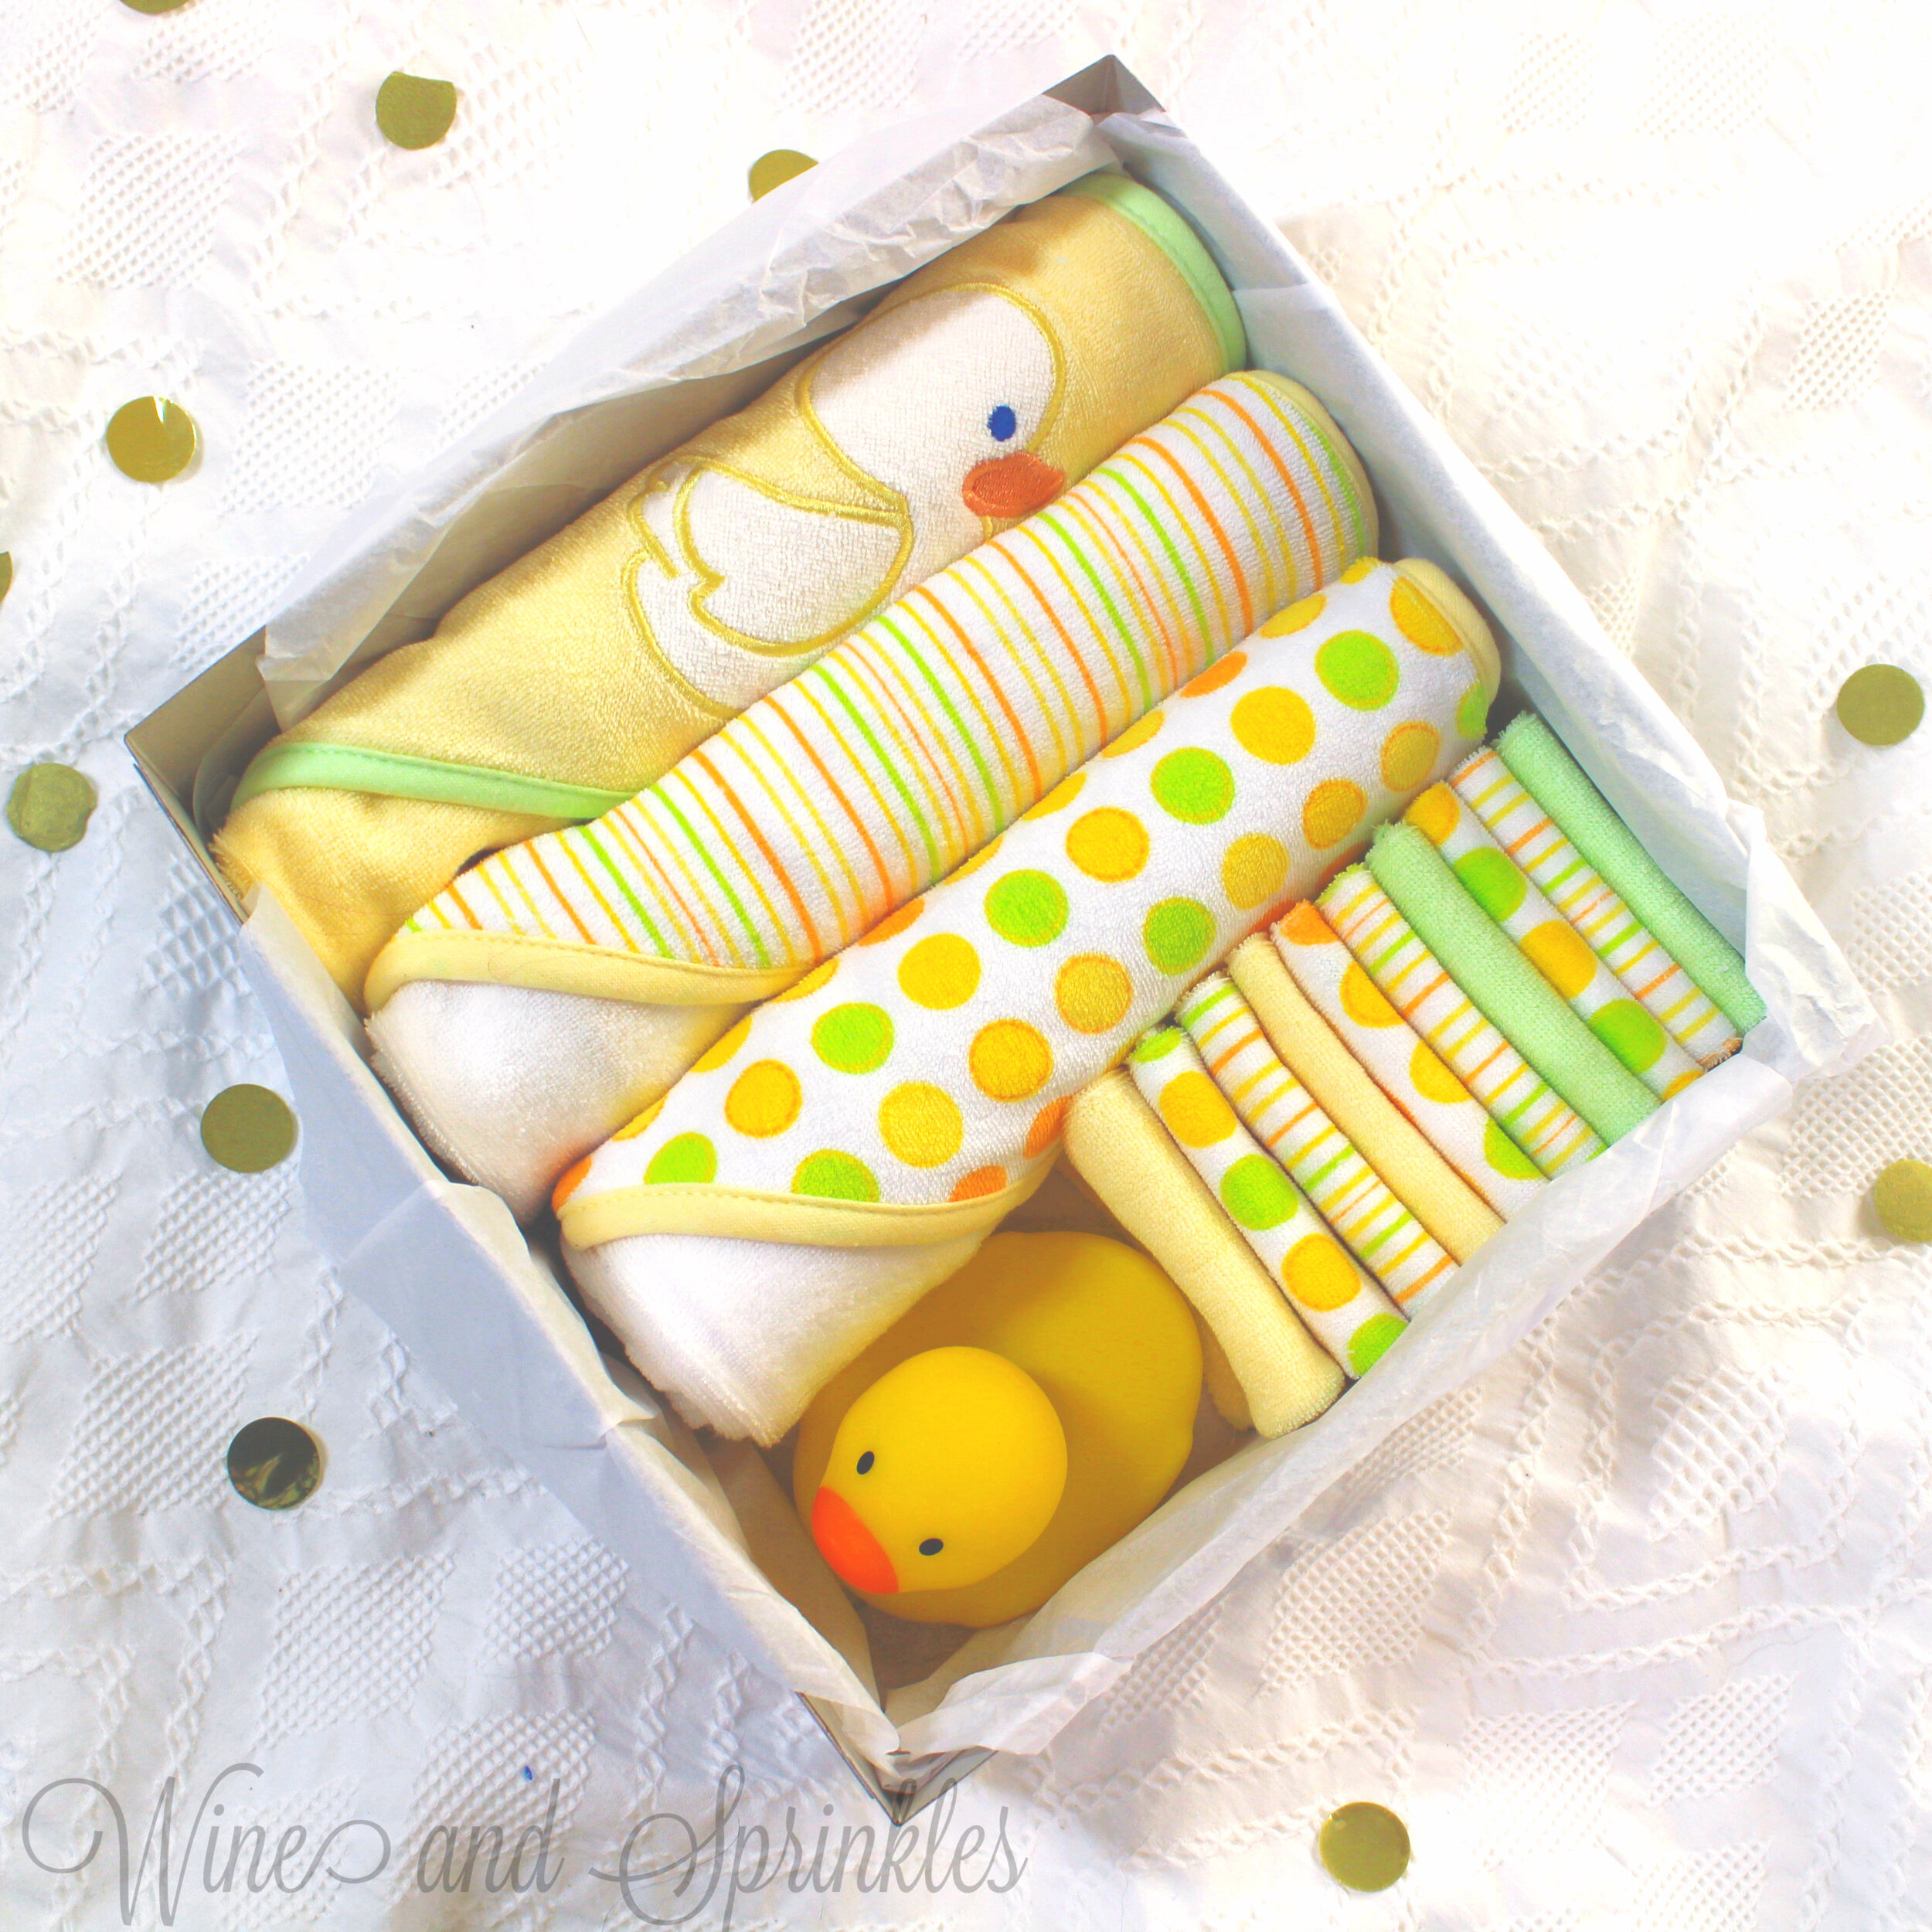
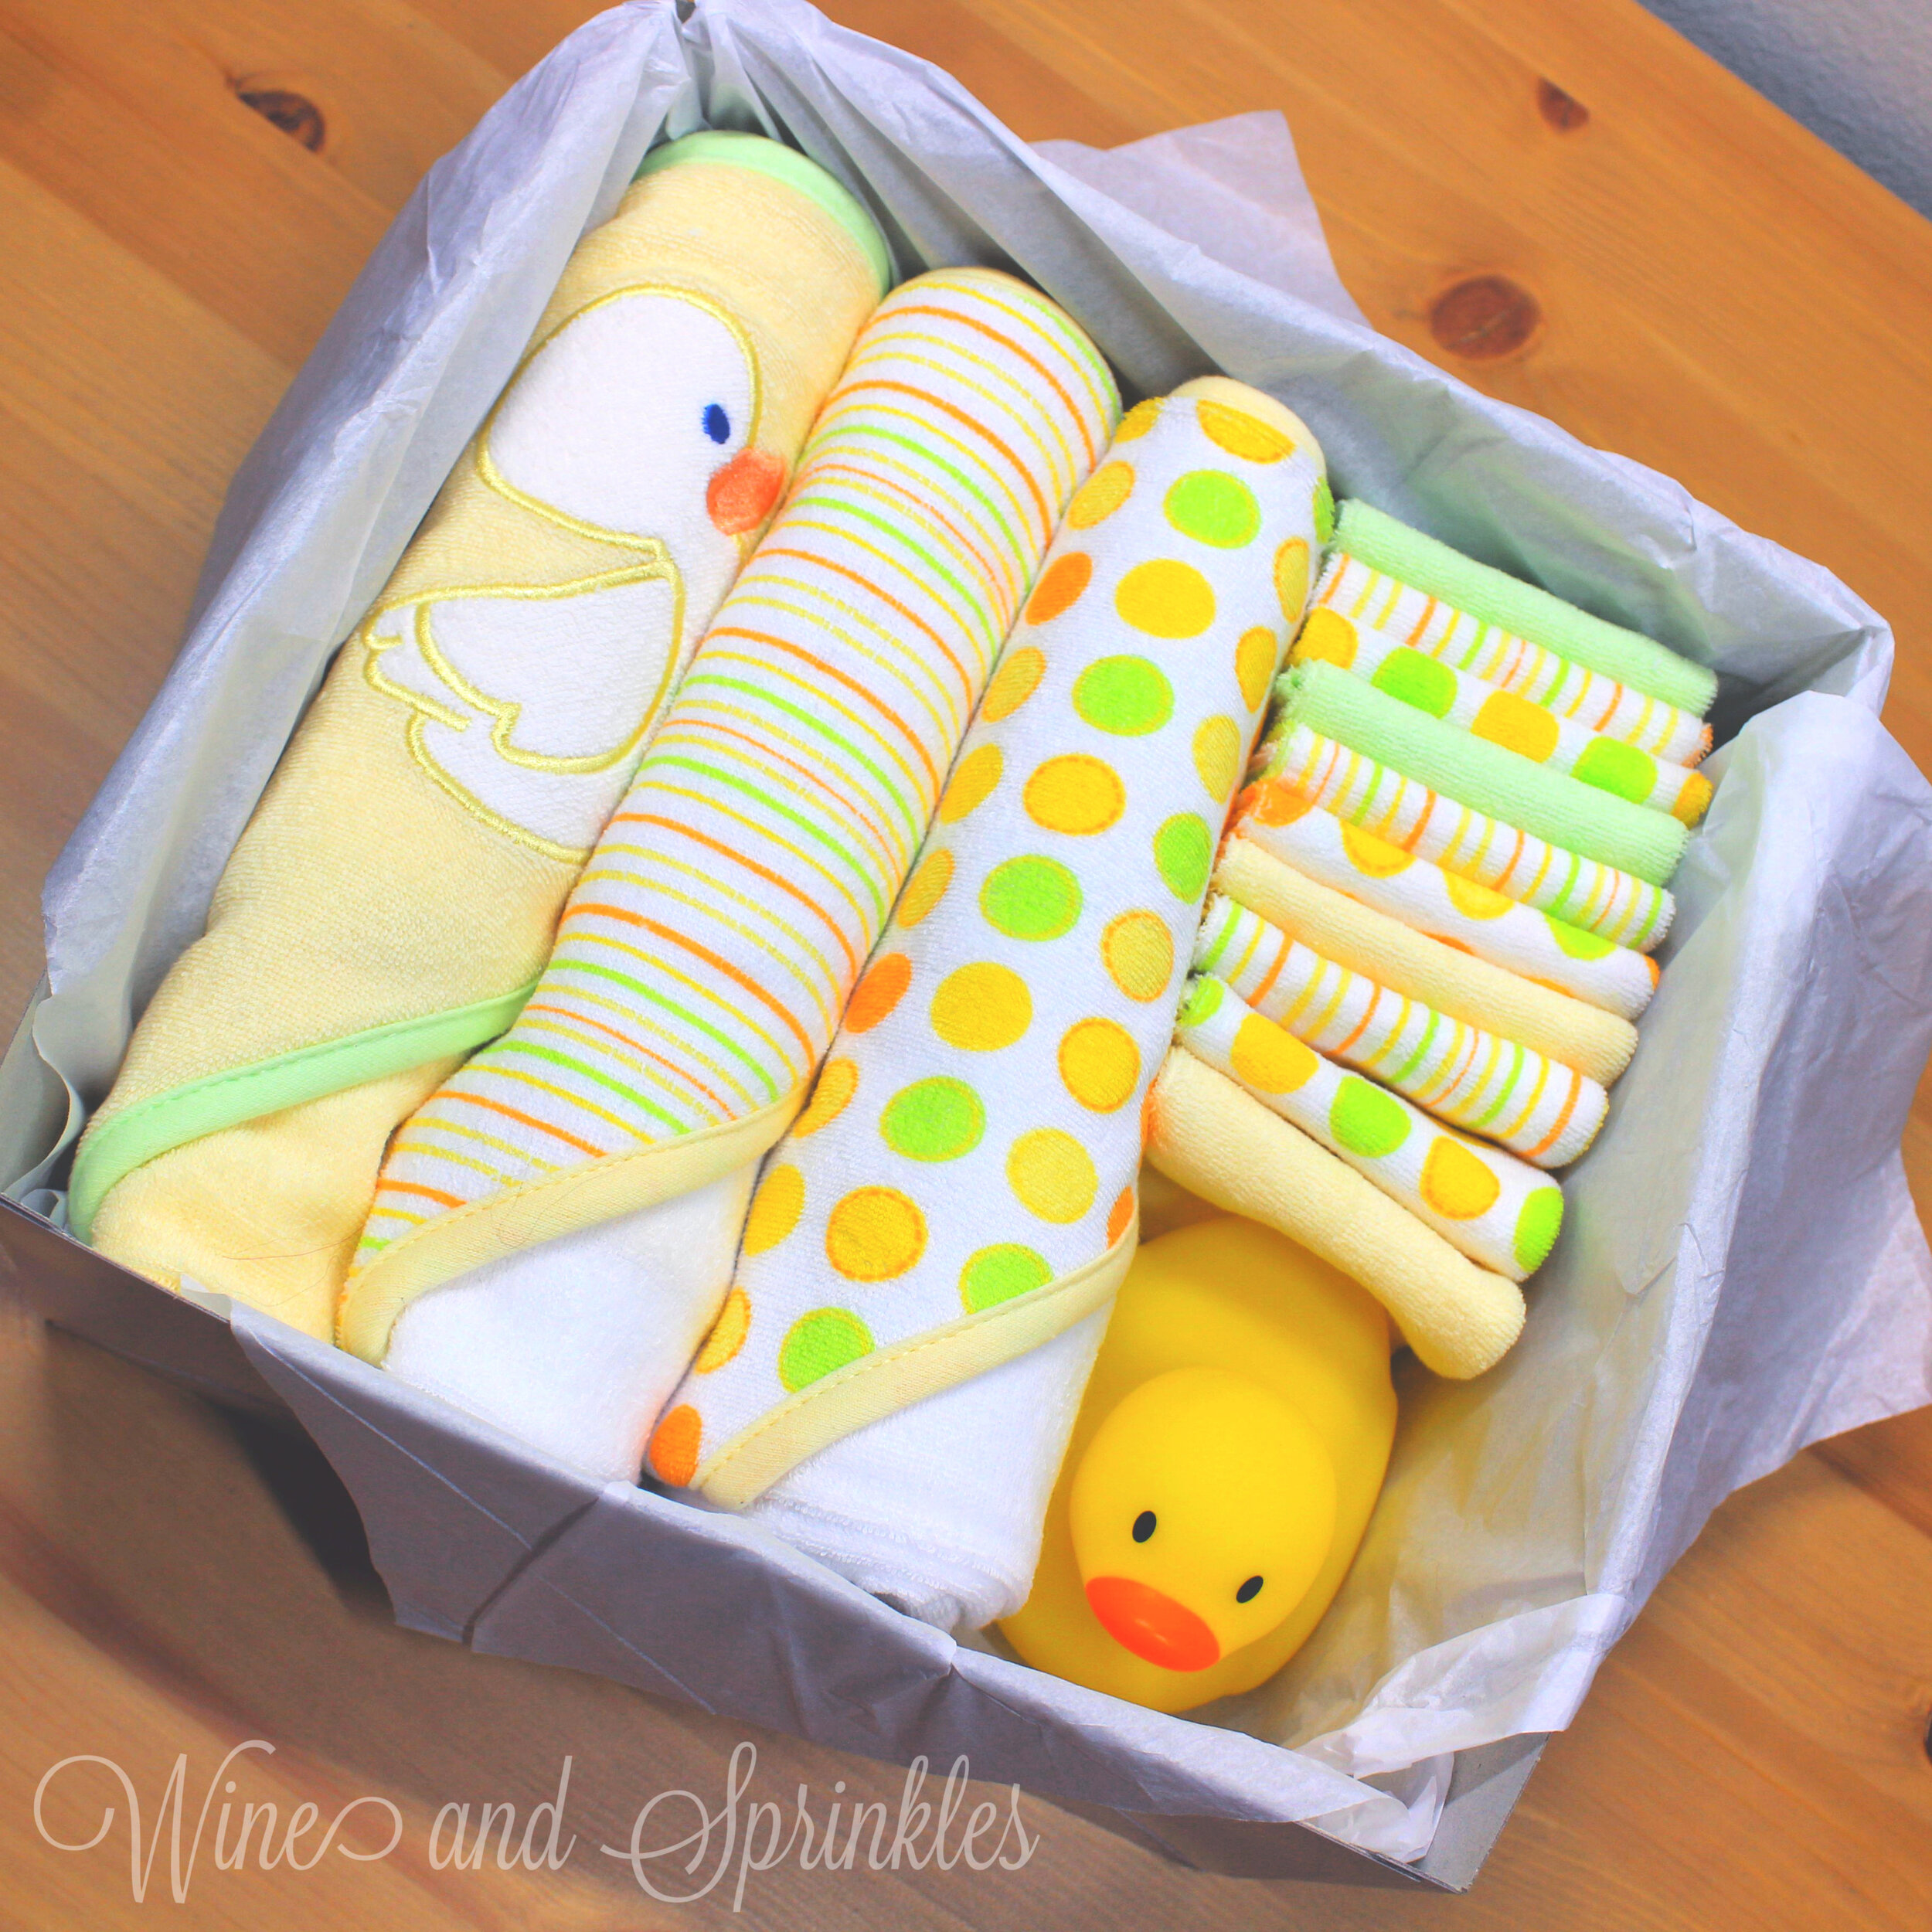
Complete with Hooded Towels, Washcloths, and a Bath Temperature Safety Duck; this Bento Box comes with starter products every baby bath needs and is an adorable way to present all the goodies to an expecting mama. And as every baby needs them, you will likely be purchasing much needed items already on their registry!
For these and other Baby Gift Box Bentos, I used a 10 inch square box to house our gifts and it was the perfect size for this Bath time Bento! While you can use other sizes of boxes for this project, you will have to play around a little with the towel folding to make them fit just right, though the washcloths can squeeze into a smaller box more easily.
These boxes are also great as mailable presents for if you cannot visit your mama to be but still want to send a personal and thoughtful gift. Regardless of if you are mailing or giving in person, I encourage you to stuff the top of your box with tissue paper so that items don’t move around while shipping or wrapping, plus it makes it a fun presentation removing the tissue paper to a lovely organized baby gift!
Supplies:
- Hooded Towel 3 Pack
- Baby Washcloth 10 Pack
- Safety Duck
- Square Gift Box
- Tissue Paper (Optional)
PART 1: FOLDING TOWELS
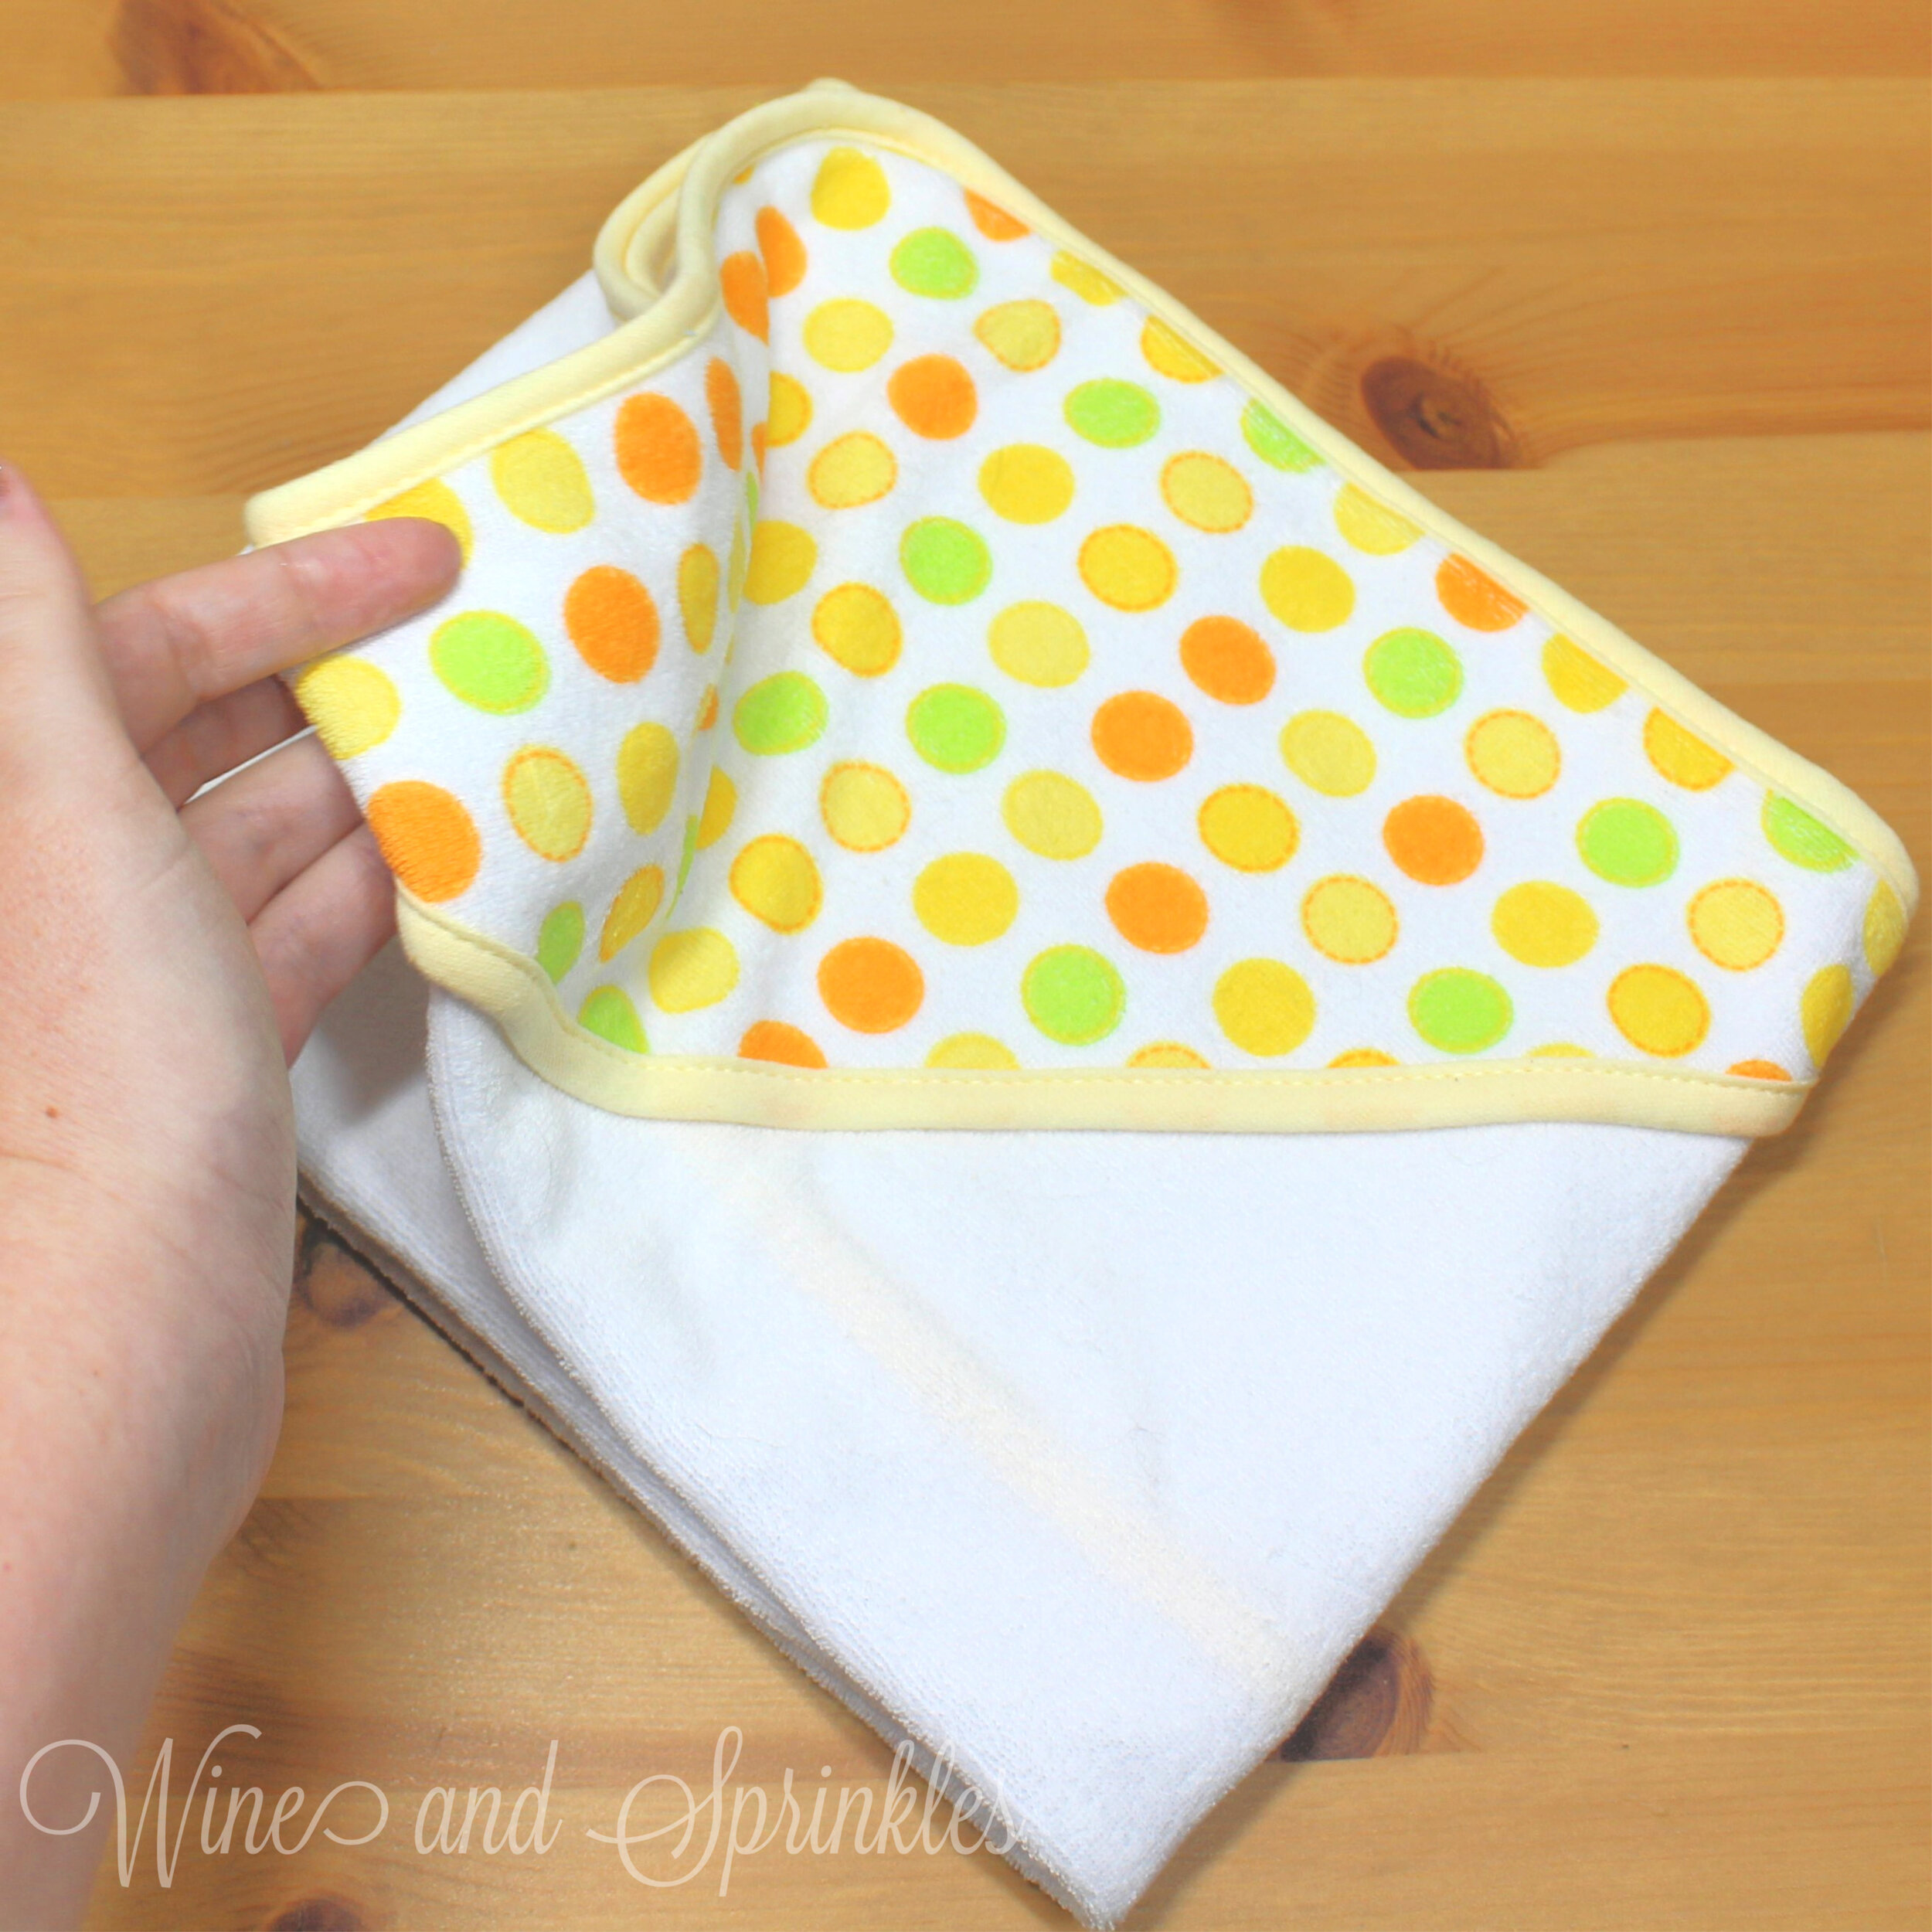
When I first received my towels in the mail, they were already rolled into clever little bundles like these and could be easily arranged in a gift box without unfolding. In case yours are not, here is the method I used for folding towels for the bath time bento box!
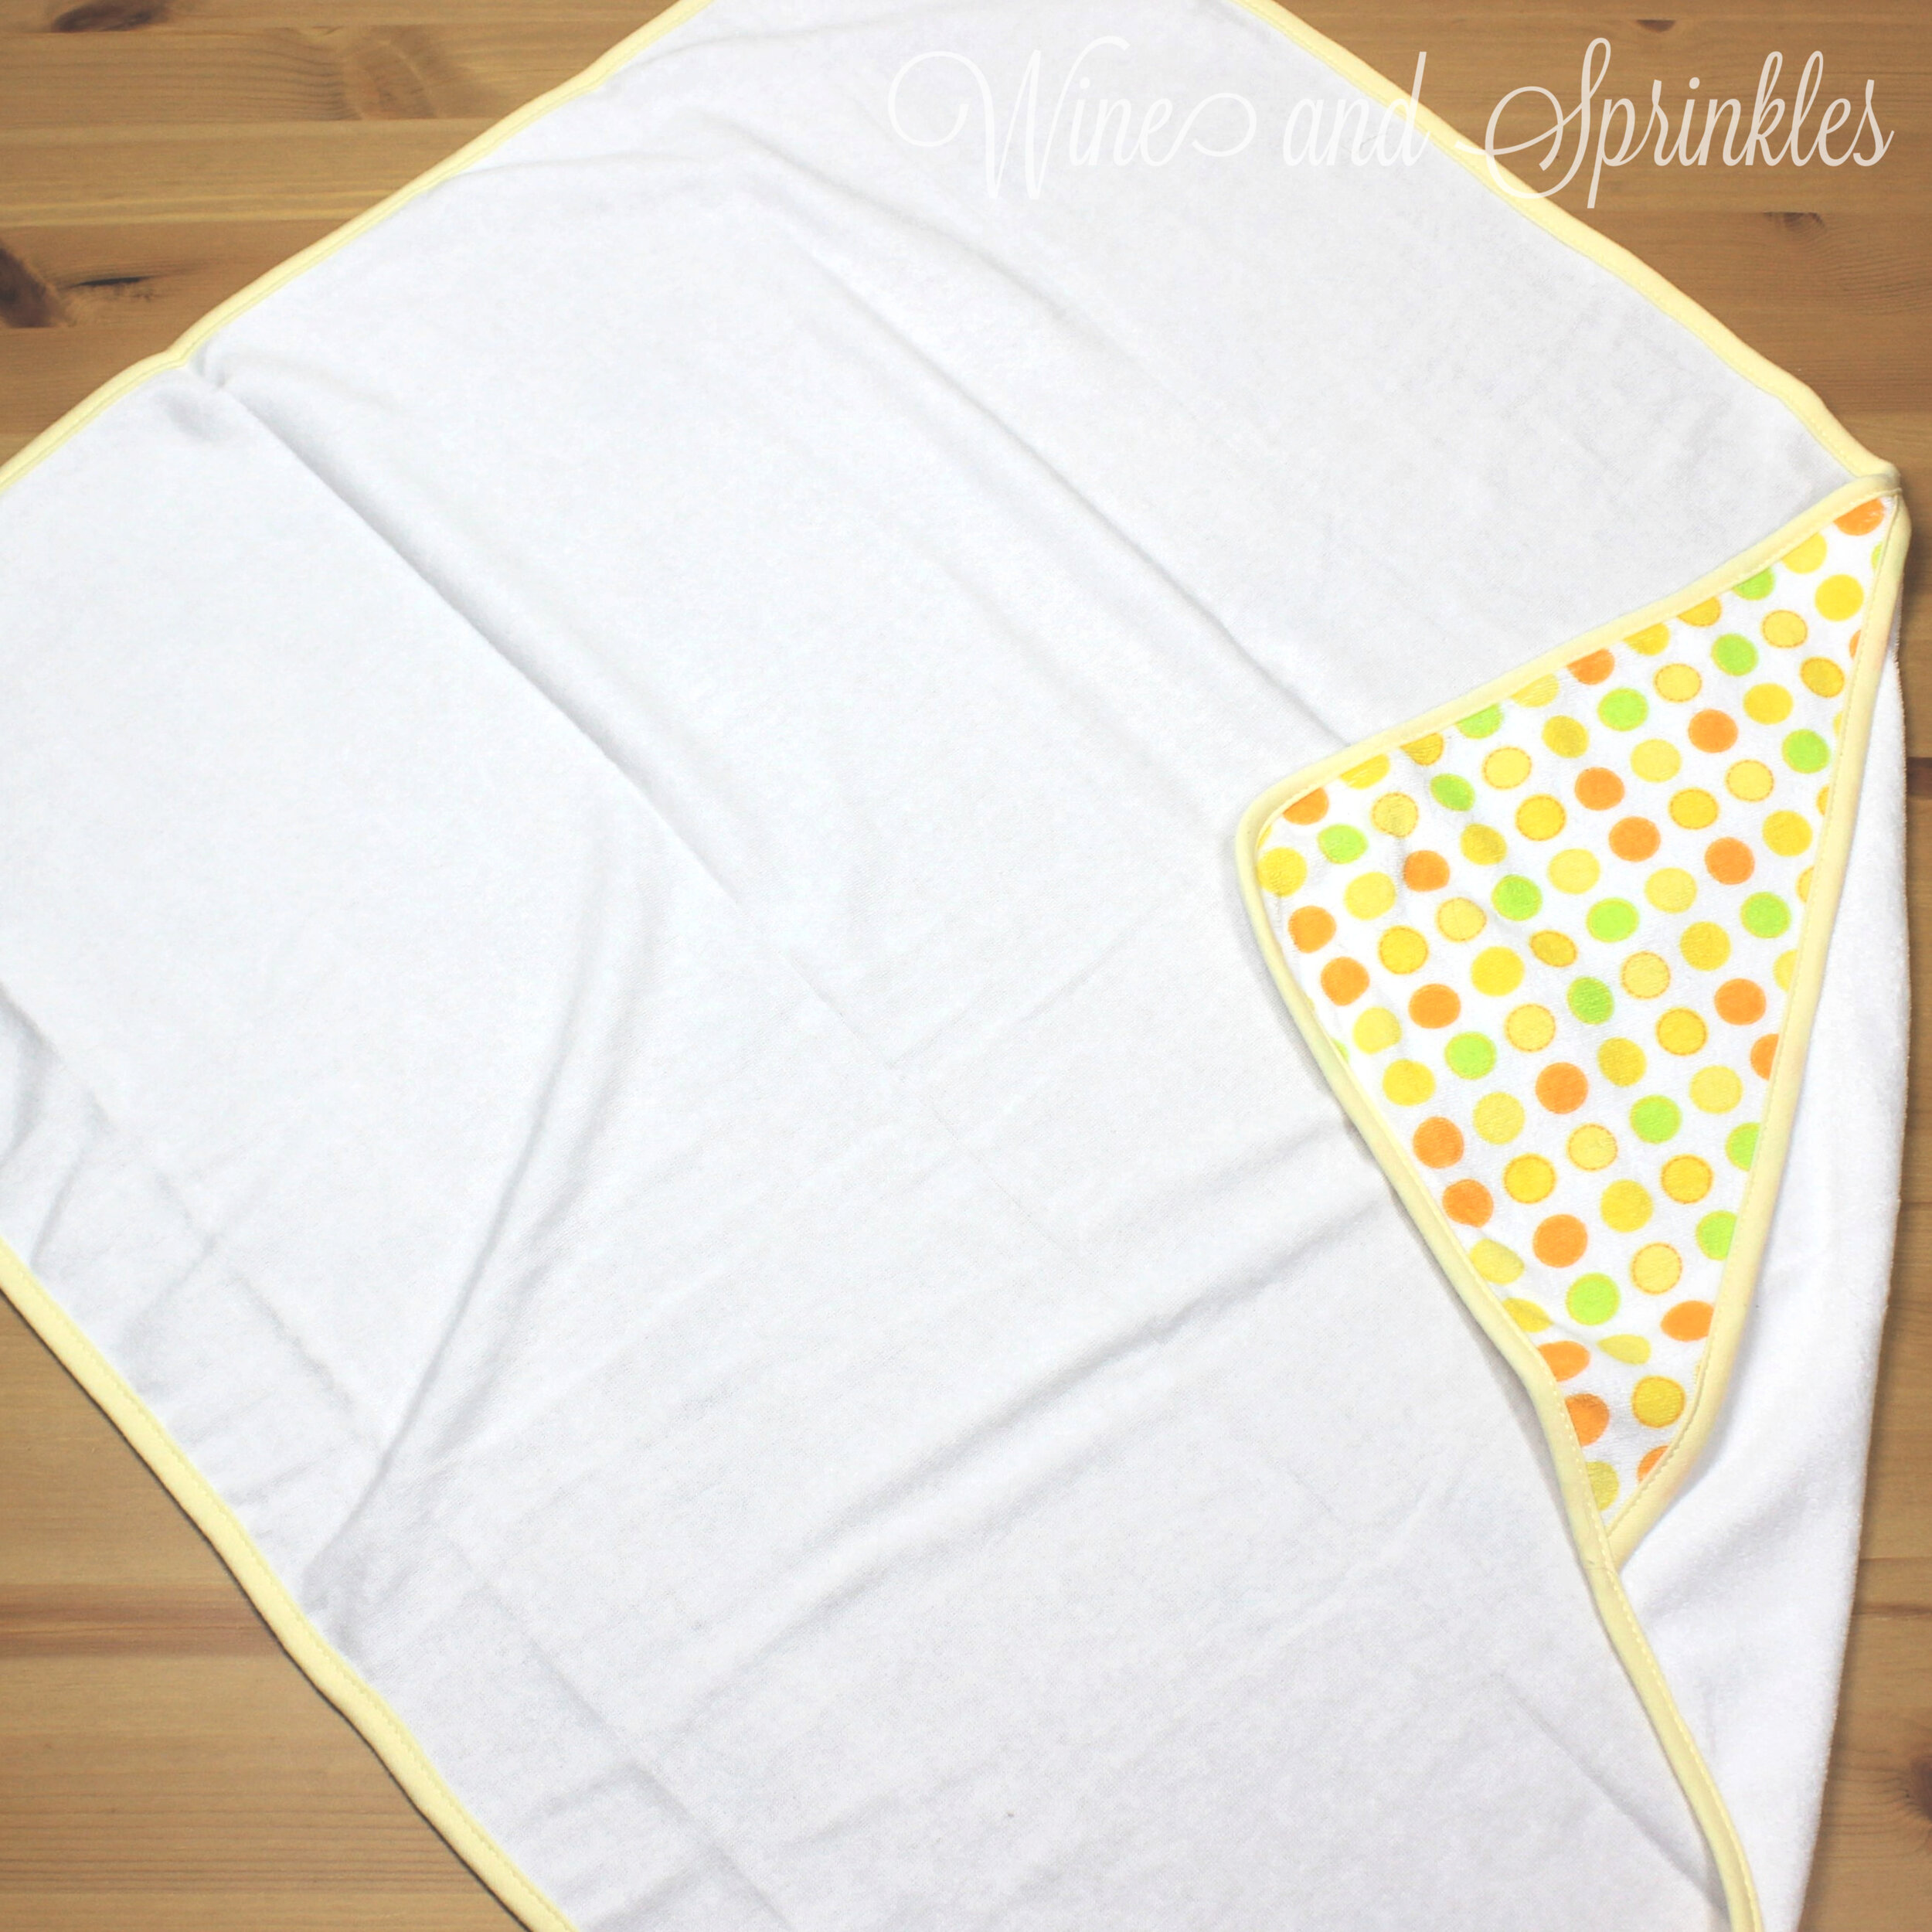
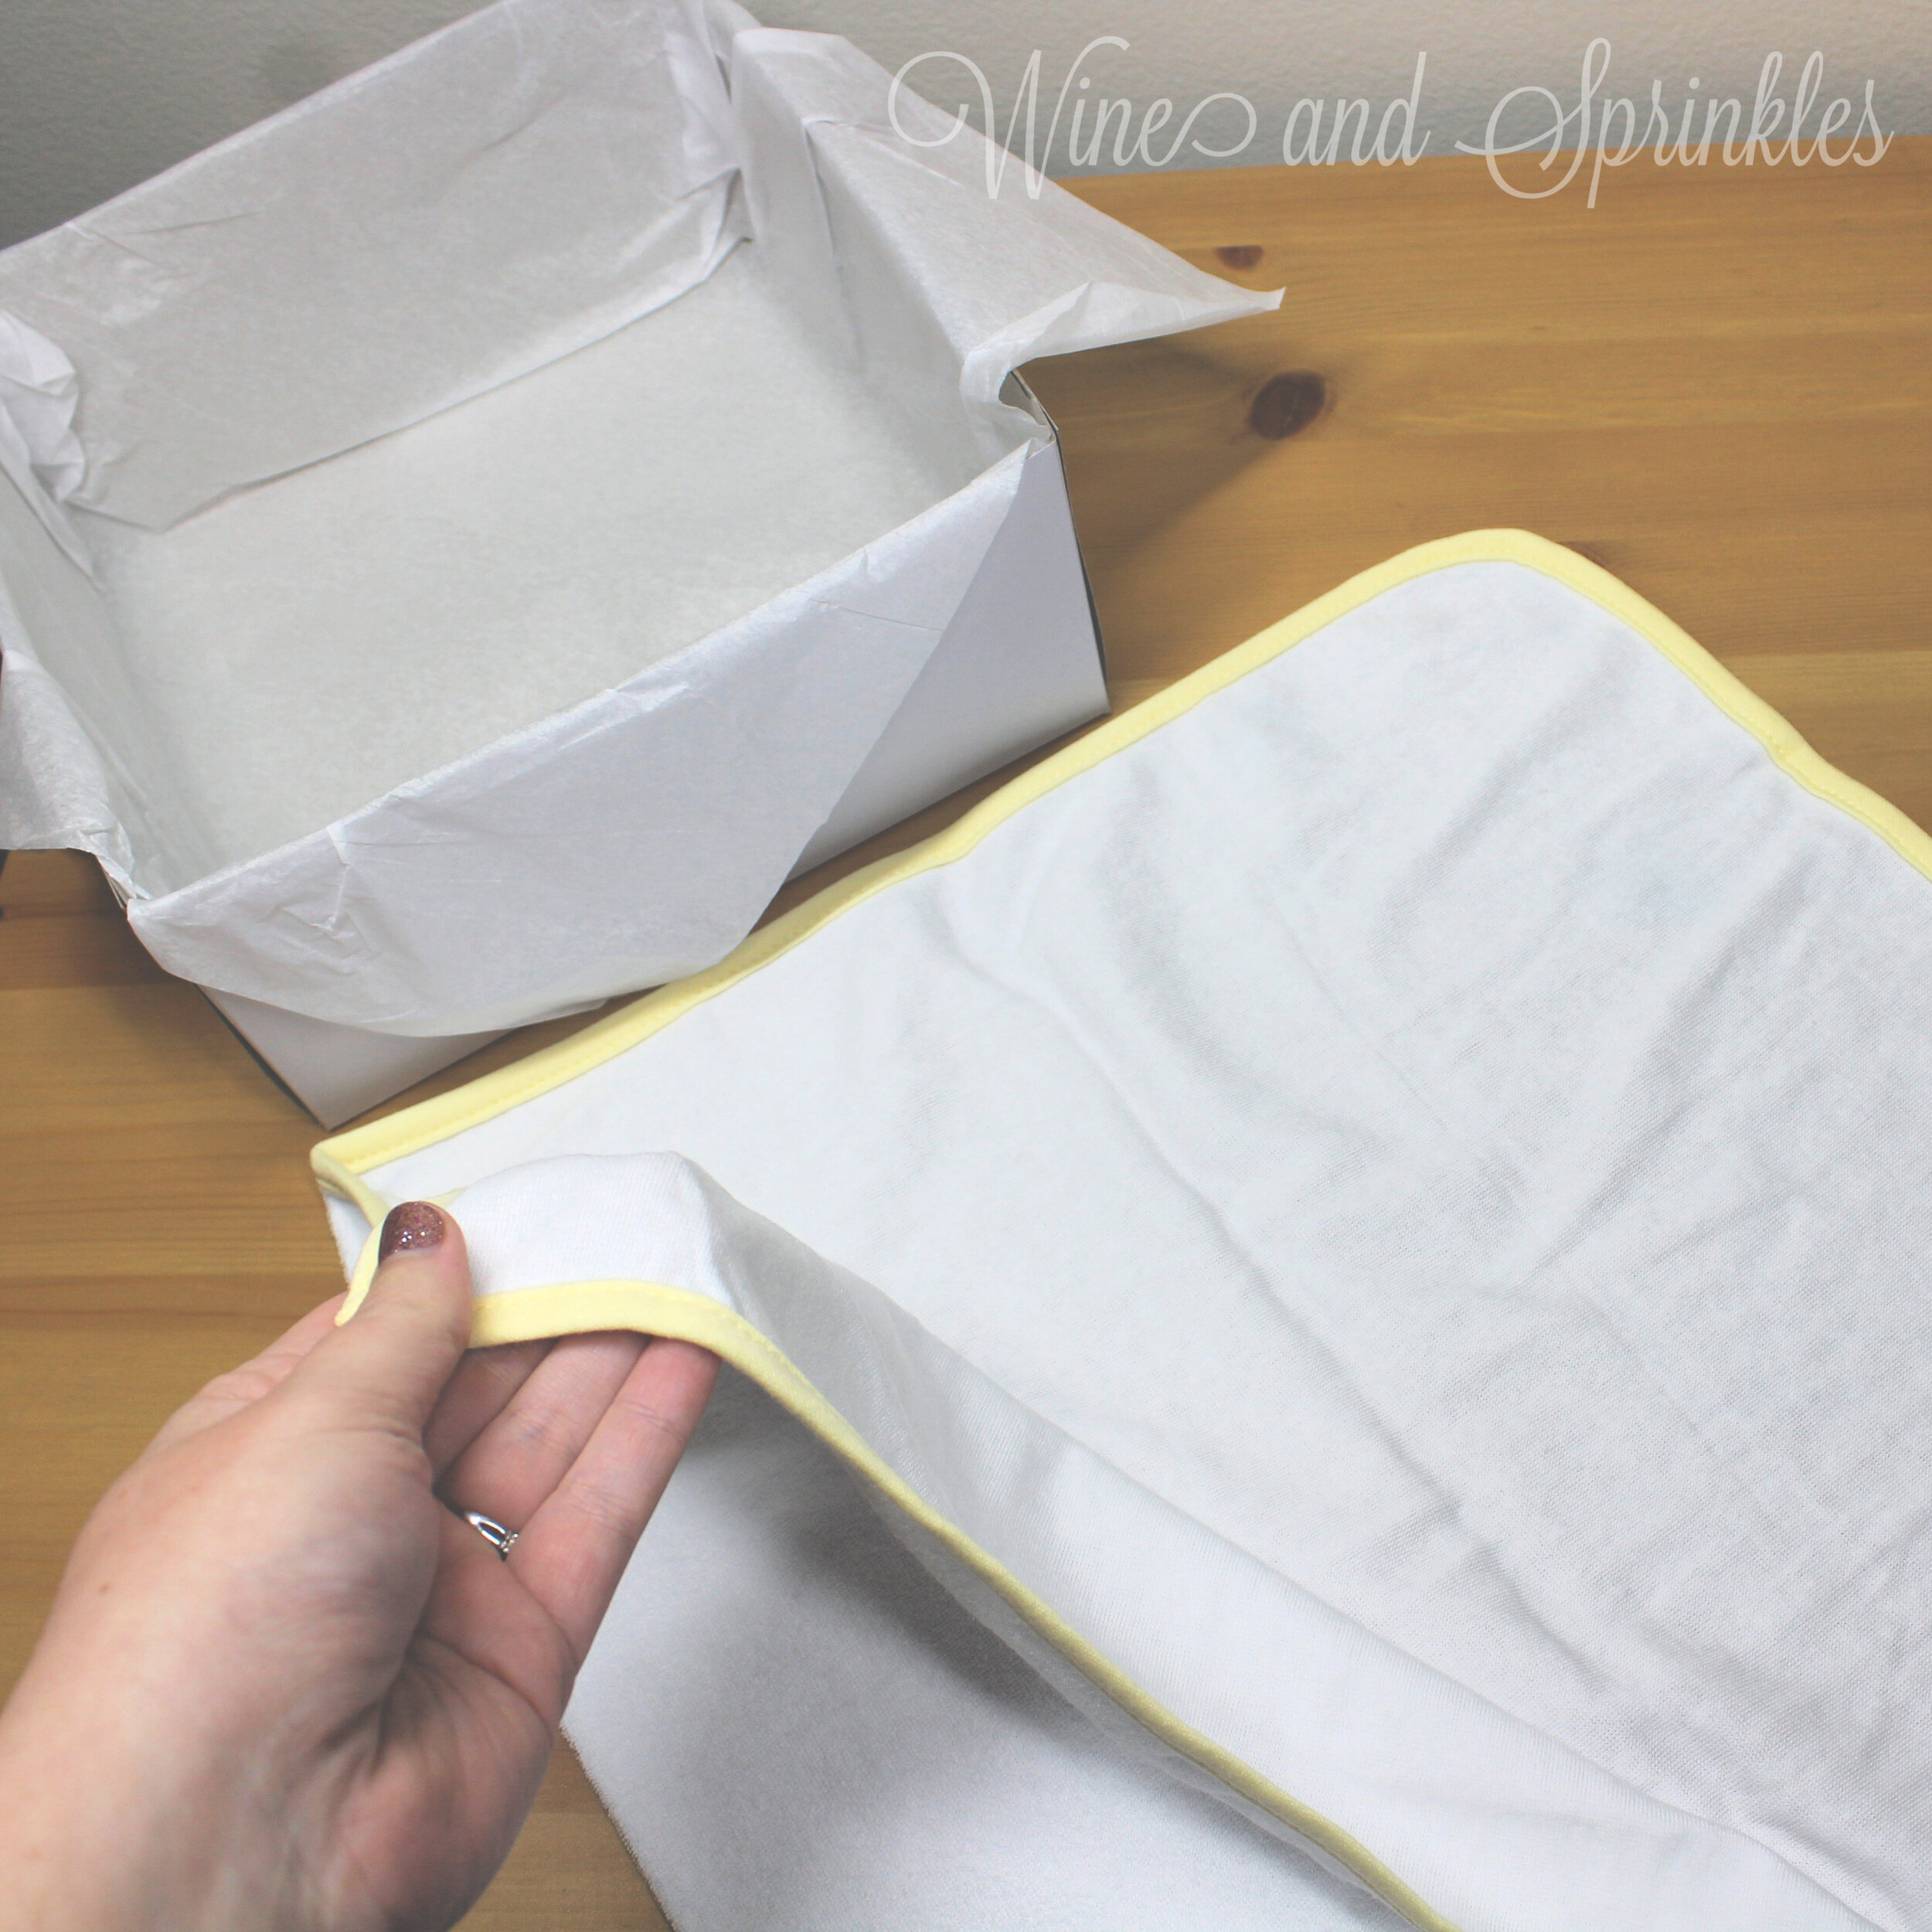
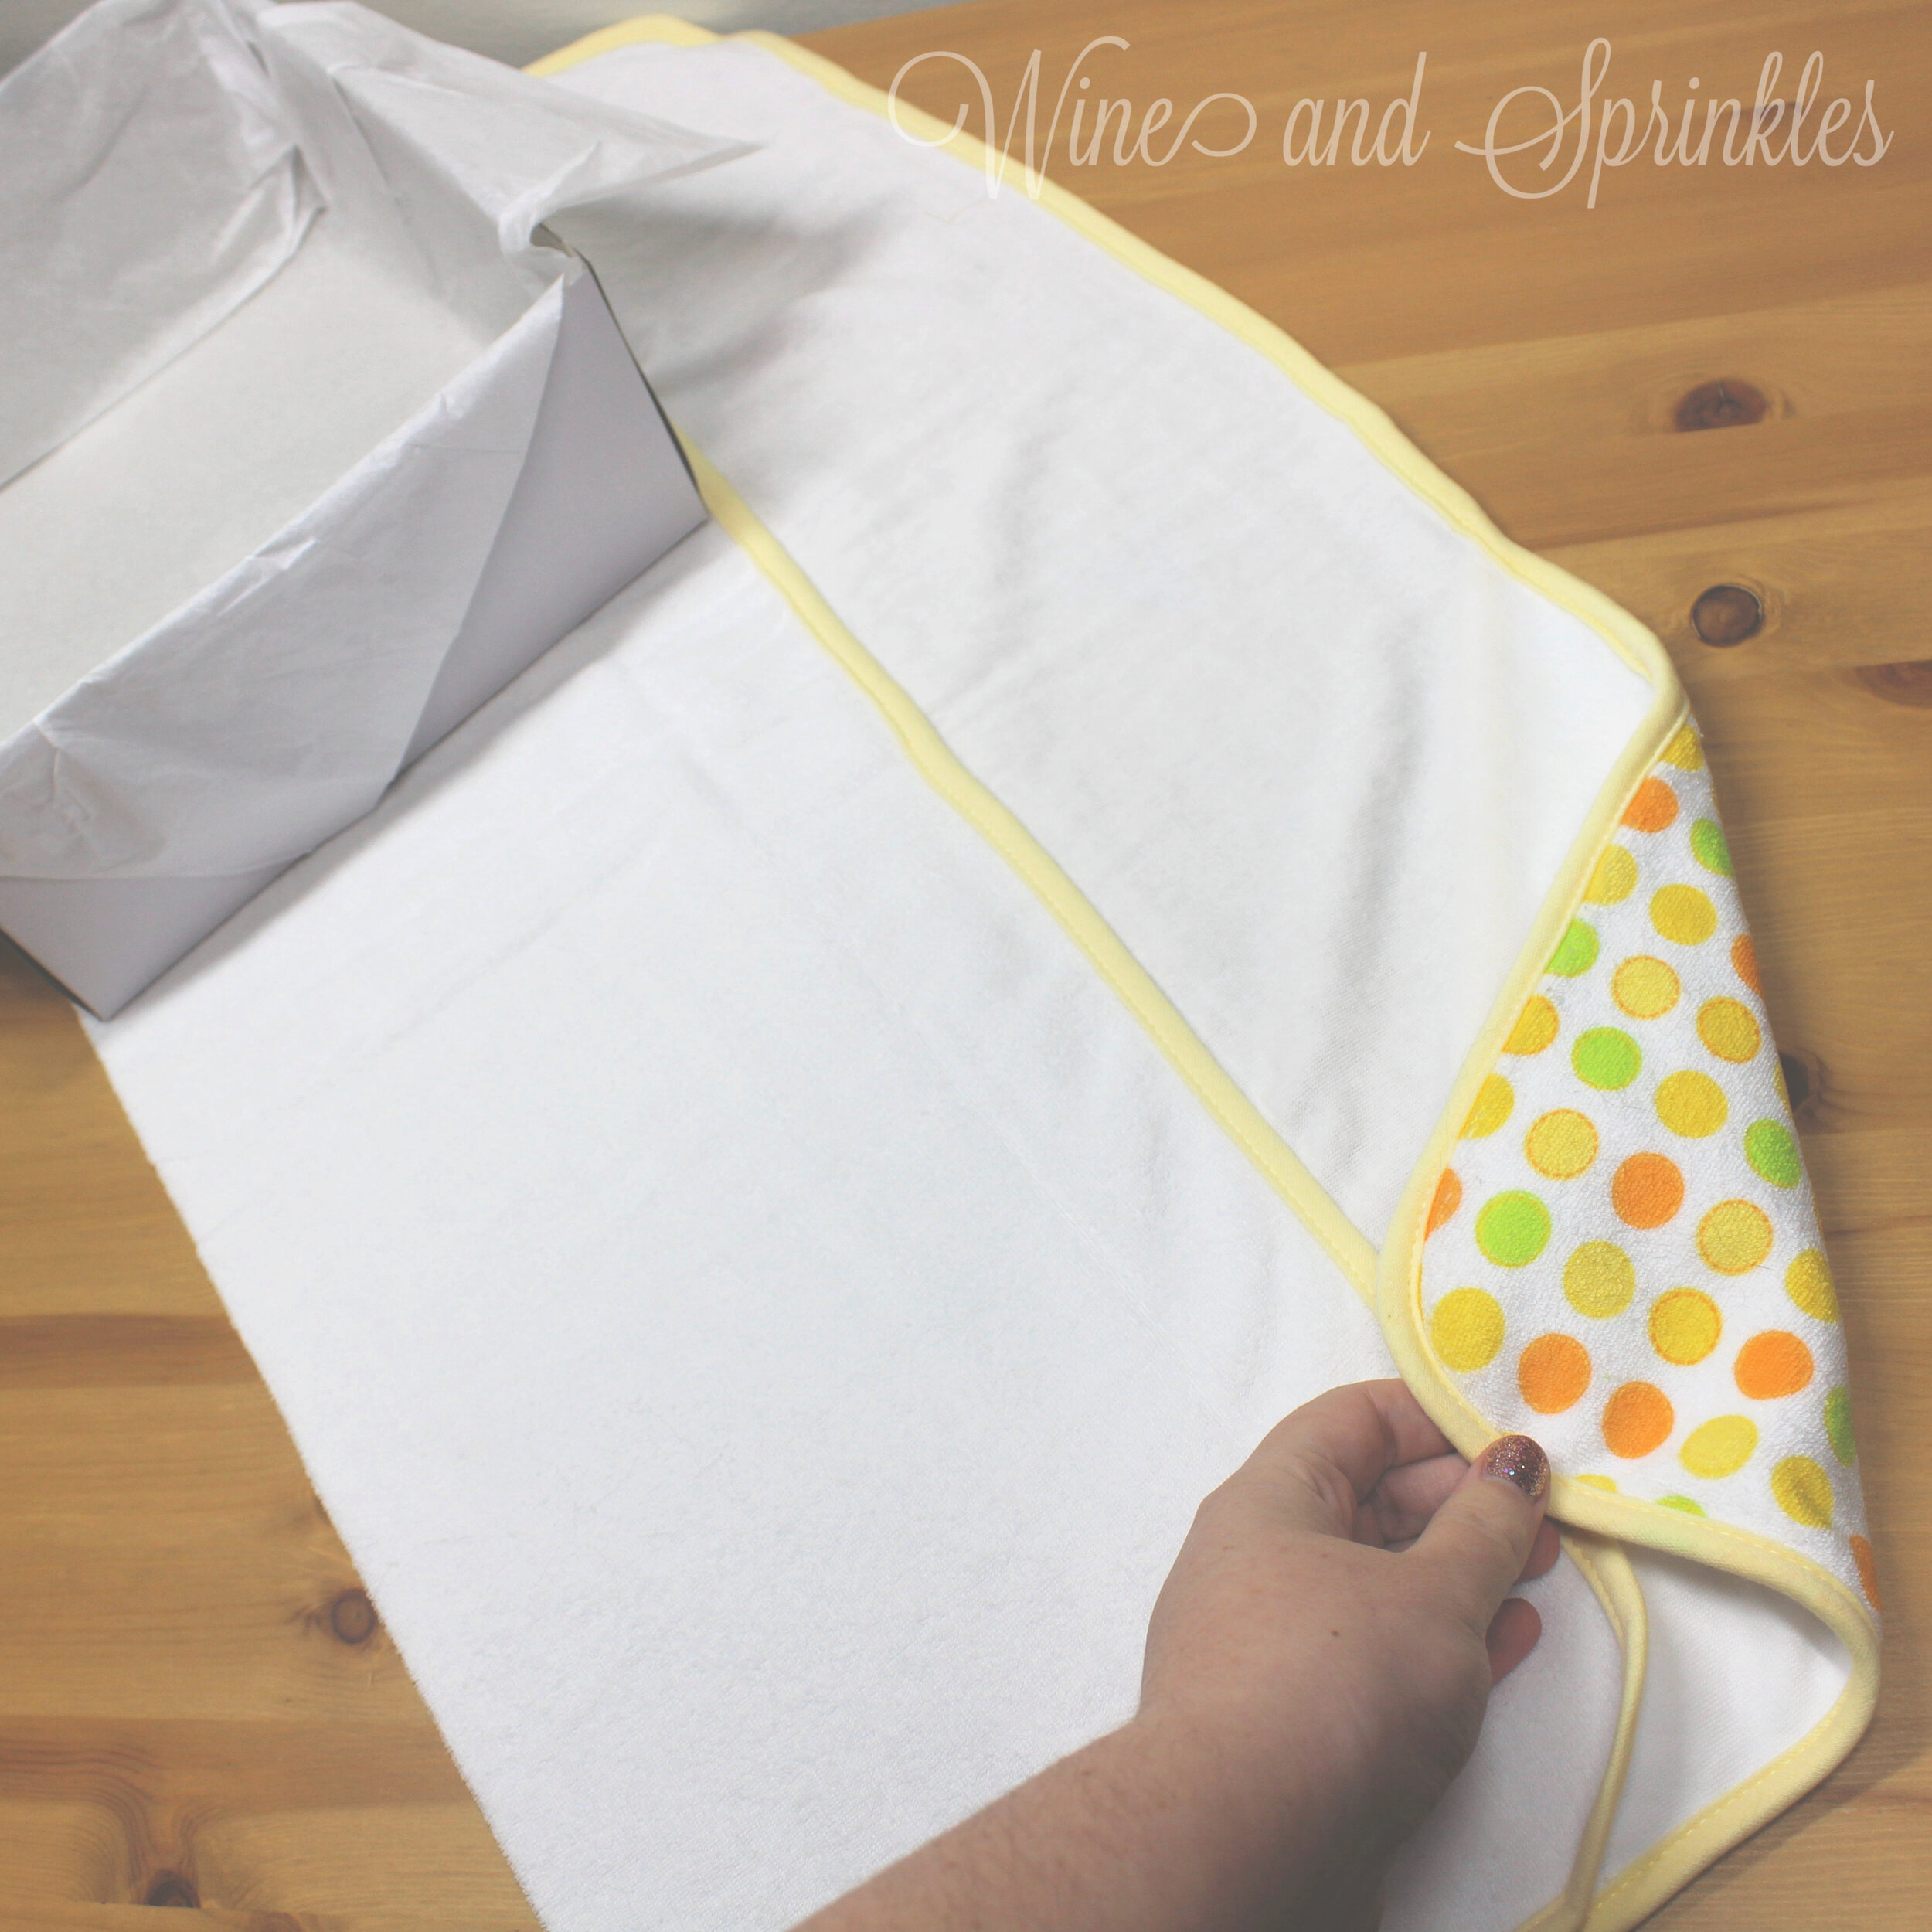
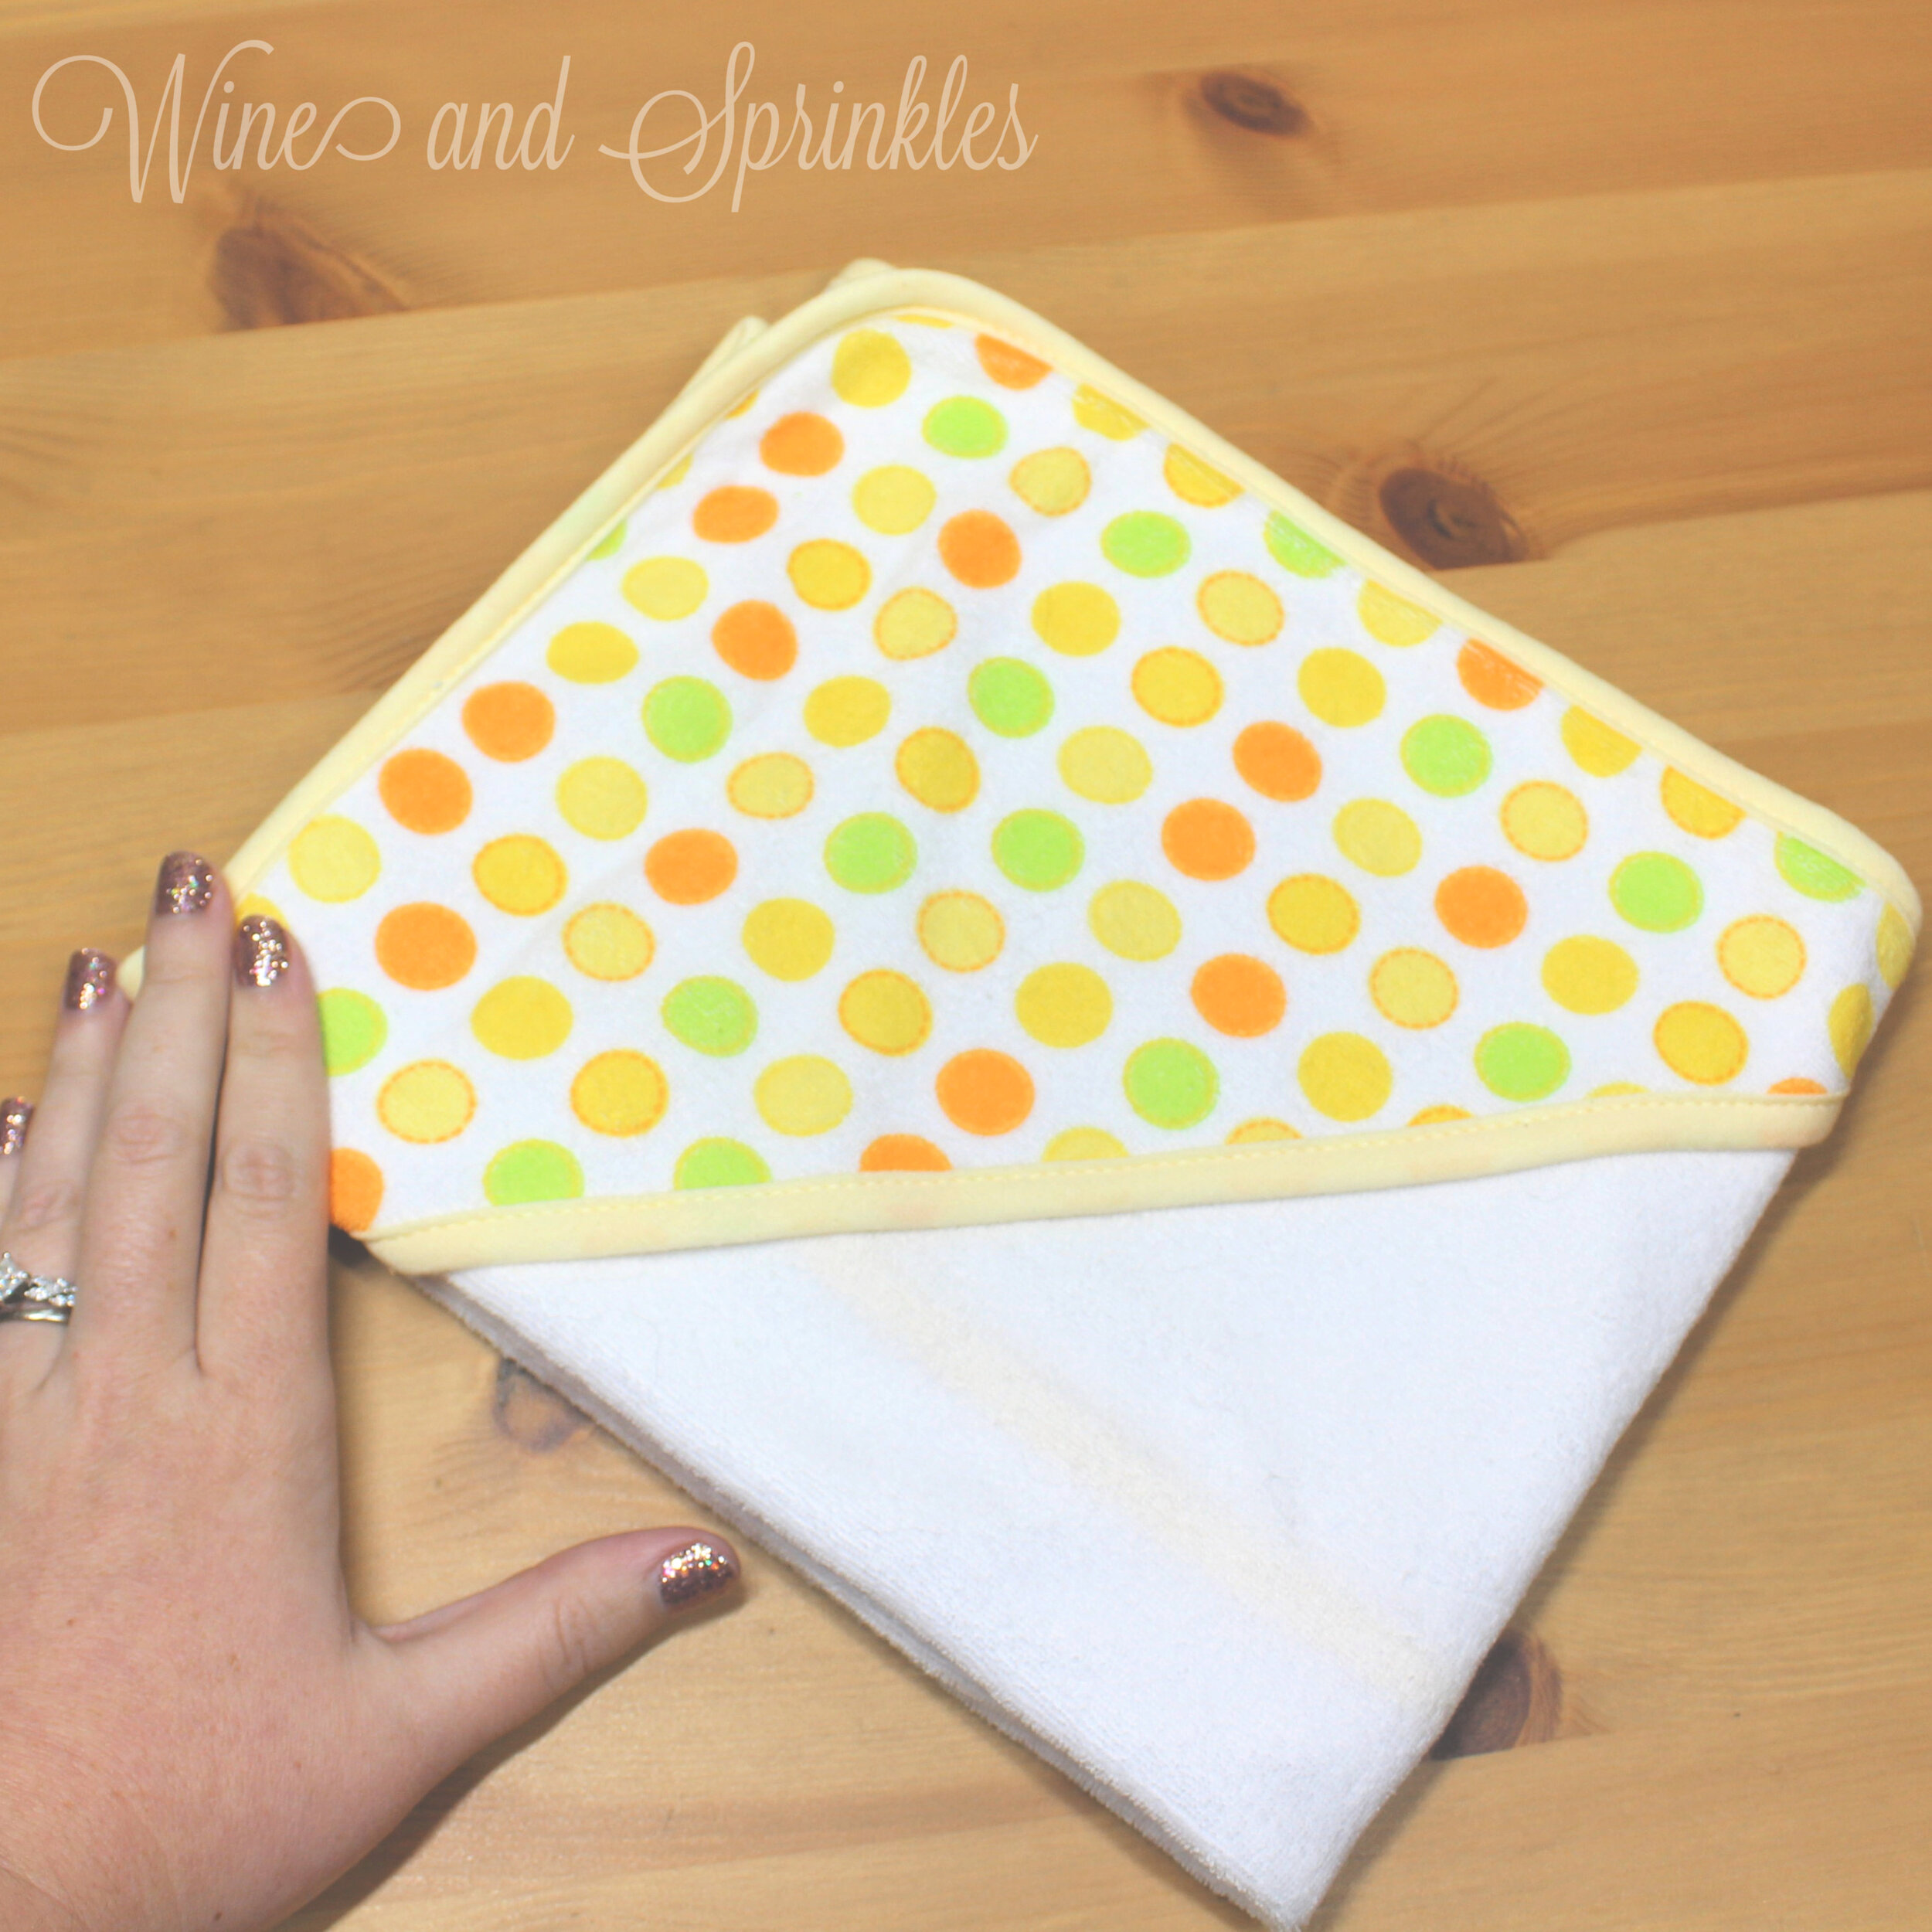
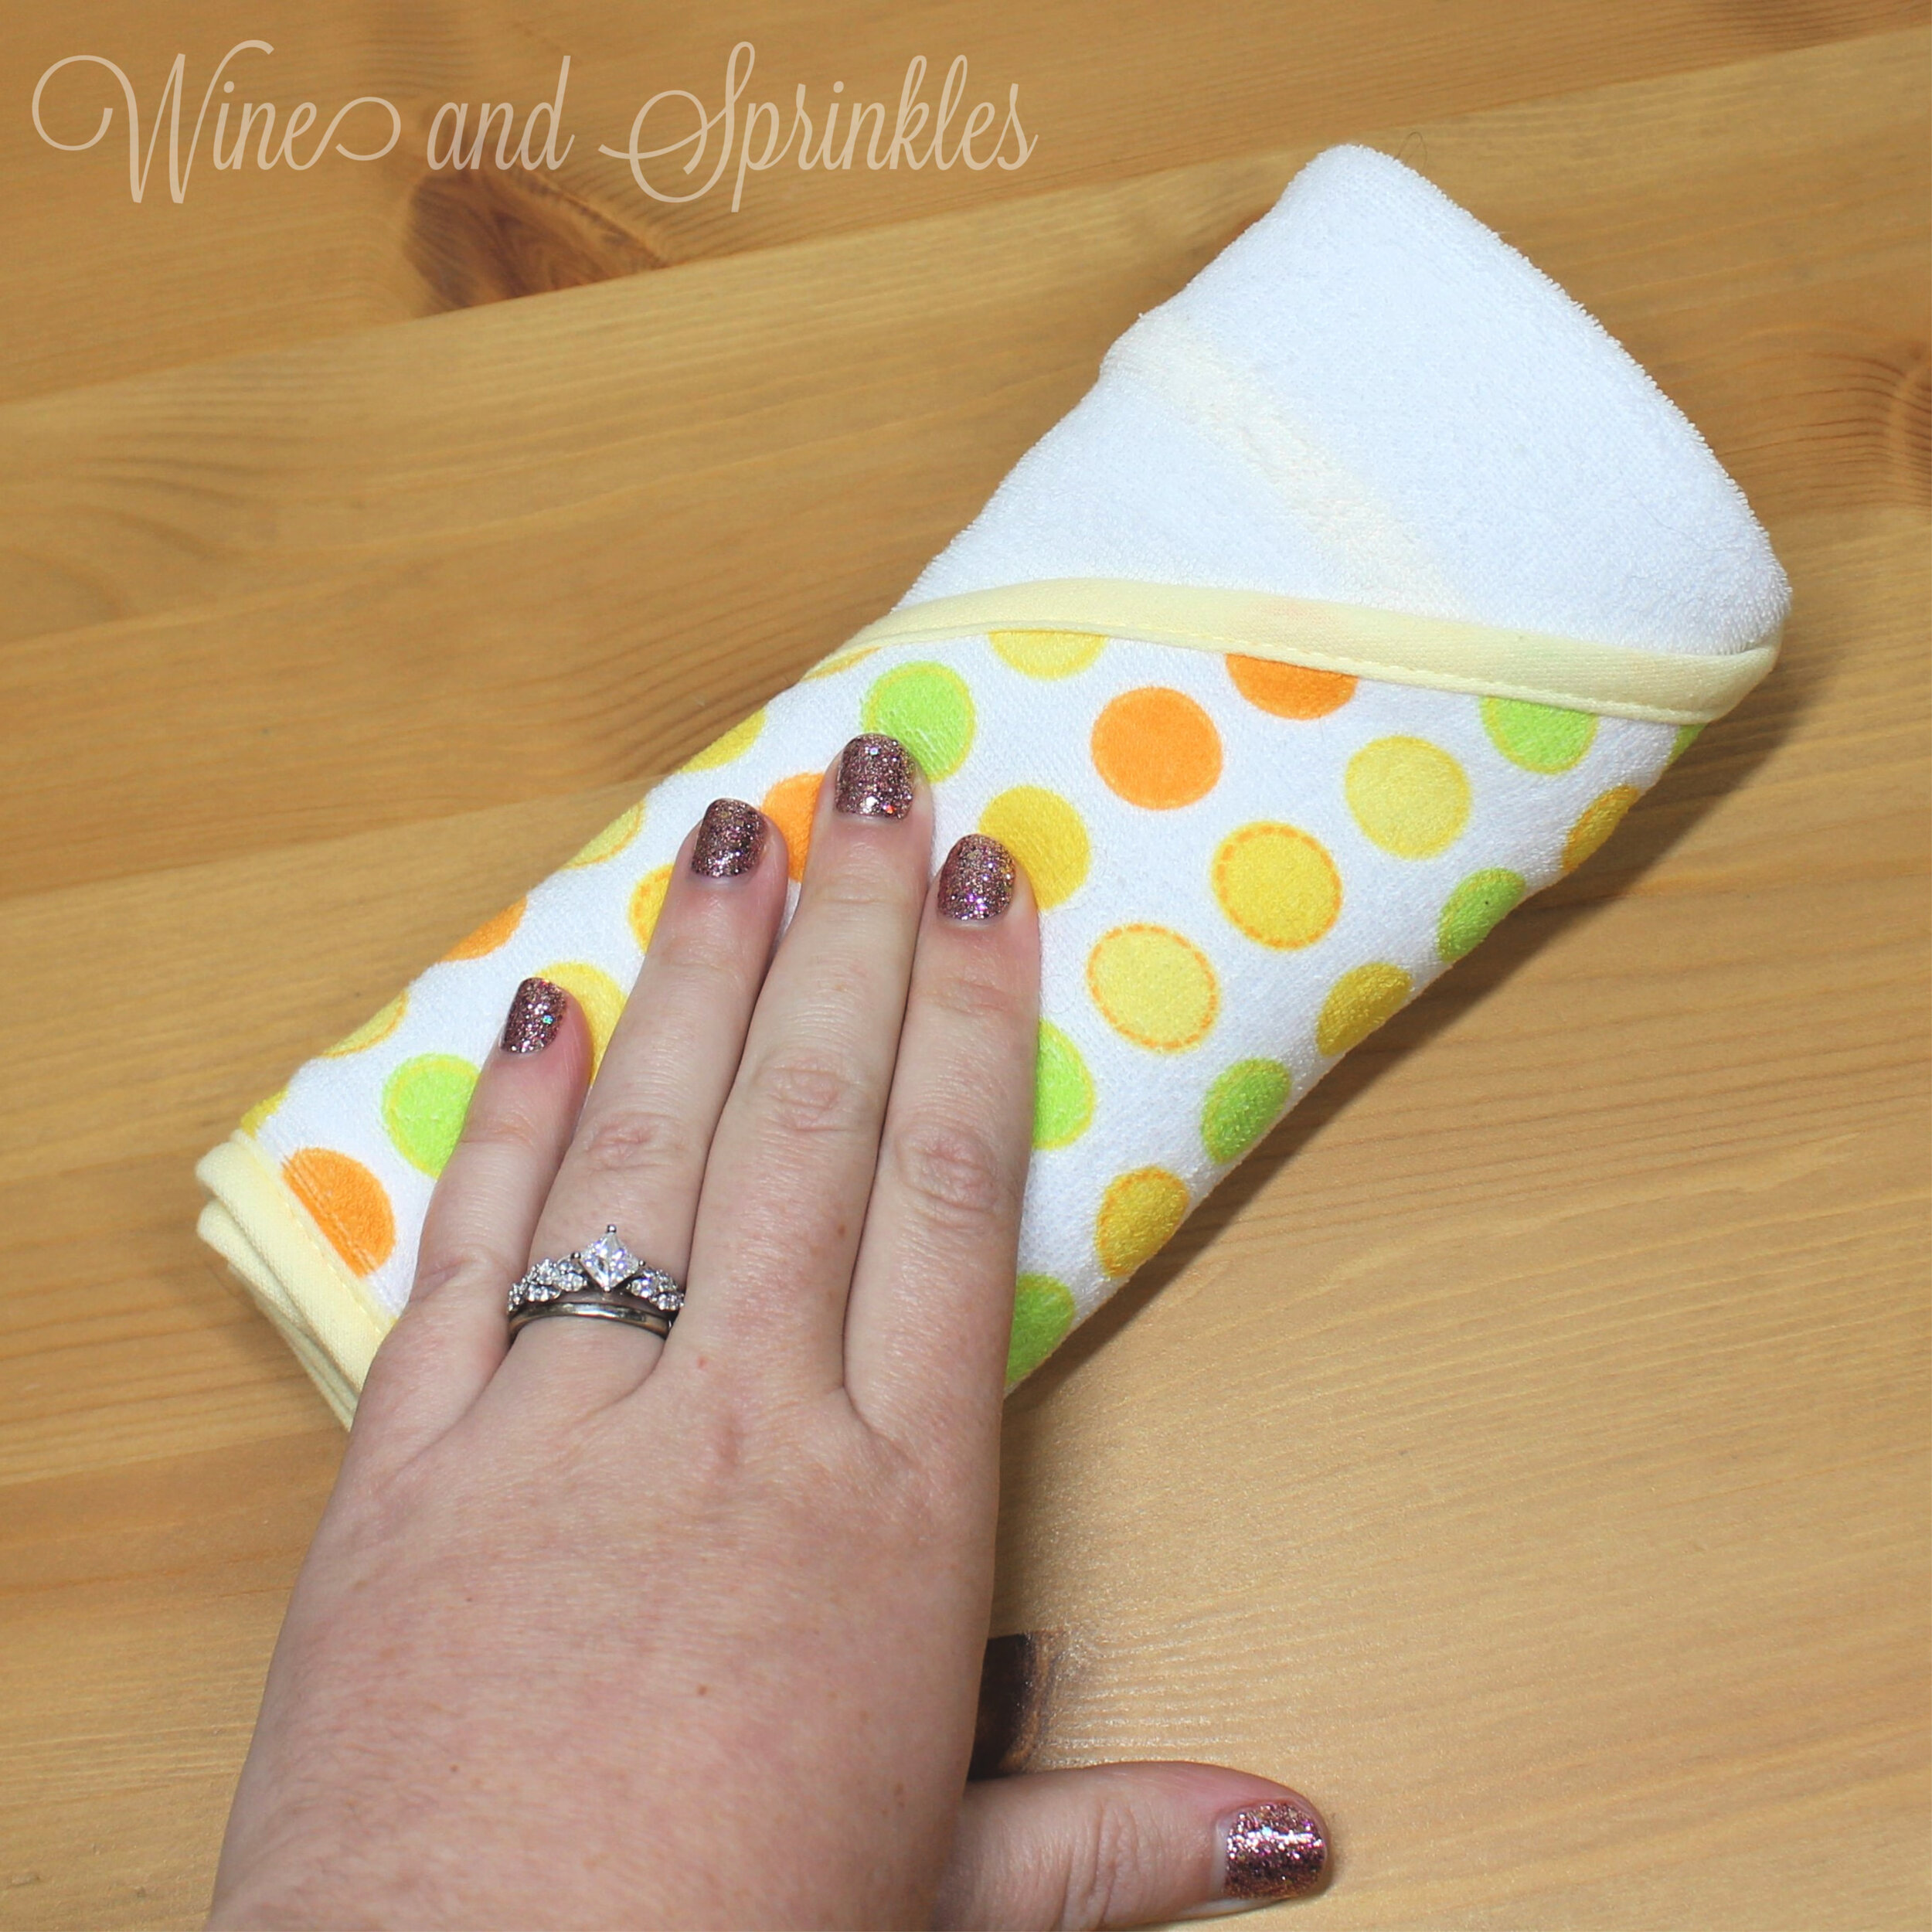
Start with your hooded towel unfolded, with the hood facing away from you to the lower right. Using your gift box as a guide, fold the towel lengthwise in thirds, starting with the non-hooded side first, then folding over the hood to make a long rectangle. The rectangle should have the width of the box you are using, which may require the second fold of your towel to “overlap” the first fold, but the important thing is the width! Once folded, flip over the towel so that the hood side is down and closest to you, as shown in the next set of photos.
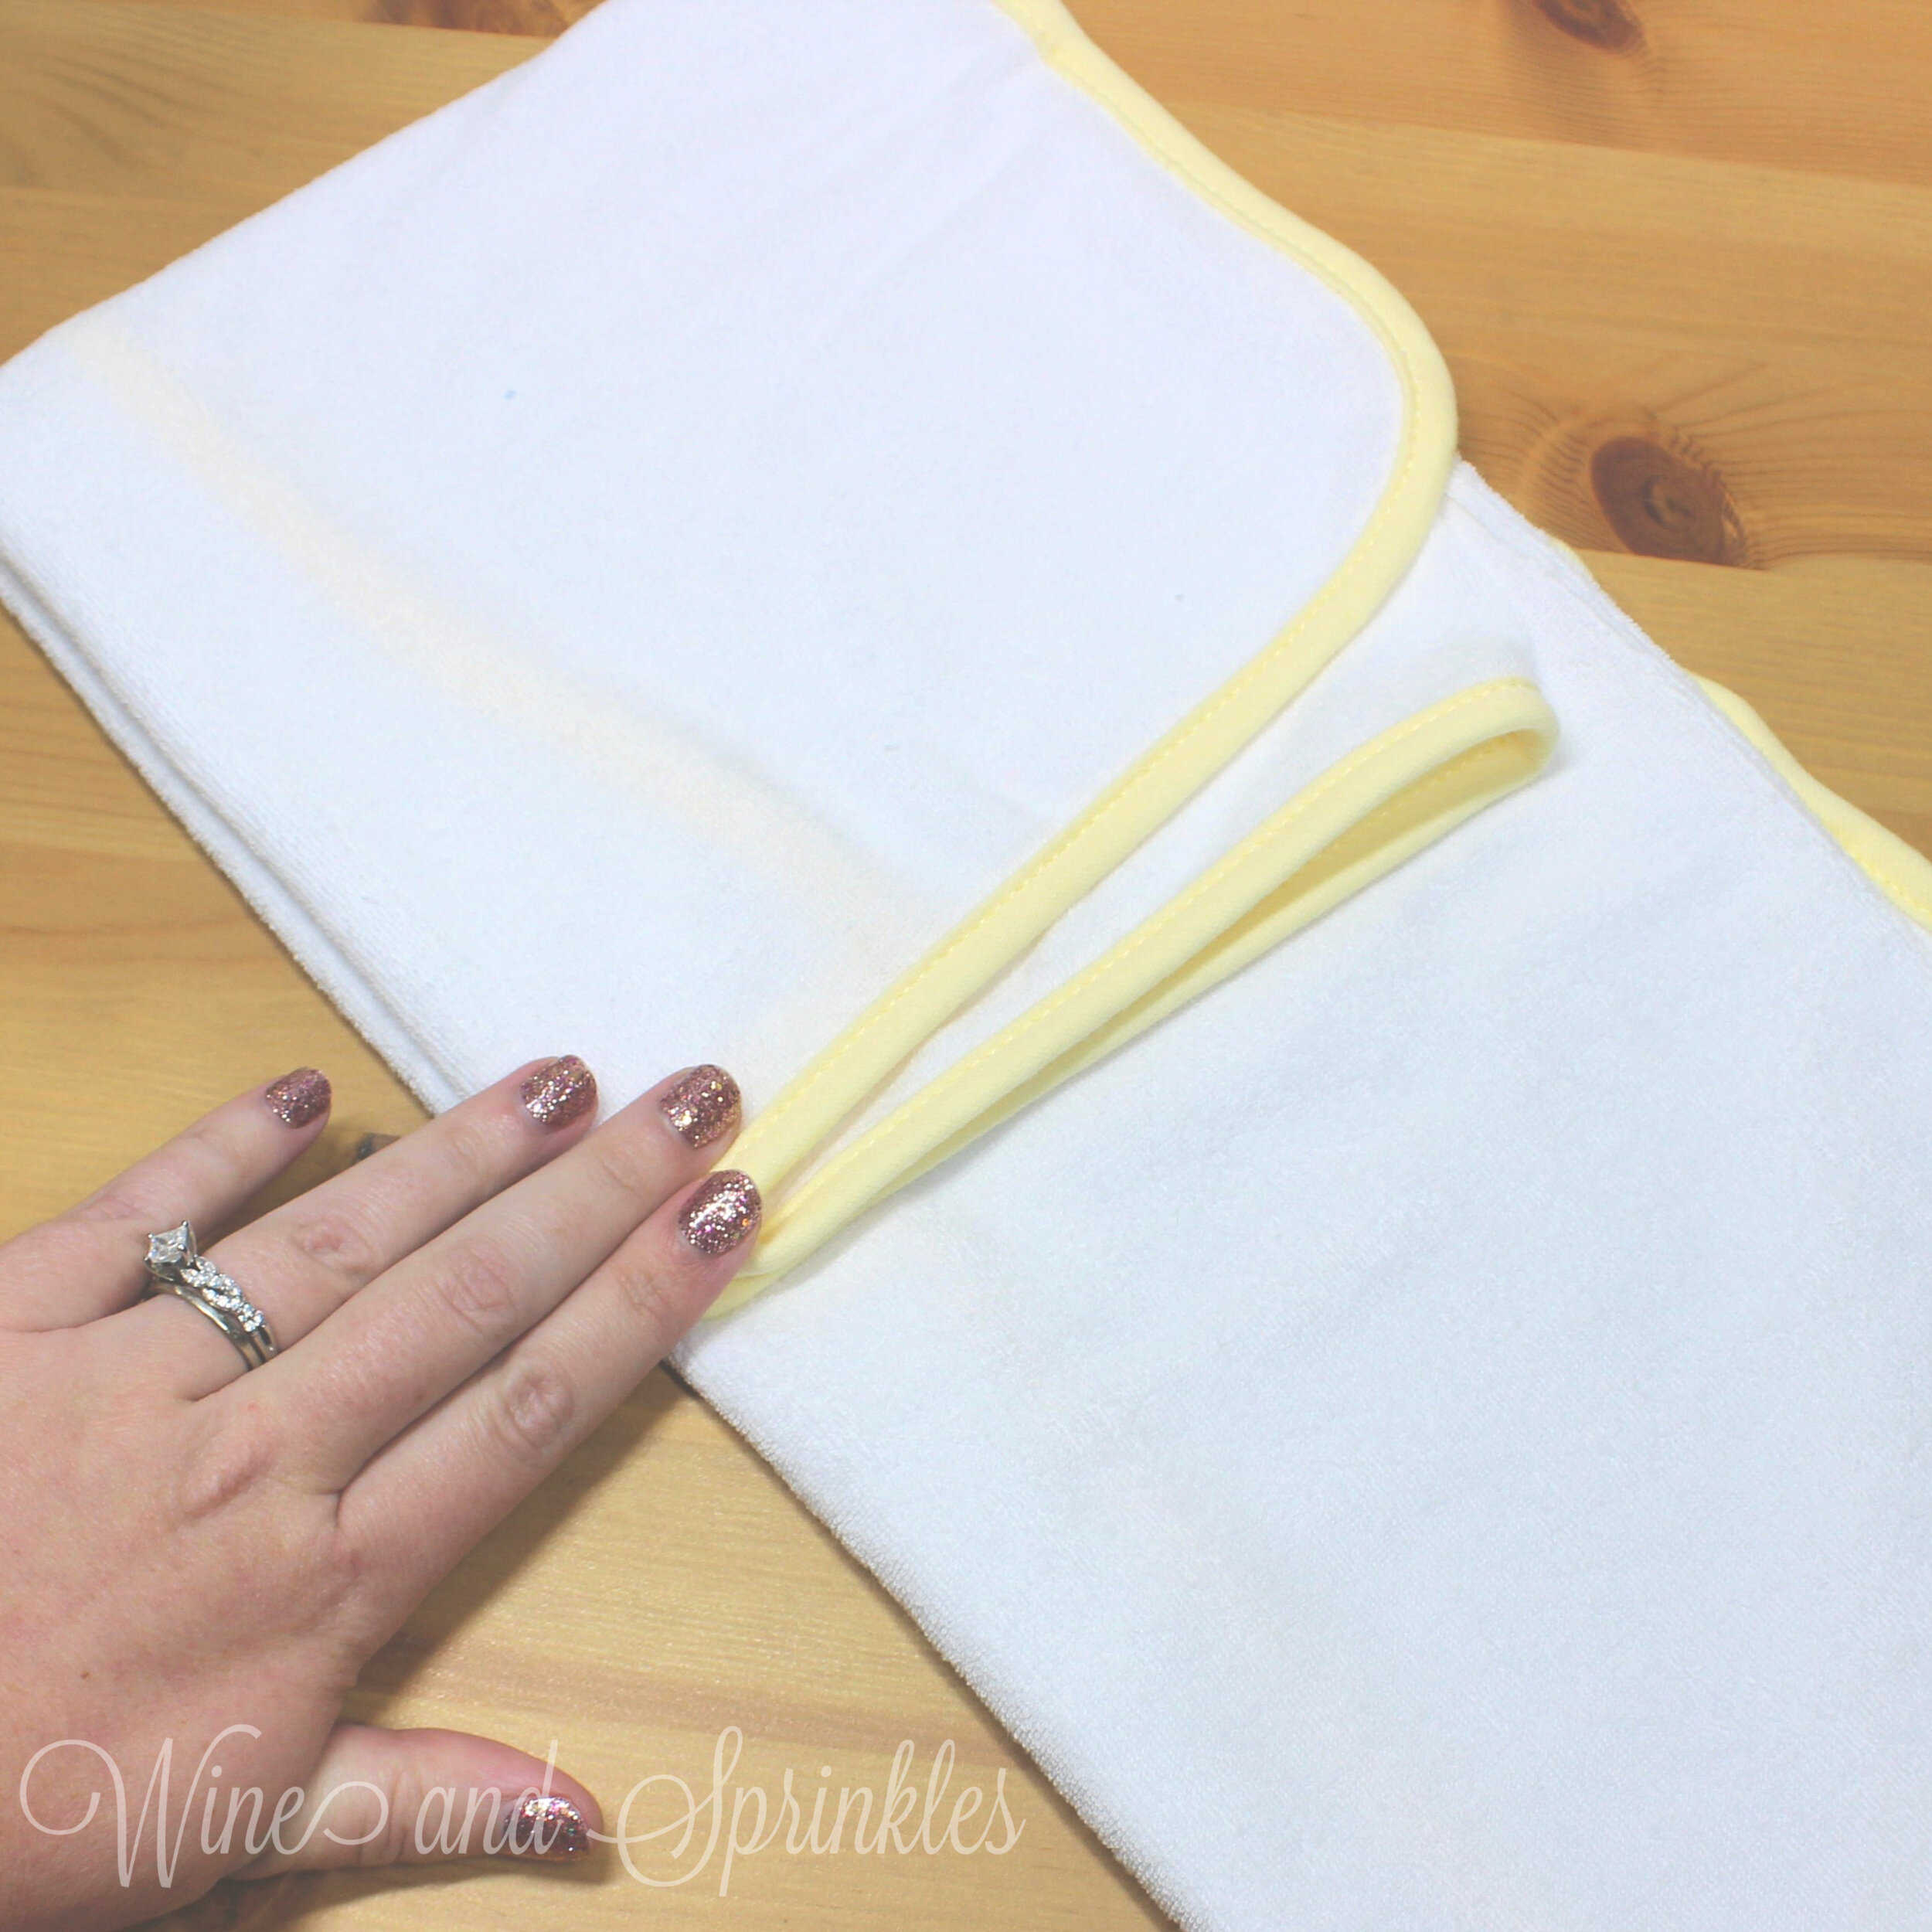
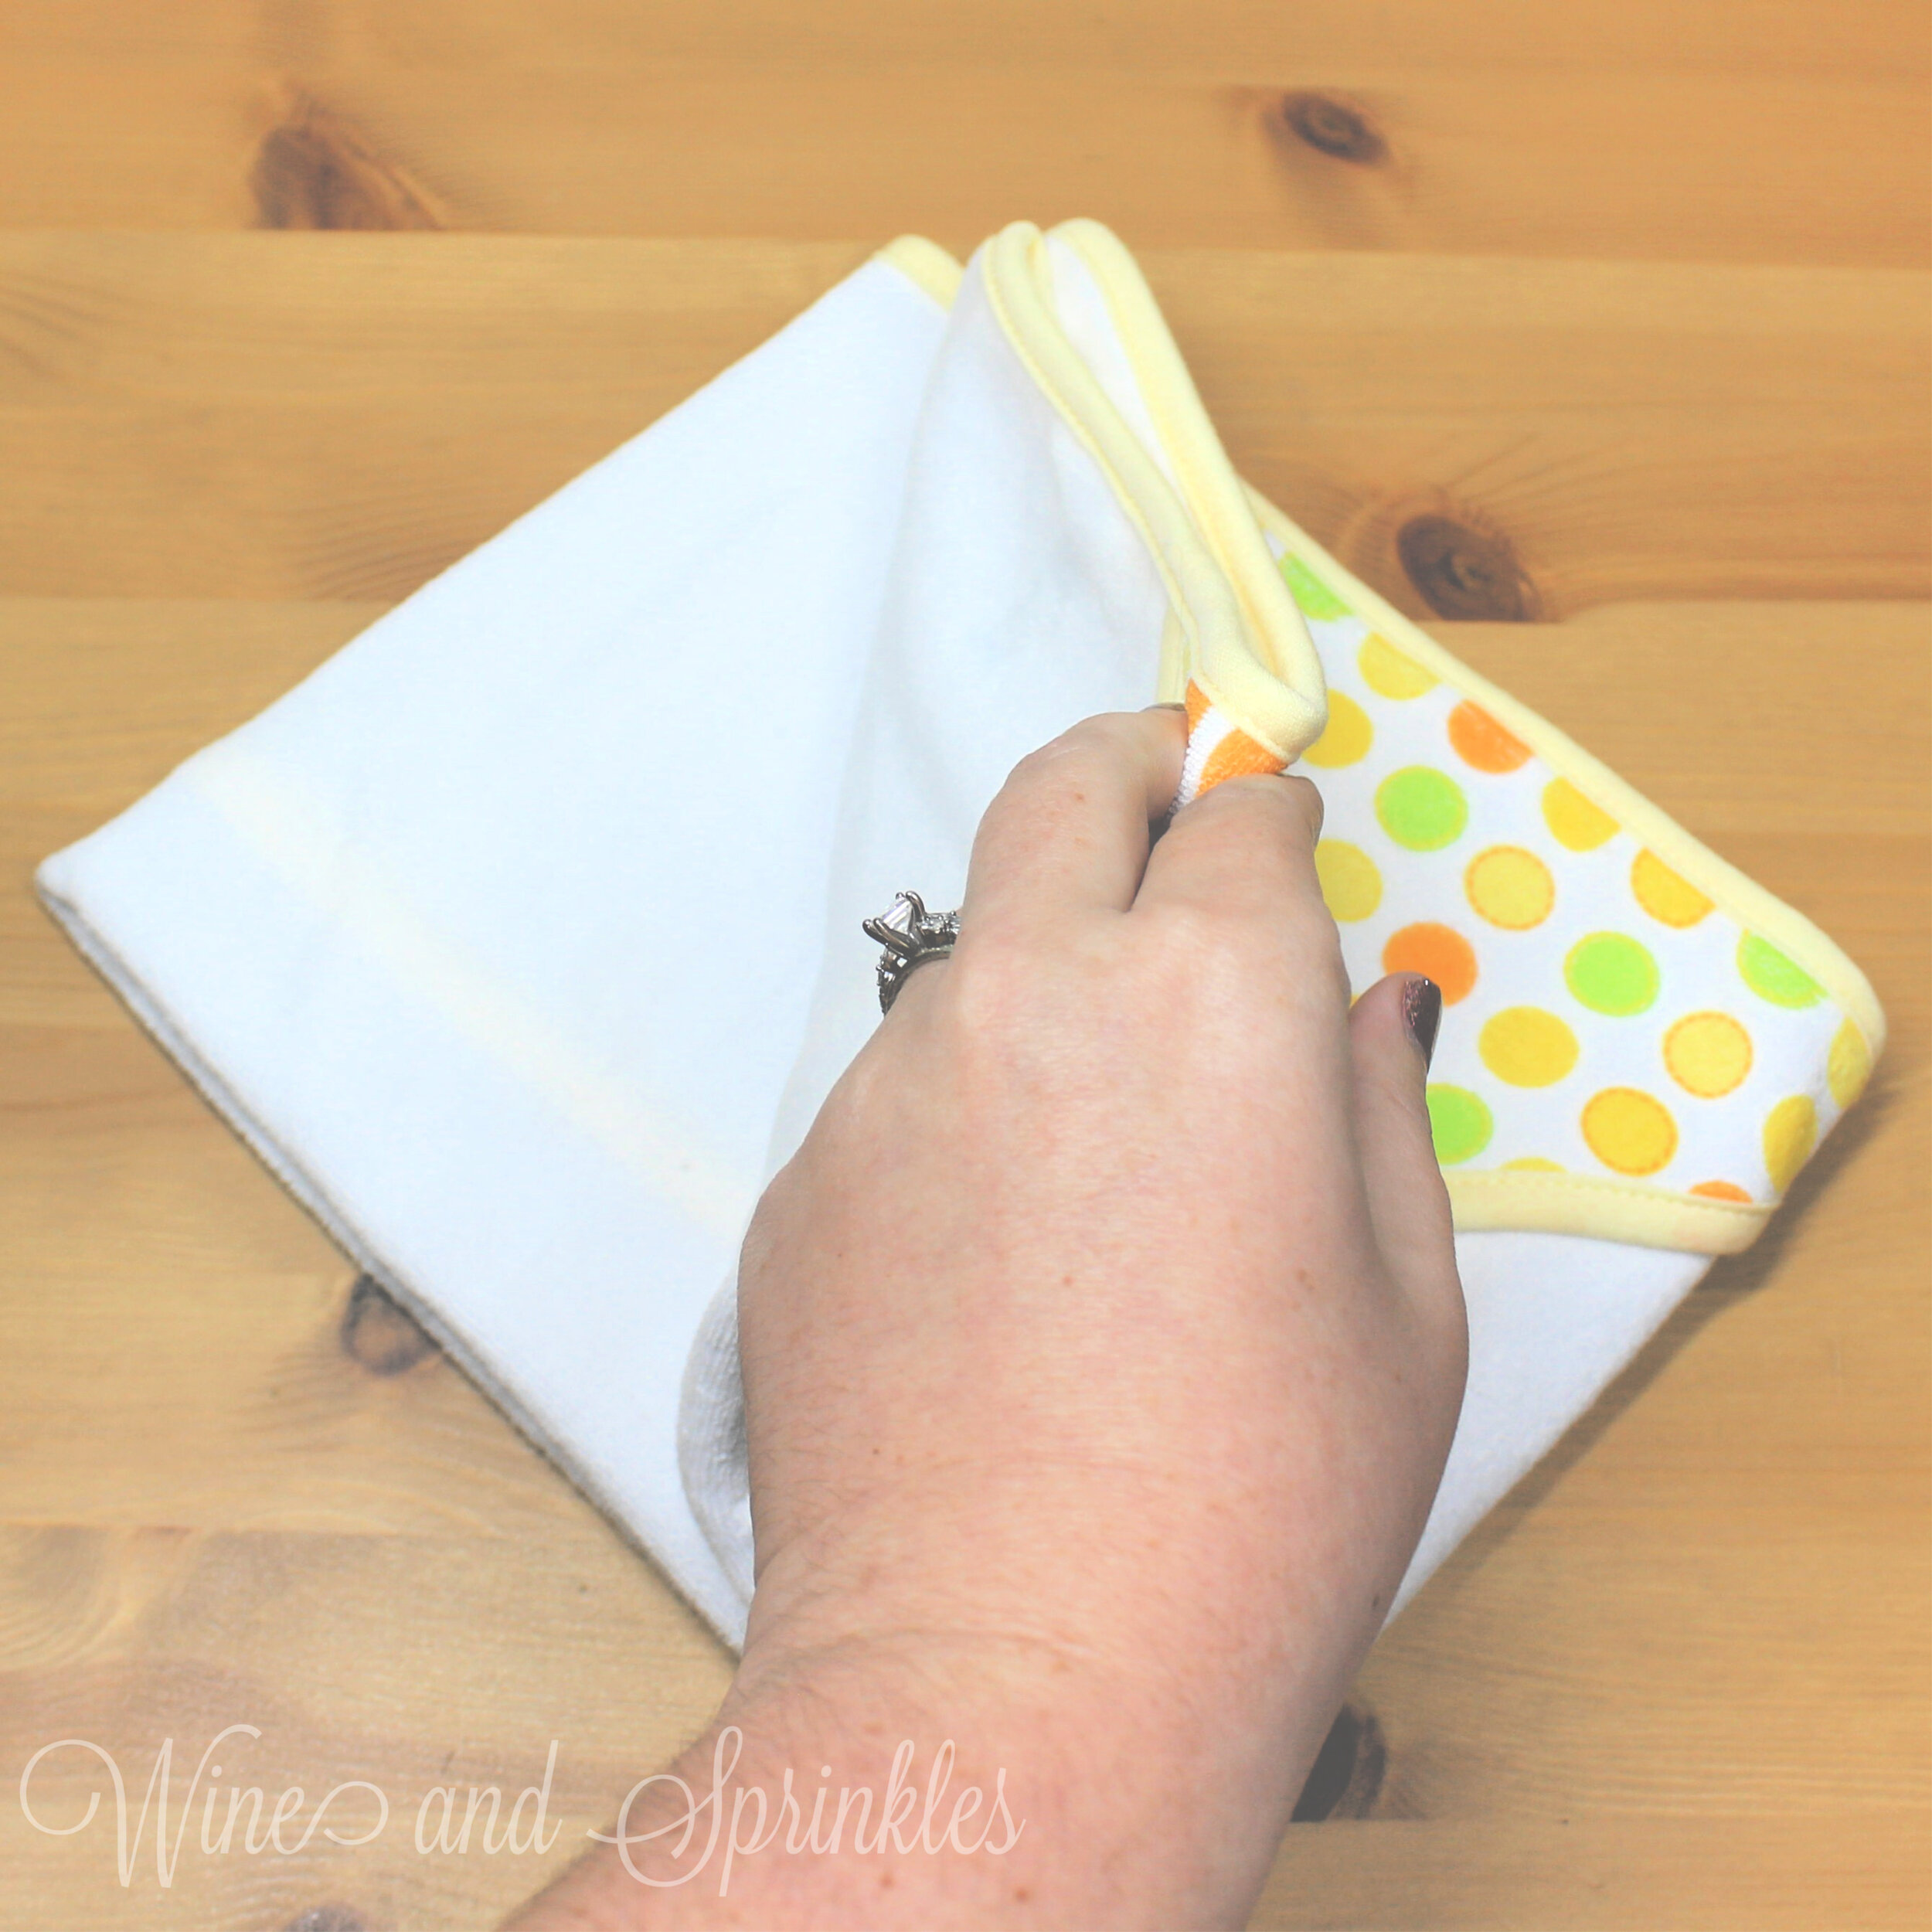
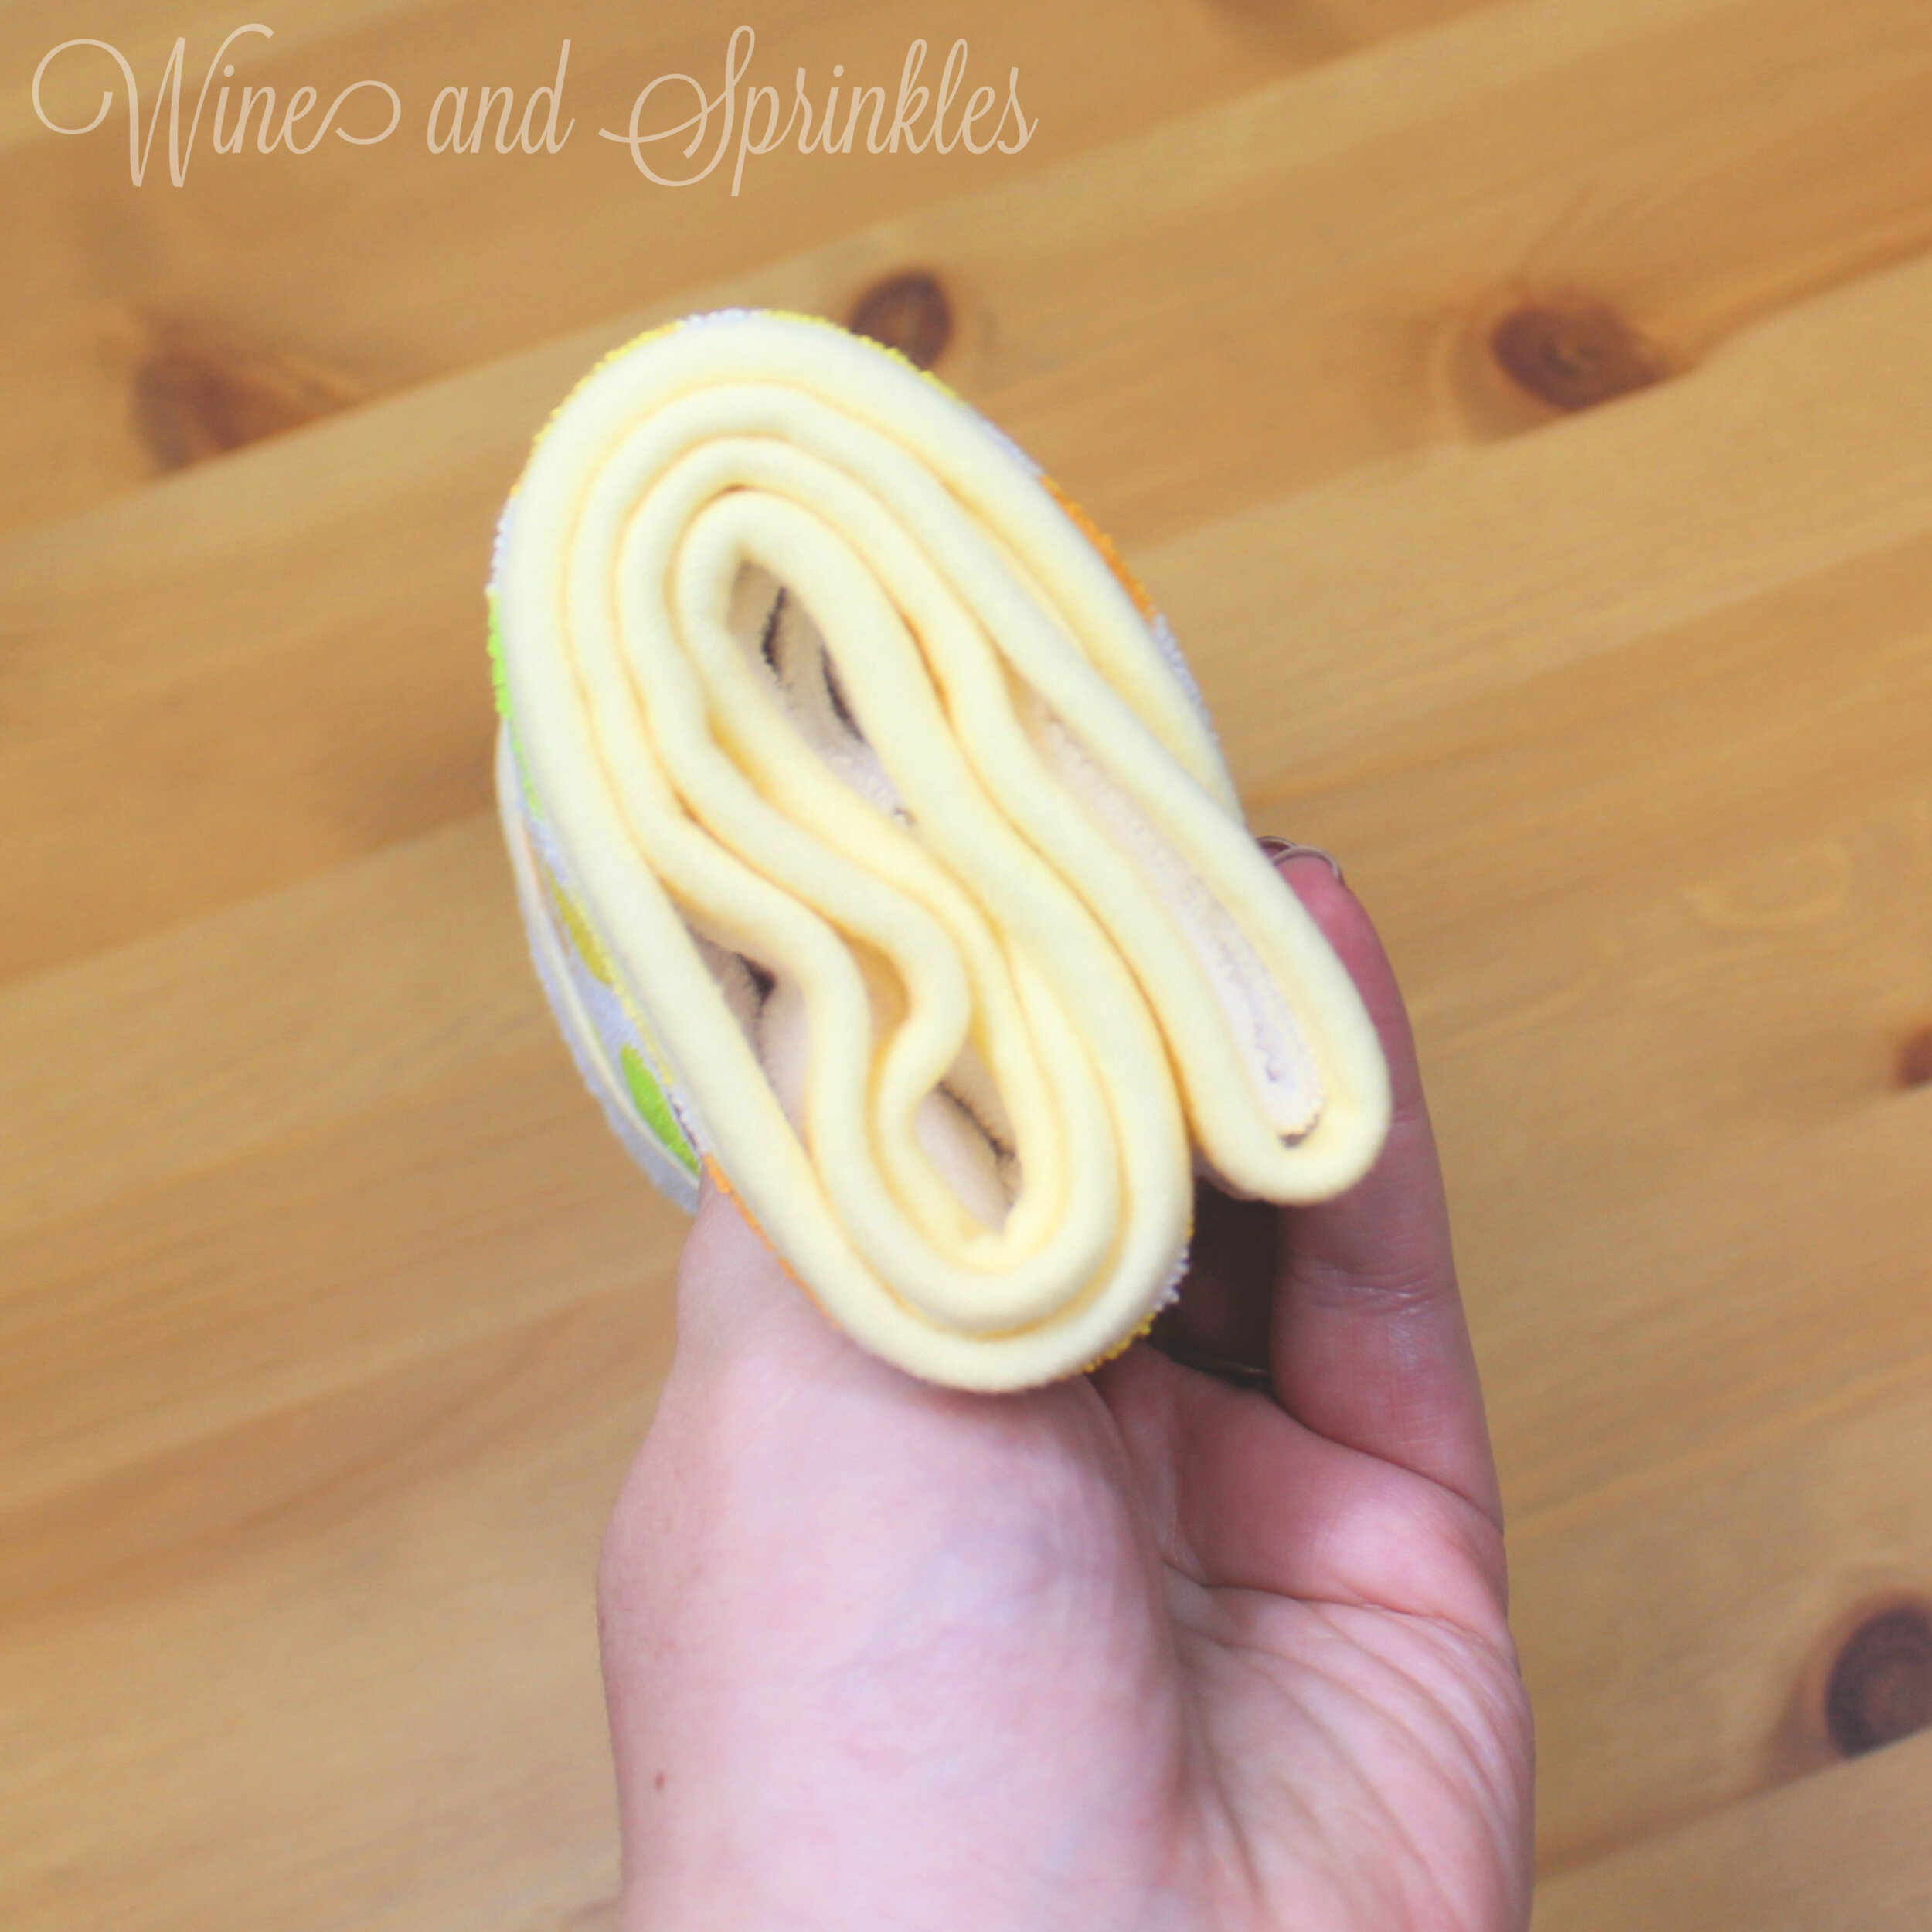
2. Starting with the non-hood side, fold your long rectangle in thirds again, this time width-wise. After the first fold, bring the hooded side up to the opposite edge to form a squarish packet with the patterned hood displayed as shown in the photos above.
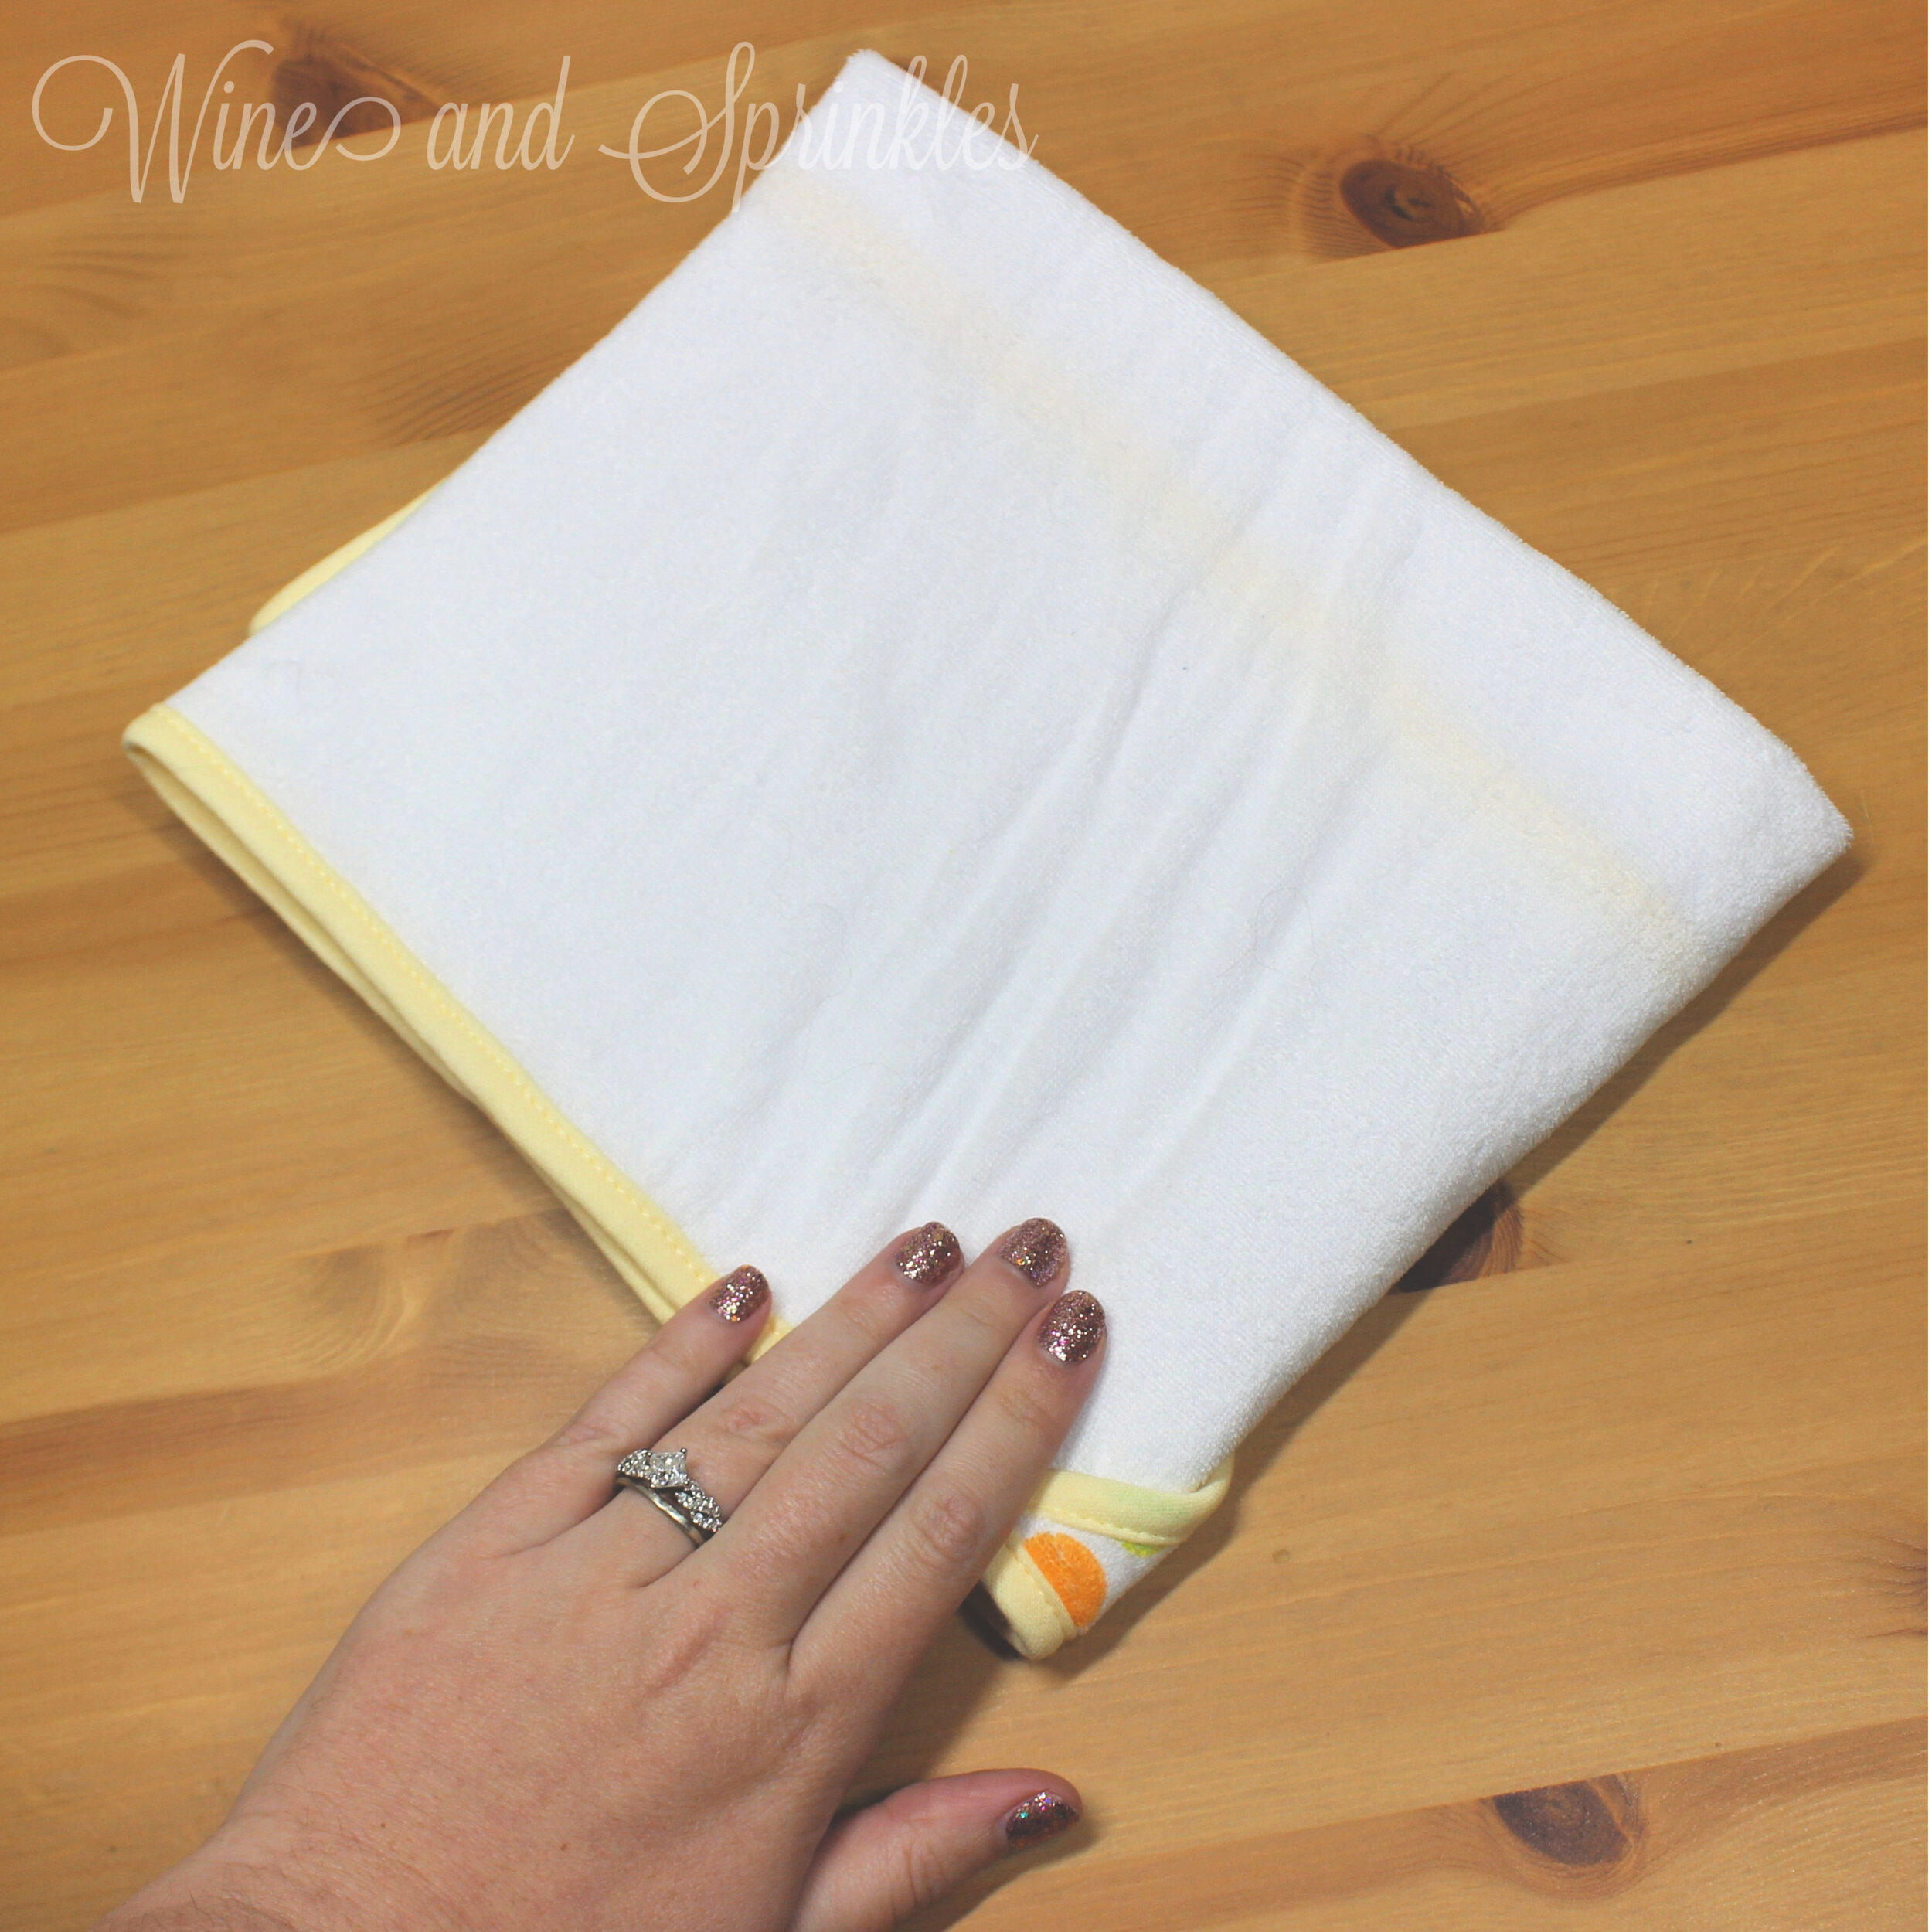
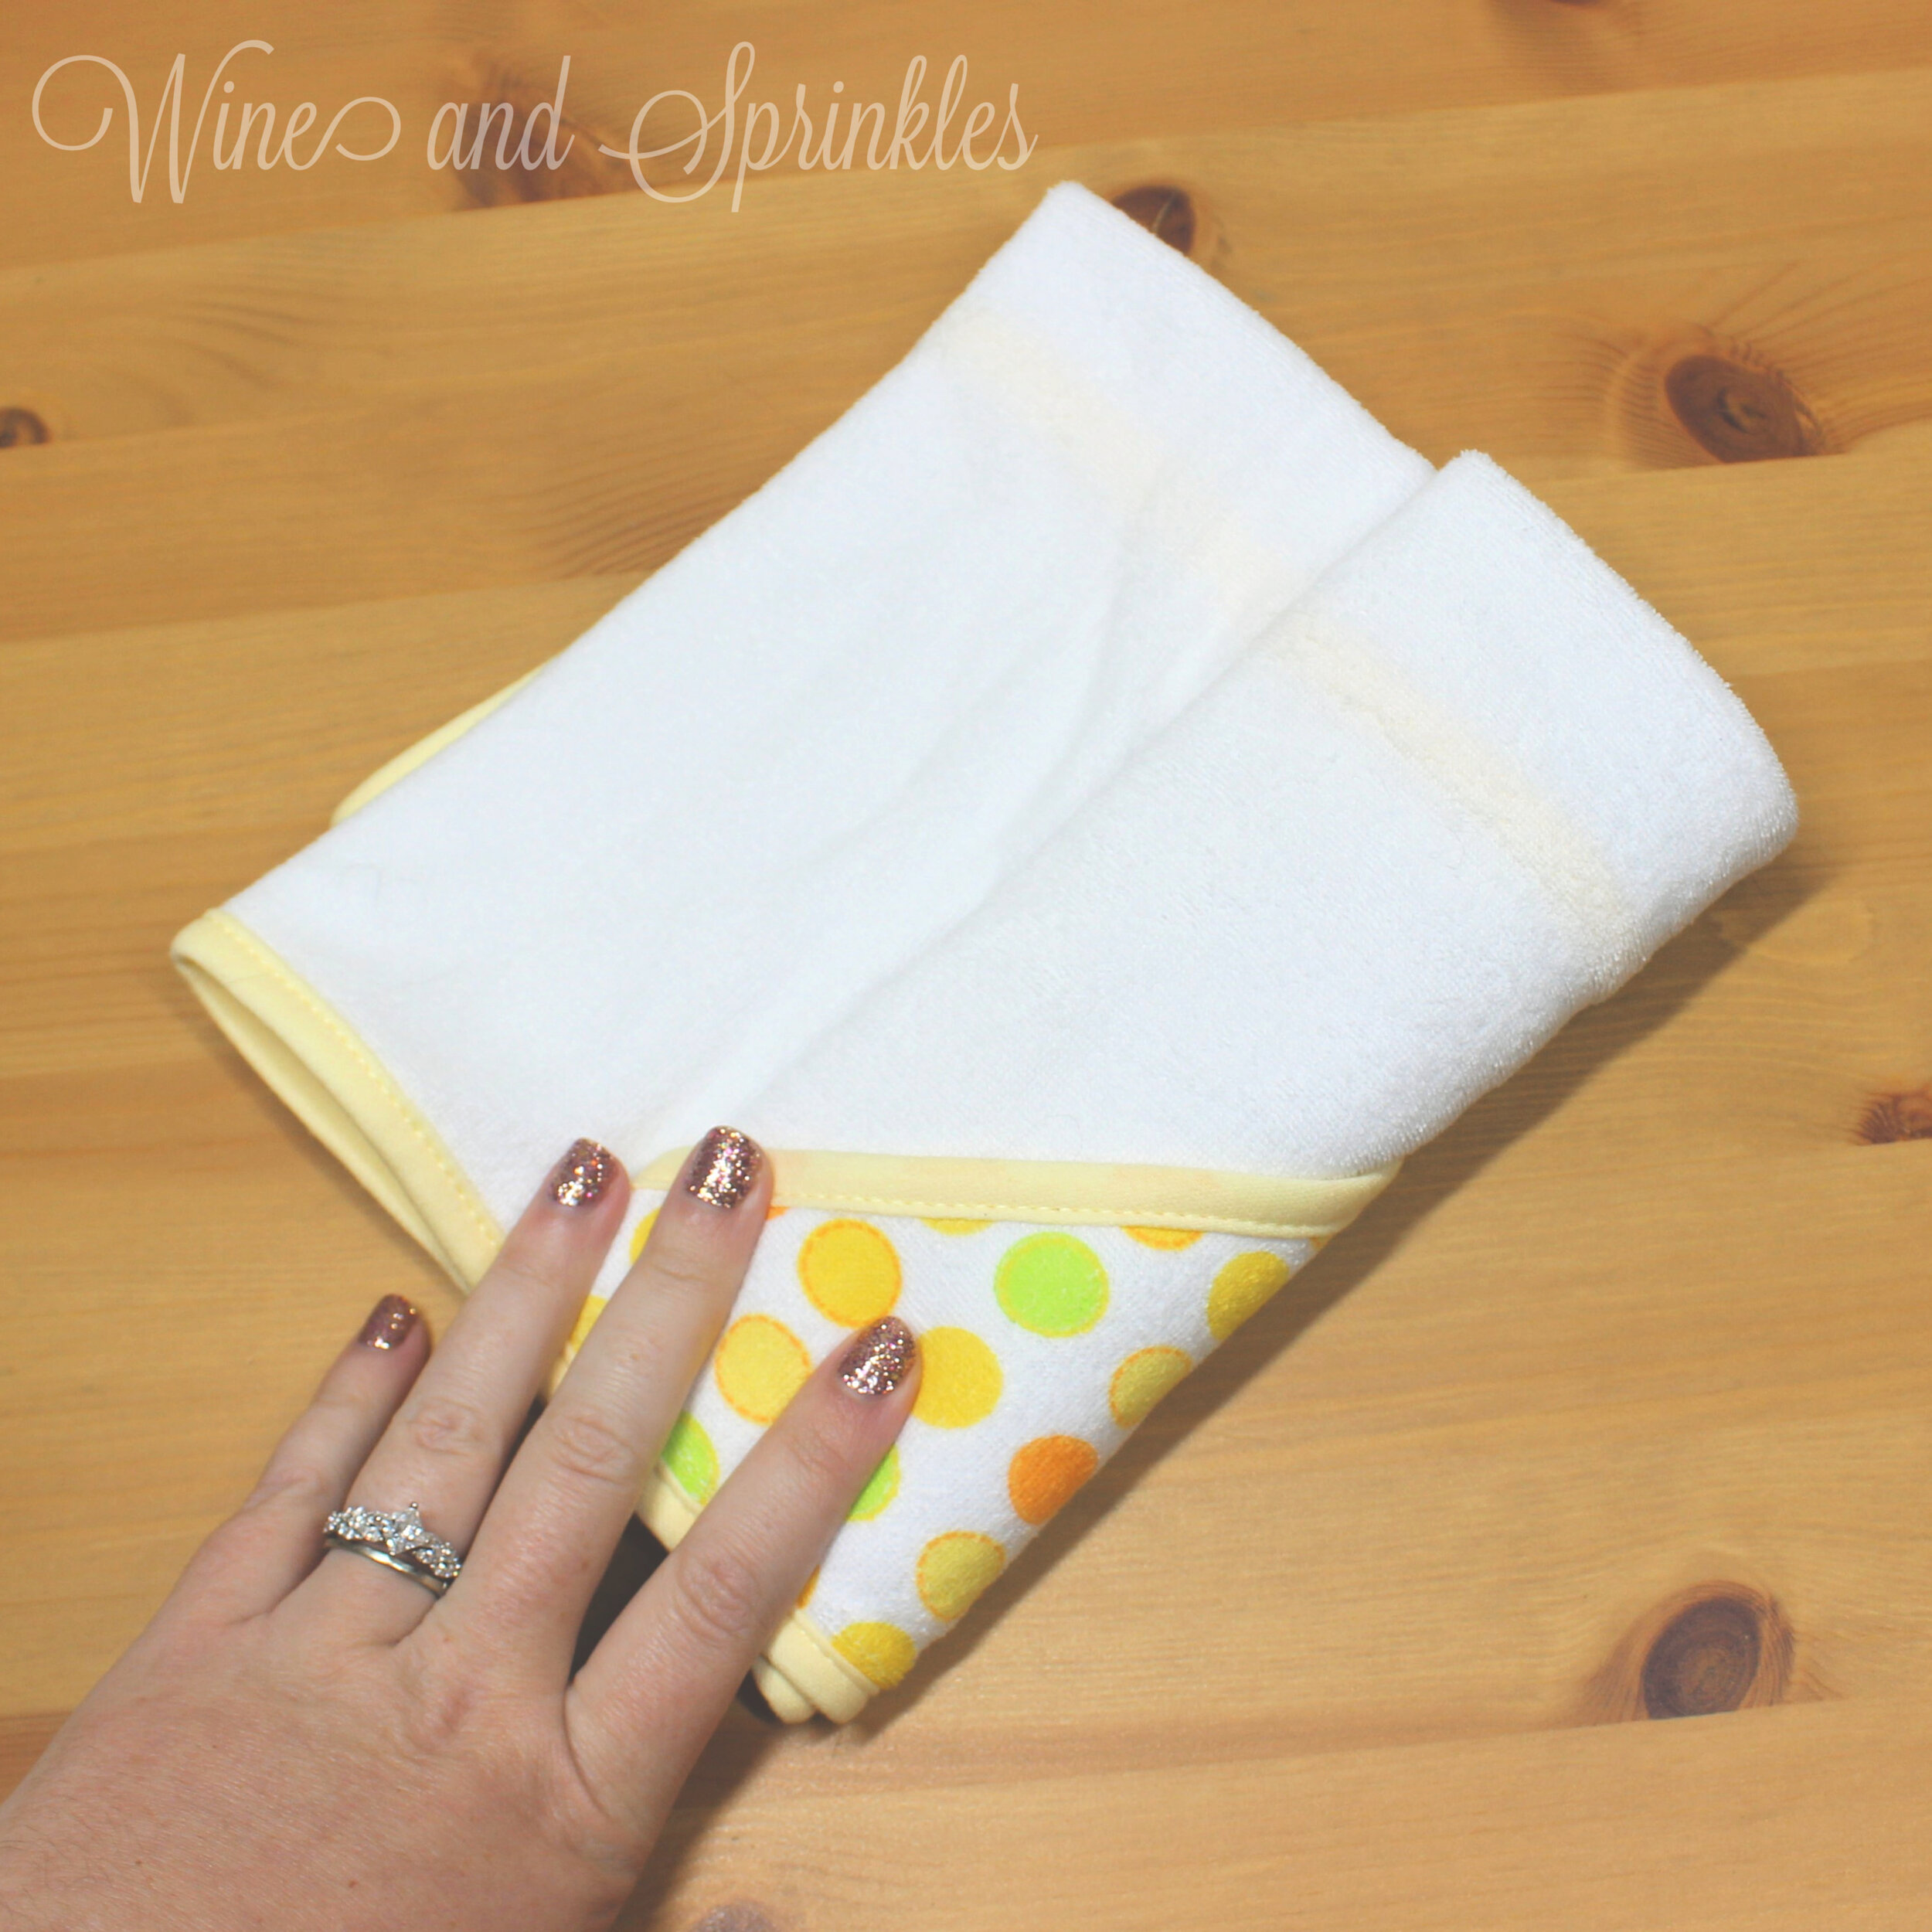
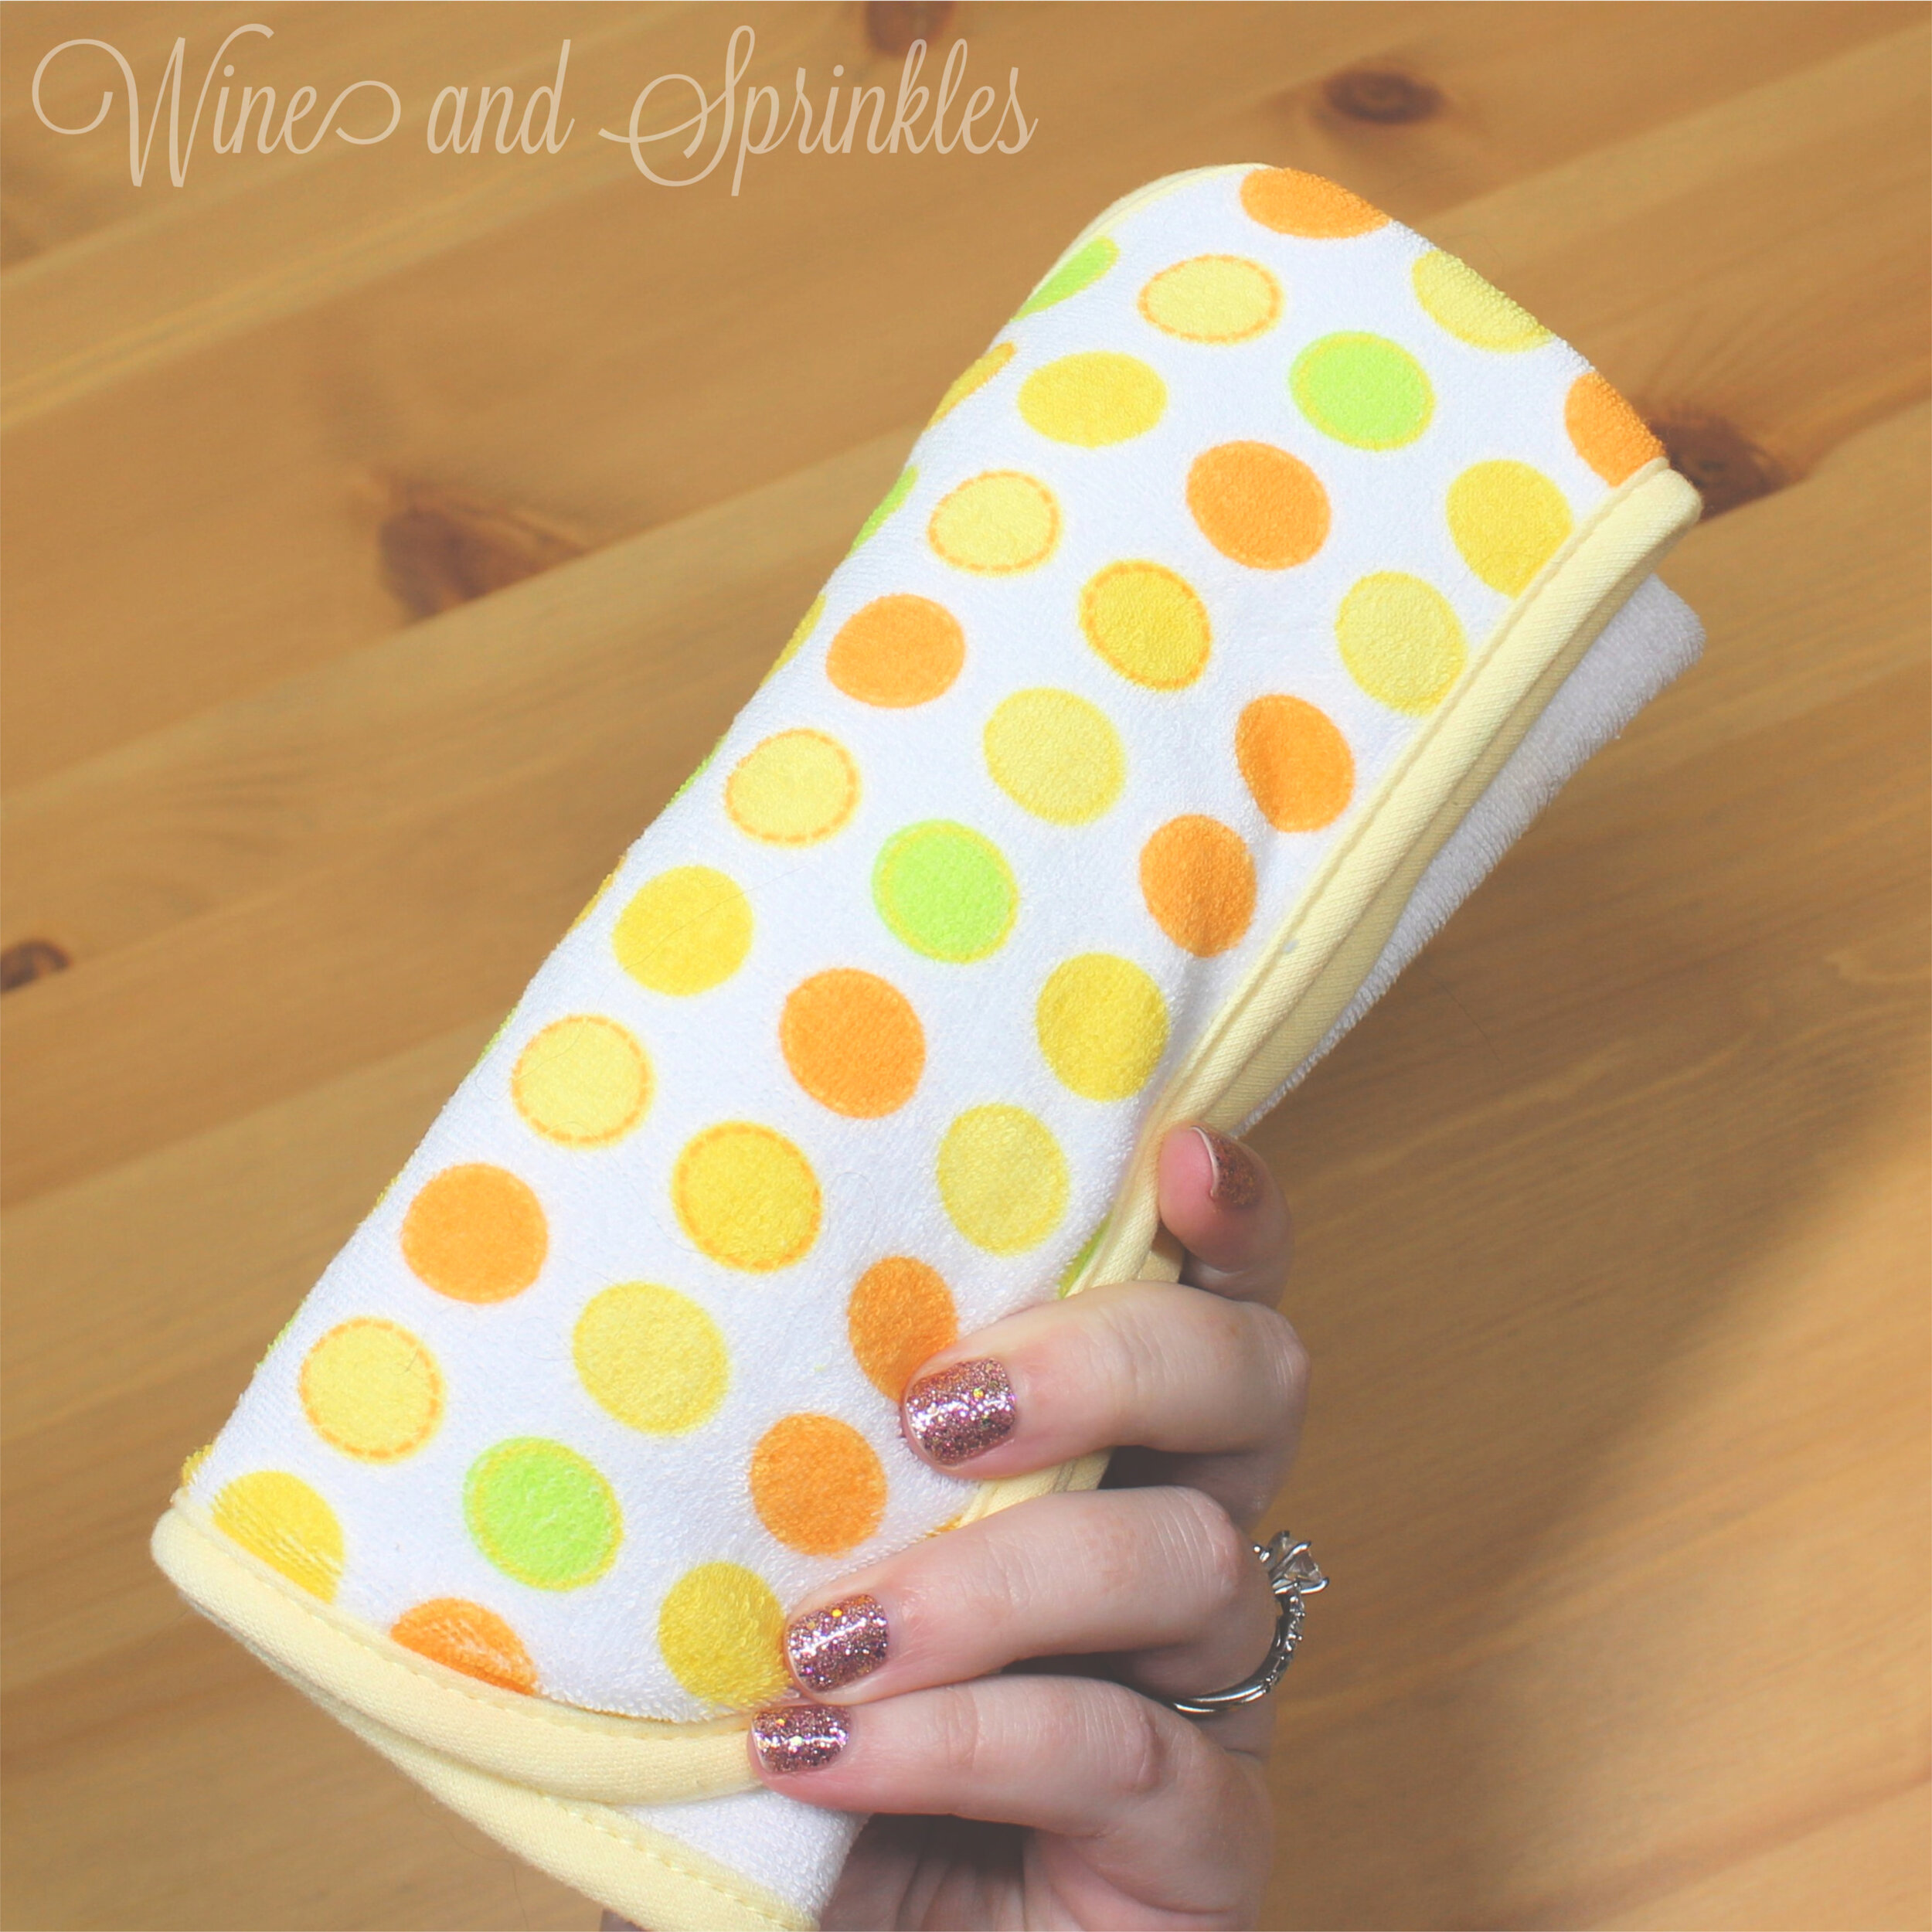
3. Flip the towel over again, with the folded edge towards you. You will see a bit of the hood peeking out from the lower left corner and all the open edges of the towel will be on the opposite side. Once again, fold your towel in thirds as shown in the photos, starting with the folded edge, essentially rolling it into a rectangular tube,with the patterned hood completely showing on one side and the hood with a white triangle showing on the other side. Repeat the process with the other two towels.
4. Now the towels can be placed in the gift box! Starting on the left side of the box and holding each towel as you add another, place each towel in the box; with the open seam of the hood towards the bottom, as shown below. Holding the towels in the box to the left, secure their placement by inserting the rubber duck into the right side. This will keep the towels secure and folded while you fold the washcloths!
PART 2: FOLDING WASHCLOTHS
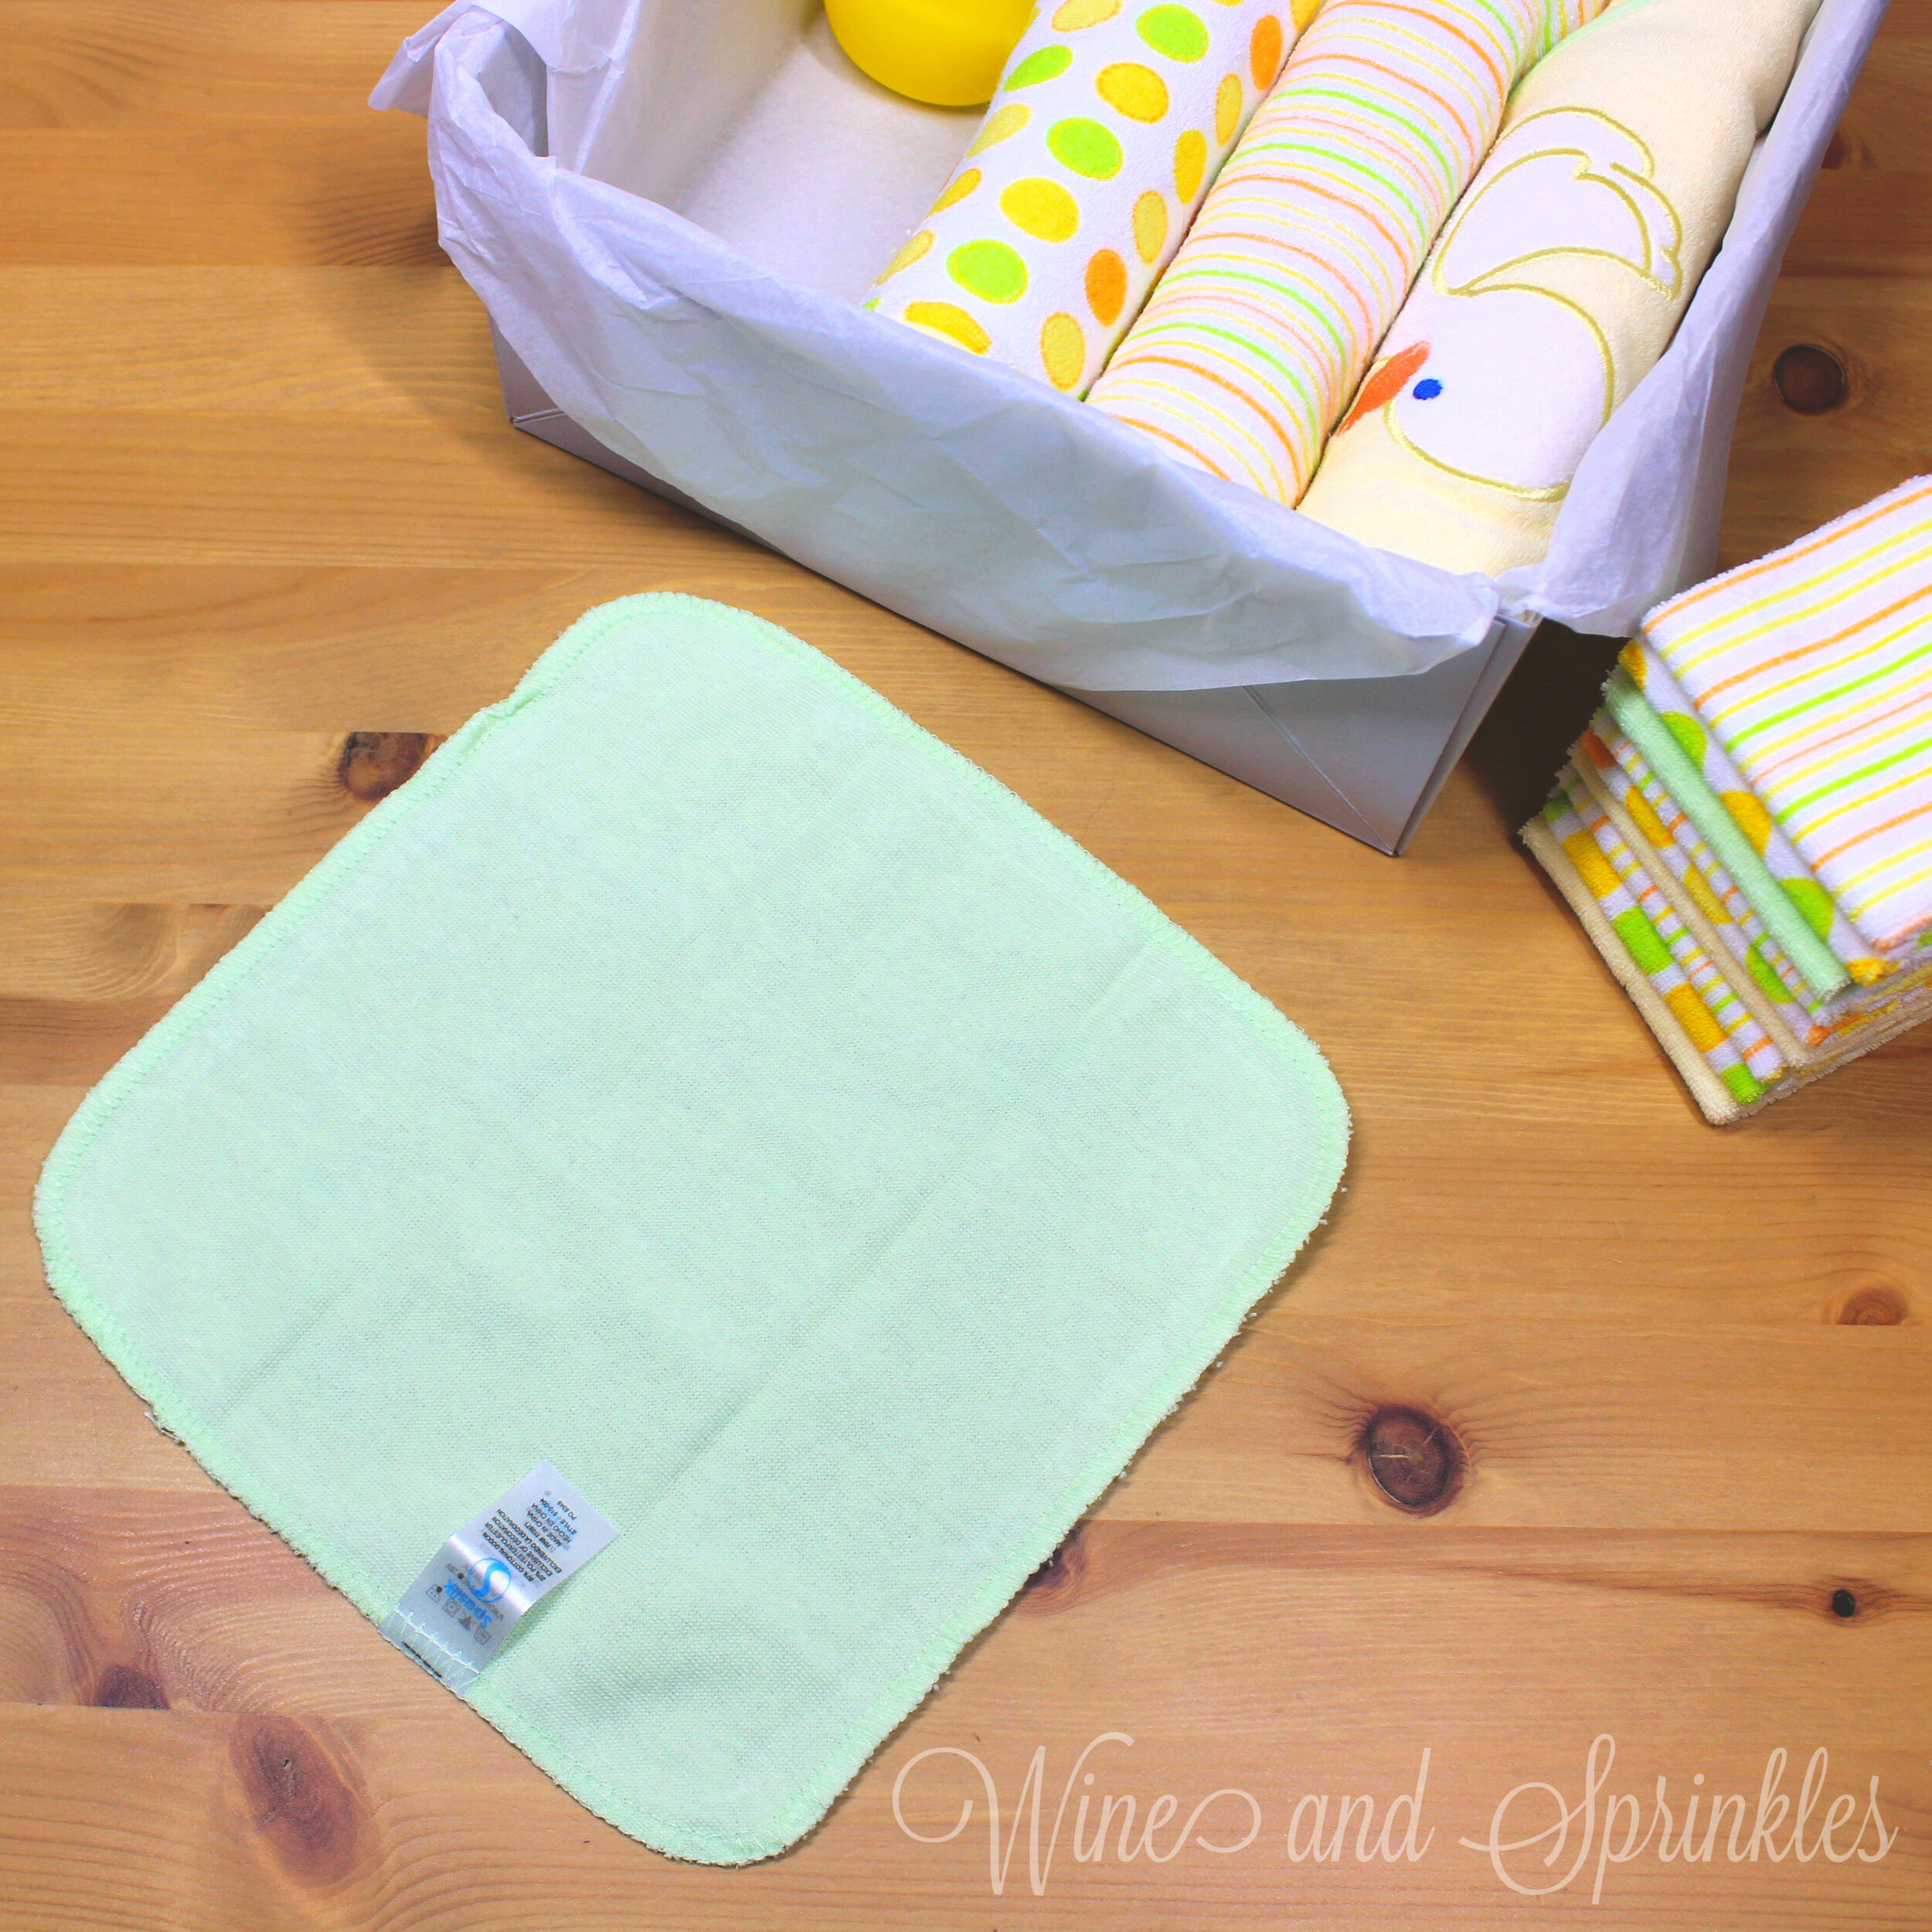
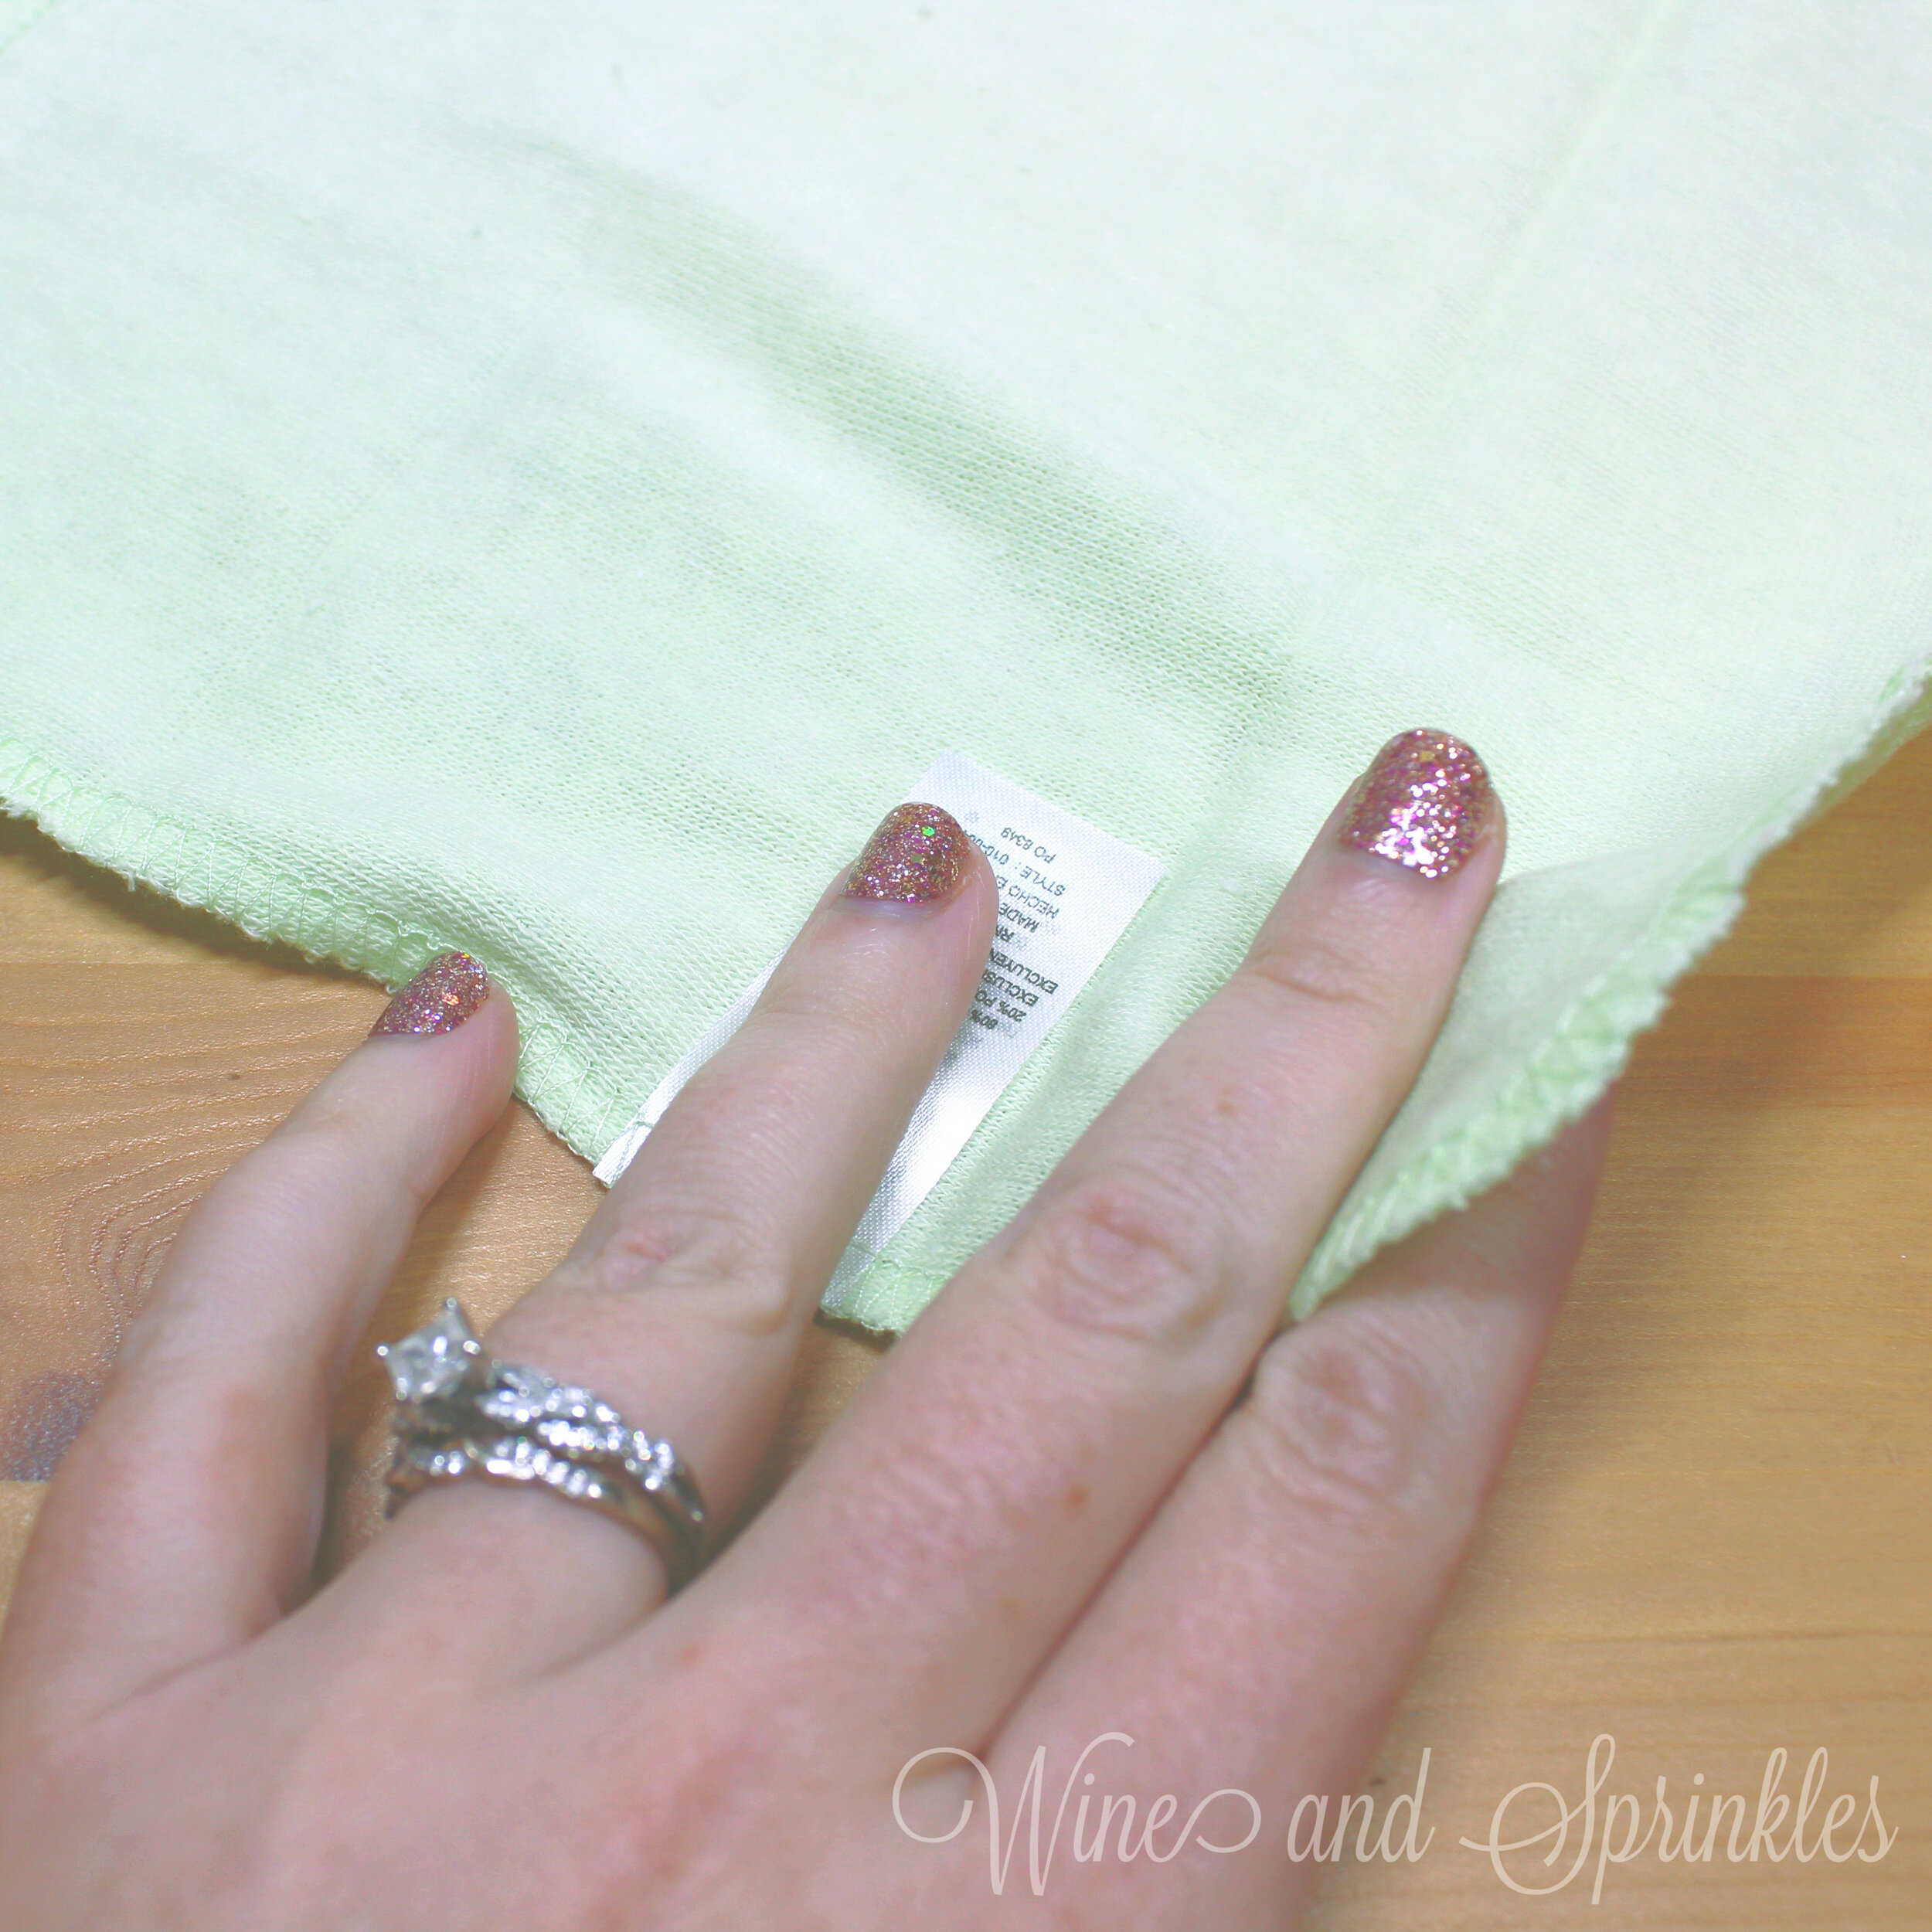
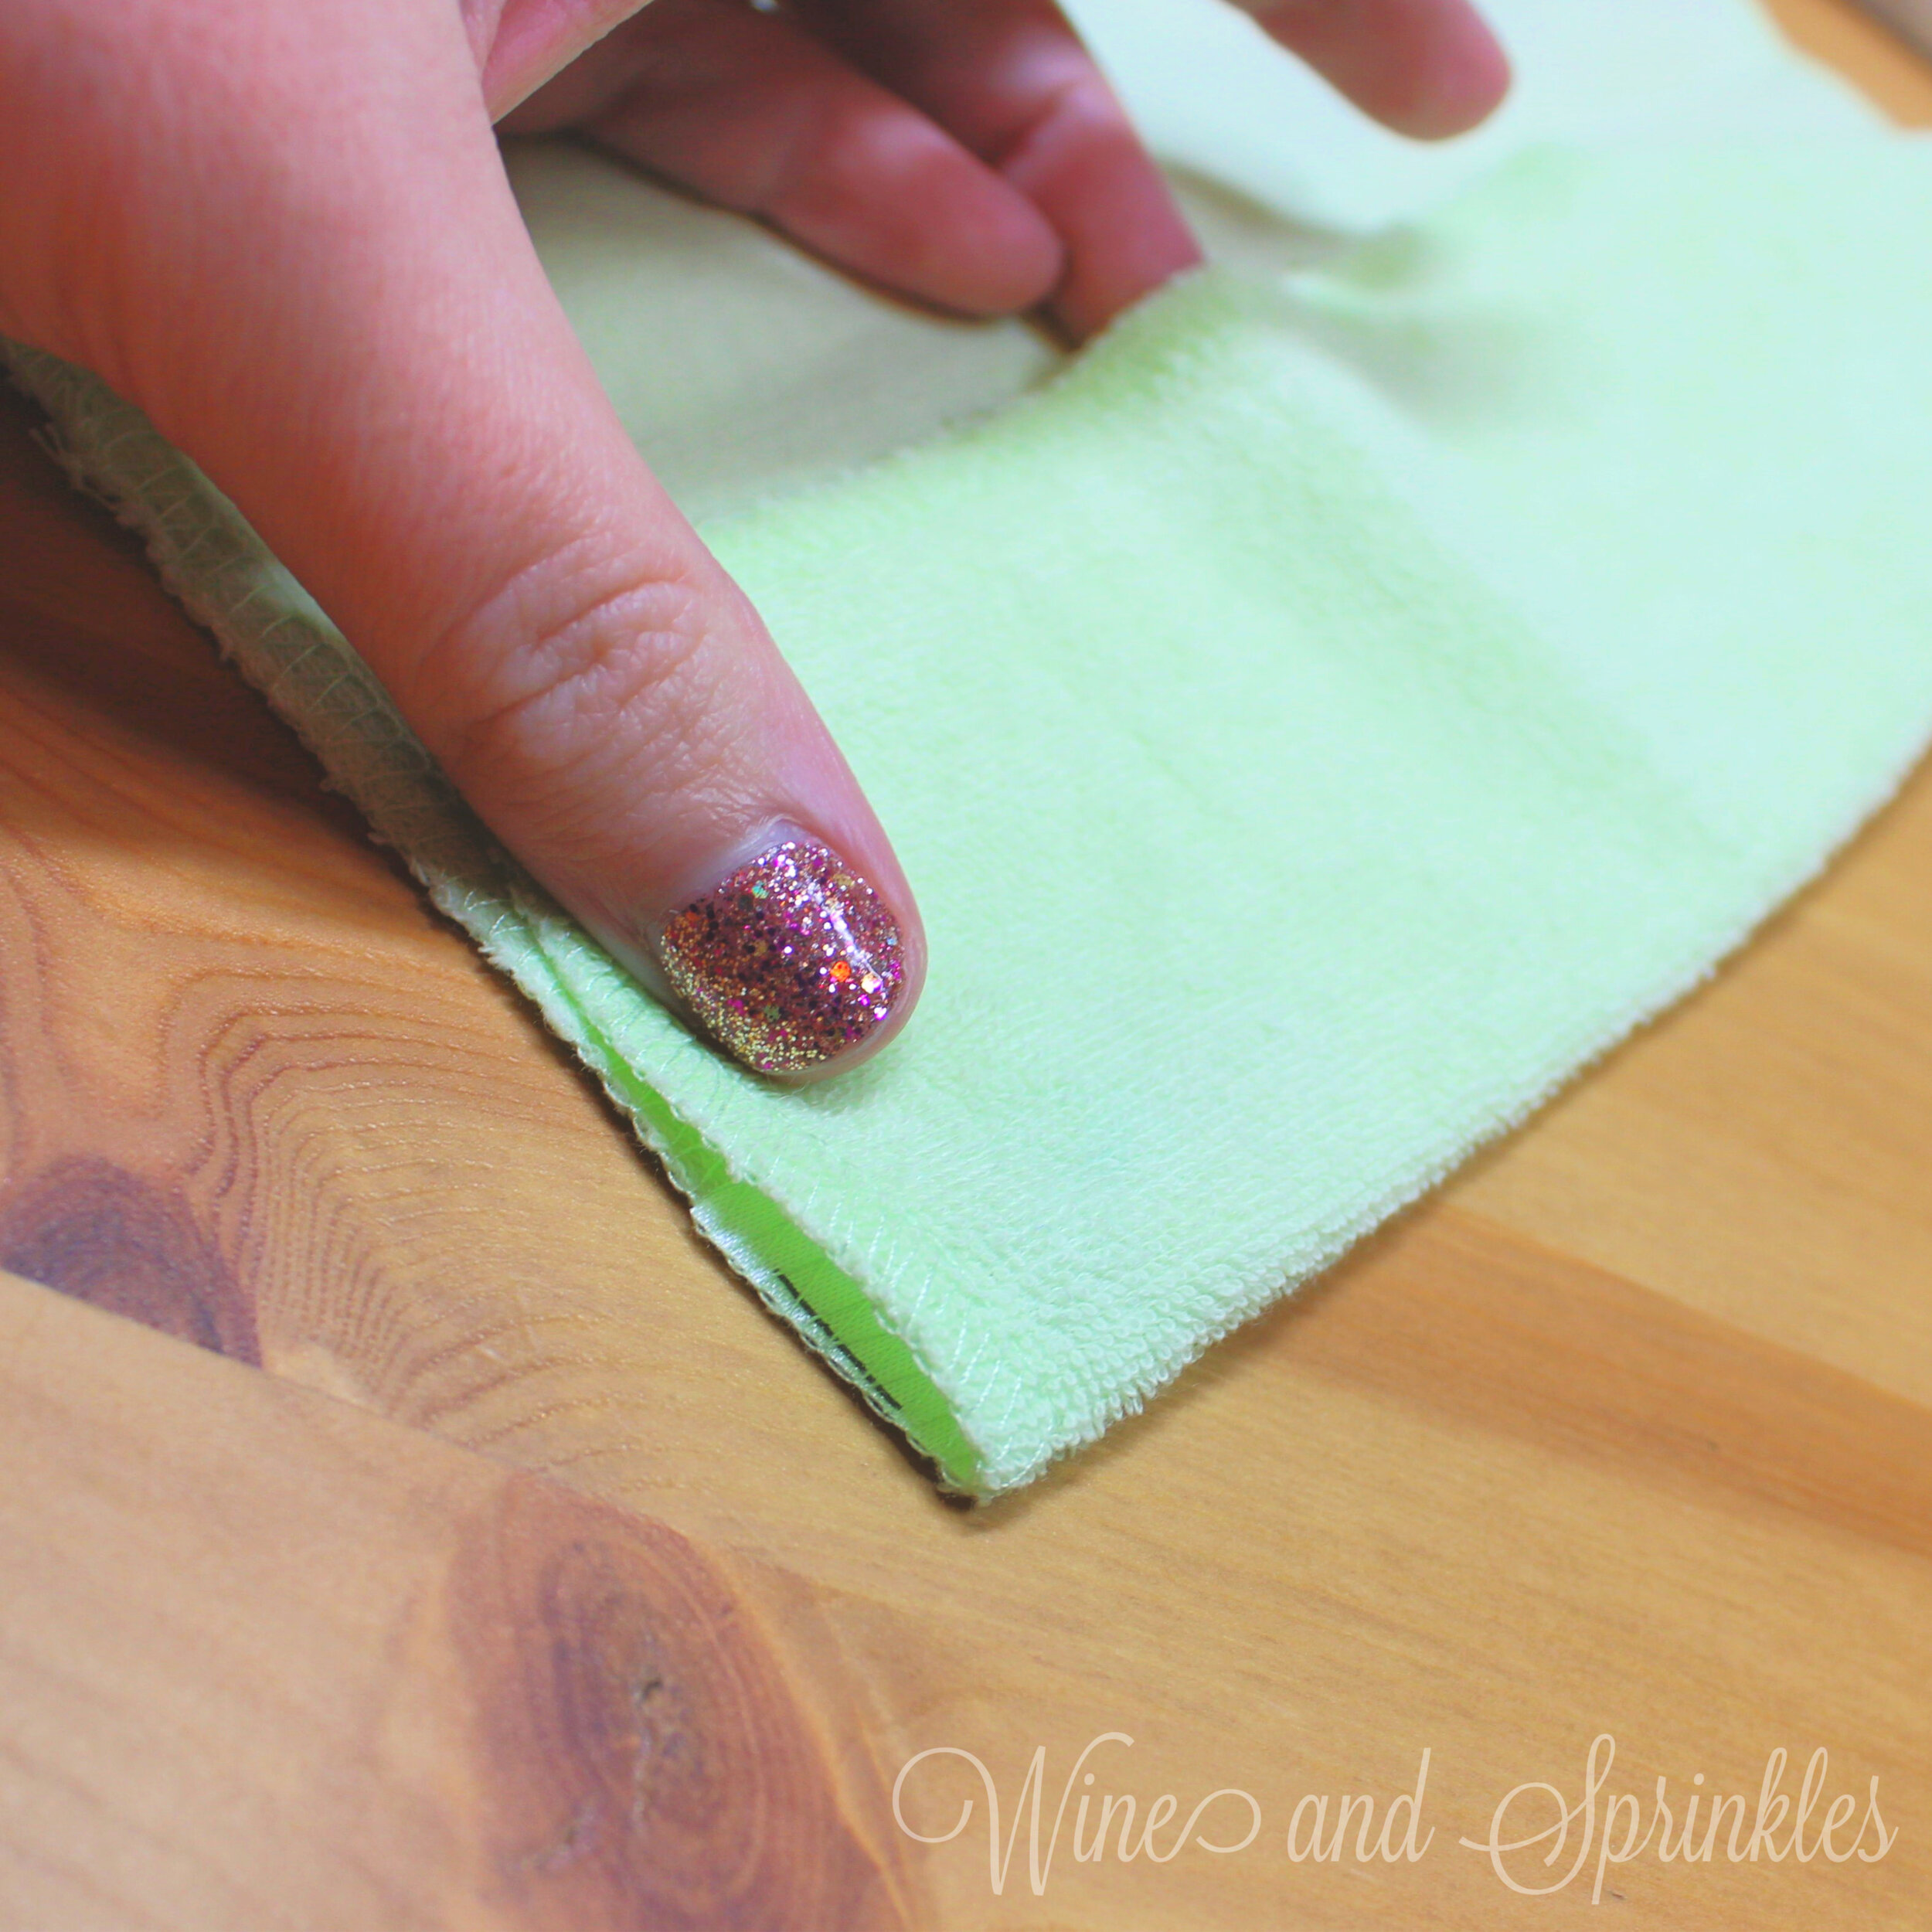
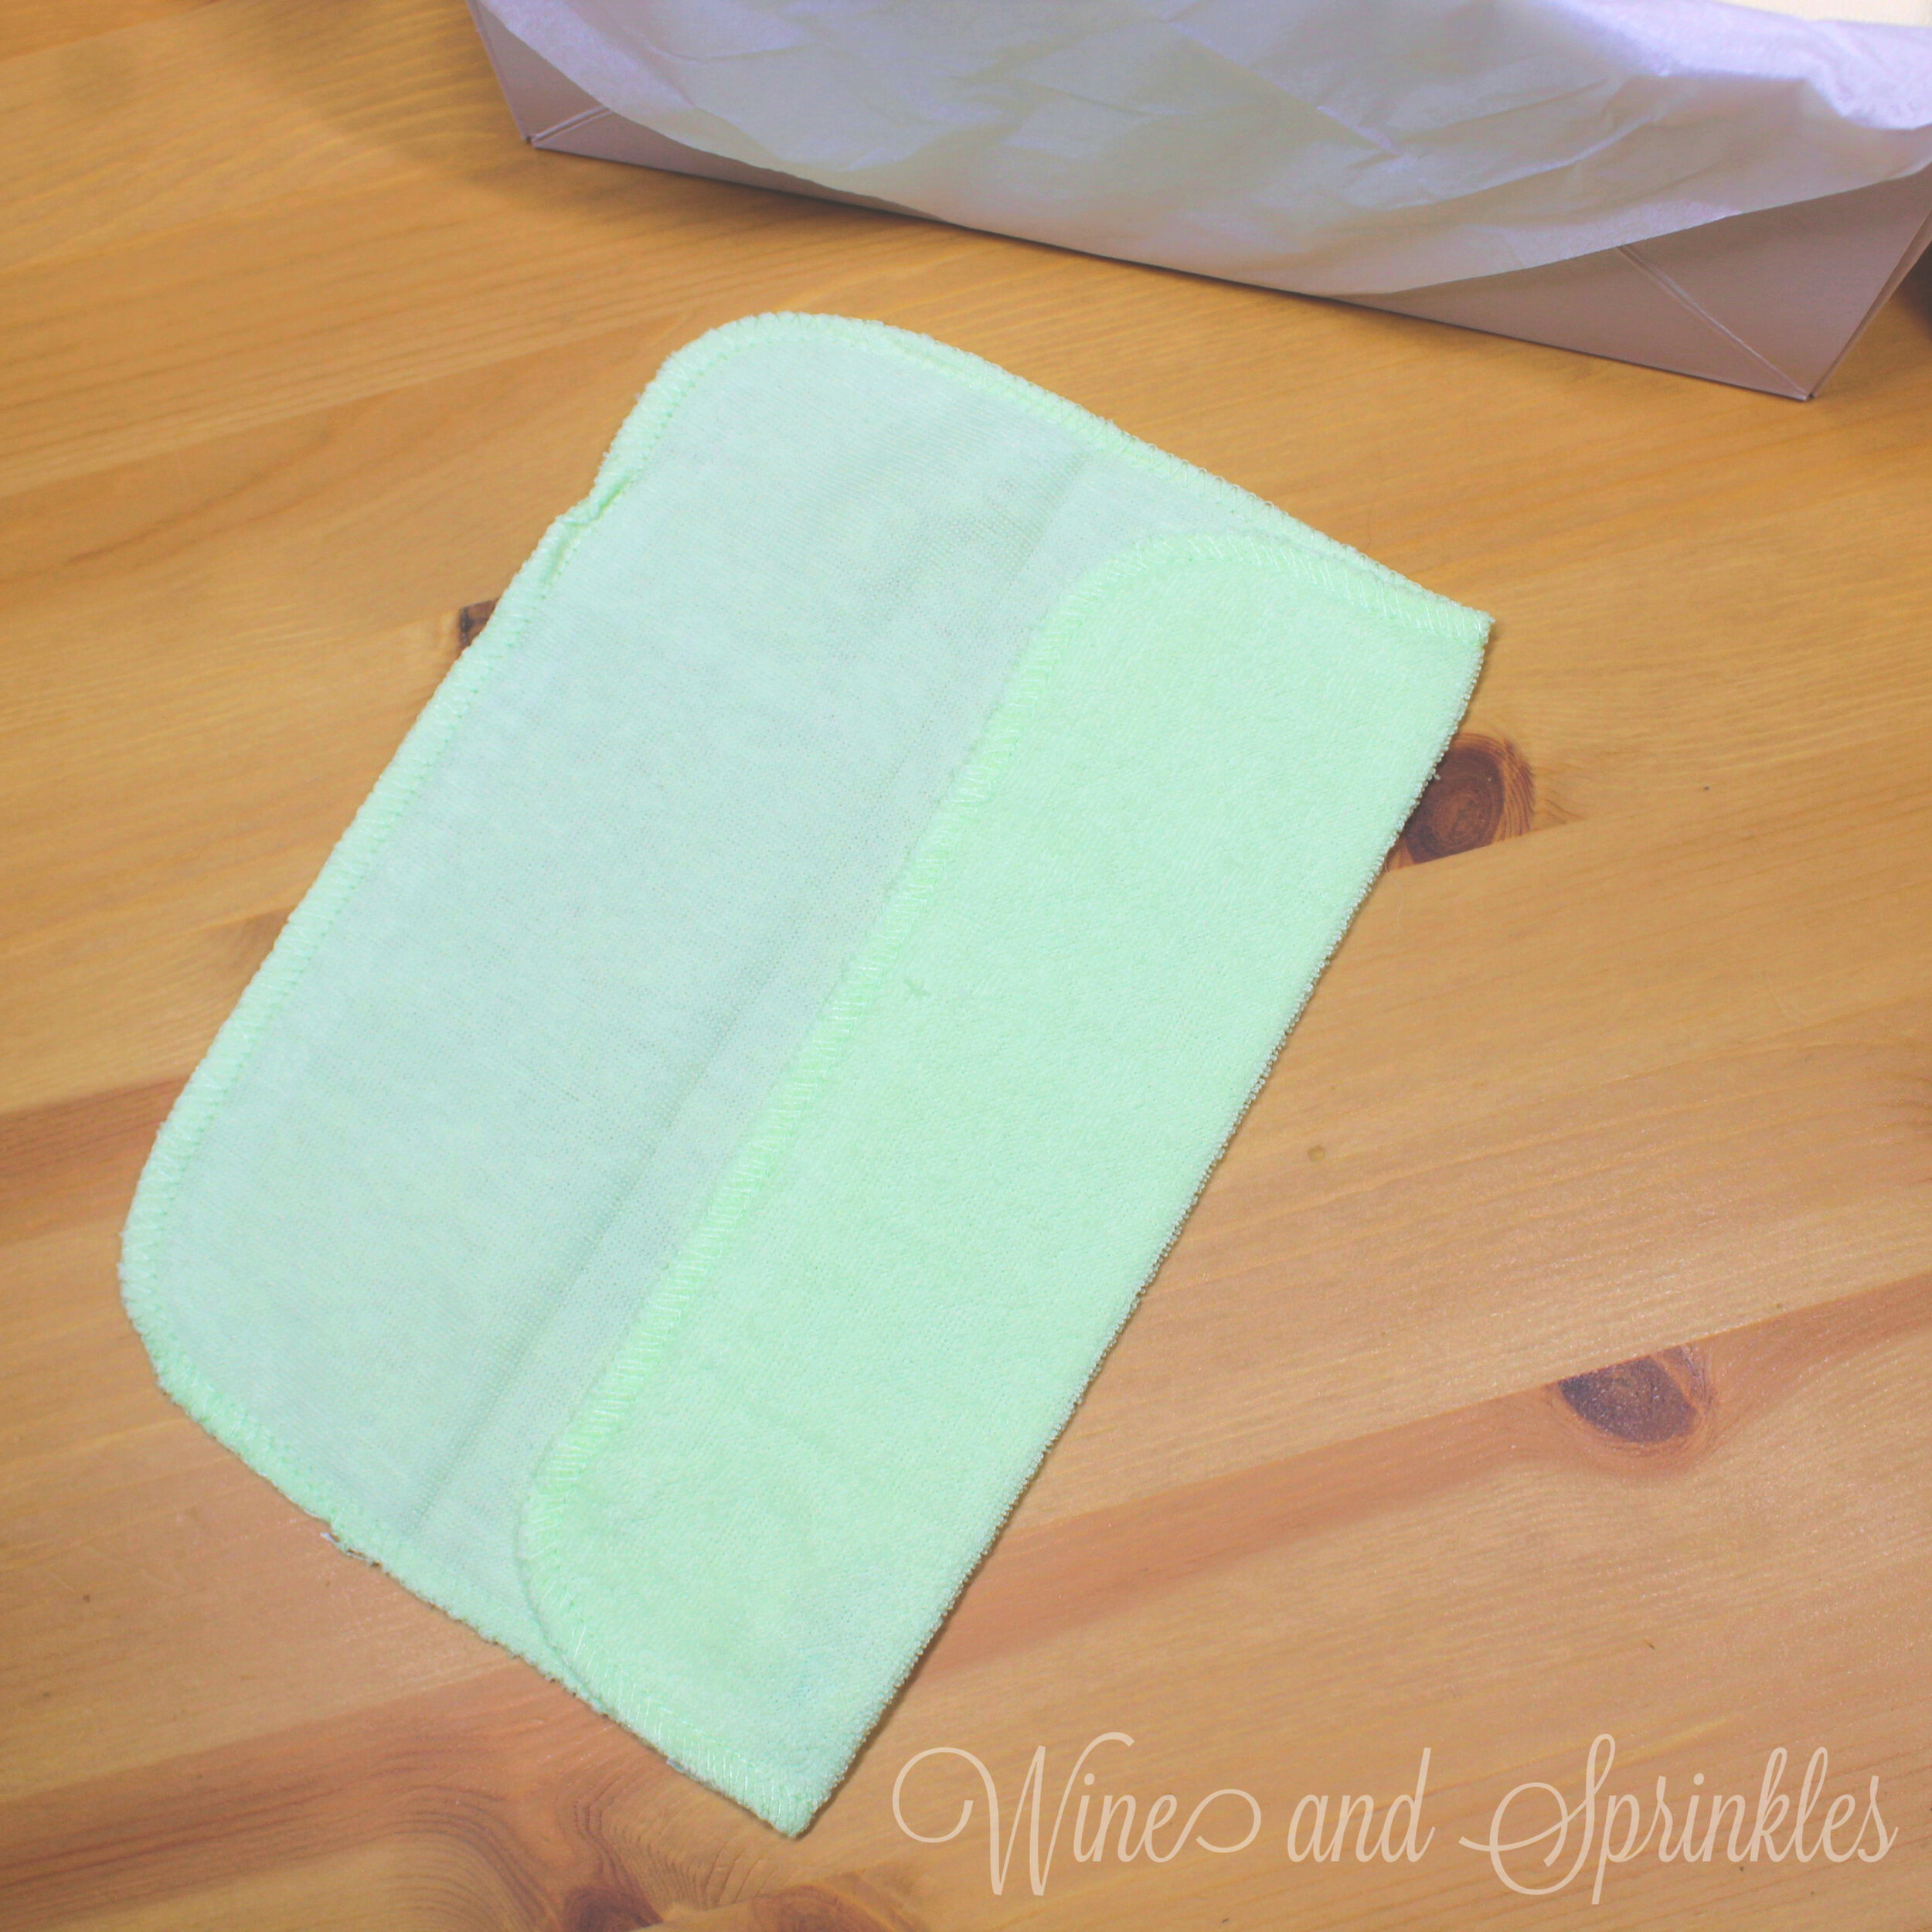
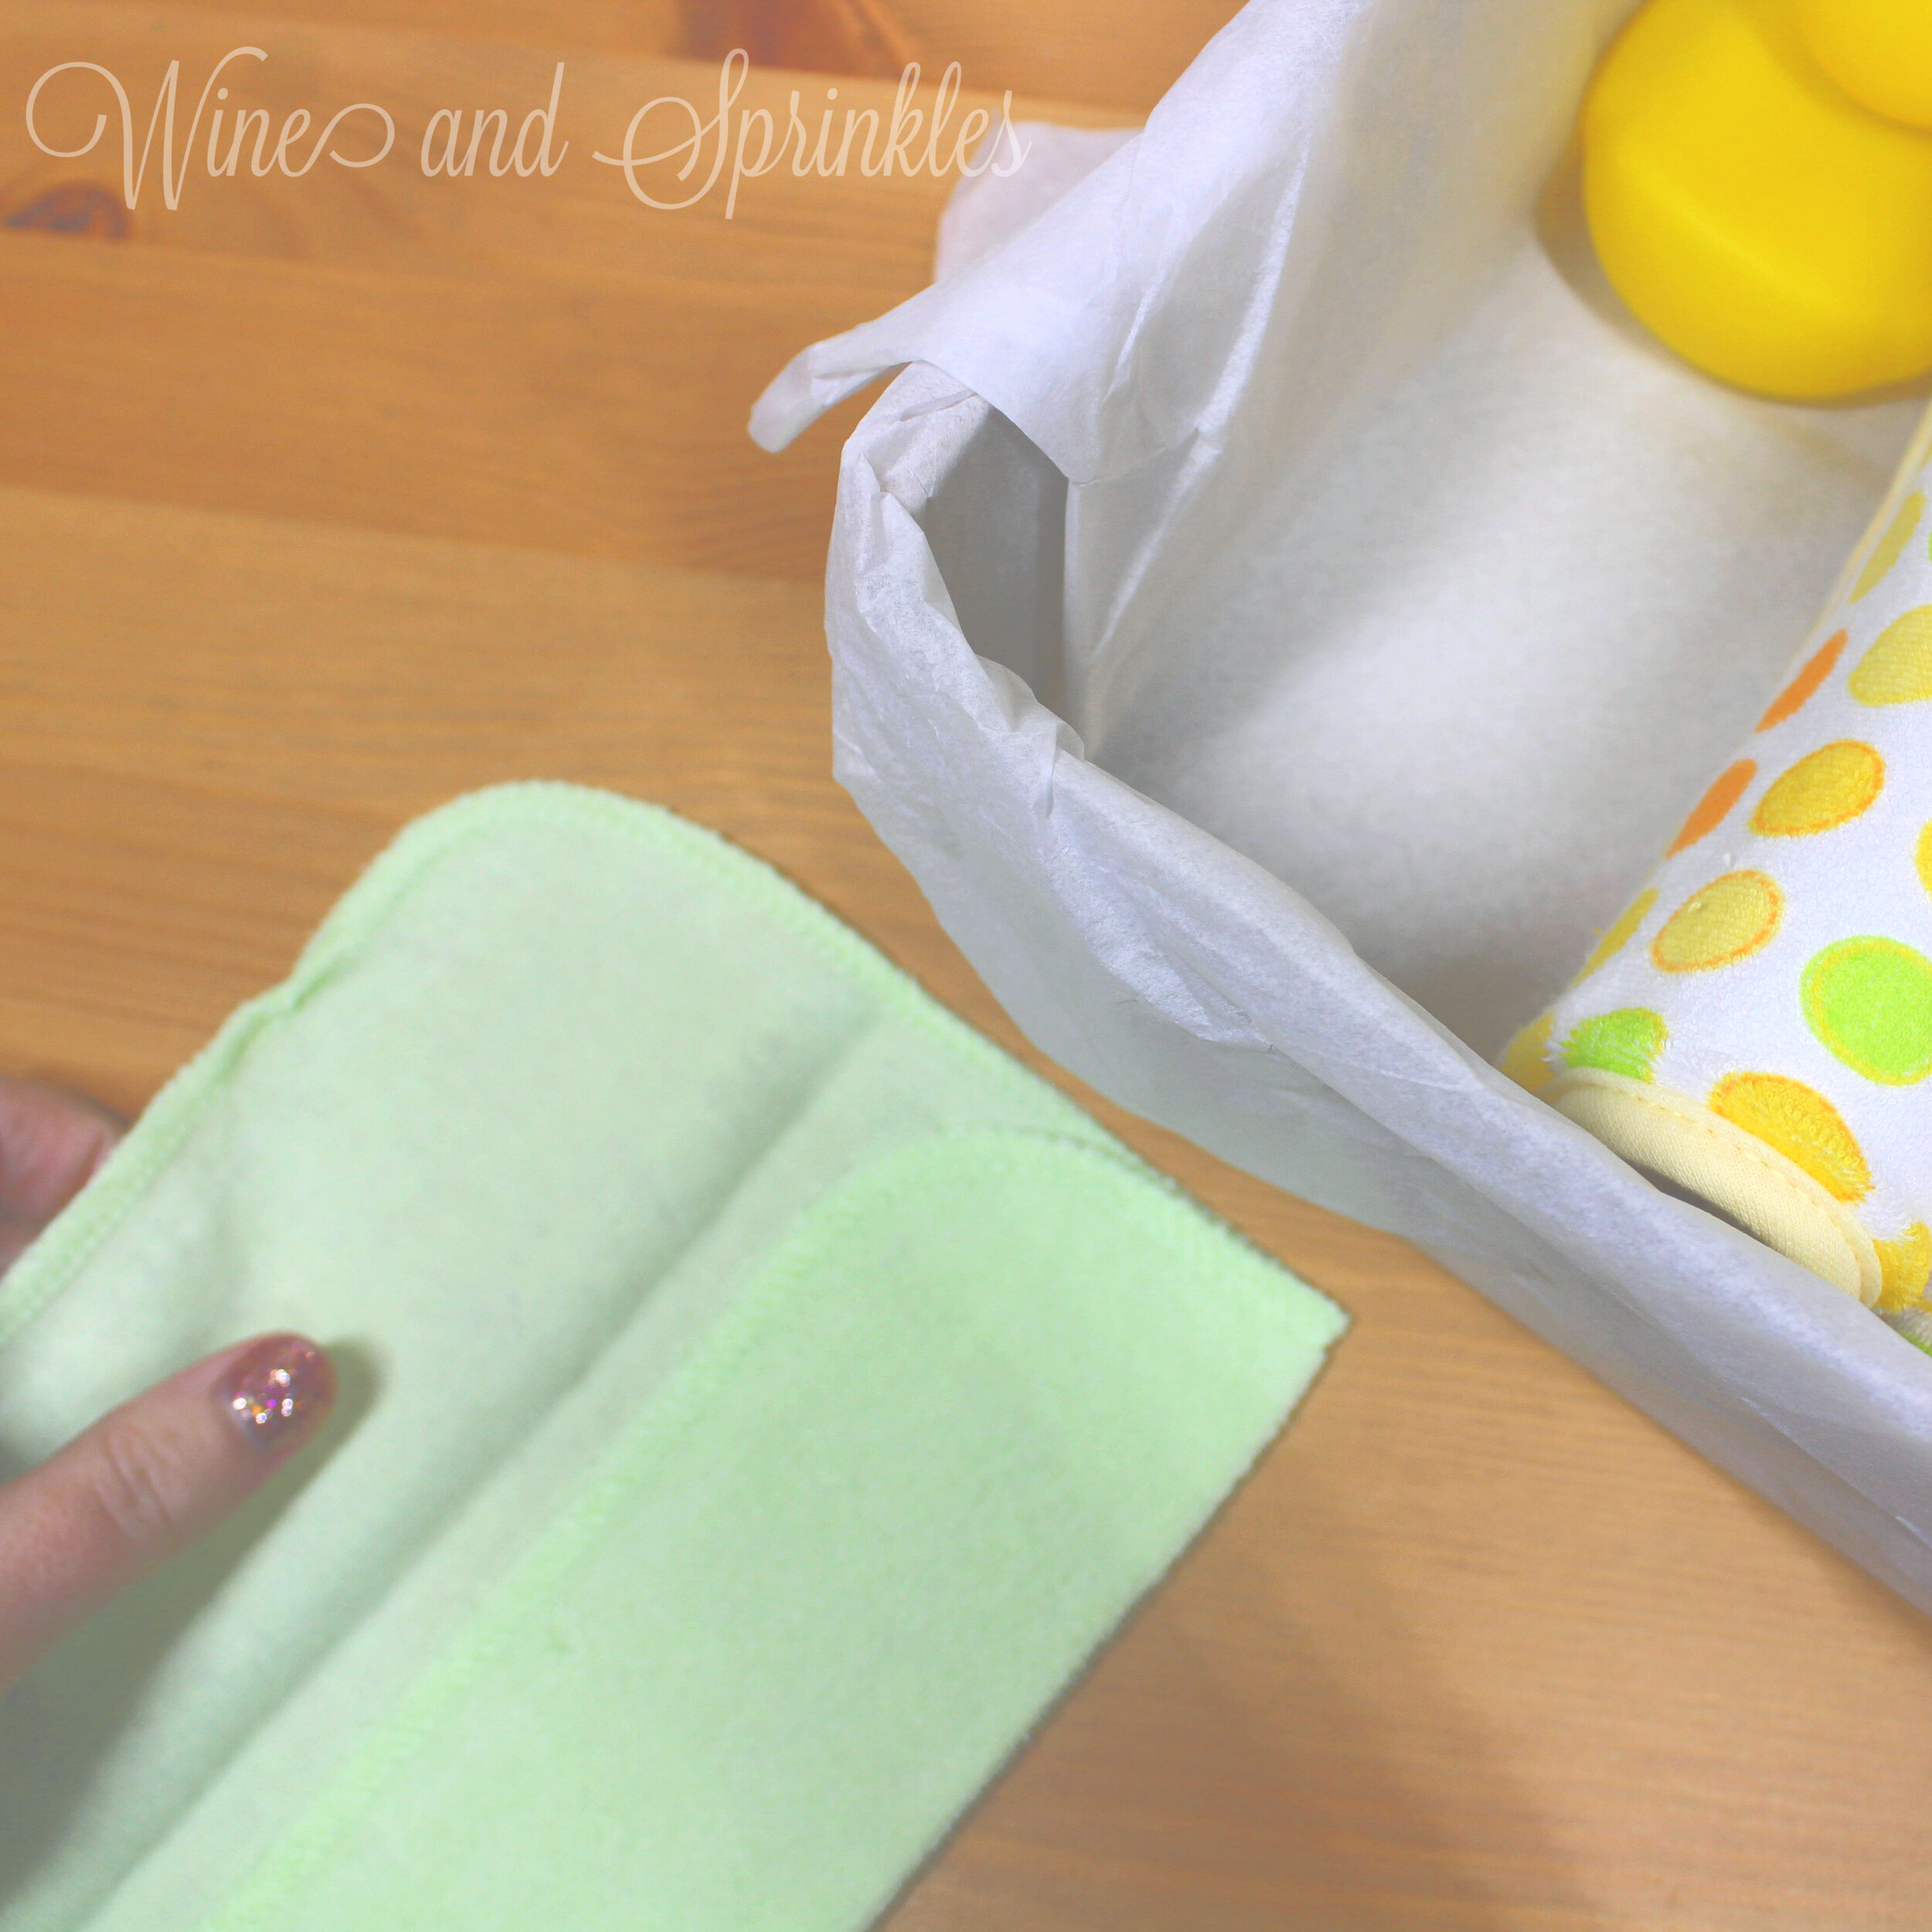
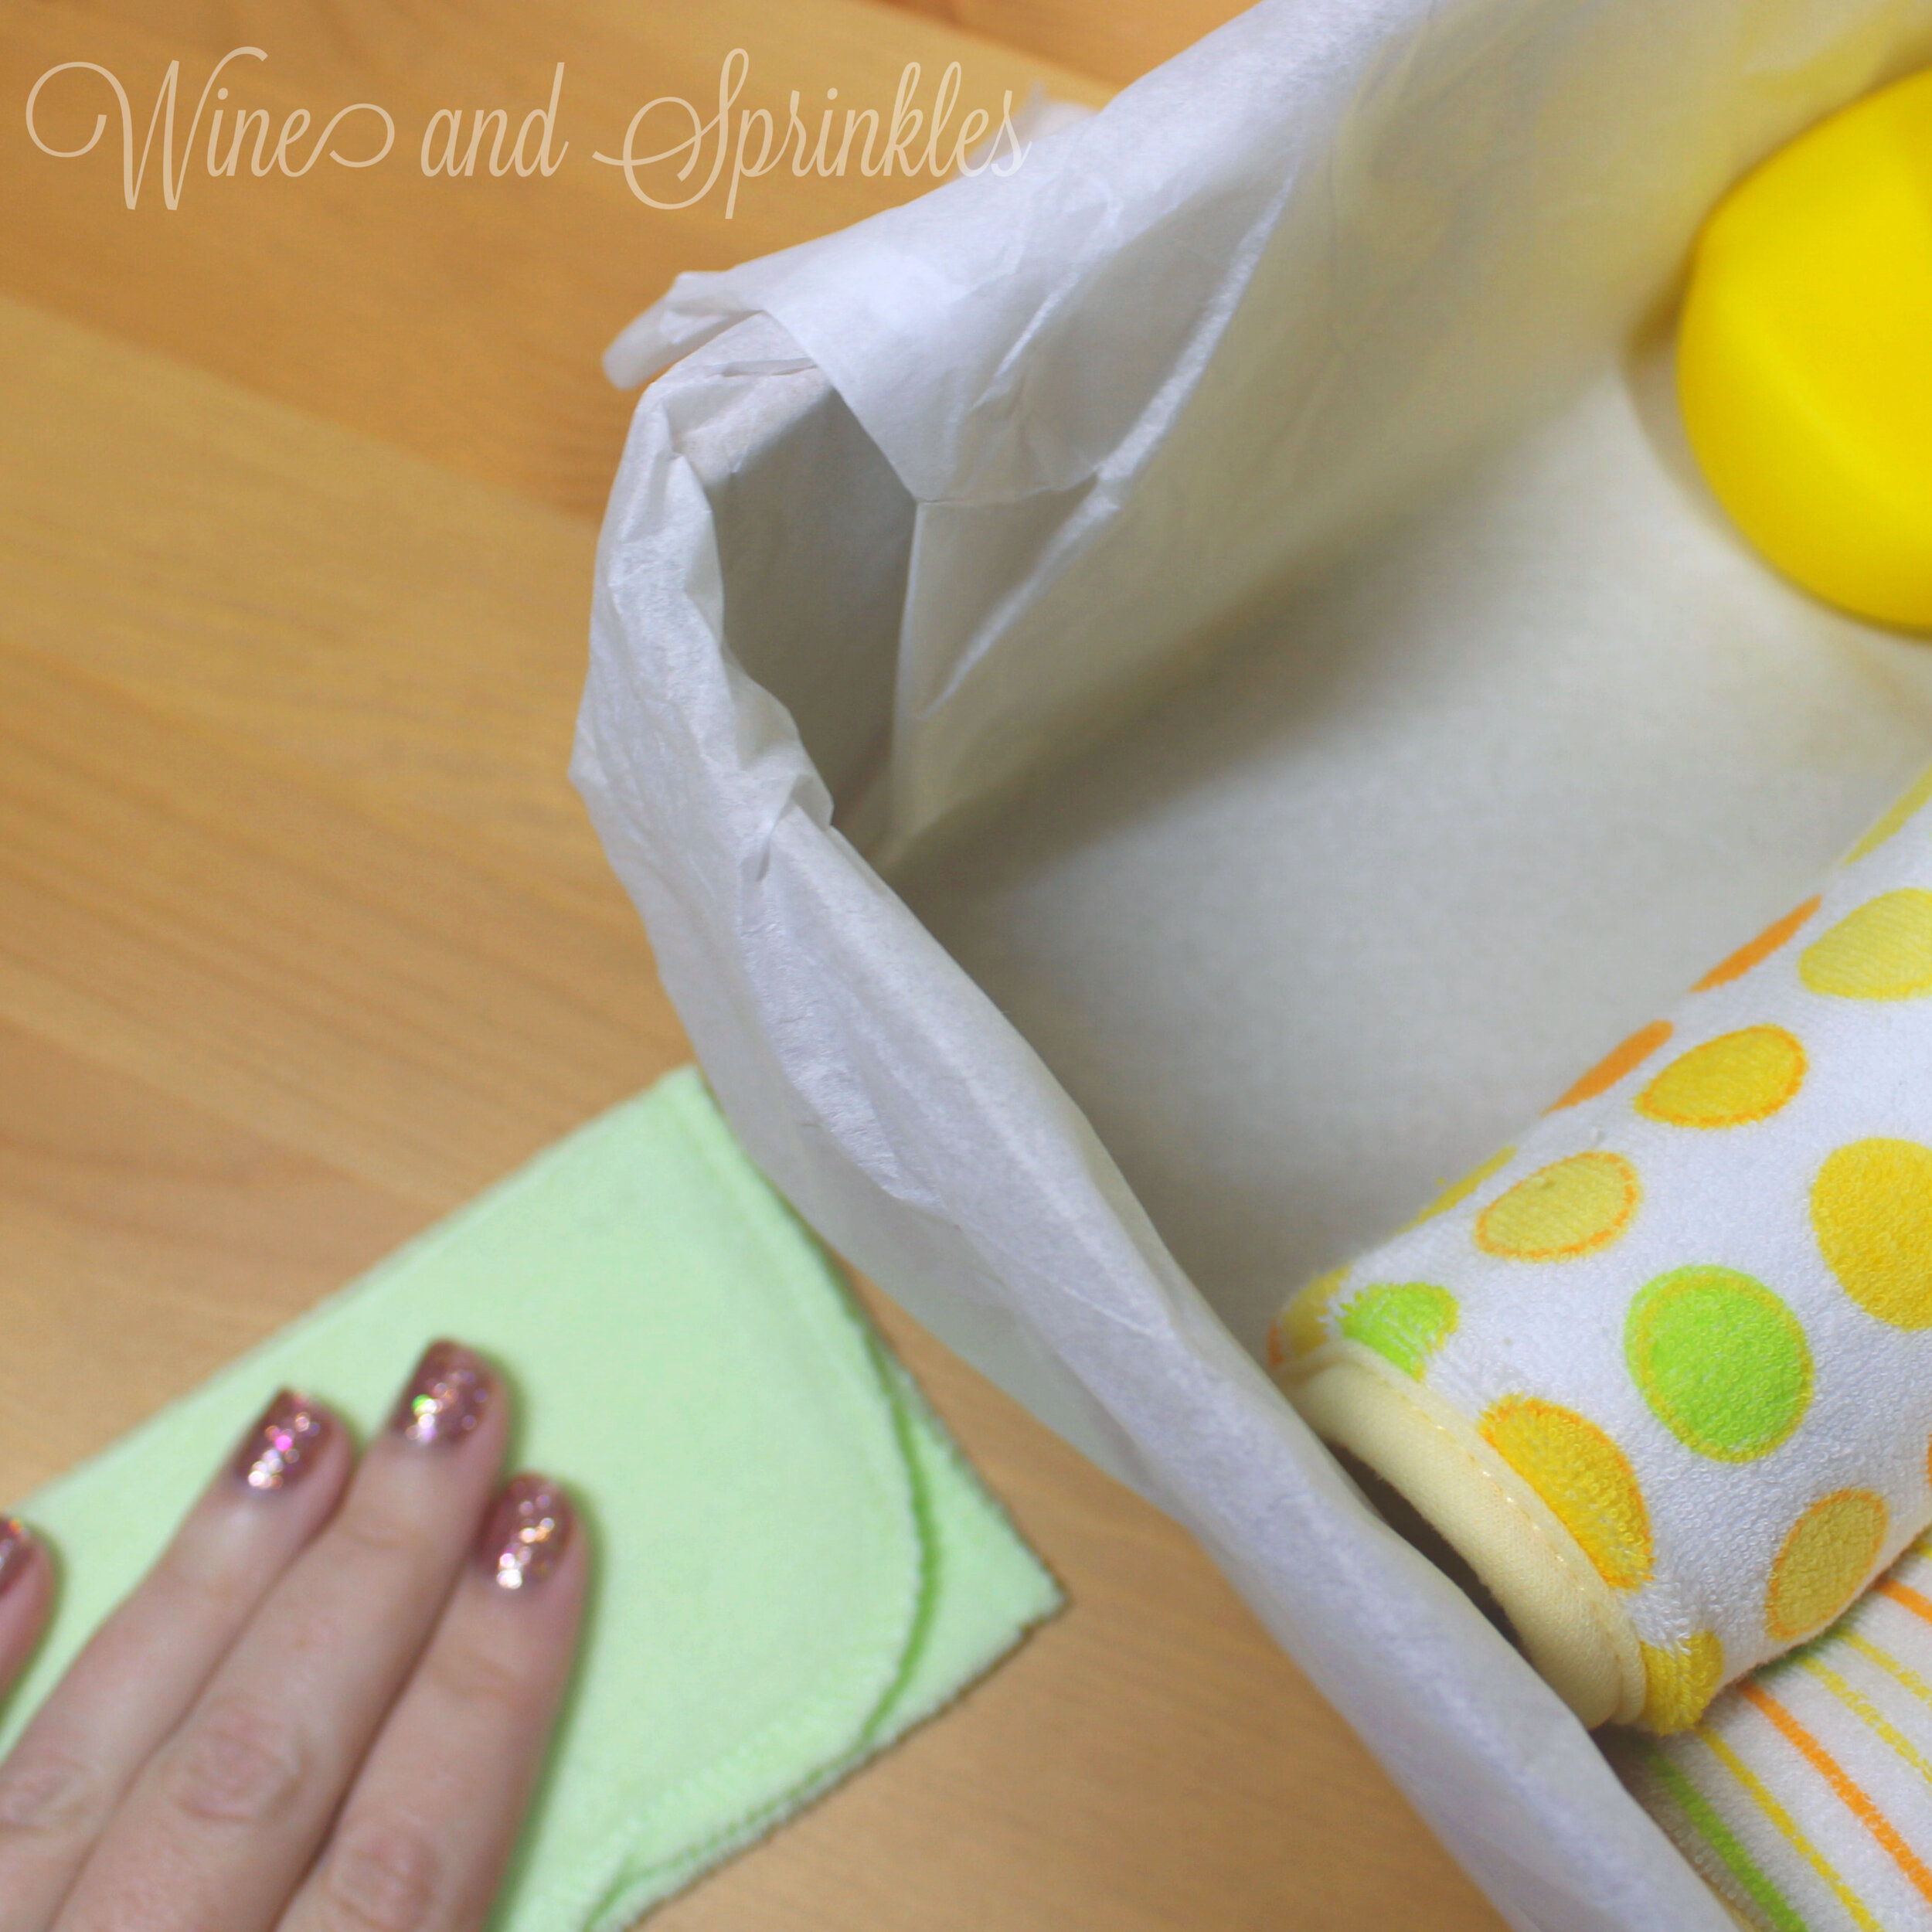
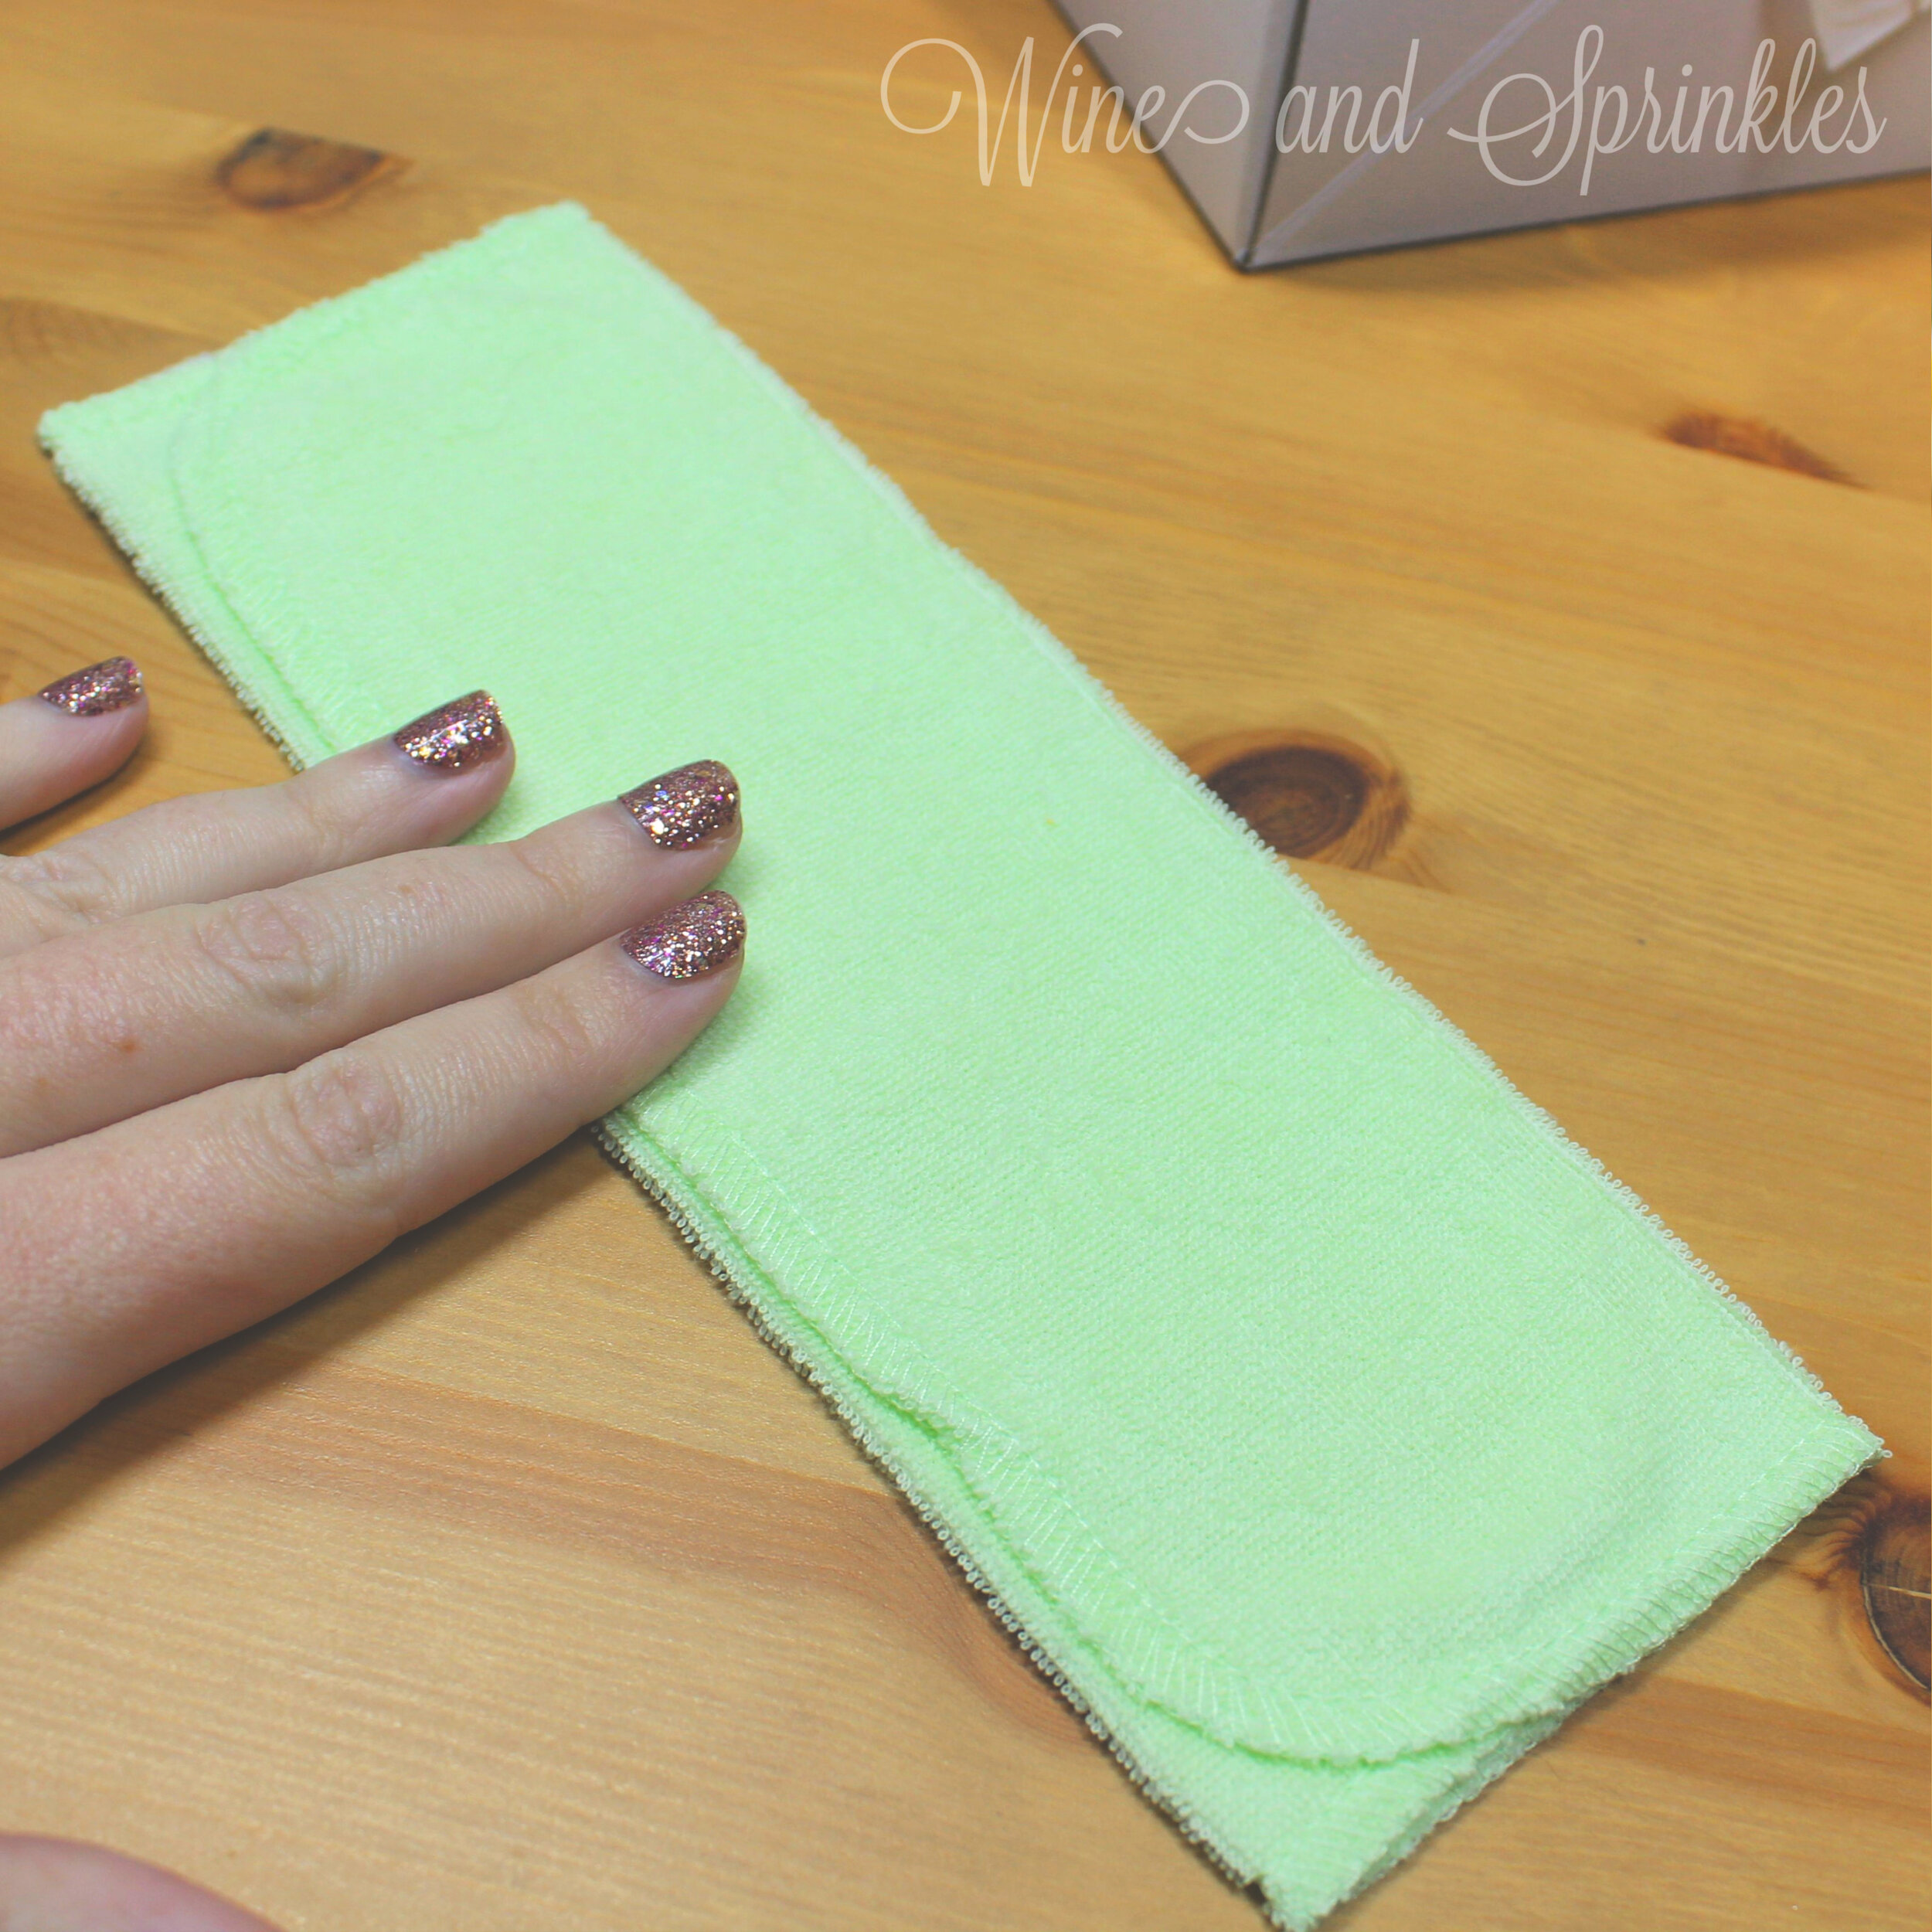
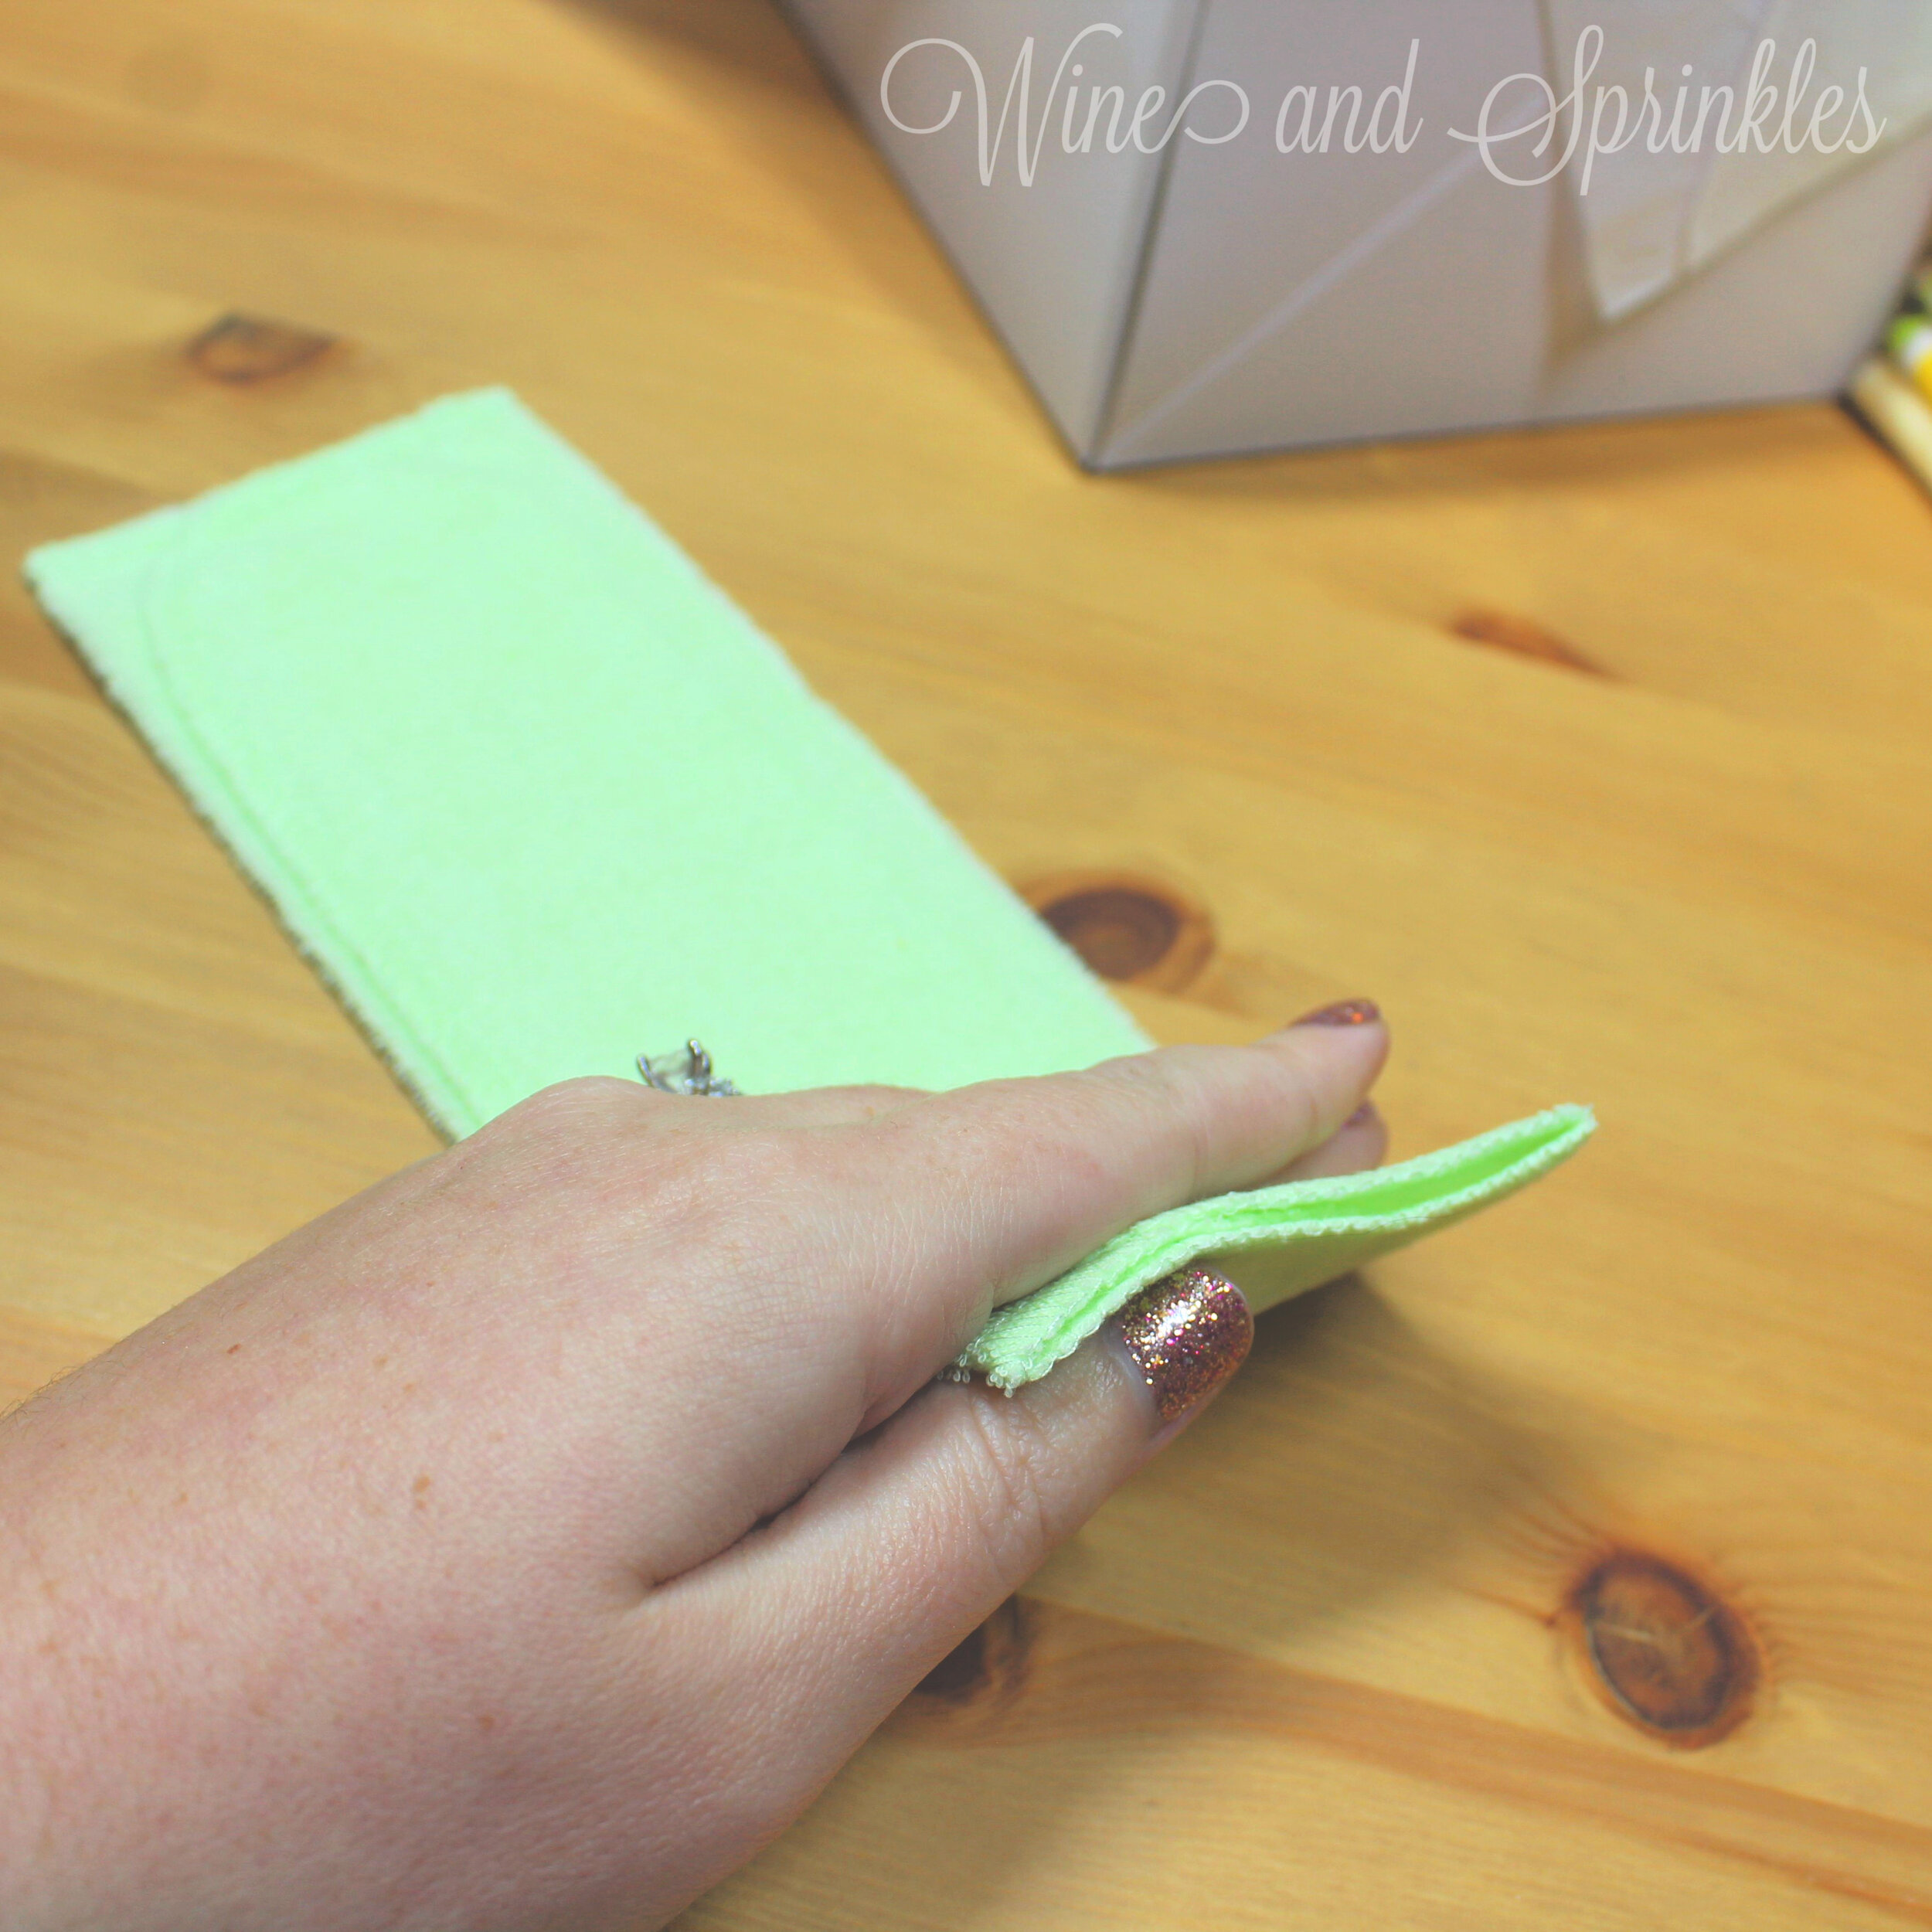
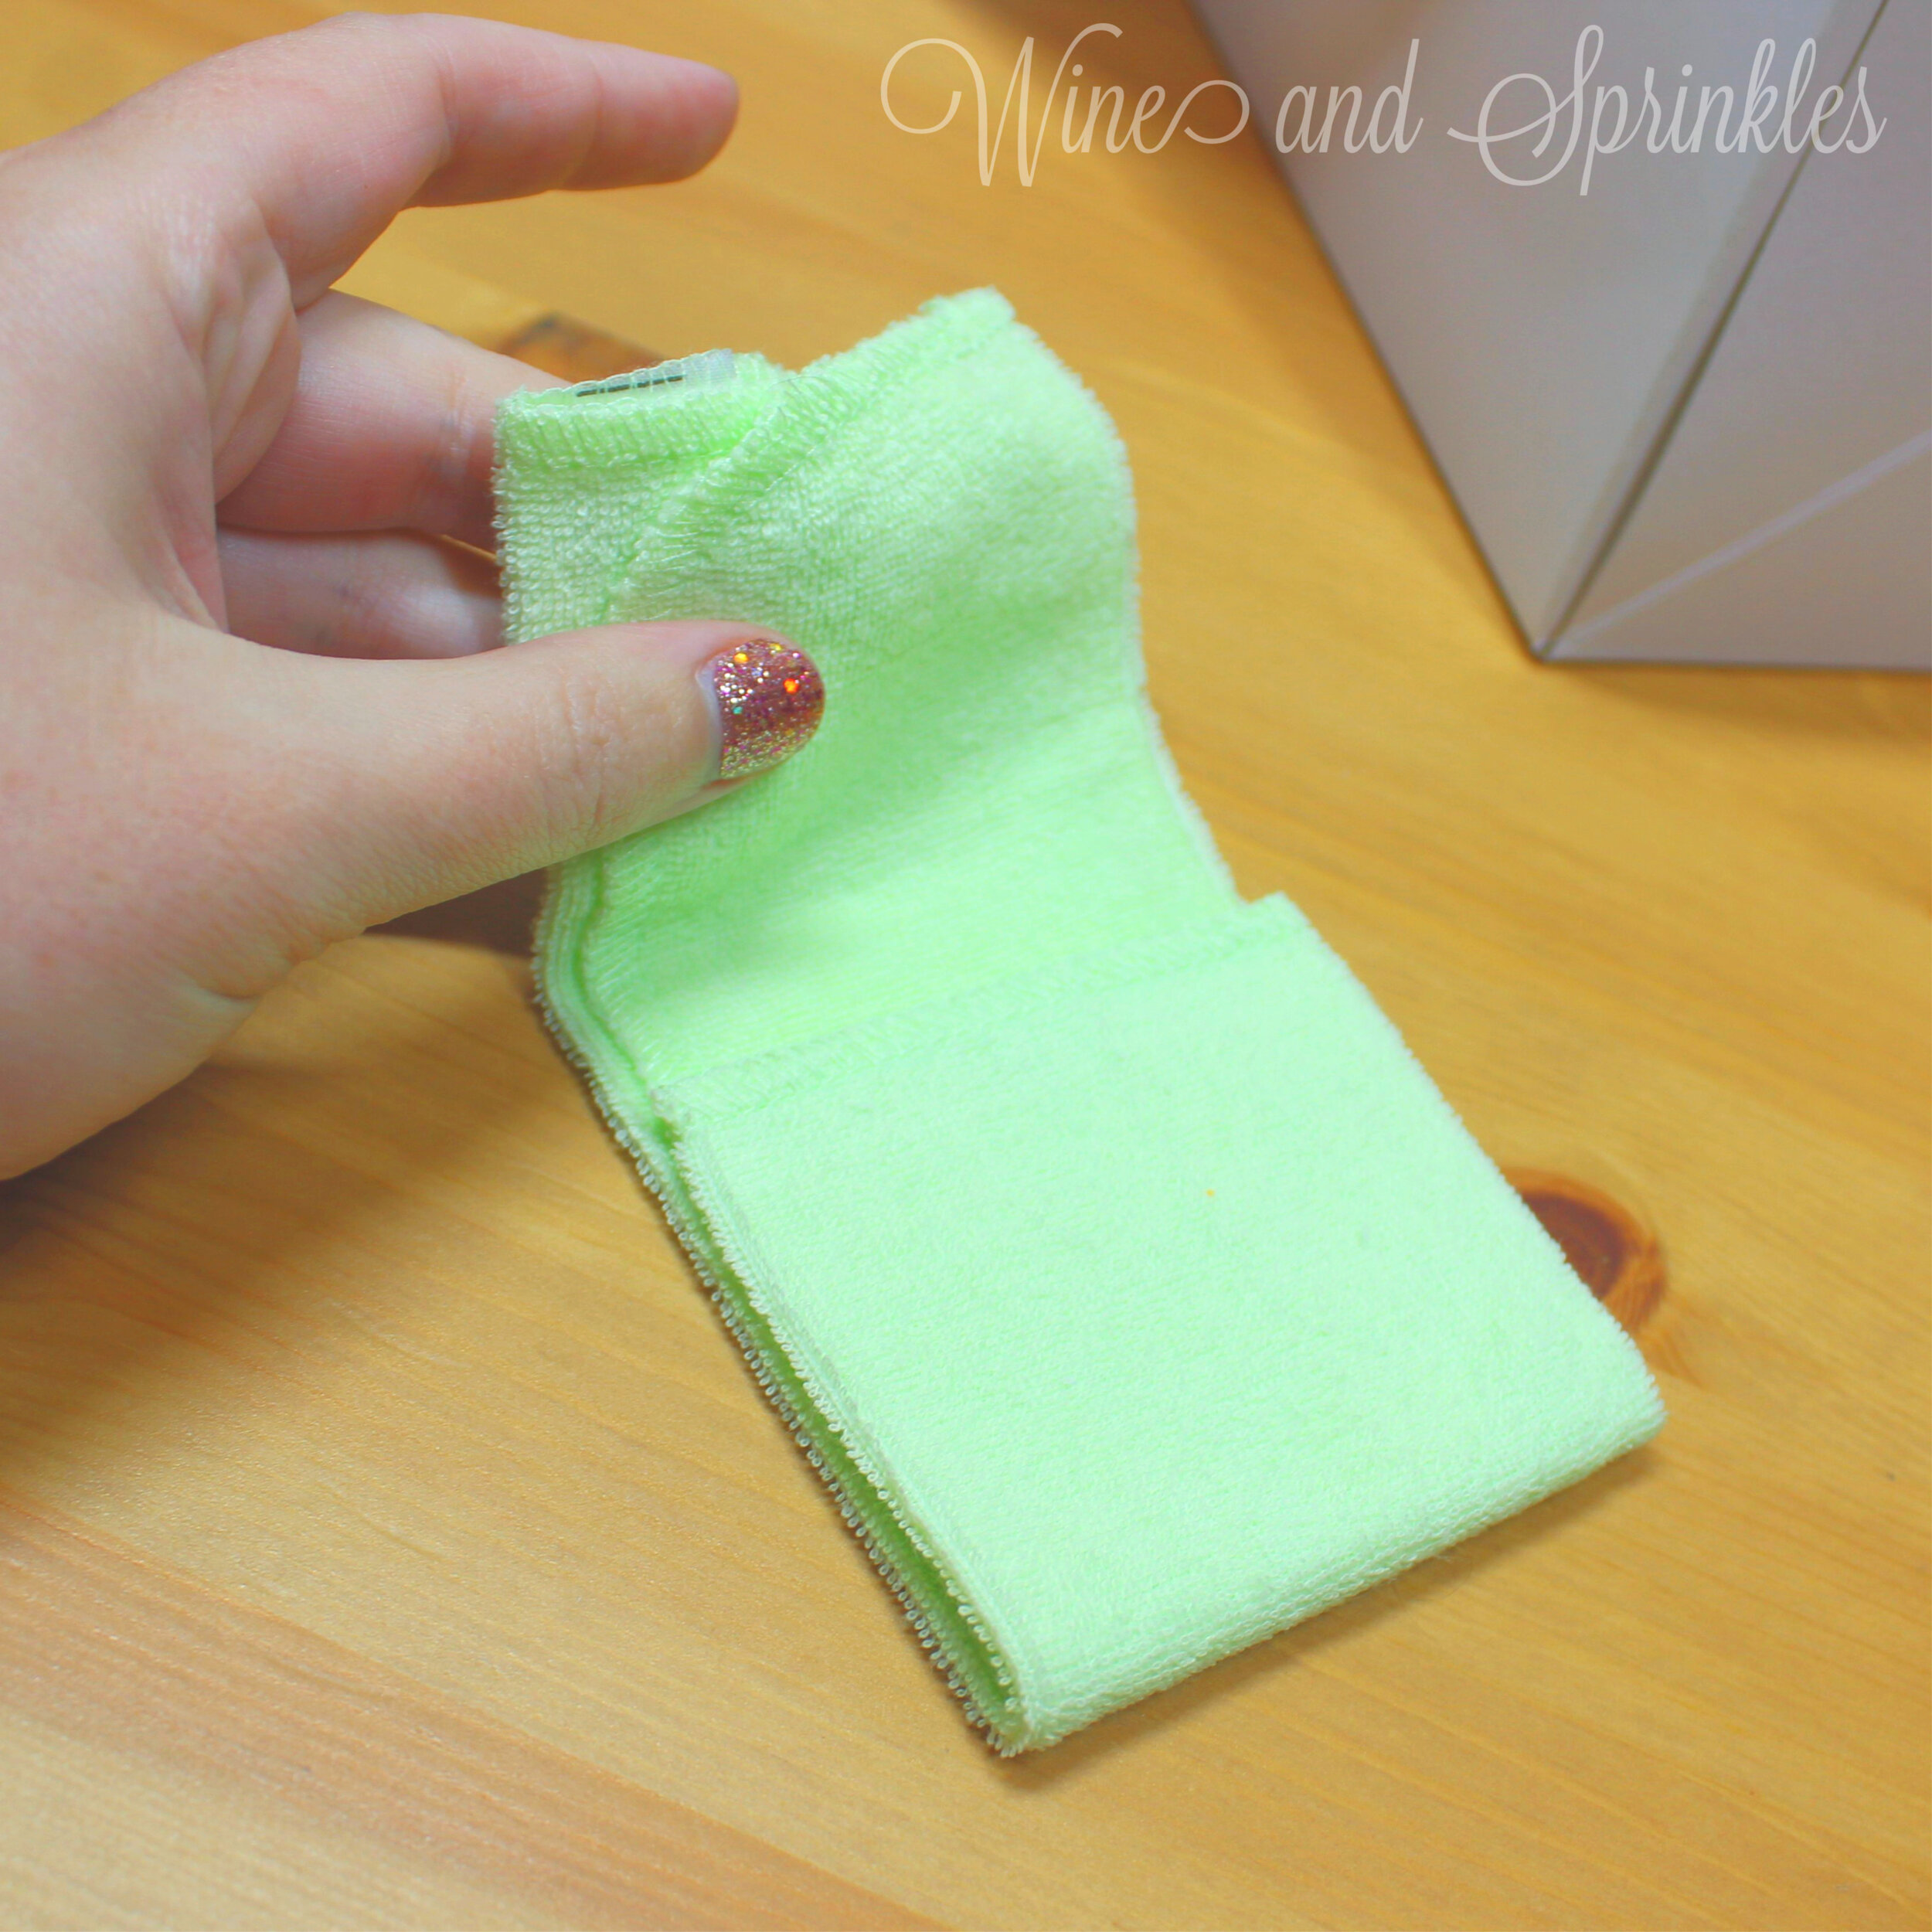
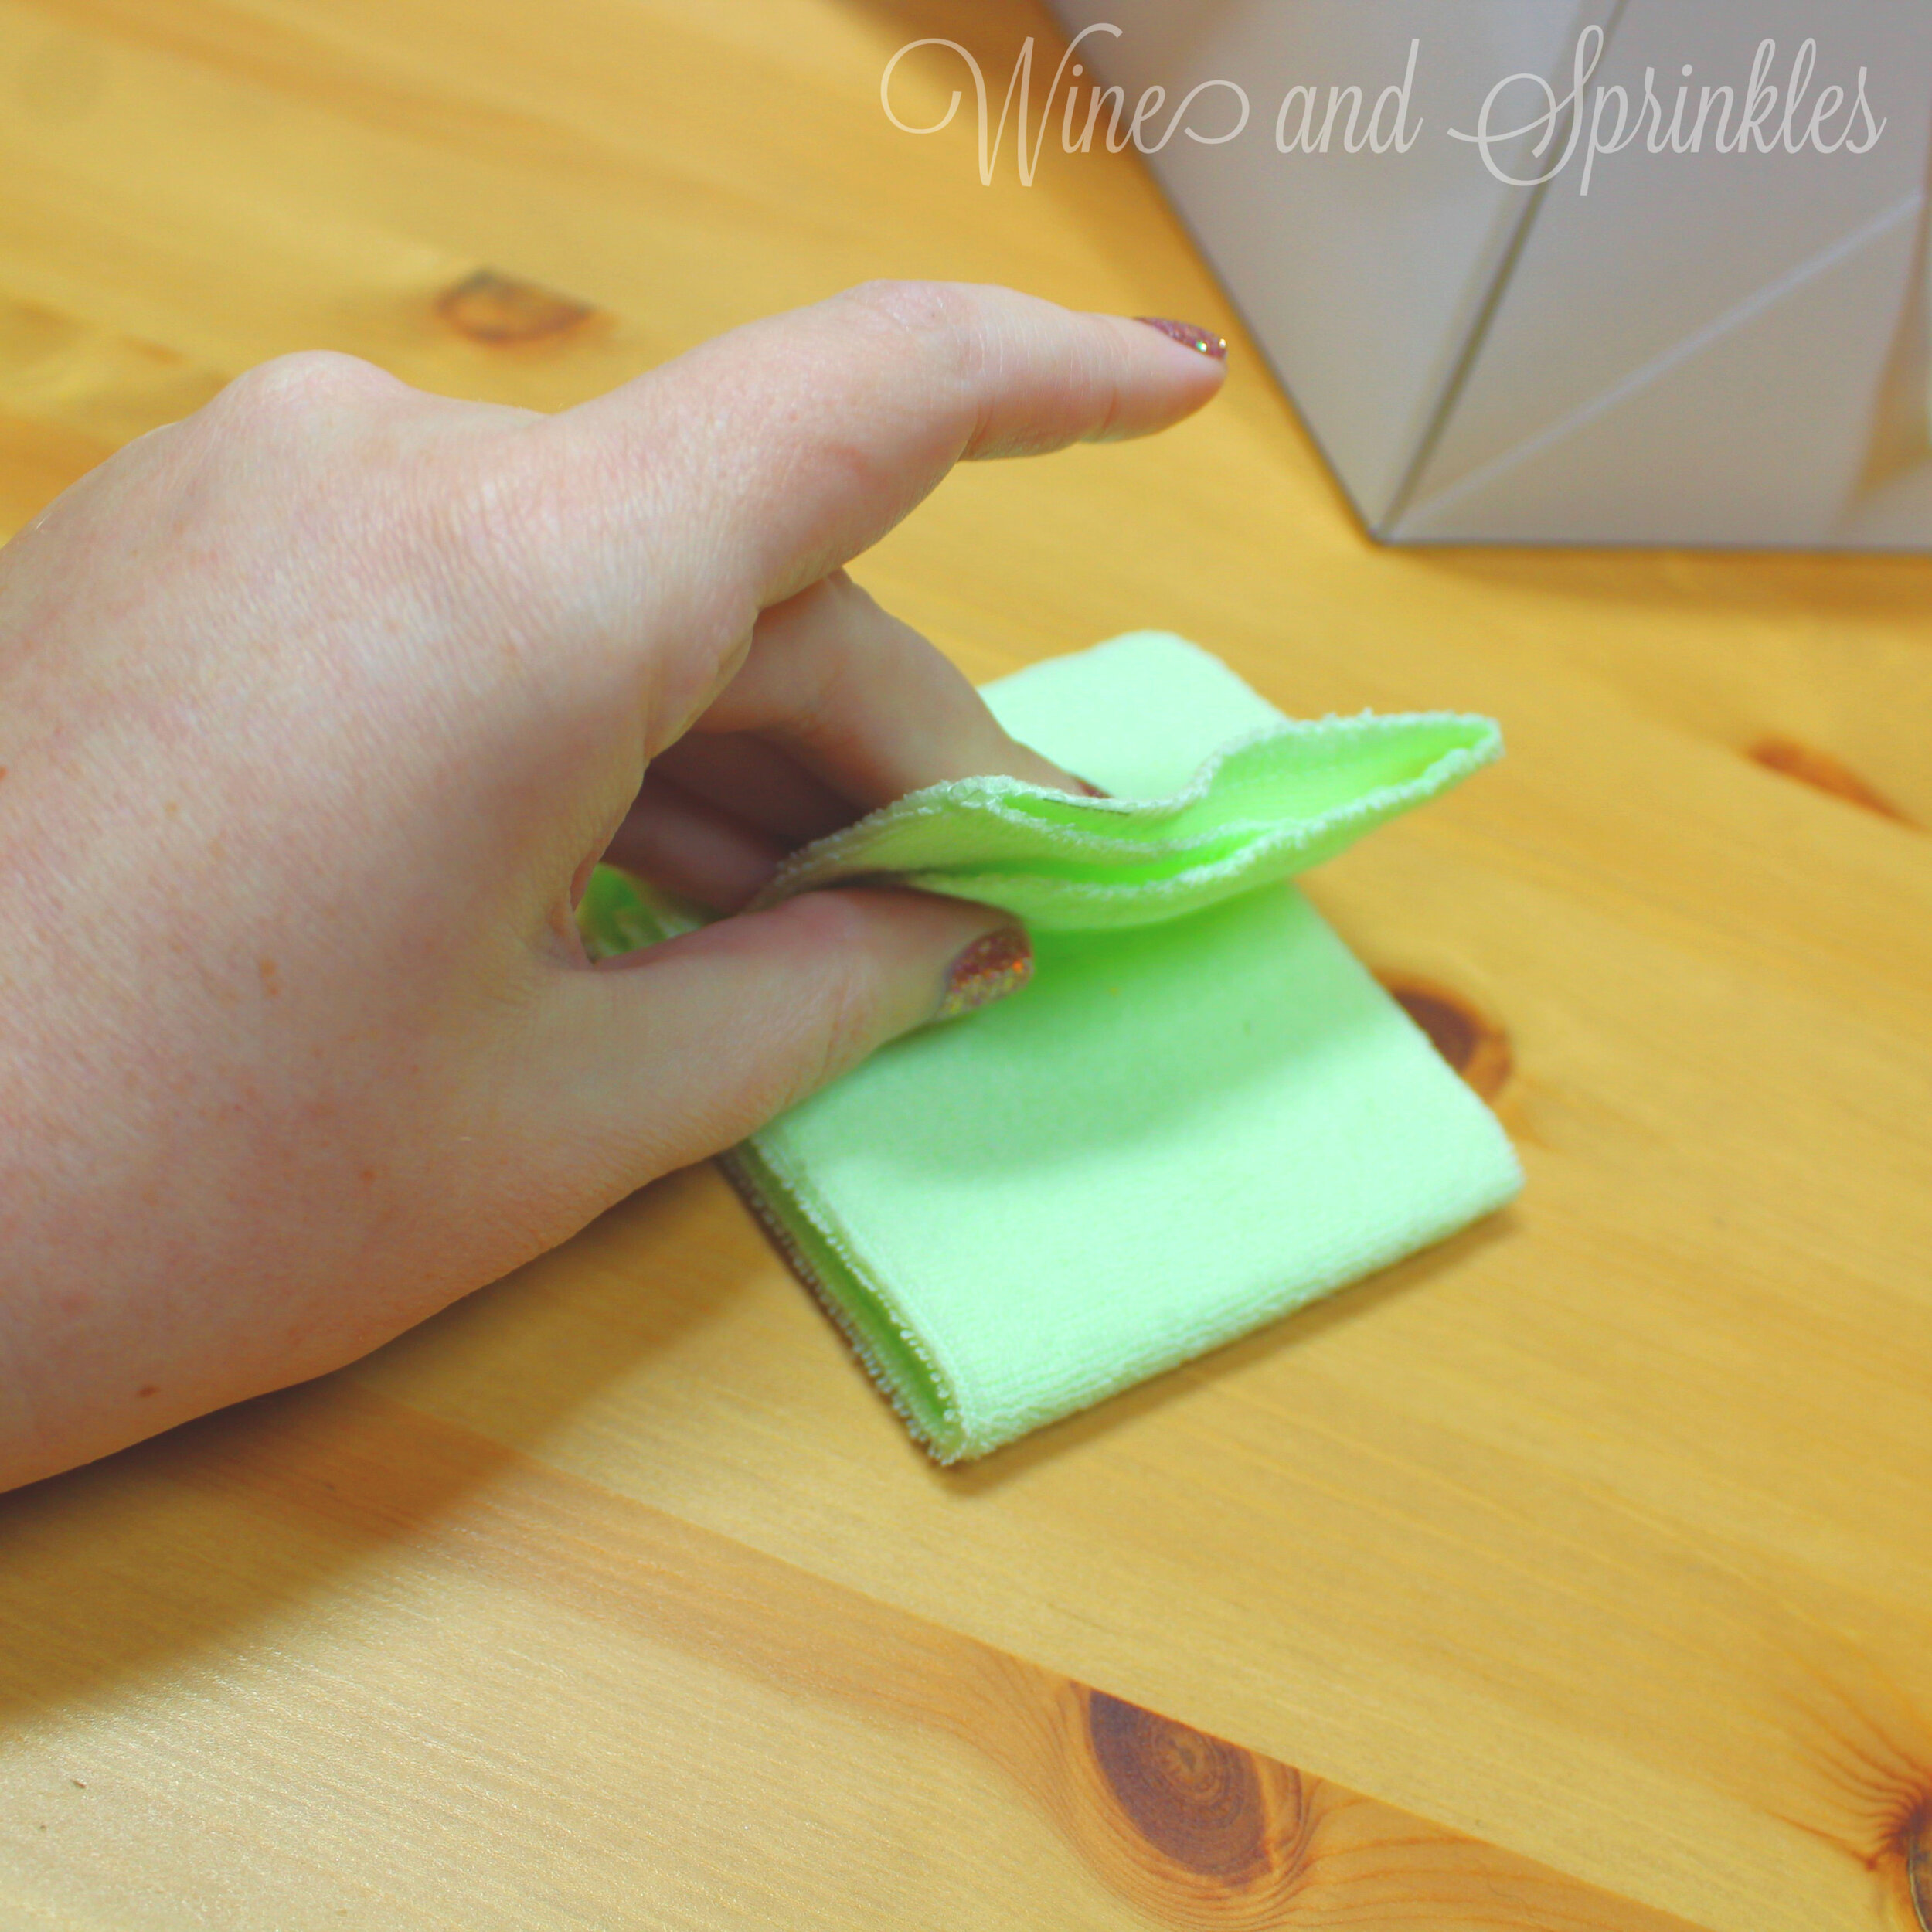
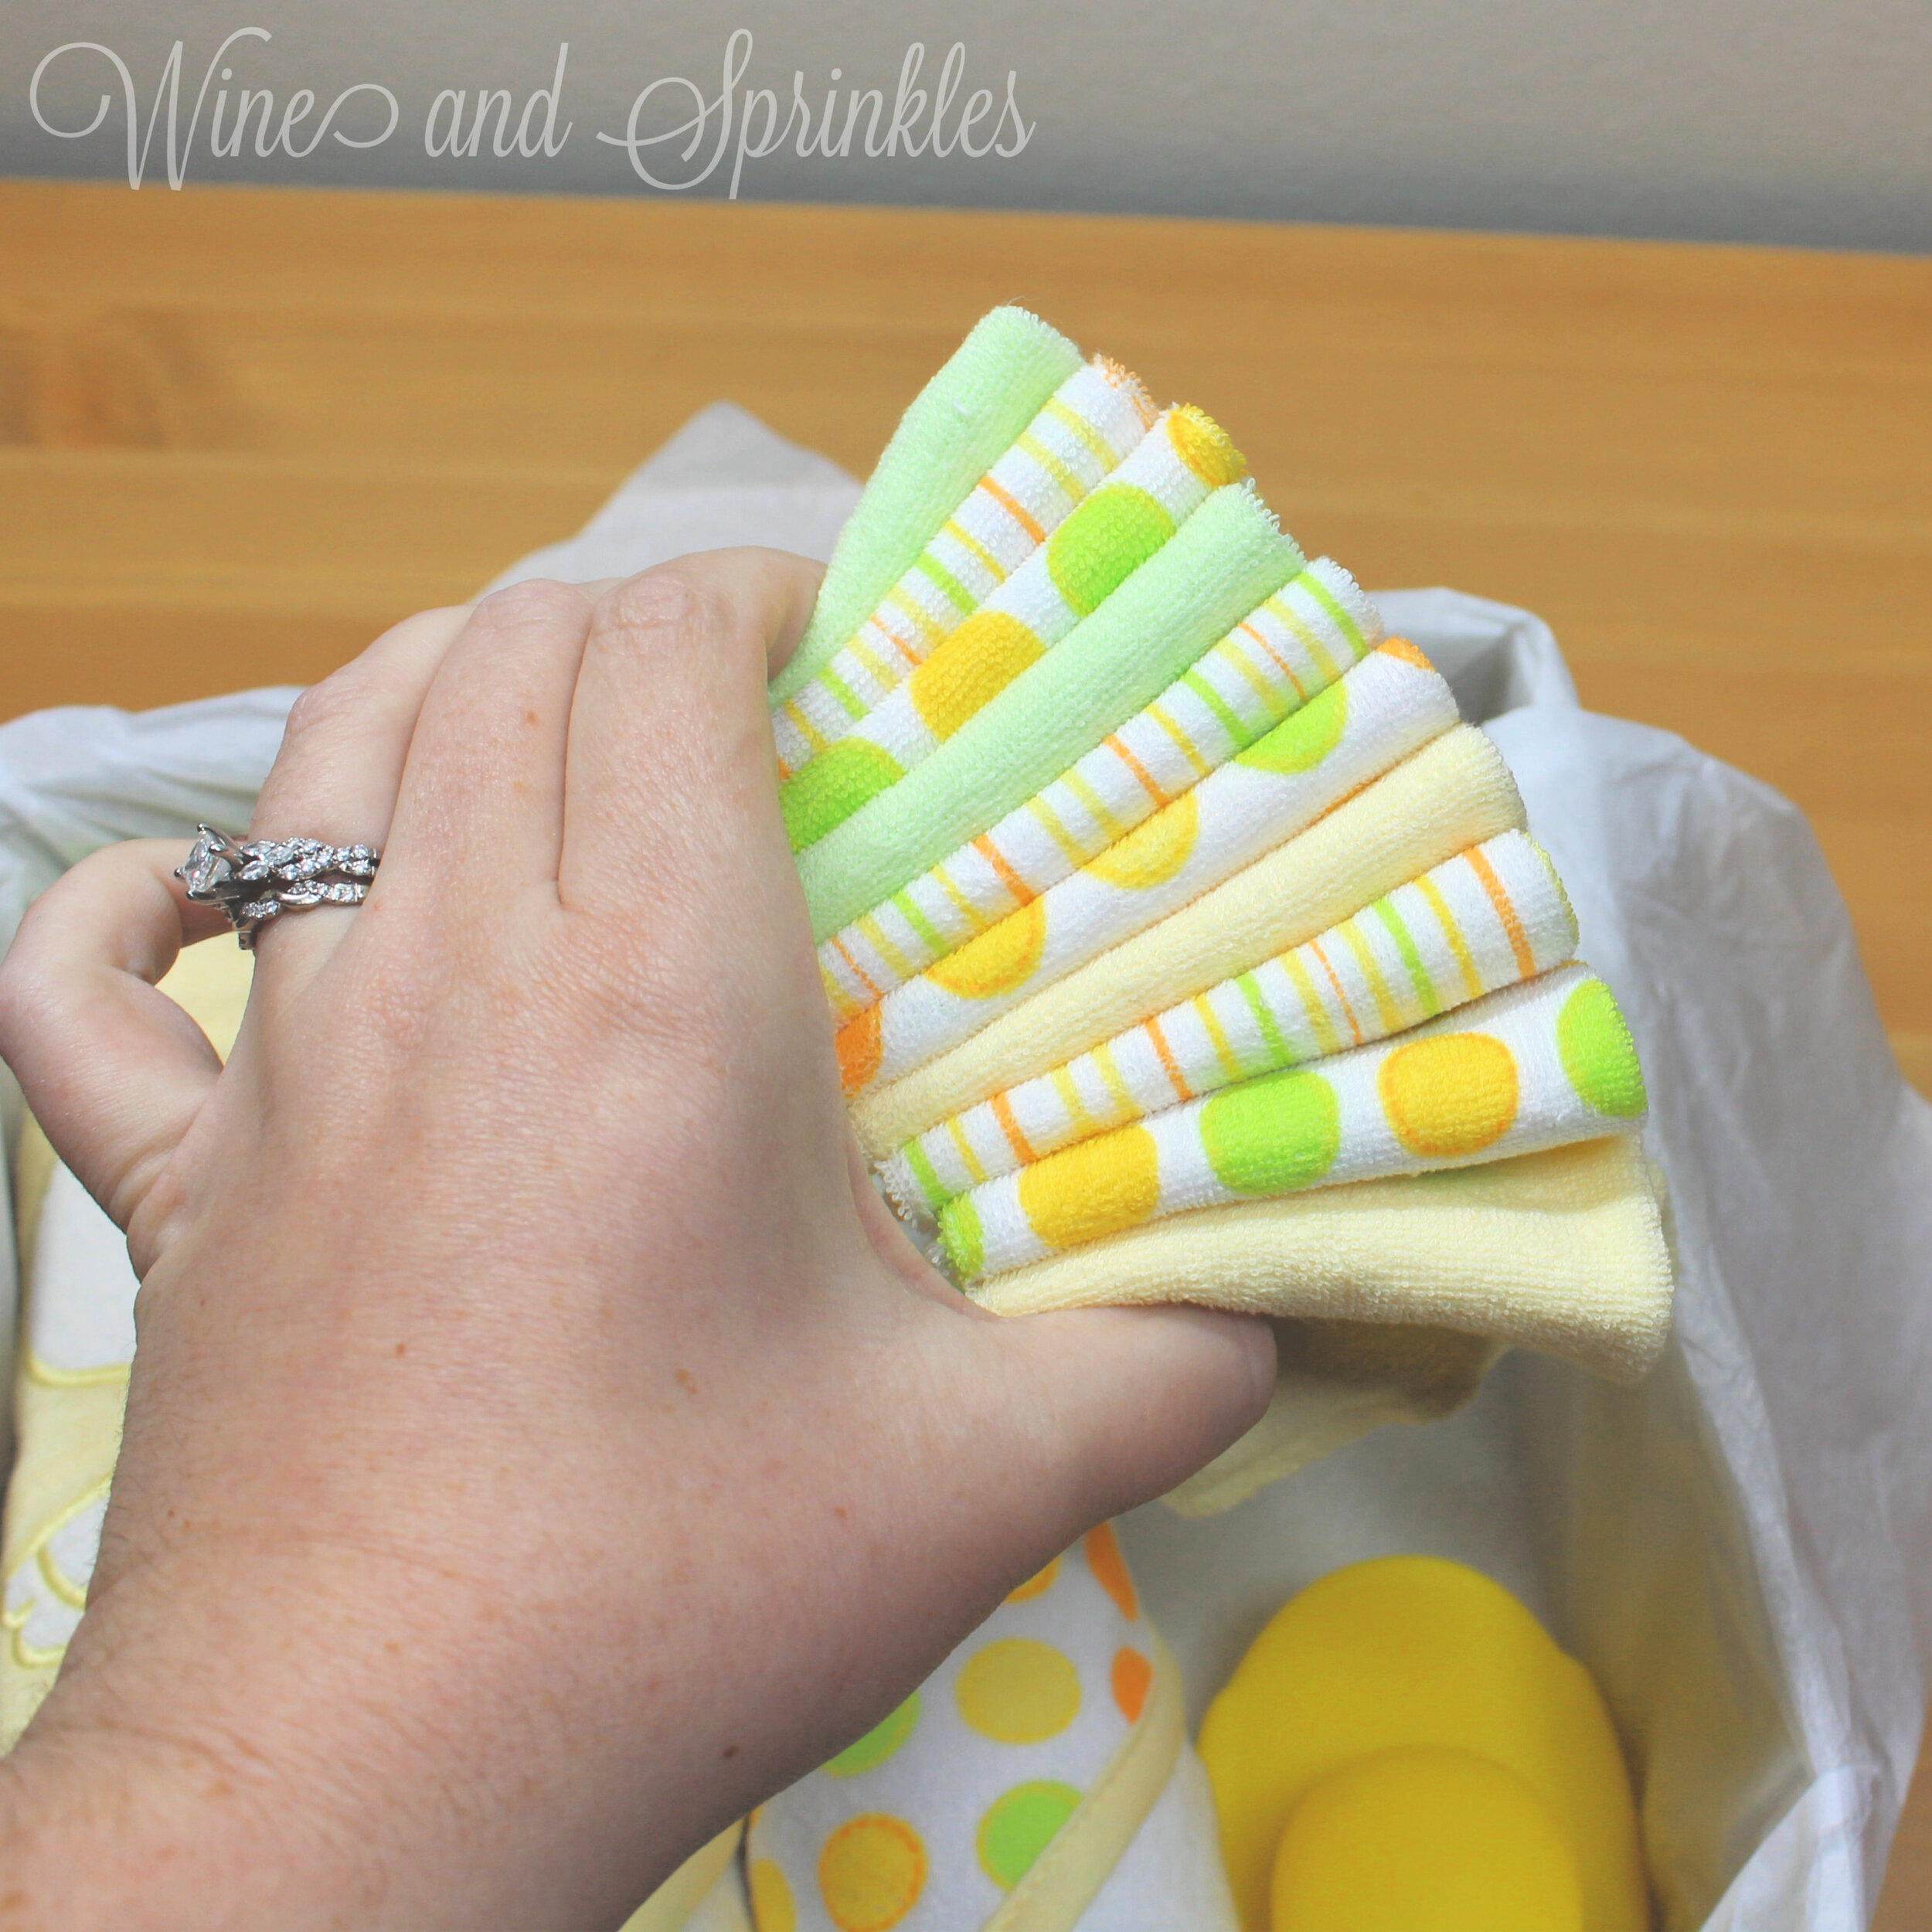
To fold the washcloths, start with the washcloth unfolded with the tag facing up. Start by folding the right side of the washcloth over so that the tag of the washcloth is nestled against the fold, as shown in the photos. Then, using the gift box as a guide, fold over the other side of the washcloth so that it forms a long rectangle that is the width of the open area behind the rubber duck.
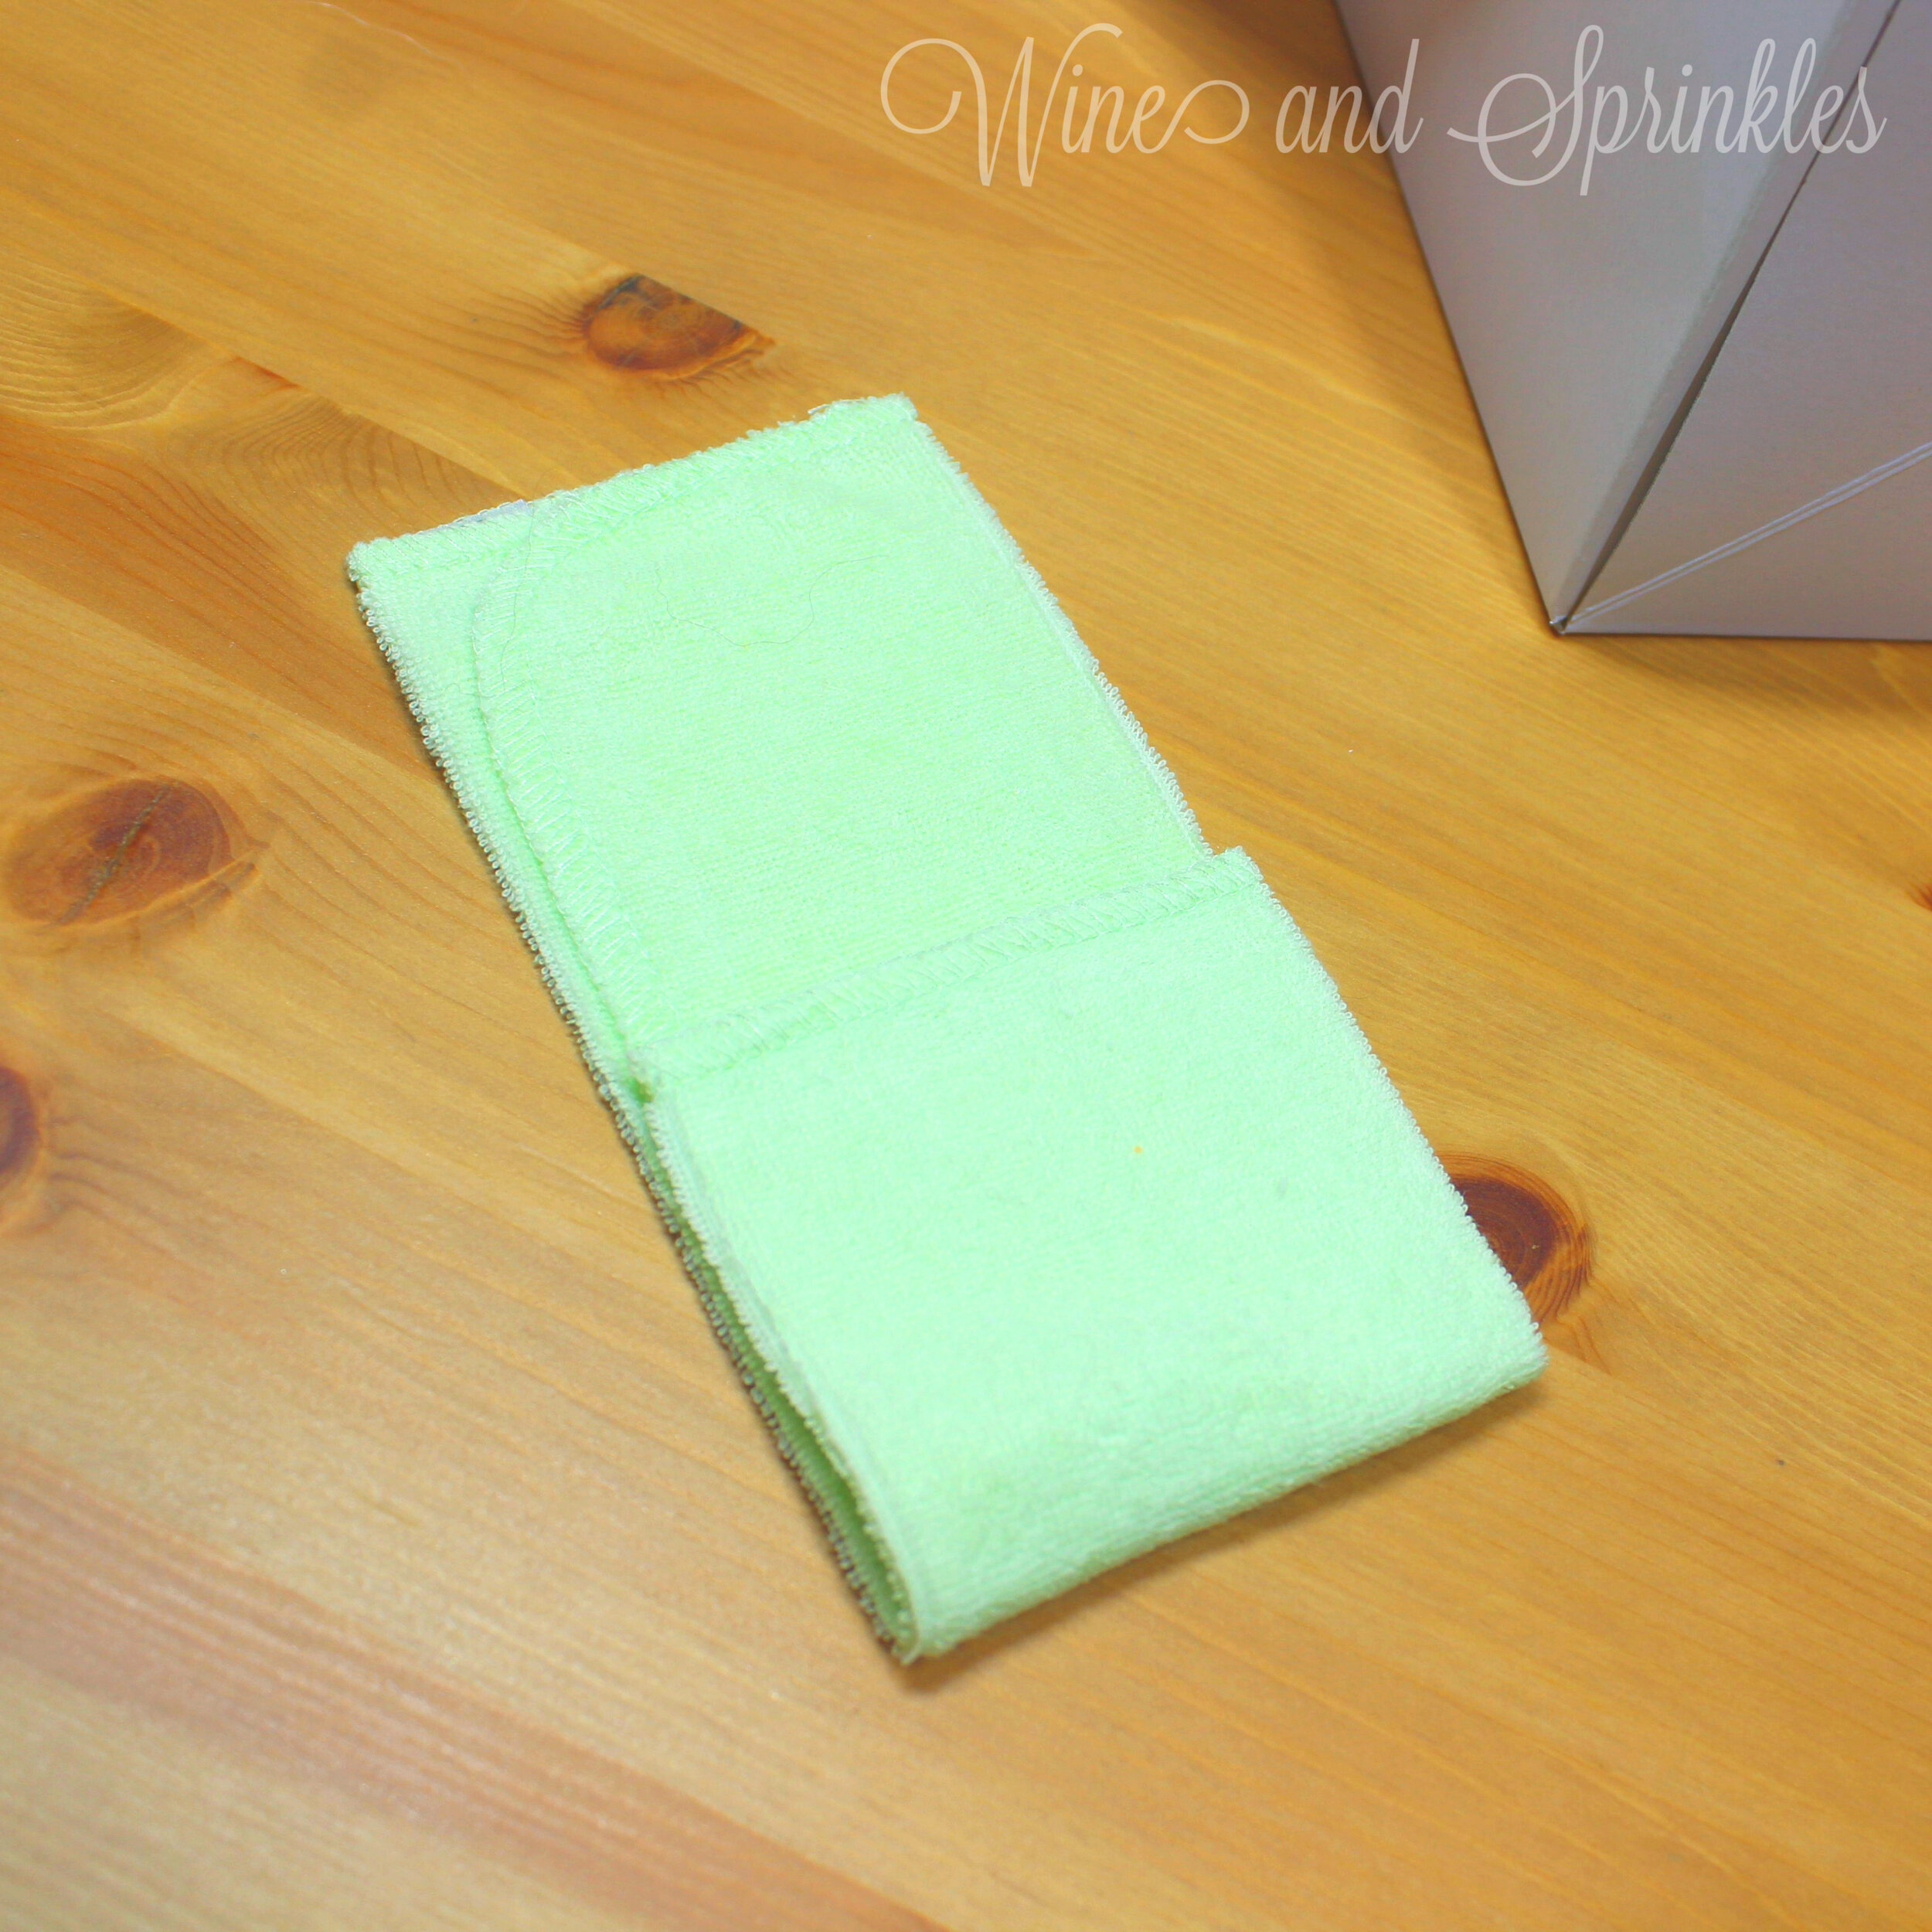
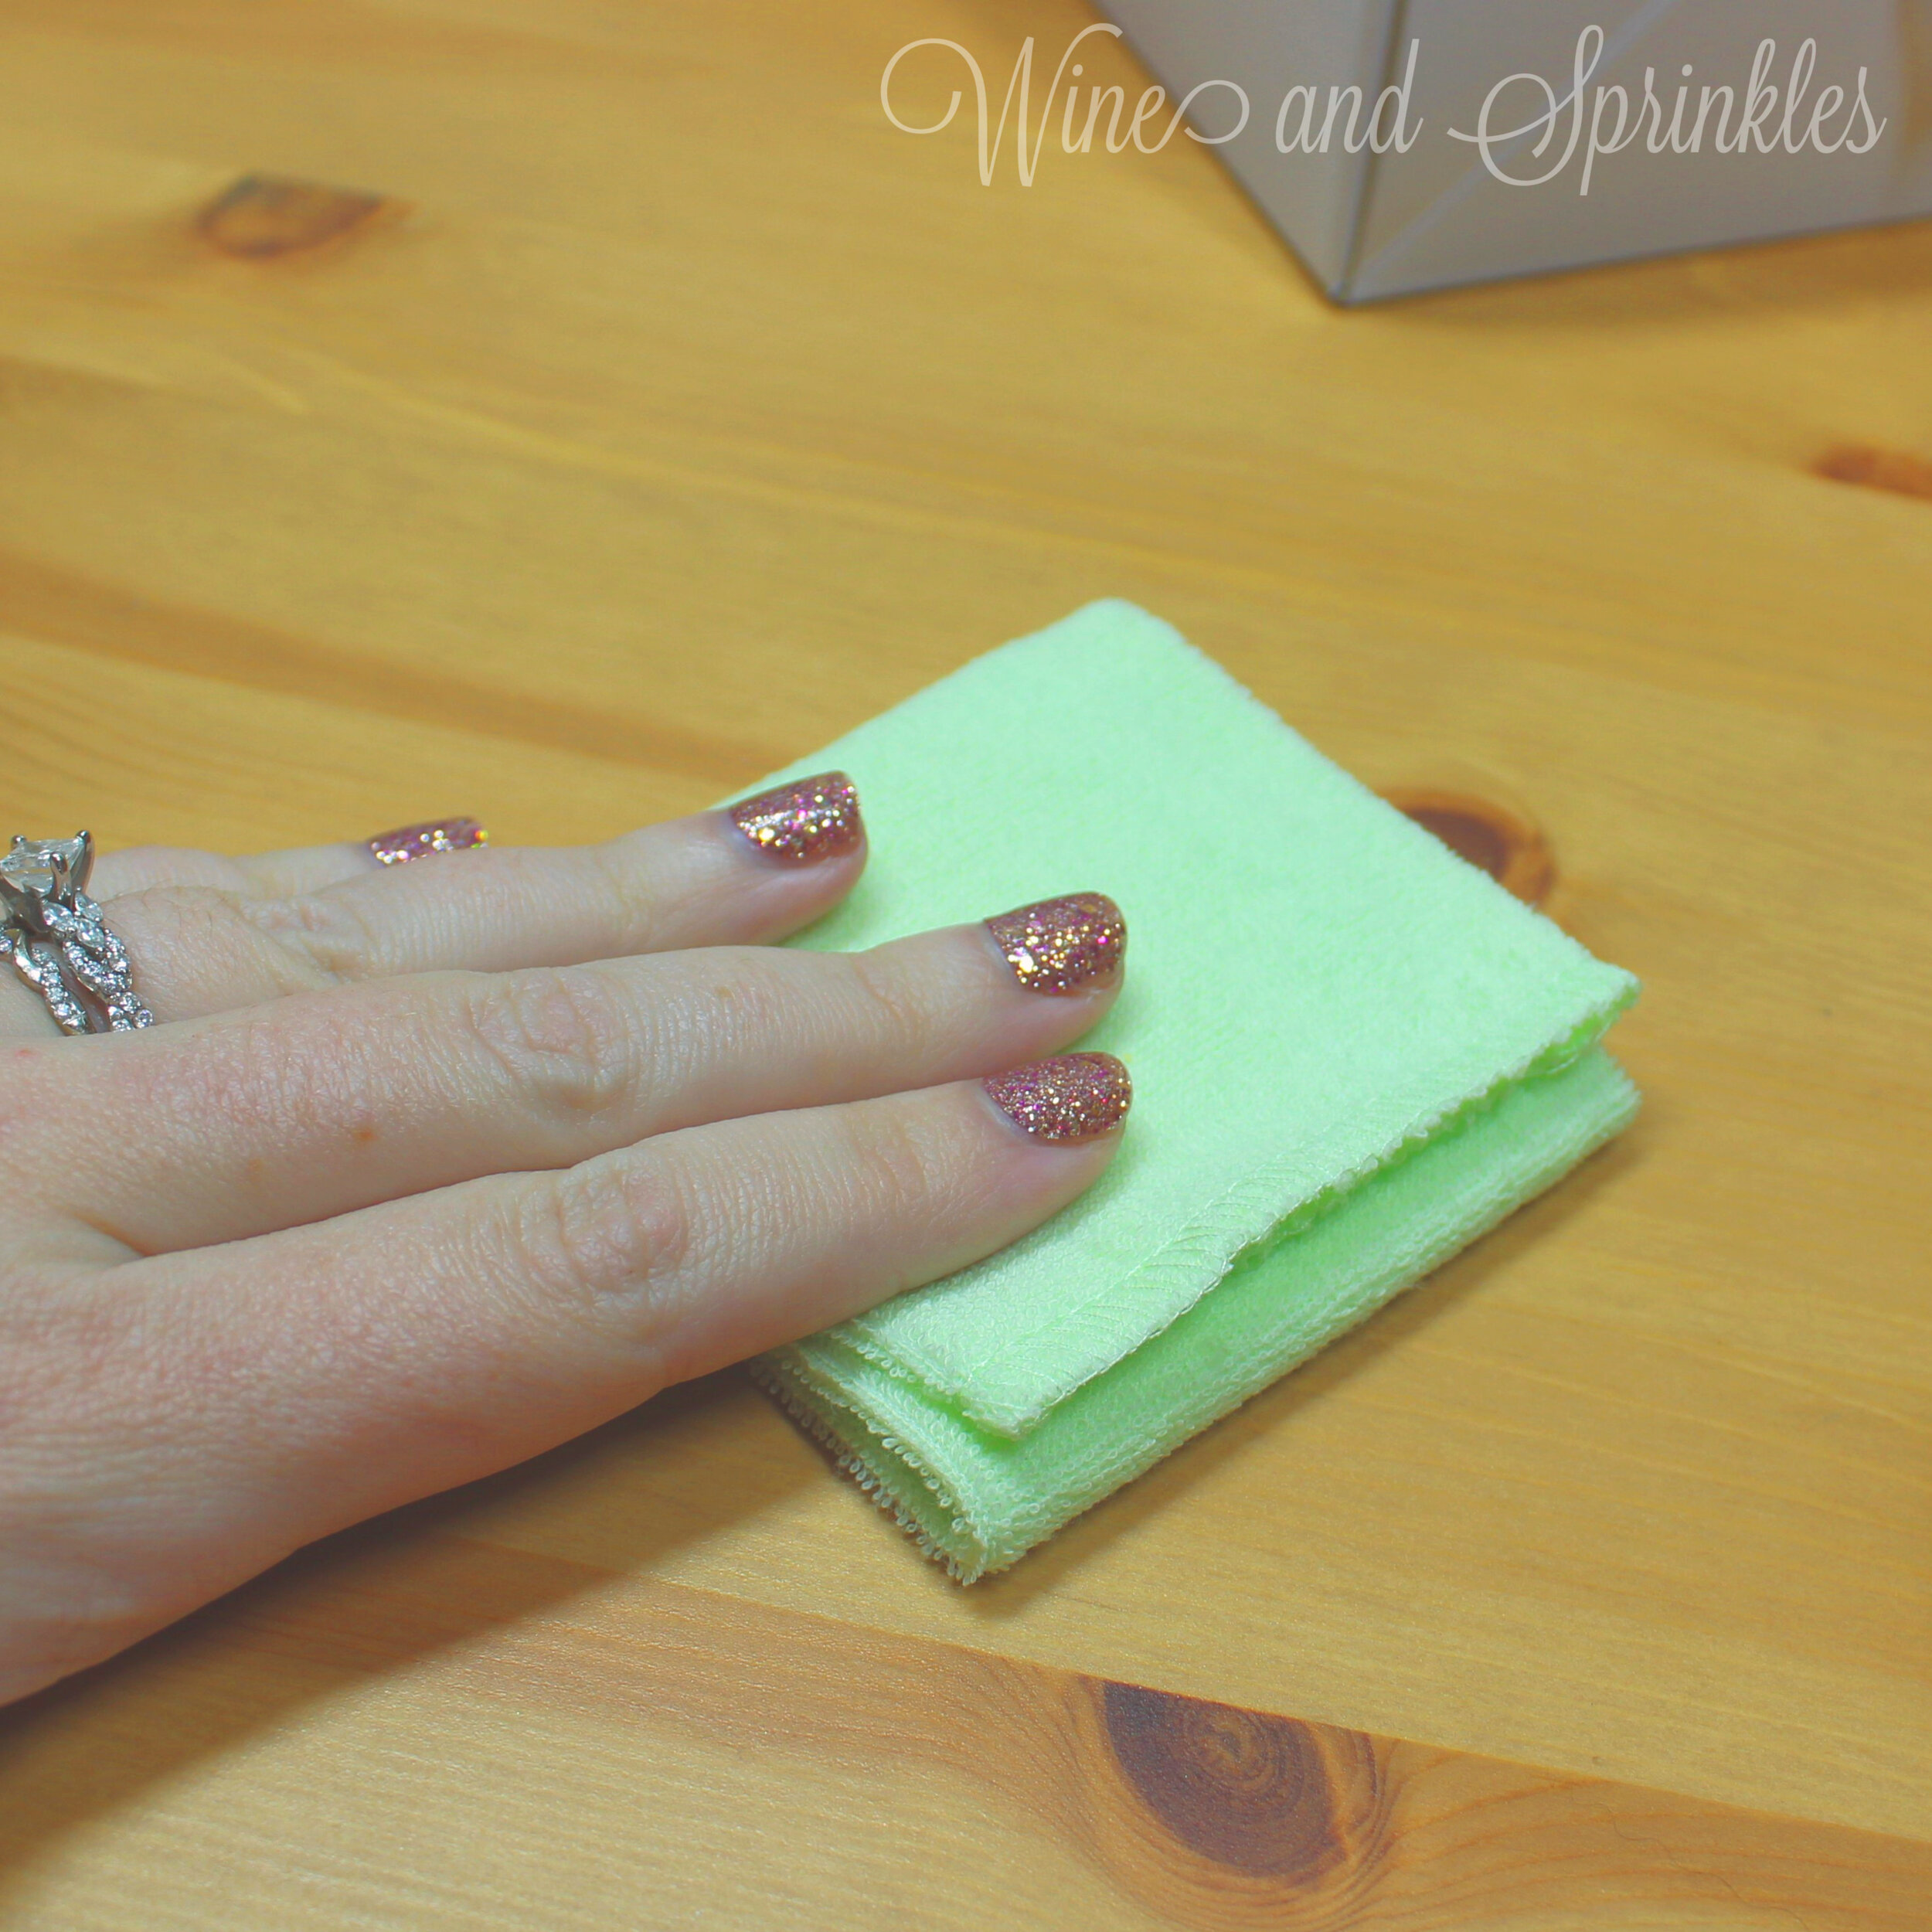
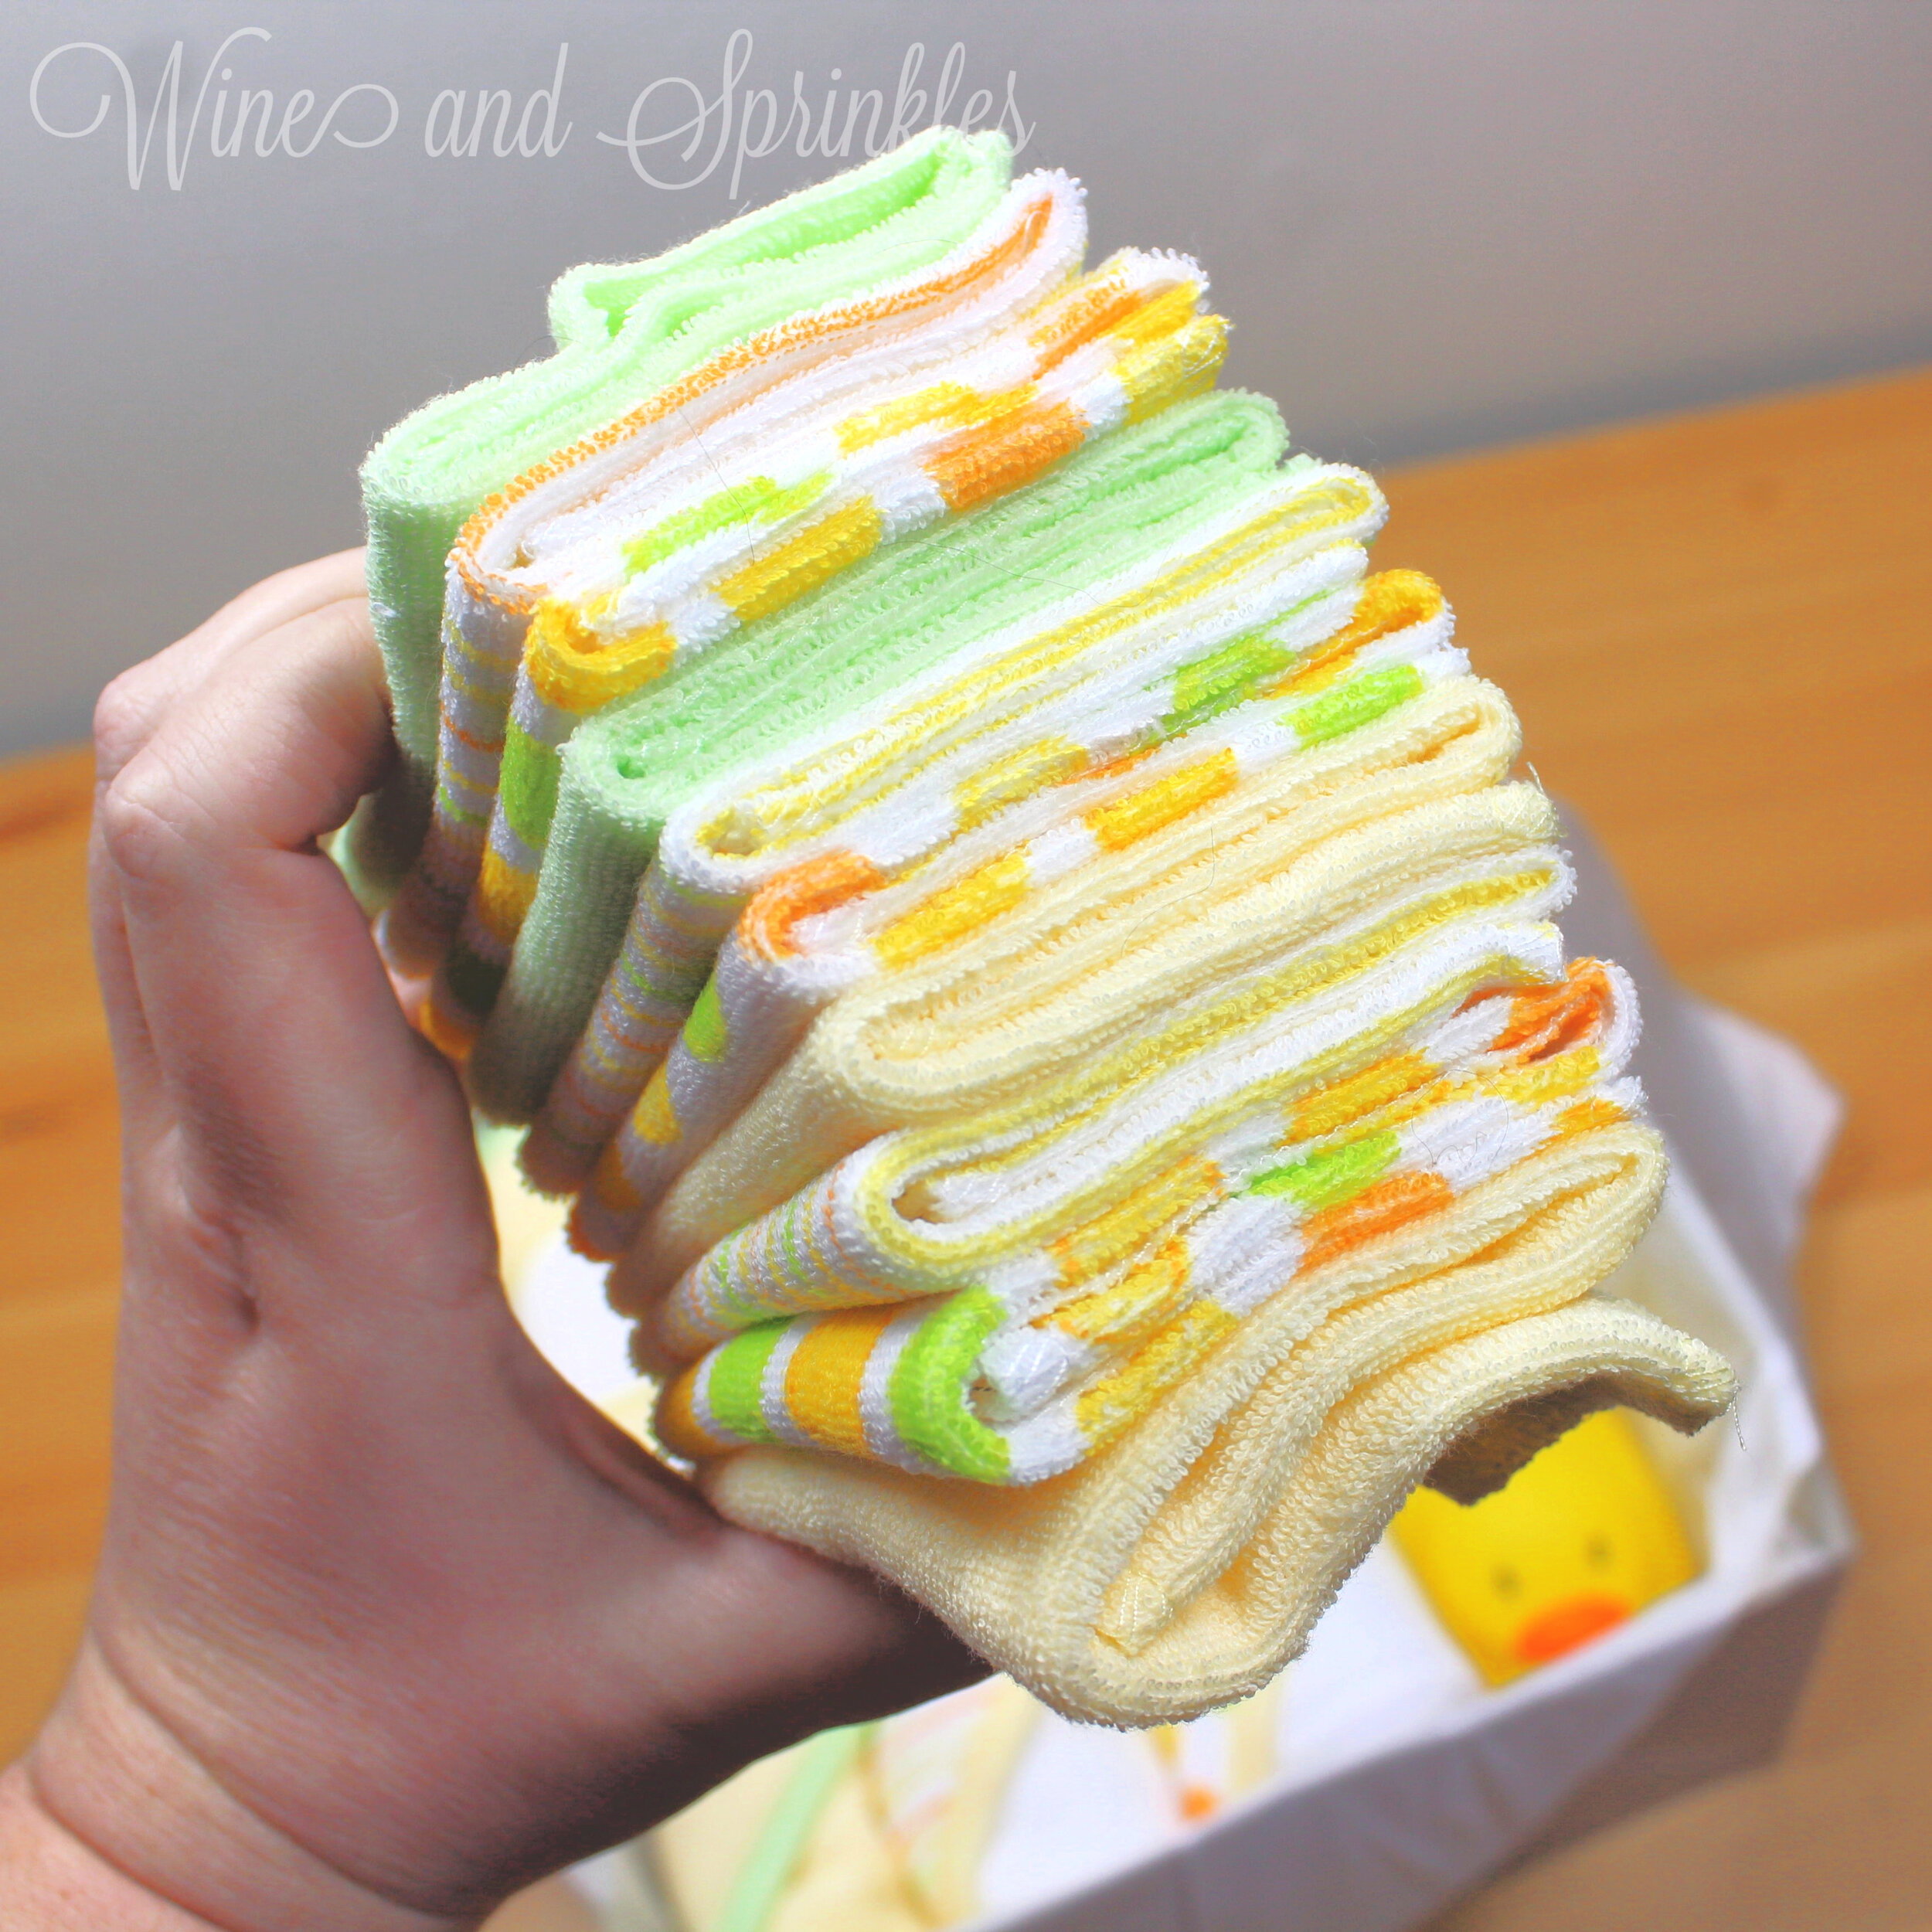
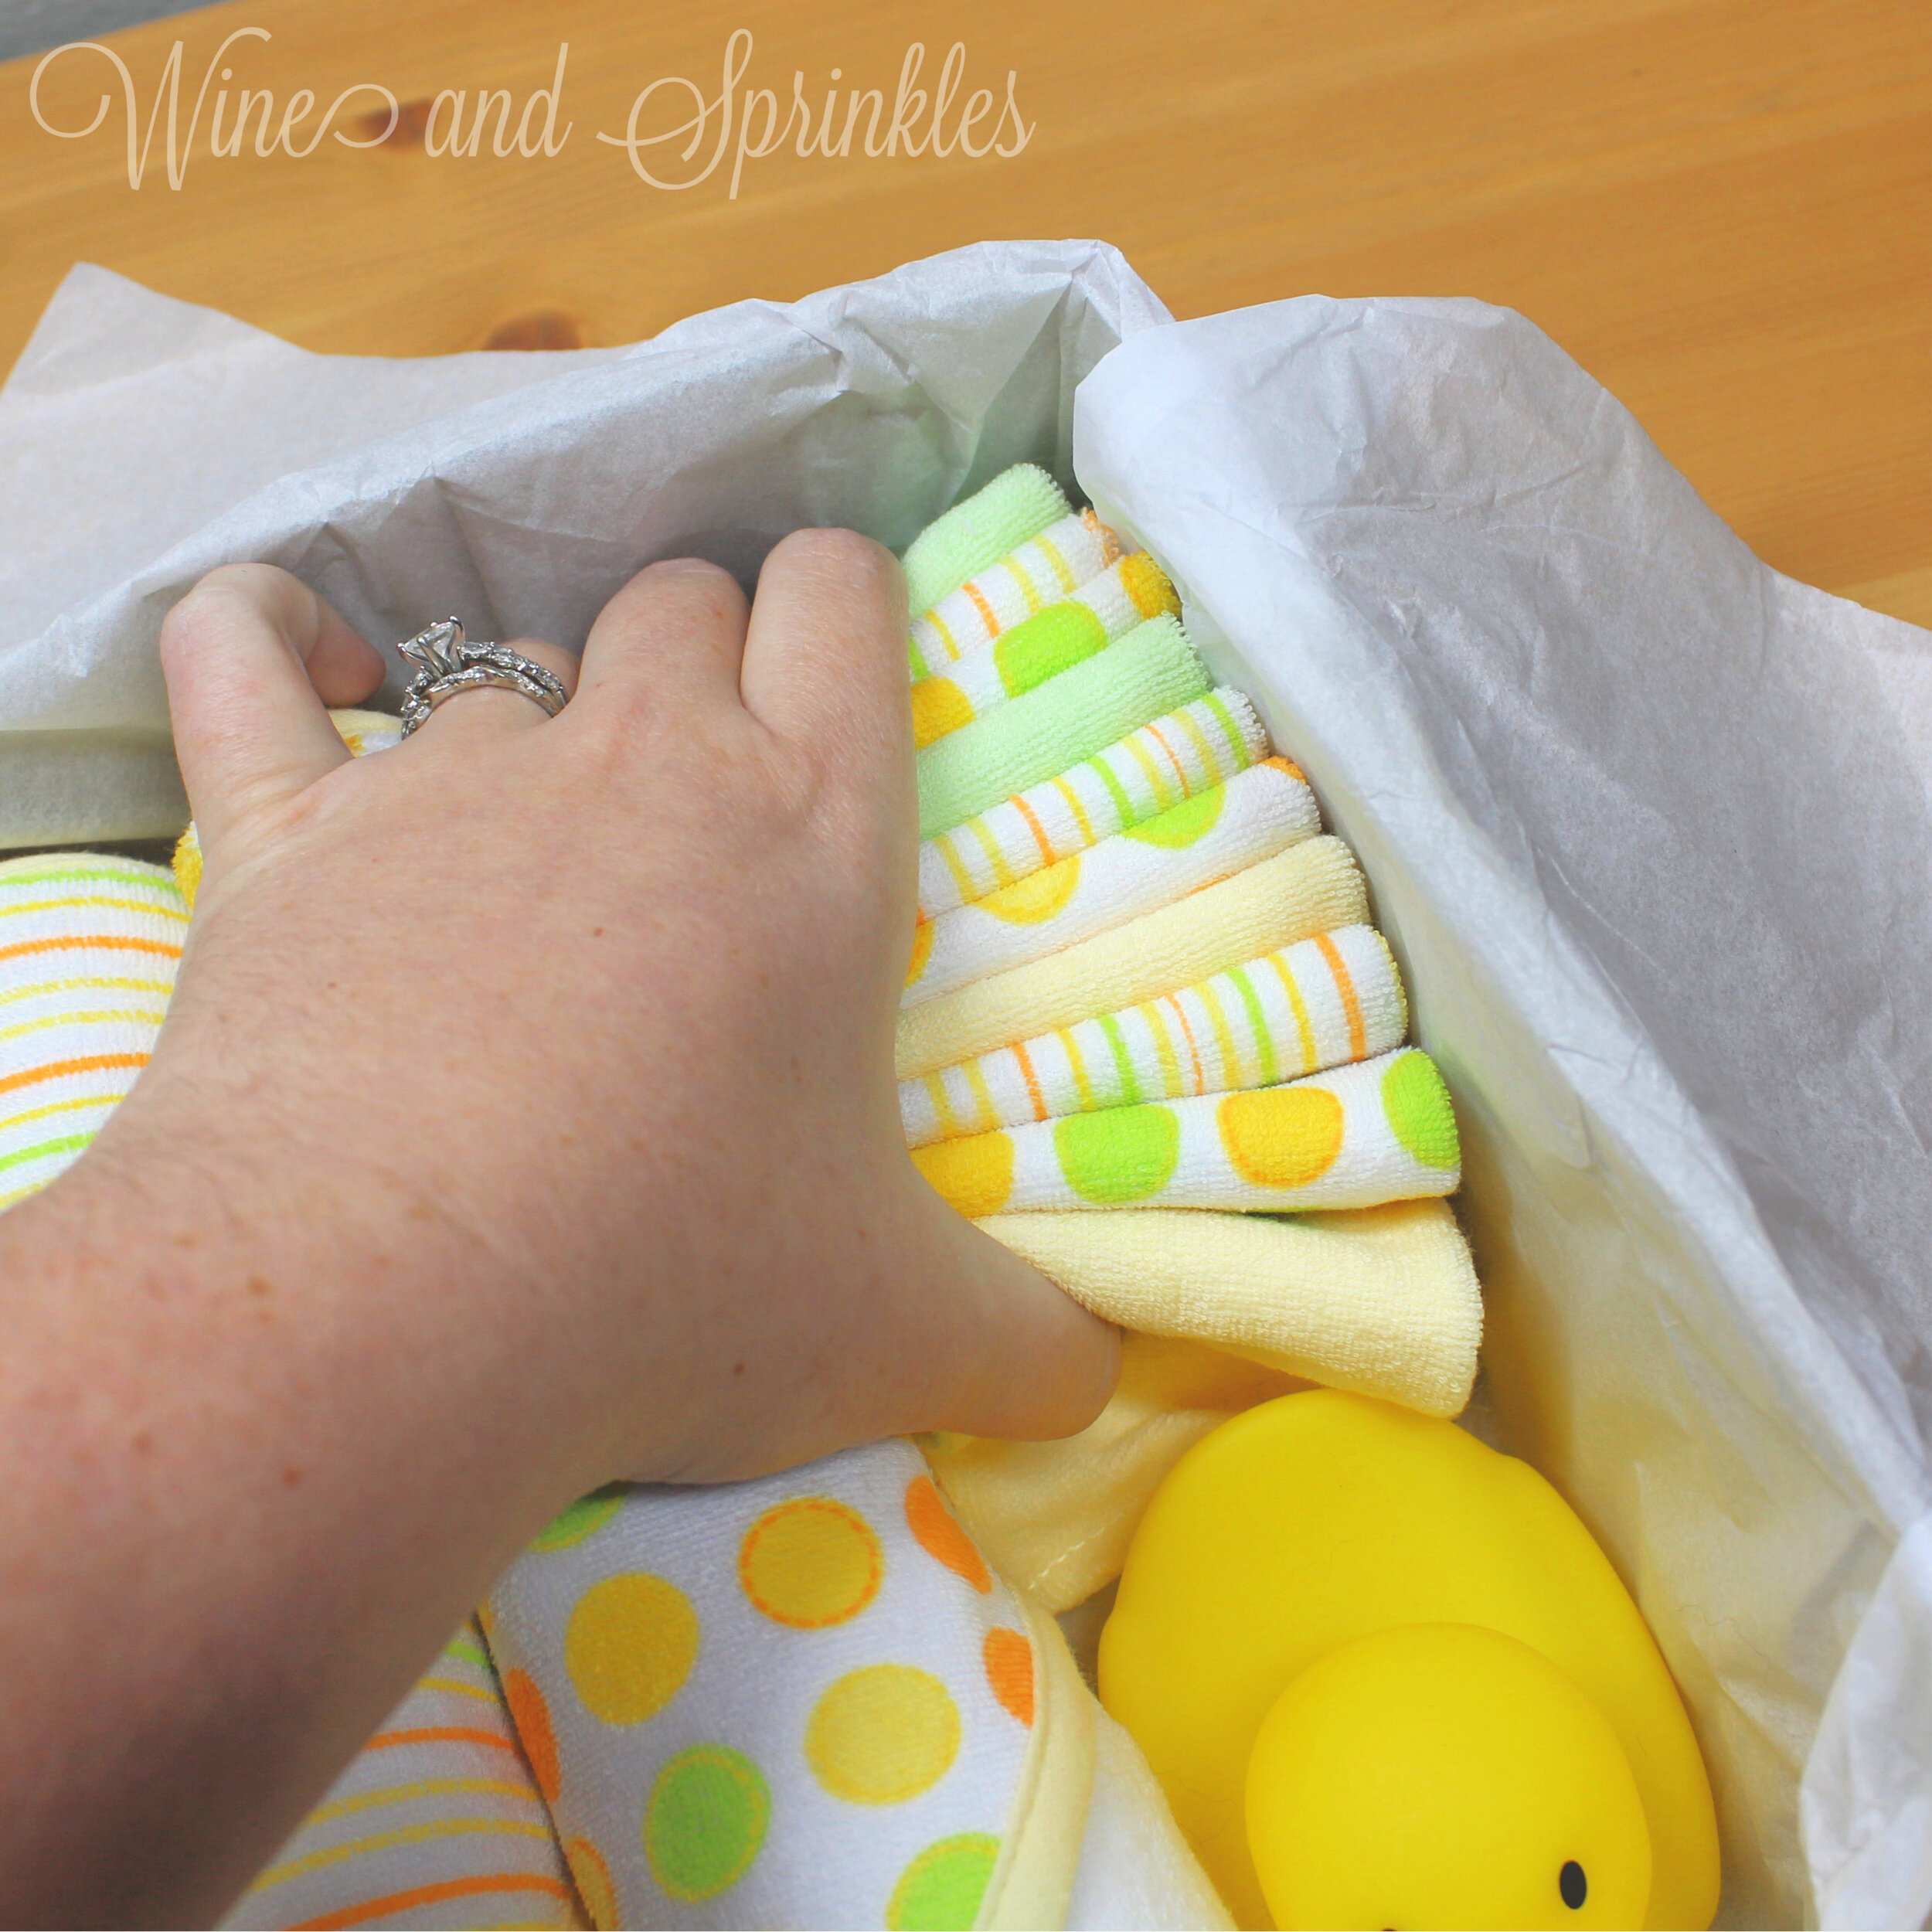
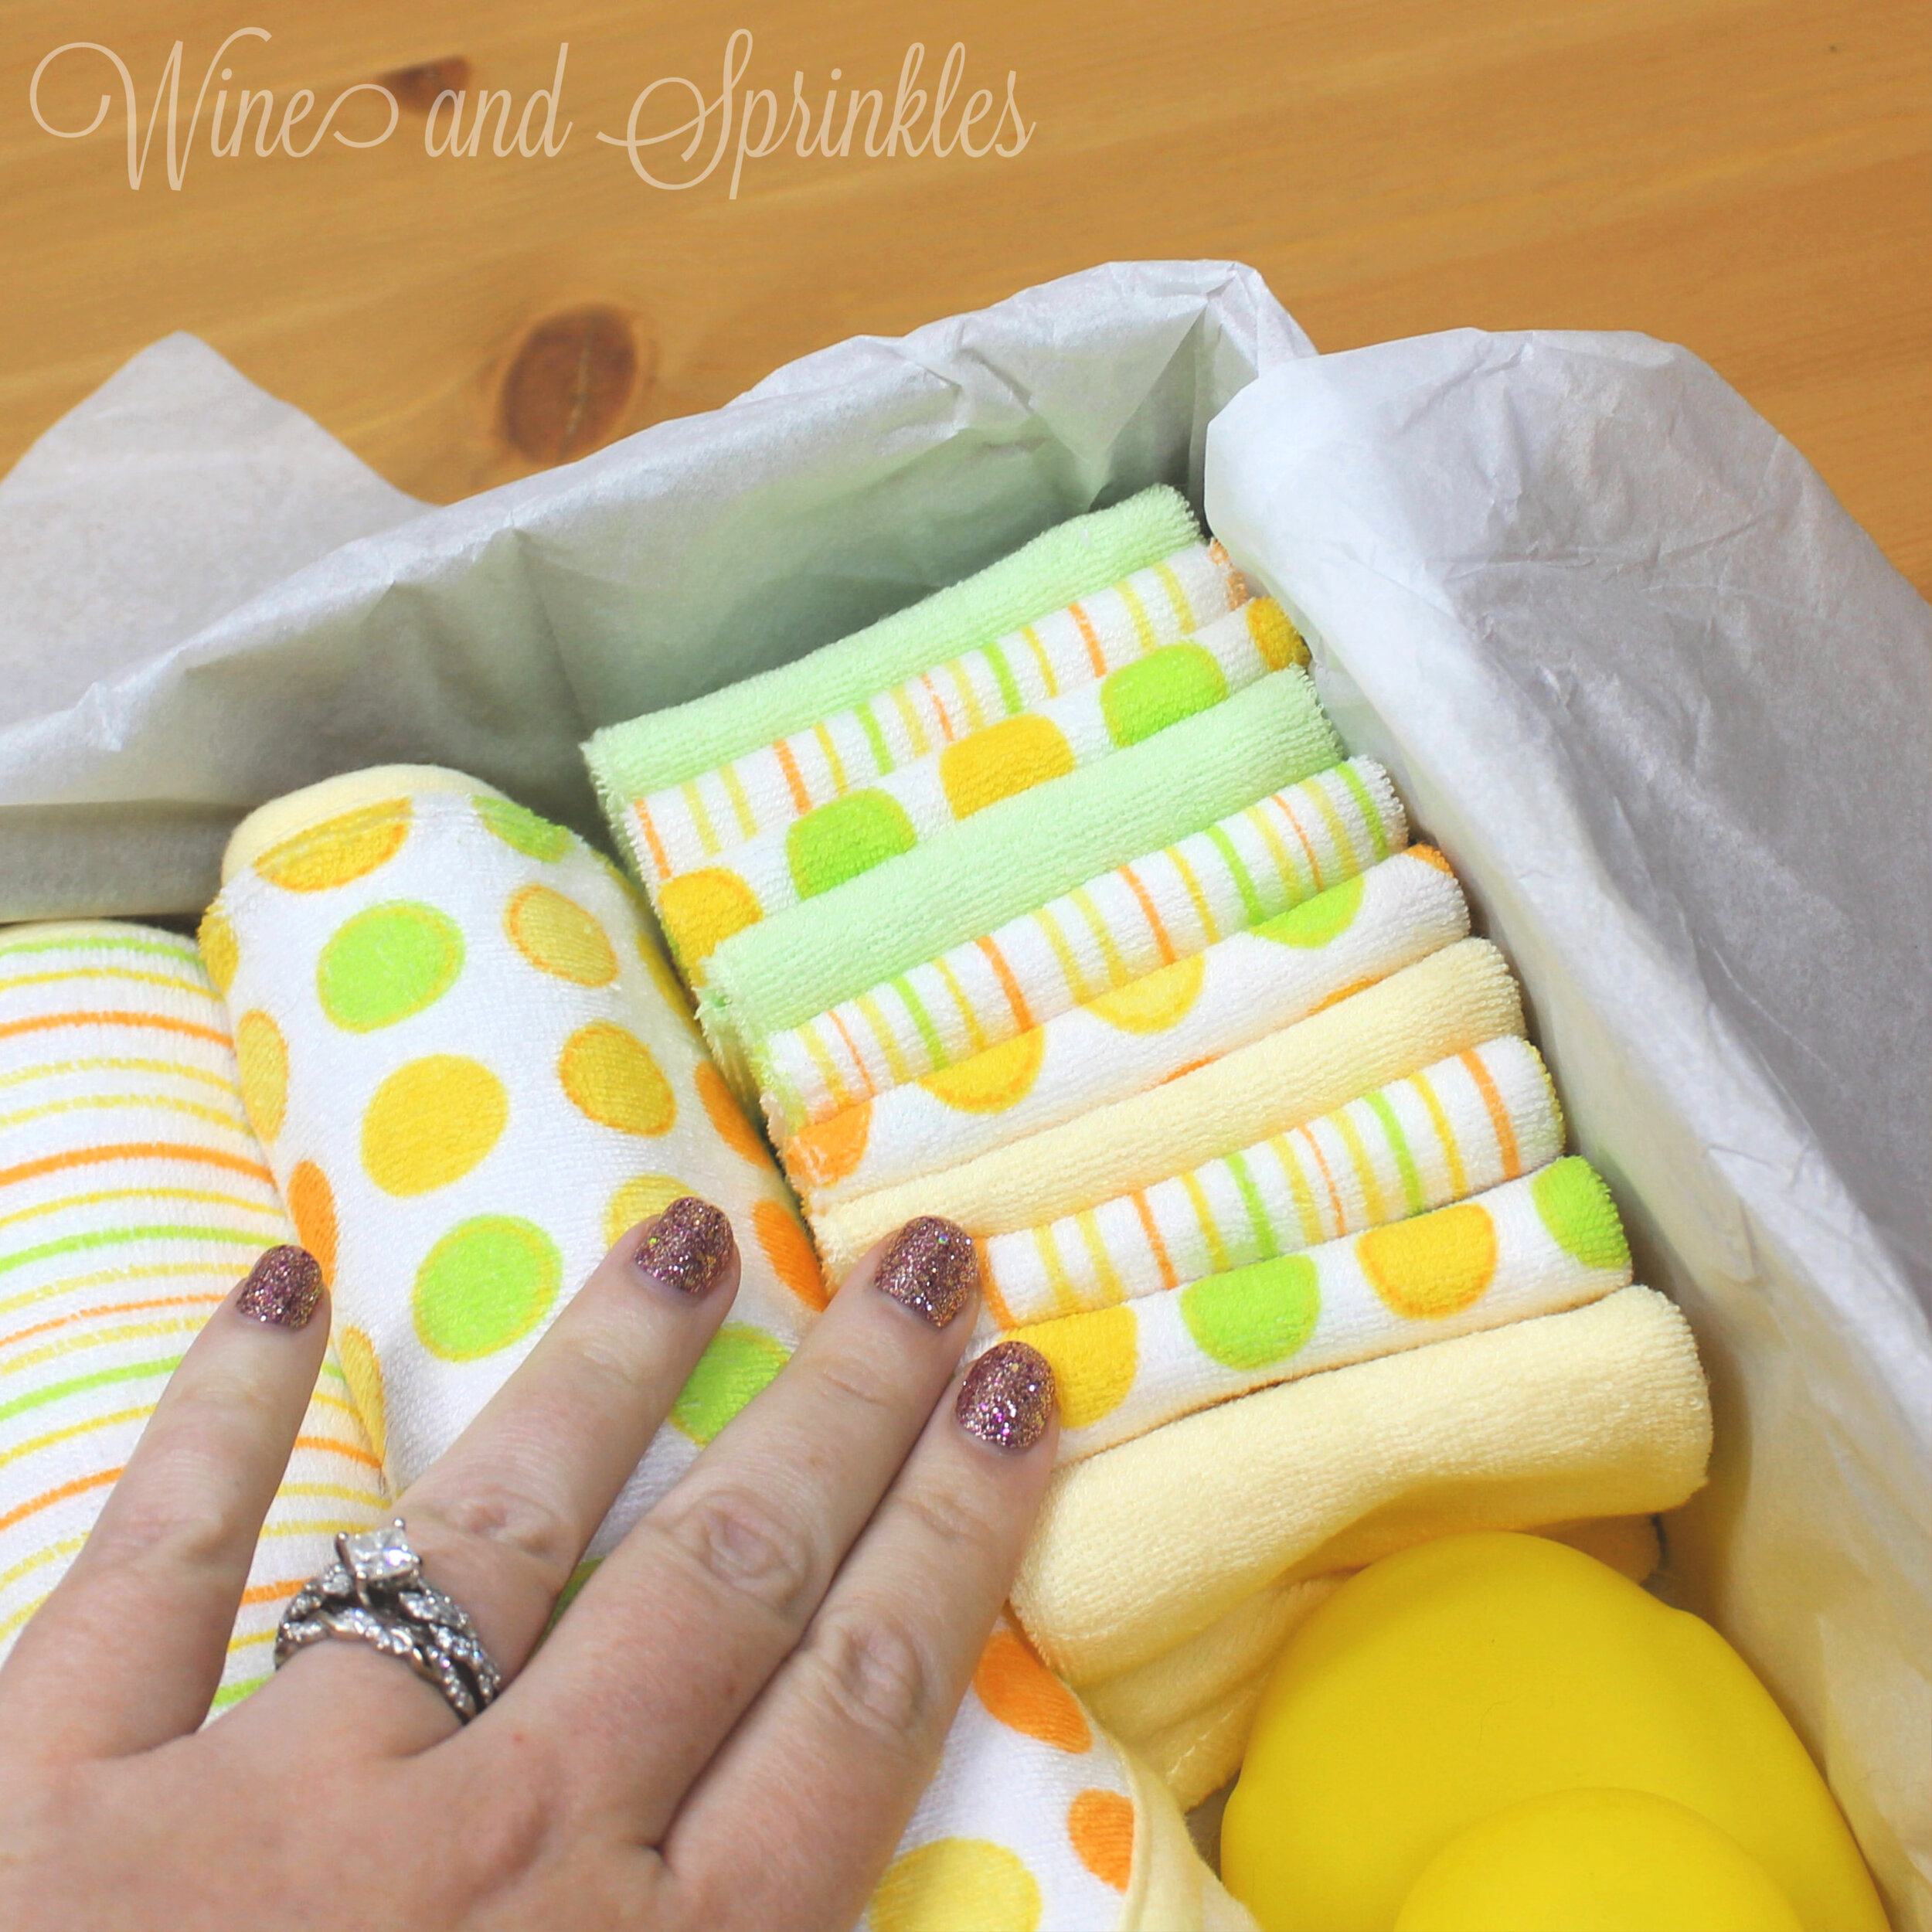
Now, fold the washcloth rectangle in thirds width-wise to create a small folded packet as shown below. Repeat this folding with all the remaining washcloths then put the washcloths into a stack, with all the folded, pretty, sides together and the open ends towards the back. I stacked mine so that the solid and patterns alternated between the three options and would highly recommend it!
3. Grabbing the entire stack with one hand, with the pretty side of the stack towards you, place it into the gift box above the rubber duck, pressing them in gently as needed to fill the space and show off their patterns. Top your creation with extra tissue paper if you wish and put on the top of your box. Your bento is now folded, assembled and ready to gift!


