This post contains affiliate links, meaning that if you click on a link I will recieve a small comission. This costs you nothing extra and I only promote products I use and love! You can read our full disclosure here
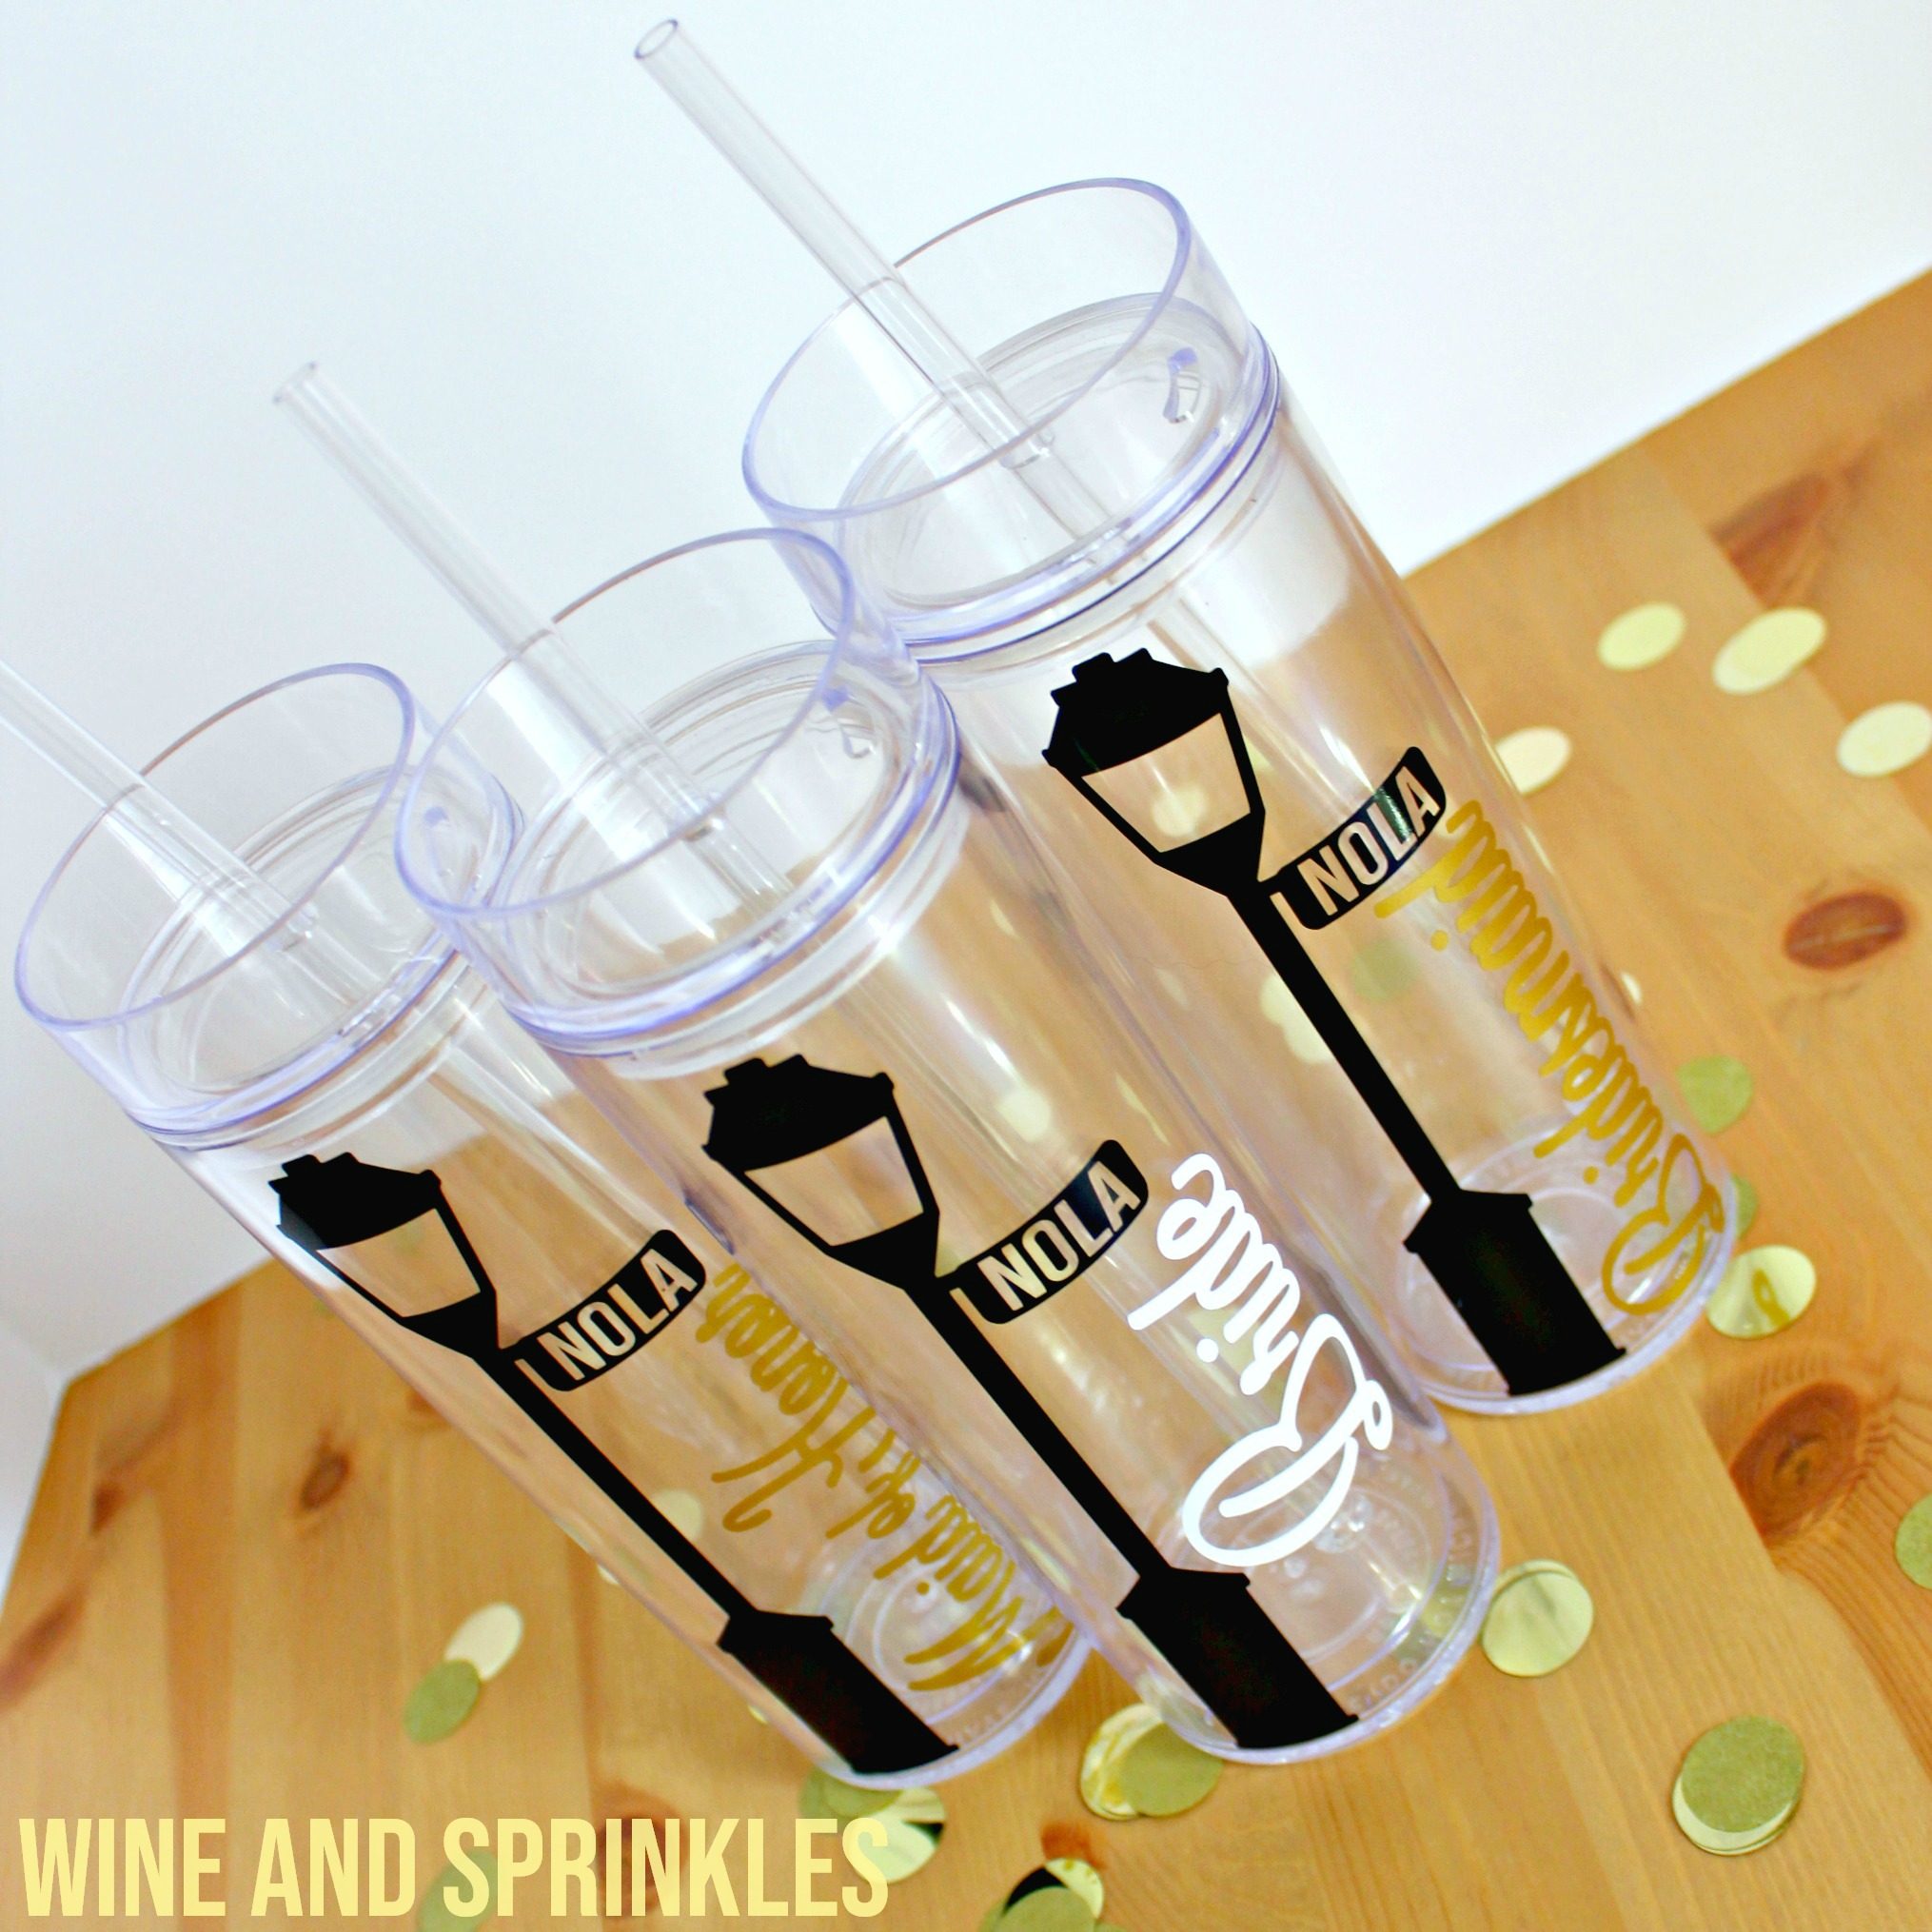
I’ve been wanting to start designing a set of Destination Bachelorette Skinny Tumblers, so when I found out my sister in law is having her bachelorette in New Orleans, these tumblers were born!
The files are designed in the colors you see these tumblers and will automatically sort the decals onto separate sheets based on their colors.
For my tumblers, I used Oracal 651 Gold Metallic Vinyl for the Bridesmaid and Maid of Honor Decals, Oracal 651 White Vinyl for the Bride Decals and Oracal 651 Black Vinyl for the lamp posts and I absolutely adore them! While they are pretty easy to weed, it does take some practice to get them perfectly vertical, so grid lined transfer tape is a must!
Supplies:
Skinny Tumblers
Permanent Adhesive Vinyl
Transfer Paper
Craft Cutter and Tool Set
Skinny Tumbler Design Cut File
1. After downloading the cut files, import them into the Cricut Software. After creating a new project, select Upload Image. Select the file you wish to upload and it will automatically take you to the final upload screen, where you can name the file the select Save.
2. Cut the design(s) in your choice of permanent adhesive vinyl with the Vinyl Setting on your Cricut. The SVG Files are sized so that they will automatically cut to the size you see in the photos, but if you want to change the size you can. :)
3. Once the designs are cut, weed away the extra vinyl and cut a piece of transfer tape to 2.5" x 7.5". Cut away any excess backing from the vinyl design and smooth transfer tape over the design, aligning it along the left side of the pole of the lamp post and along the top of the bottom lip of the lamp post, as shown below. Using the smoother tool, smooth the tape to the vinyl, removing any air bubbles. The transfer tape should overlap the backing of the design, so that you can stick the tape to an object with the backing still on the design.
4. Now, transfer the design to your tumbler. If you are comfortable transferring longer designs, you can remove the decal from the backing directly and place on the tumbler, aligning the top of the transfer tape along the lip of the tumbler, as shown below. I found it easiest to first place the transfer tape with both the decal and backing on the tumbler. Once they were placed satisfactorily, I lifted the transfer tape and decal while making sure the transfer tape wasn’t fully removed from the tumbler. Then remove the backing and replace the decal and transfer tape as before to transfer the design to the tumbler Arrange the design in the middle of the tumbler with the top of the transfer tape along the top lip of the tumbler.
5. Working from the the top and working to the bottom of the lamp post, smooth the design onto the tumbler. Because the surface is curved, focus on the vinyl smoothly transferring than your transfer tape looking nice and neat; however, the backing should flatten out with little trouble, at least it did for me! :) Once the design is set, remove the transfer tape from the tumbler, leaving the first part of the design on the tumbler.
6. Now, cut a piece of transfer tape to 2.5" x 5.5" for the Bridesmaid and Maid of Honor text decals and 2.5” x 3.5” for the Bride text decal. Cut away any excess backing from the vinyl design and smooth transfer tape over the design, aligning it along the left and bottom sides of the of the text with one set of the 1/2” blocks to the left and below the decal, as shown above. Using the smoother tool, smooth the tape to the vinyl, removing any air bubbles. The transfer tape should overlap the backing of the design, so that you can stick the tape to an object with the backing still on the design.
7. Place the transfer tape with both the decal and backing on the tumbler, aligning it with the right edge of the pole of the lamp post as well as along the bottom of the lamp post for the Bridesmaid and Maid of Honor Tumblers. Since the “Bride” text is shorter, it is aligned along the top of the barrel and the left edge of the pole of the lamp post, as shown above.
8. Once they were placed satisfactorily, I lifted the transfer tape and decal while making sure the transfer tape wasn’t fully removed from the tumbler. Then remove the backing and replace the decal and transfer tape as before to transfer the design to the tumbler, as shown above and below.
9. Remove the transfer tape, leaving the text on the tumbler under the sign of the lamp post. Repeat with all remaining tumblers.


