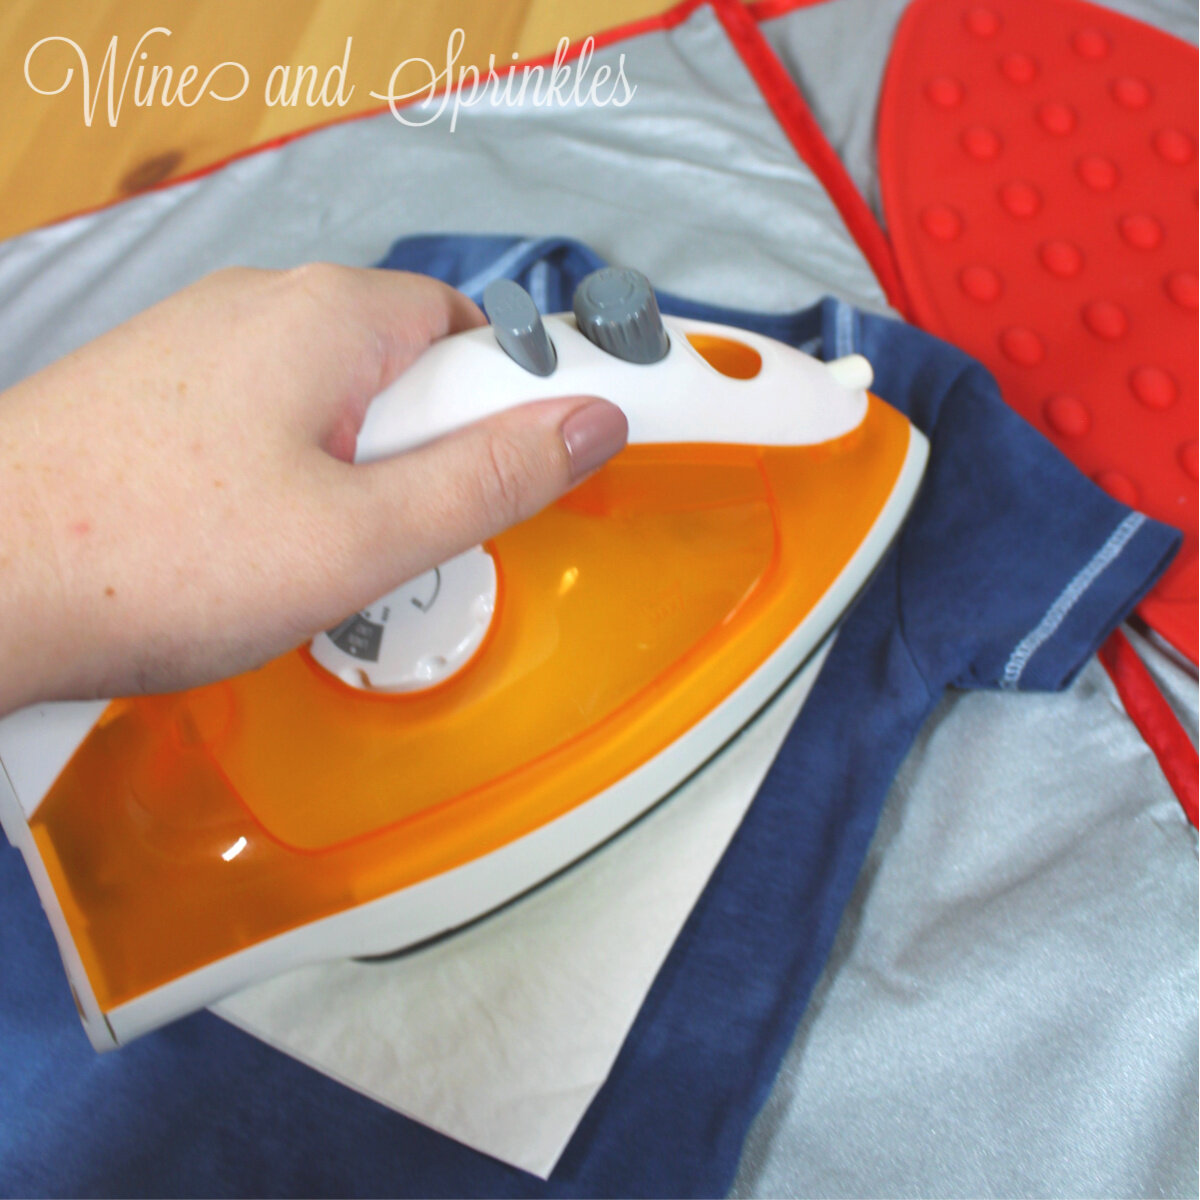
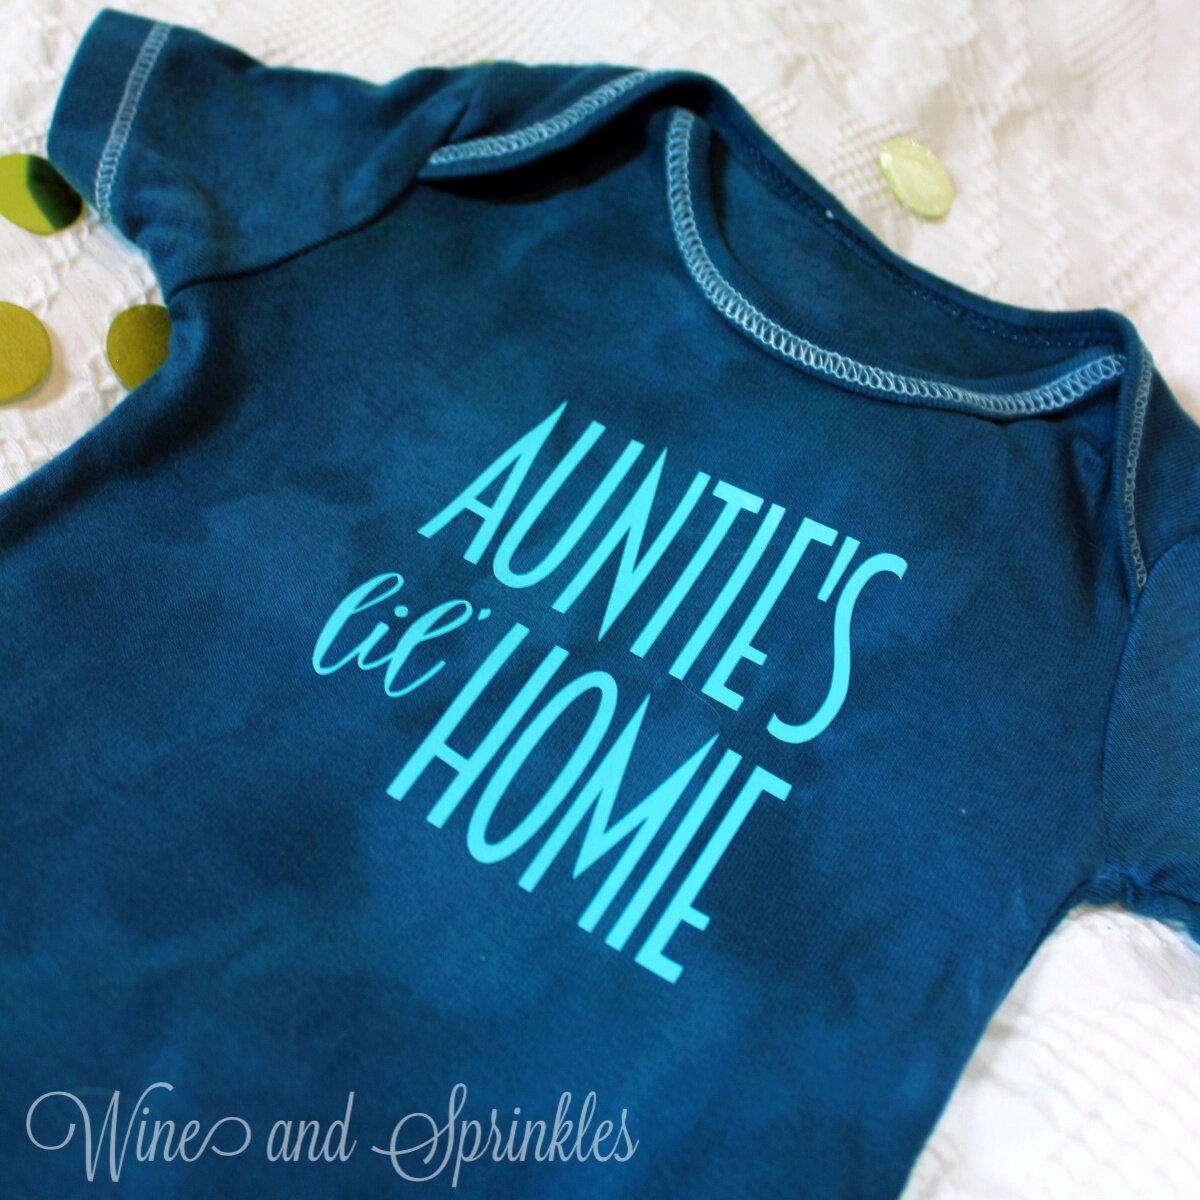
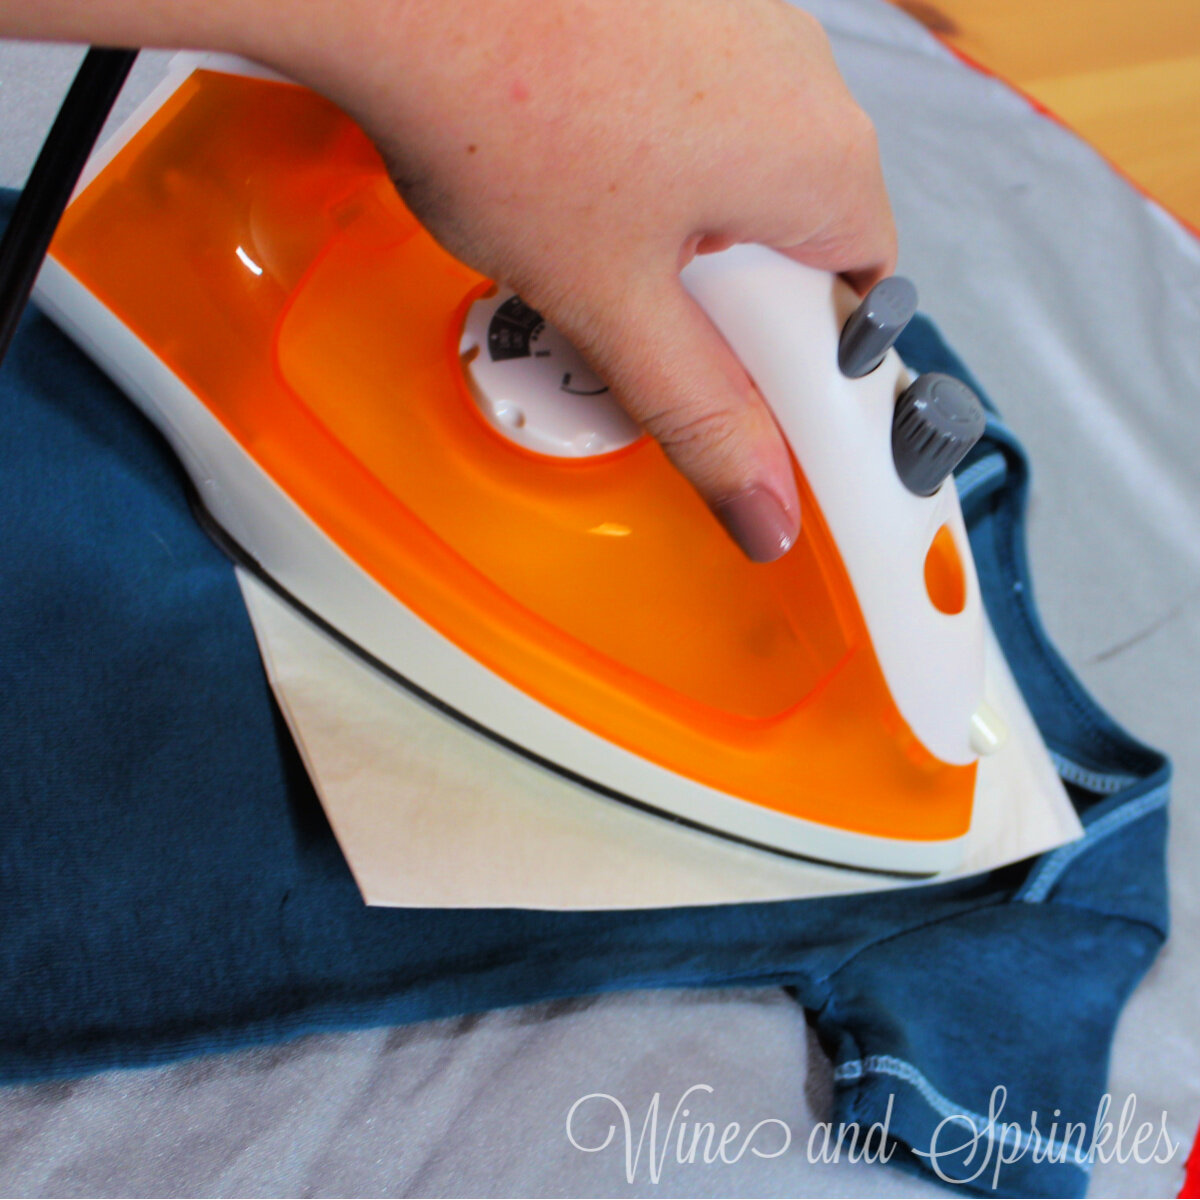
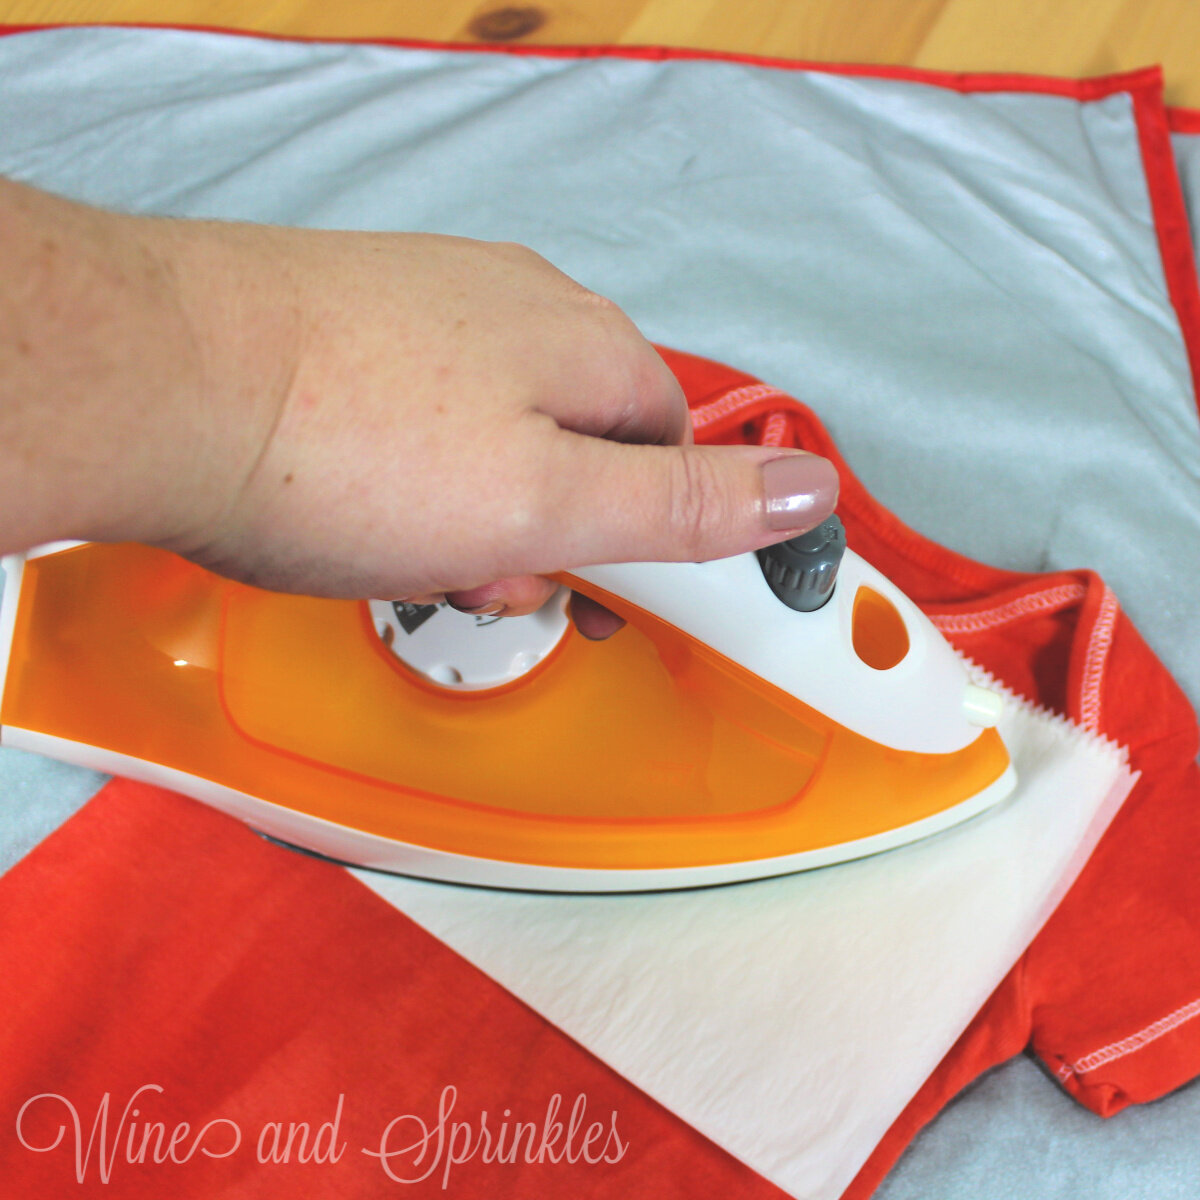
3. Weed the additional material off of the backing material so that, looking down with the shiny side up, you can see your design with the correct orientation.Iron your onesie to remove any creases, then center the design over the top half of the onesie. Arrange the design shiny side up, then cover with parchment paper. Make sure to keep the parchment paper between the design and the iron.
4. Set your Iron to the second Highest setting. Cover the parchment paper and decal with your iron, pressing down firmly on the design. Using your iron like a small heat press, press the design for 10-15 seconds for the Metal HTV or at least 20-30 seconds for Easyweed or Glitter HTV, repeating and overlapping the last position as you move across the design. Luckily, onesie decals are so small, you should be able to fit the whole decal under the iron in a single press!
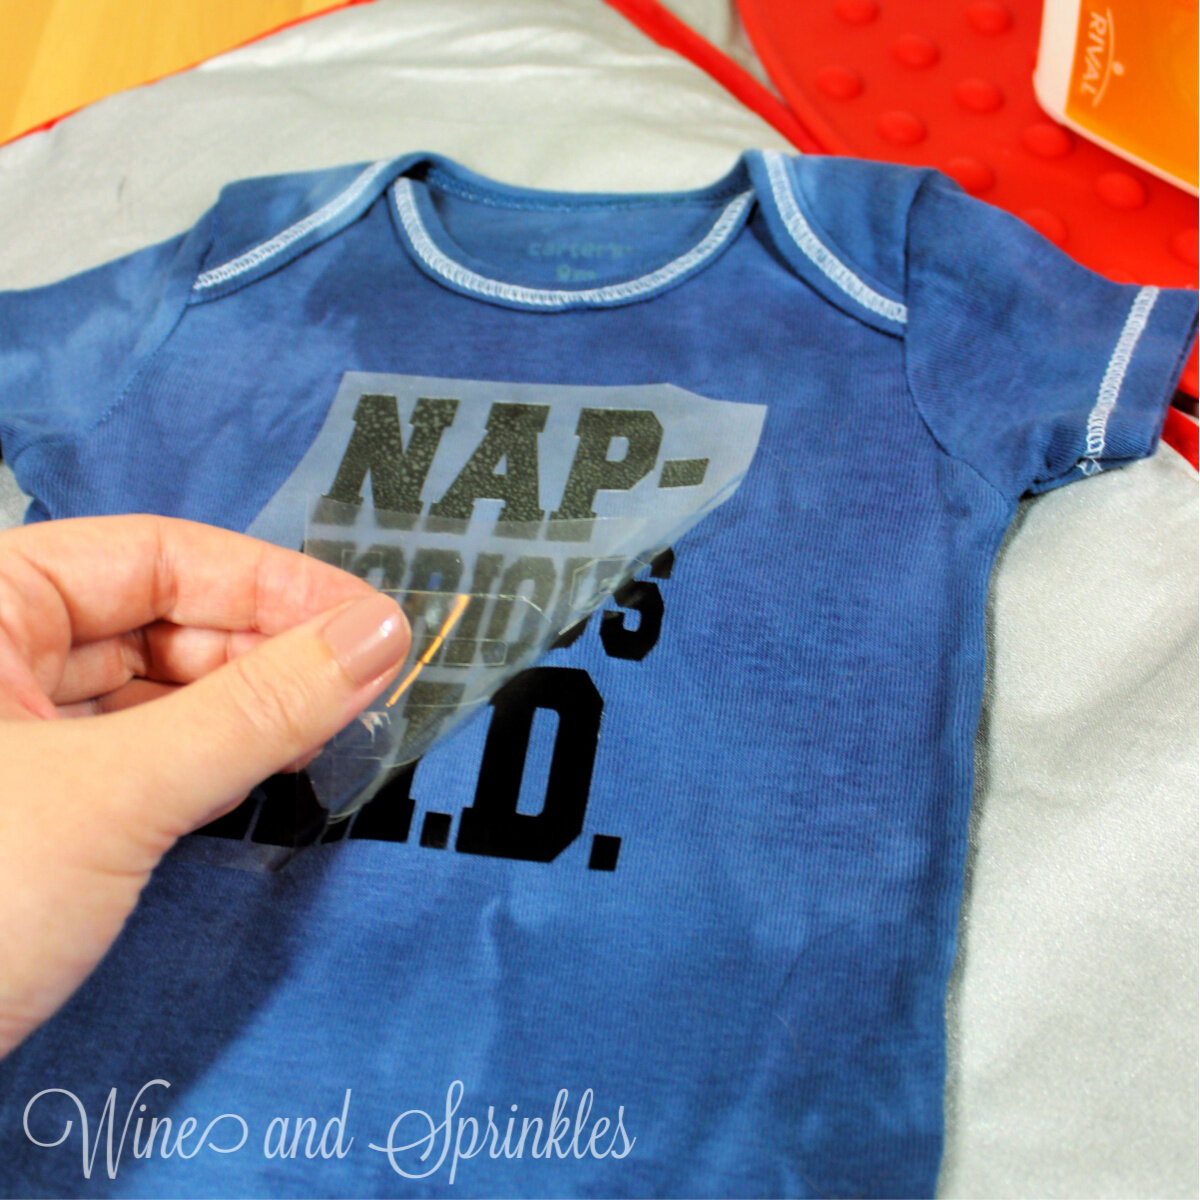
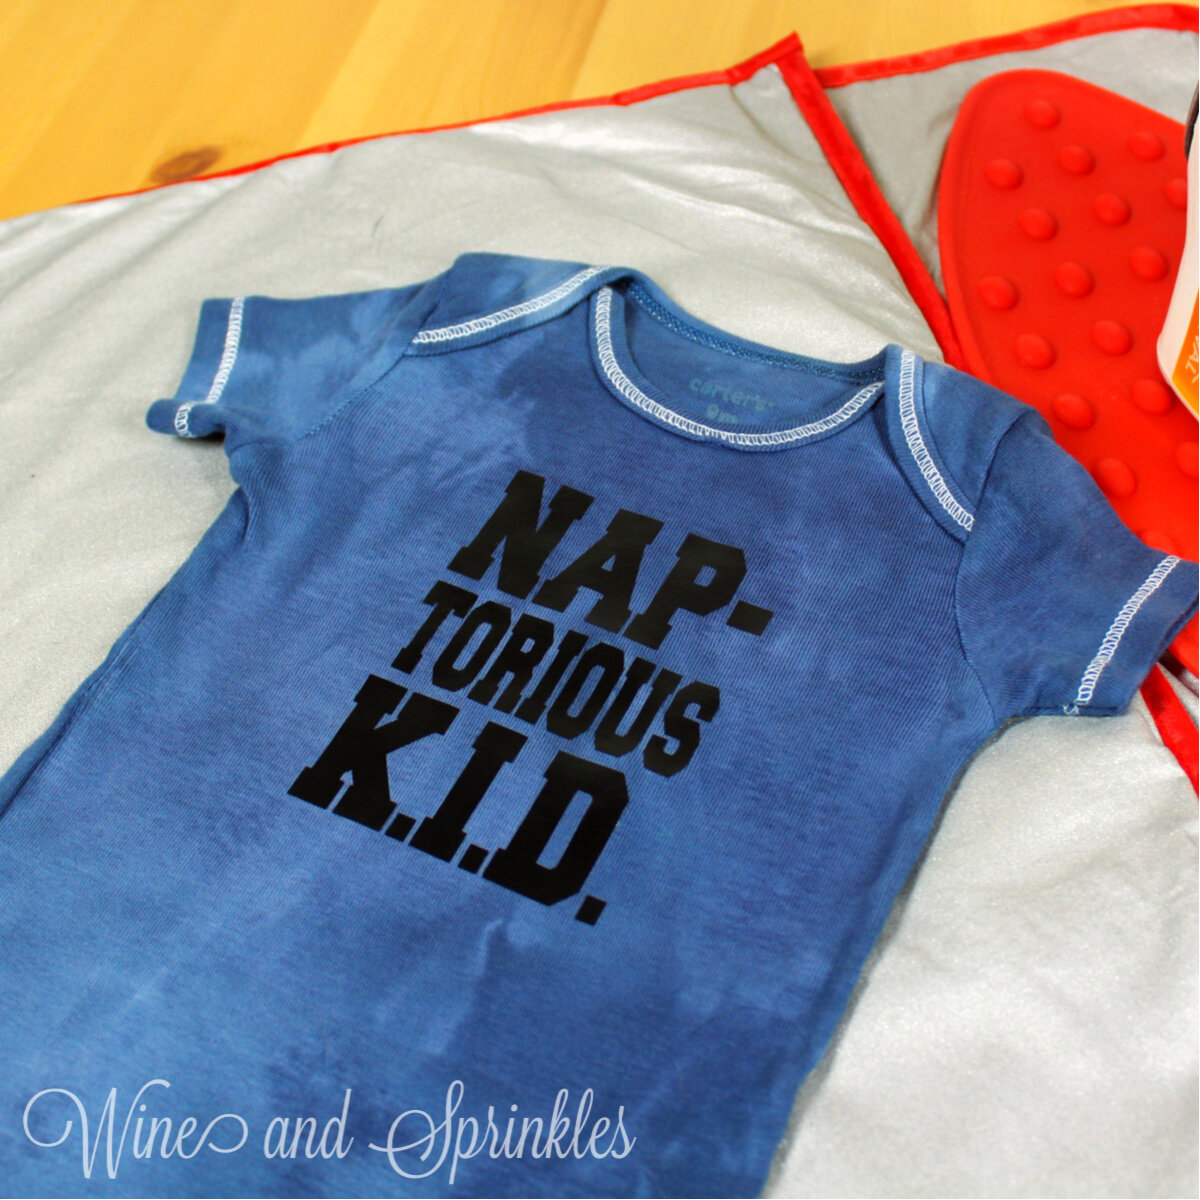
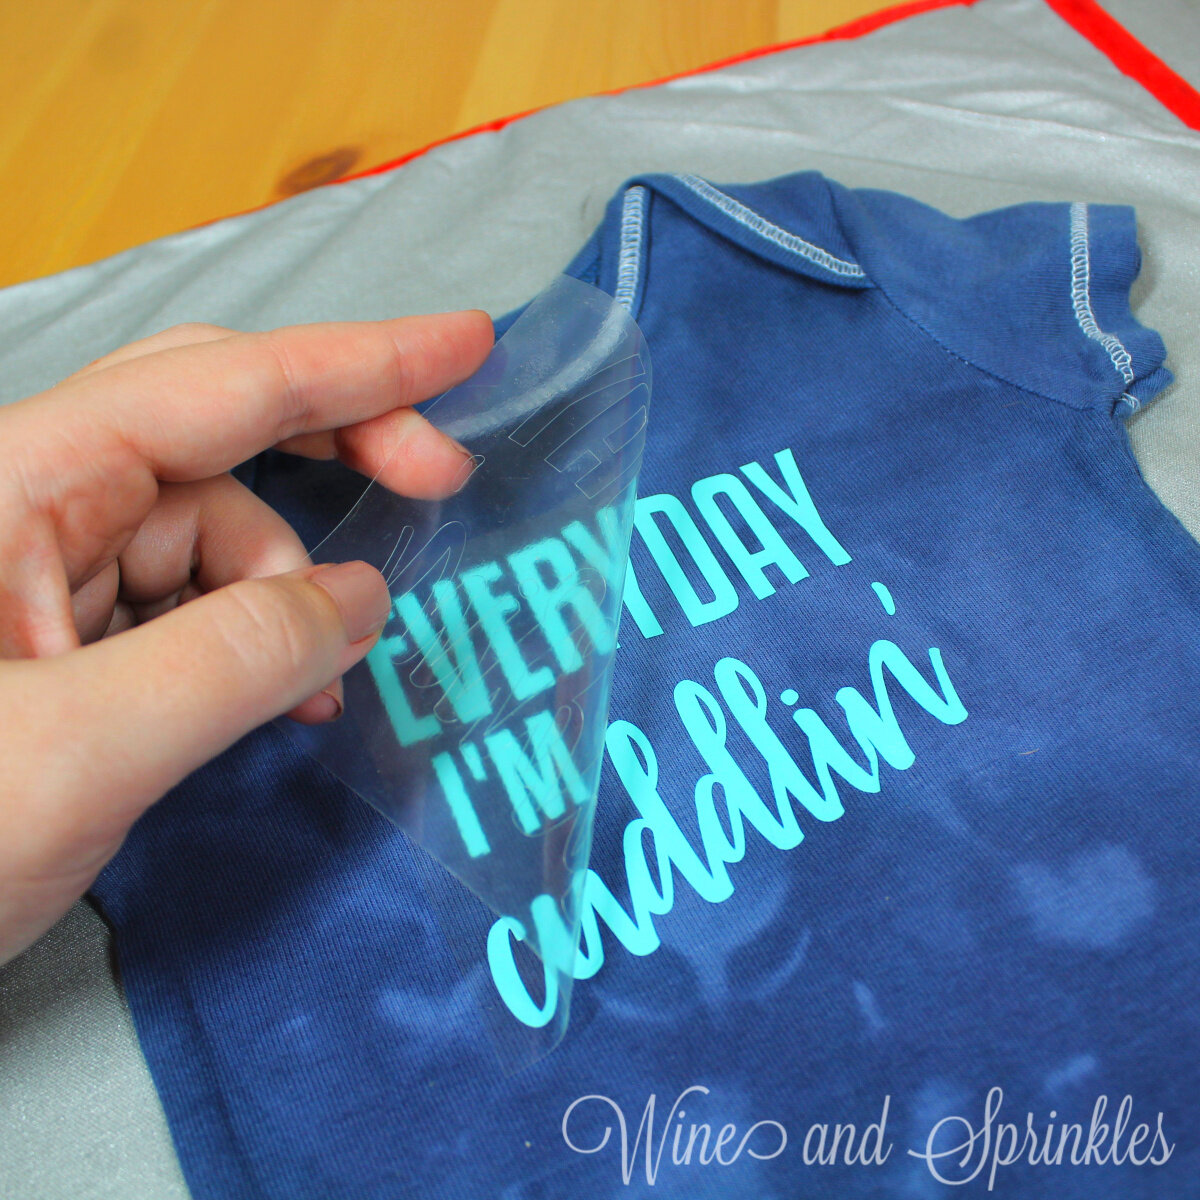
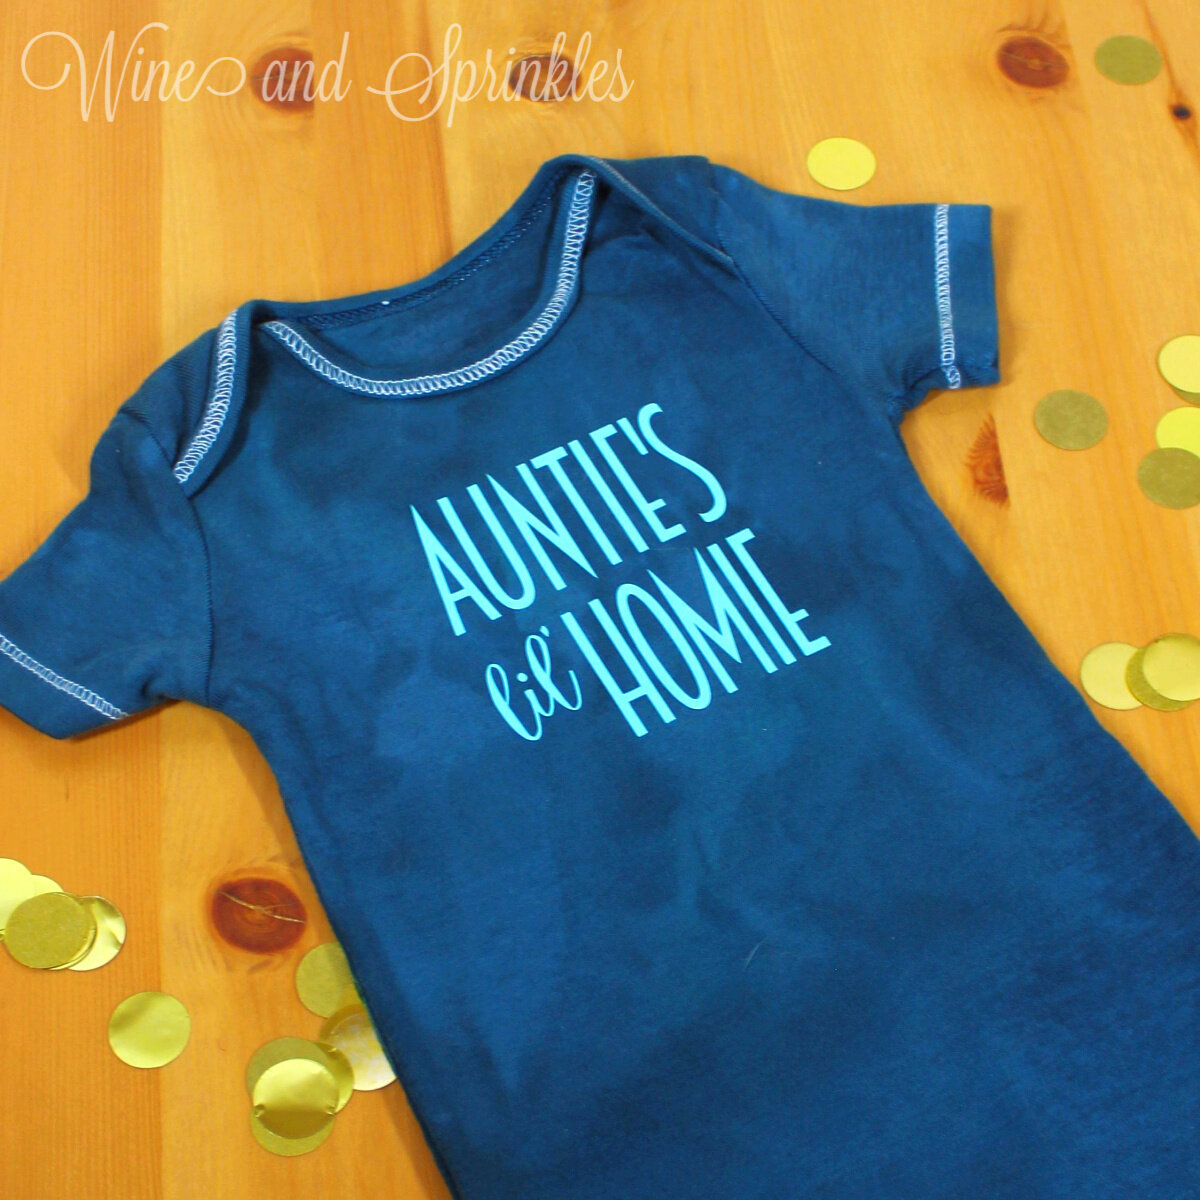
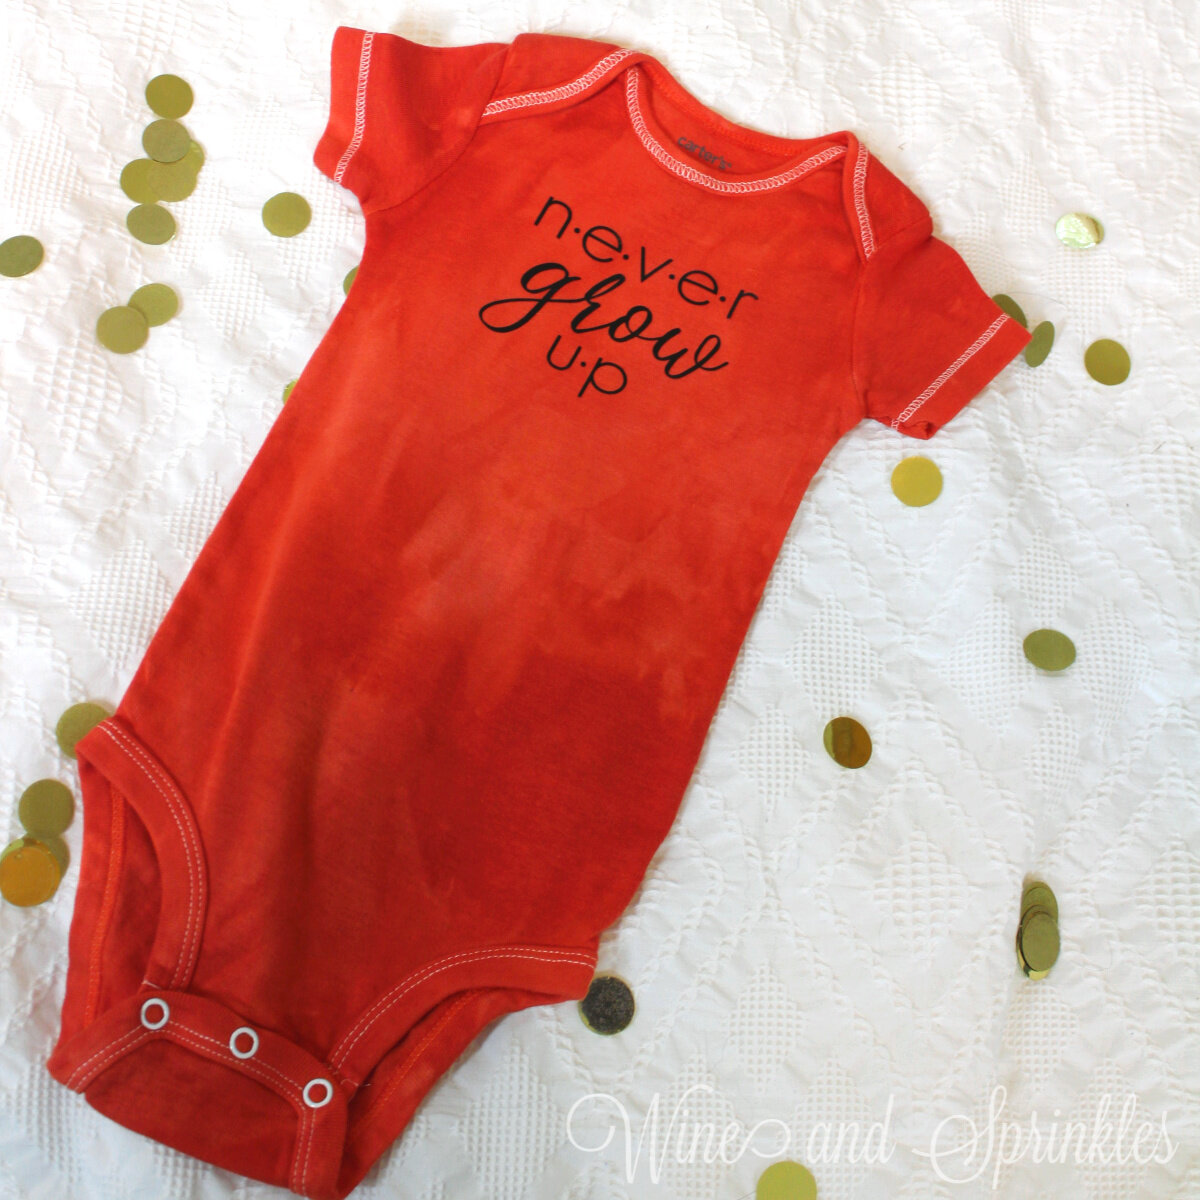
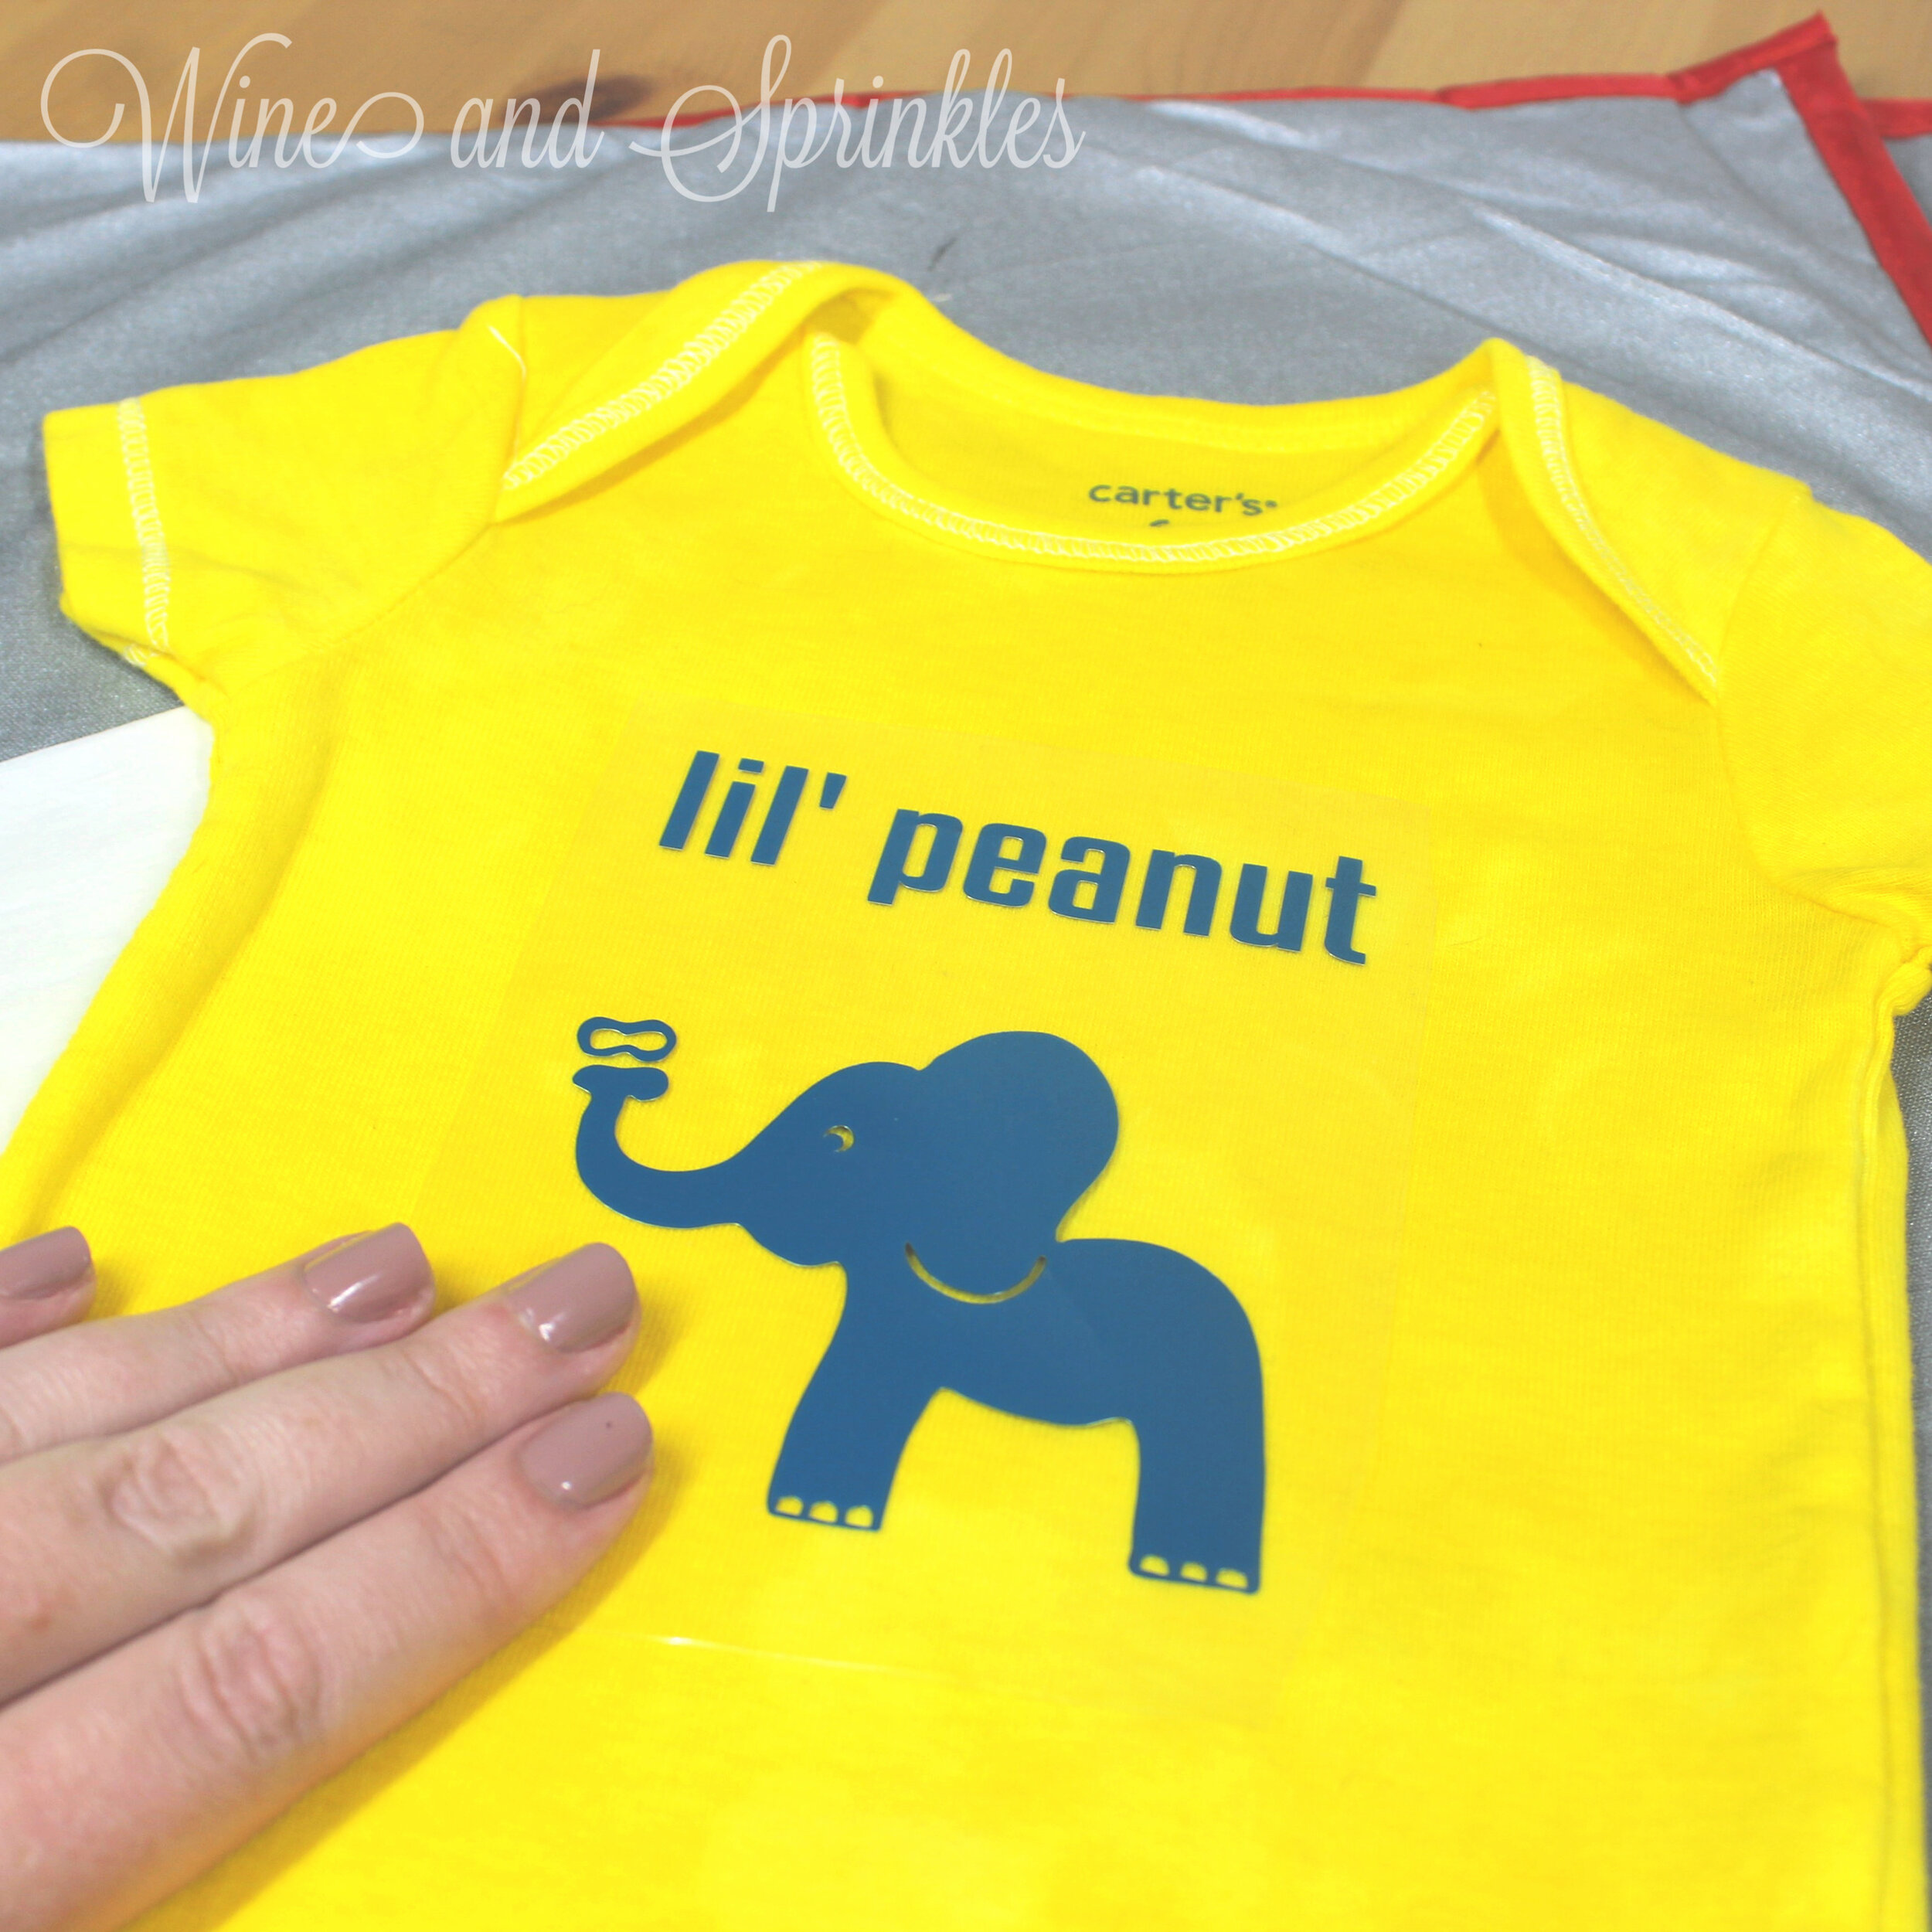
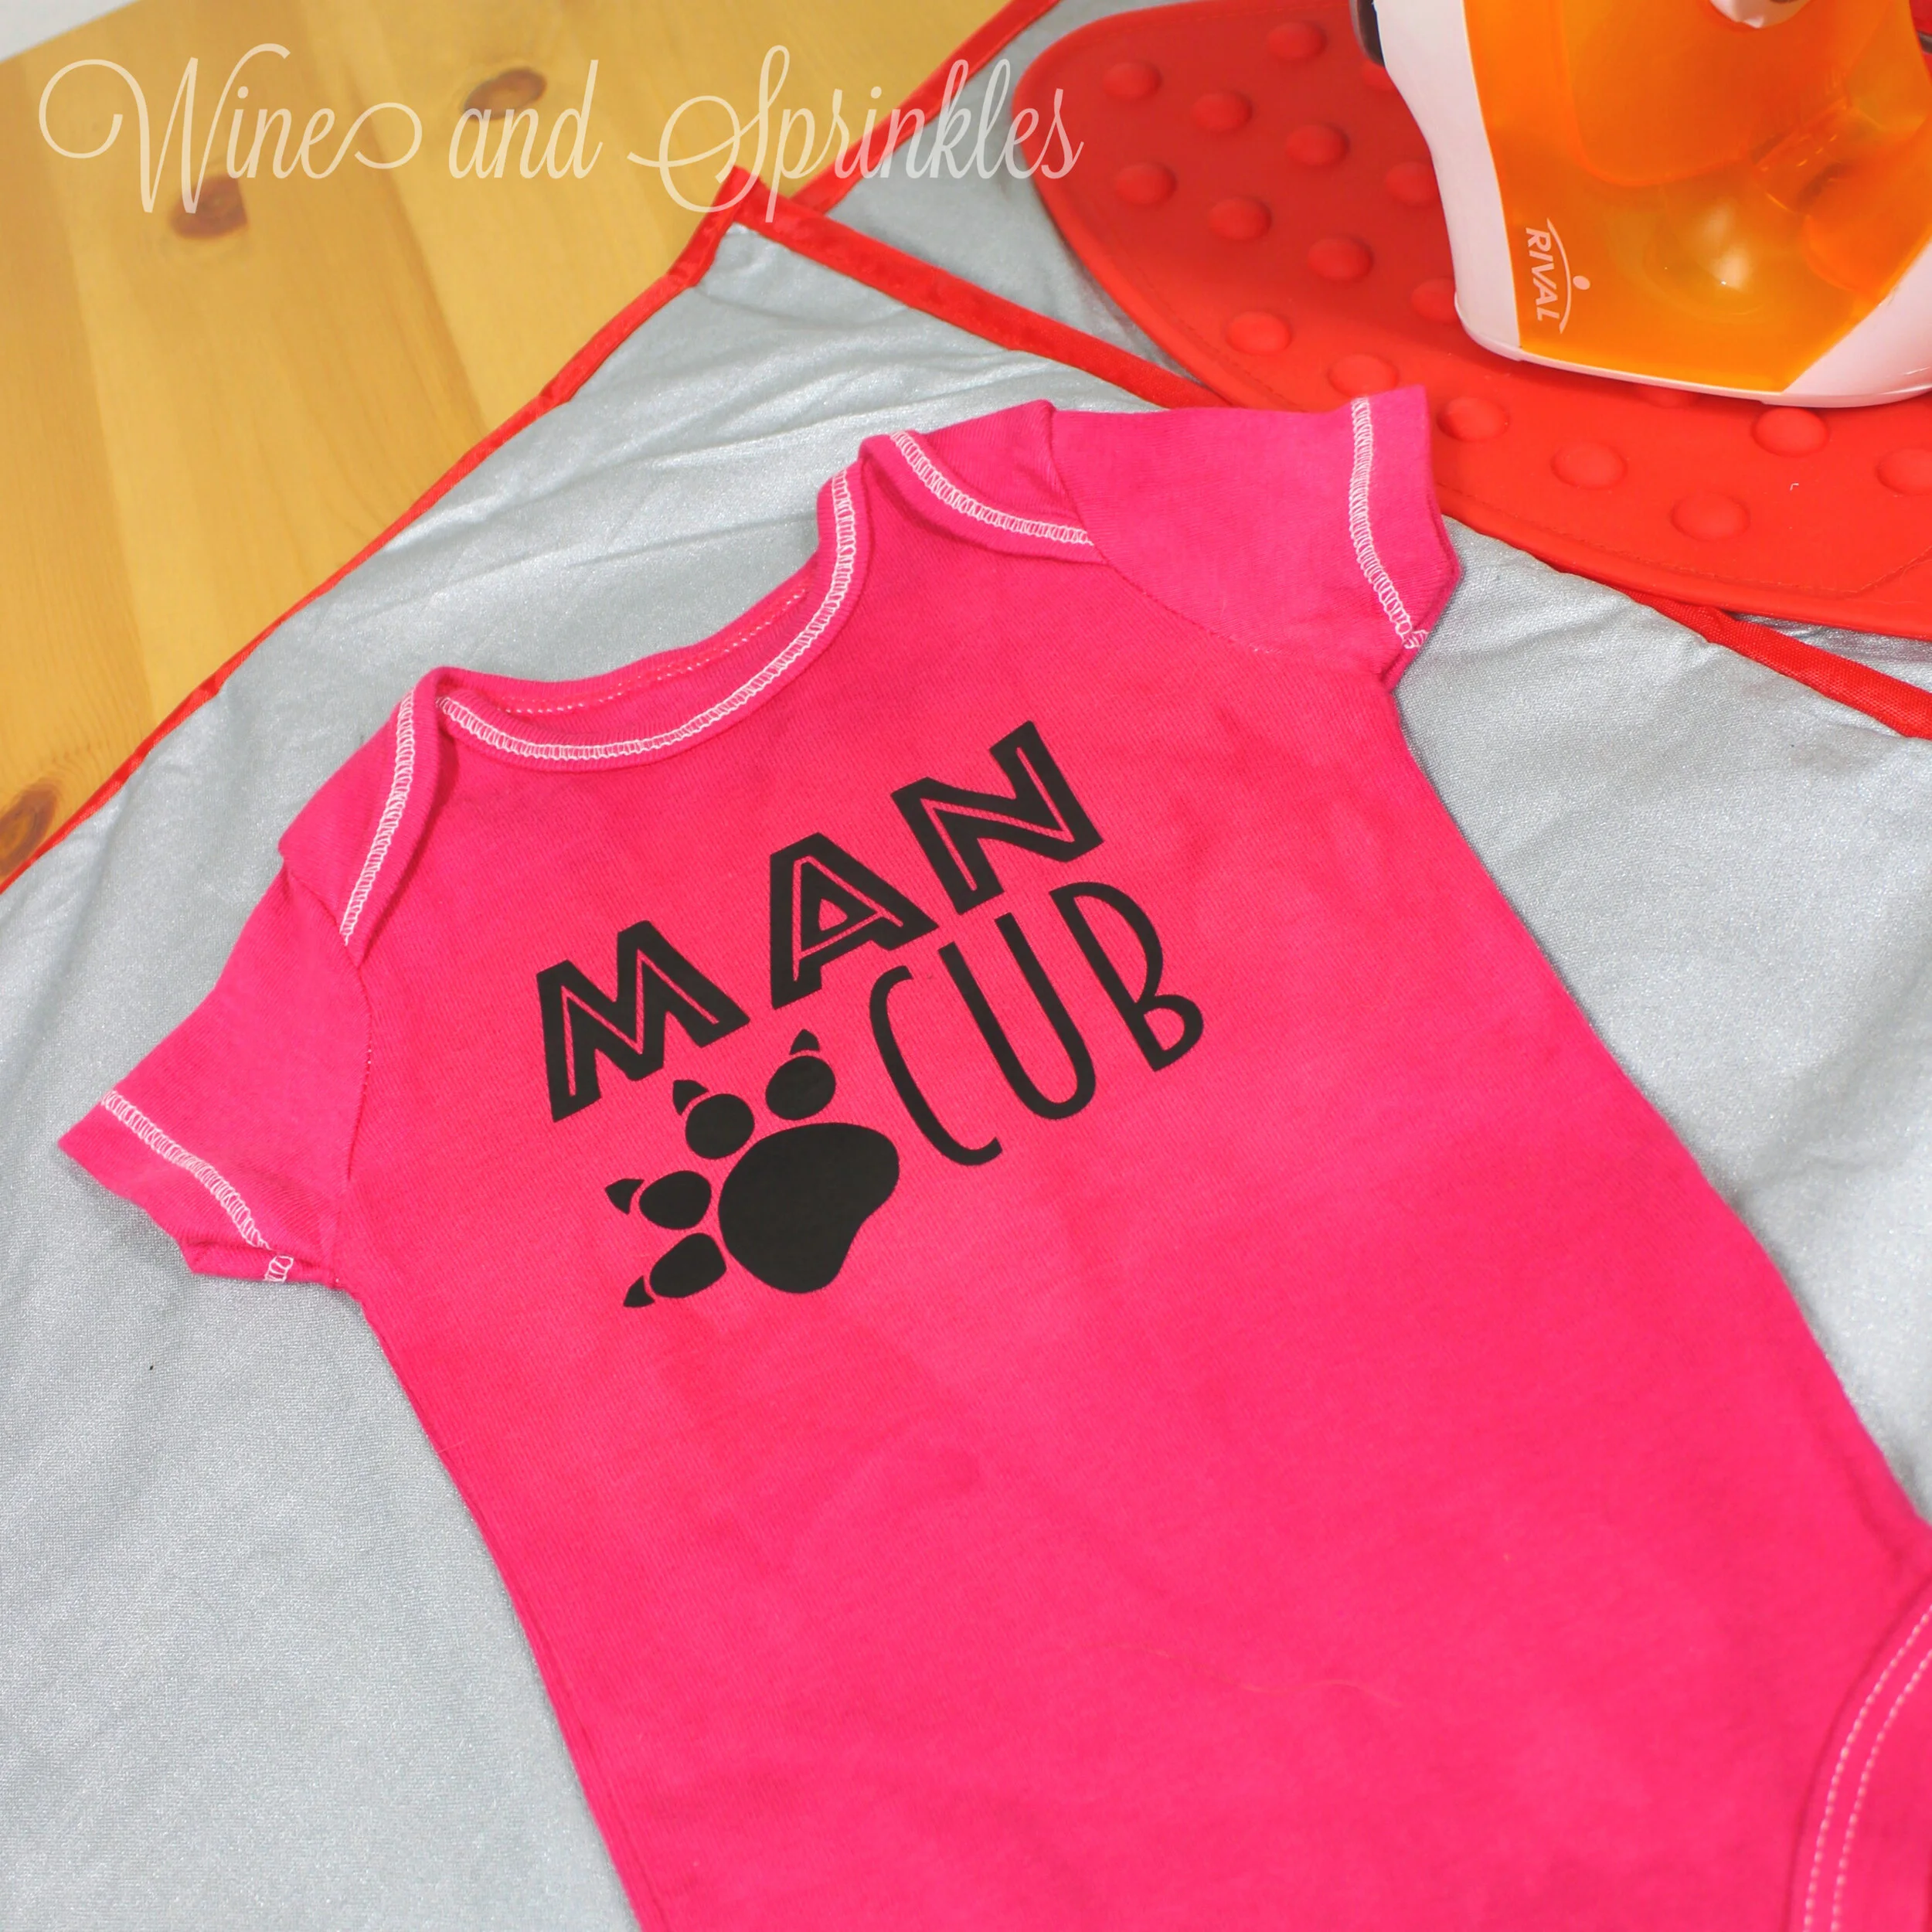
5. Remove the parchment paper and peel the clear backing from the decal, leaving the design on the onesie.
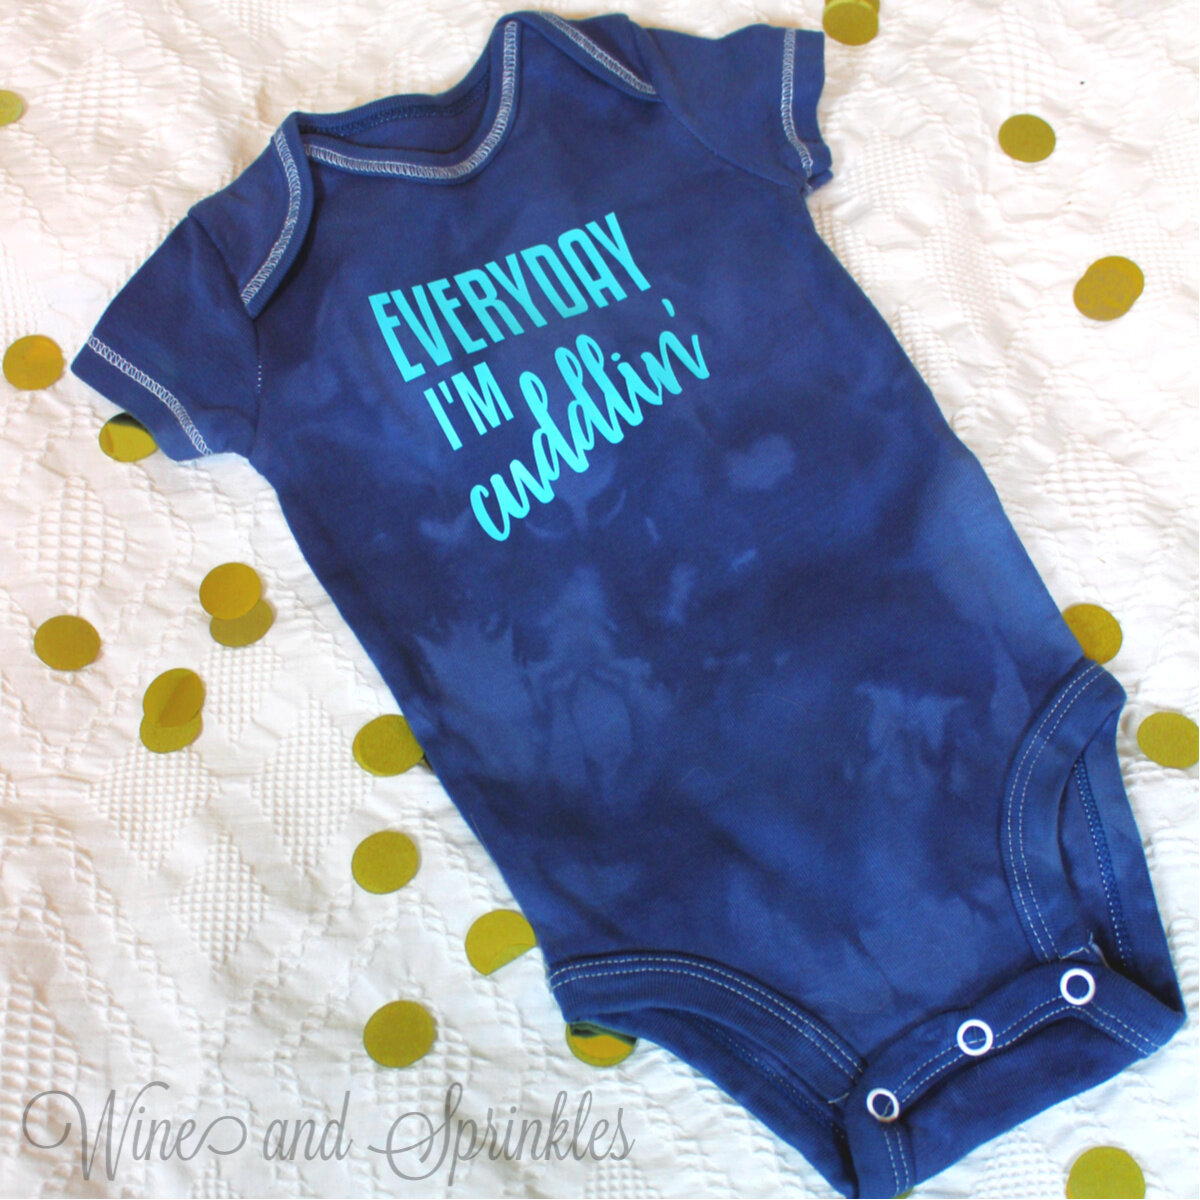
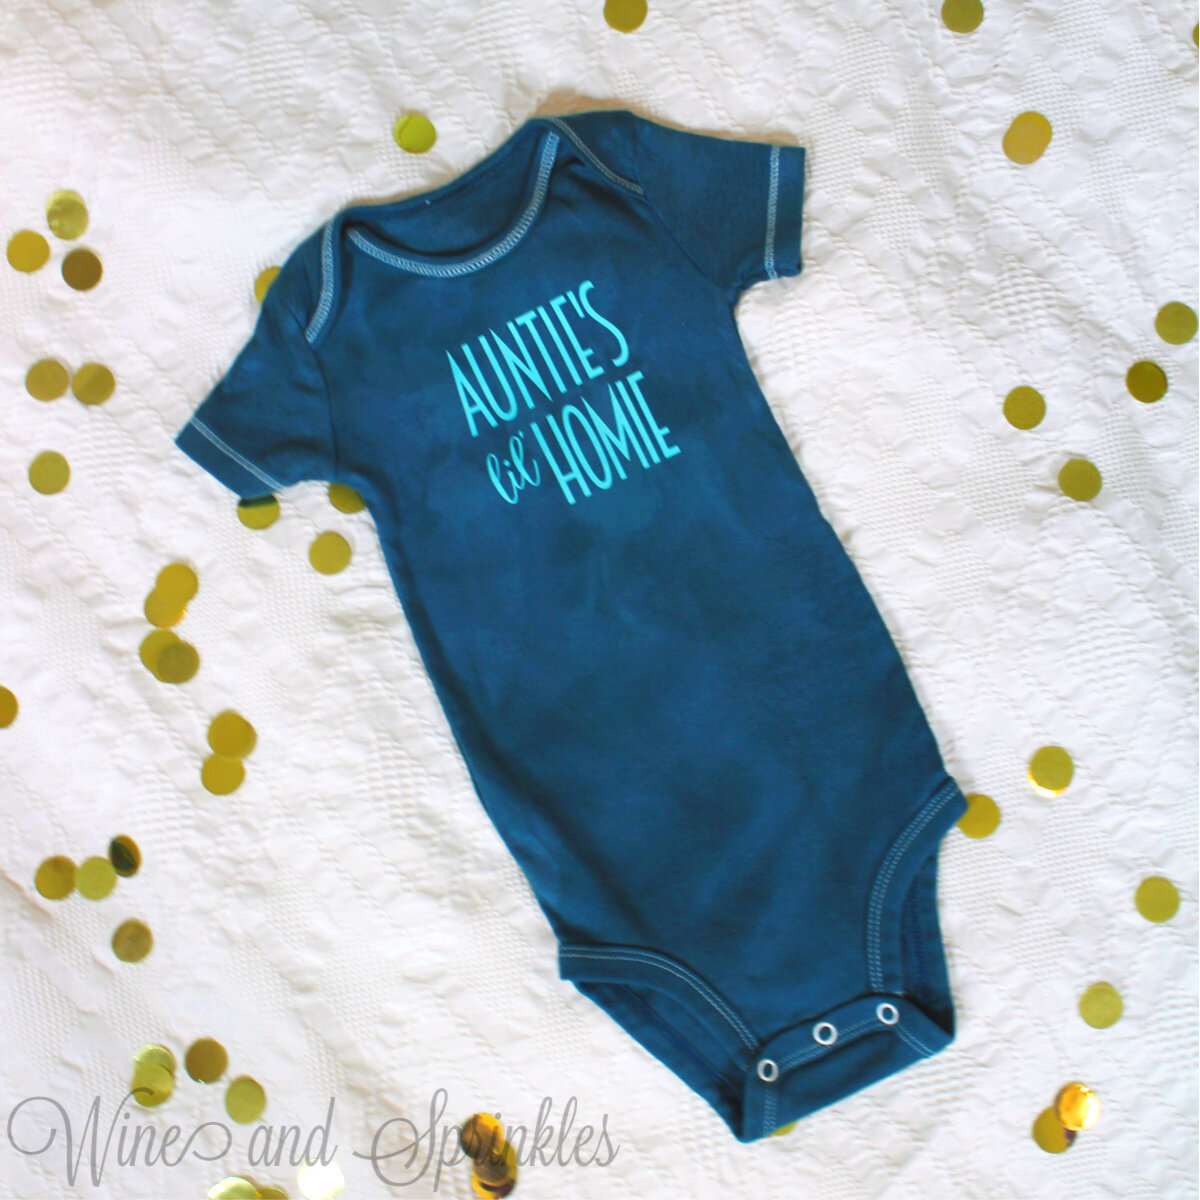
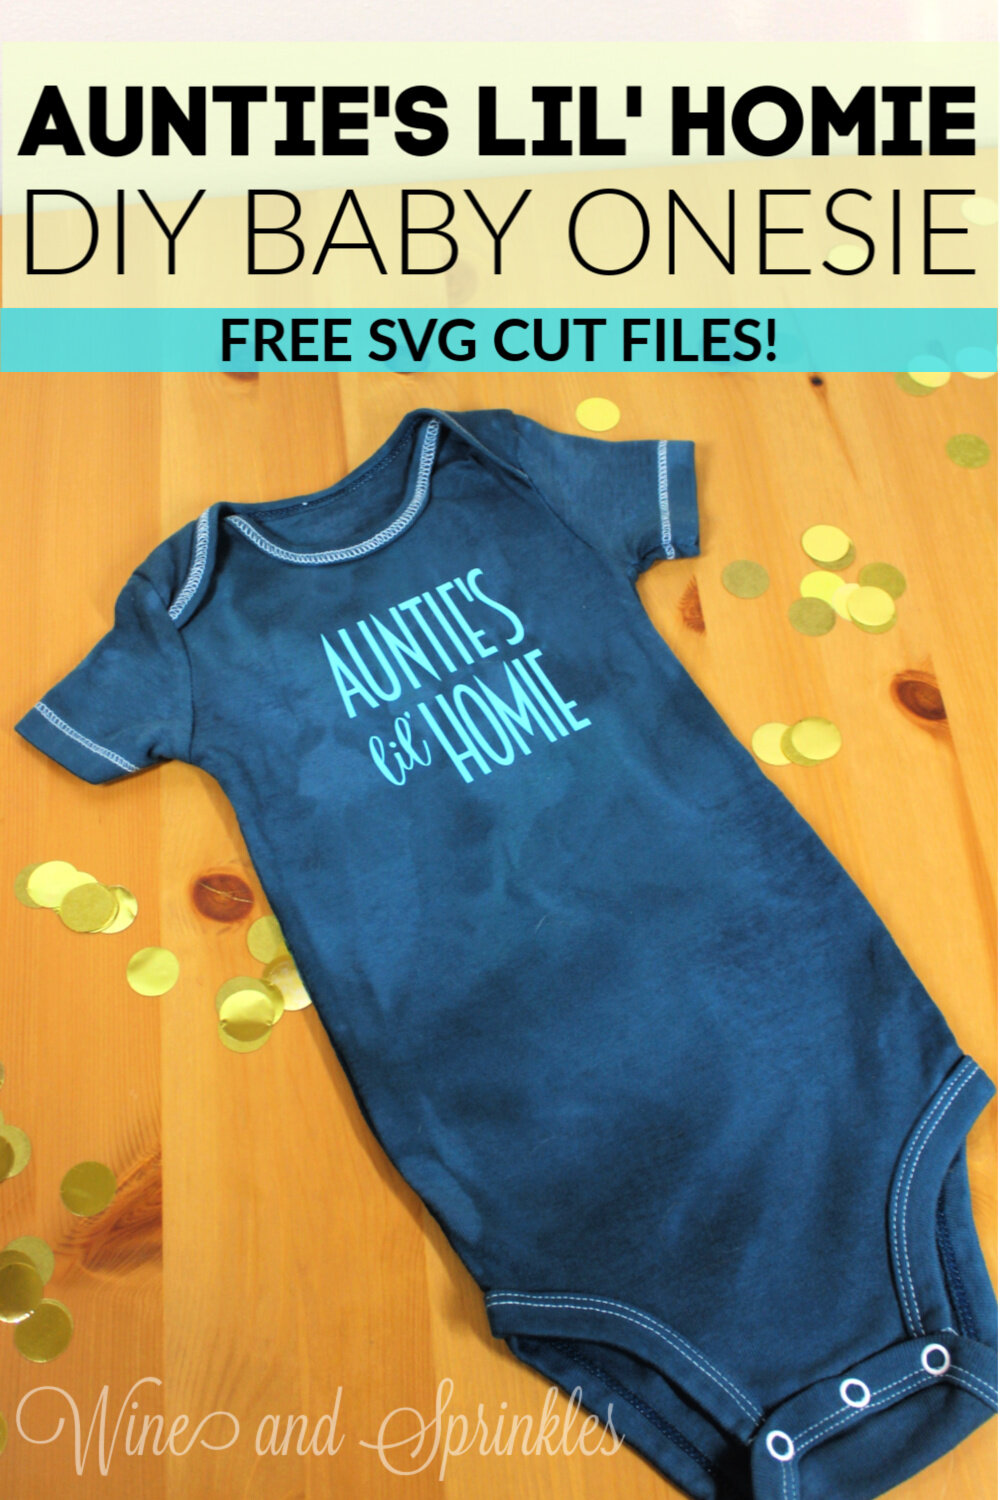
Check out our other Baby Onesie Projects for more DIY Baby Shower Gift Inspiration!