This post contains affiliate links, meaning that if you click on a link I will recieve a small comission. This costs you nothing extra and I only promote products I use and love! You can read our full disclosure here
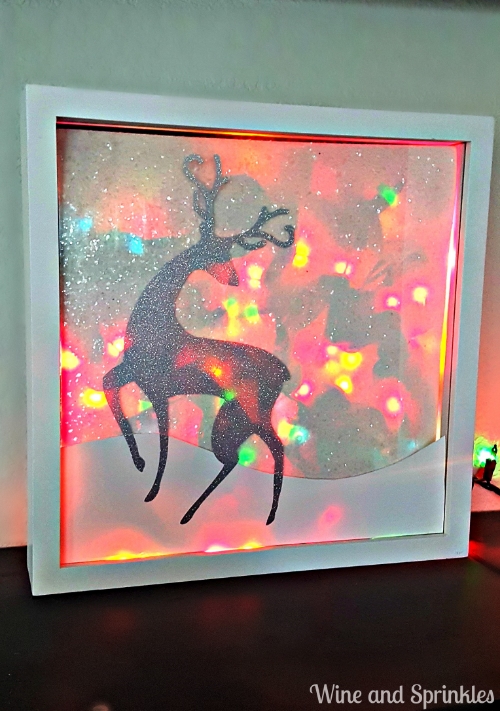
This Shadow Box was one of my favorite crafts of the holiday Season! After making oodles of prints and canvases I needed just one more piece to complete my Christmas "Art Wall" and this little reindeer fit the bill. Making it was much more straightforward than I would've thought and it came out perfect.
*This post contain affiliate links. I only link products I use and love!
Supplies:
White and Silver Glitter Permanent Adhesive Vinyl (I use Expressions Vinyl)
Craft Cutter and Tool Set
Adhesive Mat
White Textured Scrapbook Paper
12 x 12 Shadow Box
Christmas Lights-Next time I will make mine with LED lights, in this case I used regular twinkle lights :)
1. First, cut out the silver vinyl into an animal/tree of your choice using either a craft cutter or exacto knife. Next cut the white vinyl in a "wave" pattern for a nice looking snowdrift. Start by adhering the white vinyl to the bottom of the shadow box then layer on your deer using transfer paper as shown below:
2. Now cut you piece of scrapbook paper to size so that it lays flat in the bottom of the shadow box. Cut of one of the bottom corners of the shadow box depending on what side you want the lights to exit. Then, arrange the lights in the shadow box (as many as you can fit) with the end of you light string going out of the shadow box on the same corner you cut from the back of the shadow box.
3. Replace the back of the shadow box, turn over and ta-da! The Shadow Box is complete!
My favorite part of this shadow box is that is is a nice winter print by day a a multicolored light by night, perfectly adding a little something extra to my regular Christmas Decorations. Happy Holidays to all!


